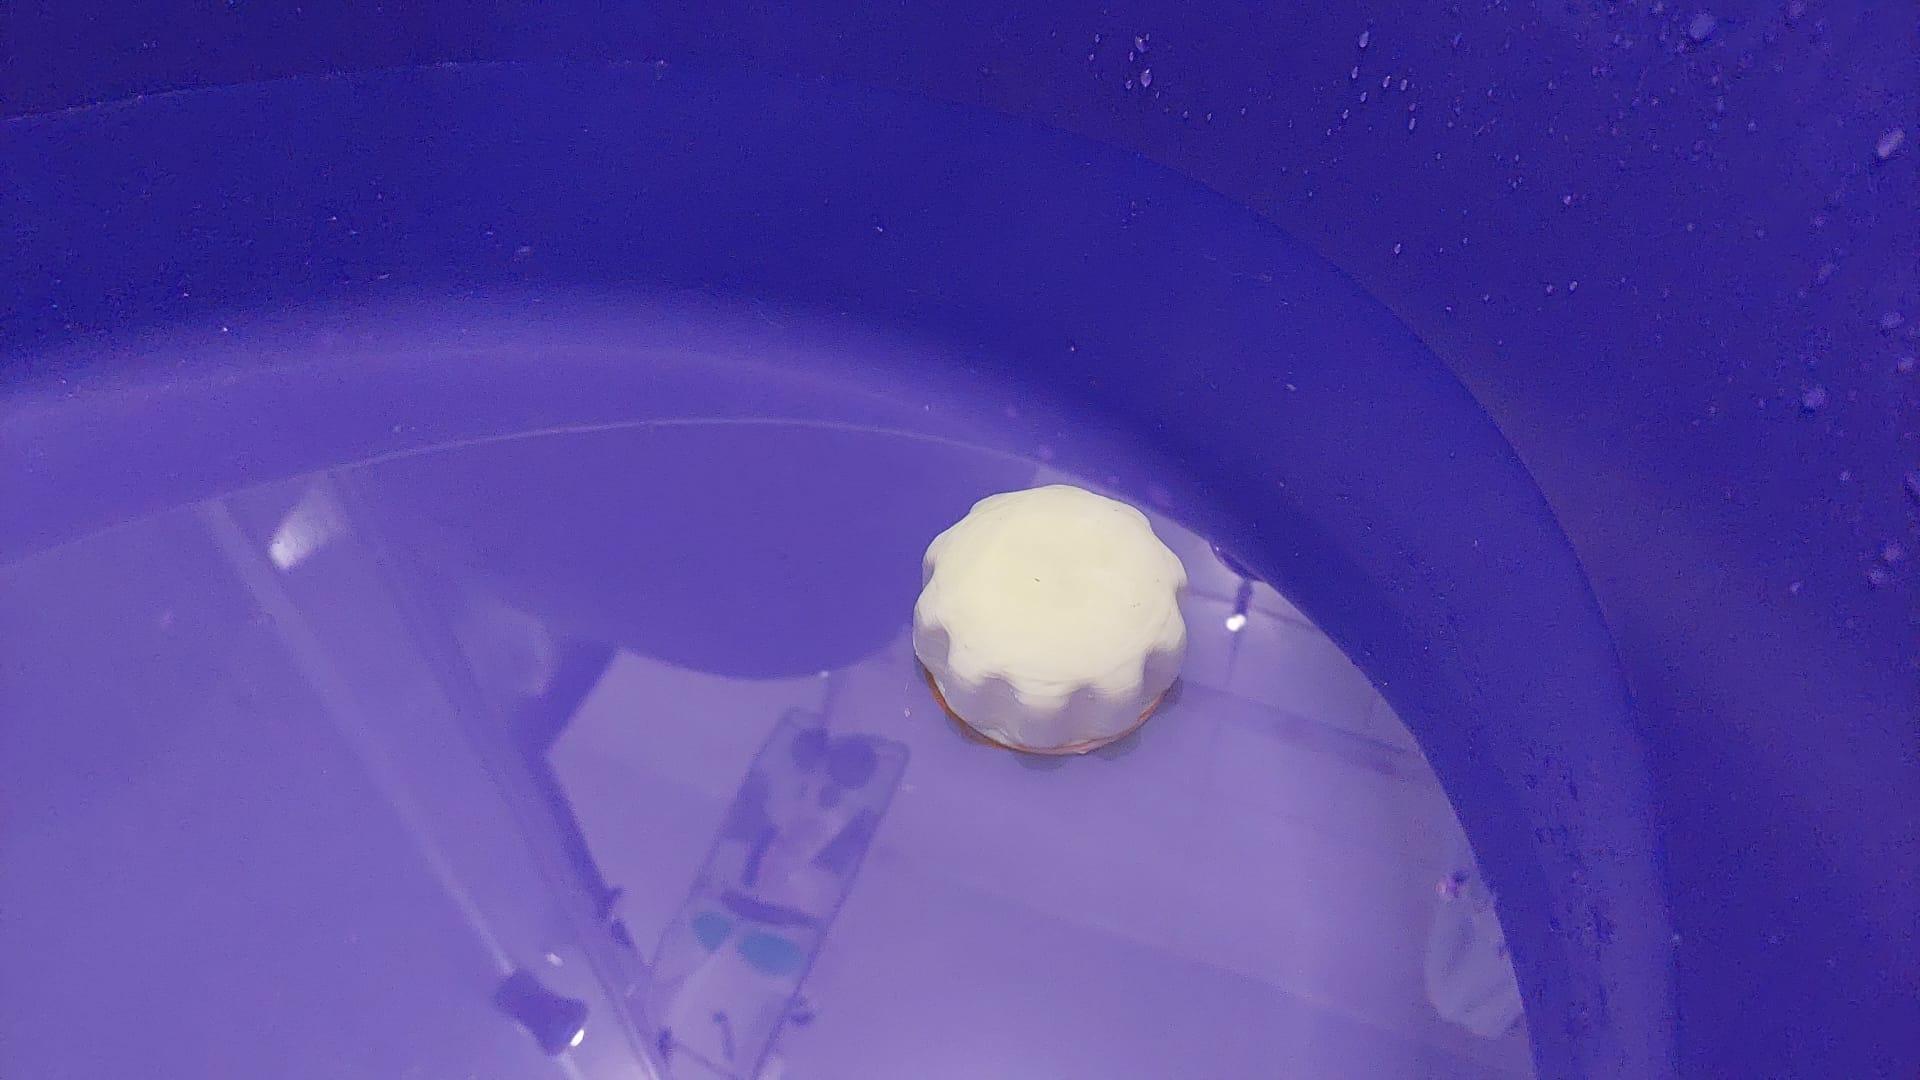
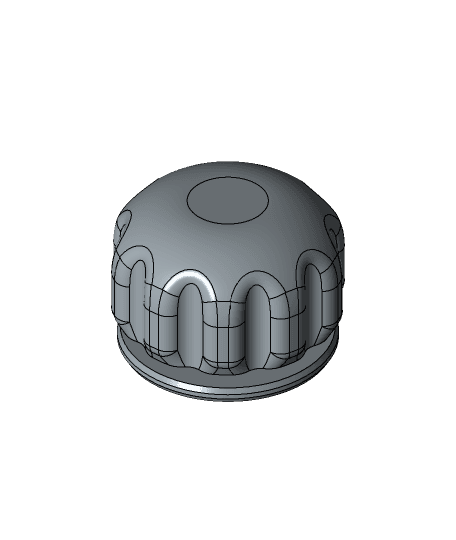
We bought a large tub for our kid, but it didn't have a drain. 3D printer to the rescue!
Printing directions: For hygiene, all parts should be watertight. Suggestions:
- Print with a large amount of walls (side and top/bottom)
- Overextrude using extrusion multiplier
- Seal the print later (I used ABS slurry to seal mine).
Additional required parts:
- silicone toilet flush seal with a ~25mm (1") ID
- Some sort of water tight glue to adhere the threaded part to the tub (Silicone caulking recommended)
- 25mm drill (usually a step drill) to drill through the tub (or a sharp and hot knife to through the tub).
To install:
- Drill a ~25mm through the tub
- On the male thread: place a modest amount of silicone caulking on the top surface of the large disc
- insert the threaded part through the hole from the bottom (caulking should now be sandwiched between threaded part and tub bottom
- Wipe away any excess on the inside of the tub and the outside.
- Let the caulking set per the manufacturer's directions
- Place a silicone toilet flush seal on the threaded part from the inside
- Thread nut onto the thread, when tightened it should sandwich the silicone seal and create a tight seal
- To let water out, partially loosen the nut
Categories:
1 Likes10 DownloadsJanuary 28, 2022
1 Likes10 DownloadsJanuary 28, 2022
.jpeg&w=3840&q=75)

.jpeg&w=3840&q=75)
.jpeg&w=3840&q=75)
.jpeg&w=3840&q=75)
.jpeg&w=3840&q=75)
