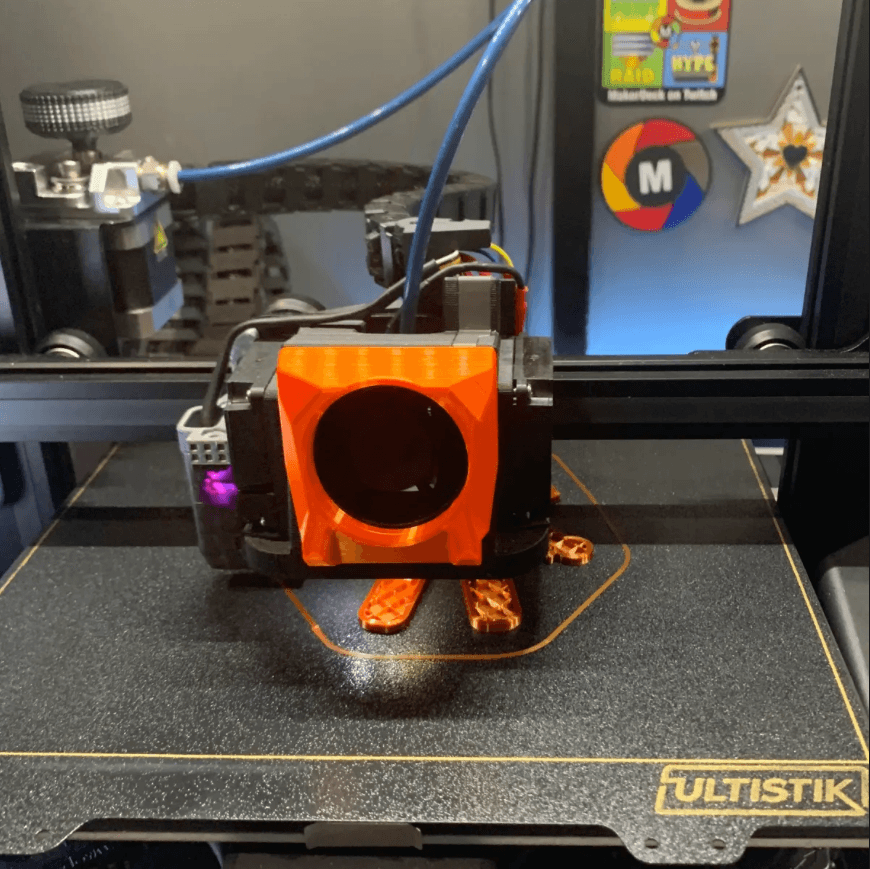
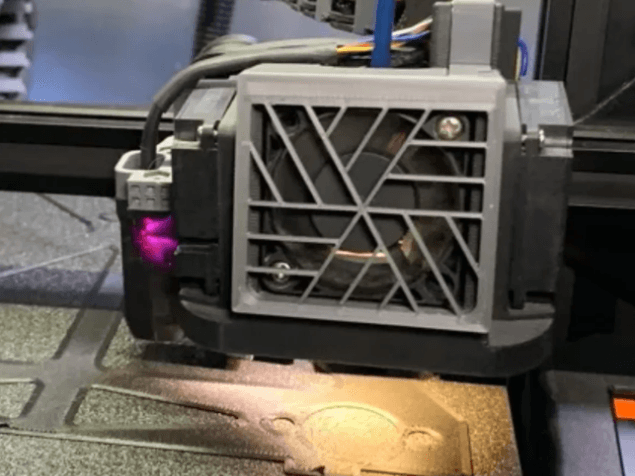
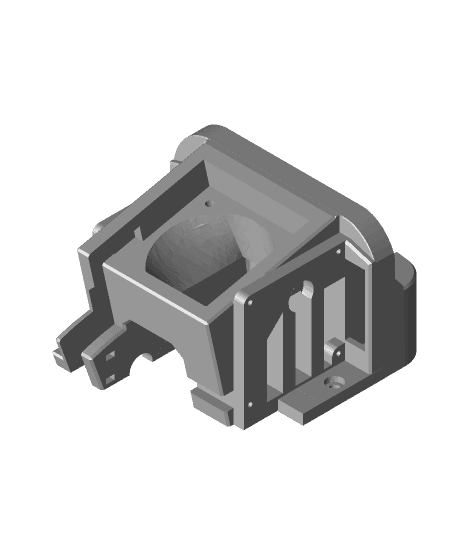
K2 Satsana Dual Stock Blower Fan Duct Shroud - Ender 3v2 with CRTouch
Description K2 Satsana Dual Fan Duct for the Ender 3 v2 with CRTouch/BLTouch. It utilizes the STOCK FANS, and a mount/duct for a second 4010 parts blower fan. After a few months of off and on development and design testing, I feel this is ready for release.
❤ Get your Prusameters… Post your Makes! ❤
P R I N T S / F I L E S:
K2_Satsana_Dual_Fan_Duct_v.4.0.stl (WITHOUT attached BL/CR-Touch Mount) K2_CR-Touch_Mount.stl (Adjustable BL/CR-Touch mount for use with v4.0 Duct) Wire Hide press fit L-cover (Top) Front Fan grills (Optional) Front Magnet Grill (Optional) 8mmx2.5mm Magnet inserts. F E A T U R E S:
Stock Fan size 4010 Fans (Link below) Dual Parts Fan Ducting CRTouch/BLTouch Mount (reinforced) Mounting area for Hot End LED Lights (Link Below) Wire channels for your parts fans, front extruder fan, and bed leveling wires N O T E S:
I wired/spliced my second parts blower fan directly to the stock (right side) blower. I just cut the original stock blower fan wires (yellow/Blue) and soldered a plug (Optional - Red in photo) to new blower for easy removal. The second fan (Left side) wires feed through the duct, then up and over the hotend. Yellow is positive on OEM wiring.
You should have no issues triggering the X-Axis end stop switch, but if you do, bend the end of the little metal switch gently while holding the top of switch. I did NOT have to with this print, but I did with many others I tested.
IMPORTANT: Immediately after installing ANY HotEnd Duct, BL/CR-Touch, or Nozzle, you MUST reset your z-offset to 0, Home your printer, and re-adjust your Z-offset value. Failure to do this may cause your nozzle to damage your print bed.
Extras:
Blower Fans I used: https://www.amazon.com/dp/B07GXPJB25?psc=1&ref=ppx_yo2_dt_b_product_details
Quick Disconnect Connectors (Red Connector in Photo): I used one of these for easier removal of the second Parts Blower fan. Thin male plug on fan wire (so it fits though wiring slot), thicker female plug on OEM wiring. Think this through... https://www.amazon.com/dp/B07R4ZBBC4?psc=1&ref=ppx_yo2_dt_b_product_details
Hot End LED: https://printermods.com/collections/led-lighting-kits/products/led-lighting-kit-for-3d-printers-hot-end-version
Print Settings Printer Brand:
Creality
Printer:
Ender 3v2
Rafts:
No
Supports:
No
Resolution:
.16
Infill:
15%
Filament: HatchBox PLA
Black Matte
Notes:
Prints great without supports.I recommend printing the BL/CR-Touch mount with 75%+ Infill.