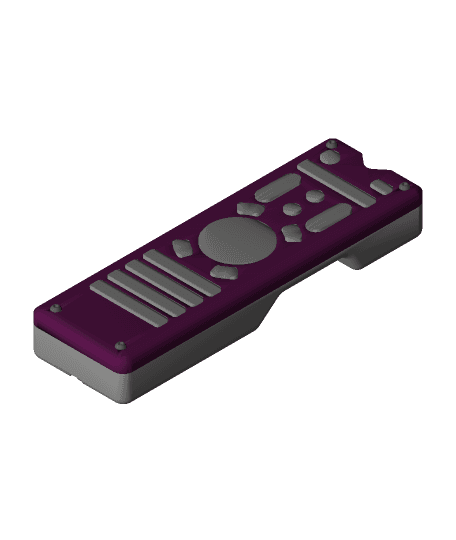
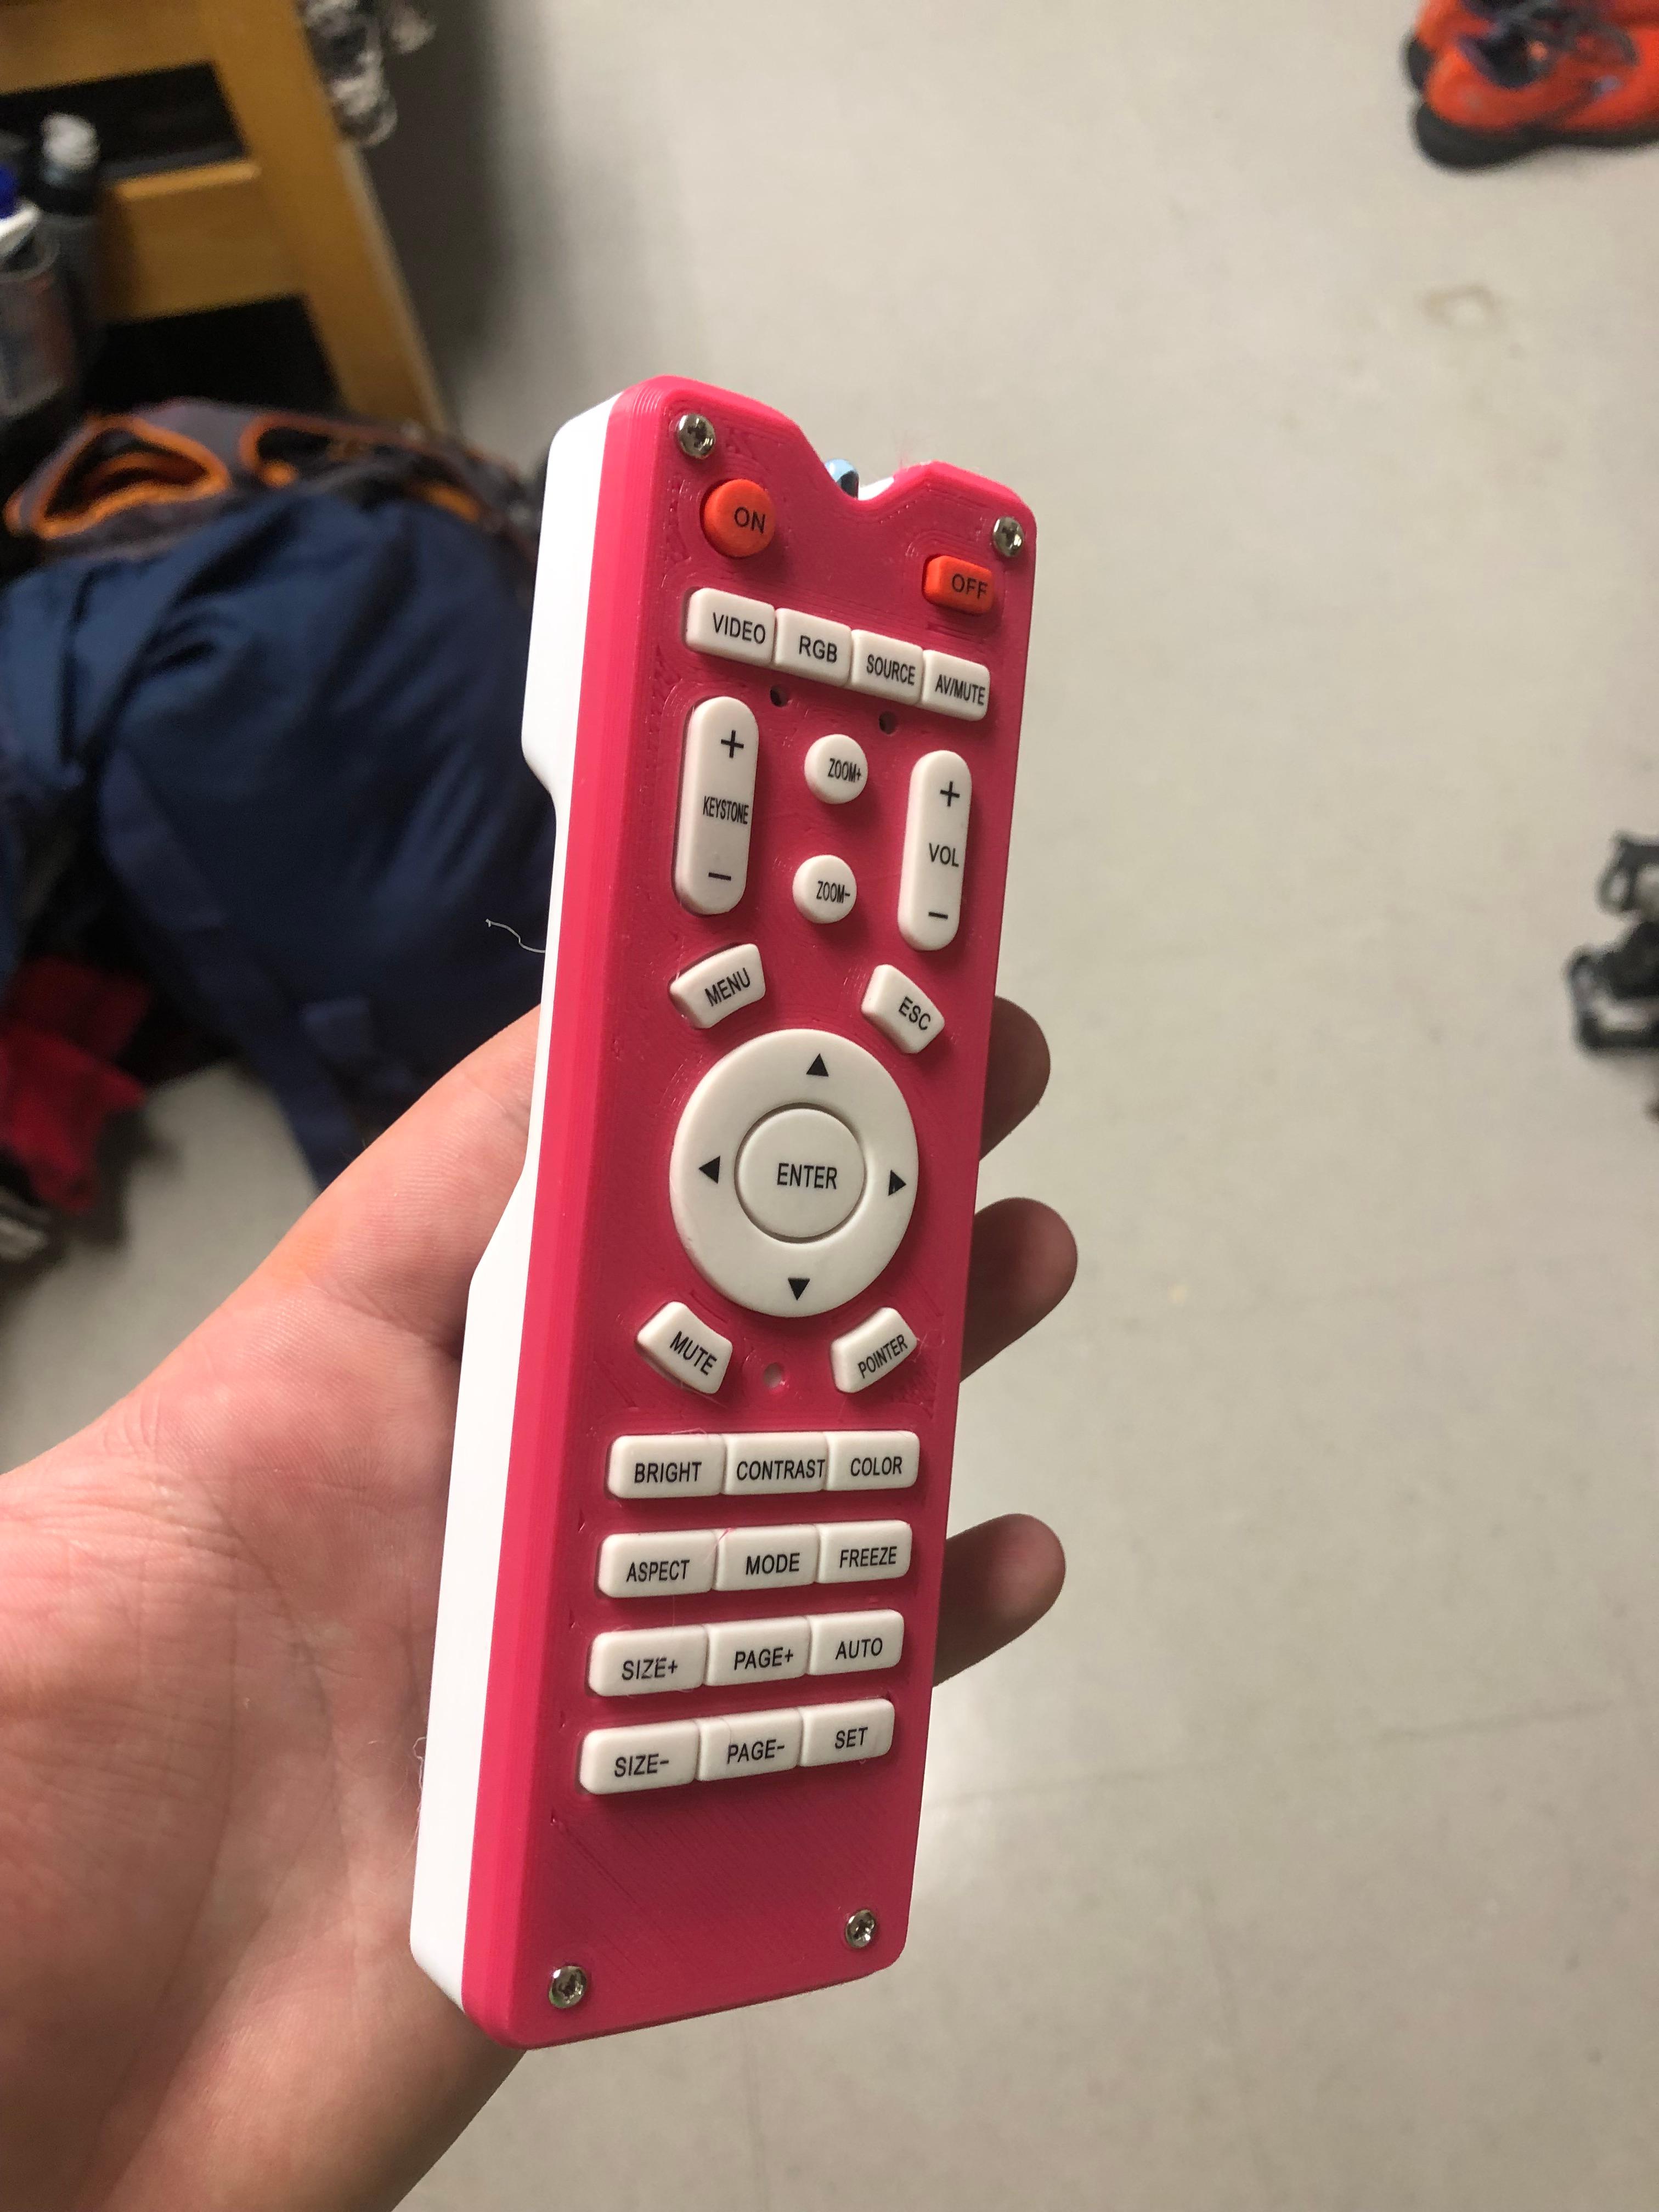
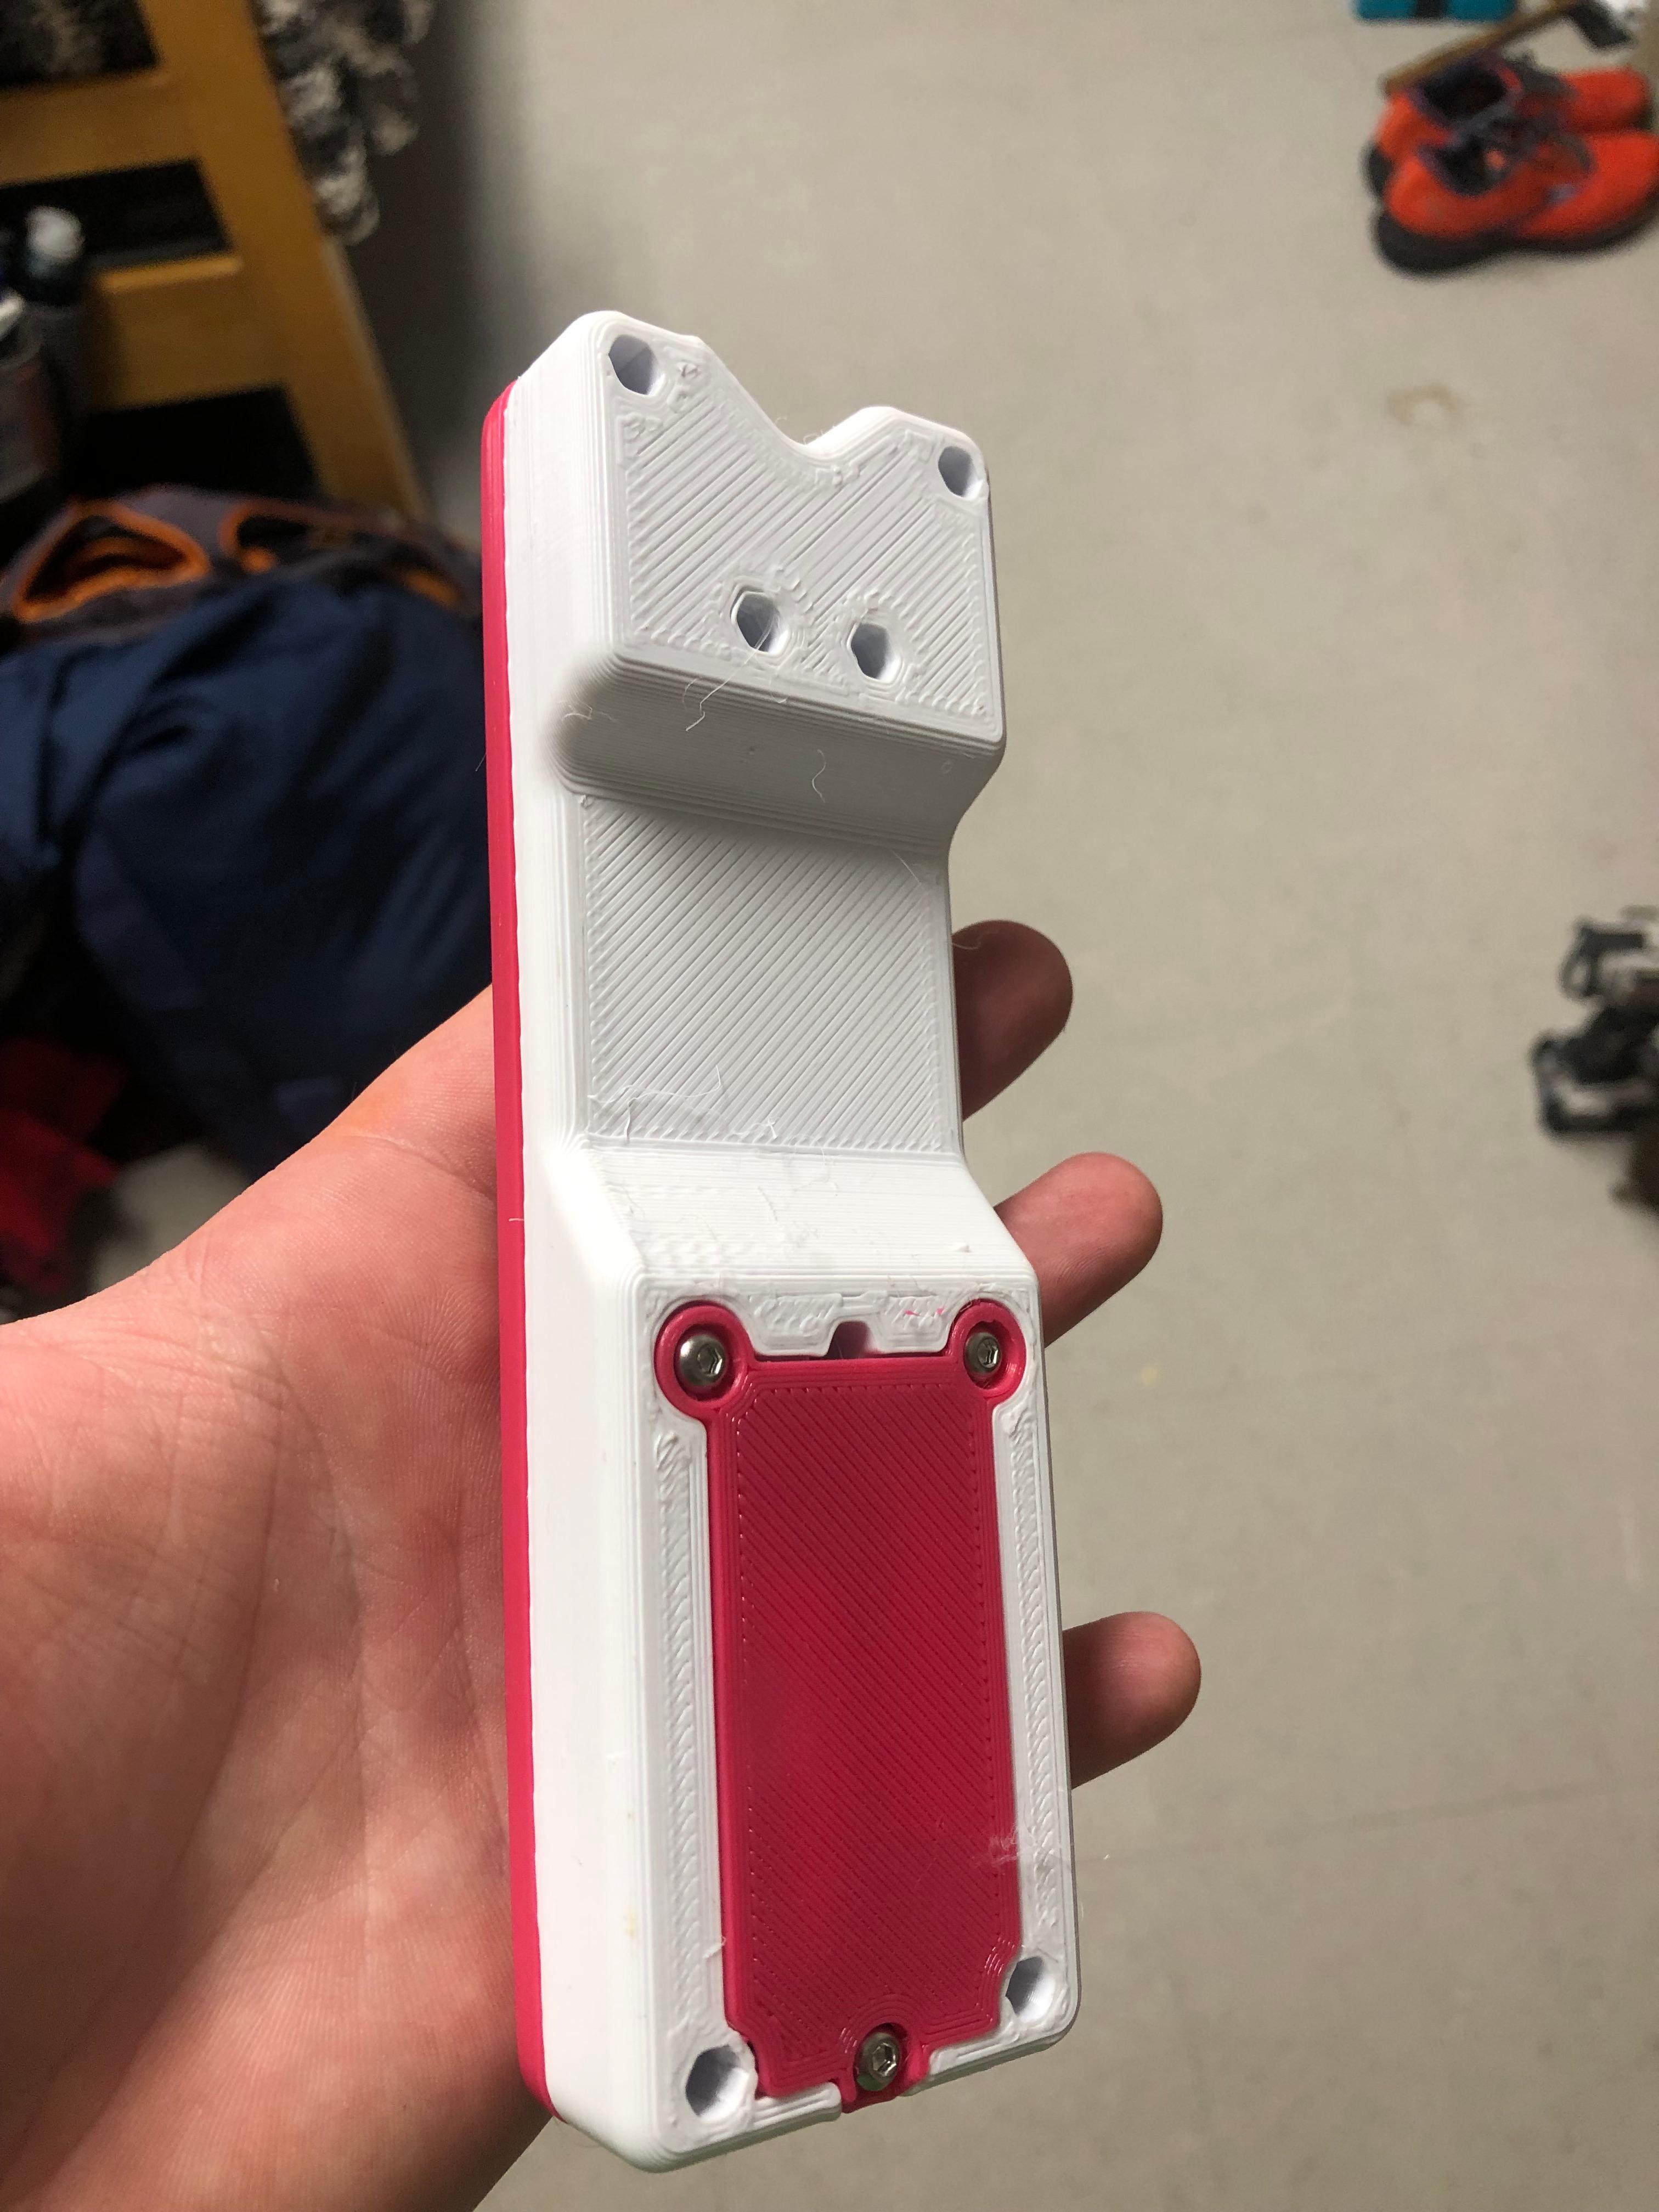
This is a replacement plastic shell to contain the electronics included in this cheap no-brand universal projector remote:
https://www.amazon.com/dp/B07VJGL88G?psc=1&ref=ppx_yo2ov_dt_b_product_details (sometimes it is sold out. Look around and find one that looks similar, if it is under $20, it will probably work)
materials: 1 universal projector remote 4x M2.5x15mm bolts 4x M2.5 hex nuts 3x M3x10mm bolts 3x M3 hex nuts 2x AAA single battery holders (here: https://www.amazon.com/dp/B07C2XT5C5?psc=1&ref=ppx_yo2ov_dt_b_product_details)
I have left detailed 3mf files to show where the hardware goes. This will not recieve a full writup but I will include a few things to take note of should you decide to build this for yourself.
-
pay attention to the battery orientation. Running the voltage will not work. Battery orientation is correct in the render.
-
you will also need to wire the batteries in series. The wire leads coming off of the battery holders should go through the included holes within the remote body and travel down the channels to be soldered to the input power pads on the circuit board.


