


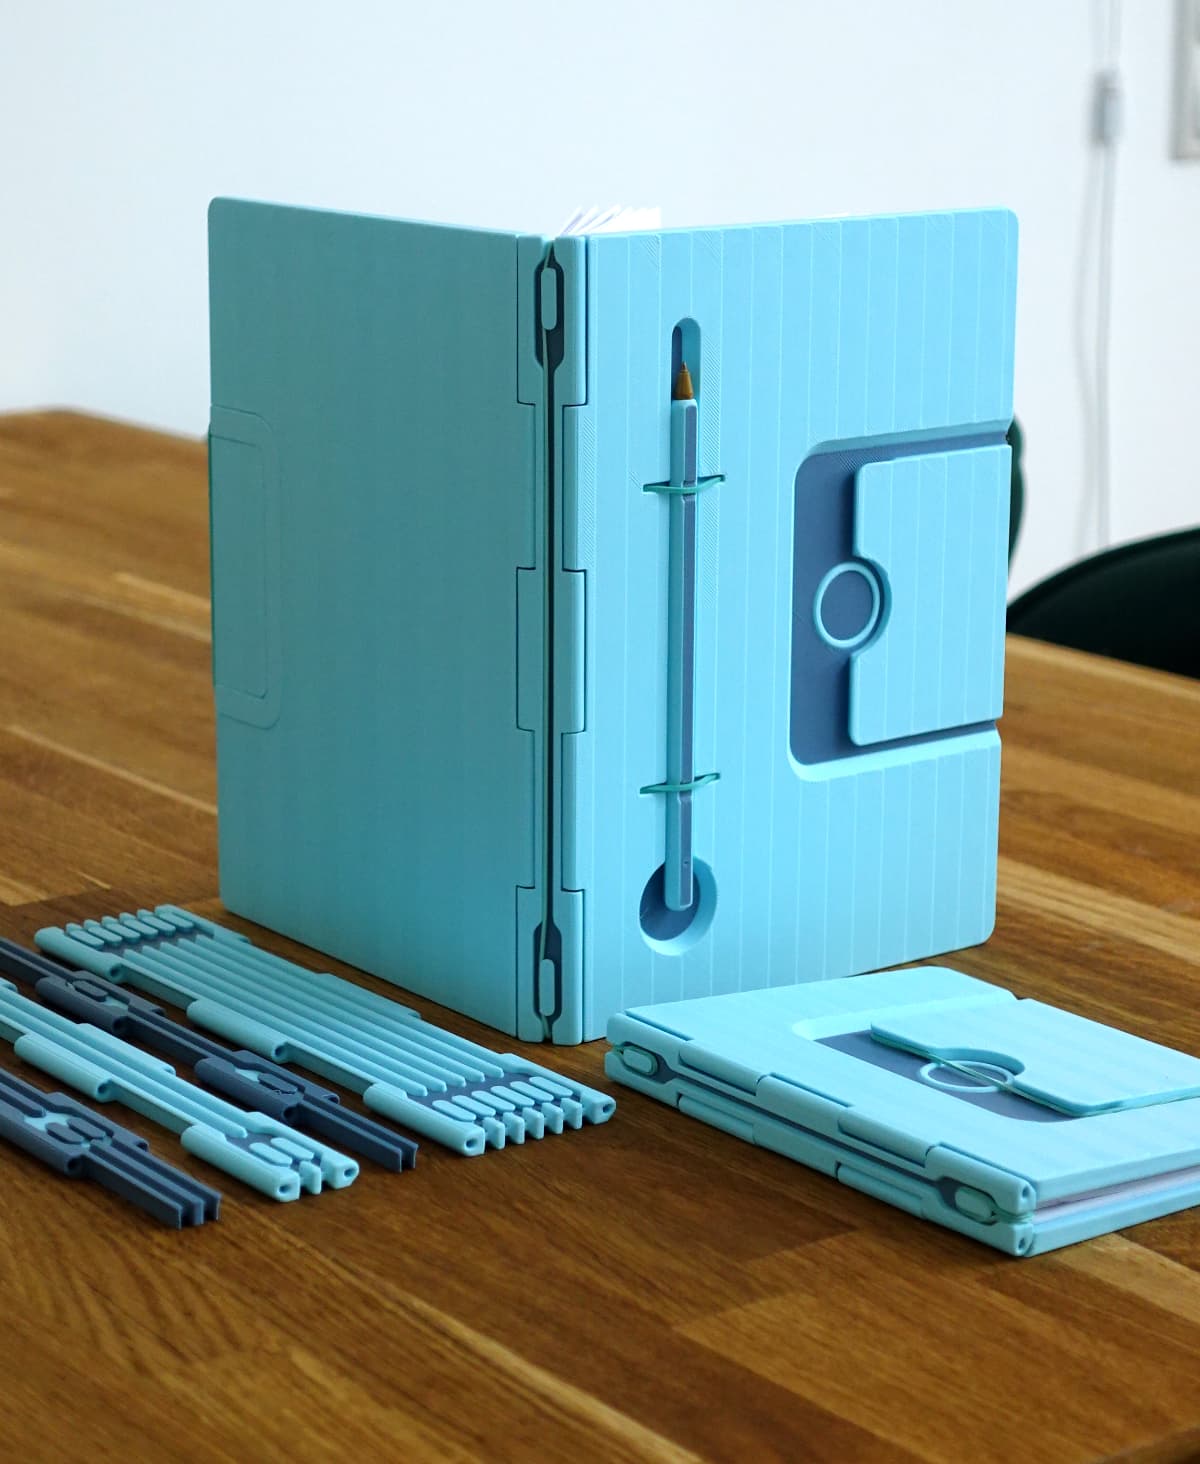
Notebook with pencil case
An elegant, robust and reusable notebook with a pen compartment. Once you run out of blank pages you can just switch the paper out and keep the used ones stored with another rubber band.
Single and multi-color printing models are included as STL and 3MF! They work with all current and usual multi color setups. depending on your paper weight up to about 20 papers do fine – that will then be 80 pages. The pen compartment is 10 mm in diameter, but it fits larger pens, too. Since the covers hold the pen in place, you can even use ones with a clip!
Versions included
- For DIN A4 Paper – DIN A5 folded in Size
- For US Letter sized paper
What you need
- The printed parts
- Two rubber bands – regular household ones
- Regular copy paper
Instructions (Go along with the images)
- Choose your version
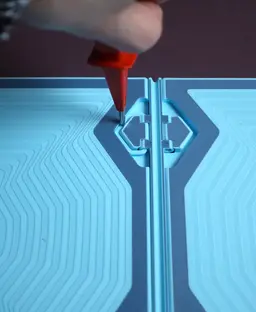
- Choose your clip: The clip should fit into the cover with a little friction. Go for the clip_default first. If it is too tight use clip_more_clearance. If it is too loose use clip_bigger.
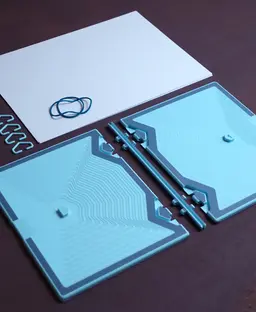
- Print two of the covers, the back and four clips
- Fold the paper in half (Tip: by folding them one by one the result will be slower but more precise in alignment).
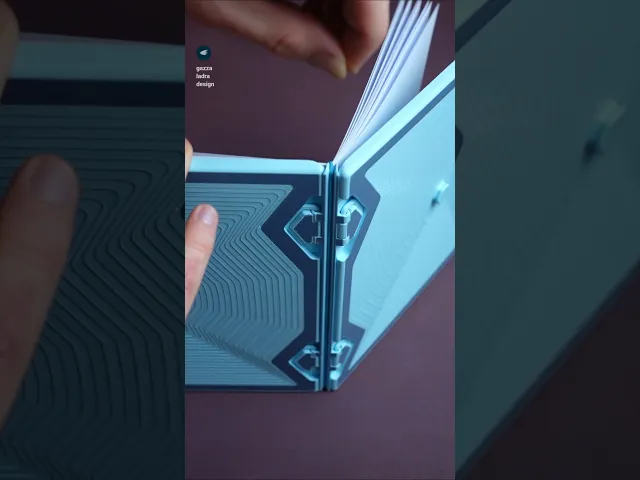
- Assembly the notebook by inserting the clips and pushing them into the cut outs according to the images provided.
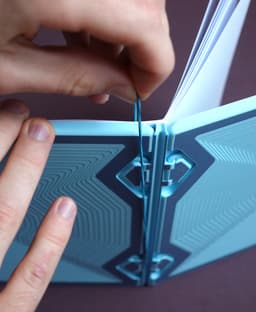
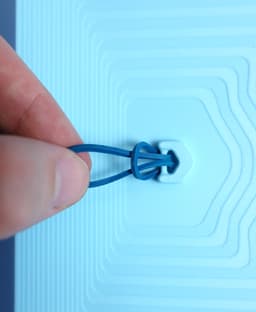
- Bind the pages with the rubber band.
- Insert the other rubber at the center of the back. A screwdriver or other not-too-pointy object helps here.
- Enjoy!
This is the V2, the V1 is also included as a zip
Print settings Required build volume: DINA4 220 x 220 mm, US Letter 230 x 230 mm Material usage: 220g
Material: PLA Print direction: stls are rotated correctly, check images Support: none Nozzle size: 0,4 mm Line width: 0,4 mm Layer height 0,2 mm Infill: 15% Build plate adhesion type: none Please don’t use any filament with particles (like wood filament) for the clips since those are usually more brittle.


Notebook with pencil case

Stool is the box

Modular Shelf
Infinite Notebook
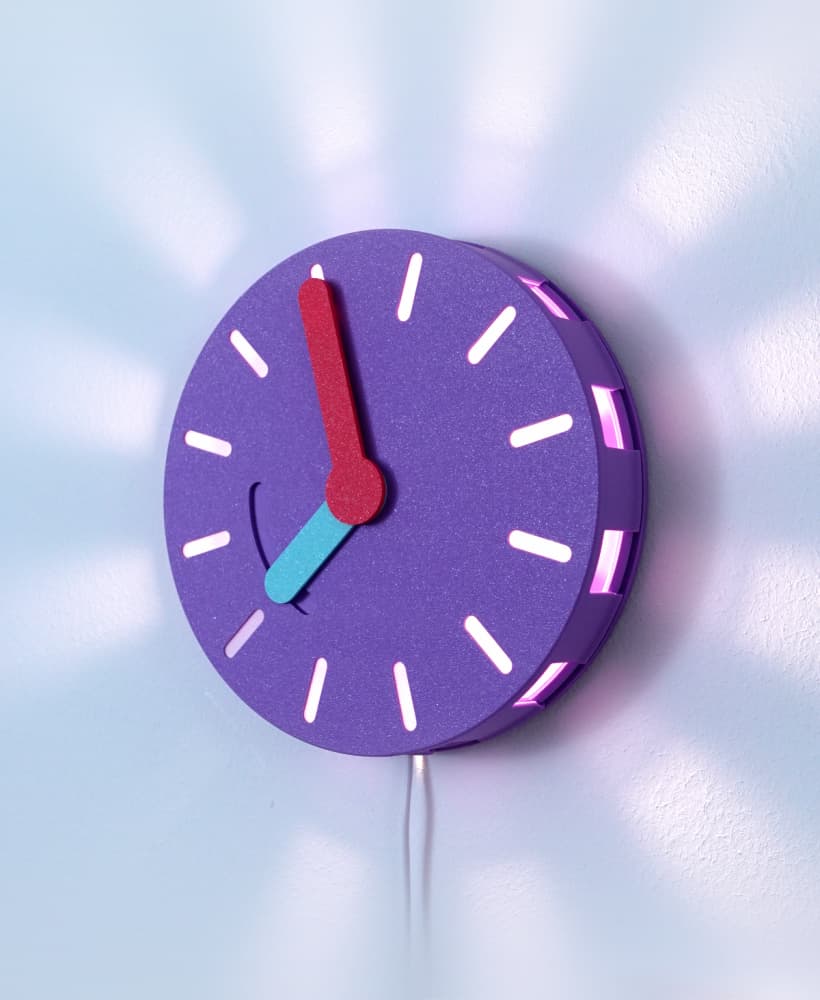
Clock(lamp)
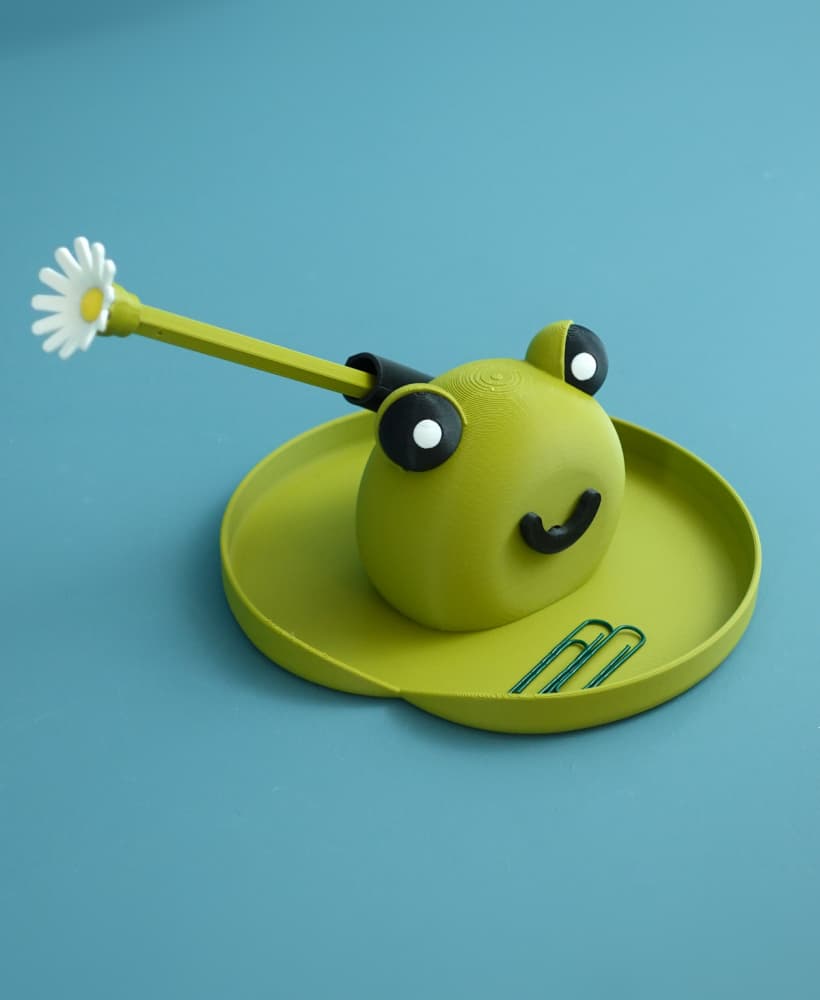
Frank the frog pen holder
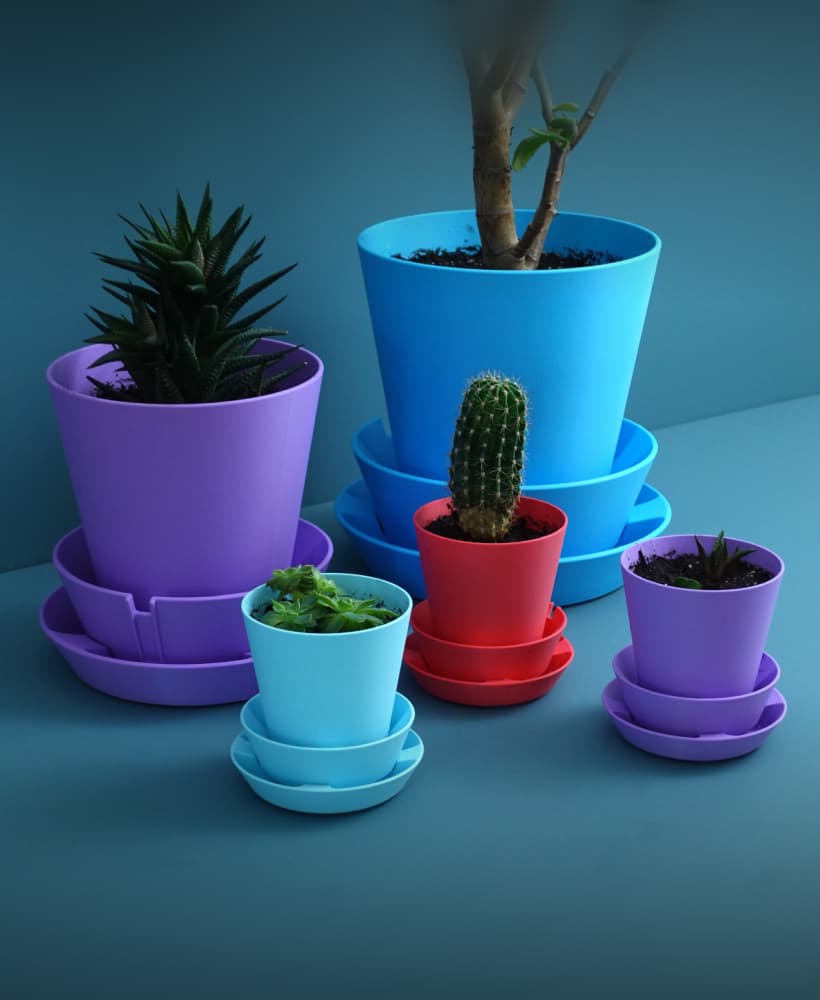
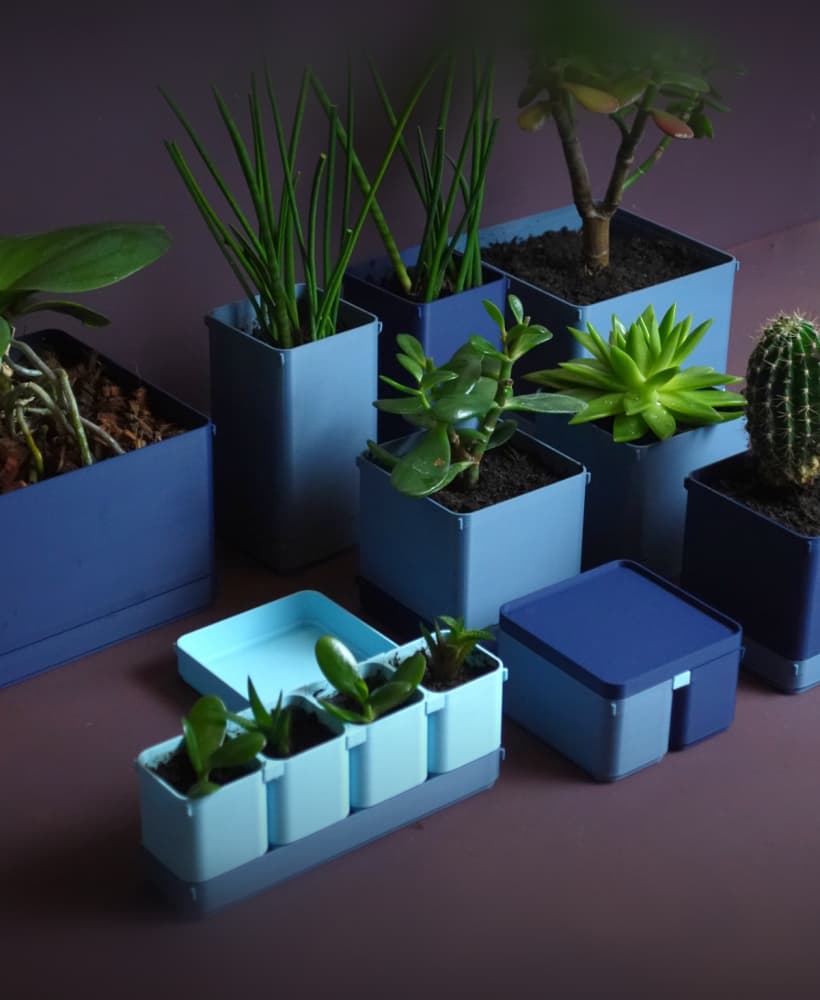
Multifunctional Planter “BRBP”
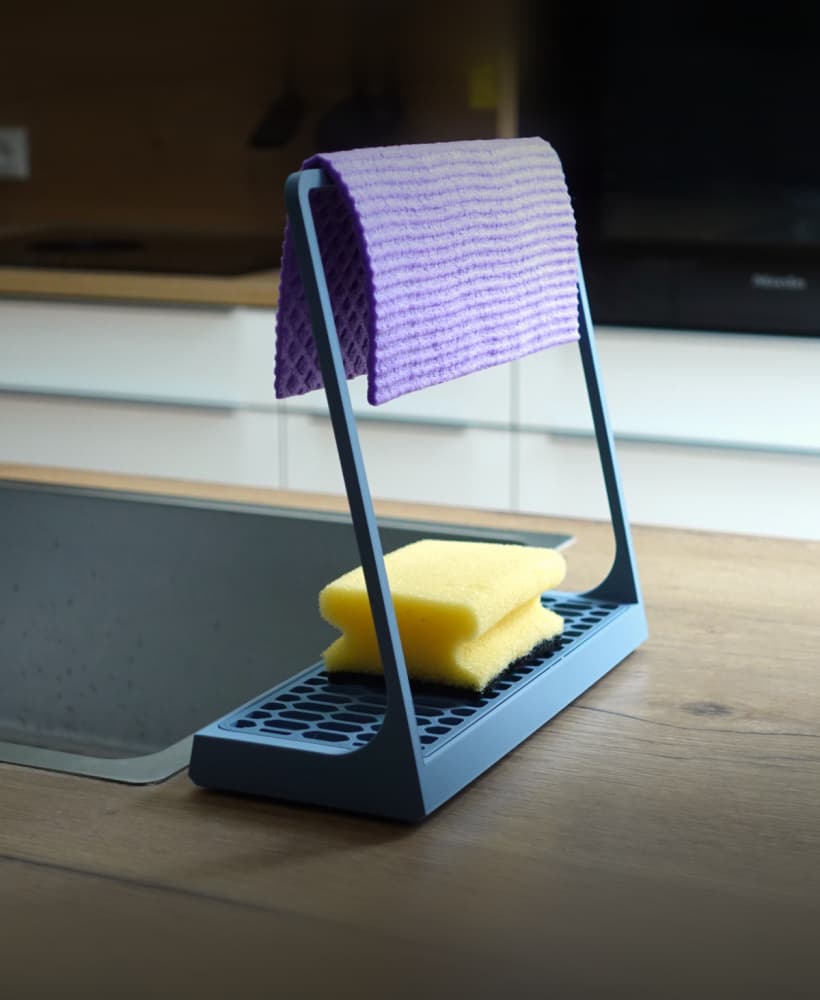
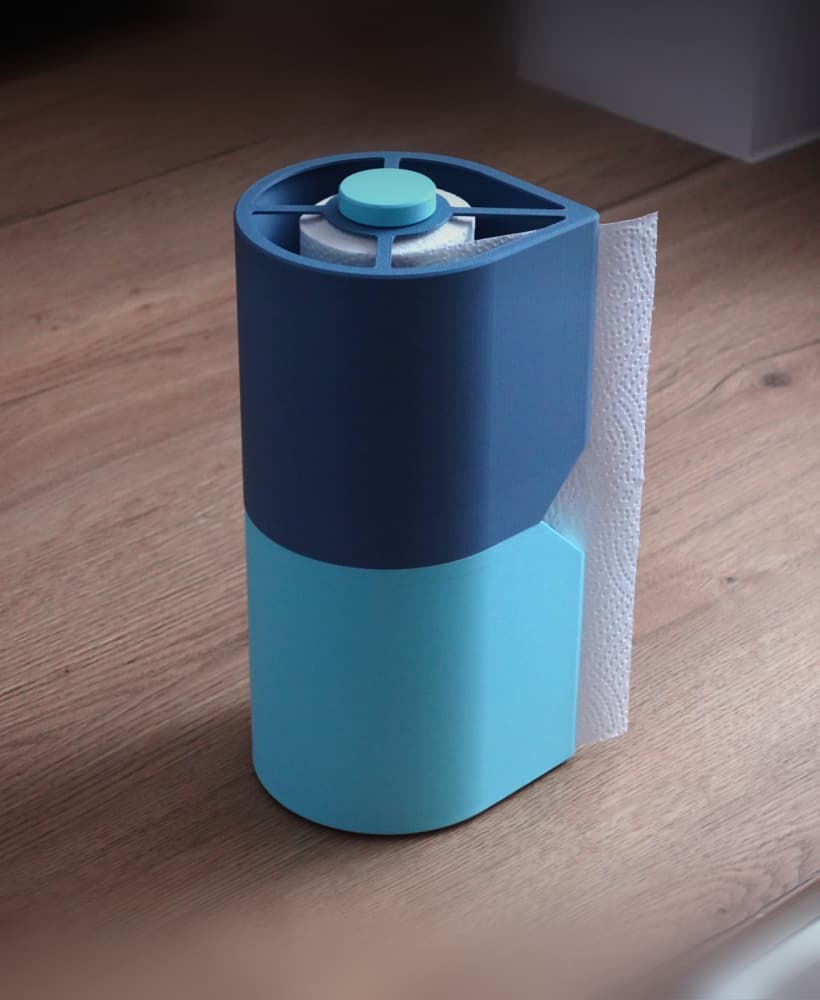
Sponge holder
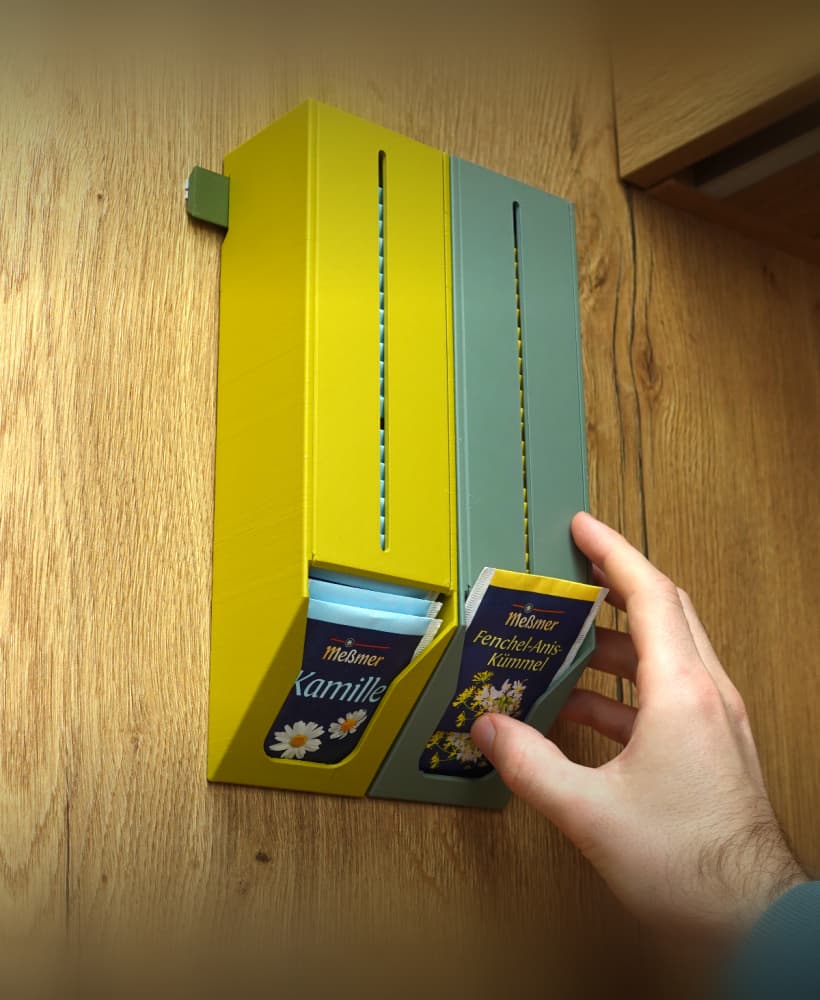
Tea bag dispenser
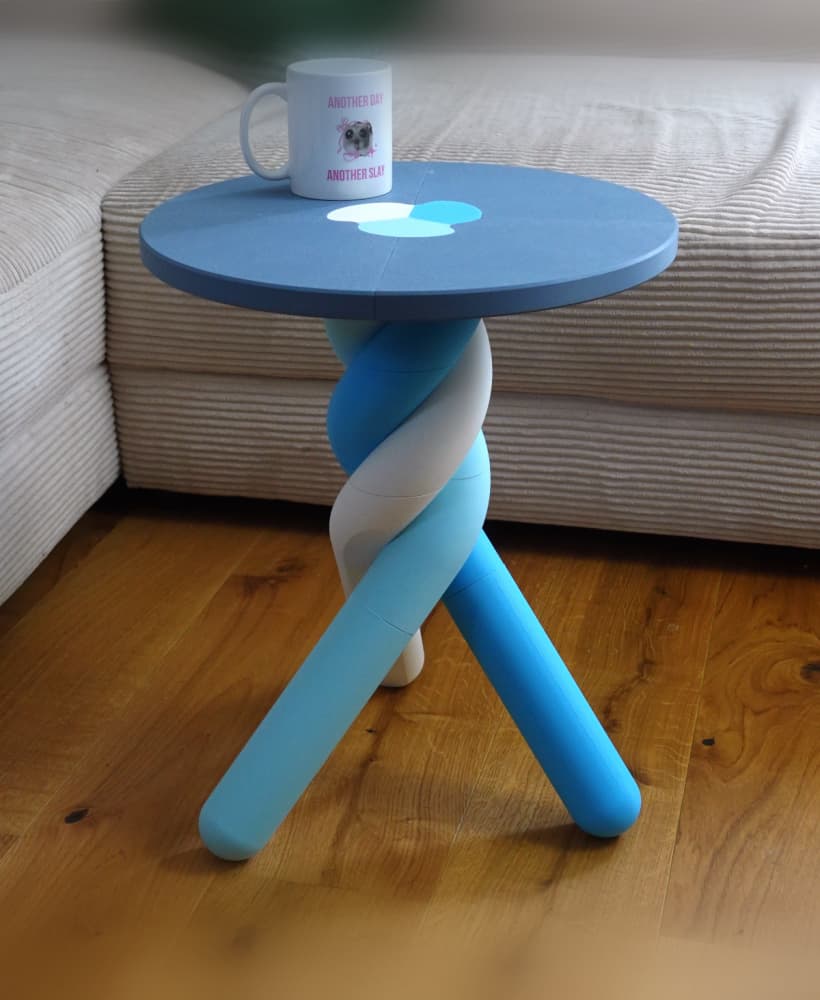
Marshmallow table
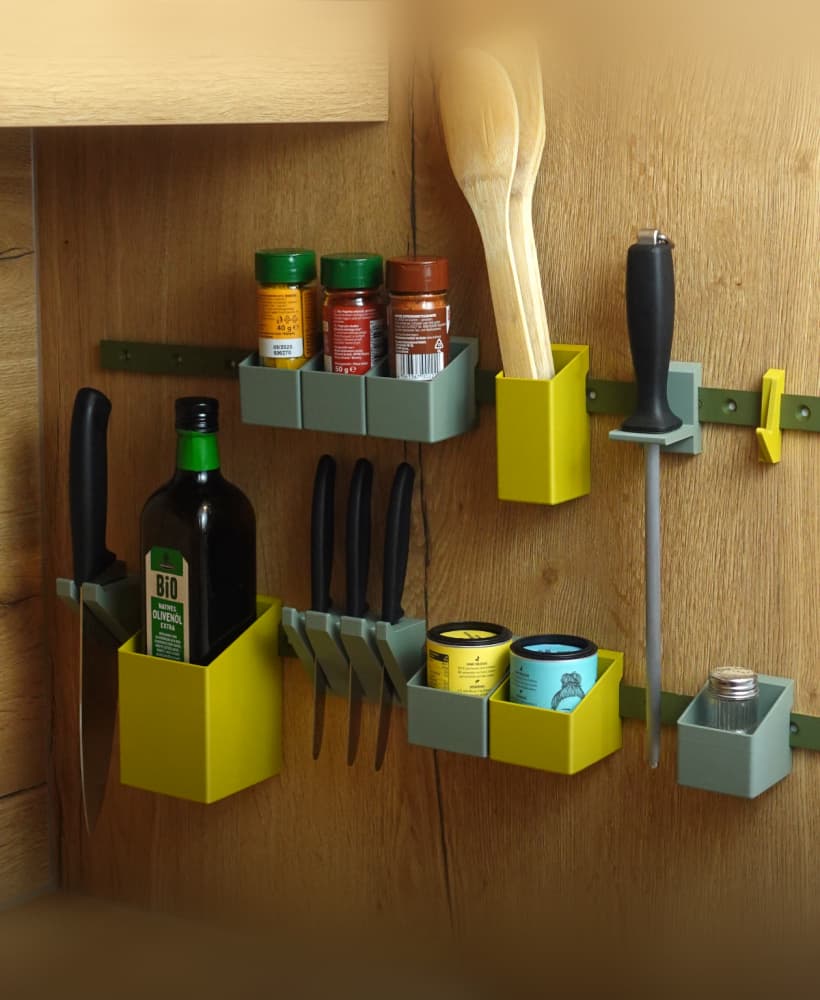
Raily – modular wall organization

Mushroom lamp “Amanita Muscaria”
Glasses case
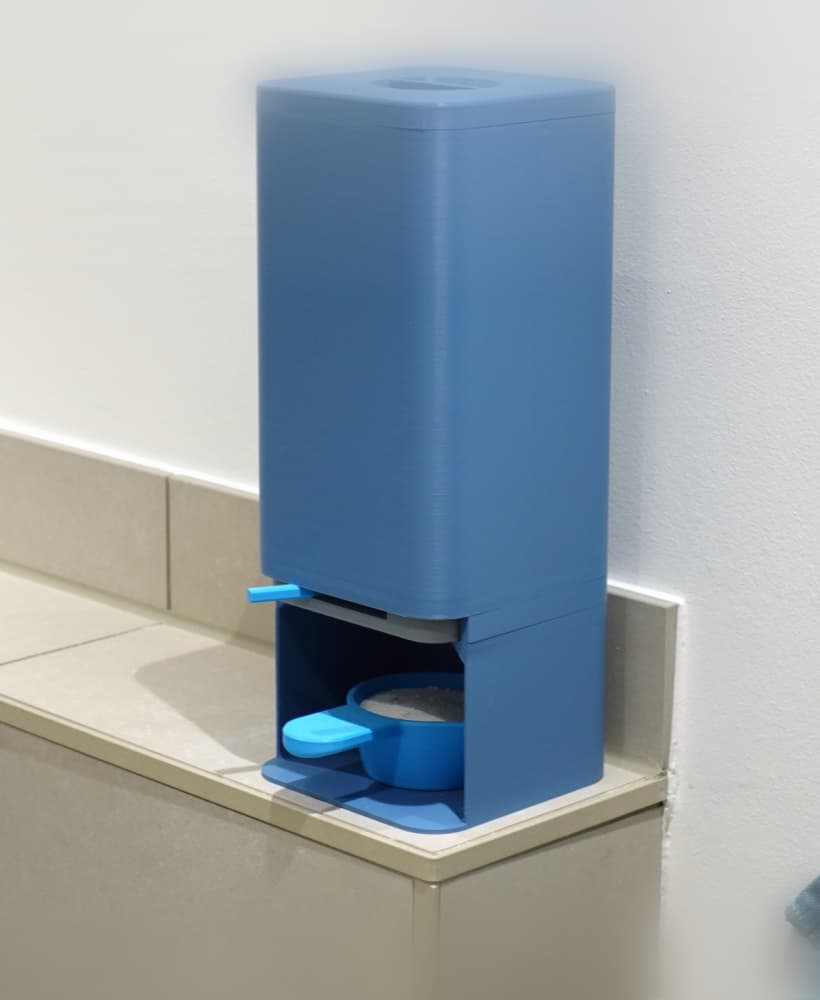
Laundry detergent dispenser
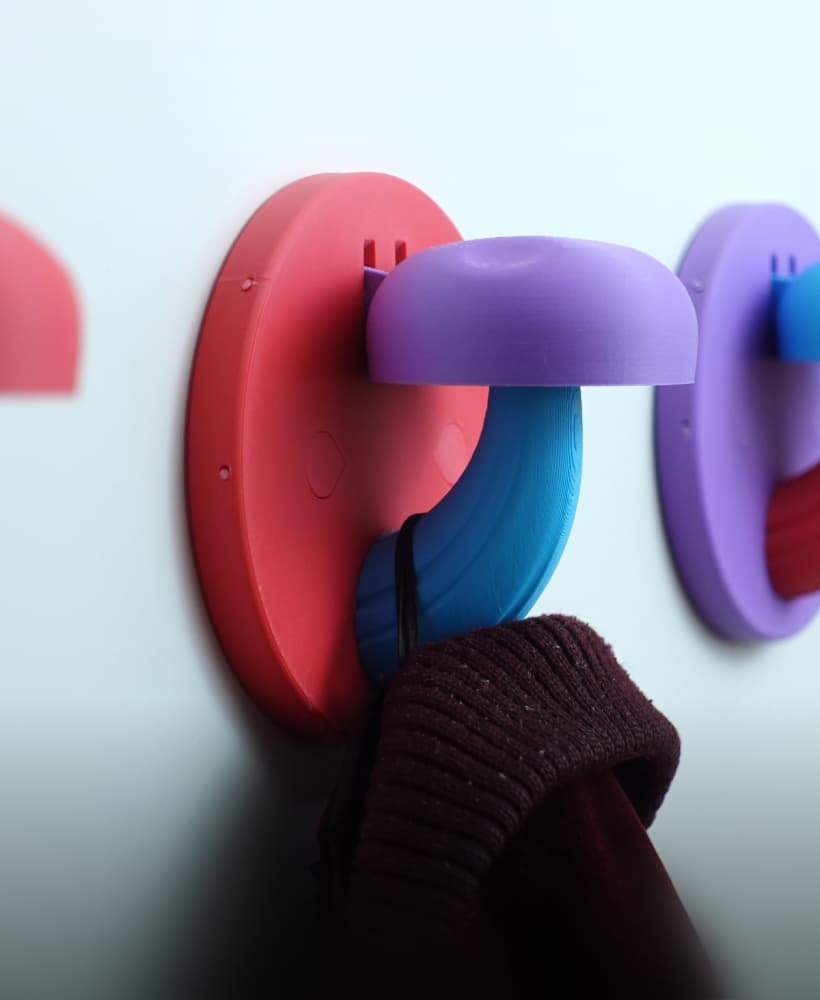
Mushroom coat hook / hanger
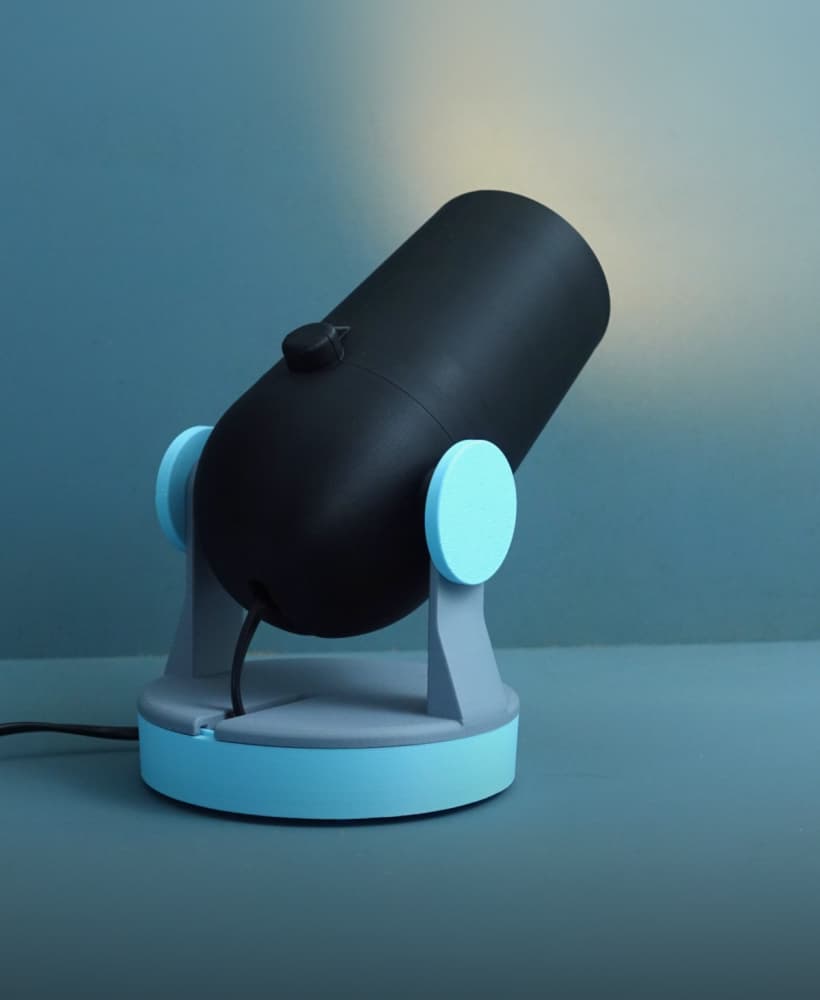
Cannon spotlight lamp
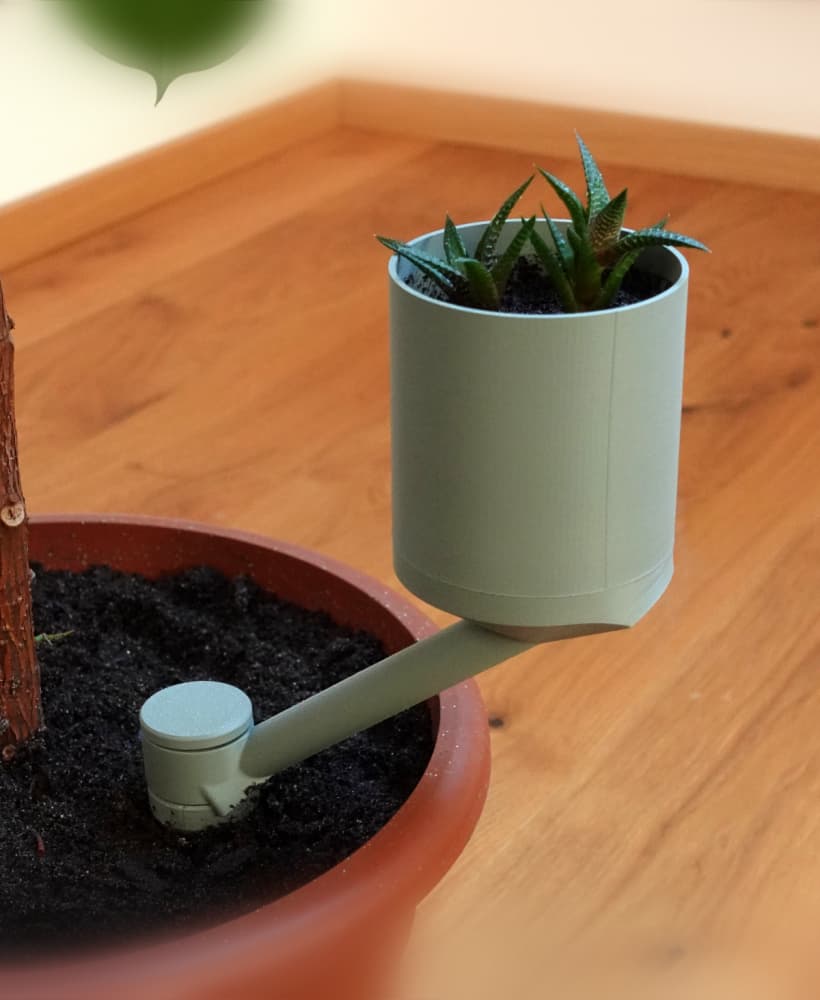
Planter “Extra”
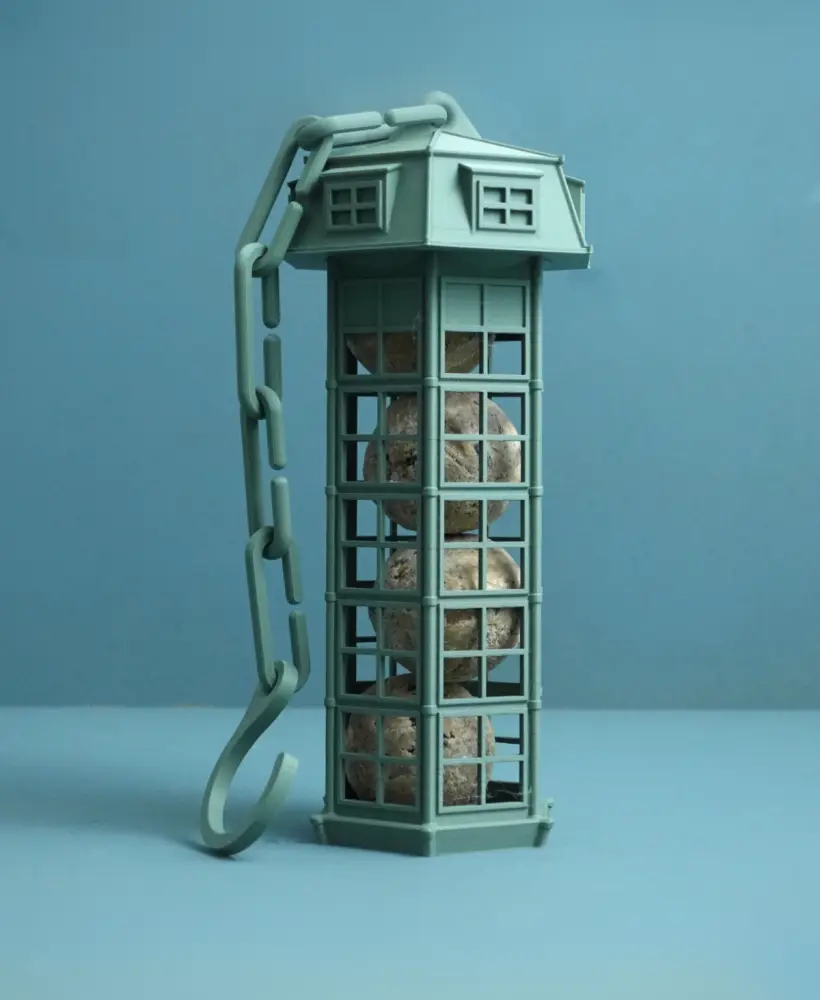
Bird feeder | suet ball holder
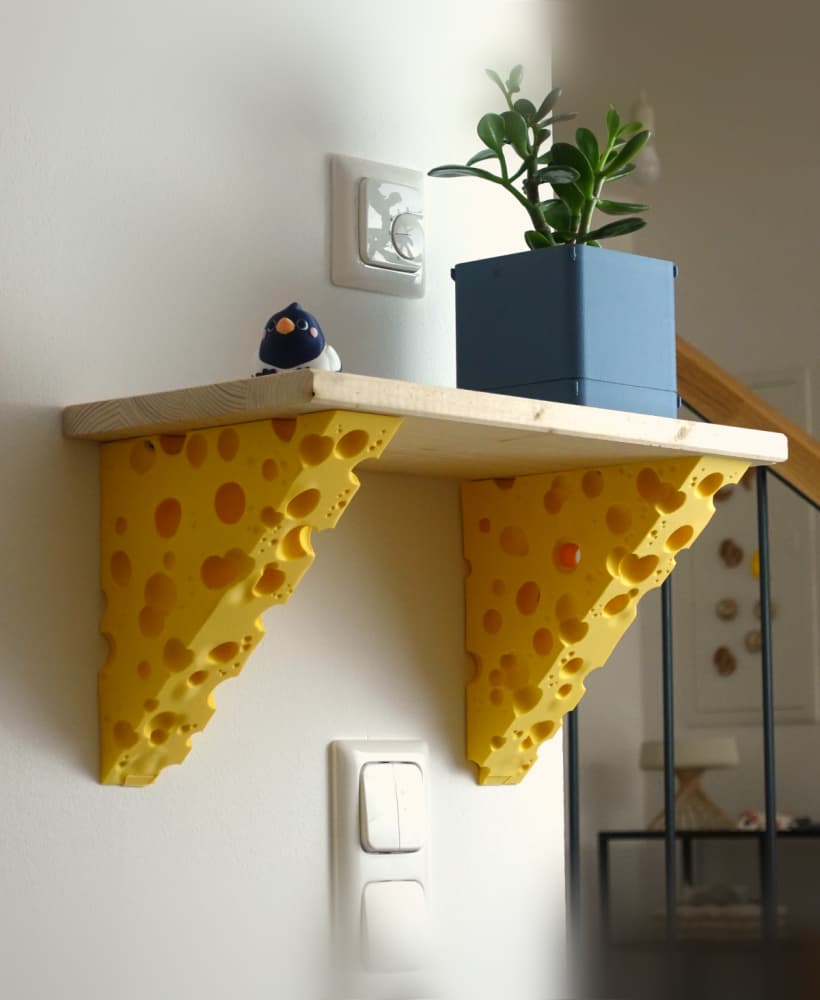
Cheese shelf bracket
Paper towel holder
WOW! Where can I find that top infill? It's gorgeous!
Force Tab Top surface pattern Octagram spiral
How did you do the different texture on the front of the note book? and the different colors look great what did you use?
Hi, how did you get this pattern , I think my daughter would like this one ?
Force Tab Top surface pattern Octagram spiral
Omg. I love the ghost you added. How did you do that??
Looking good!
It would be awesome if a variant with a wood grain texture were added to this awesome design!
I have never used a 3d printer, I saw this and really wanted it and so I bought it, my local library has a 3d printer and again I have NO IDEA what to do. Do I somehow type something in, I also don't have a PC, I downloaded this file on my android, can I simply plug in and idk, load it in until it's finished printed?
Yeah 3d printing is a bit more involved than that. In short - here you can download just a model. Printers need instructions called GCODE. To make gcode form the model you need a pc and a "slicer" program. Slicing itself can be tricky, there are lots of settings. But I'd guess if your library has a printer they can help you with slicing and using the printer in general - ask there! Also there are tons of tutorials on youtube explaining everything much better)
What are y'all using as the paper band? Id rather use something more sturdy than a plain rubber band.
A plain rubber band does the job perfectly! Have been using the original notebook for years now and there is no need for something else!
I downloaded the files. Where are the "buttons" for the rubber band? And how is the 2 color design achieved? I tried painting but there aren't defined edges. New to 3D printing, sorry for the perhaps dumb questions.
Which buttons? And they painting is inside of the 3MF files. For simple surface painting in your slicer you can use the fill tool with low edge detection. Or use the triangle paint option to select the faces.