

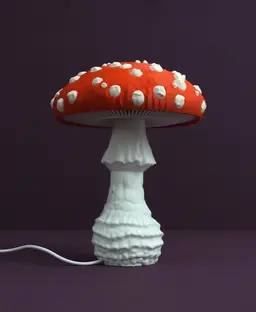


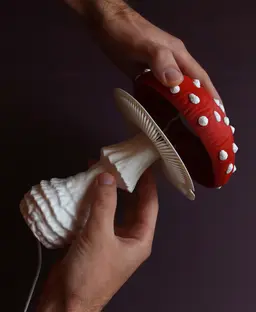

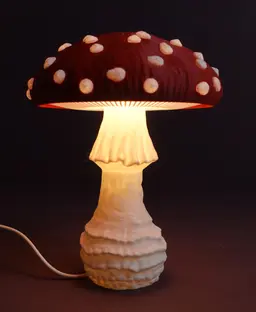


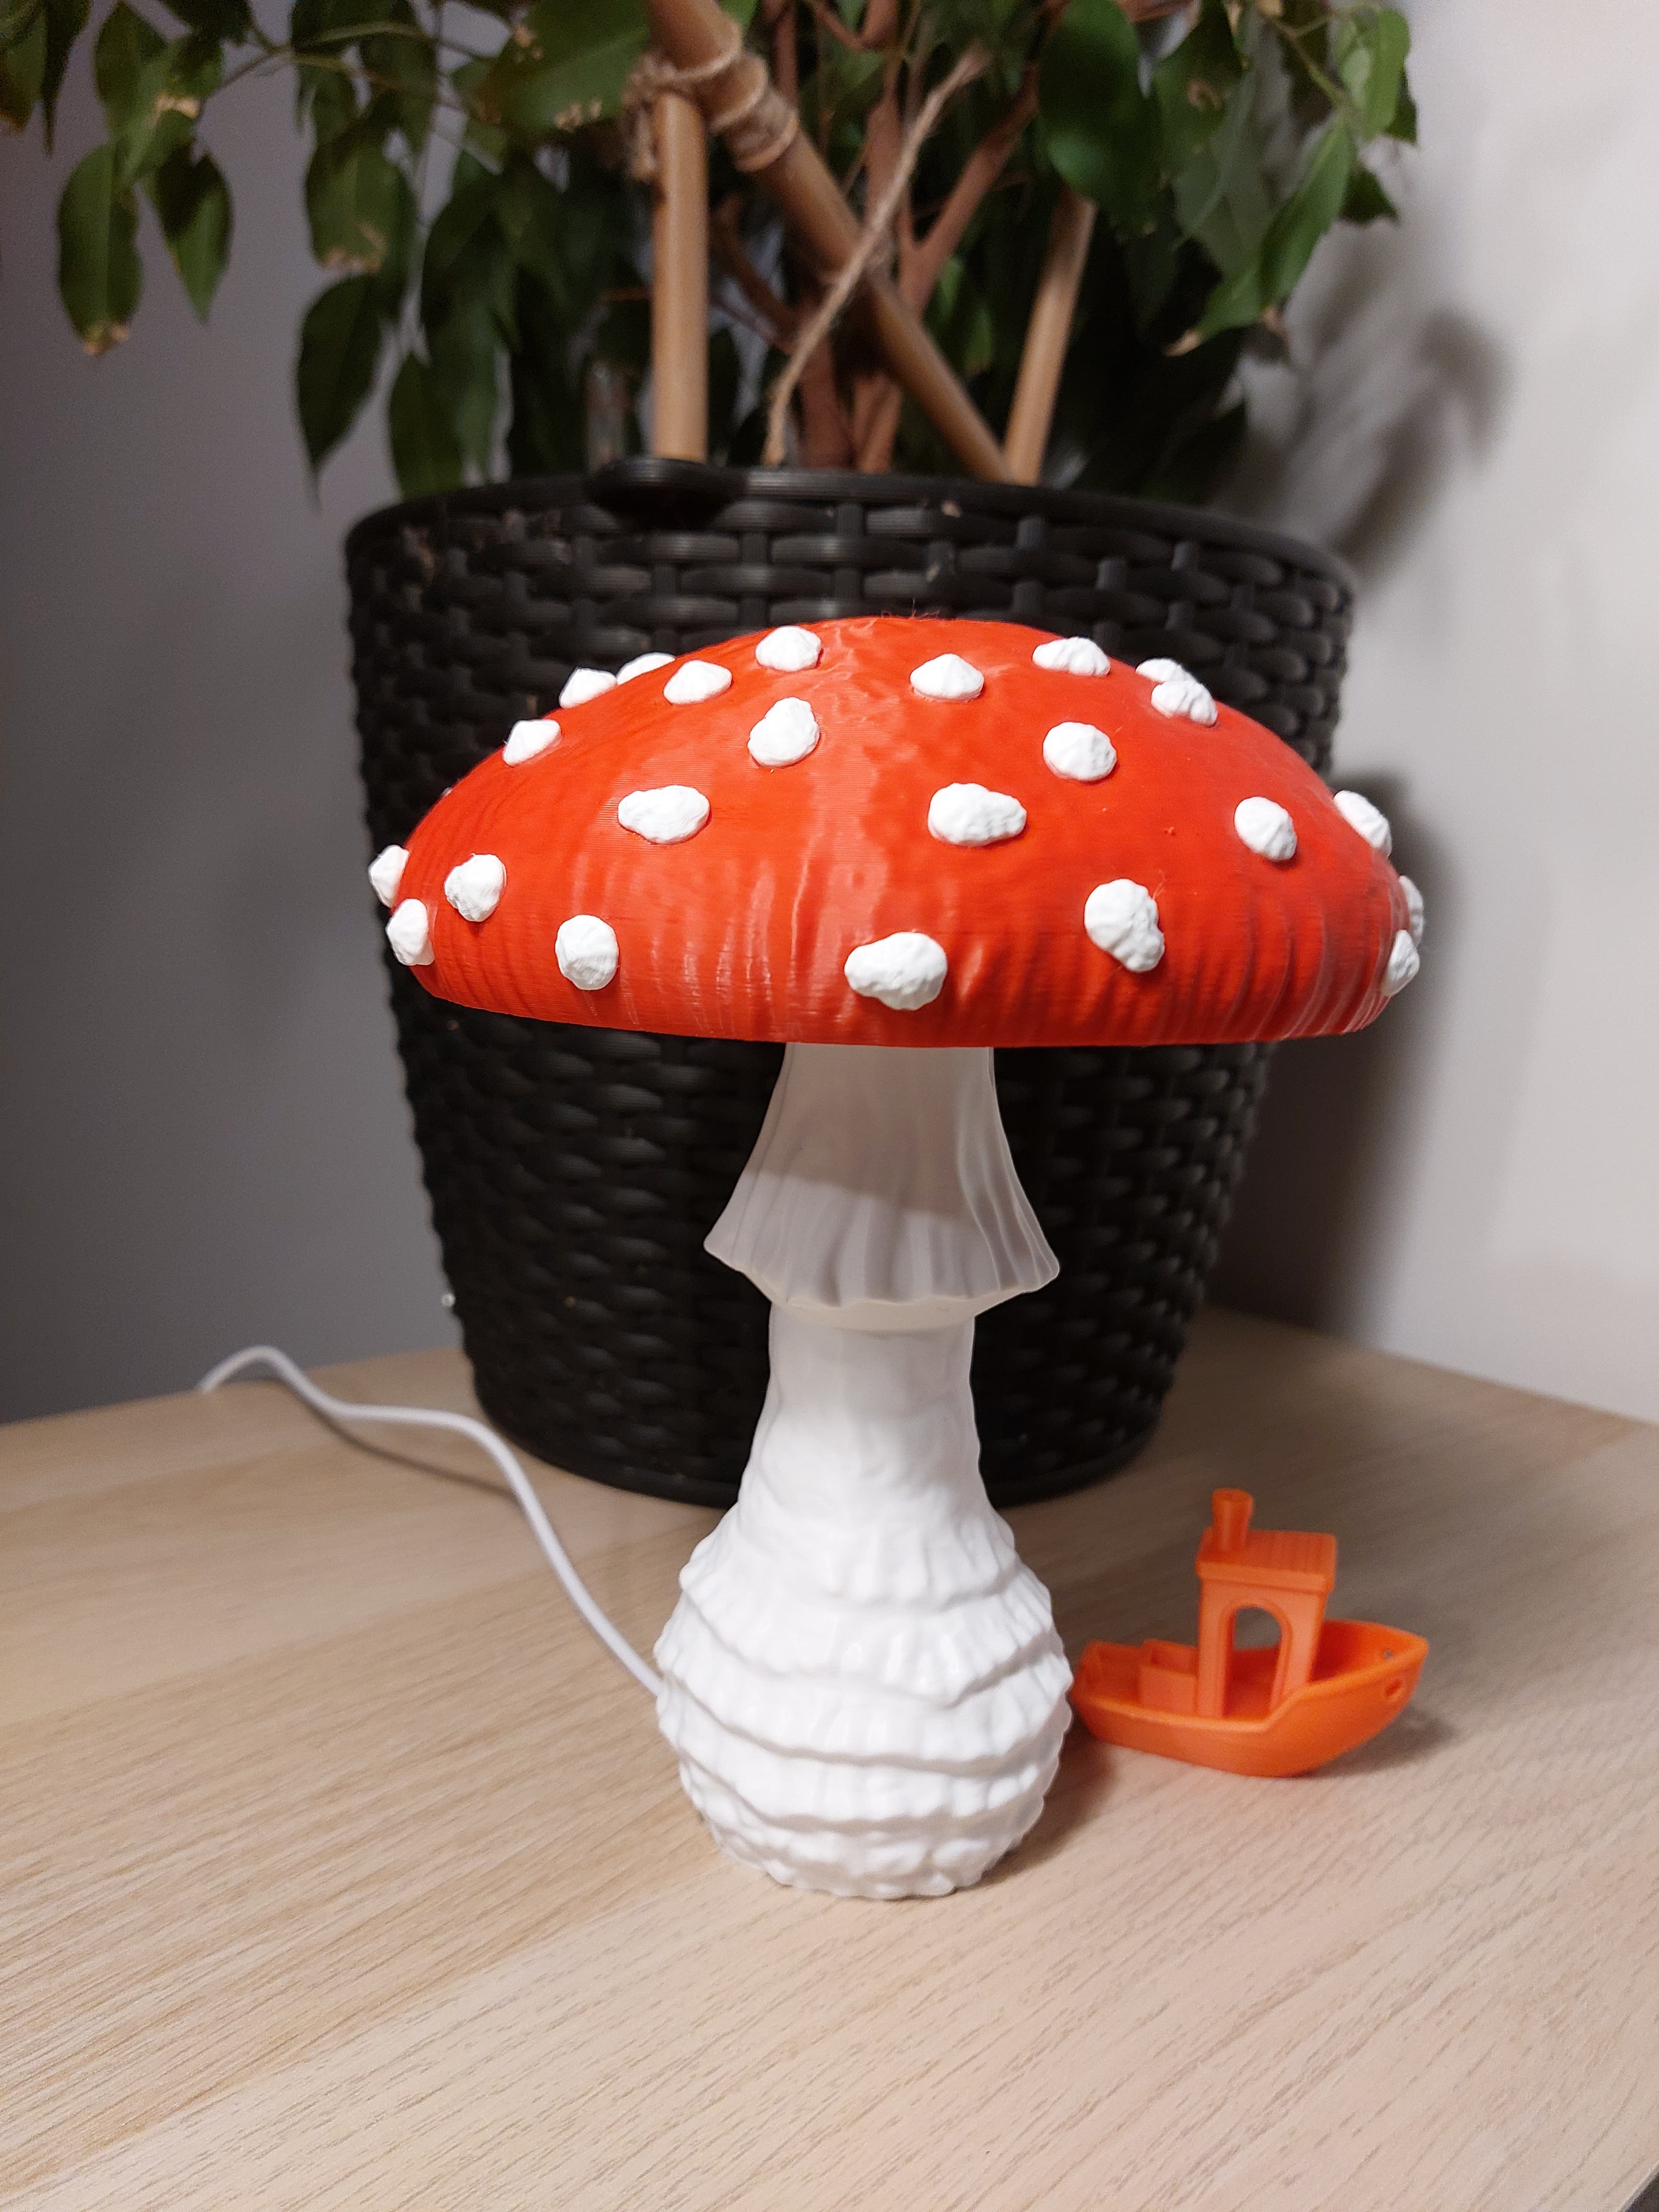
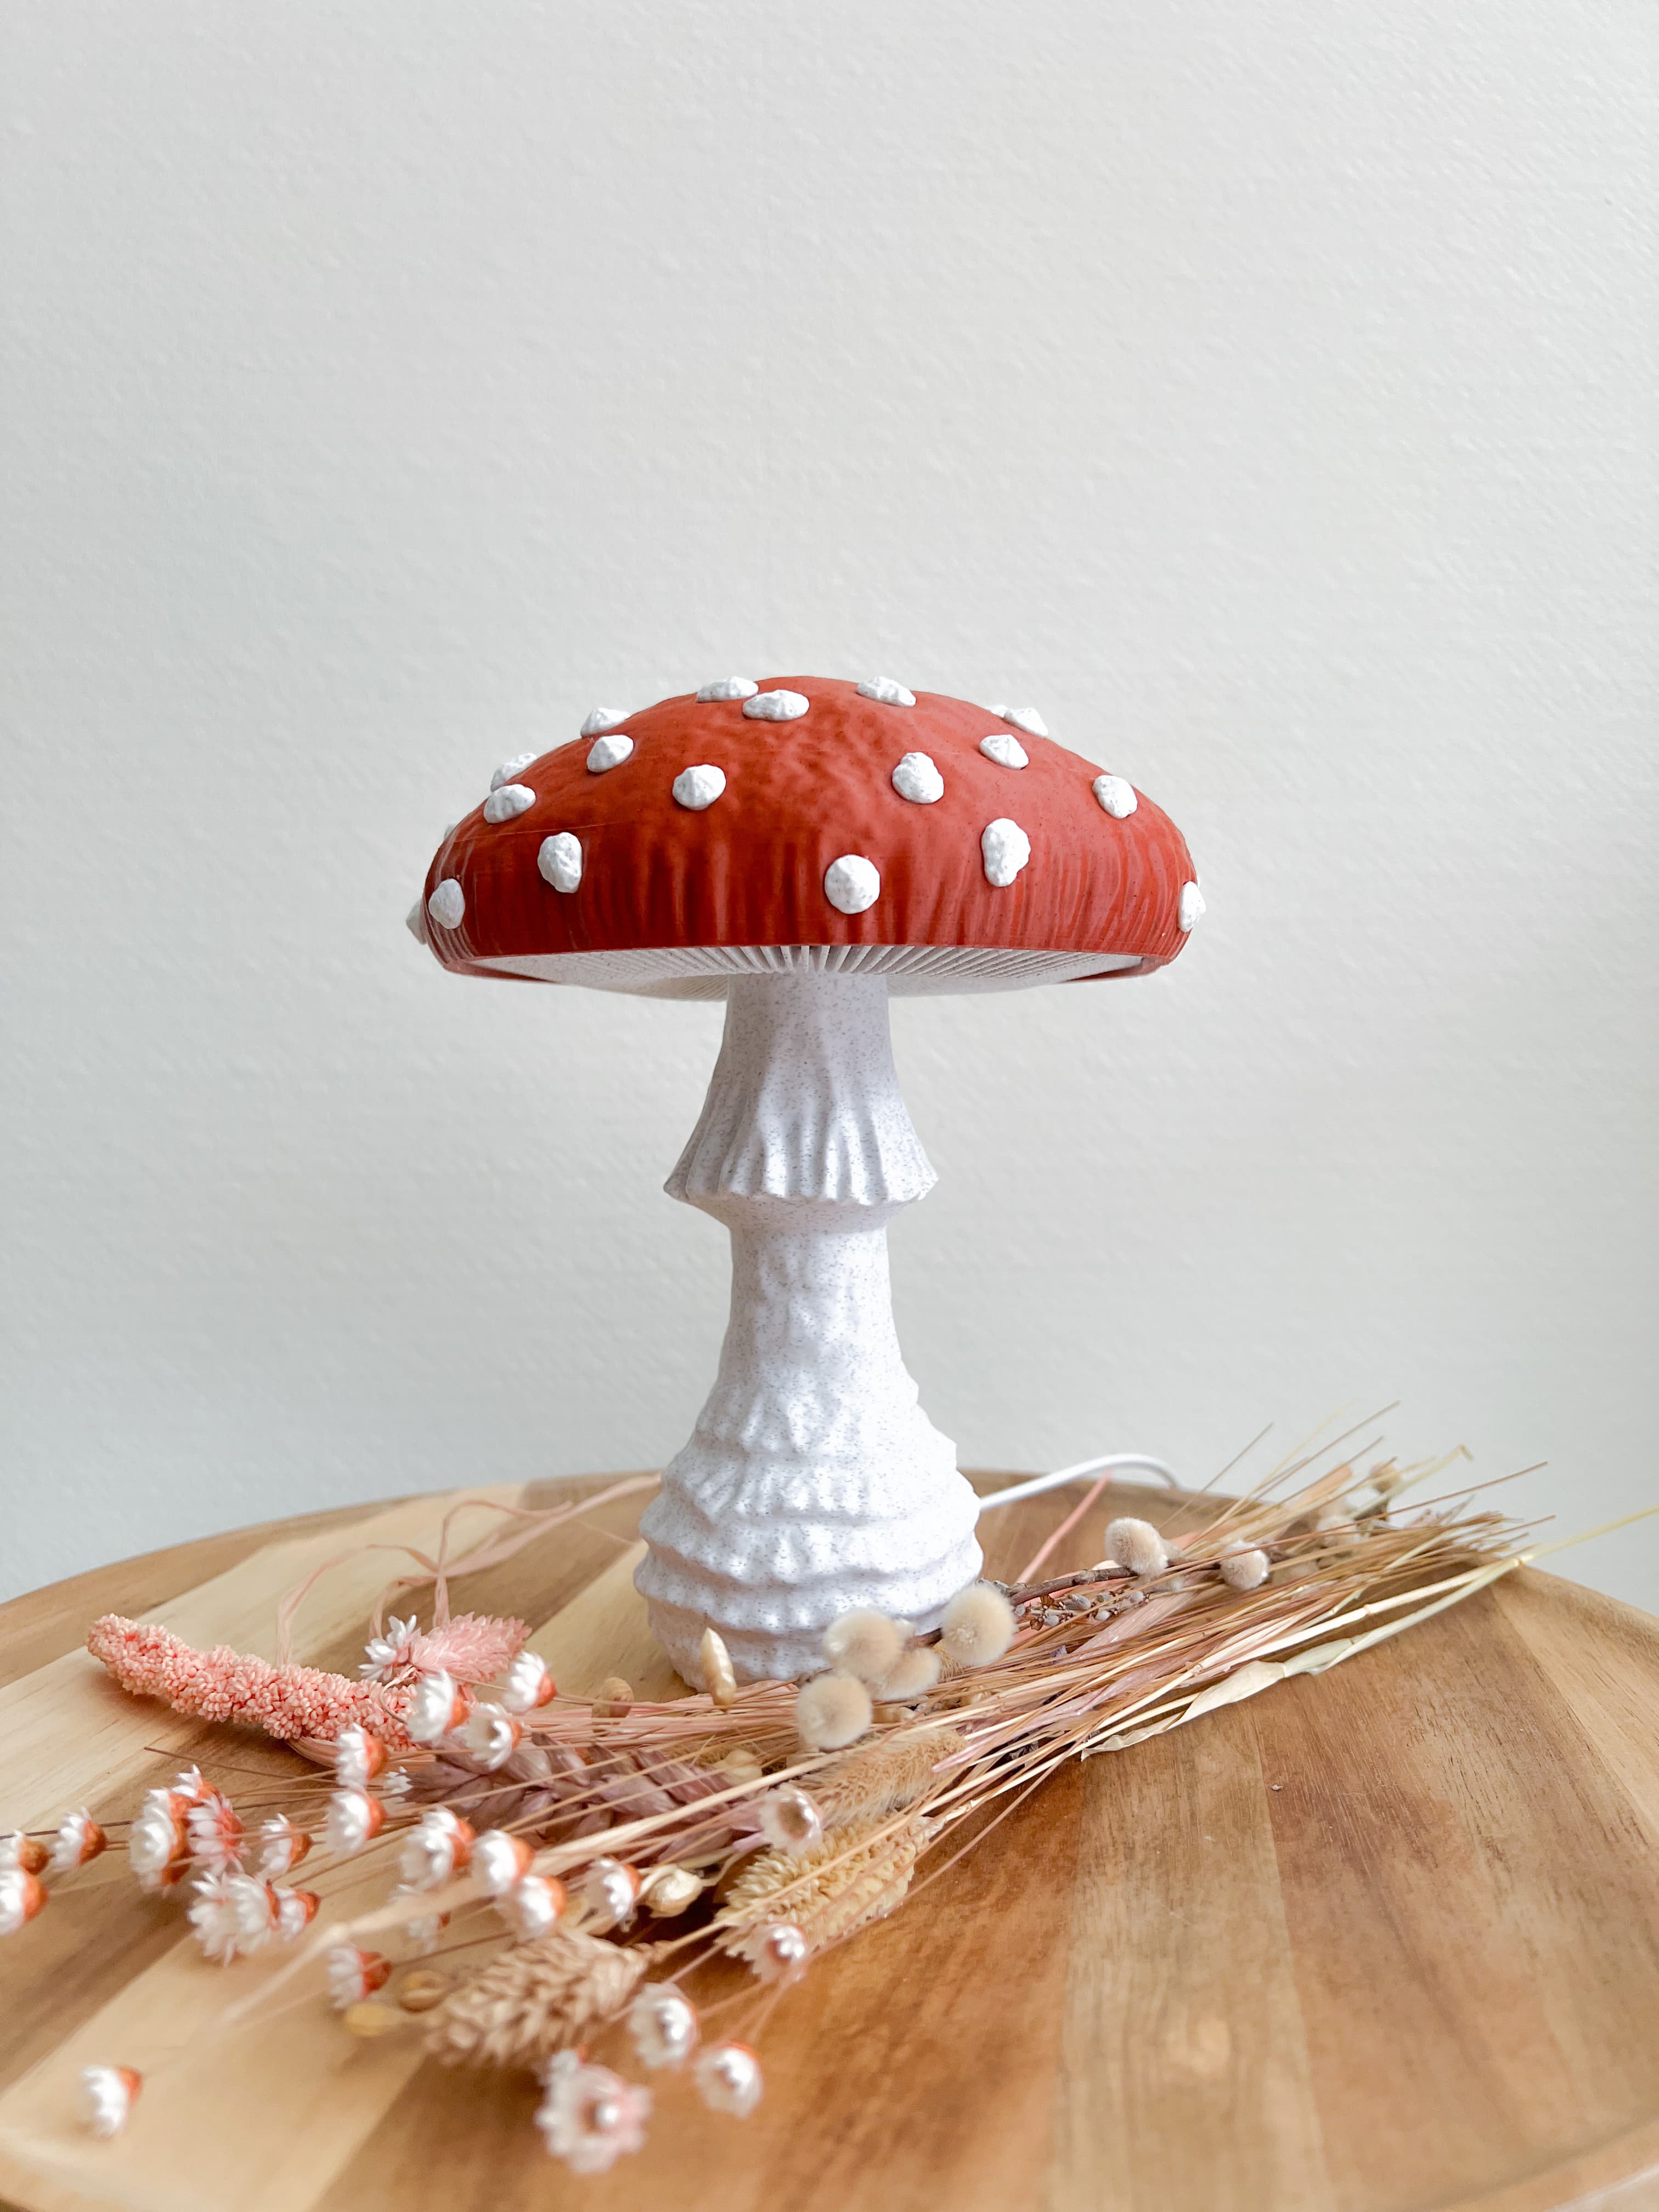
Mushroom lamp “Amanita Muscaria”
One of the world’s most famous mushrooms embodied in a naturalistic lamp design.
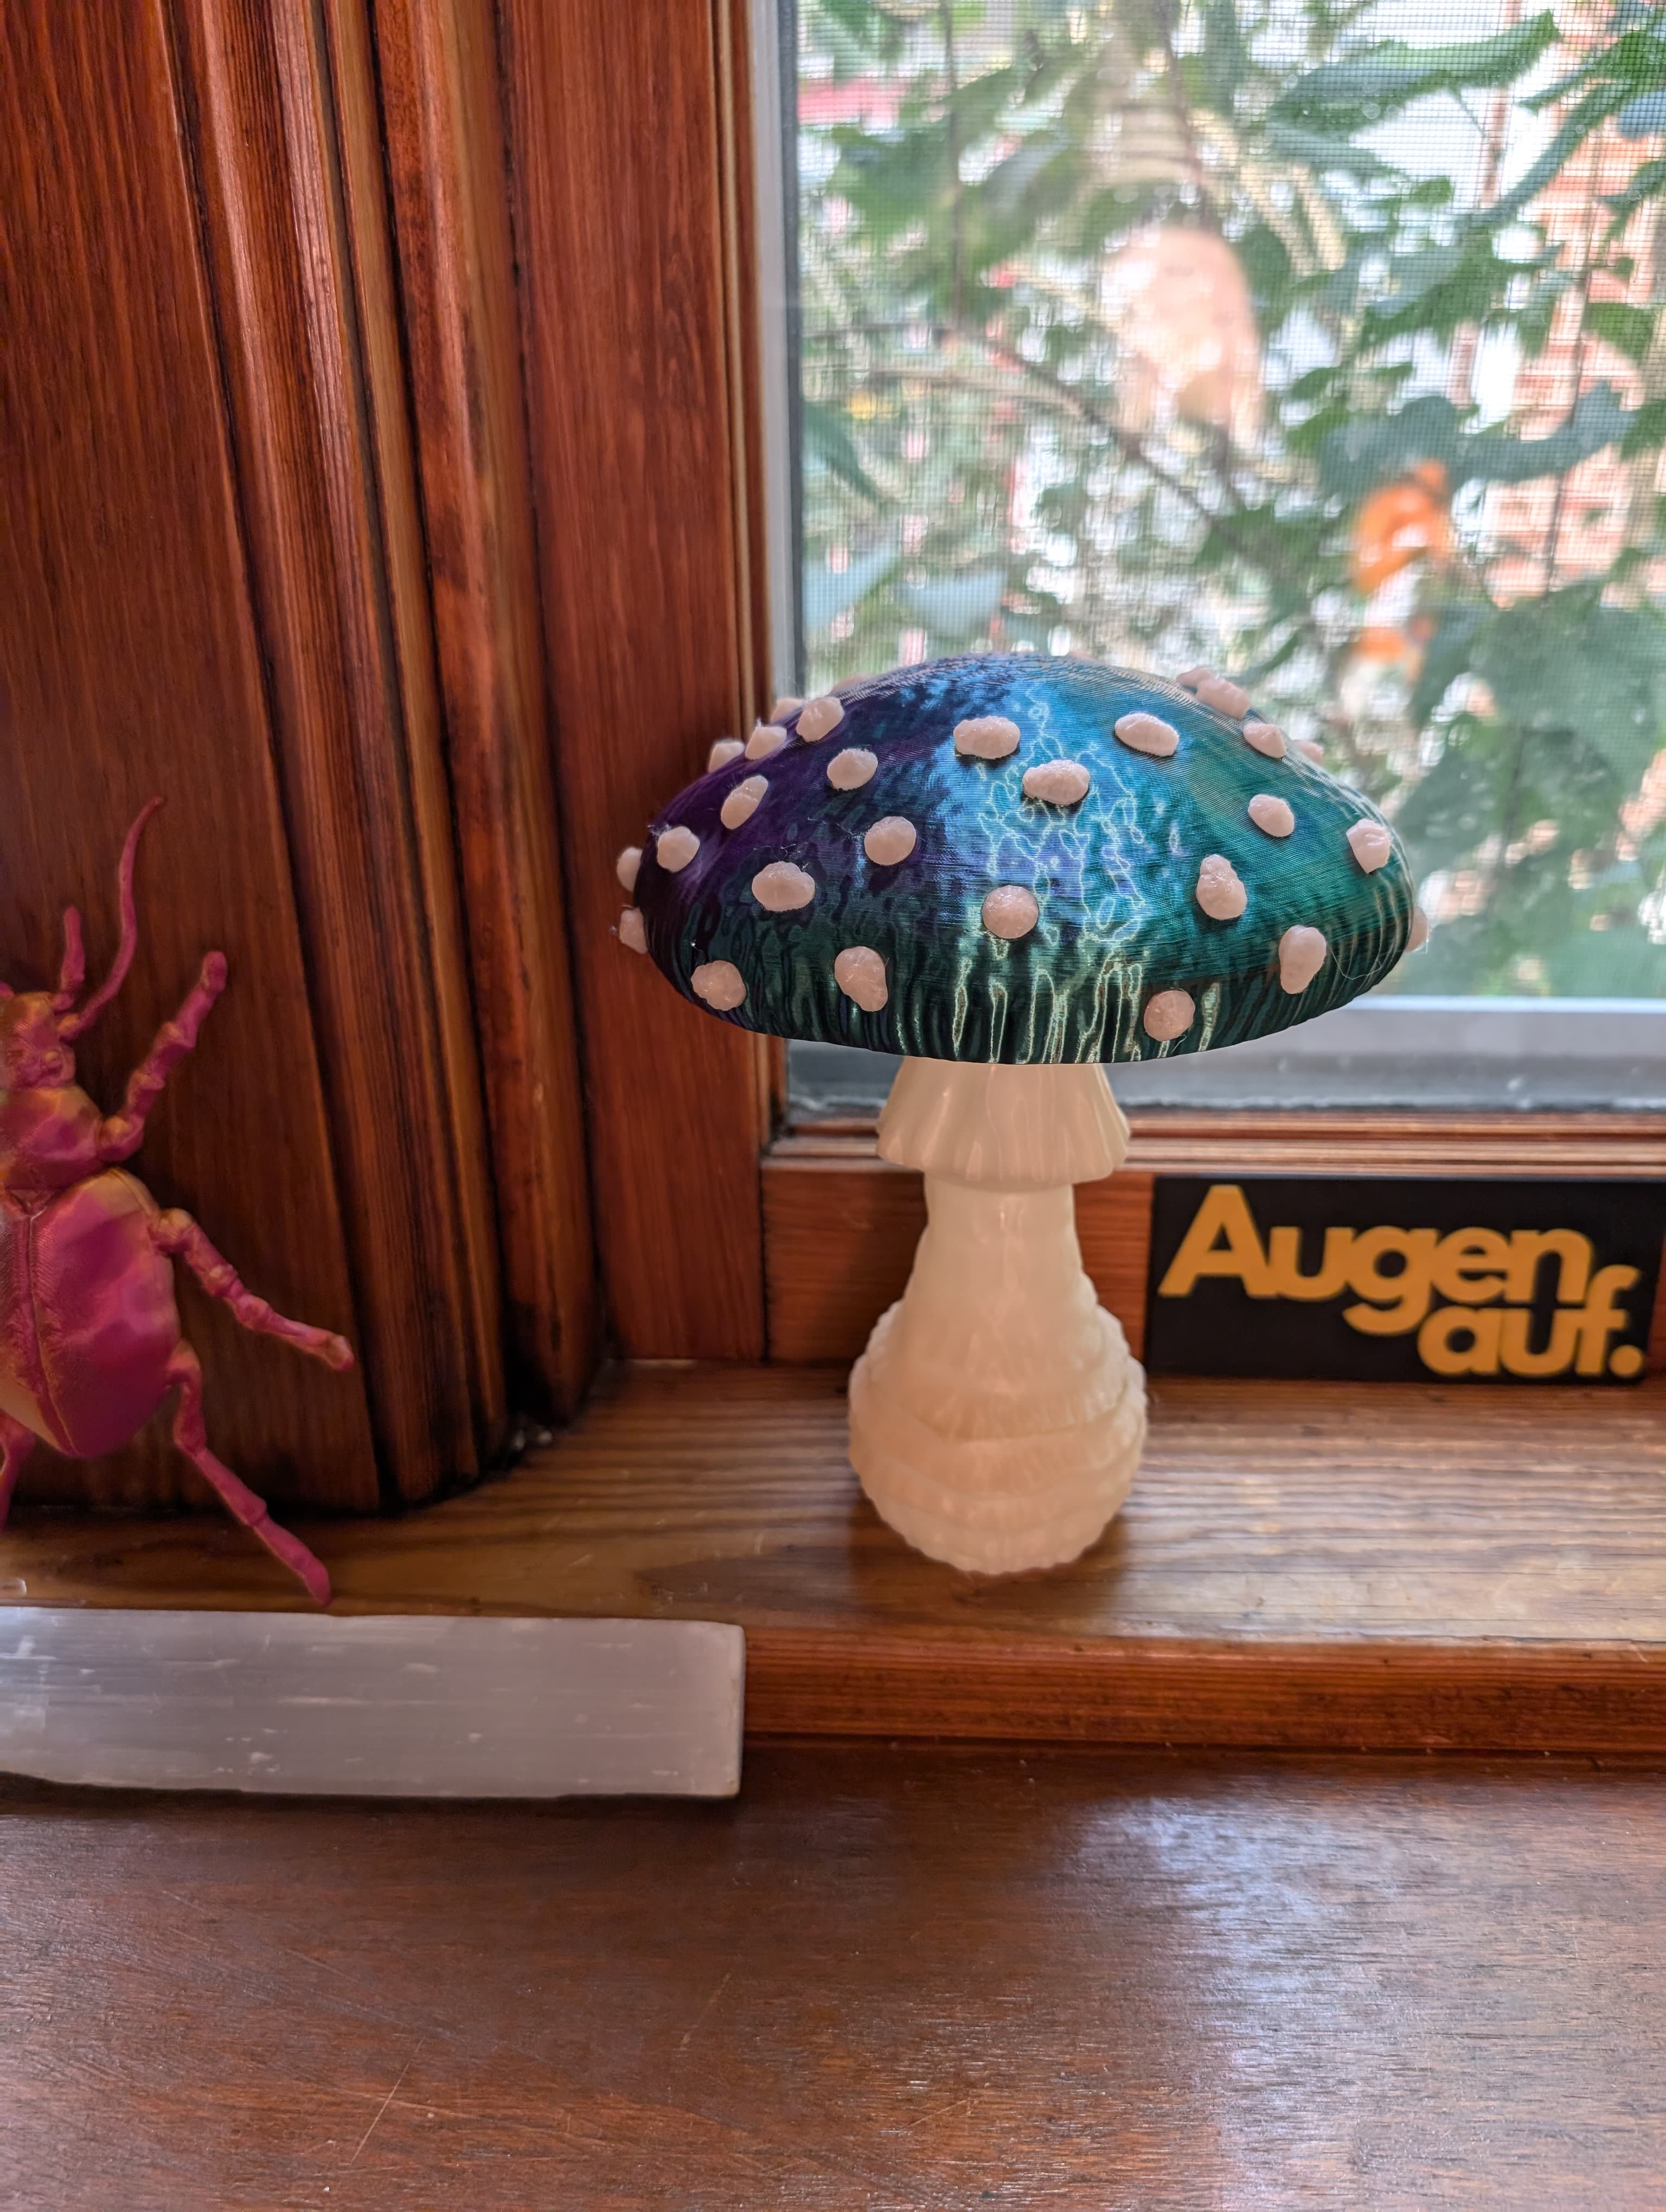
New: All versions come with single-color and multi-color files! They are included as STL and 3MF and work with all current and usual multi color setups.
Versions Please check the images for cross sections with measurements.
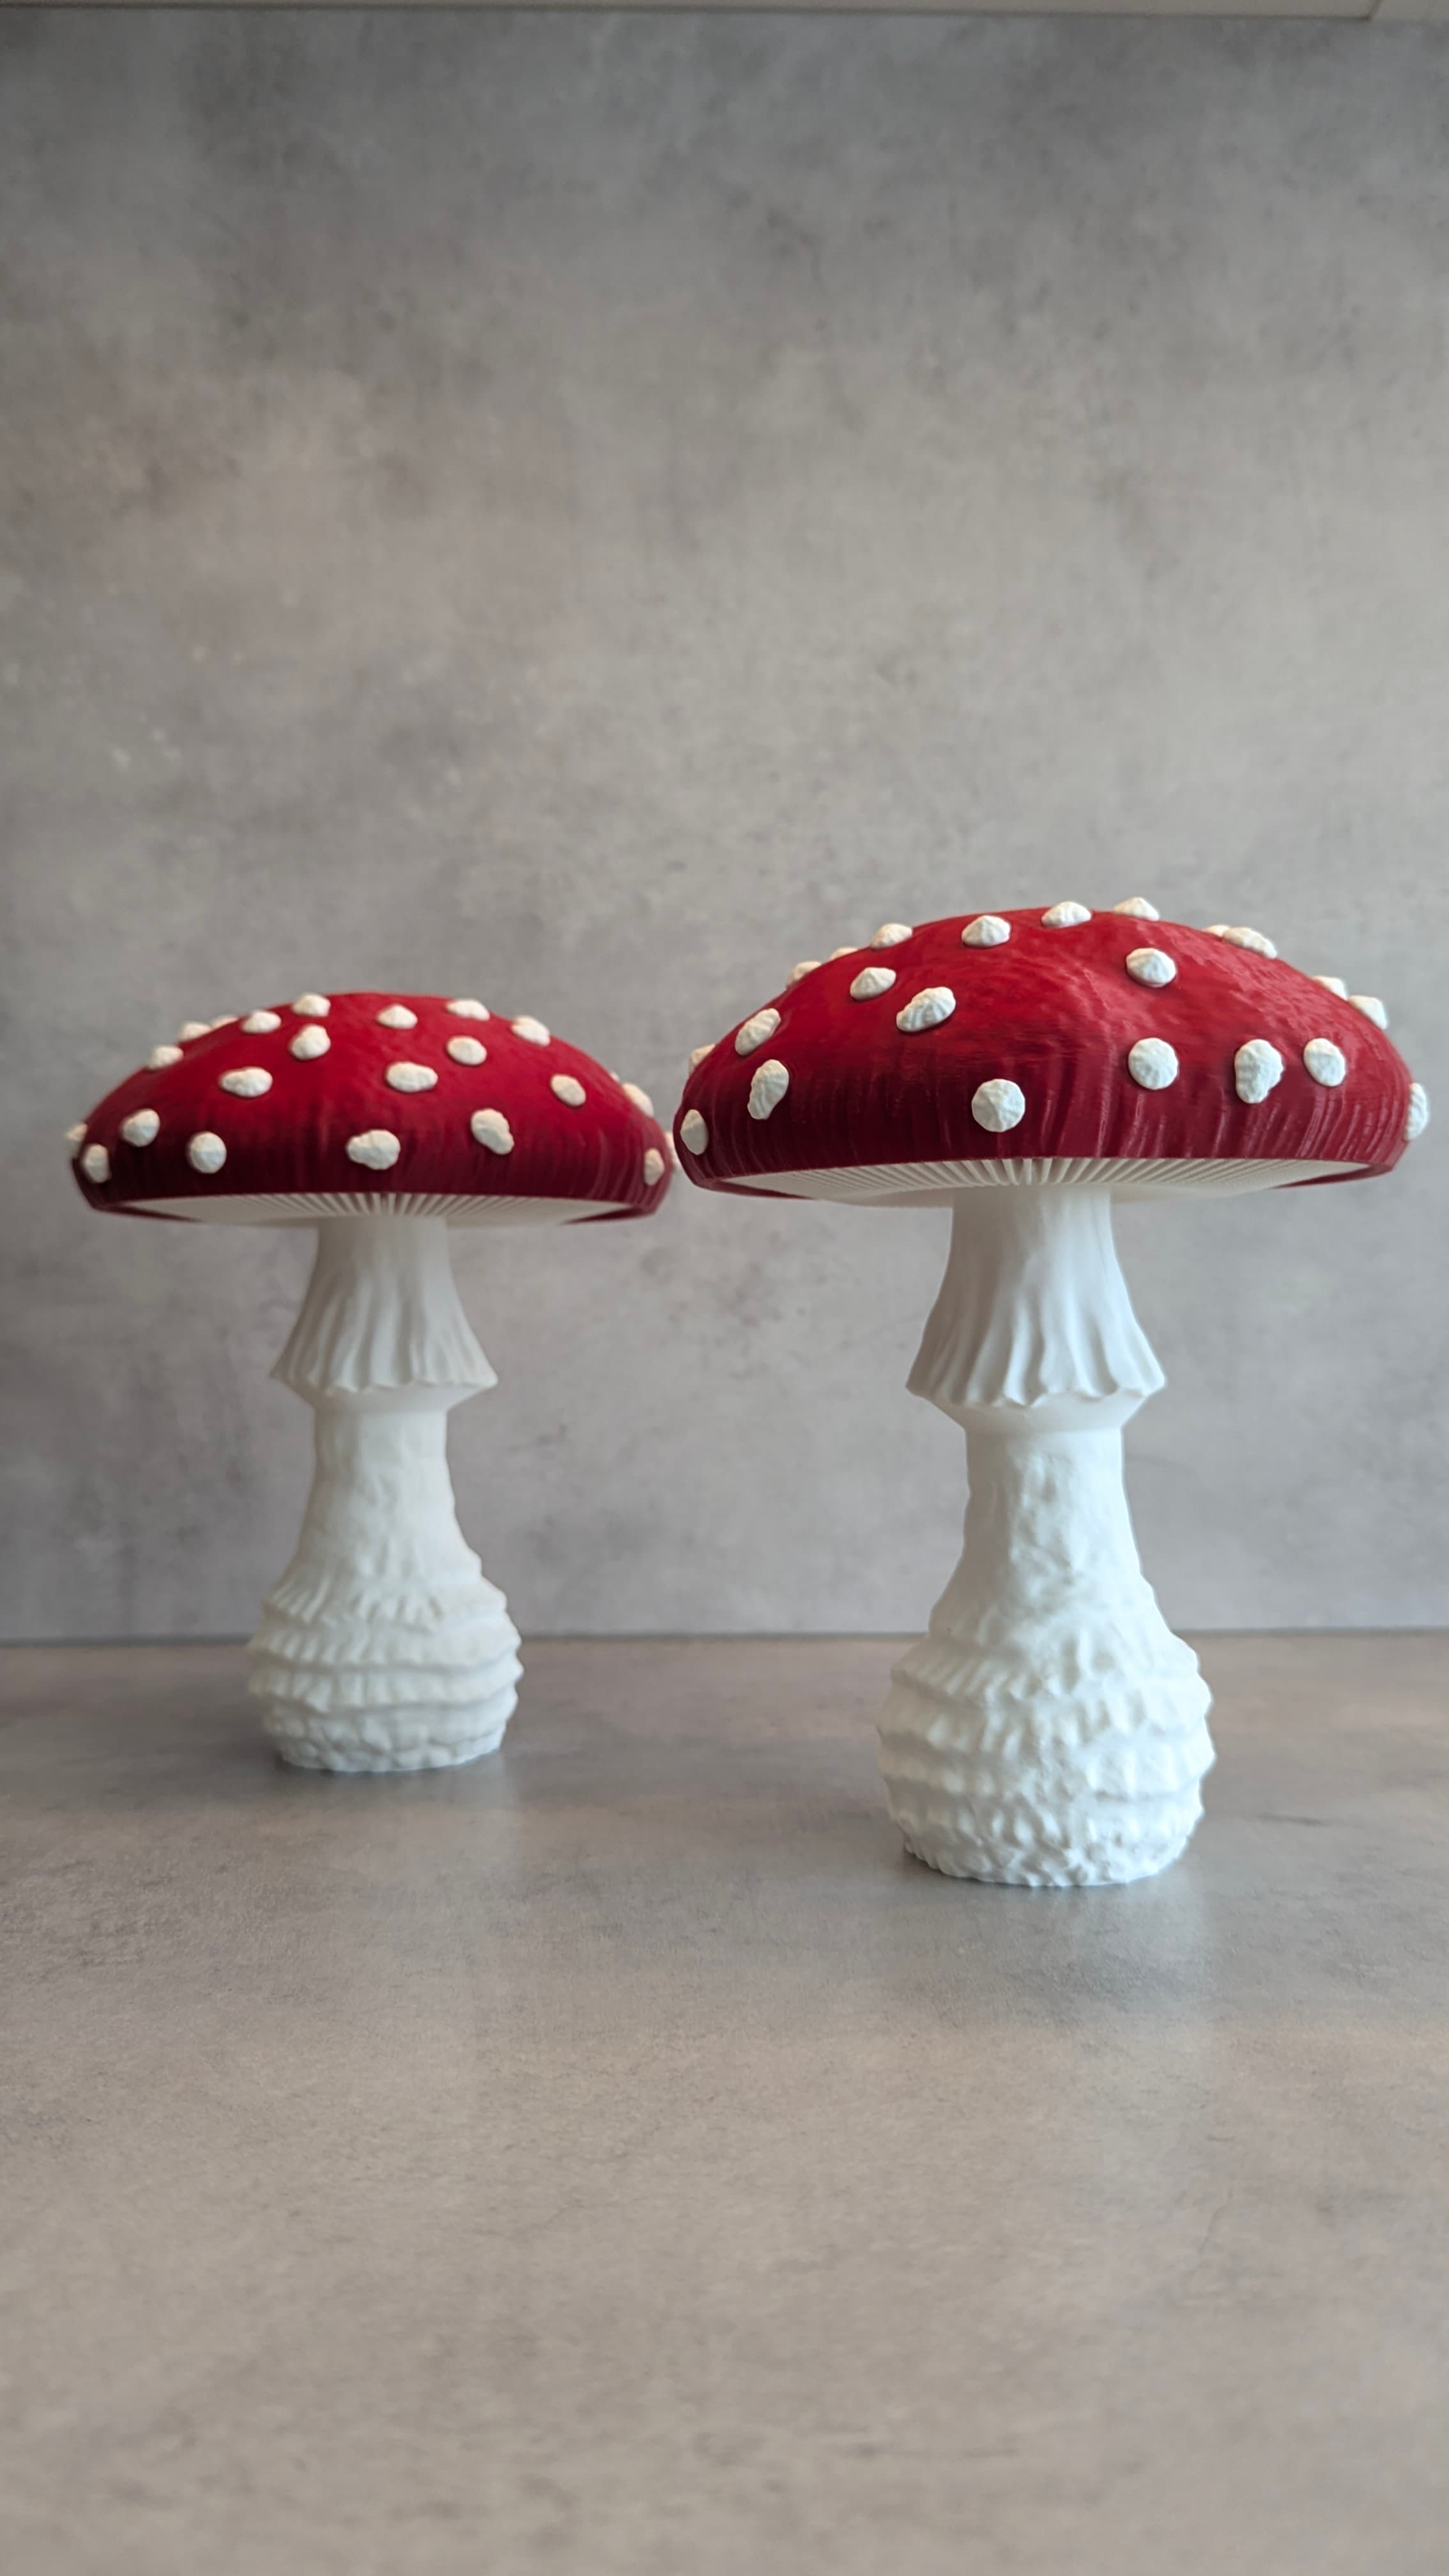
- A: For LED puck cabinet lights like the LED lamp kit 001. Size assembled: 150 x 150 x 200 mm
- B: For E14 (EU) sockets kits like the Ikea strala that come with a screw-on attachment ring. Size assembled: 195 x 195 x 260 mm
- C: For E12 (US) sockets kits that come with a spring load clip. Size assembled: 195 x 195 x 260 mm
- D: For E12 (US) sockets kits like the Ikea strala that come with a screw-on attachment ring. The only difference to version B is one measurement inside the stem to accommodate the shorter thread length of US products. Size assembled: 195 x 195 x 260 mm
Before you start
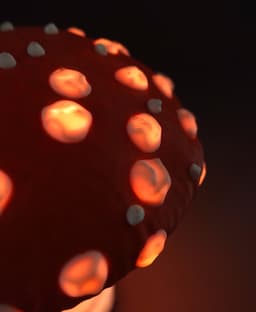
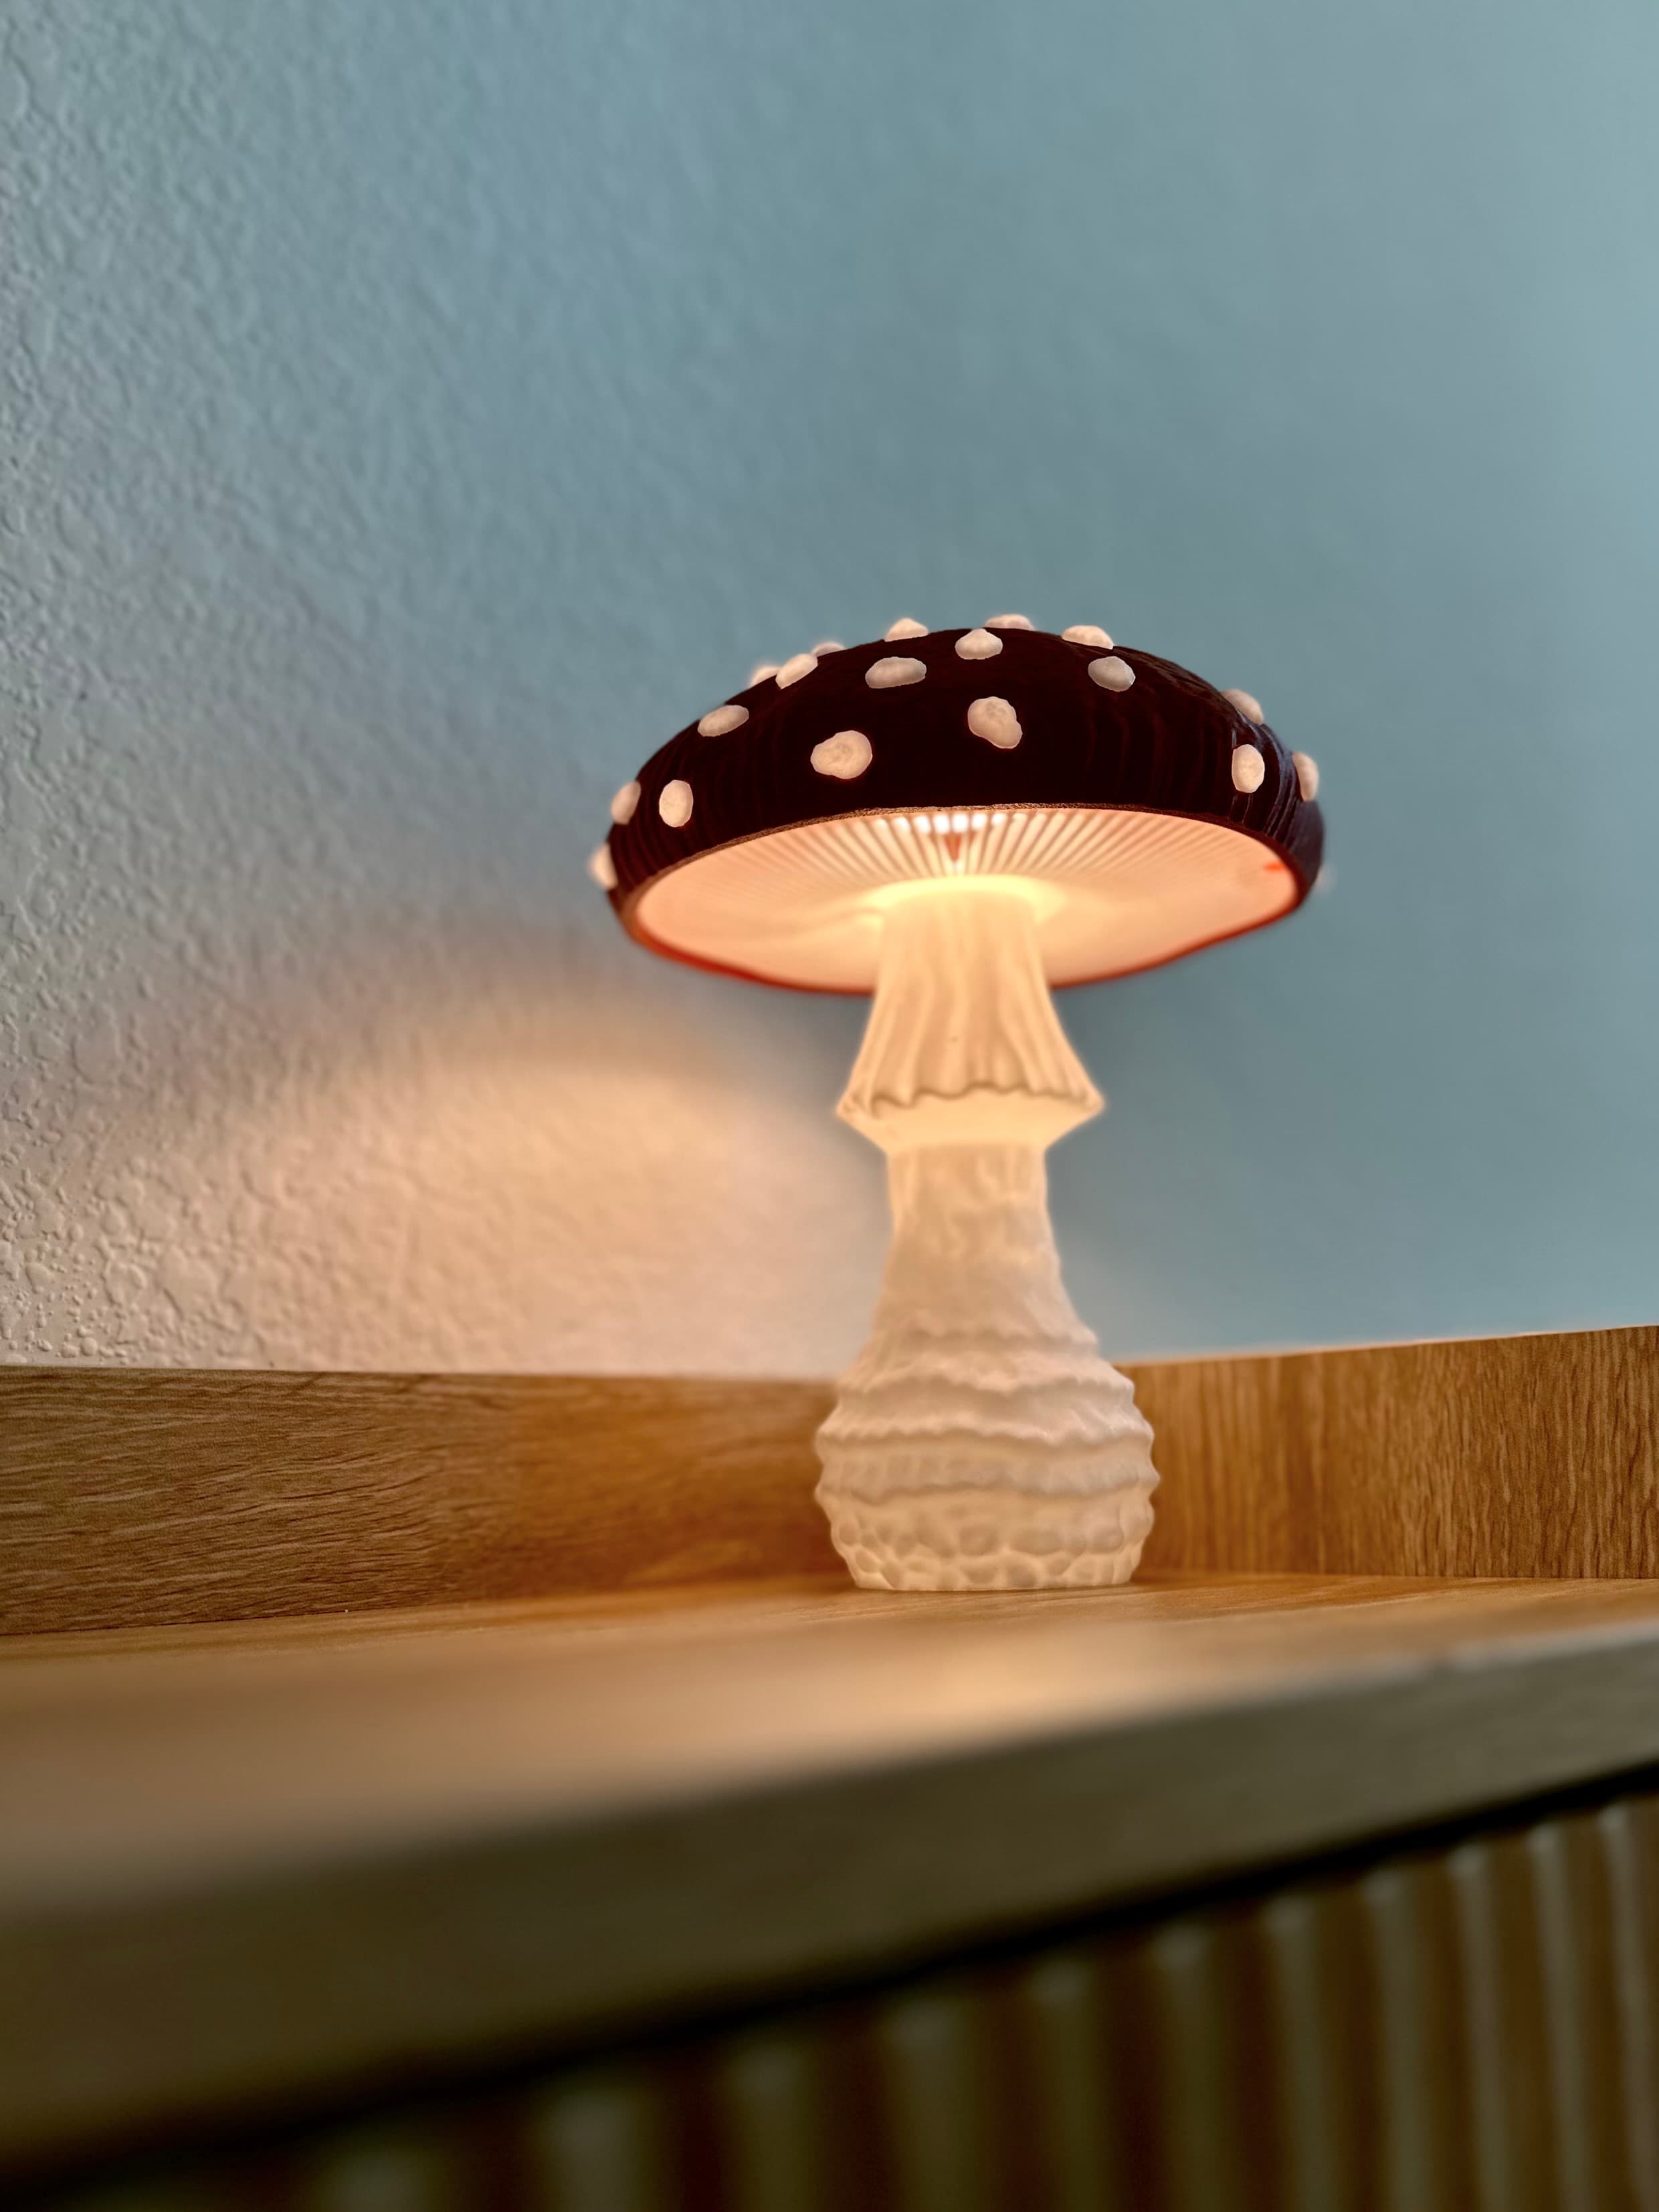
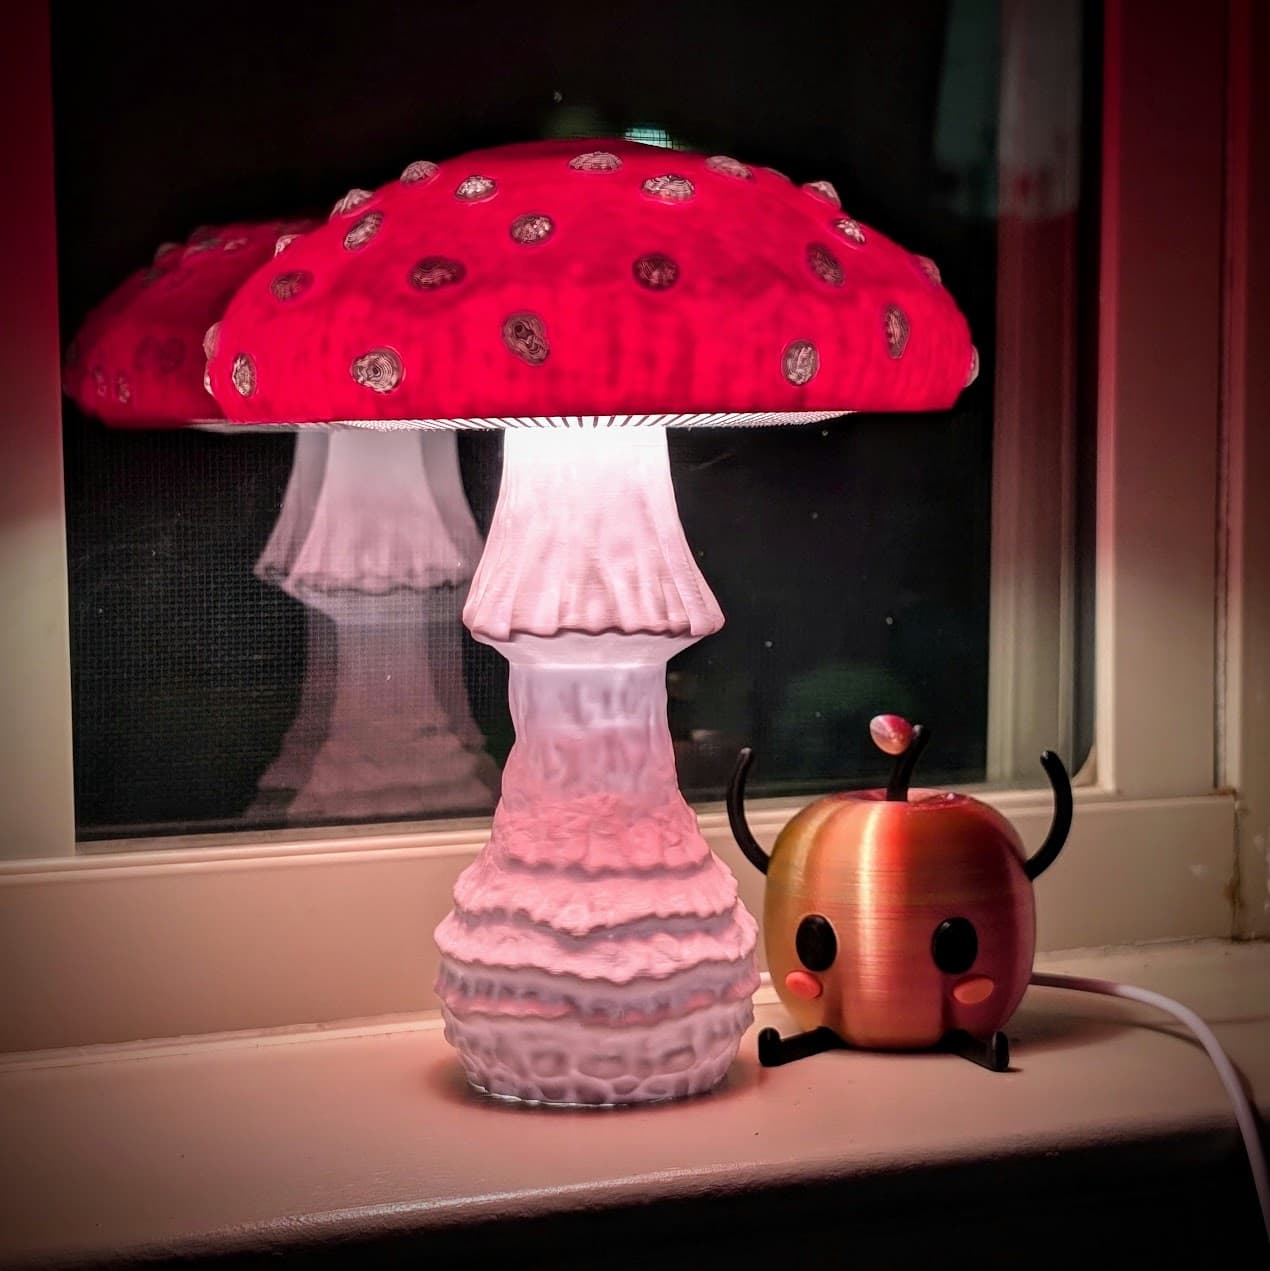
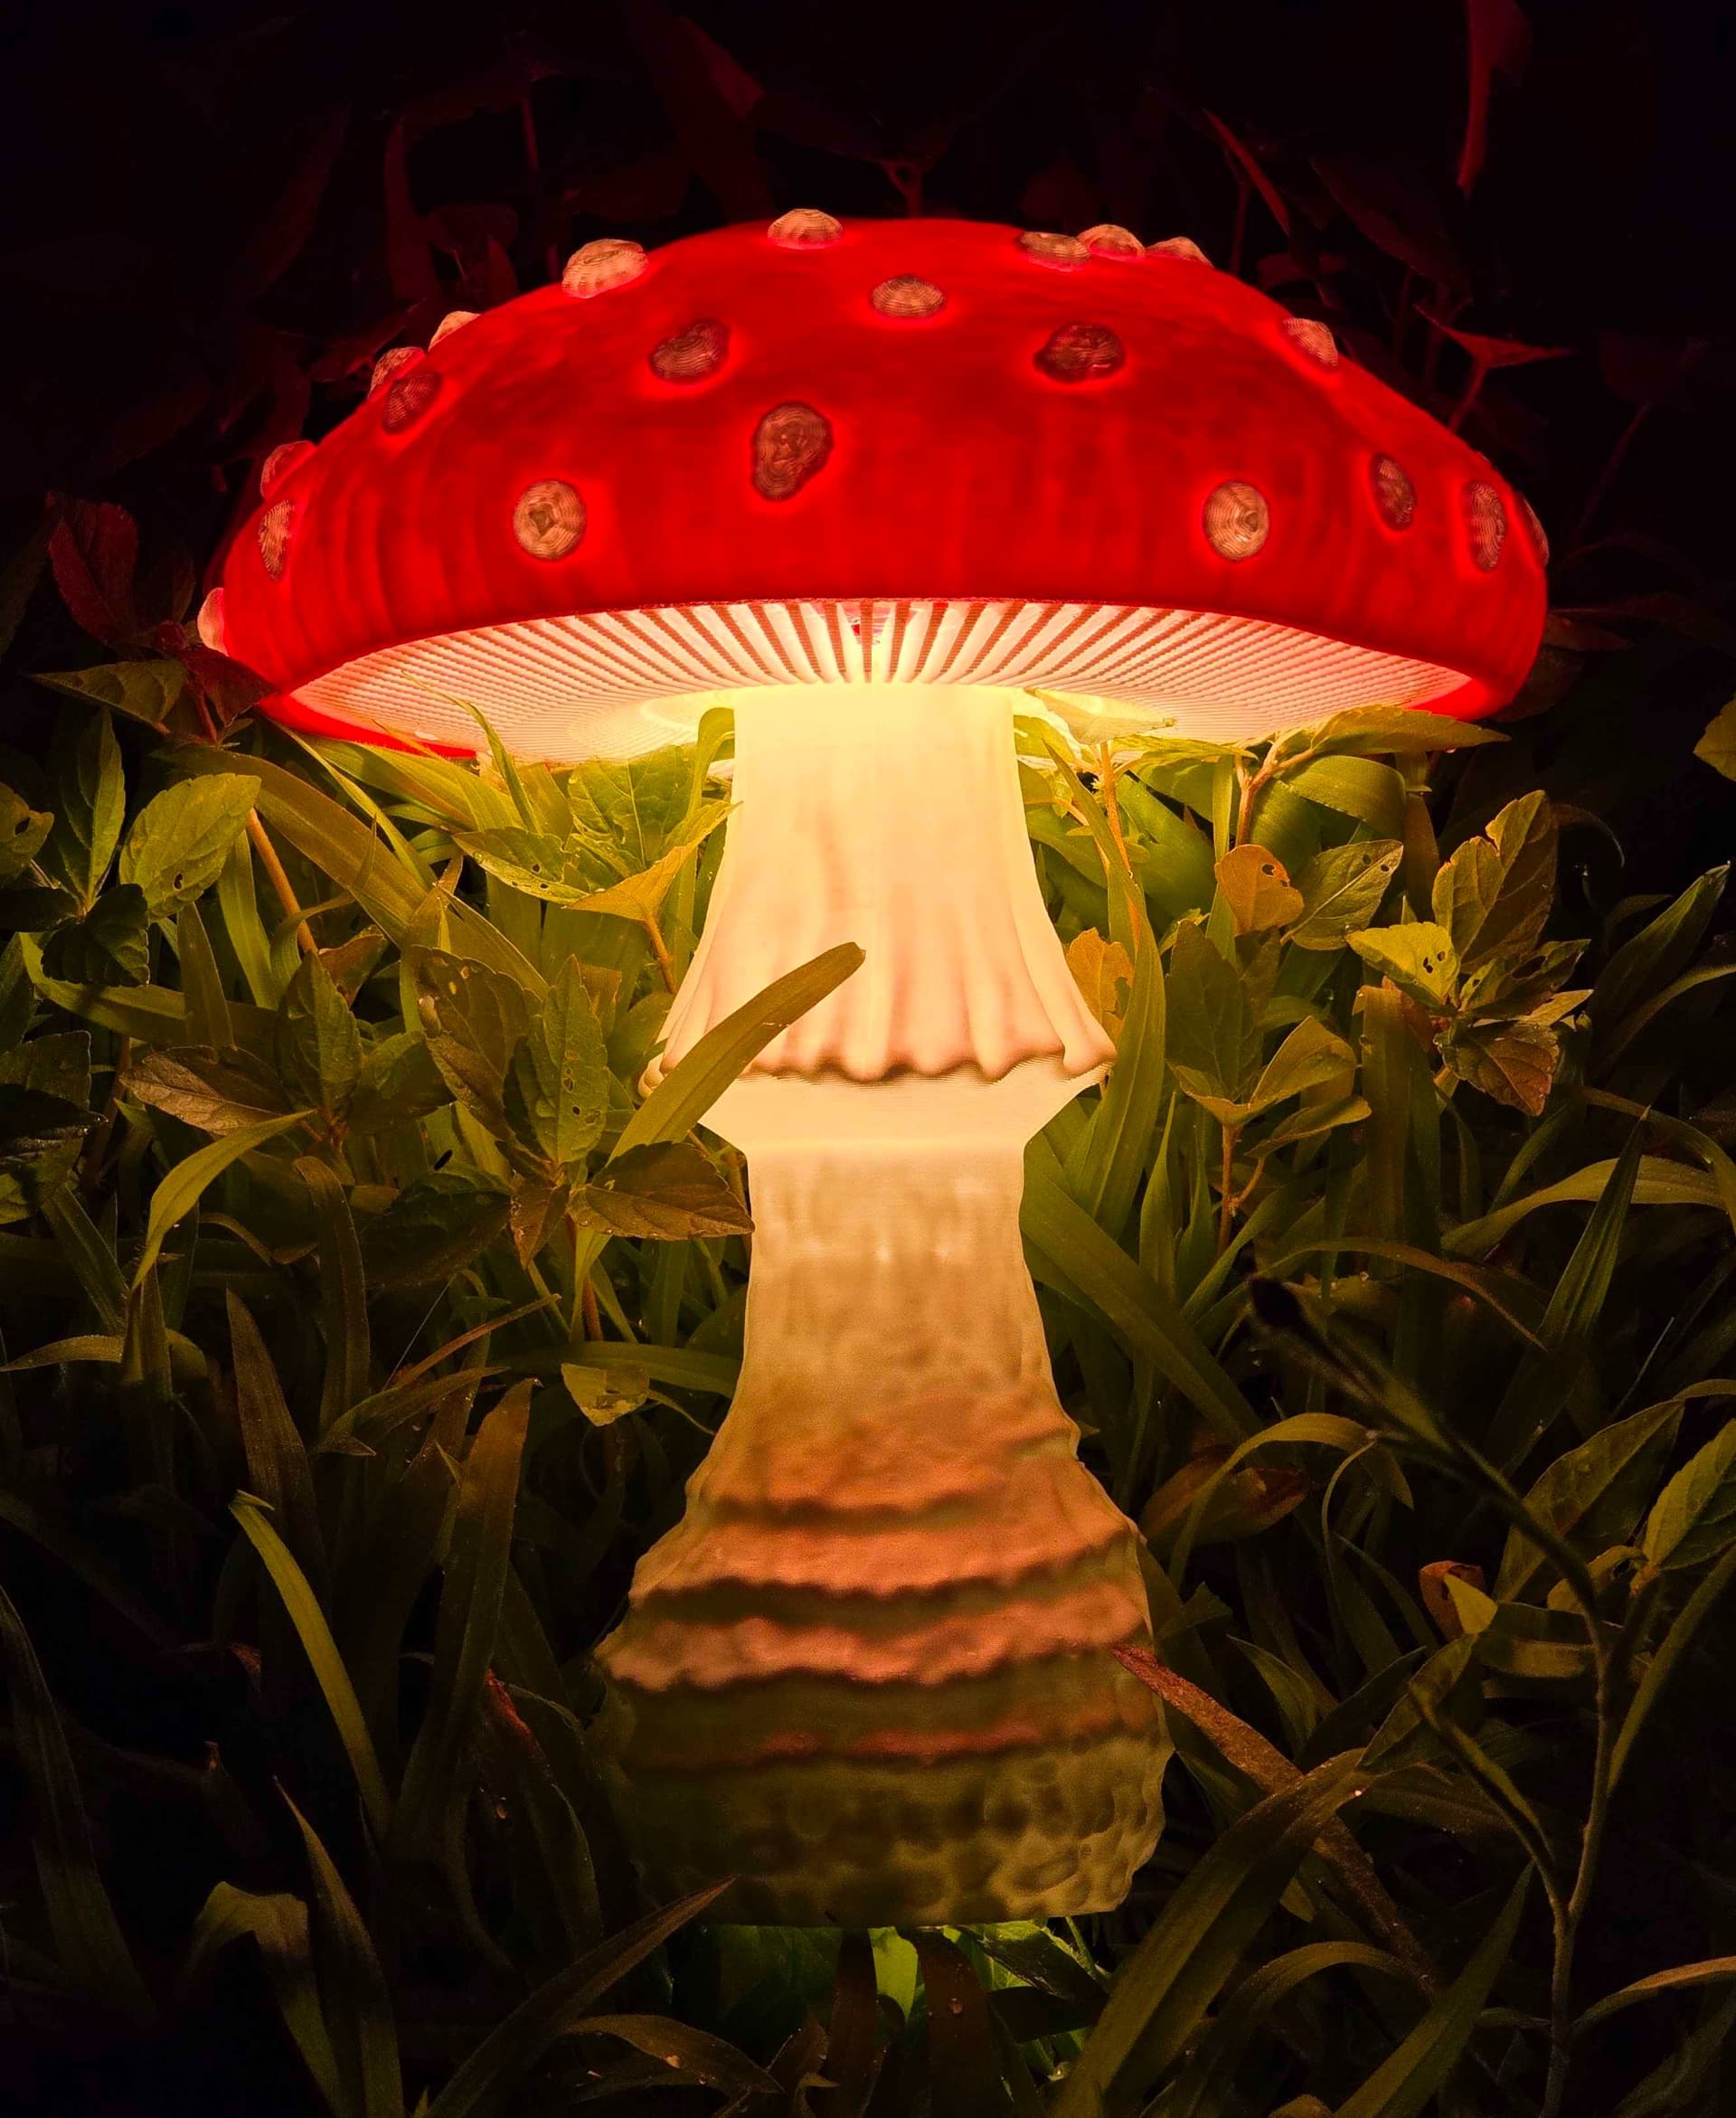
- Version B, C and D are bigger (130%) than version A and have different light emissions. While version A has a translucent stem the others emit most of the light through the open grooves and white spots.
- The LED bulb needed for version B, C and D should be round and small, please check the cross sections to see if yours fit.
- Make sure to print the cap in a non-translucent filament and the rest of the parts in a translucent filament, preferably white. Check your cap filament before printing or you might get infill shine through which looks bad.
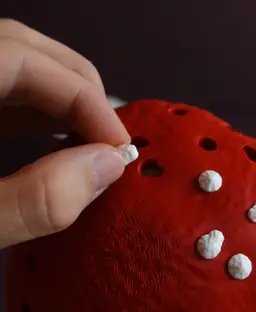
- For the single-color assembly, you need 21 Insert_A and 25 Insert_B
Instructions A
- Print all parts
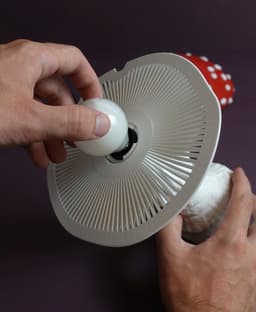
- Glue the holder into the cap.
- Single-color only: Place all inserts inside of the cap
- Attach the lamp with the double-sided tape (from the lamp kit) to the holder.
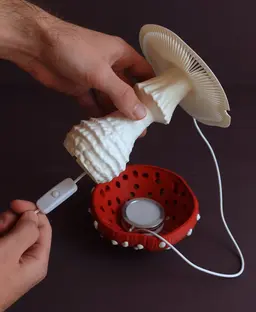
- Funnel the wire through the stem.
- Click the Stem into the Cap.
- Enjoy your new lamp!
Instructions B and D
- Print all parts
- Single-color only: Place all inserts inside of the cap
- Insert the Socket (without bulb) from below through the stem.
- Screw on the Ring from above to secure the socket.
- Insert the bulb.
- Click the Stem into the Cap.
- Enjoy your new lamp!
Instructions C
- Print all parts
- Single-color only: Place all inserts inside of the cap
- Insert the Socket (without bulb) from below through the stem.
- Insert the bulb.
- Click the Stem into the Cap.
- Enjoy your new lamp!
In case your LED breaks one day you can dissemble the design by removing the stem with a pencil or screwdriver that you insert into the hole of the cap and lift it up. Remove the broken LED and replace it with a new one.
Print settings Important: Do not use any other light source than LED with this Design. Depending on the strength of your LED certain parts of the print might warm up. Your filament has a certain heat deflection temperature that defines at which temperature deformation might occur. Make sure to build a safe product by verifying that the print is not affected by the amount of heat that your light source emits! If you are uncertain or have little experience in building electrified products, please consult a professional! Usually, a strong LED bulb does not get hotter than 50 degrees Celsius while regular PLA does not deform under 58 degrees Celsius. Those are approximate numbers, and you need to verify that for your own product selection.
Required build volume for A: 160 x 160 x 160 mm Required build volume for B, C and D: 200 x 200 x 200 mm
Material: Filament that can handle the heat that your light source emits. Print direction: stls are rotated correctly, check images Support: none Nozzle size: 0,4 mm Line width: 0,4 mm Layer height 0,2 mm for Cap, Stem and Holder; 0,08 mm for Insert_A and Insert_B Infill: 15% Build plate adhesion type: none


Mushroom lamp “Amanita Muscaria”
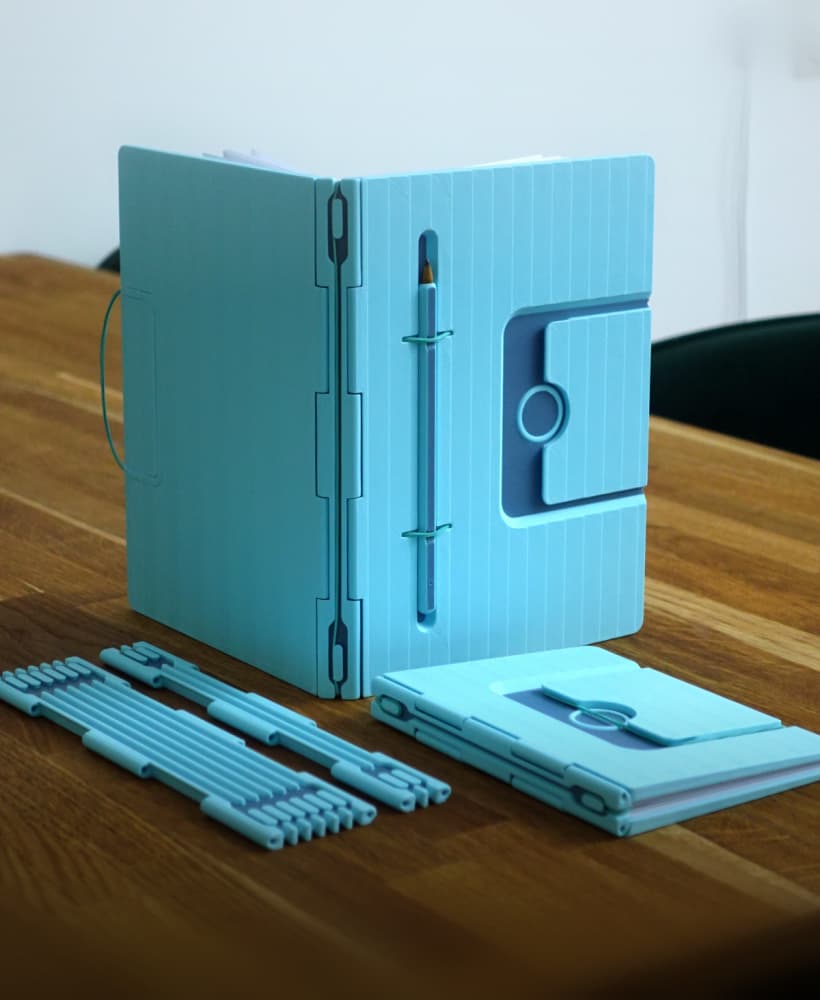
Infinite Notebook
Clock(lamp)
Frank the frog pen holder
Multifunctional Planter “BRBP”
Sponge holder
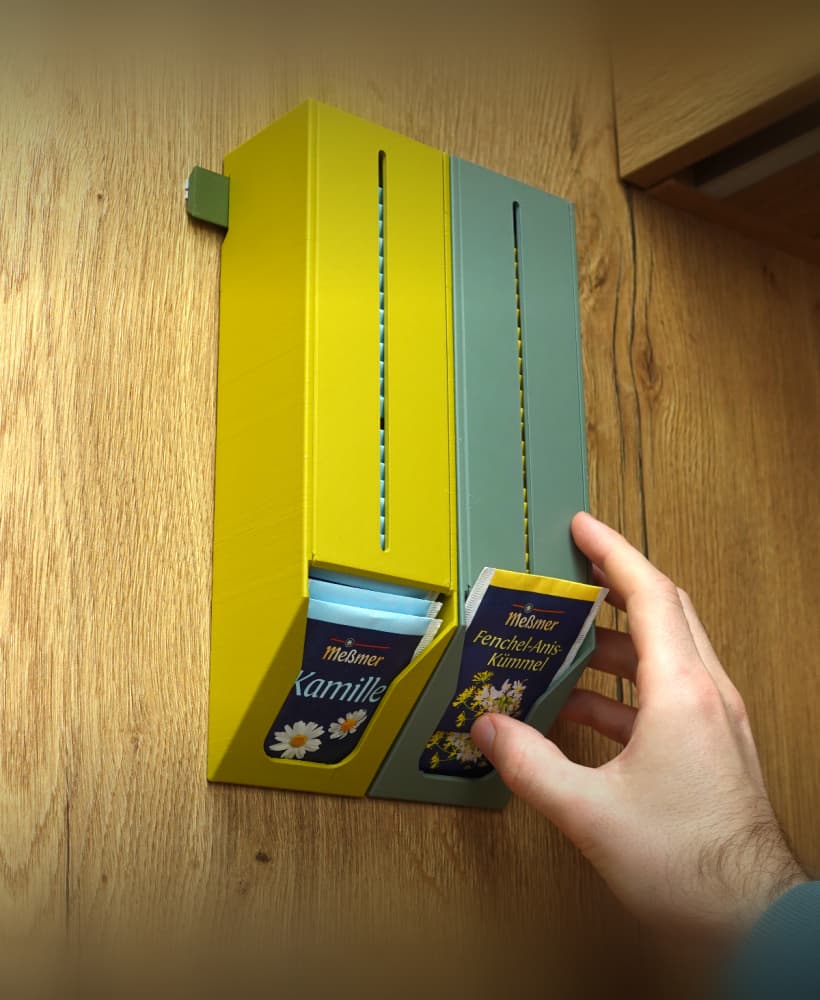
Tea bag dispenser
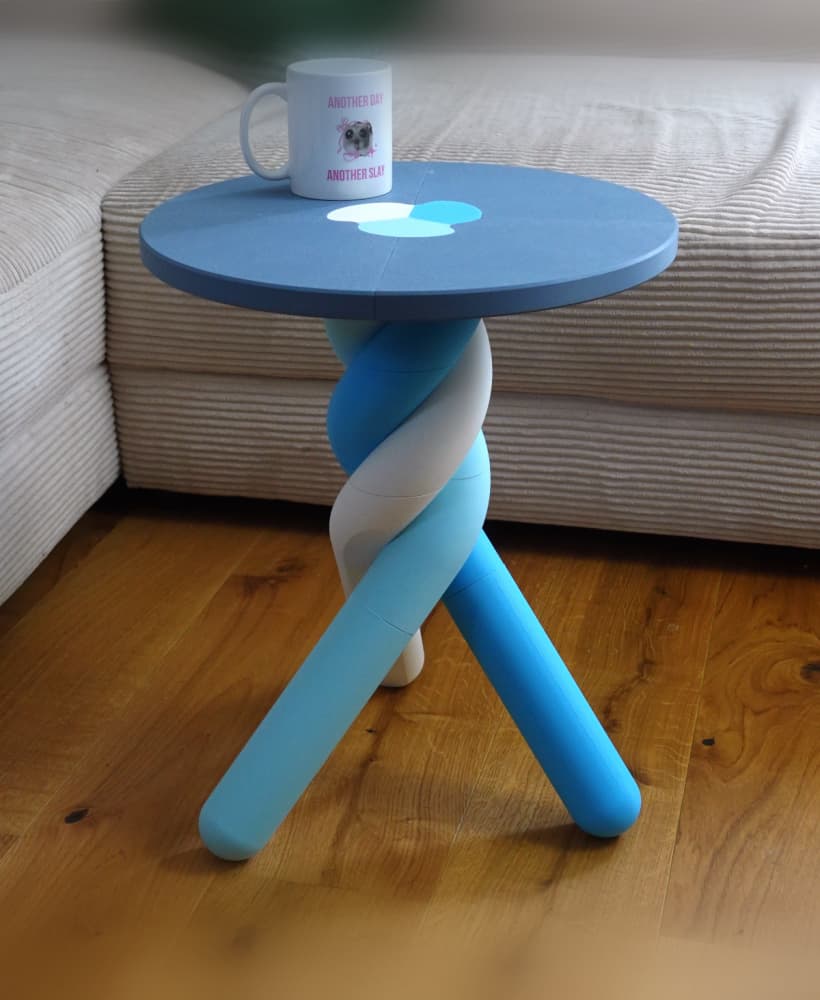
Marshmallow table
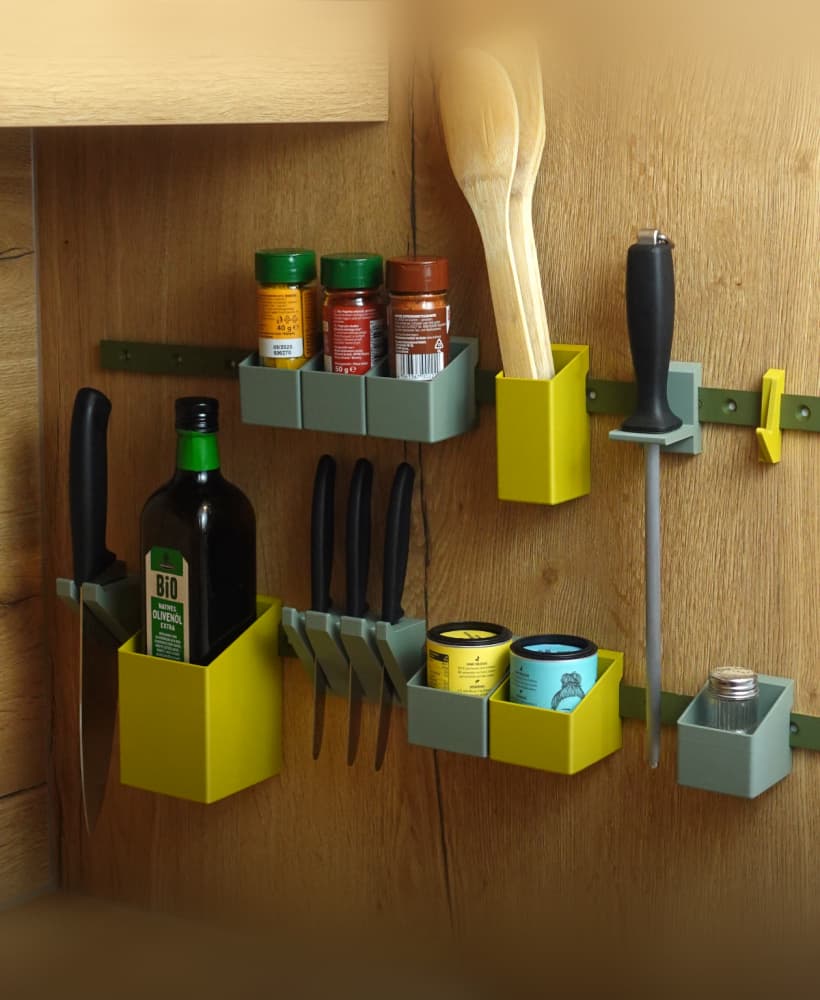
Raily – modular wall organization
Glasses case
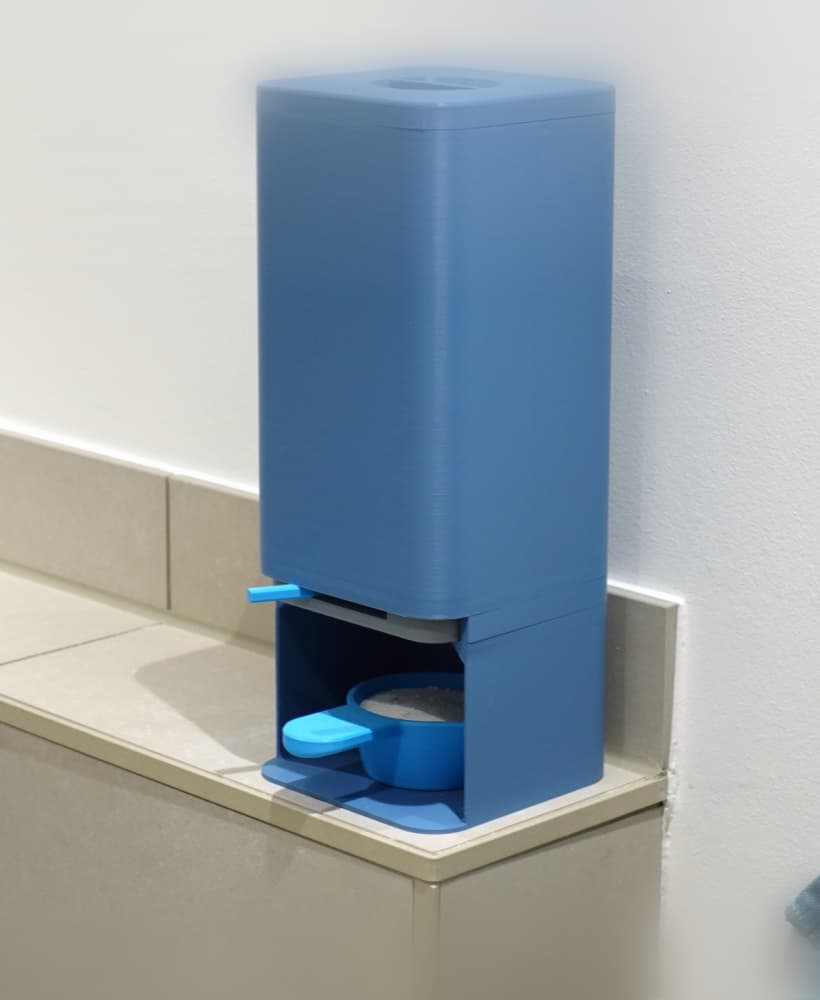
Laundry detergent dispenser
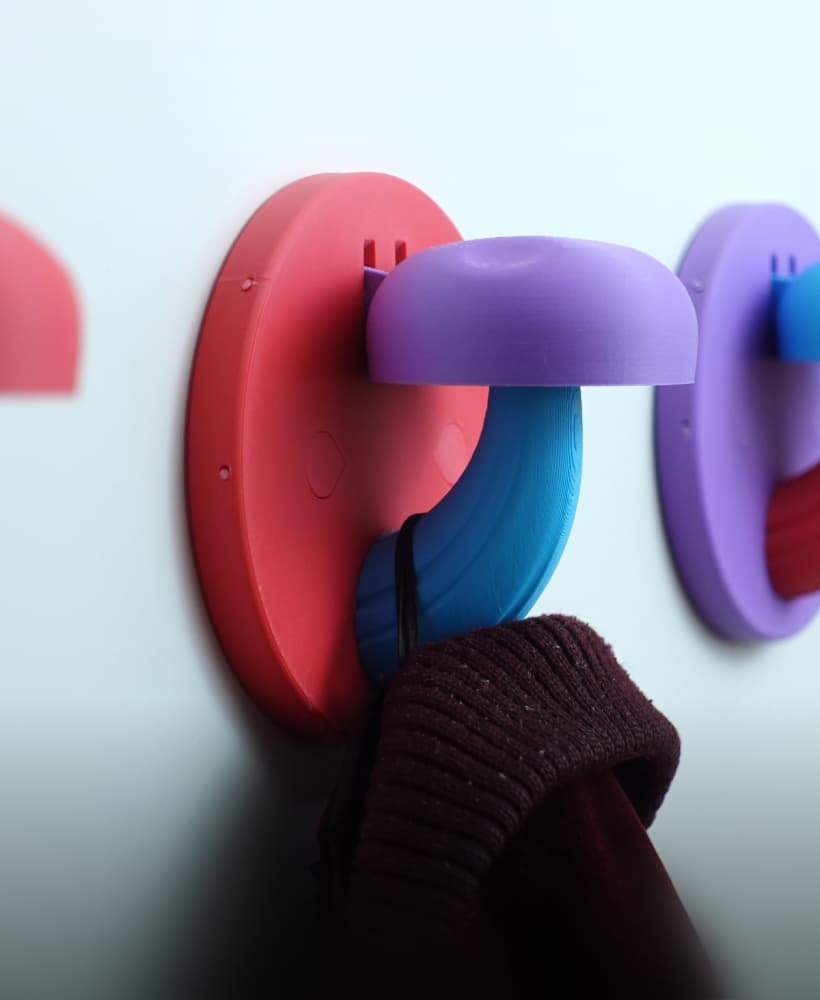
Mushroom coat hook / hanger
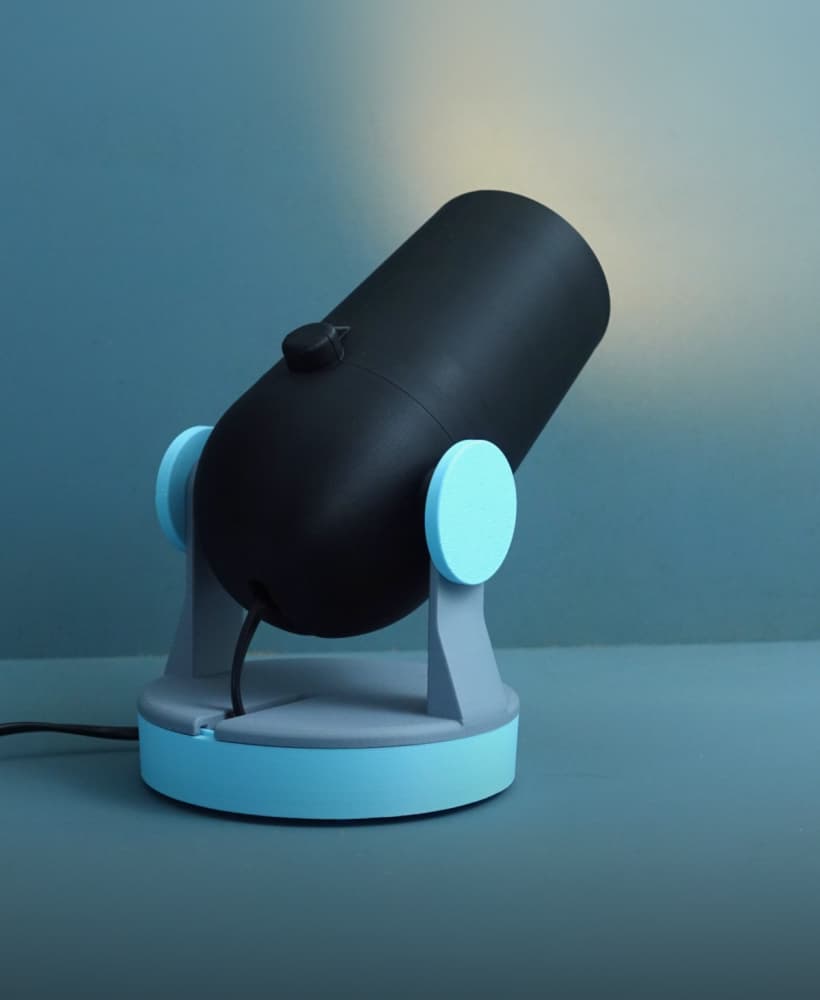
Cannon spotlight lamp
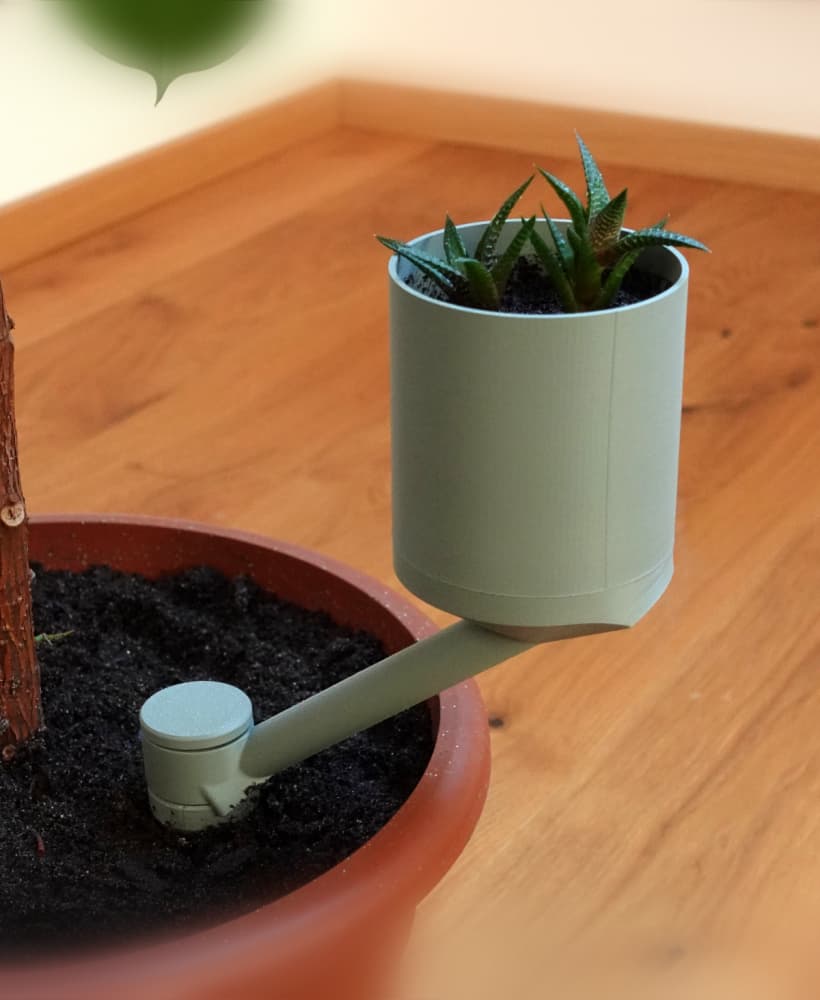
Planter “Extra”
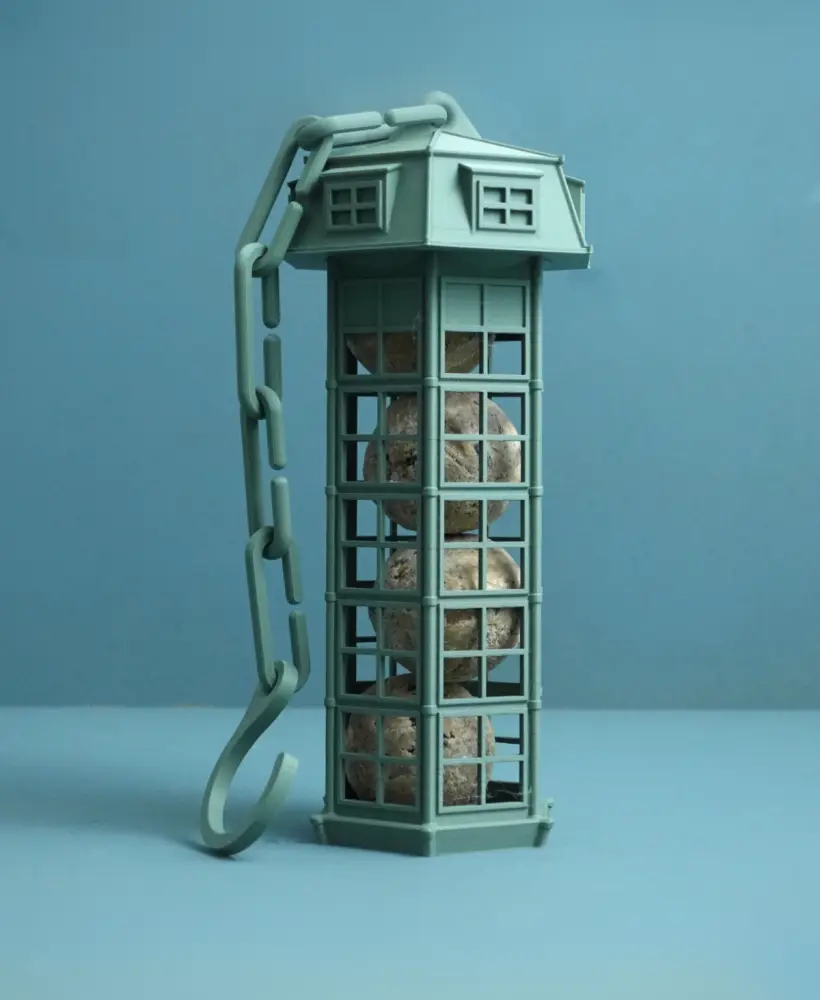
Bird feeder | suet ball holder
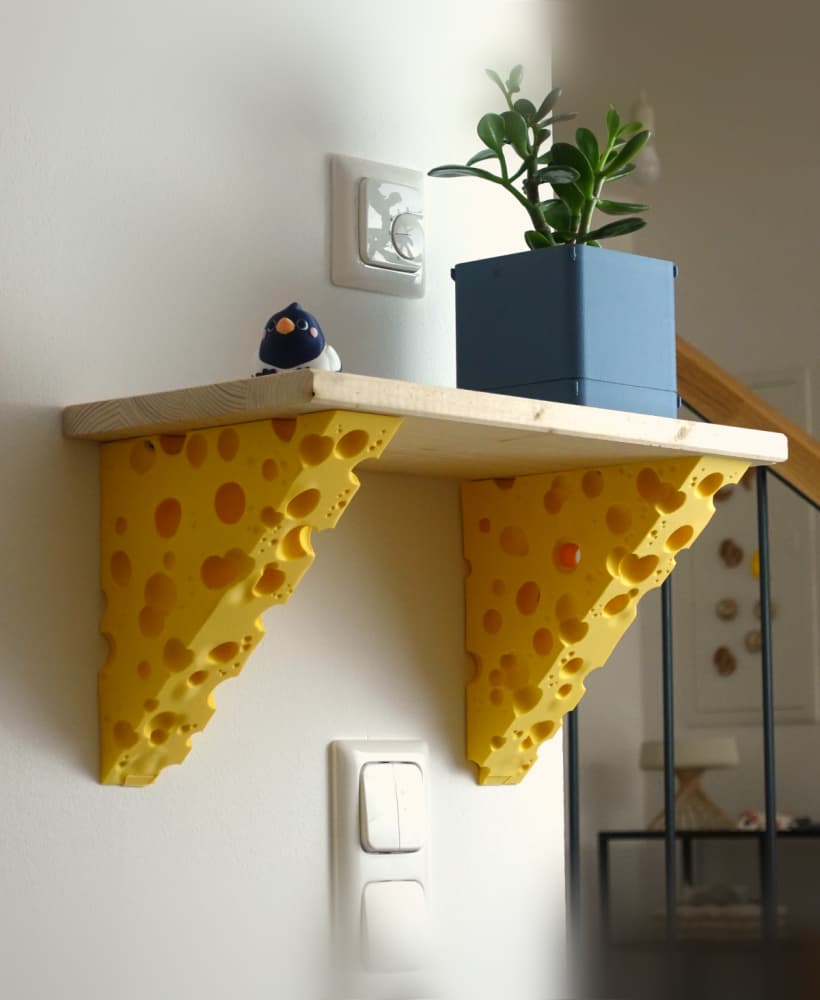
Cheese shelf bracket
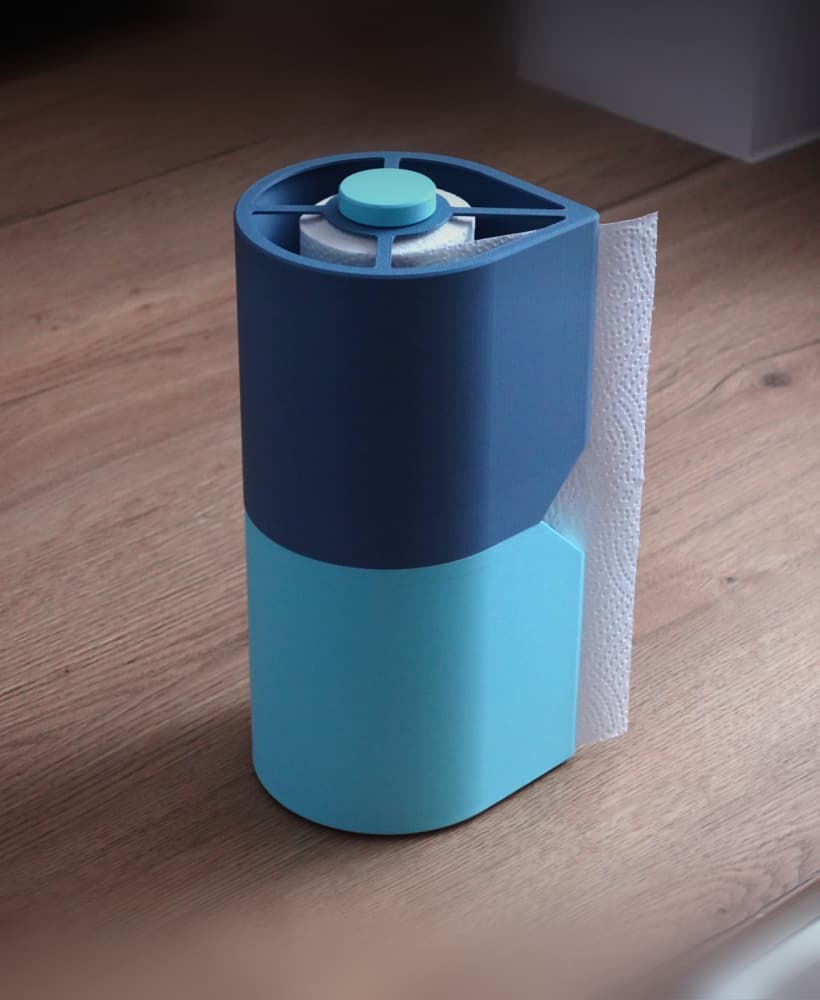
Paper towel holder
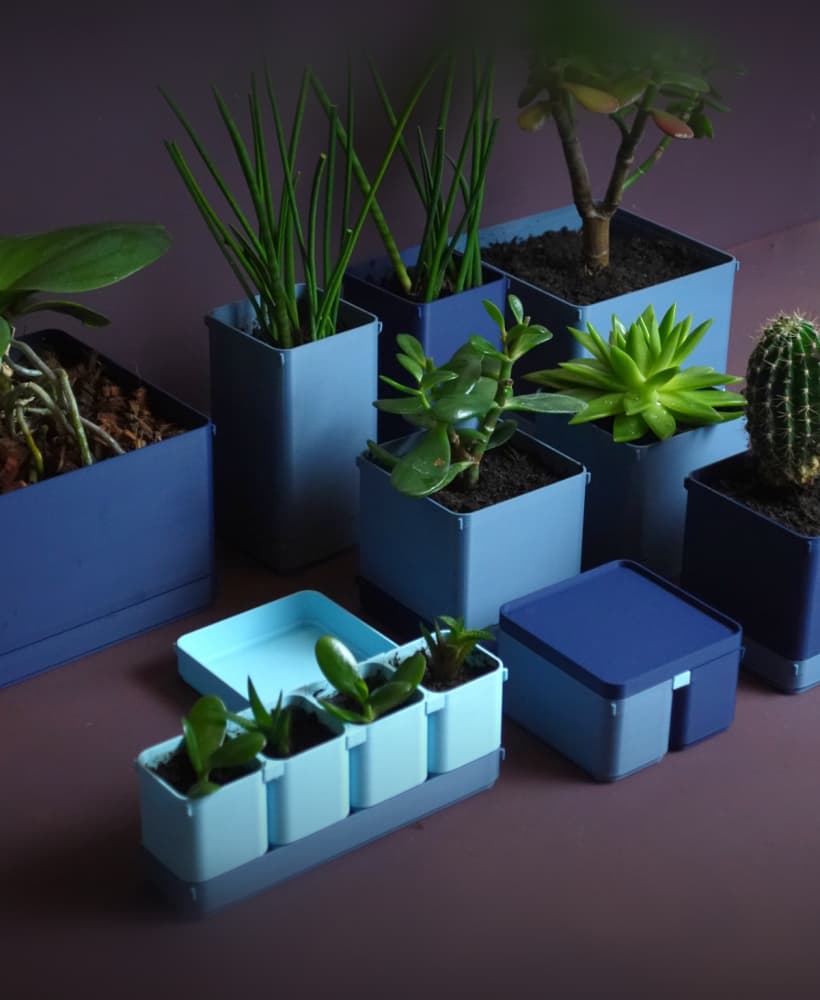
BOXY Planters
Organic waste bin
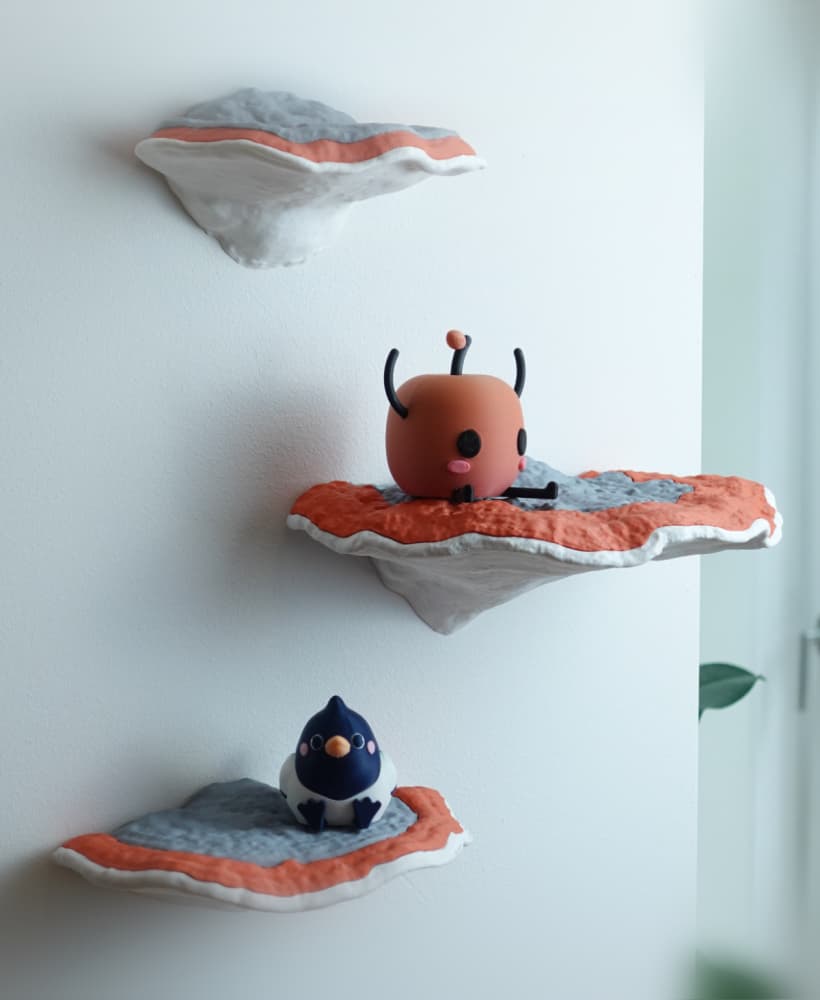
Mushroom shelf “Formitopsis Pinicula” II

Oh wow 👏 👏 👏
My favourite Lamp
My favourite Lamp
With a Junimo!!!
Prettyyyyyy
Looks amazing! Love the color choice 😍