Model originally uploaded to Thingiverse at https://www.thingiverse.com/thing:4675177.
I needed a filament spool holder for my Ender 3 capable of holding two spools of filament. I also have my filament holder off to the side at an angle, so I decided to remix this design https://www.thingiverse.com/thing:4560579 to hold two spools of filament.
Hardware- 2 M5 * 16 bolts
- 2 M5 nuts
If you do not have M5 * 16 bolts, shorter ones will not work (okay, M5 * 15 might). I have added a spacer if you have longer bolts. It is 1mm thick, but you should scale the thickness to make up for the difference in bolt length. For example, if you have M5 * 20 bolts, simply scale the thickness of the washer to (20 - 16 =) 4mm. This should go on the nut side of the holder, between it and the sheet metal part. It does not really have much to hold it in place, so I would recommend gluing it to the nut side part. (make sure to line up the flat parts)
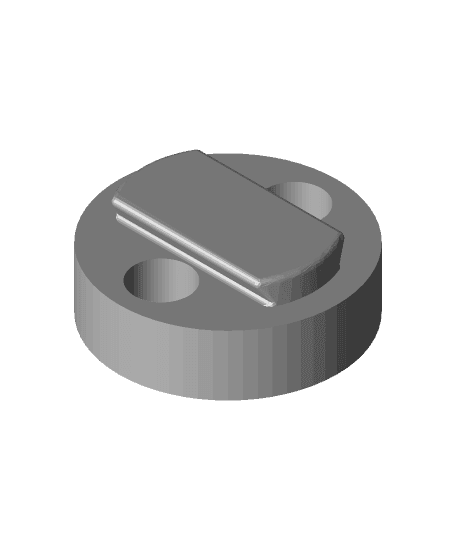
AssemblyHopefully the method for assembly should be pretty straightforwards and intuitive, but just in case, here are some instructions. I use the Prusa method (put bolt through, nut on other side, and screw down to pull the nut into the pocket) to get the nuts seated in the parts. Take the round half that has the holes of the bolts in it, and insert the bolts into it, so that they protrude out the back. Take this and put it into the hole in the sheet metal filament holder so that the bolts are sicking out the back. Align the part with the embedded nuts with the bolts and screw it on the back. These two parts should be clamping down on the sheet metal part. Before tightening the bolts all of the way, orient the parts so that the dovetail part that protrudes is vertically oriented. The roller has two nubs sticking out of its ends, and these fit into a pair of 608zz ball bearings (skate bearings, easily found in fidget spinners). With the bearings on either end of the roller, it should be put into the pocket on the main part of the filament holder. There are slots on either side to pass a zip tie through to secure the bearings and roller. This is optional. With the filament rollers assembled, the vertical slot on the end can be lined up with the dovetail on the round parts that you attached to the sheet metal holder and slotted down on. (apologies if the instructions are terribly confusing)
