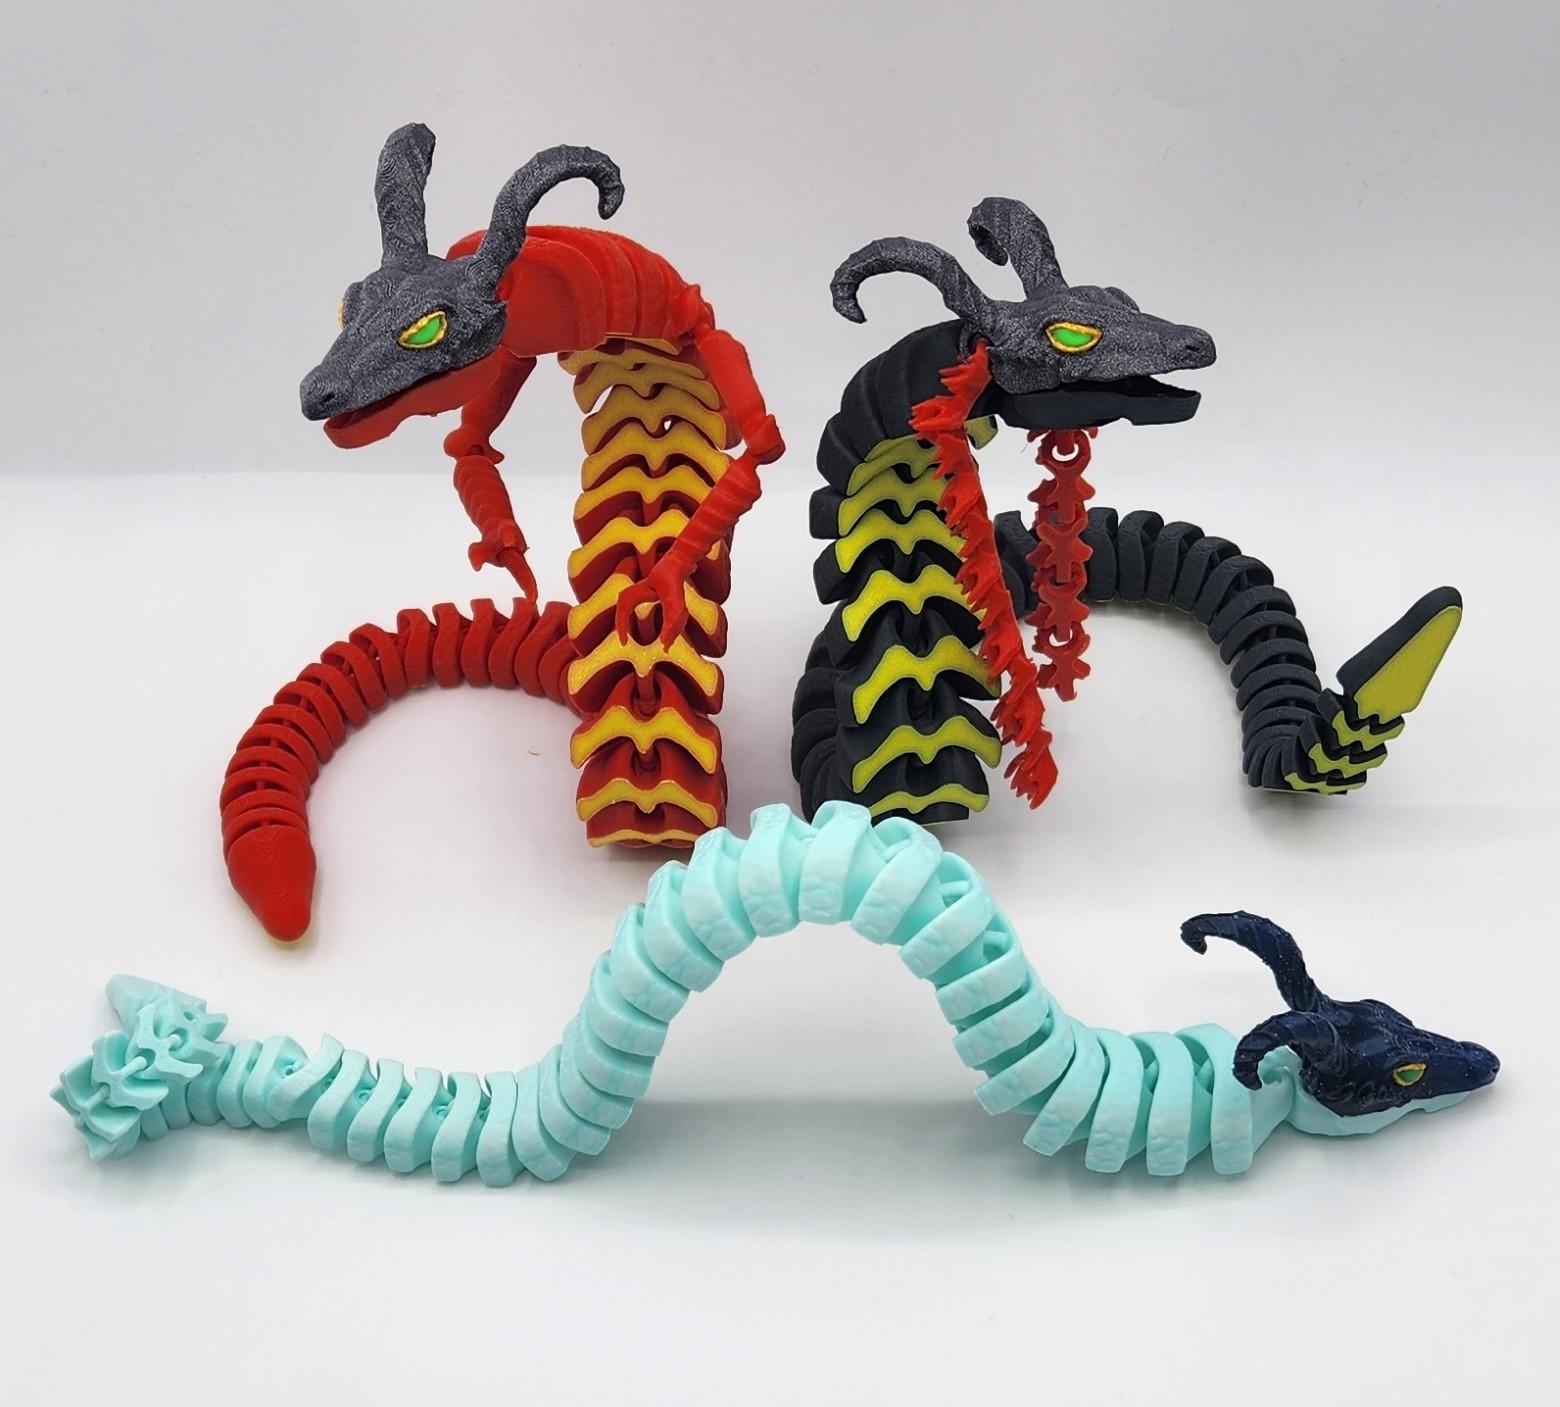
VOLVAGIA FLEX FIT 2.0 SUBTERRANEAN LAVA DRAGON
byFilliFuu3D MODEL DESCRIPTION Volvagia new improved flexi from Zelda Ocarina of Time.
Clicks together, highly maneuverable or use as a standard articulated toy - fun, easy with so many more possibilities, invented by me so you won't see this style anywhere else - check out how it works on TikTok here -
File comes with several versions - with or without fire hair & with or without arms. Just choose the stl you want or print from the included 3mf file (also painted for your ease)
It's so simple, unique and such a great success, I'll be adapting this design often from now so if you enjoy please follow for more & available now for free here with commercial licence. or on cults 3d
3D PRINTING SETTINGS After much testing I advise to print in regular PLA & avoid silk and weaker filament as it's just far too brittle filament for such a detailed print, I have included a test stl if you wish to test your filament if you are unsure if the filament is strong enough - this stl is the smallest links on the main design & if this test works then the rest of the model is more then suitable.
0.42 wall thickness
0.2 layer height
Brim recommended just incase & if your worried about failure use supports on the head/ jaw only. I have printed easily with no supports but the print quality was much better when enabled due to the overhangs.
25% gyroid infill
Plenty of cooling and slow print speed (faster speed works but follow your filaments recommended settings)
Everything else should be standard.
To assemble the model just carefully push the arms in the sockets if using the arms, should easily click together.
Push the ball sockets into the jaw from the top, put one ball in the use pressure to force the second ball into the socket. Takes a little effort but once you understand how it's all pieced together its all quick and easy.
Enjoy and any issues please let me know.


