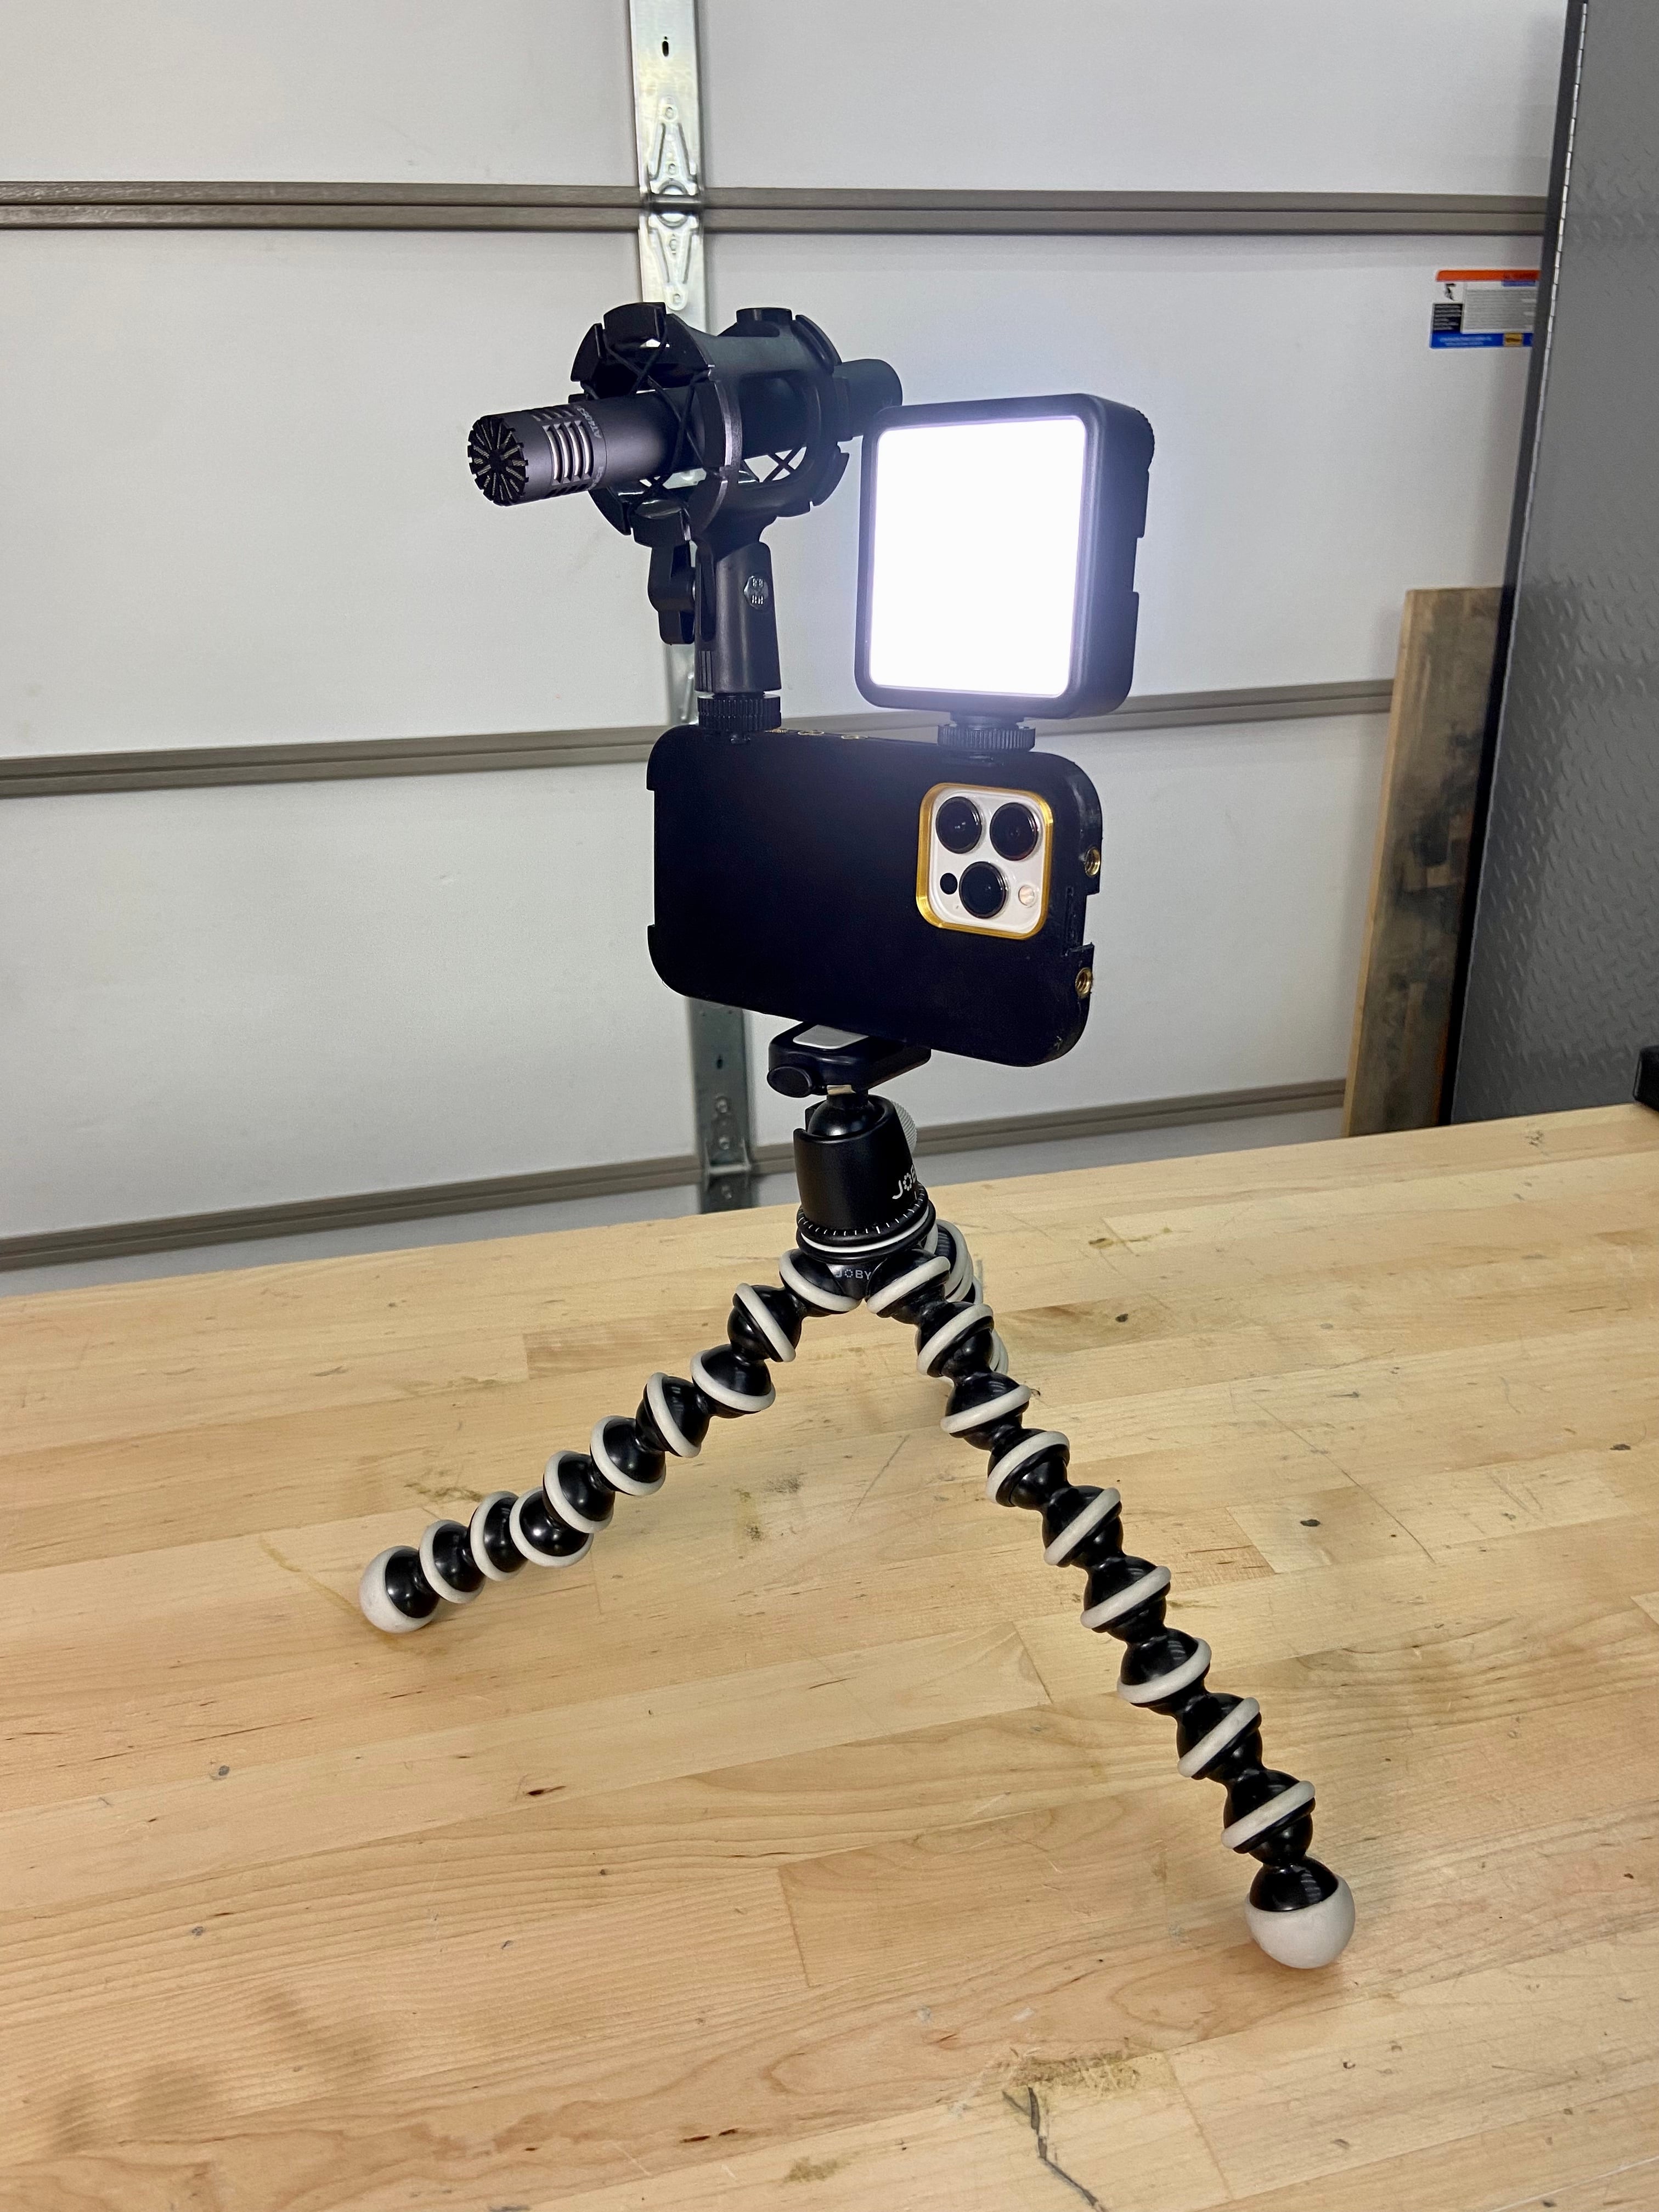


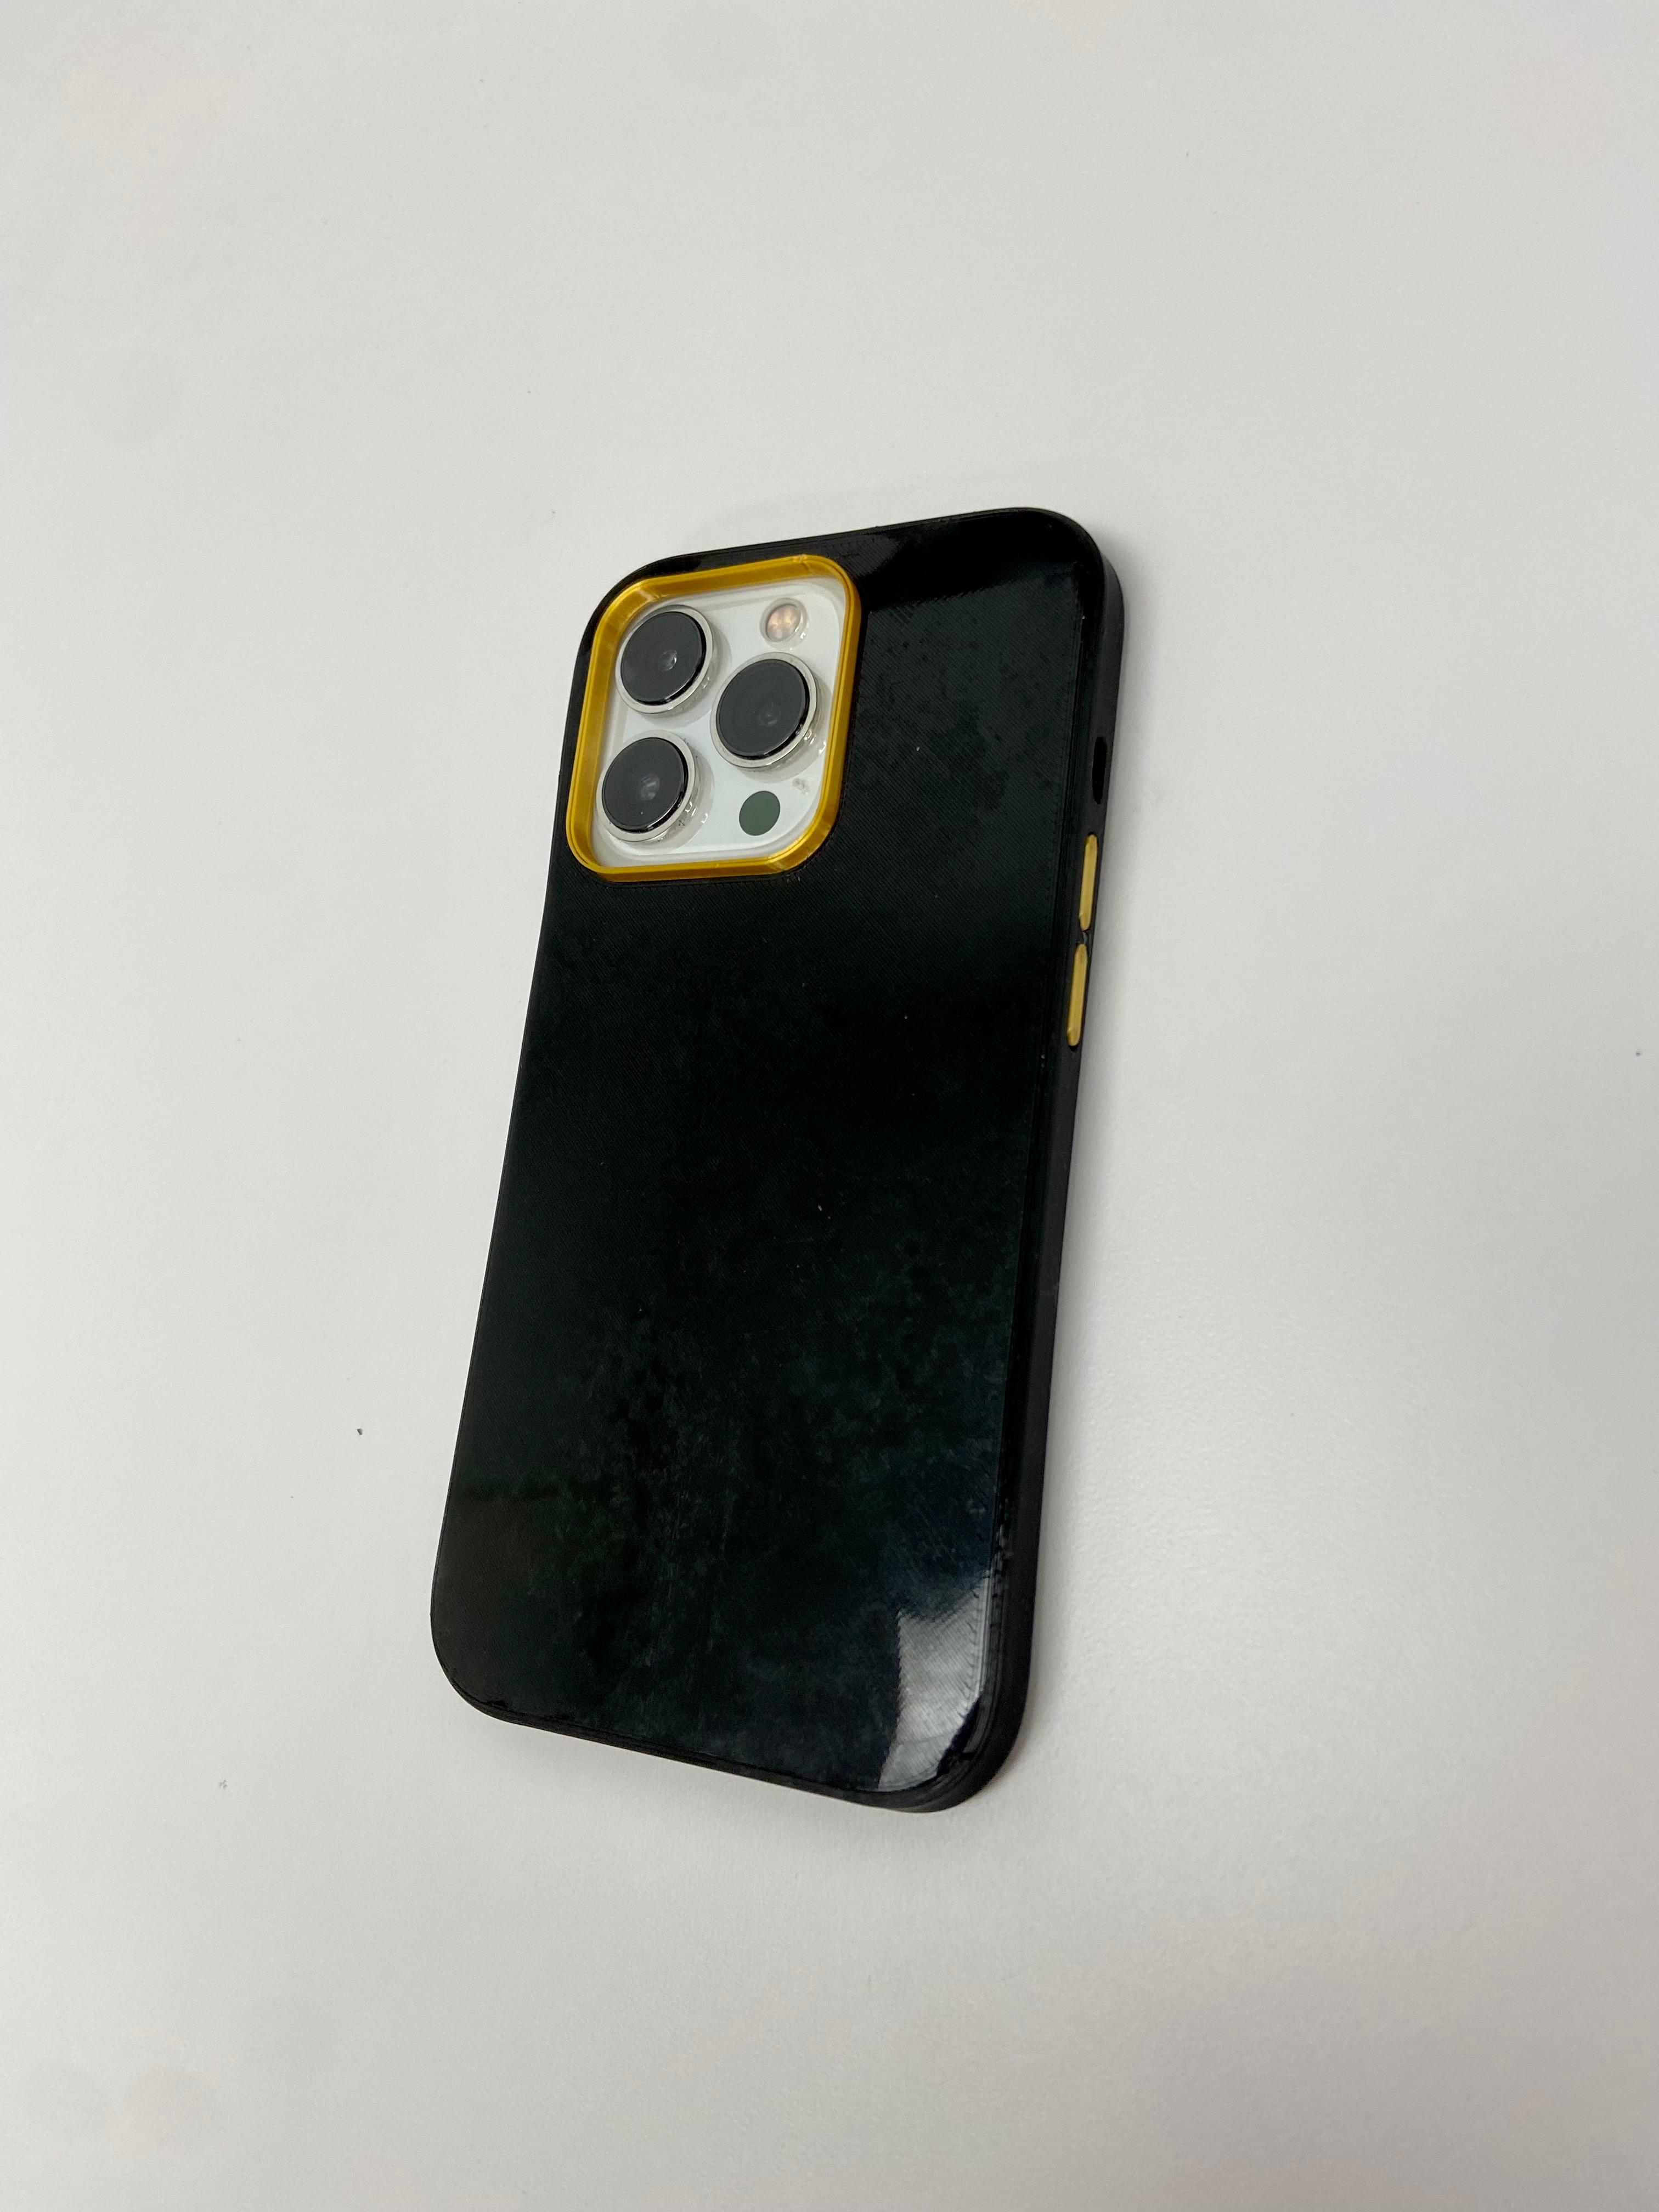
Cinematic Case for iPhone 13 Pro
The iPhone 13 Pro has been touted as the dream phone for photographers and cinematographers alike. With its three camera system and ability to record in ProRes at 4K this phone is great for vloggers and small video productions. However, the sleek design of the phone makes it impossible to mount common accessories needed to capture the perfect shot, such as LEDs, microphones or even a tripod.
My 3D Printable cinematic case fills this void by allowing accessories with the standard 1/4-20 threading to be bolted to the case. Also, three cold shoe mounts allow microphones, handles and other large components to be securely attached to the phone.
To create this case, it is highly recommended to use a 3D printer that is capable of dual extrusion prints. The case was designed in such a way that the perimeter and the back of the phone need to be printed out of a flexible TPU filament and the infill of the sides need to be printed from a rigid material, like PLA. This blend between flexible and rigid filament allows for a rugged, shock-absorbing case that can support heavier accessories without the case flexing.
If you only have a single extruder, then you can print the case out of TPU, but the 1/4-20 heat set inserts will not be able to resist high torsion forces. Also, large accessories secured to the cold shoe mount may lean.
Recommended filament:
- Flexible NinjaTek Cheetah TPU (95A recommended )
- Tough PLA
Print Settings for Case Body:
- Extrusion Width: 0.4mm
- Layer Height: 0.2mm
- Top/Bottom Solid Layers: 5
- Perimeter Layers: 2
- Infill 100%
- Seed: 2500-3500 mm/min
- Ooze Shield on
- Heated Bed: 50C
- Support: On
Extruder 1 (Top/Bottom Solid Layers, Perimeter, and Support):
- Flexible NinjaTek Armadillo TPU
- Temperature: 235C
Extruder 2 (Infill):
- PLA (or other rigid filament).
- Temperature: 205
Support: Support structures are needed at the overhang that will wrap around the phone screen.
Print Settings for Buttons and Camera Protector:
- Single extrusion print out of PLA or any other rigid filament
Other components needed: 1/4-20 Heat Set inserts with 6mm length: https://amzn.to/2ZWSTS3
Assembly:
A soldering iron is required to sink the threaded inserts into the phone case. The heat inserts should be inserted before putting the case on your phone!
The volume and power buttons are installed prior to inserting the phone. A small amount of super glue can be used to keep these buttons in place during assembly, but this step is not necessary.
The camera protector elevates the case off of the table to protect the protruding camera lens. This component is not a square and it matters, which direction you place it.
Please note that affiliate links are present to support the creation of these models.
License: Attribution-NonCommercial-NoDerivs
Cinematic Case for iPhone 13 Pro
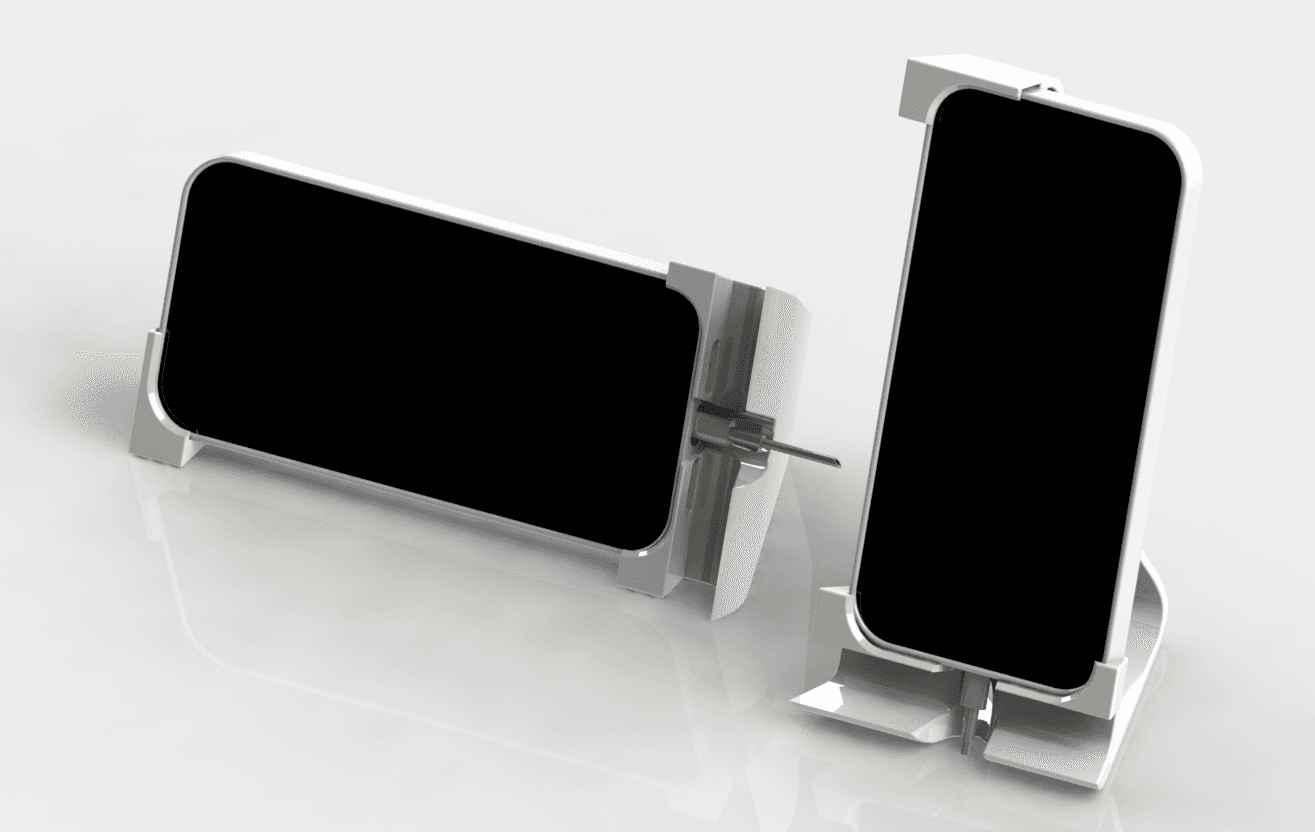
iPhone 14 Pro Max & iPhone 13 Pro Max (with apple case) Landscape and Portrait Cradle
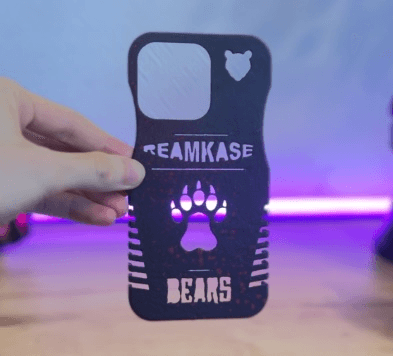
Iphone case 13 Pro bear / Coque Iphone 13 Pro ours
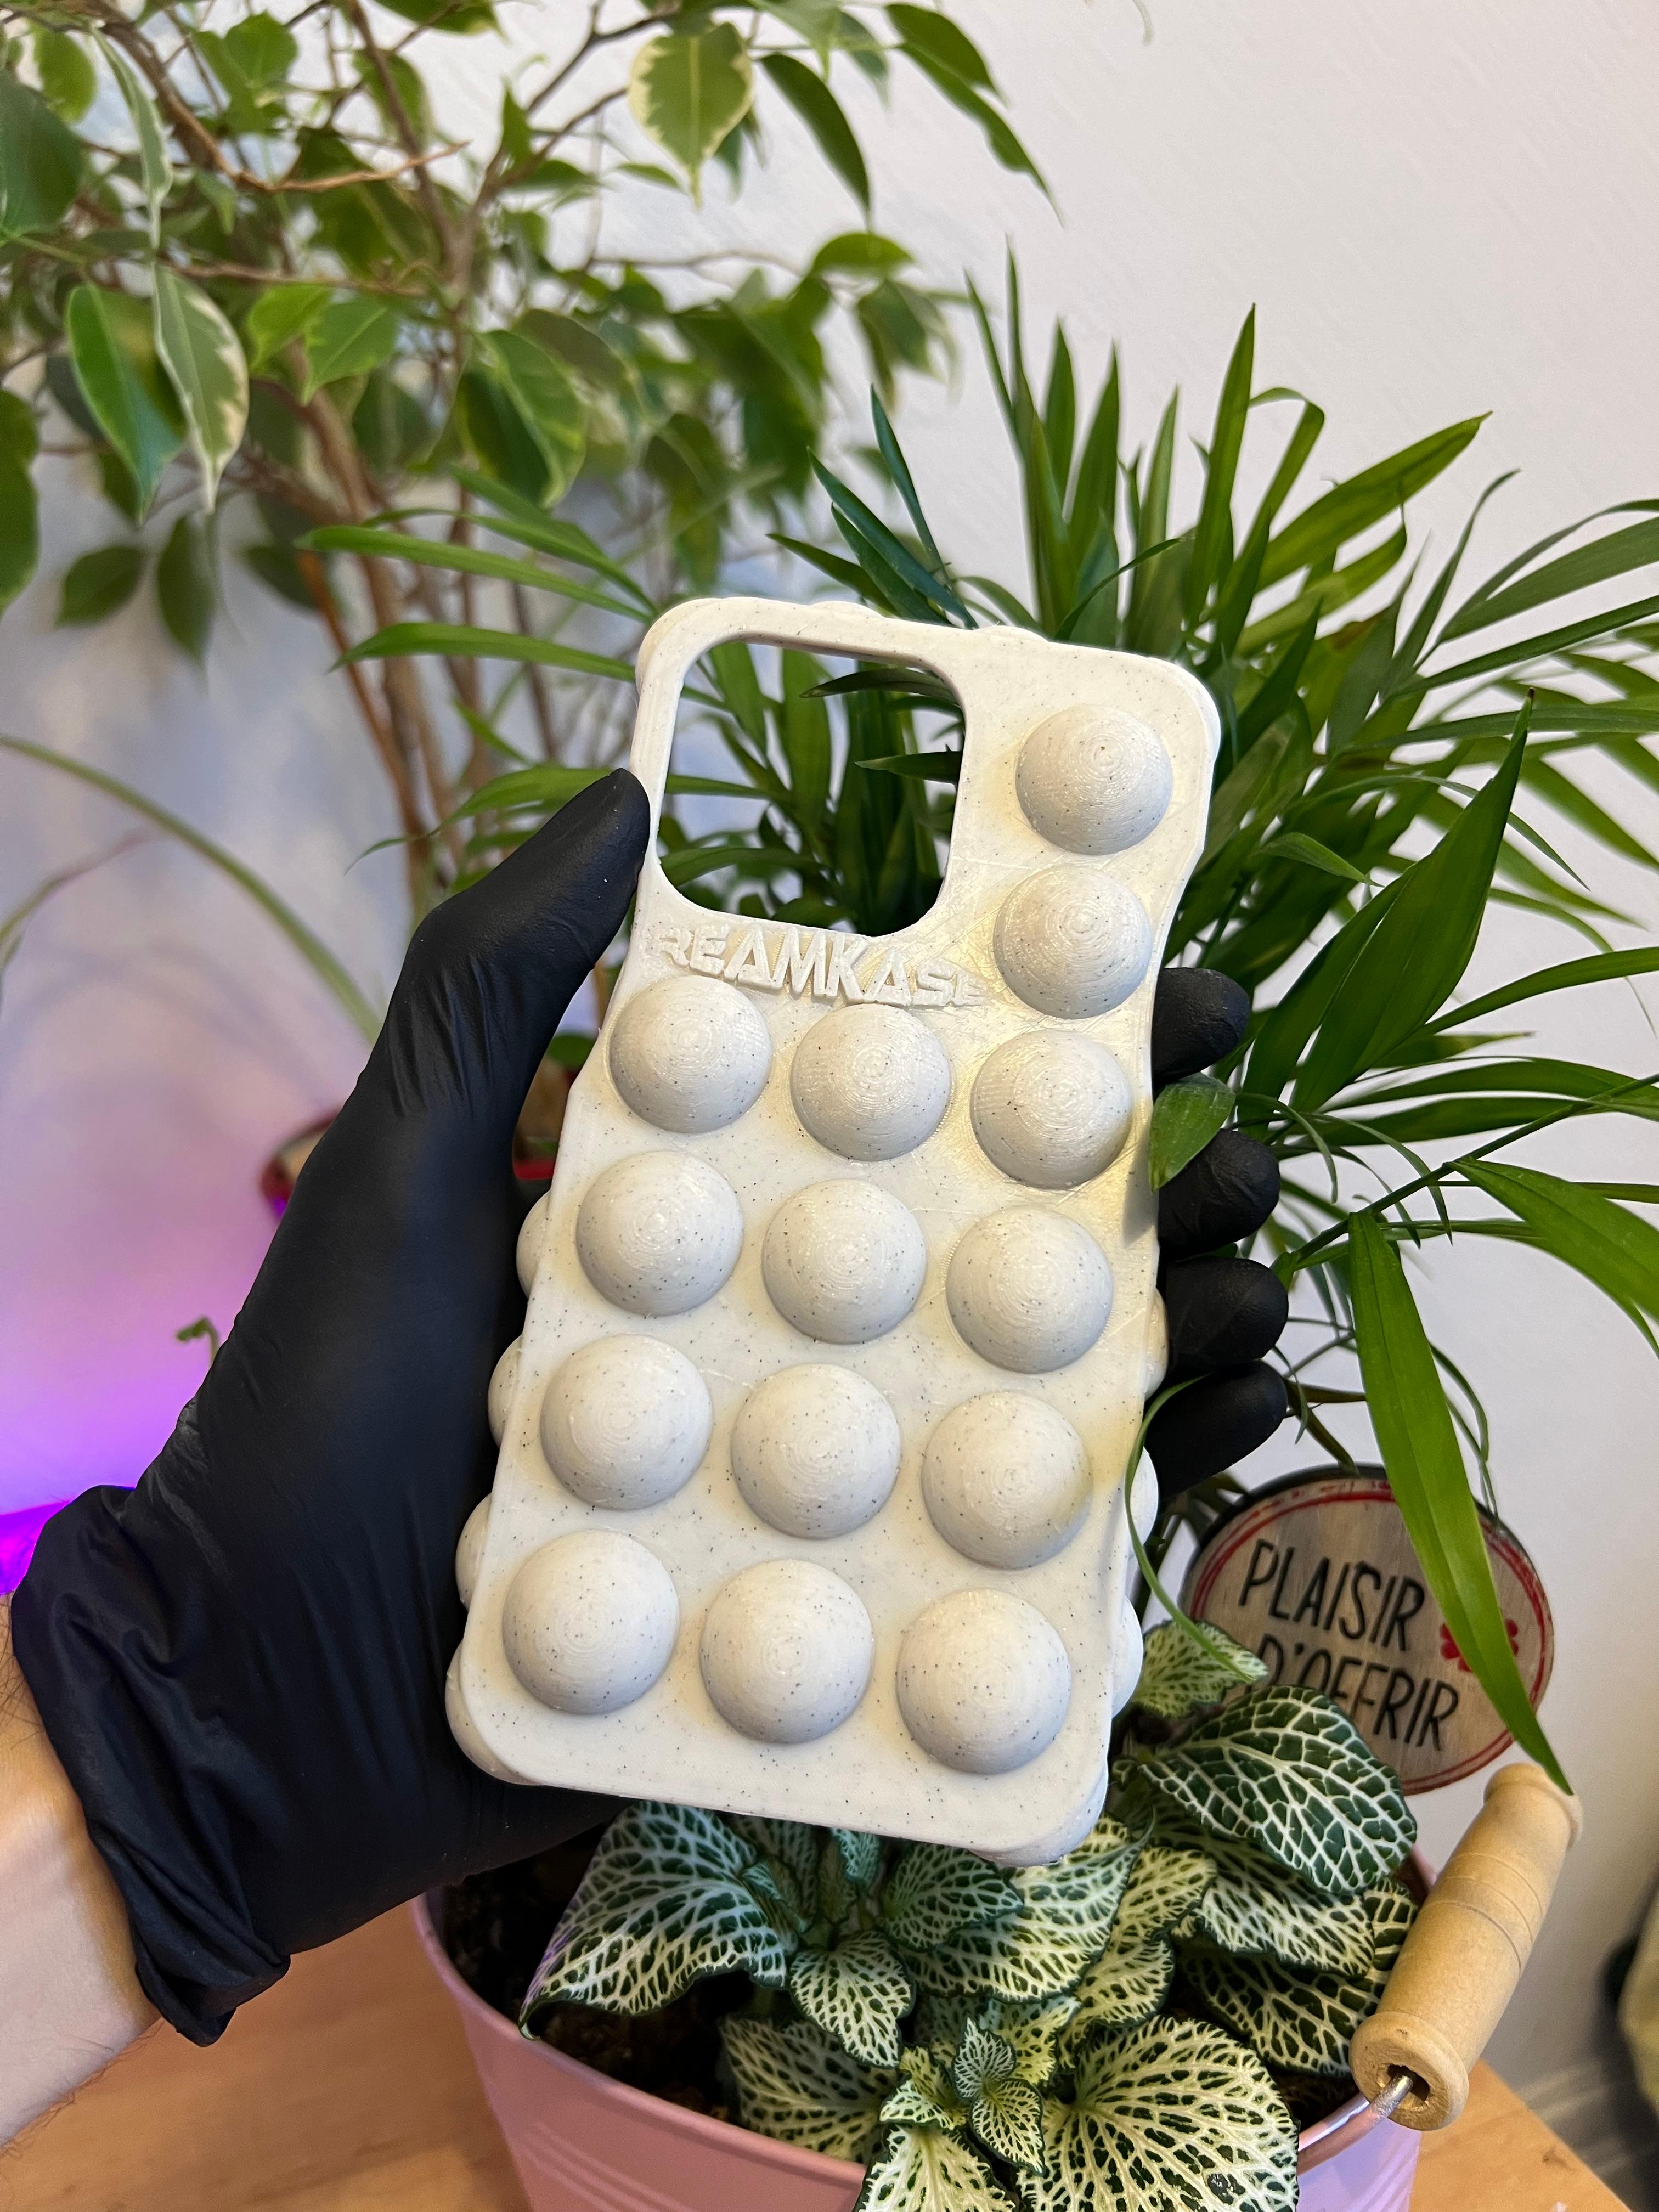
Bubble case Iphone 13 PRO / Coque iphone 13 pro bulle
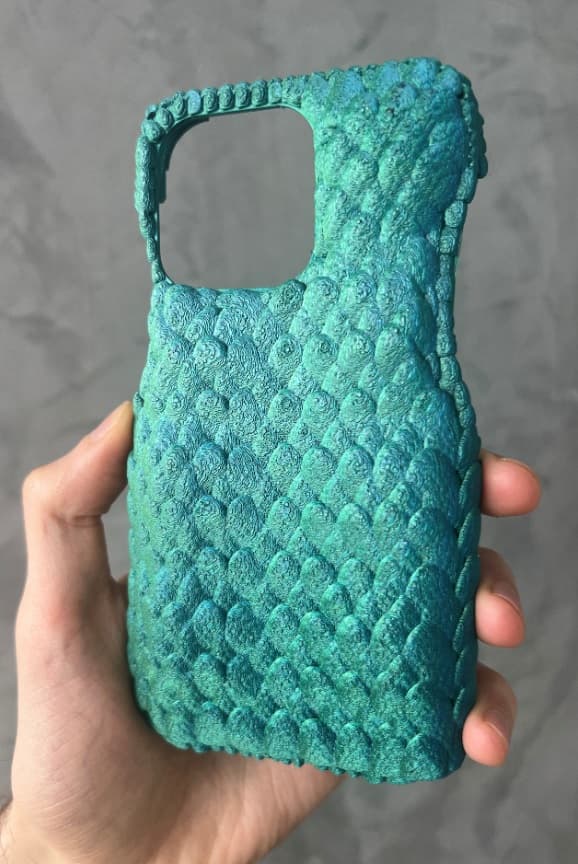
Iphone case Skin Snake Iphone 13 Pro / Iphone peau de serpent
IPHONE CASE 13 PRO Design / Etui iphone 13 pro
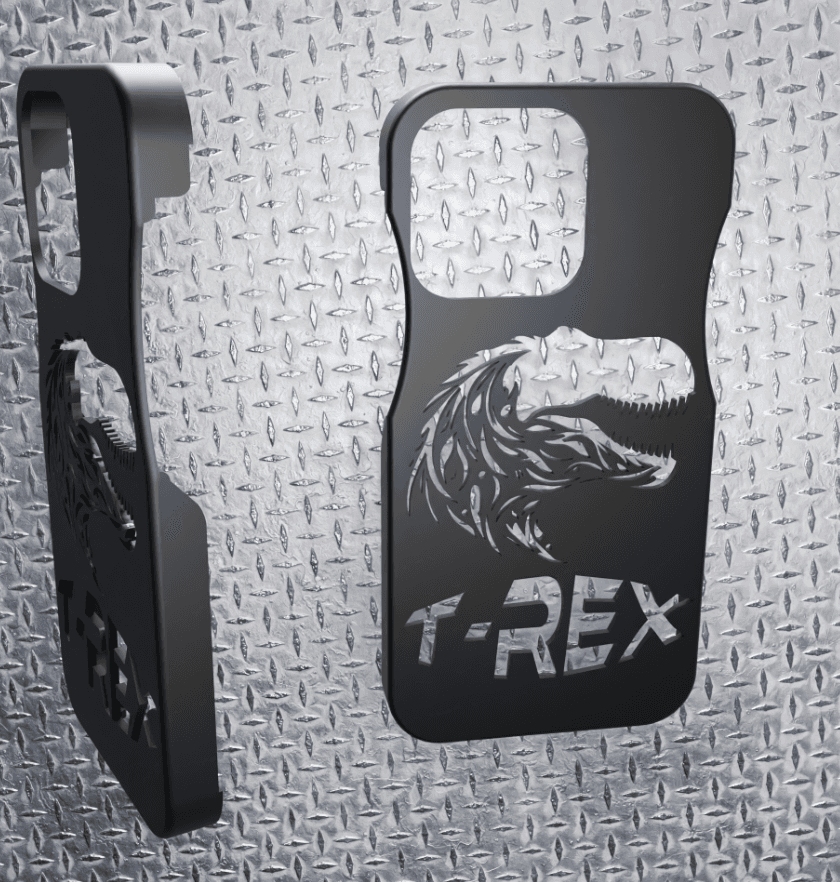
IPHONE Case 12 13 PRO T-rex - Coque Iphone 13 Pro
Apple iPhone 13 pro max
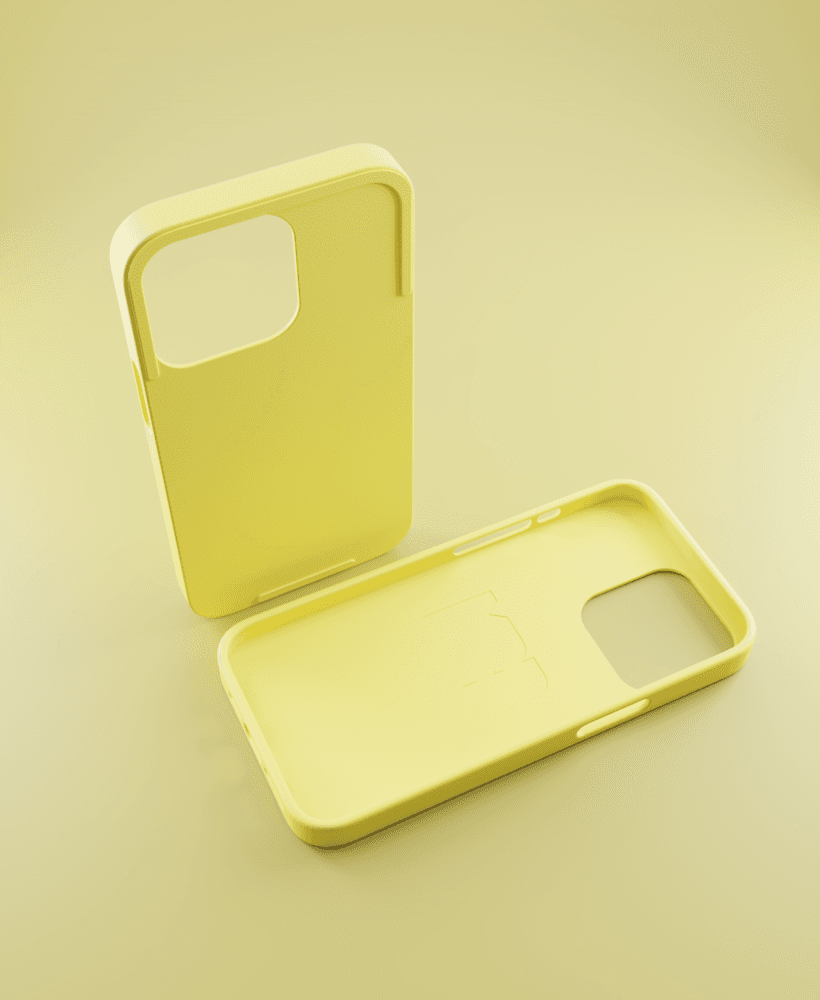
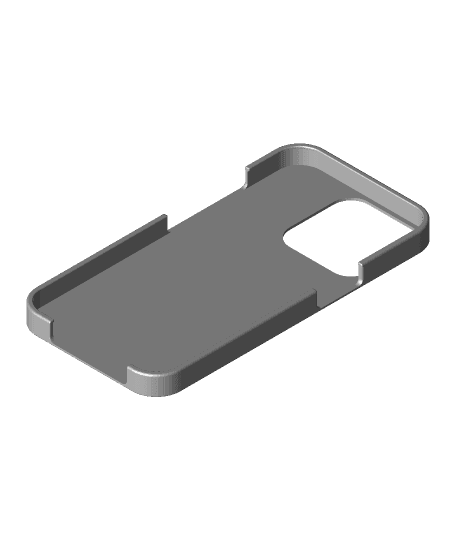
iPhone 13 Pro Flexible Case

Phone Vault - For Focus | Desk Drawer for iPhone

iPhone 13 Pro Max Flexible Case

Card holder case for Iphone 13 Pro

Iphone case 13 Pro - France

No Logo iPhone 13 Pro Max Flexible Case
iPhone 13 Pro Case with TPU Lens protector.

Iphone case 13 Pro - Senegal
Iphone 13 Pro

No Logo iPhone 13 Pro Max Easy Printing Case

No Logo iPhone 13 Pro Flexible Case
iPhone 13 Pro Lattice Cases

I wish this was also available for the iphone 12 pro. Brilliant idea! I may just have to upgrade phones lol!