tracking pixel
Chuck

Ghostbusters Ecto-1 Detailed Roof Rack (Polar Lights)

by
DirtyFacedKid
Follow
Follow
Remix Model
Like
DirtyFacedKid
DirtyFacedKid
Image 1 of 14
Ghostbusters Ecto-1 Detailed Roof Rack (Polar Lights) 3d model
2D
3D
Makes
Ghostbusters Ecto-1 Detailed Roof Rack (Polar Lights) 3d model
This model is restricted by licensing terms. 
1 Likes16 DownloadsFebruary 17, 2022
This model is restricted by licensing terms. 


Model originally uploaded to Thingiverse at https://www.thingiverse.com/thing:5141446.

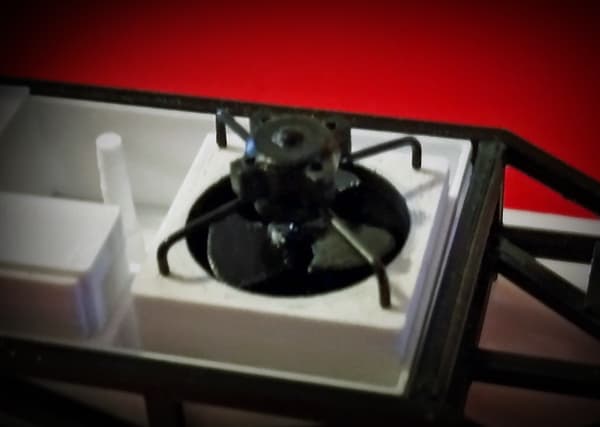
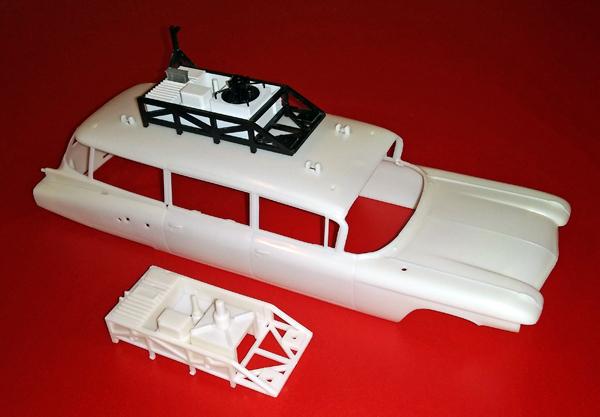
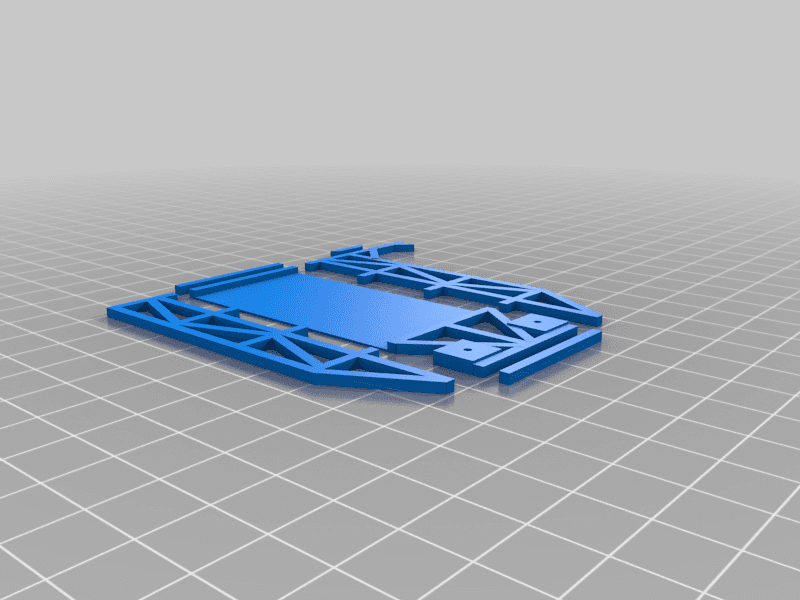
Made because the kit part was a single piece with little detail and painting precisely would be a PITA.

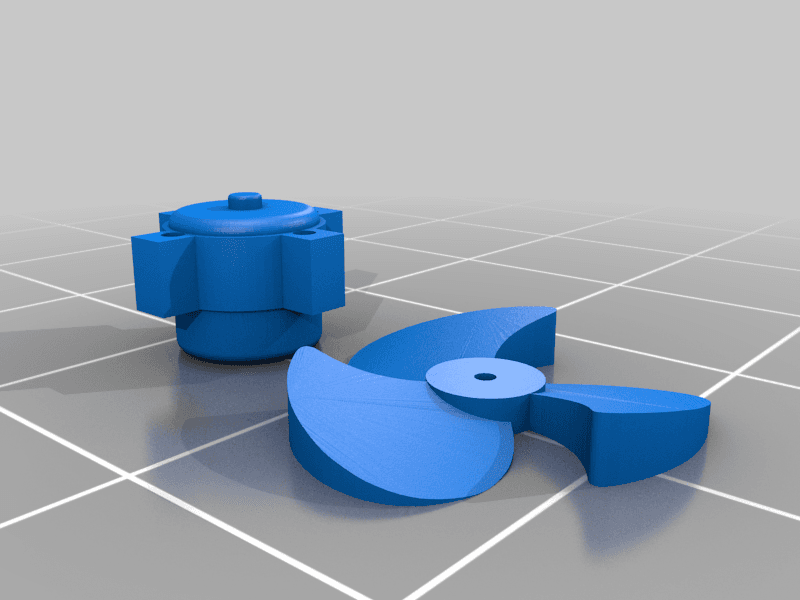
Kept close to original part but added a few extra details such as the fan motor, blades and heat sink.

Dimensions were taken directly from kit part which were a bit heavy in places.

Printed in PLA but resin would be better for some of the smaller parts.

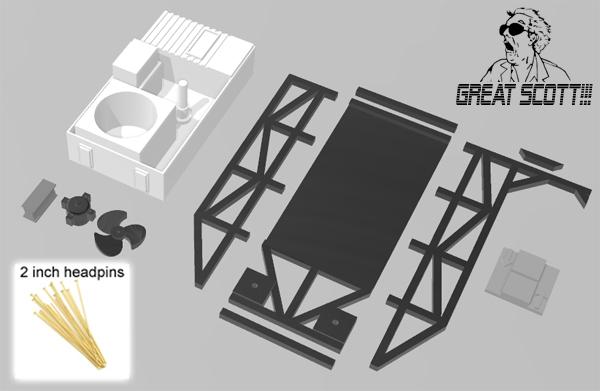
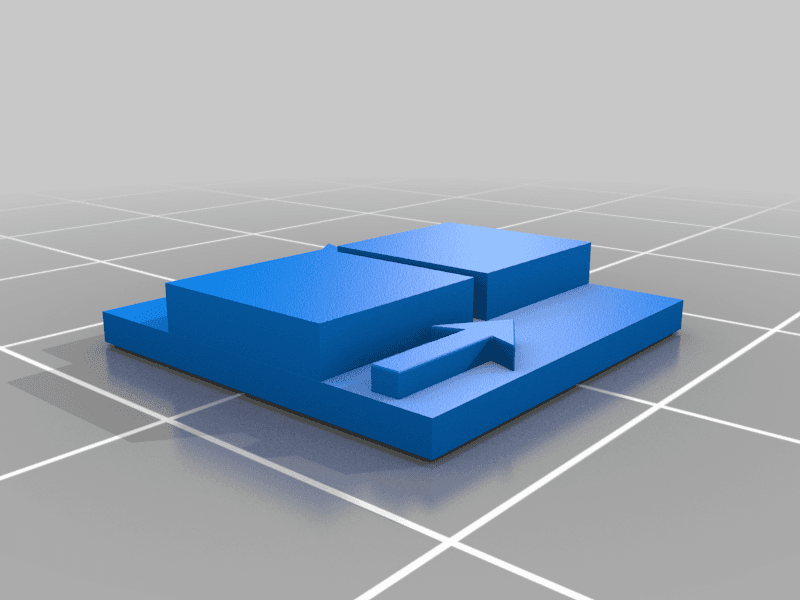
Assembly is pretty straightforward. Glue the sides and bottom of rack together, insert tub assembly, then glue the two upper support bars on front and back.

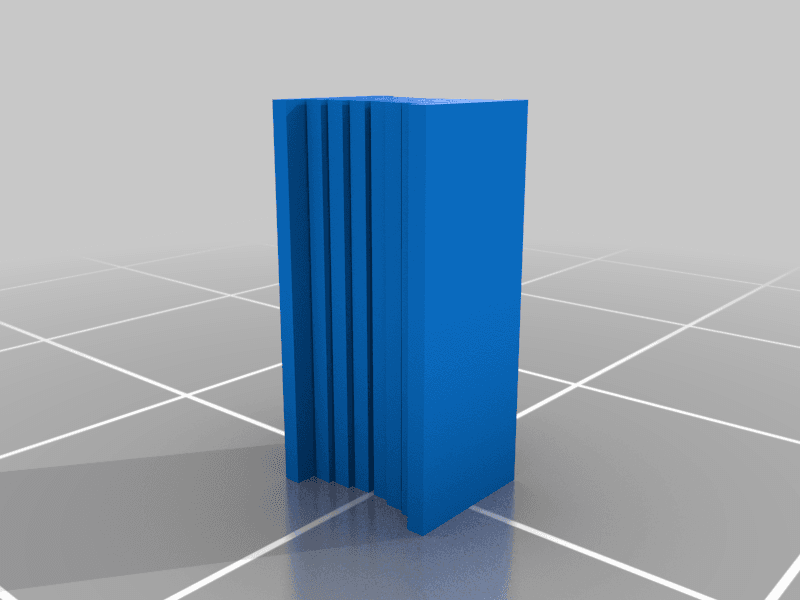
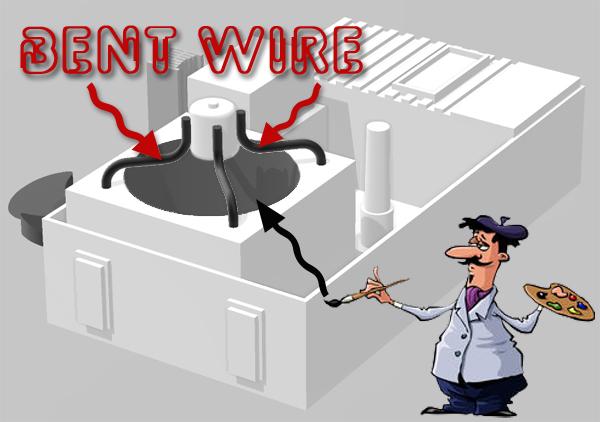
I added a wire bending jig for the fan motor legs (print at 14.7mm x 14.7mm x 2.9mm). I drilled out the mounting holes on the motor

Cut the kit's radar antenna base from kit tube frame (part 15), sand the bottom flat and fit on top of the printed rear roof rack riser.

Modify any other kit parts to fit their location.

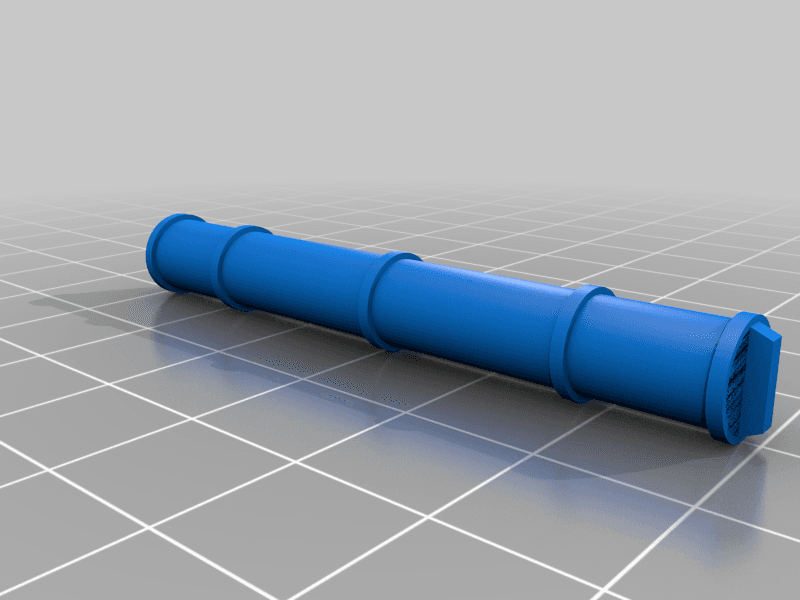
Jewelry Shoppe Findings 2 inch Headpins were used for the wire legs and blade shaft.

Colors are called out in file names.

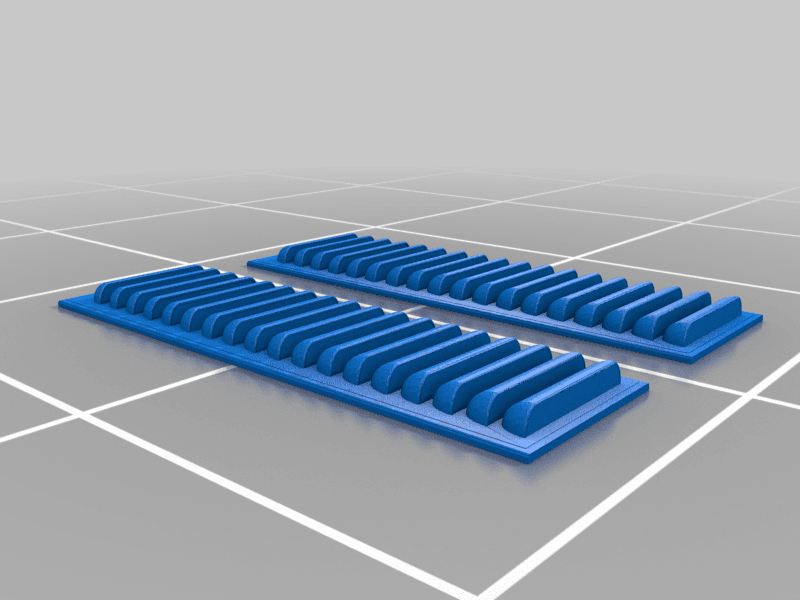
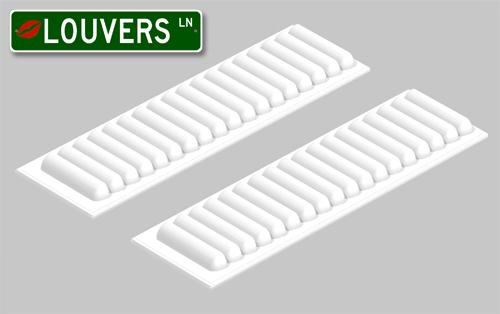
11/20/21 - Added hood louvers for the ummm . . . well . . . hood.

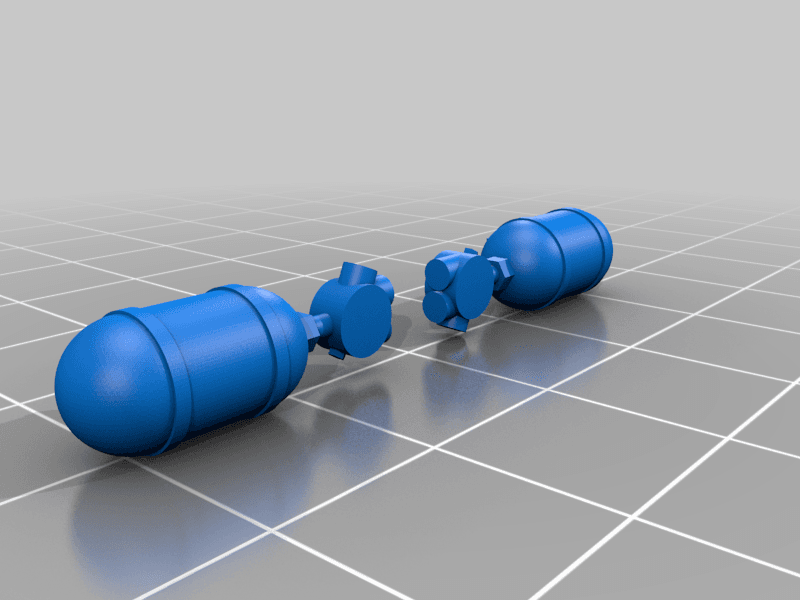
12/2/21 - Added freon tanks.

12/17/21 - Uploaded storage tank. Although there are better options than 3d printing for this item.


1 Likes16 DownloadsFebruary 17, 2022


This model is restricted by licensing terms. 
1 Likes16 DownloadsFebruary 17, 2022
This model is restricted by licensing terms.