Hyperbolic Paraboloid Chess Board
Game play remains the same but instead of moving in straight lines, pieces move in arcs across the negative Gaussian curvature of a hyperbolic paraboloid. Also, the board rocks back and forth, which might be a bit distracting!
Magnets are required to hold the pieces in place unless you are playing in a non-Euclidean universe.
For the board, print two of the “Hyperbolic Paraboloid Half Board” files. You won’t need supports, but brim is recommended. Glue the bottom edges together.
Before printing the squares, decide if you want the board to be oriented so that players face each other from “hilltops” across a valley, or from “valleys” up over a ridge. The board needs to be oriented such that each player has a white square in the lower right corner.
The files provided here are named for the “Hill to Hill” orientation, as if your white pieces are on the hill closest to you facing black across the board on the opposite hill. When printing out the quadrants, it is important to not let them get mixed up or it will be next to impossible to sort them out again.
You will need to print out one copy of each of the “Quadrant” file for each half of the board. Combine the “Hill to Hill Left Quadrant White” with the “Hill to Hill Left Quadrant Black” and arrange them according to the reference dimples described below. Print “Hill to Hill Right Quadrant White” and “Hill to Hill Right Quadrant Black” and combine them in the same way. Do this for both sides of the board.
Proper positioning of the “square” tiles on the board framework is the most challenging part of assembly. The pieces all have very subtle differences in curves and edge lengths, and it is easy to put them in incorrectly. To make this easier, small reference dimples have been added to the bottoms of each “square” tile. There is a single dimple on the corner of the tile that is most oriented towards the center of the board. There is a single dimple towards the outer side of the four inner “squares,” and two dimples towards the outer side of the outer twelve “squares.” Refer to the picture provided.
Arrange the pieces first and inspect the contours of the top of each piece to ensure that the directions of concavity and convexity makes sense according the where the piece is on the board.
A standard set of playing pieces is included with holes for 1/8” by 1/8” magnets.
You will need a total of 96 1/8” by 1/8” magnets, one for each square and one for each piece. Insert the magnets into the square tiles before gluing them on to the frame. Make sure you get the polarity right so that all the pieces stick to all the squares! The magnets used in the design and assembly of this model were purchased through www.kjmagnetics.com.
Once you’ve inserted the magnets and determined the correct orientation of each piece, go ahead and glue them in place. CA glue works well.
Hyperbolic Paraboloid Chess Board

Large Mizu Gumi Picture Stands

Small Mizu Gumi Picture Stands

Industrial Construction Set - FDM

Bouali Strange Attractor Sculpture

Aizawa Strange Attractor Sculpture
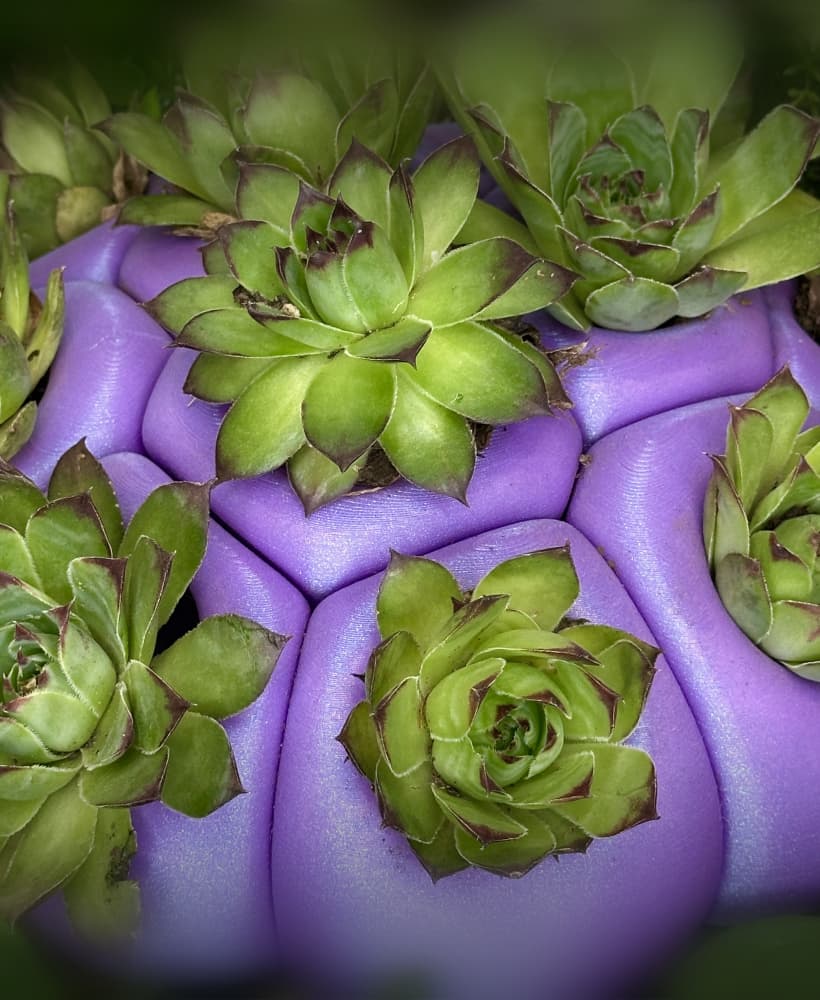
Bio Blob
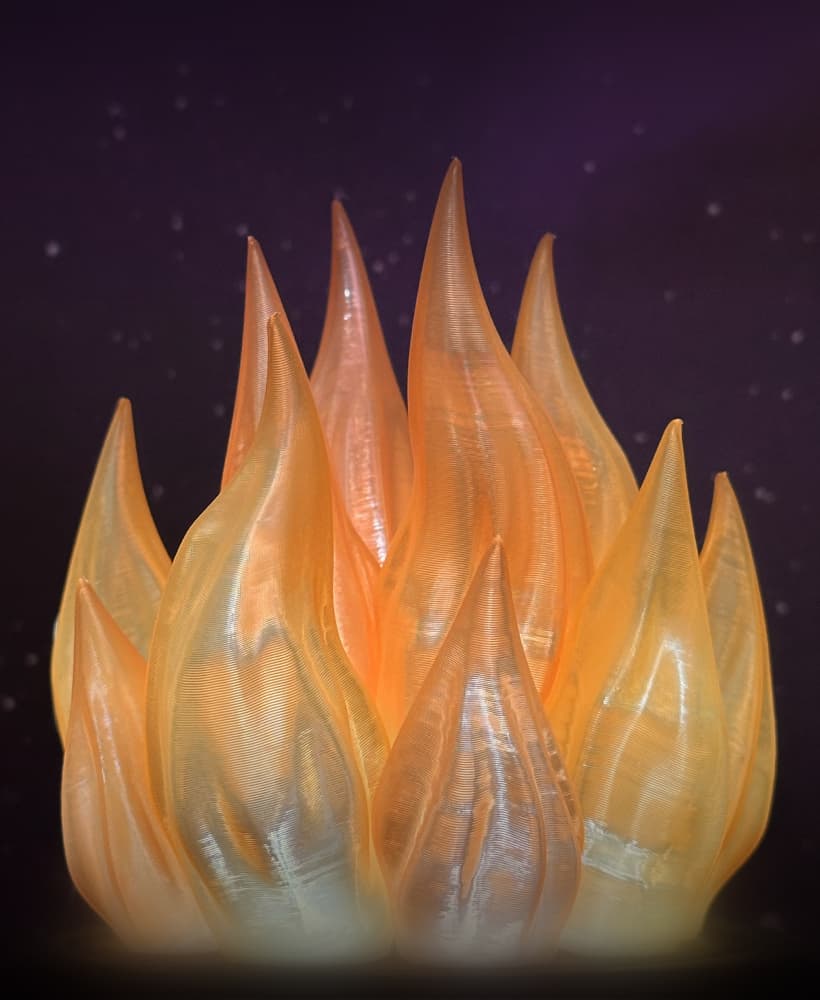
Flame Lamp
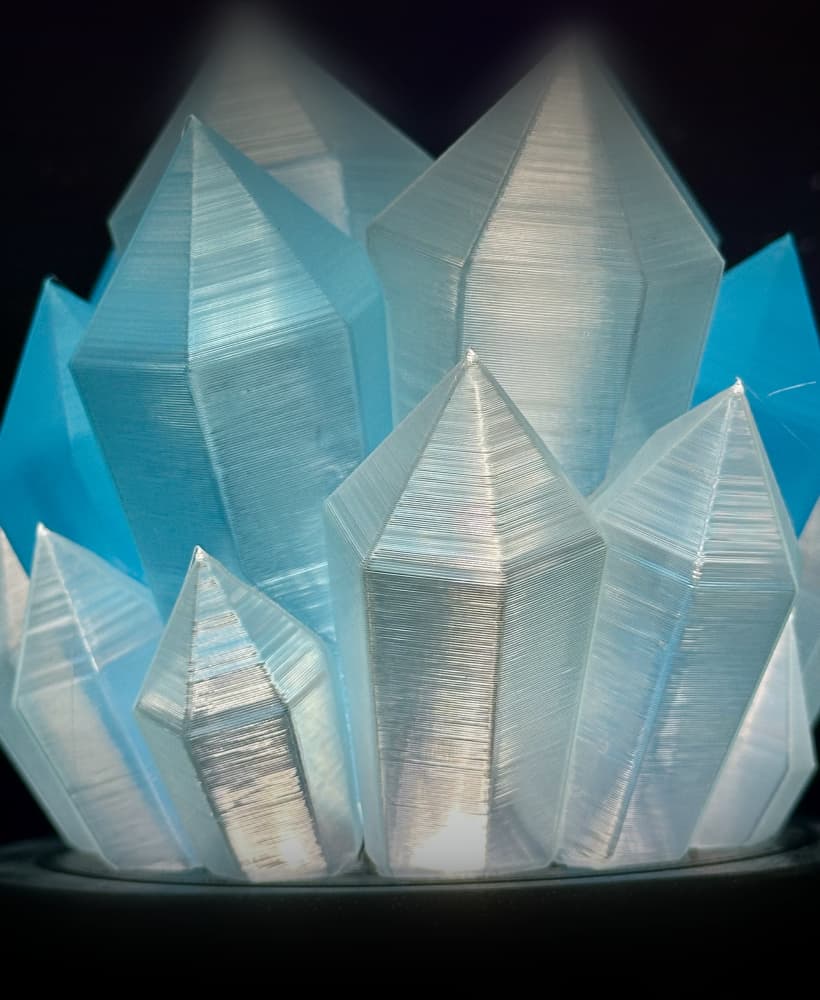
Crystal Lamp
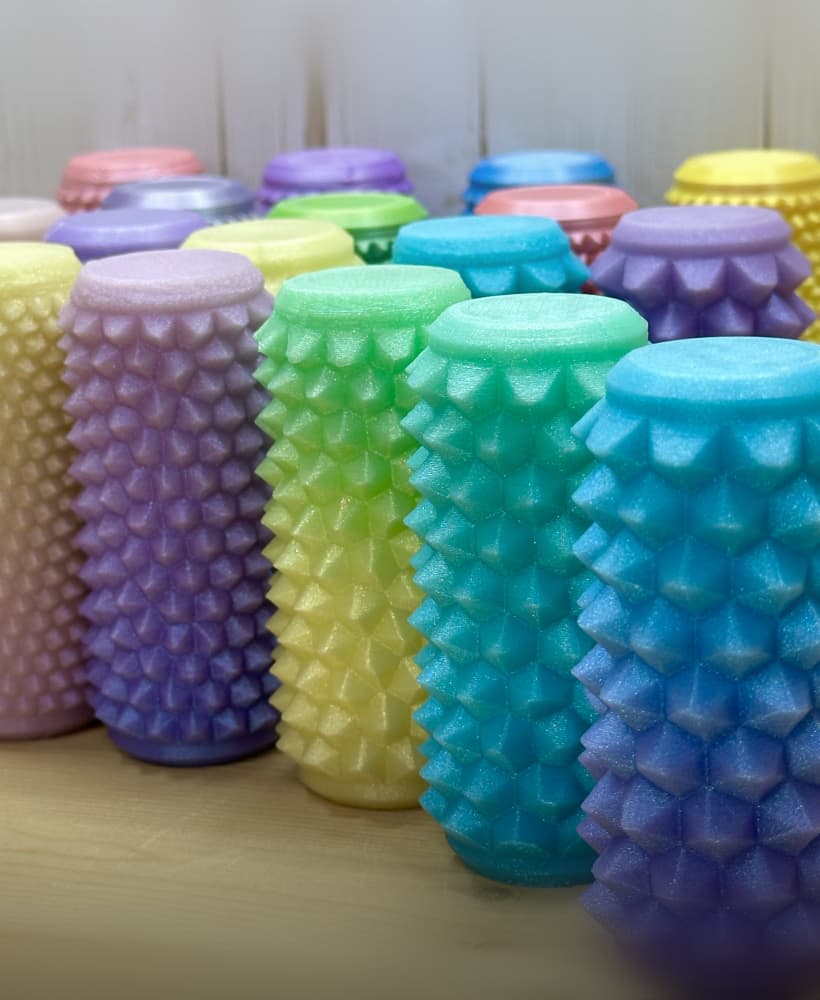
Fidget Ouchies
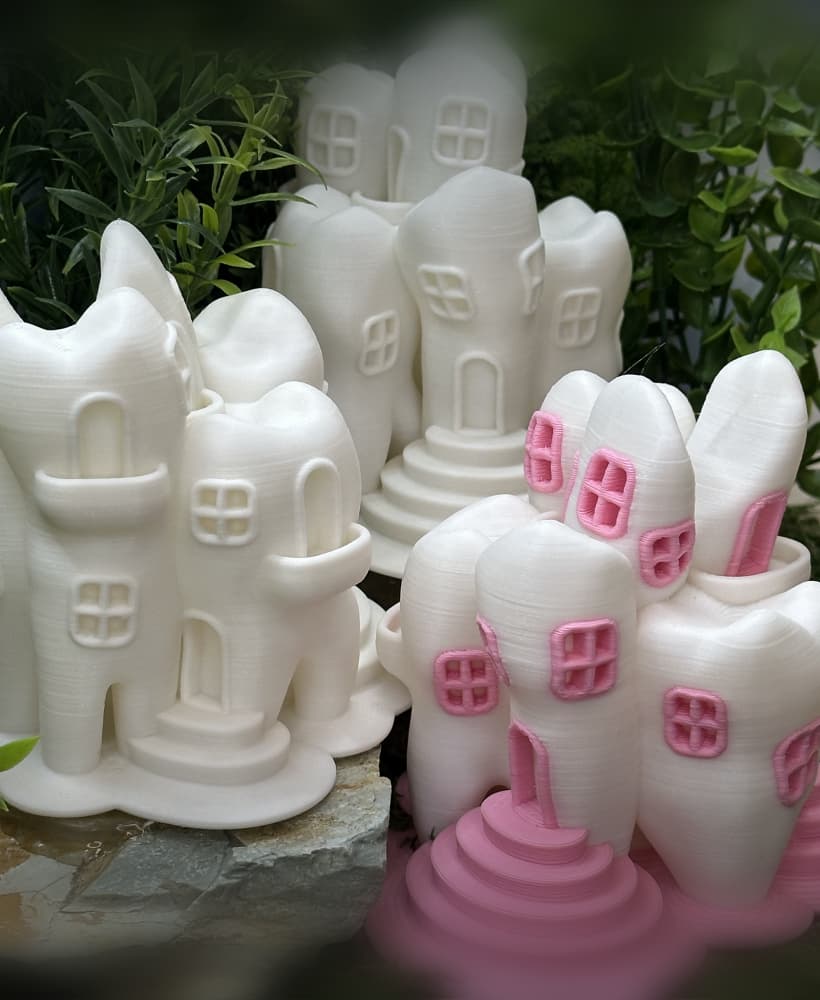
Tooth Fairy House
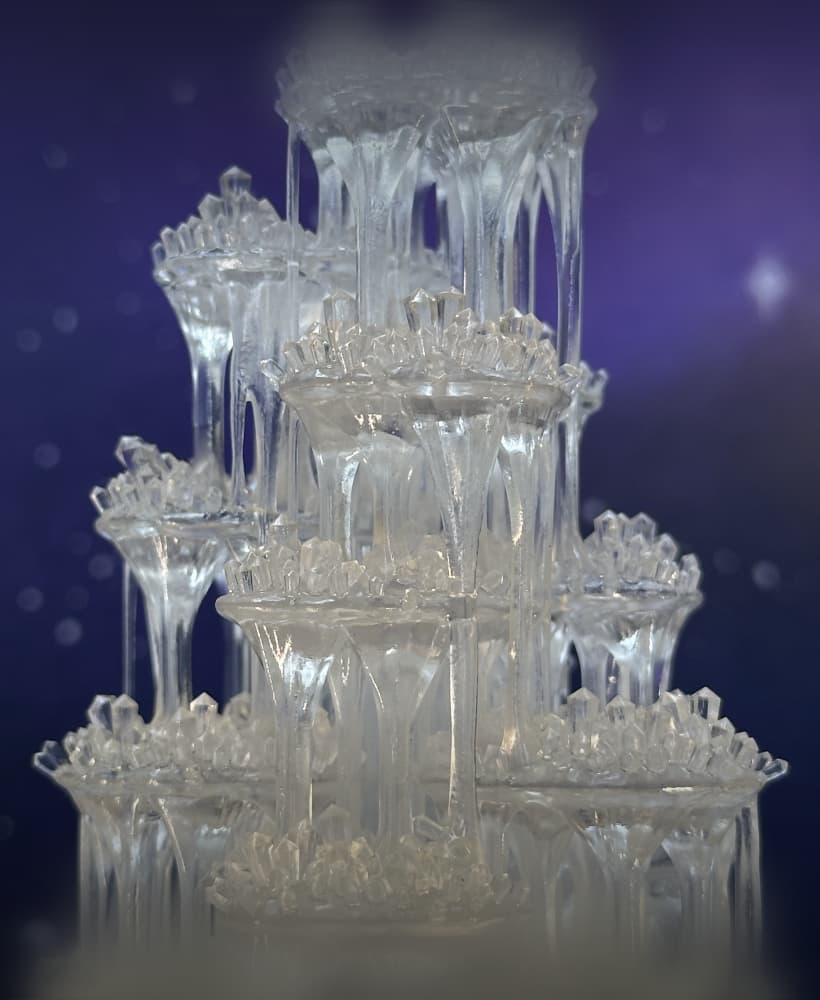
Crystal Citadels

Shack Pack - Sober
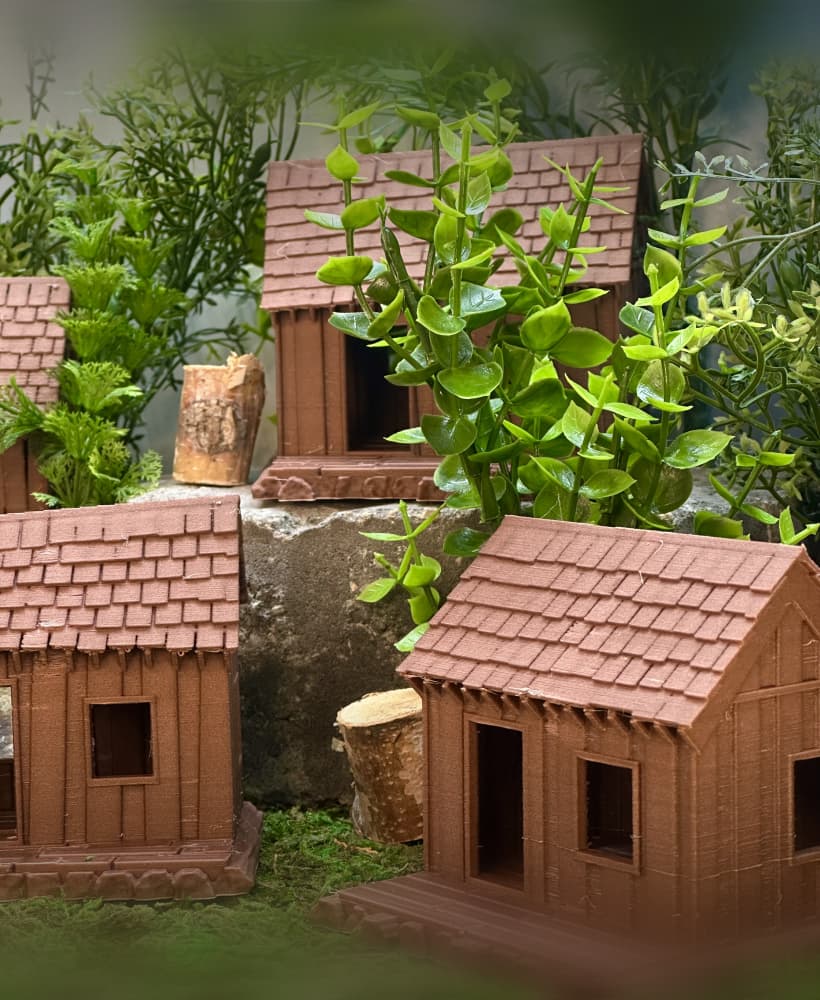
Shack Pack - Tipsy

Shack Pack - Plastered
Hole Through a Hole in a Hole
Holder for Reusable Straw
Stellar Blooms
Bump Boxes
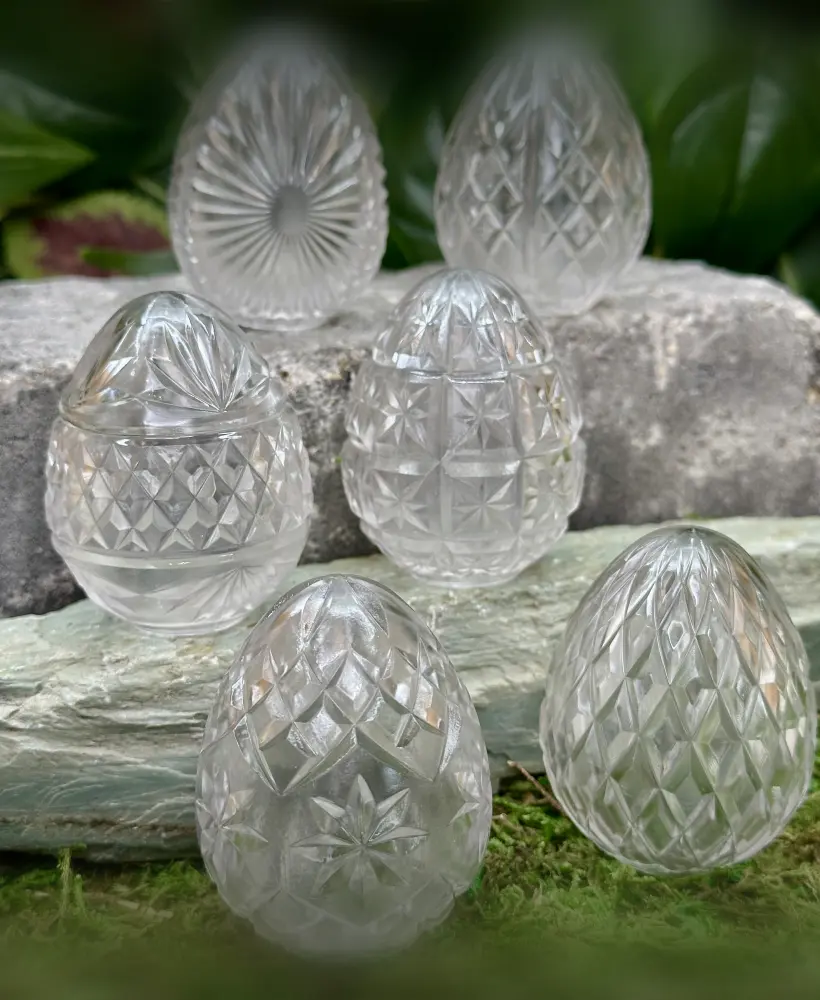
Cut Crystal Eggs - Set 2