Profile Image
DaveMakesStuff
DaveMakesStuff

DaveMakesStuff

"I don't usually know what I'm making until it's too late."

Social media and other collaborations: https://linktr.ee/Davemakesstuff

Follow

Select a membership plan

Premium Models
$10.00
/ month

Membership Includes

  • Access to unlimited premium models for personal use.

Does not include commercial use.

Commercial License
$20.00
/ month

Membership includes

  • Access to unlimited premium models.
  • Commercial rights to sell physical prints of all models for the duration of your membership.
  • Promotional support on social media. Tag me and I’ll share and repost!

Does not include sale or distribution of digital files.

DaveMakesStuff

Frosty Snapman - Flat Base.stl

by
DaveMakesStuff
Follow
Follow
Remix Model
DaveMakesStuff
DaveMakesStuff
|
Image 1 of 5
Frosty Snapman - Flat Base.stl 3d model
DaveMakesStuff
DaveMakesStuff
|
Image 1 of 5
Frosty Snapman - Flat Base.stl 3d model
2D
3D
Makes
Frosty Snapman - Flat Base.stl 3d model
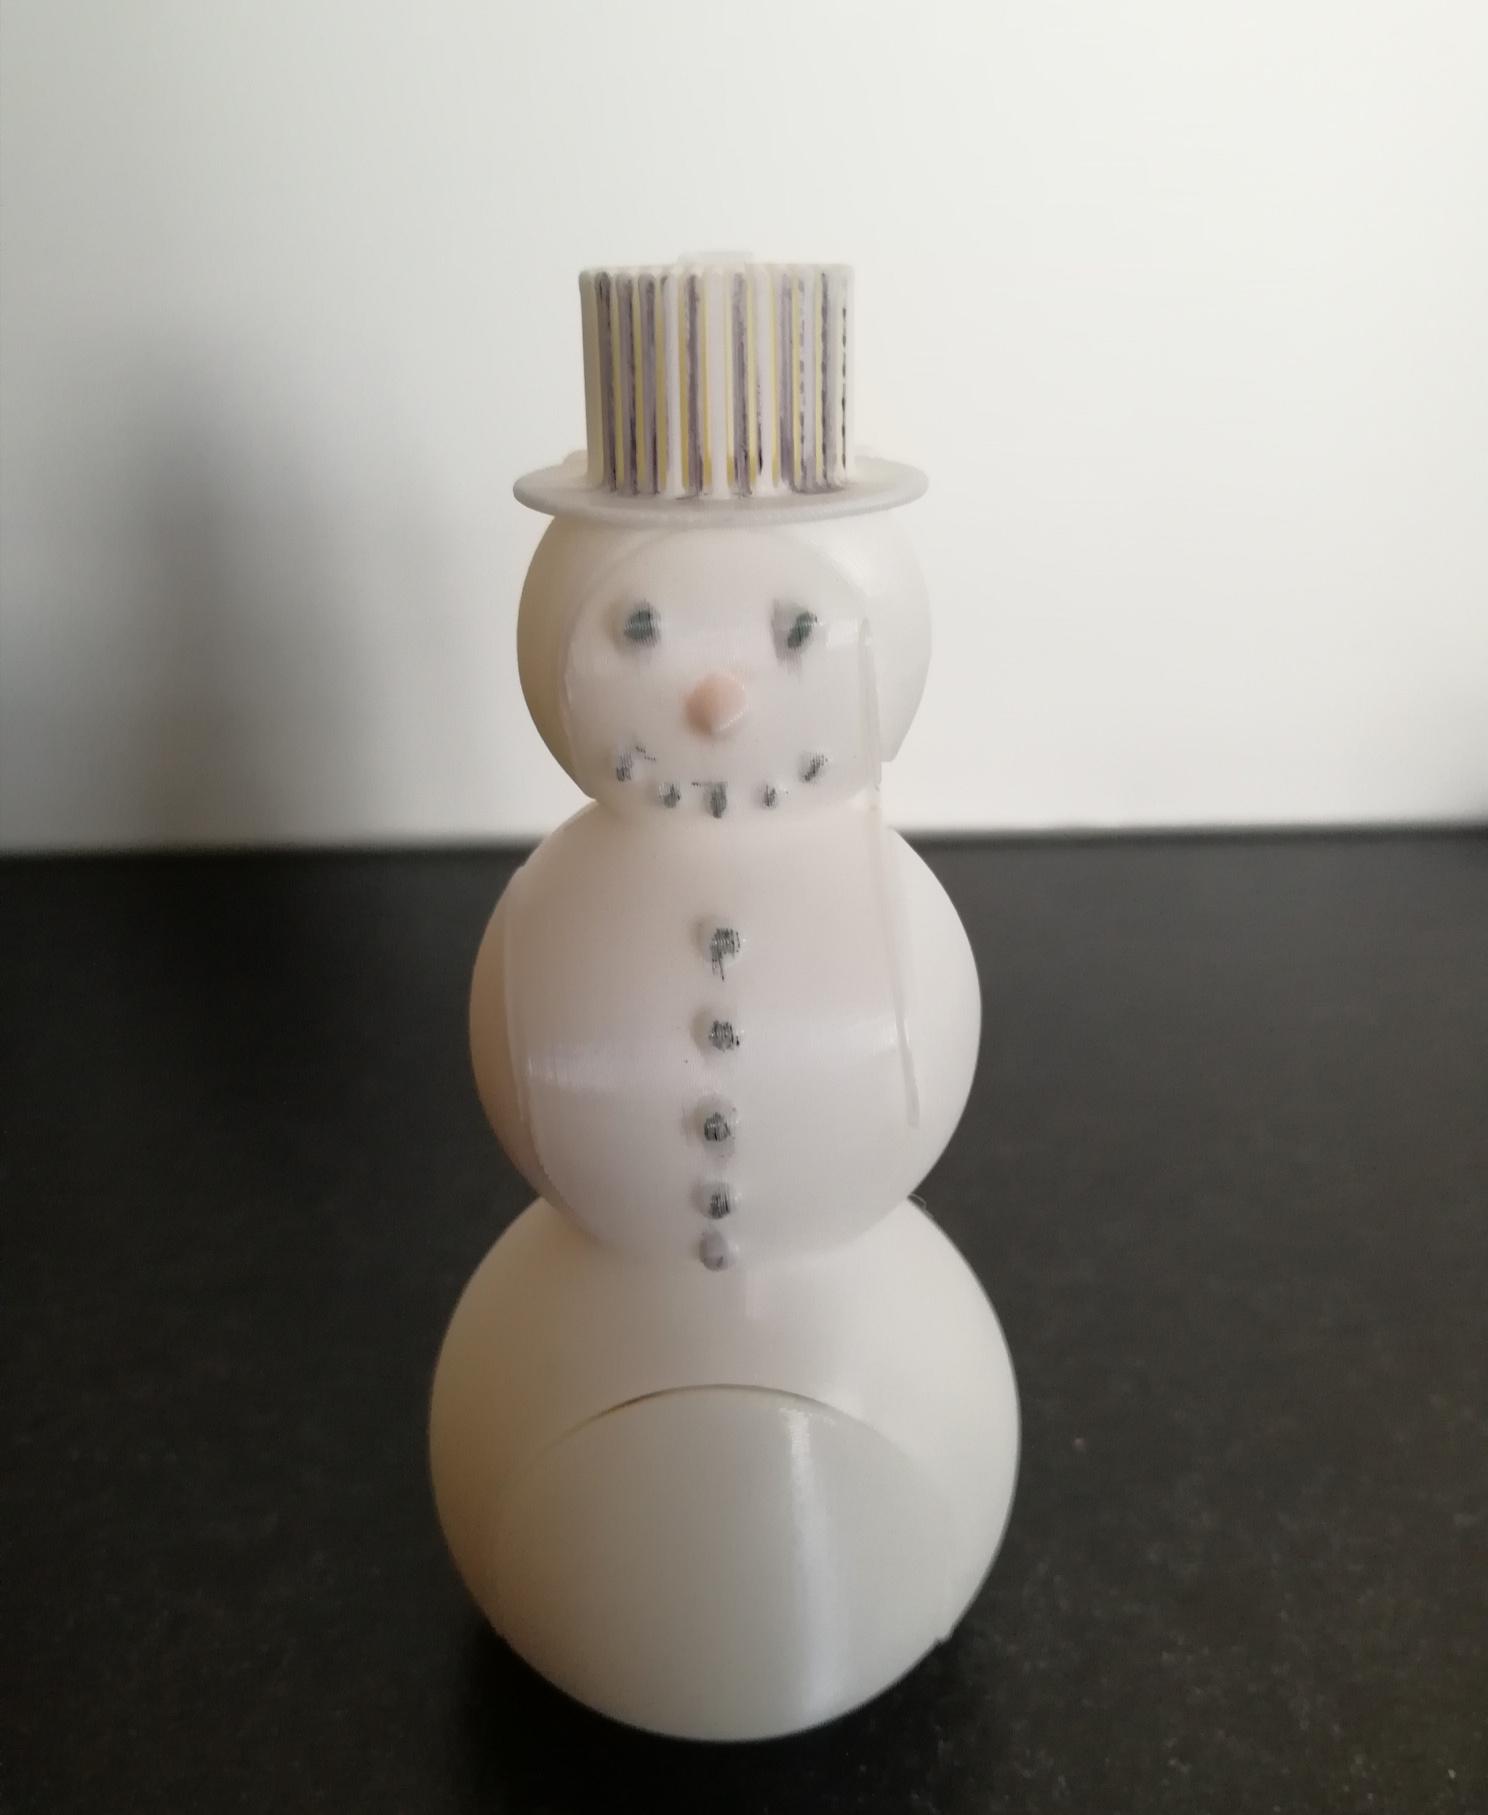
Frosty Snapman - Flat Base.stl - Works pretty well. Forgot to use the spiralized mode. - 3d model
Frosty Snapman - Flat Base.stl 3d model
This model is restricted by licensing terms. 

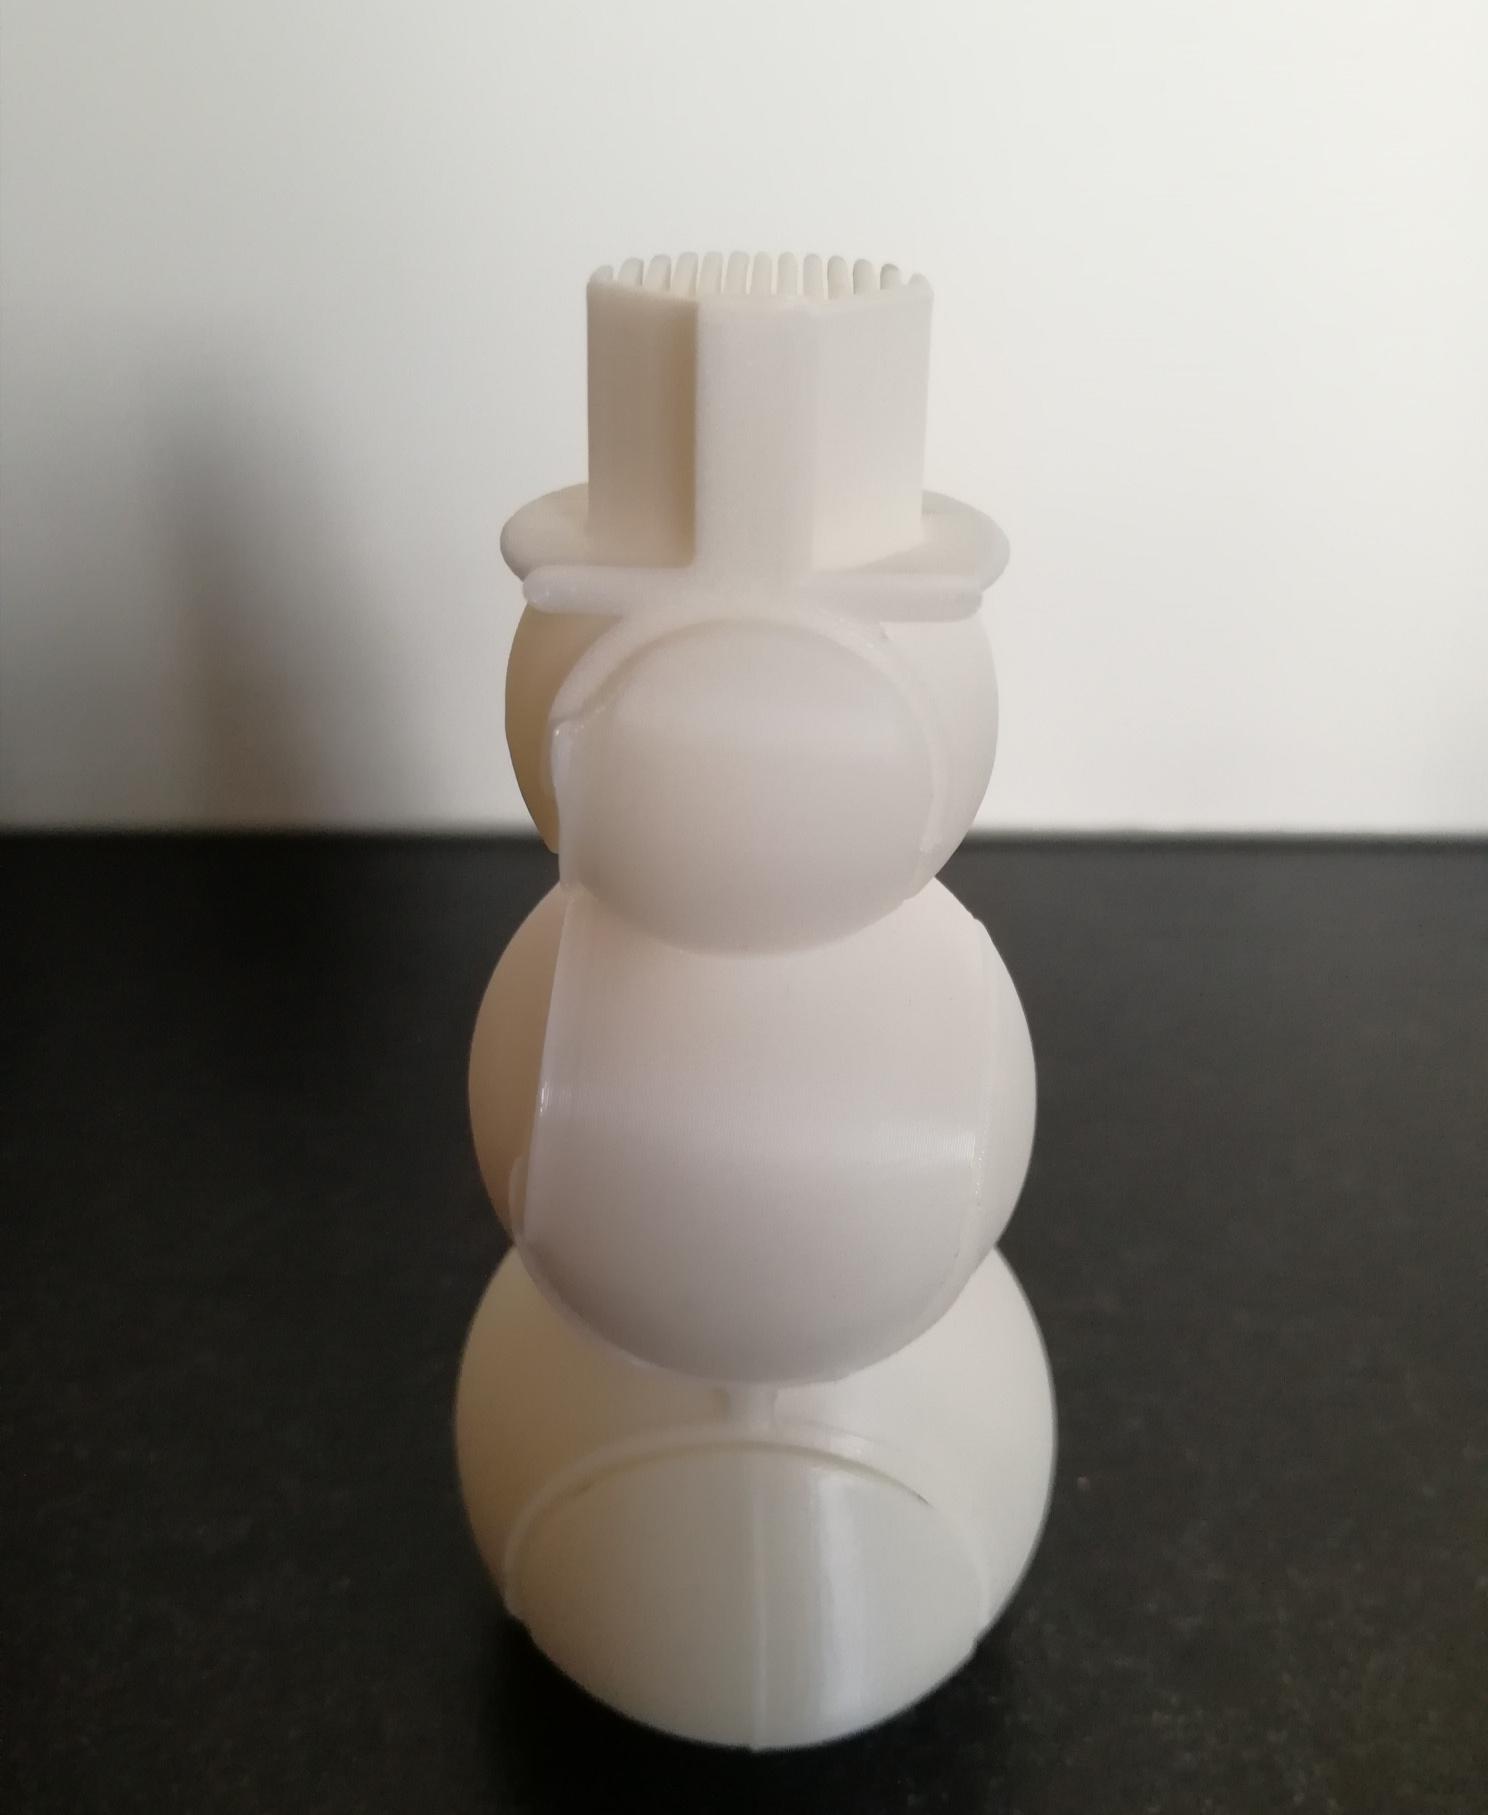
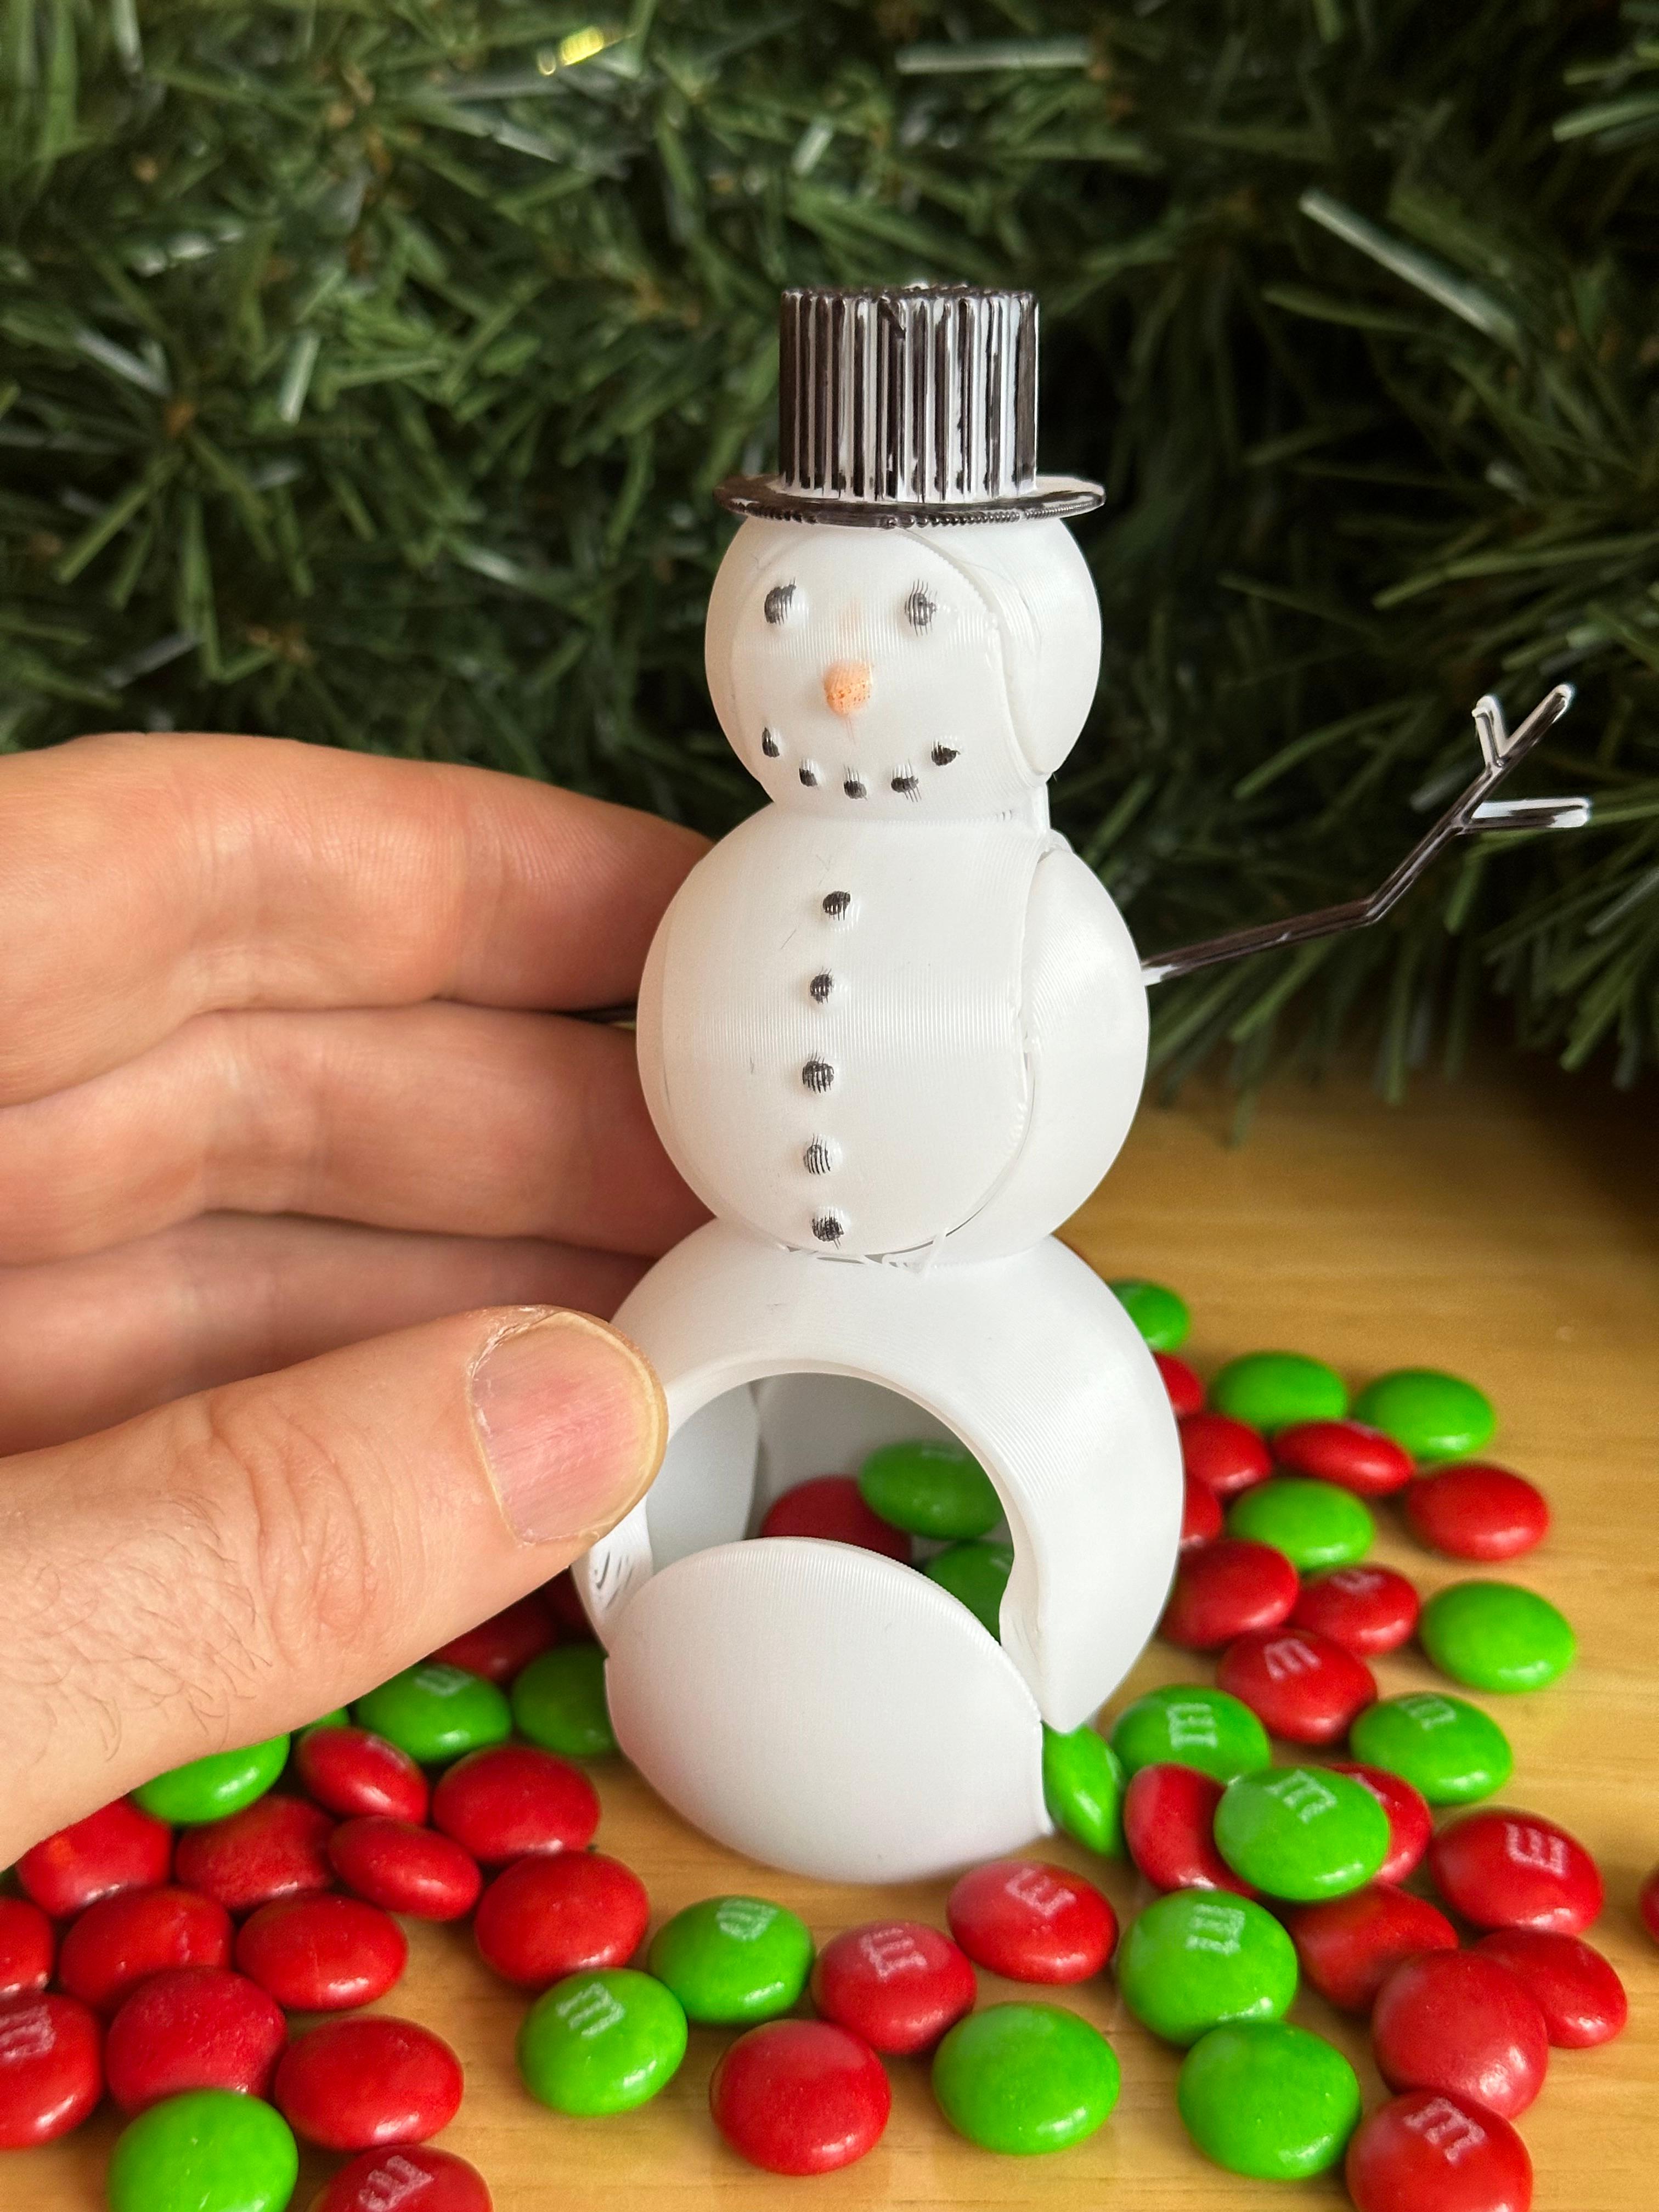
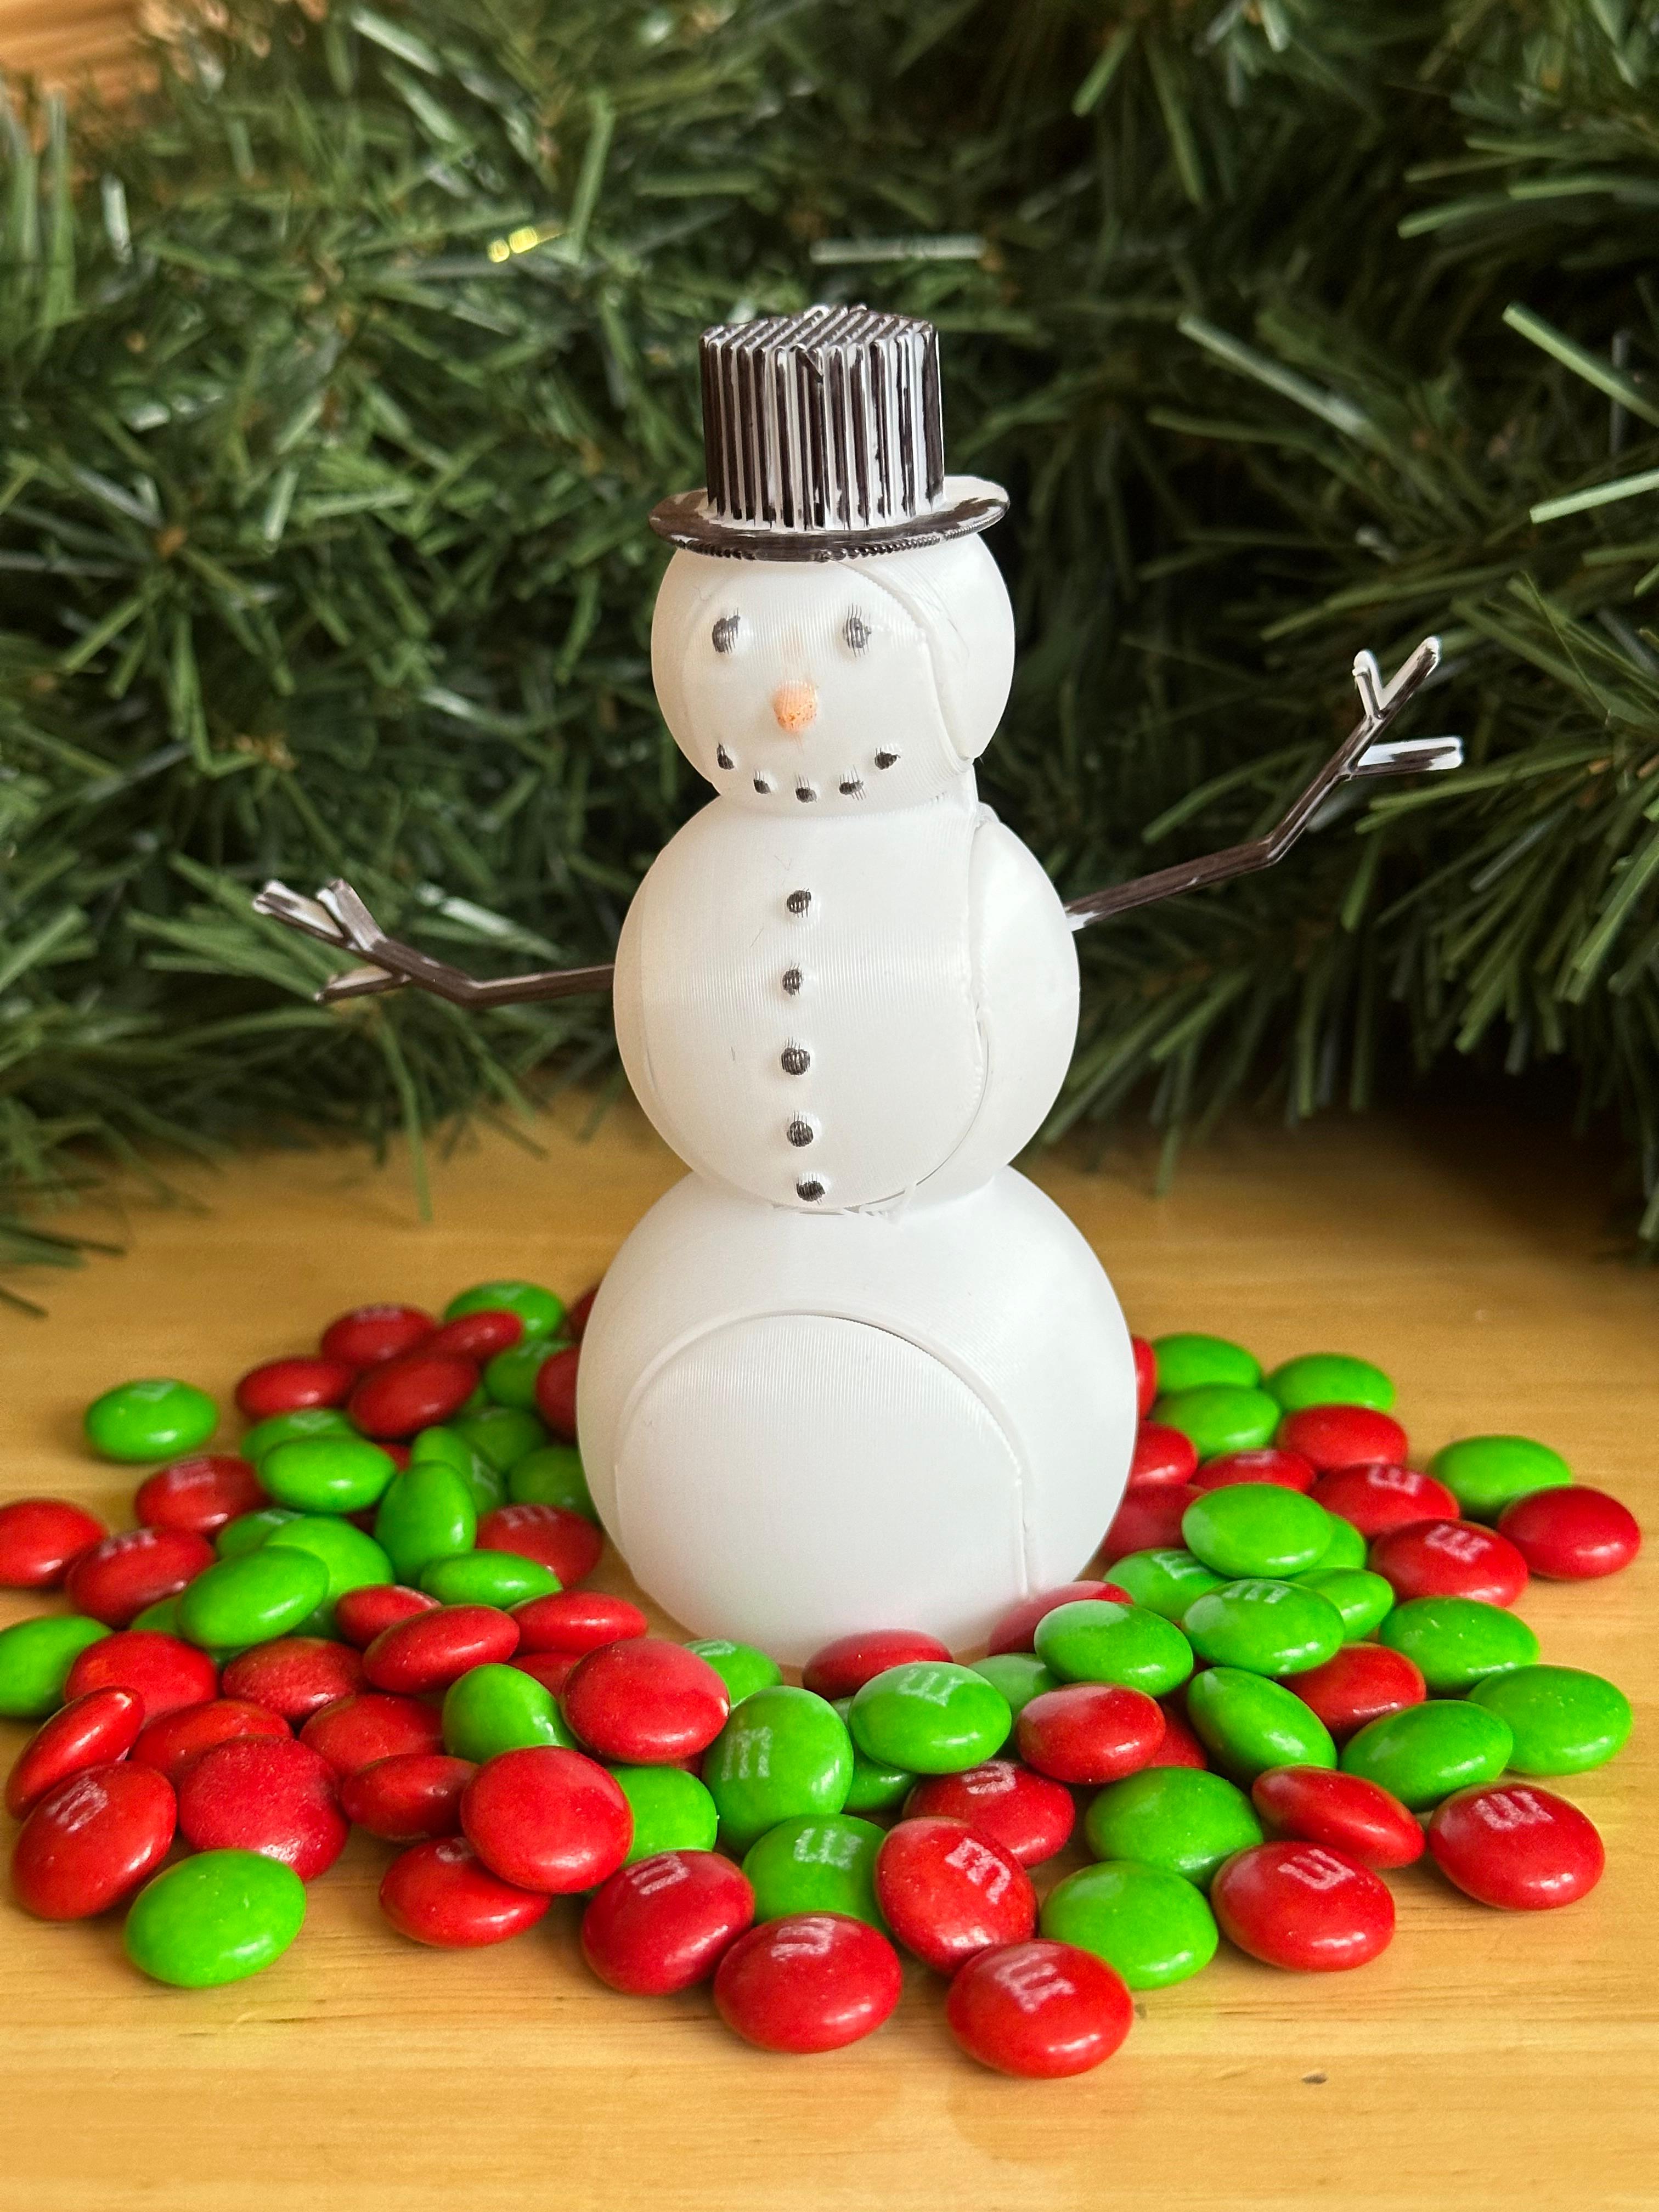
This four-piece snap-together Frosty uses only 16g of filament to print! And there is room inside to hide your candy.

See here for video: https://youtu.be/7eFPDJ6JYg0

These pieces are designed for printing in “spiralized” or “vase” mode.

For each Frosty Snapman you will need to print a “Base,” “Base to Mid”, “Mid to Top” and “Top” file. There are plain and decorated versions of each. Select “Flat Base” if you want Frosty Snapman to be able to stand!

The pieces snap together in specific orientations, so if Frosty looks crooked just try reorienting the pieces.

Be sure to use “spiralized” or “vase” mode. The above 16g filament estimate is for spiralized mode with a 0.4mm nozzle.

Here are some recommendations for spiralized printing:

  • Set your “Bottom Layer” to 1
  • Try using a skirt for bed adhesion, but if that is not working then try a brim. You will just have to remove the brim afterwards
  • If you get funny stringing in places, try moving the z-seam alignment around of changing the layer height slighty.
91 Likes106 DownloadsDecember 15, 2023


91 Likes106 DownloadsDecember 15, 2023
This model is restricted by licensing terms.