


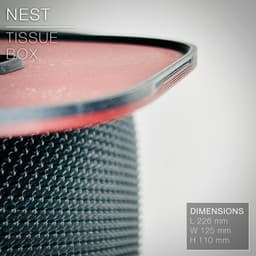


NEST | Wicker Tissue Box
NEST | Wicker Tissue Box
A slicker wicker tissue flicker.
Meet NEST, a fast-print tissue box fashioning a stylish wicker texture!
Any 3D printer can print it without exceptional print settings and a regular 0.4mm nozzle. (See settings below)
Happy printing!
DIMENSIONS | L226 mm x W 125 mm x H 110 mm
PRINTING | Box ~2h | Lid ~1h
V2 UPDATE: The weave on the latest version (V2) is twice as thick as the original version. It is now made of 2 walls (instead of 1 wall for the original version). So it is much stronger and prints much cleaner. Also, I added a clip system so the lid stays on when you pull the tissues.
3D PRINT SETTINGS The box and lid both print upright. (the STL files are all already oriented properly) No need for supports, or brim.
The top lid 3D appears full, not in a mesh-style like the one I printed in blue. This is not a mistake. So you can print the top lid full, like the red and black example on the pictures. Or if you want to turn it into a mesh like the blue example, you need to cancel the top and bottom faces by setting top layers and bottom layers to 0, set the infill to 30% (I used gyroid infill on the blue example).
For BambuLab users, turn on "Arachne" mode in the "Wall Generator" settings. Otherwise Bambu Studio will detect some of the weave layers as empty.
Layer height: 0.3mm/layer Wall line count: 3 Infill: 30% top layers: 0 (if you want the flat faces to be a mesh) bottom layers: 0 (if you want the flat faces to be a mesh) Build adhesion type: None Supports: None
If you want the top lips of the lid in a different colour than the lid (like the pink lid on the pictures), you can modify your Gcode to schedule a filament change at the layer where the lip starts. First, slice your model.
Then, in CURA go to: Extensions > Post Processing > Modify Gcode > Add Script > Filament Change And in there you input the layer where you need the filament change to happen. Slice your model once again so it updates your Gcode. And there you go! Ready to print!
In Bambu Studio, after slicing, scroll the layer scroller on the right of the screen until you reach the layer where you want the filament to change. Right click on your mouse and hit "pause" to schedule a filament change at that layer.
NEST | Wicker Tissue Box

SINE | pendant light E27/E26

COROA | pendant light E27/E26

MALLA | woven fruit bowl

MALLA | key bowl
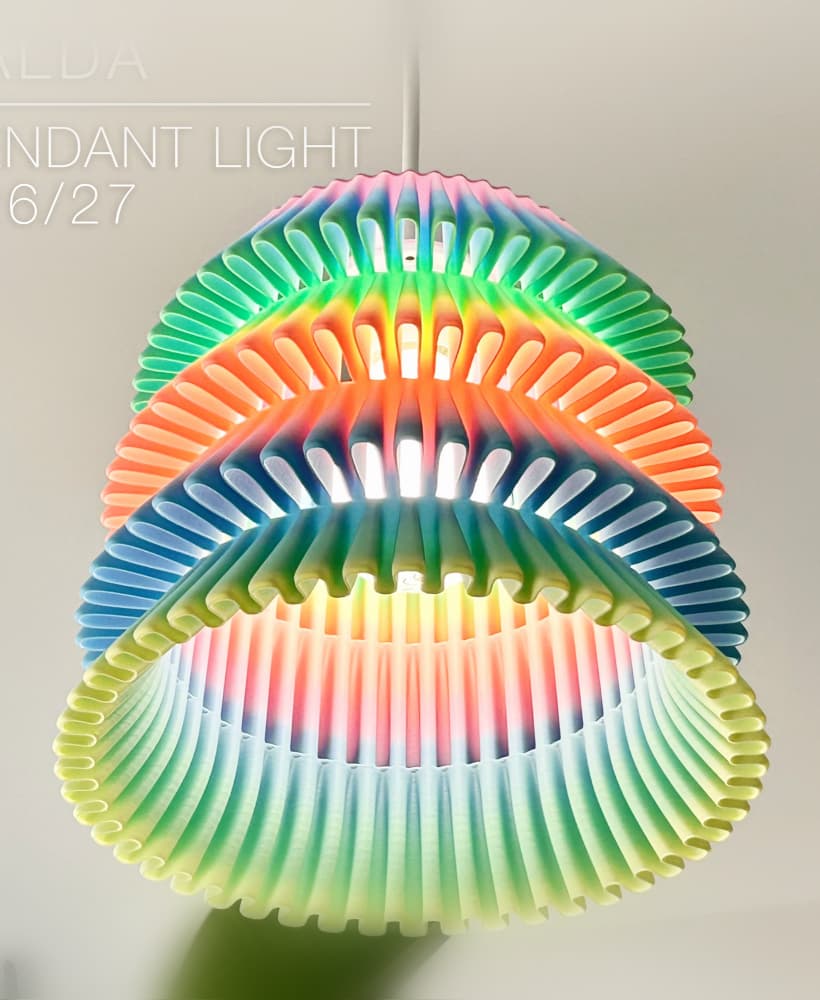
FALDA | Pendant Light E26/27

MALLA | Woven String Art Deco

SAKURA | Pendant Light E26/27

SAKURA | Scalable Pencil Holder

MALLA | nut bowl
![SAKU[MINI] | Table Lamp E14 & E26/27 3d model](/_next/image?url=https%3A%2F%2Fstorage.googleapis.com%2Fproduction-thangs-public%2Fuploads%2Fenhanced_images%2Fv1%2F421bb906-ca95-4bc9-9dba-a6fd01fd6885%2FSAKU%255BMINI%255D_table-lamp_perspective-ON.jpg&w=3840&q=75)
SAKU[MINI] | Table Lamp E14 & E26/27

SAKUMI | Table Lamp E14 & E26/27

SYZYGY | Heart Vase, scalable
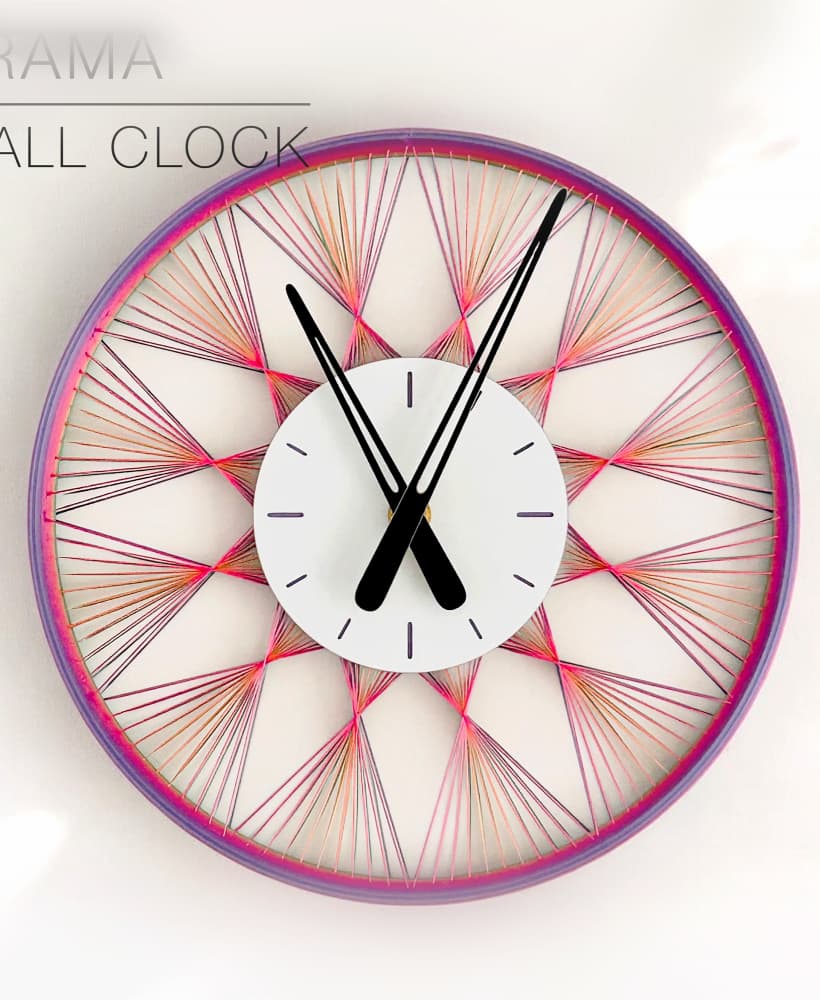
TRAMA | Wall Clock
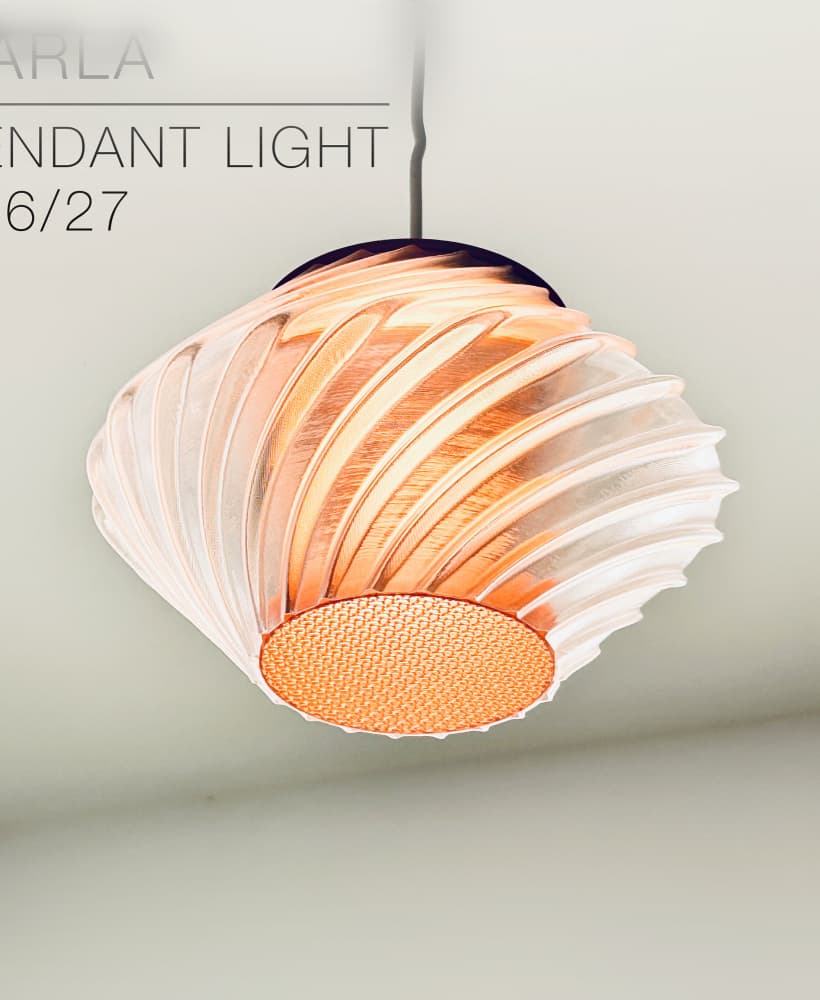
CARLA | Pendant Light E26/27

ORB XY | String Art Pendant Light

NINA | Toothbrush cups

PICA | Brush, print-in-place

MORPH | Stackable Egg Cup

ARYZ Divide | Pendant light E26/27

Using Bambustudio and x1c printer. used the same settings as in the description and the box needs around 5 hours to complete. Just started printing, will update regarding the results. is it meant to take around 2 hours to print? or is the description outdated?
Hi! Did you turn OFF "slow down for overhangs" in speed settings? And also set the Wall Generator setting to "Arachne". That would speed up the printing time significantly.