


CERCA | Modular Screen Table Lamp E14, E26, E27
CERCA | Modular Screen Table Lamp E14, E26, E27
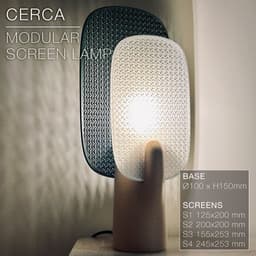
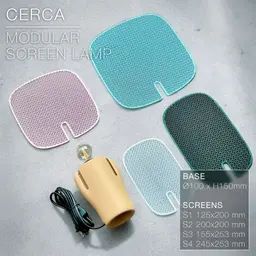
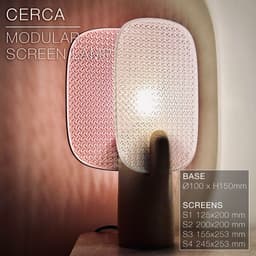
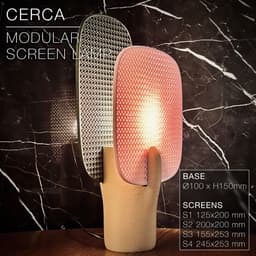
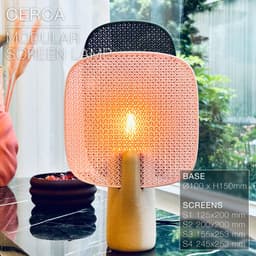
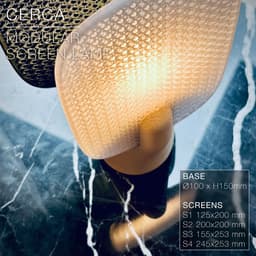
Modular screen table lamp. Endless possibilities. 1 base + 4 screen sizes Mix and match the colours to make your own unique combination!
The screens (2 square, 2 rectangular) simply slide onto the base. They print extremely fast. Just a perimeter frame and a mesh. No endless flat faces taking forever to print. So count 20min for the smallest one (125 x 200mm), And up to 40min for the largest one (245 x 253mm).
The base comes in 2 versions, for either E14, E26 or E27 sockets.
You can get the power cords from Amazon here: For Europe: E27 cord: https://amzn.to/3OVrZjK E14 cord: https://amzn.to/3TchBqs
For the US: E26/E27 cord: https://amzn.to/3U0Xyvy
Happy printing!
DIMENSIONS (base) | W80 mm x L102 mm x H250 mm E14 base opening: 29mm E26/27 base opening: 42mm
SCREEN (Rectangle S) | W125 mm x H 200 mm x D3 mm
SCREEN (Square S) | W200 mm x H 200 mm x D3 mm
SCREEN (Rectangle L) | W155 mm x H 253 mm x D3 mm
SCREEN (Square L) | W245 mm x H 253 mm x D3 mm
3D PRINT SETTINGS All STL files are already oriented properly.
The screens print flat and come as full models (without mesh). To create the mesh pattern, use 4 perimeter walls and cancel the top and bottom layers (set to 0 layers) and select an infill pattern of your choice. The screens on the pictures where printed with 25% Gyroid infill. Less infill and you will get larger holes and maybe a cooler projected-shadows effect, but the light bulb will be more visible as well.
SCREENS: Resolution: 0.3mm/layer or less if you fancy Wall line count: 4 (for 0.4mm nozzles) Top layers: 0 Bottom layers: 0 Infill: 25% Infill line width: 0.8mm Build adhesion type: None Supports: None
BASE: Infill: 20 to 30% Wall line count: 2 Resolution: 0.3mm/layer or less if you fancy Build adhesion type: None Supports: None
The base on the pictures was printed with some “fuzzy skin”.
- fuzzy skin thickness: 0.2mm
- fuzzy skin point distance: 0.6mm
![Congratulations.
I like it a [lot]](/_next/image?url=https%3A%2F%2Fstorage.googleapis.com%2Fproduction-thangs-public%2Fuploads%2Fattachments%2Fda93cff3-e892-451c-b267-83b3e2040384%2F1LAMP.jpg&w=3840&q=75)

CERCA | Modular Screen Table Lamp E14, E26, E27

SINE | pendant light E27/E26

COROA | pendant light E27/E26

MALLA | woven fruit bowl

MALLA | key bowl
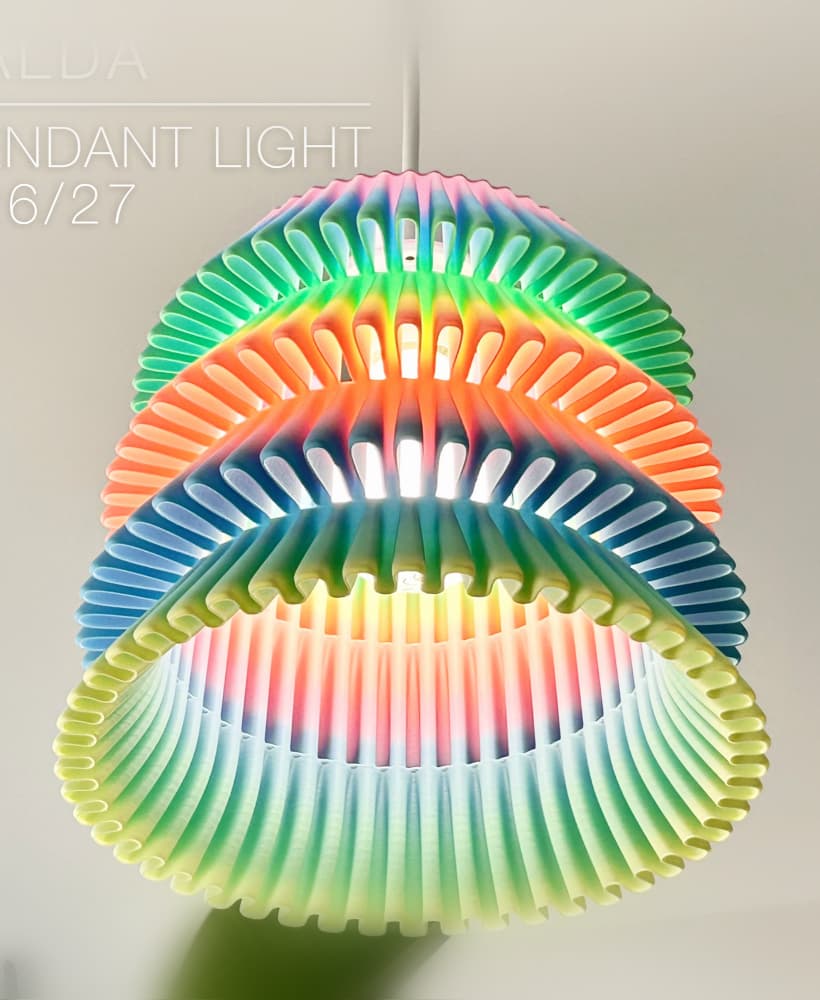
FALDA | Pendant Light E26/27

MALLA | Woven String Art Deco

SAKURA | Pendant Light E26/27

SAKURA | Scalable Pencil Holder

MALLA | nut bowl
![SAKU[MINI] | Table Lamp E14 & E26/27 3d model](/_next/image?url=https%3A%2F%2Fstorage.googleapis.com%2Fproduction-thangs-public%2Fuploads%2Fenhanced_images%2Fv1%2F421bb906-ca95-4bc9-9dba-a6fd01fd6885%2FSAKU%255BMINI%255D_table-lamp_perspective-ON.jpg&w=3840&q=75)
SAKU[MINI] | Table Lamp E14 & E26/27

SAKUMI | Table Lamp E14 & E26/27

SYZYGY | Heart Vase, scalable
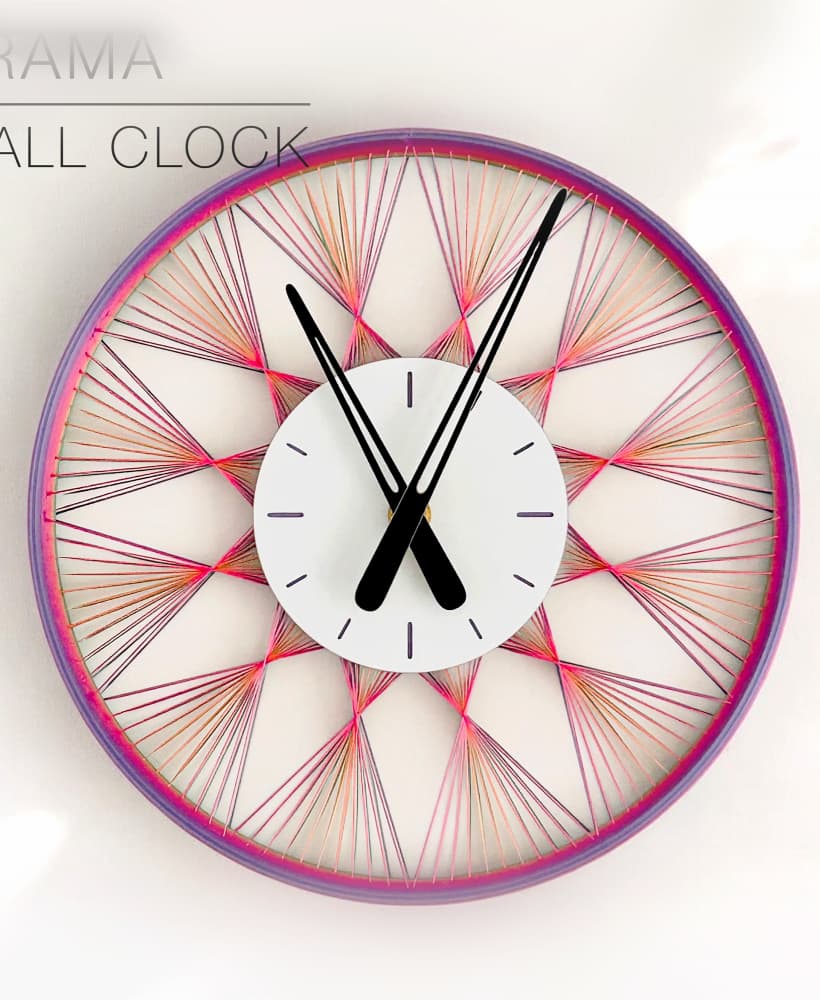
TRAMA | Wall Clock
CARLA | Pendant Light E26/27

ORB XY | String Art Pendant Light

NINA | Toothbrush cups

PICA | Brush, print-in-place

MORPH | Stackable Egg Cup

ARYZ Divide | Pendant light E26/27

Looking good!!
thank you.
Hello, I am trying to print this model, but after the first few layers, it fails to stick in the same spot and then the print gets distorted. What do you think might be the cause of this?
Thank you!
Hi! Maybe your first layer isn't sticky enough. Did you set the "infill line width" to 0.8mm? Or at least 0.8mm for the first layer, and then infill can be 0.6mm for the rest of the print.
I set the infill line width to 0.8 mm. I applied all the recommended settings for the screens exactly as instructed, including 0.3 mm layer height, 4 wall lines, 25% infill at 0.8 mm line width, and no top/bottom layers, adhesion, or supports.
While monitoring the print, I noticed that the nozzle was colliding with some parts during the initial layers, causing the gyroid infill to shift or come loose.
Which slicer do you use? In Cura, you could increase the "Z-hop height" in special settings, push it to around 0.7mm or higher. This makes the print head jump higher when it's travelling above the print, preventing it from colliding with printed parts.
Bambu studıo
did you find any solution to this?
Then it should print without a hiccup with Bambu Studio. Printer is also Bambu Lab? It may be an adhesion issue. You can use some acetone to clean up the print bed, make it super sticky. It works great.
i have exact the same problem
Did you push the infill line width to 0.8mm (instead of default 0.4 or 0.5). If the infill lines are thicker they will stick better to the print bed.