


Flow Rate Tool for Flexi Joints by CK
Print our latest tool designed to calibrate different filaments to work with lower tolerance, poseable Flexi models. This tool should work with any filament and printer combination. While it is designed specifically for our models it is made to be as accurate as possible for general printing.
If your Flexi models are fusing together, feel too loose, or it seems like small gaps are being fused, you likely need to adjust your Flow Rate for your filament.
Every filament prints differently, so we highly recommend doing tests before printing any larger objects or time consuming multi-color prints.
This number is usually set between 0.95-1.00 (0.80-1.15 at most).
Print this small tester before your first adjustment and reprint for every adjustment after. After your first test print, follow the guide below and make adjustments of plus or minus 0.05-0.10 depending on if it’s too tight or too loose. Afterwards, you can fine-tune with increments of +/- 0.01 if you feel it’s needed.
If the #1 slider is fused while #2 & #3 move freely (or after easily breaking them free) and the test joint bends, your settings should be about perfect.
While Flow Calibration is the most common reason for fused joints, things like temperature, scale, design, etc., can also cause a print to fuse. Be sure to check your layers in the slicer for any printing paths that fuse joints due to a small scale.
There are more accurate Flow Rate tools that can be found online, but they require calipers and a bit of math. We like this one as an alternative: 3dprintbeginner.com/flow-rate-calibration
Settings:
We recommend using the same settings you would use for you models.
If you are just testing in general, 0.2 mm layers with 3 walls would be a great starting point.
Flow Rate Tool for Flexi Joints by CK

Monarch Butterfly Flexi

Flexi Jumping Spider

Larry's Disc Golf Desktop Game With PIP Chains
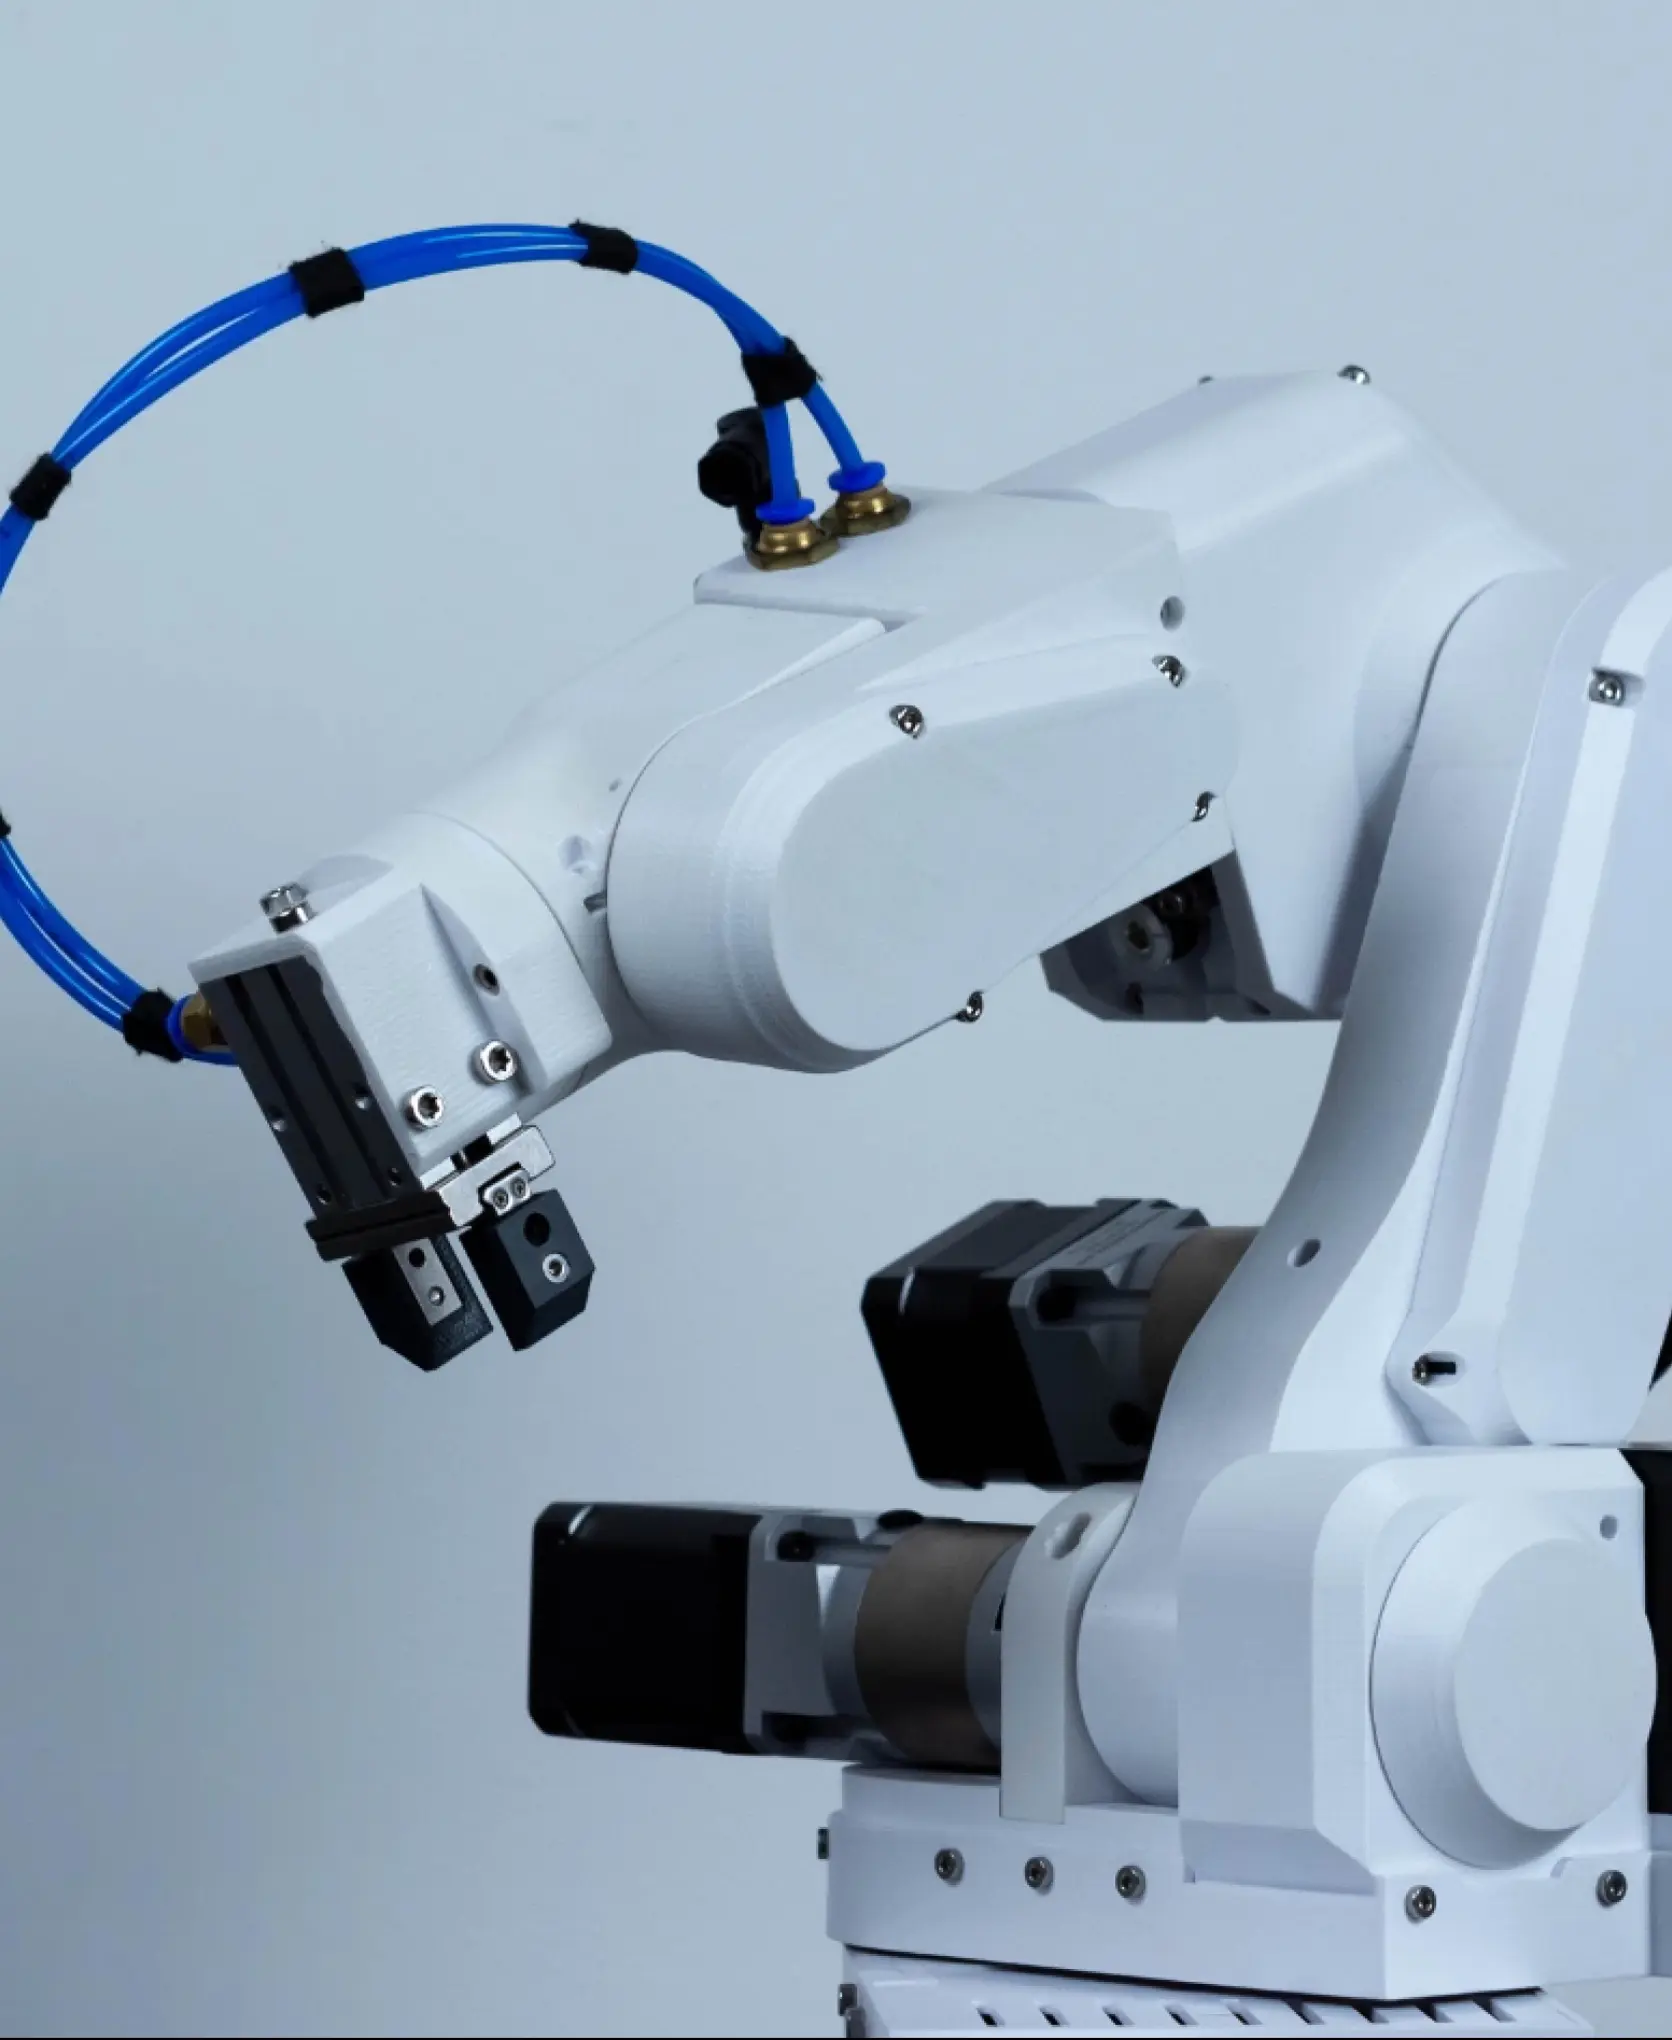
PAROL6 Desktop robotic arm
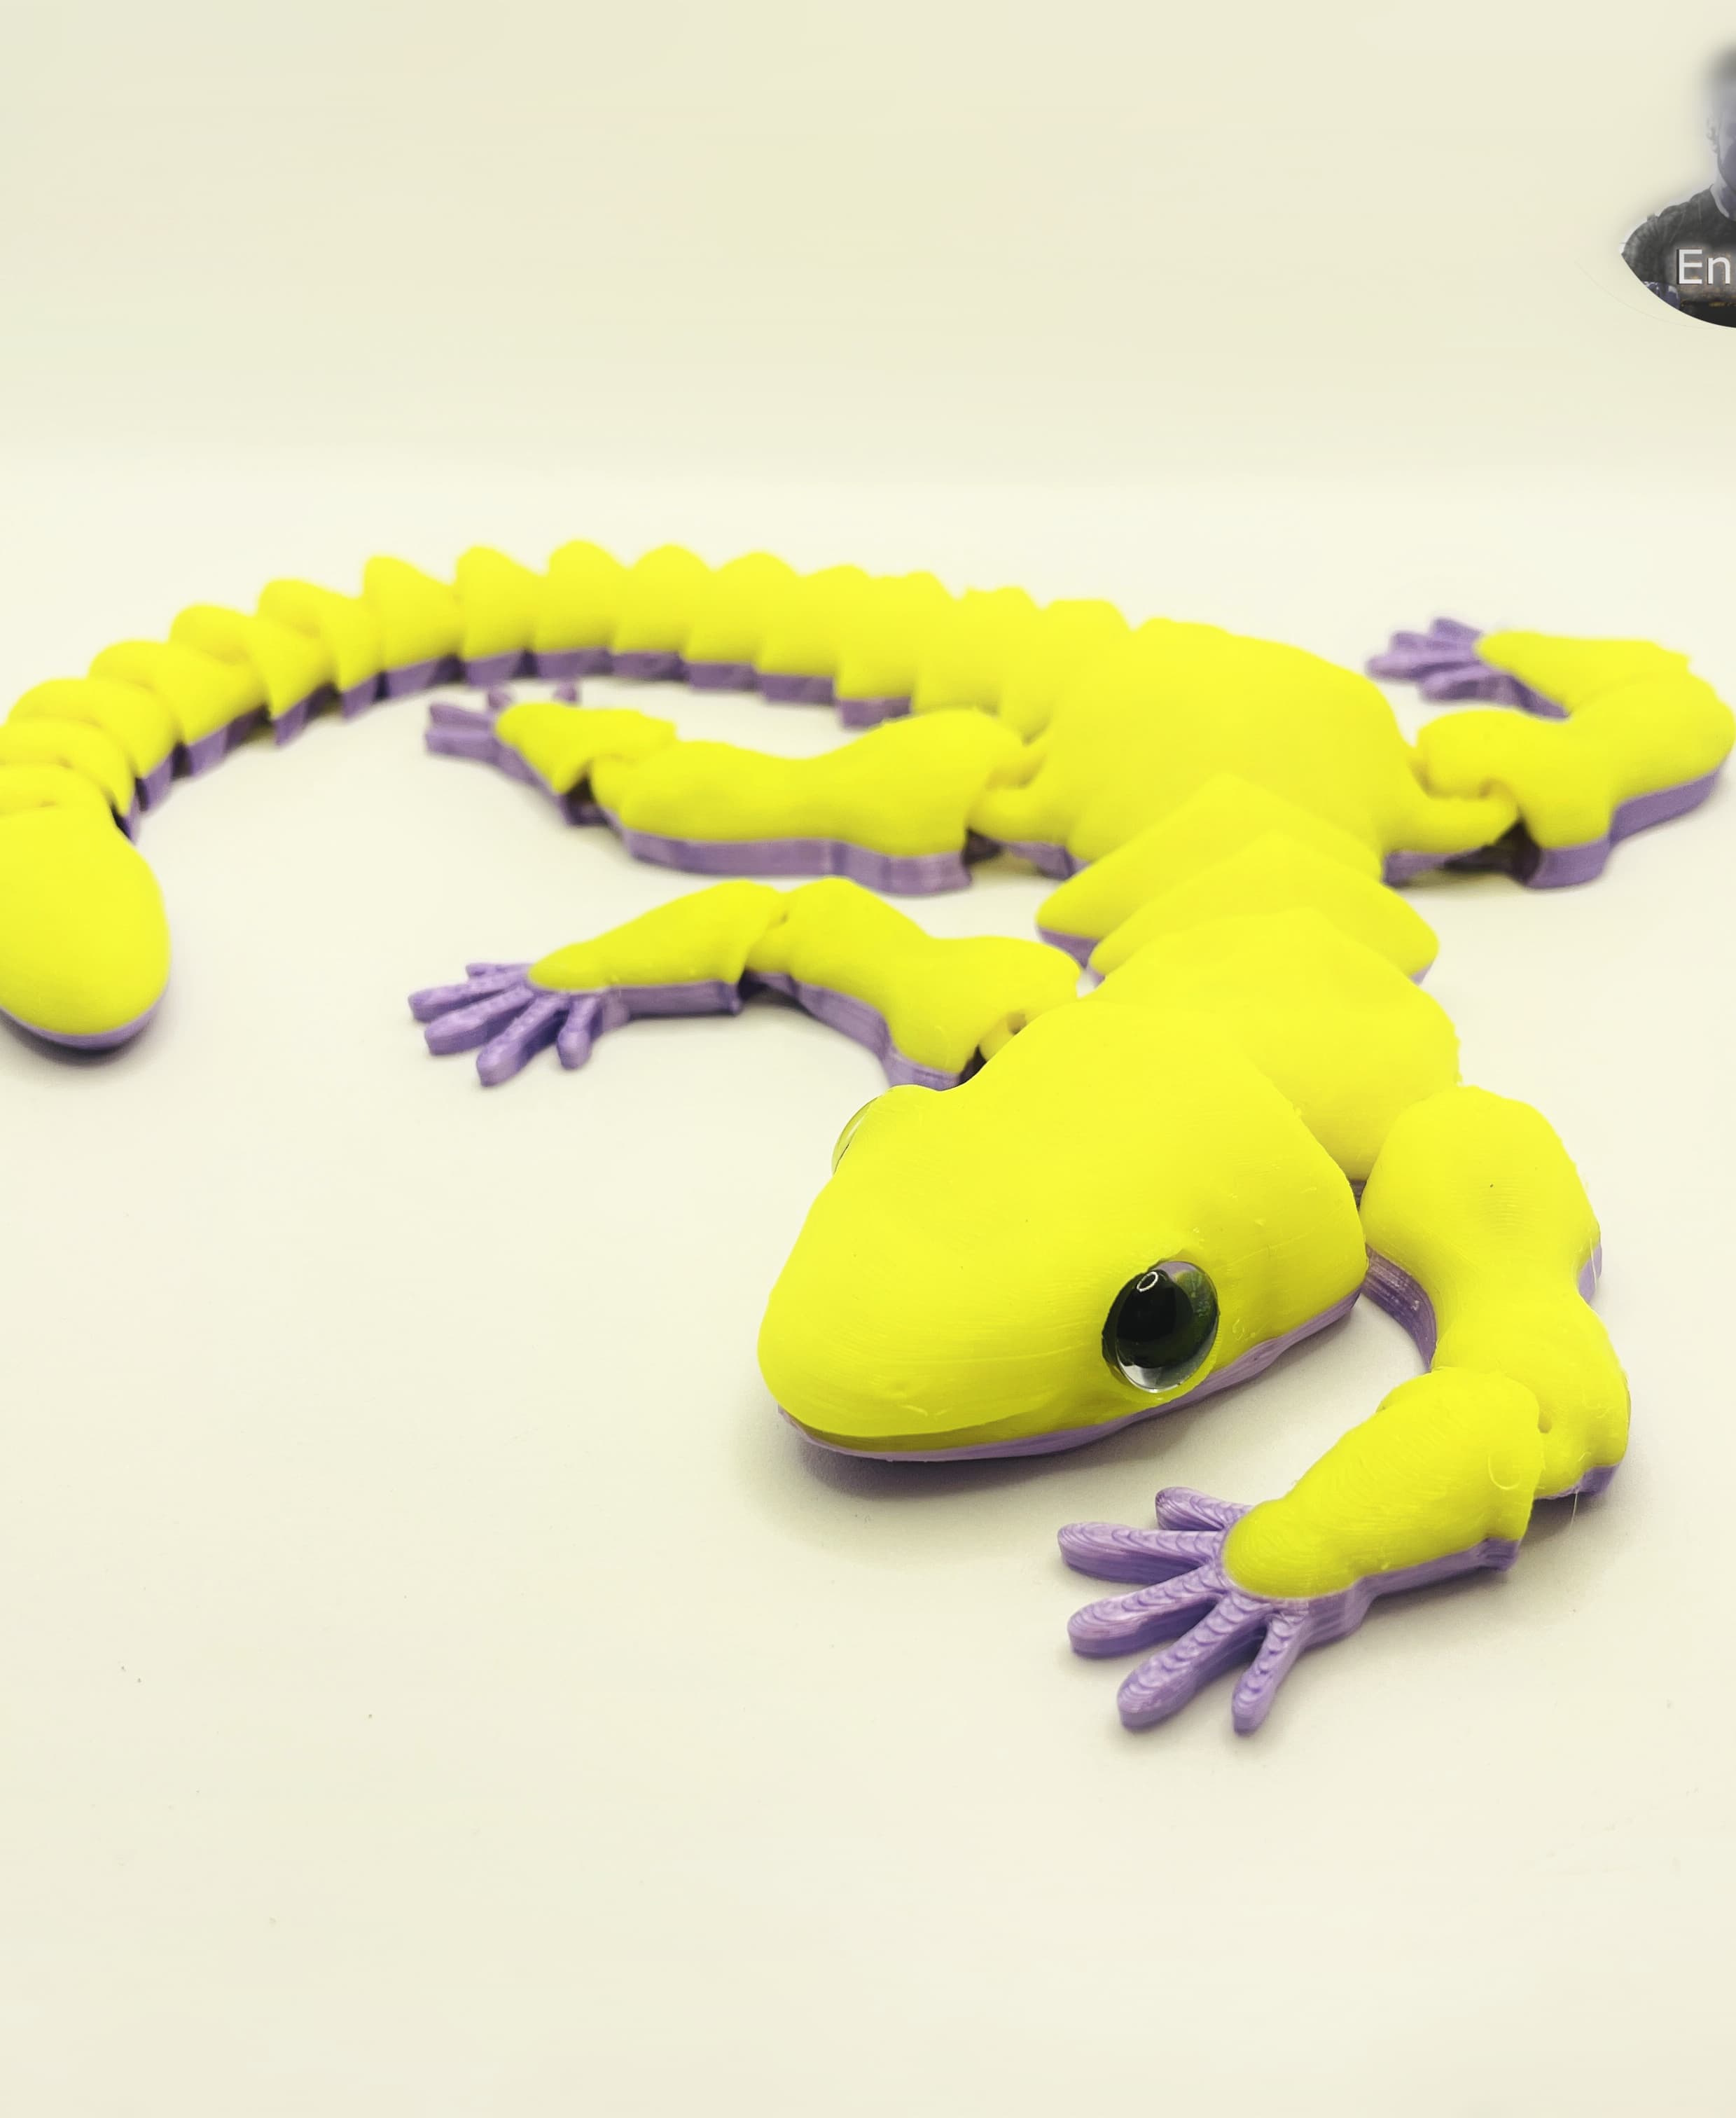
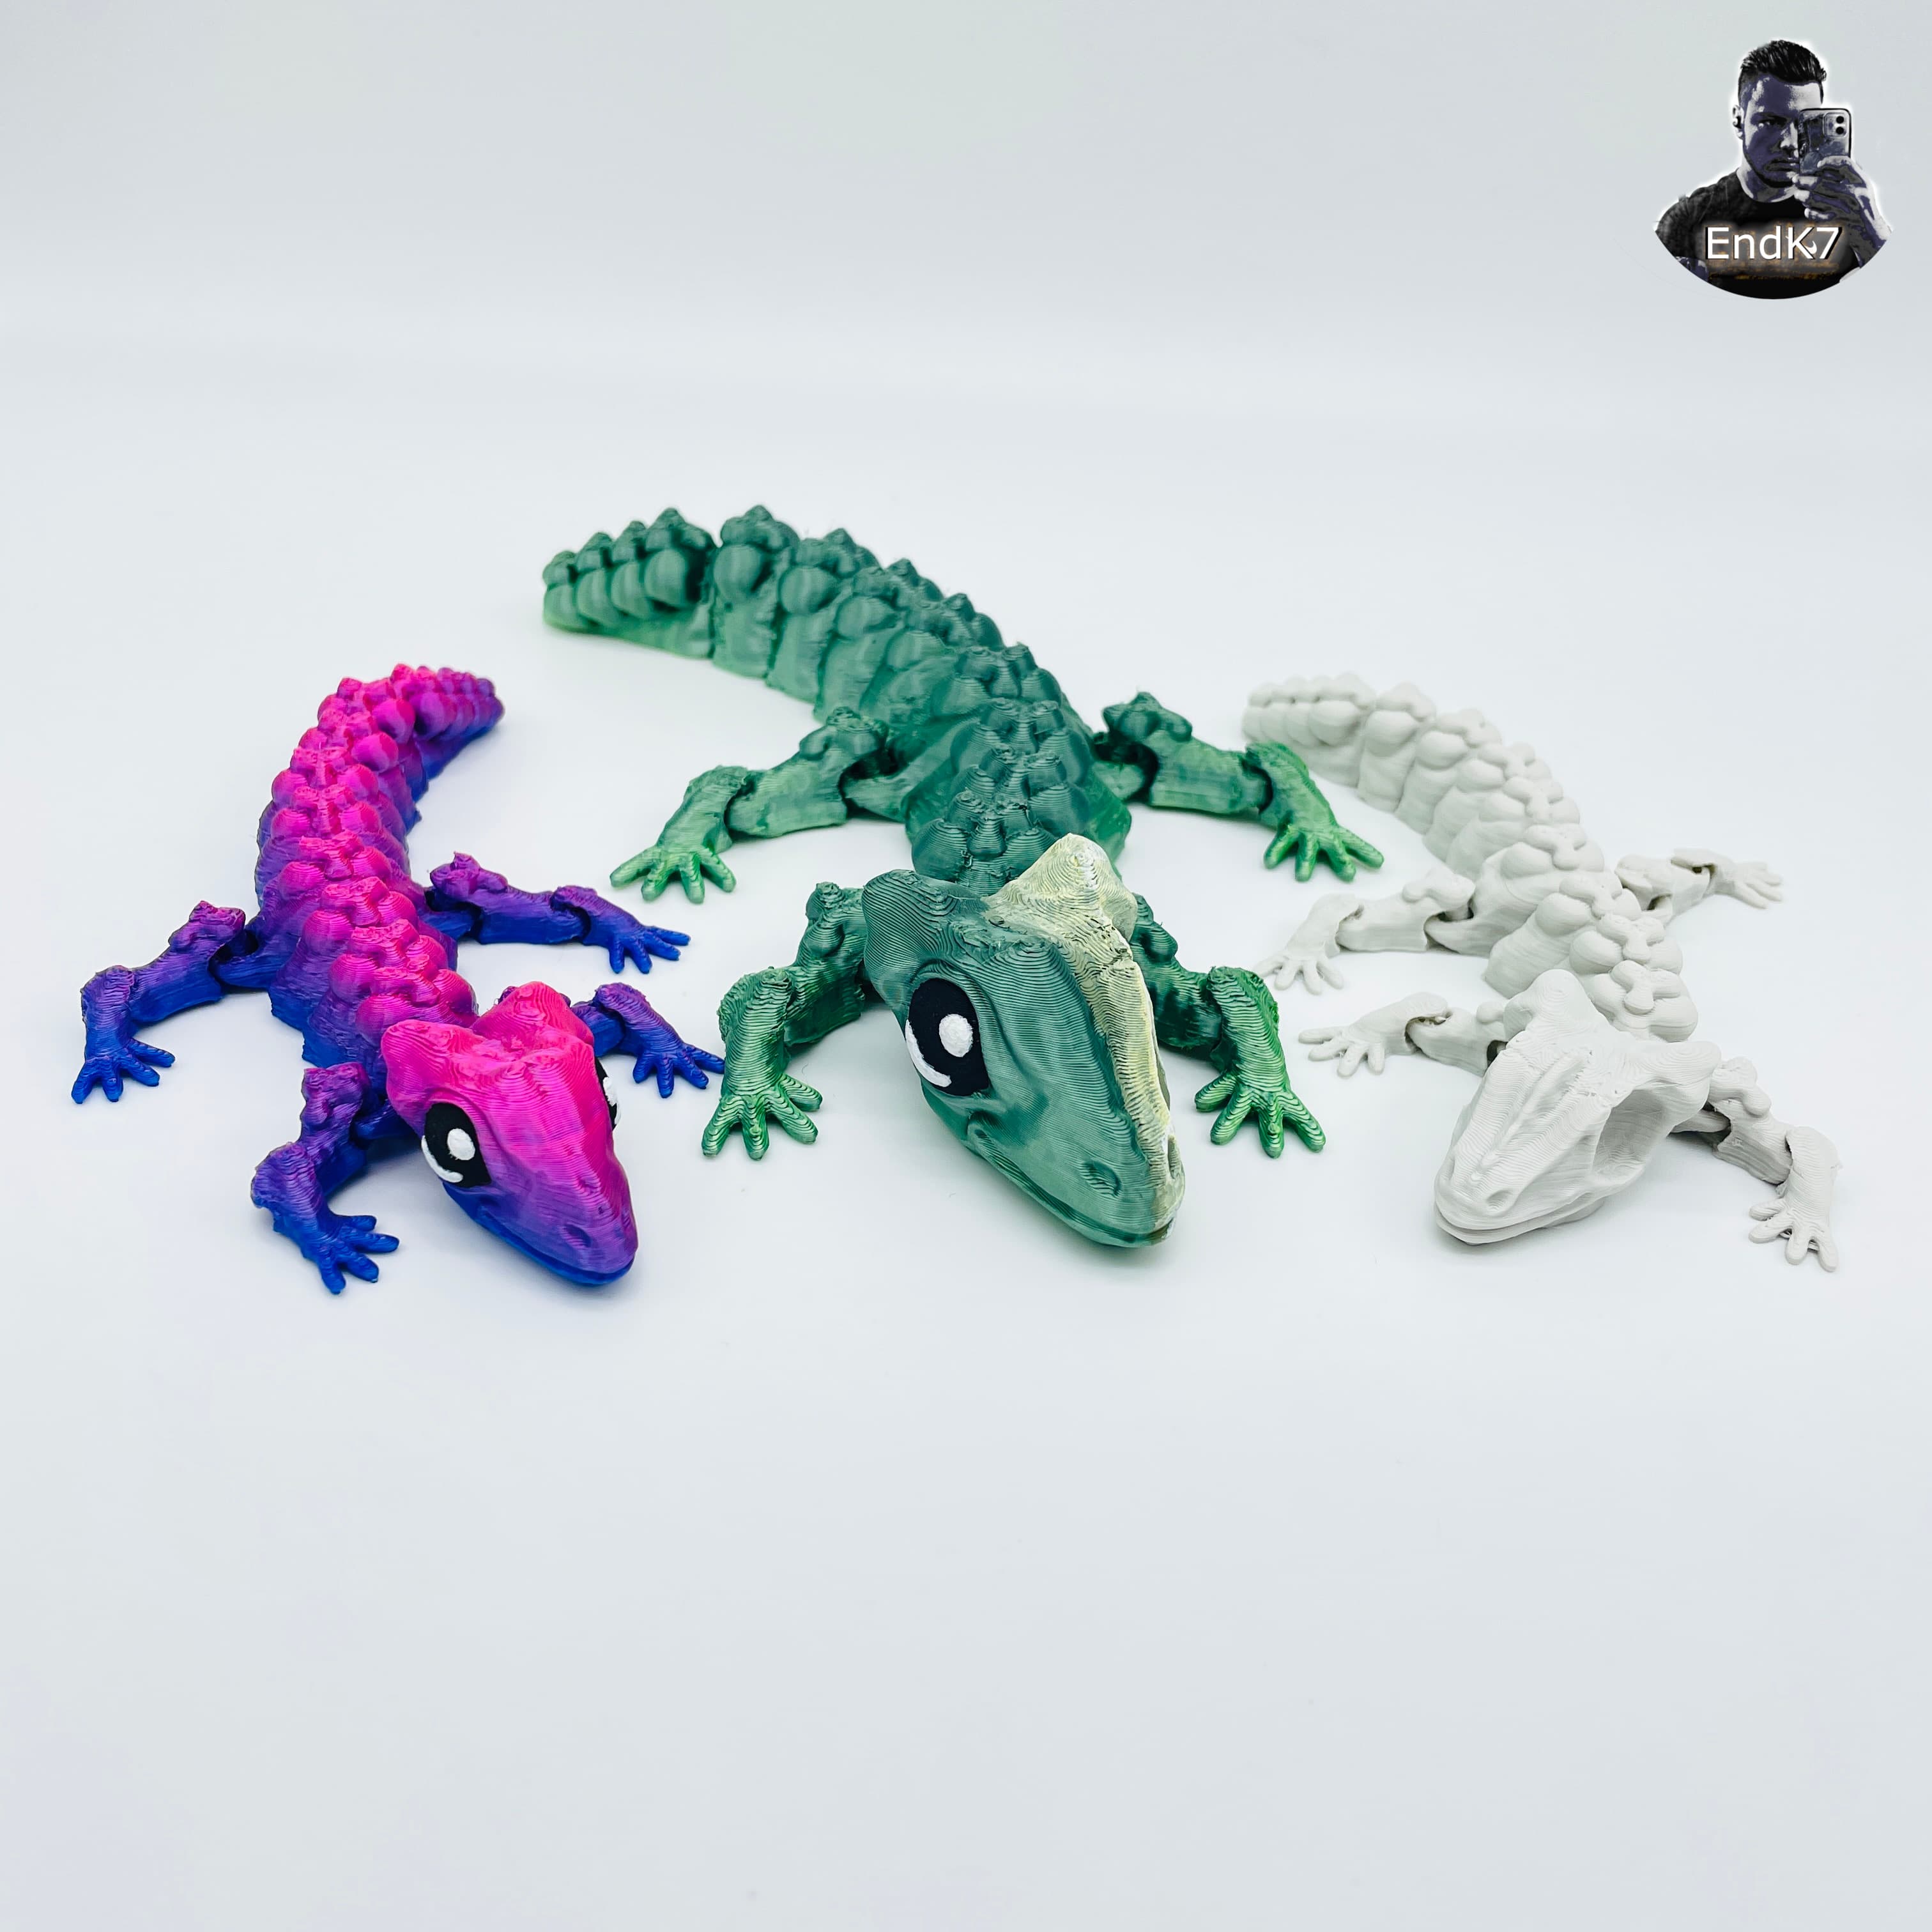
Funny Lizard Gecko - Articulated - Print in Place - No Supports - Flexi

Giant Vase Spider - posable halloween print in vase mode!
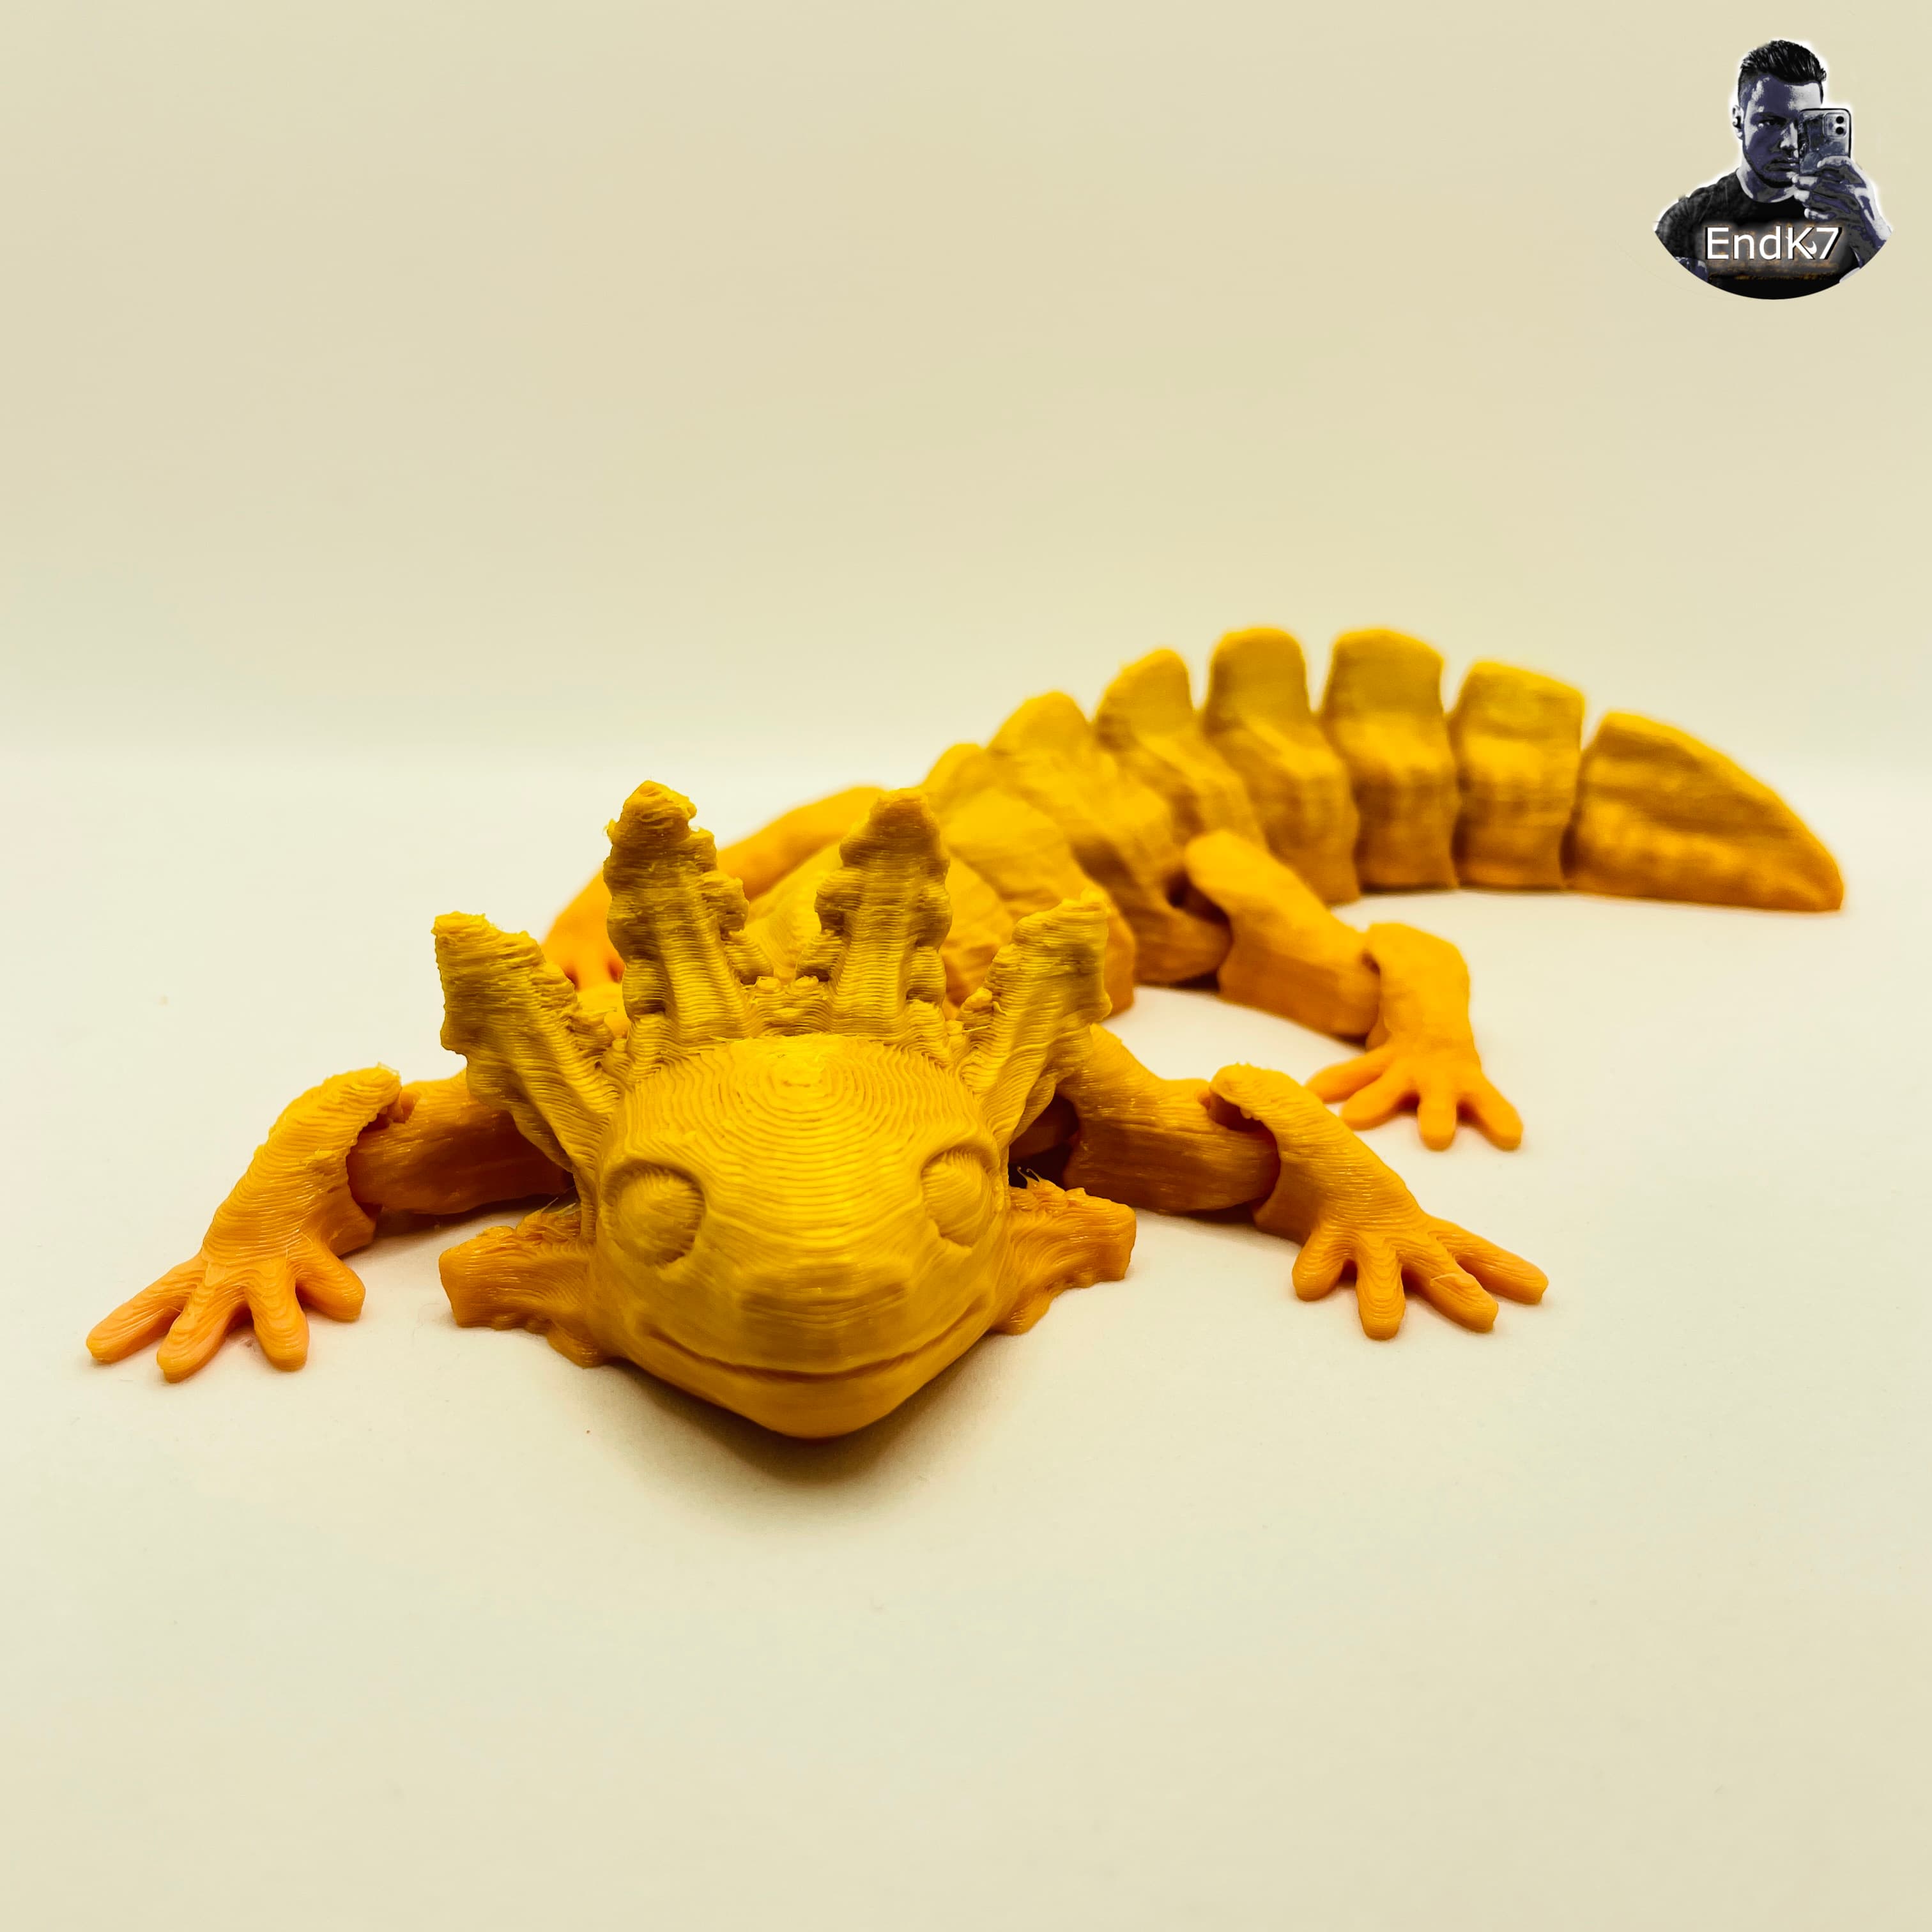
Very Cute Axolotl - Articulated - No Supports - Print in Place
.png&w=3840&q=75)
Free 1:12 Doll House Mid Century Modern Nightstand

1/12 Doll House Scallop Mini Bedside Table
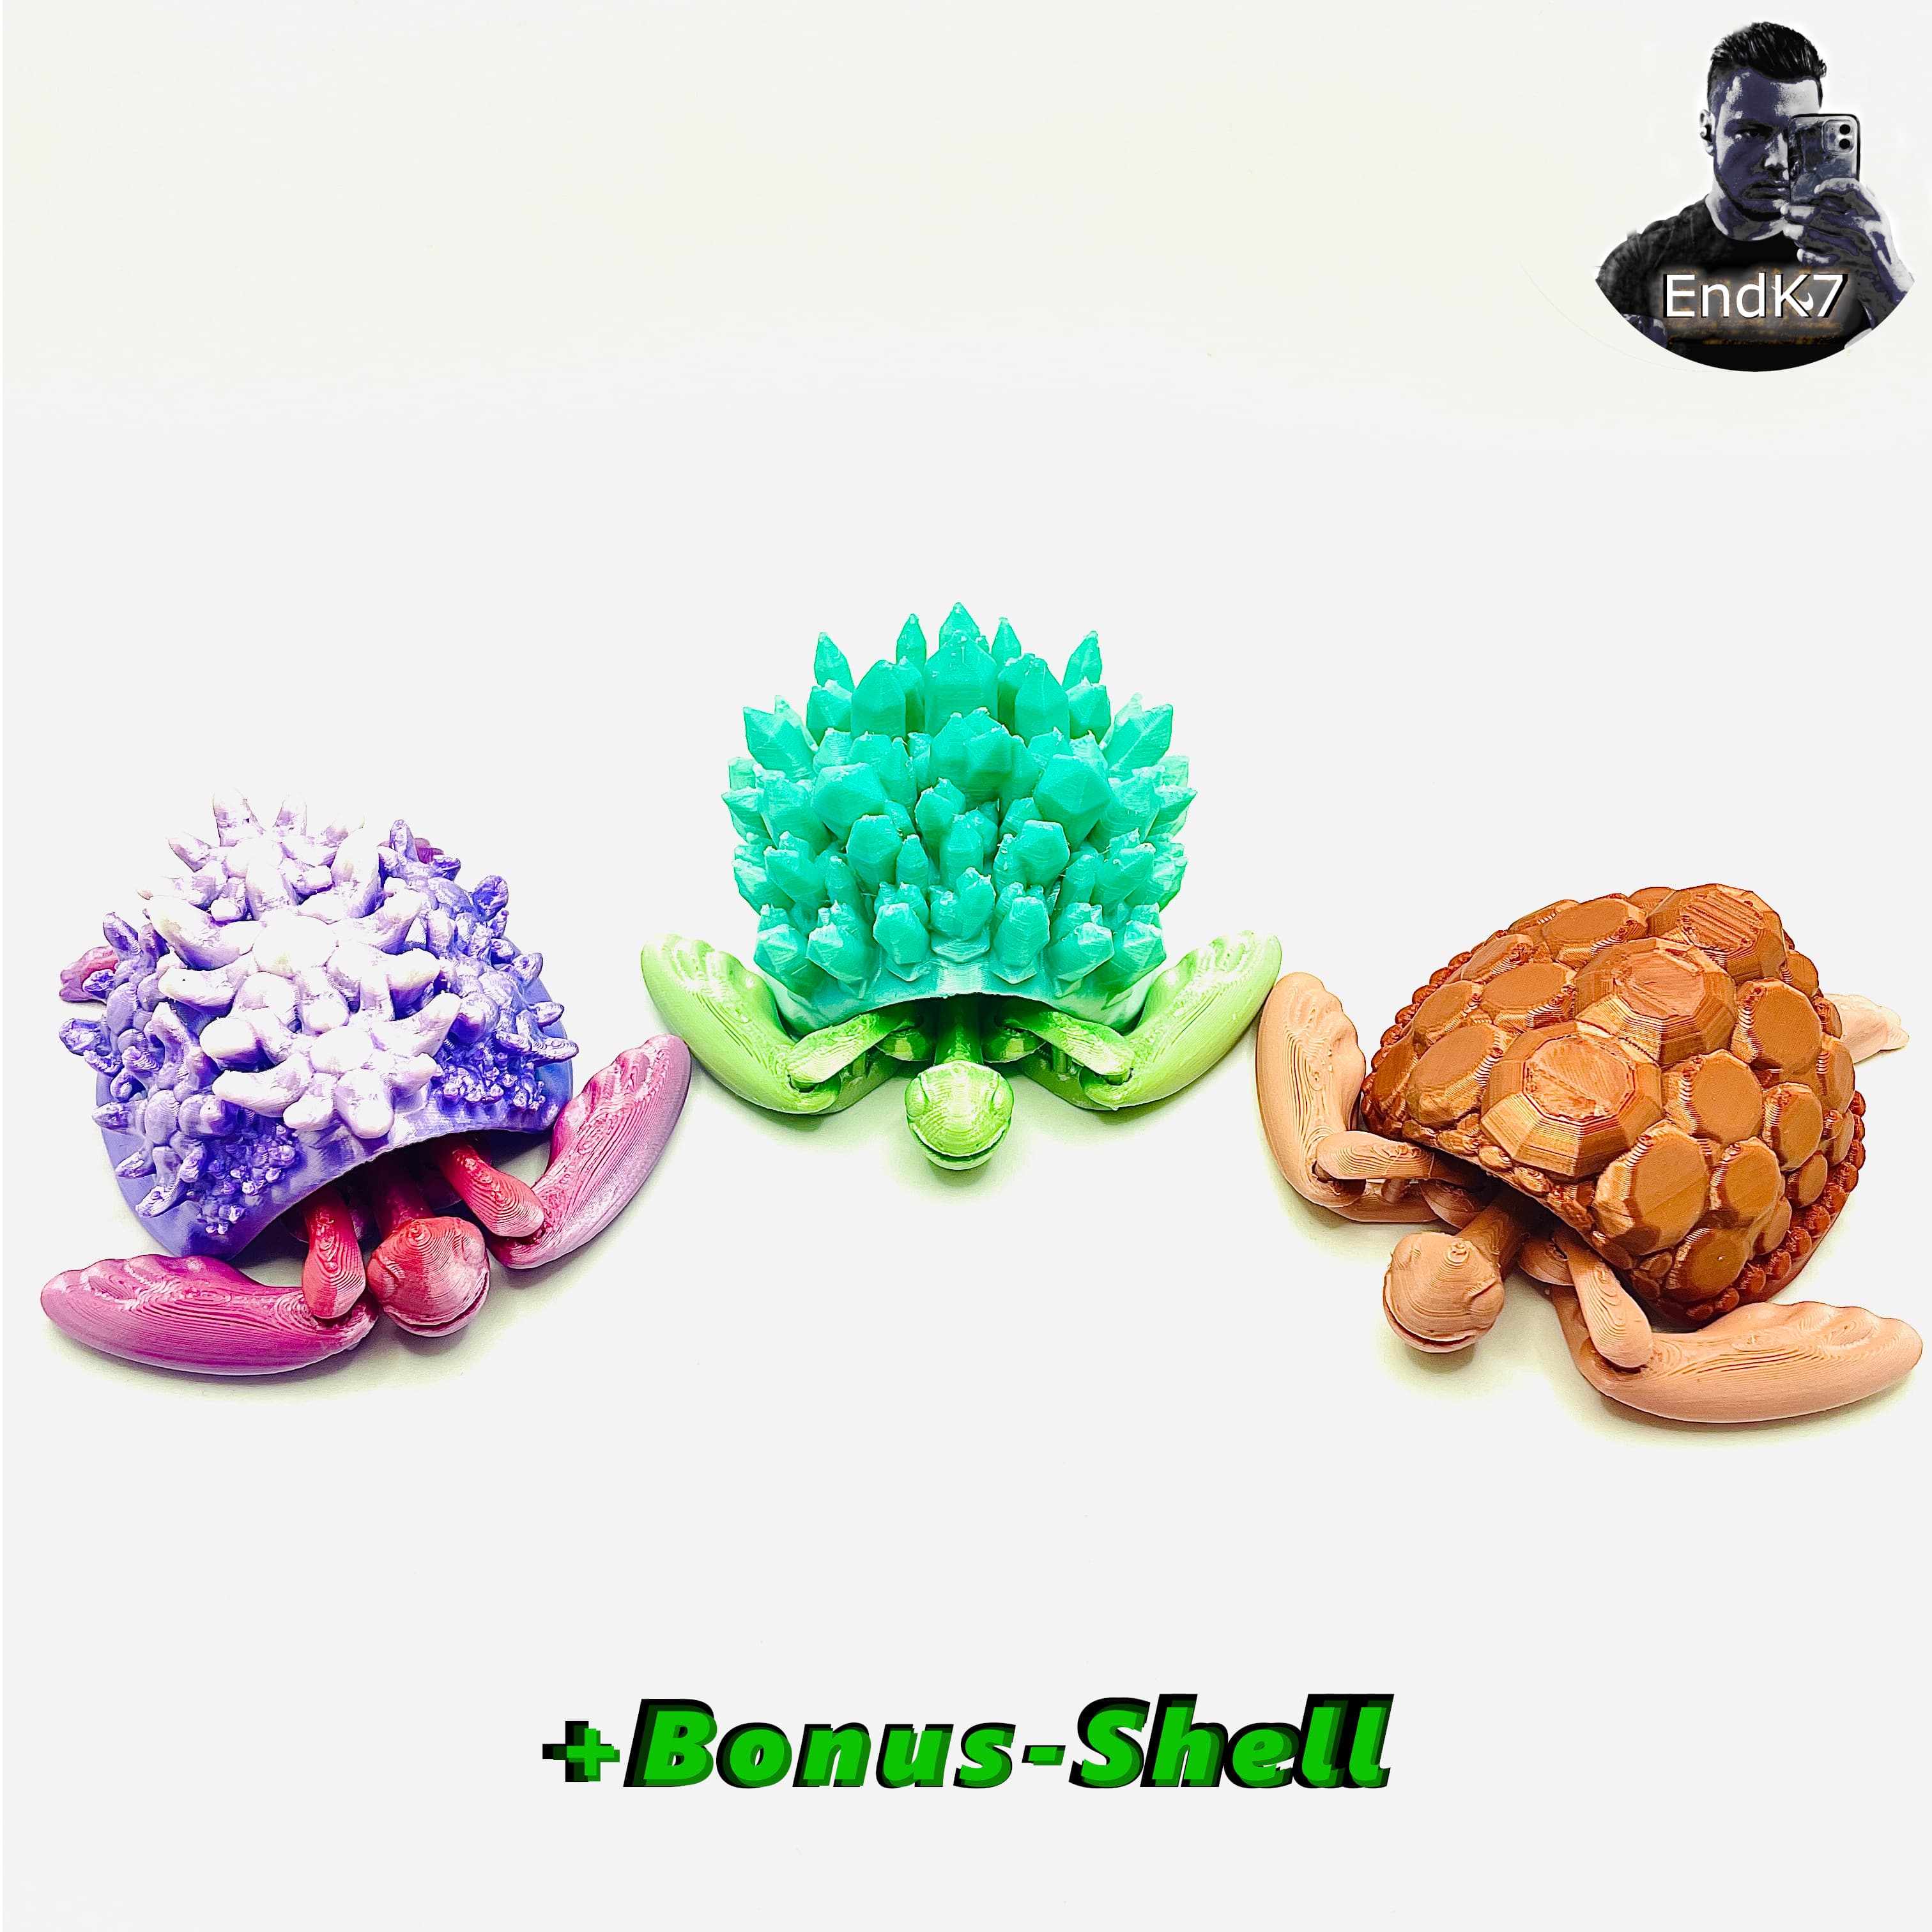
Cute Articulated Turtles #1 - Three Models - Swappable Shell - Print in Place - No Supports
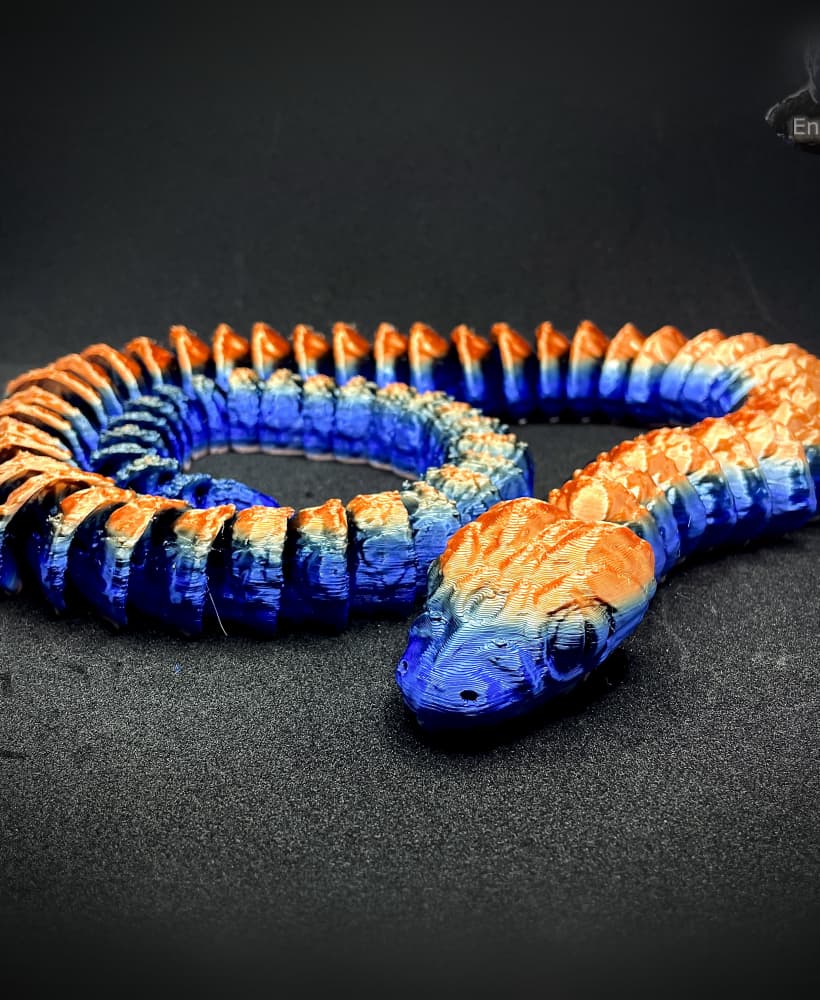
Colossal Python Snake almost 90cm / 35Inch Lenght - Articulated - Print in Place - No Supports
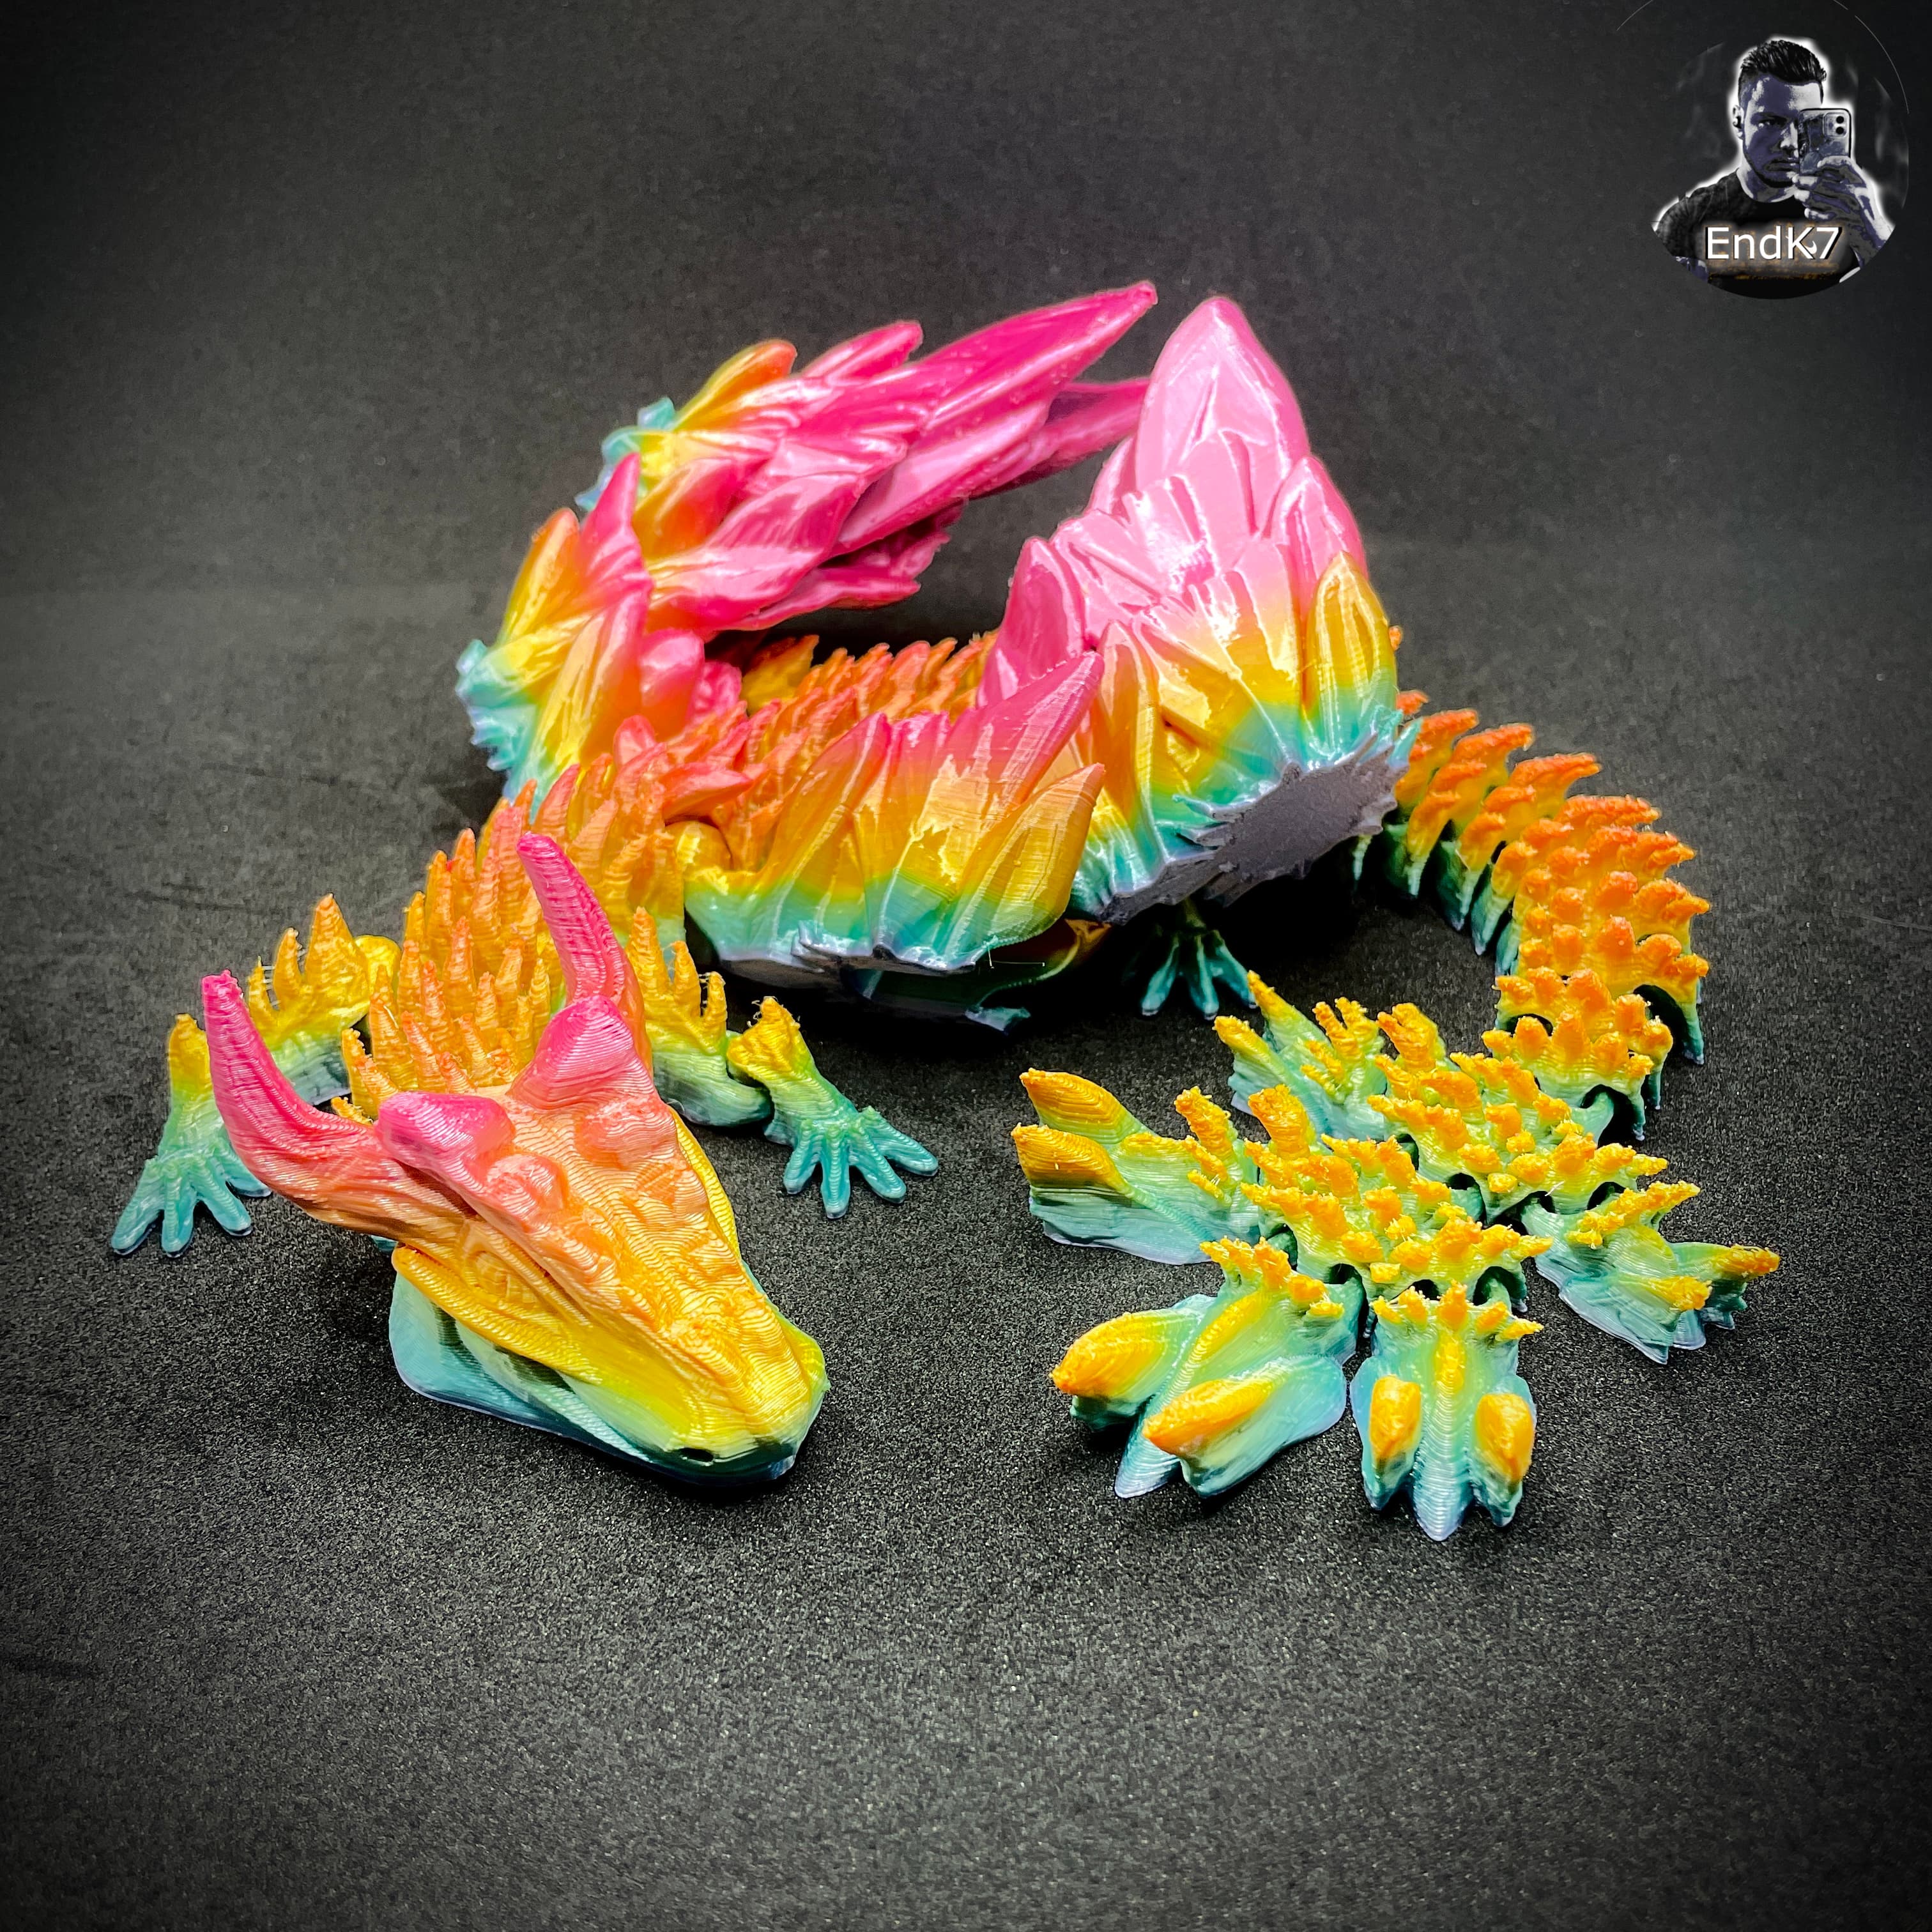
Big Glorious Dragon - Winged - Articulated - Flexi - Print in Place - No Supports - Fantasy

Slimey Burger – Print-in-Place Kinetic Fidget Toy

Skeleton Dragon - Articulated - Print in Place - No Supports - Flexi - Multicolor
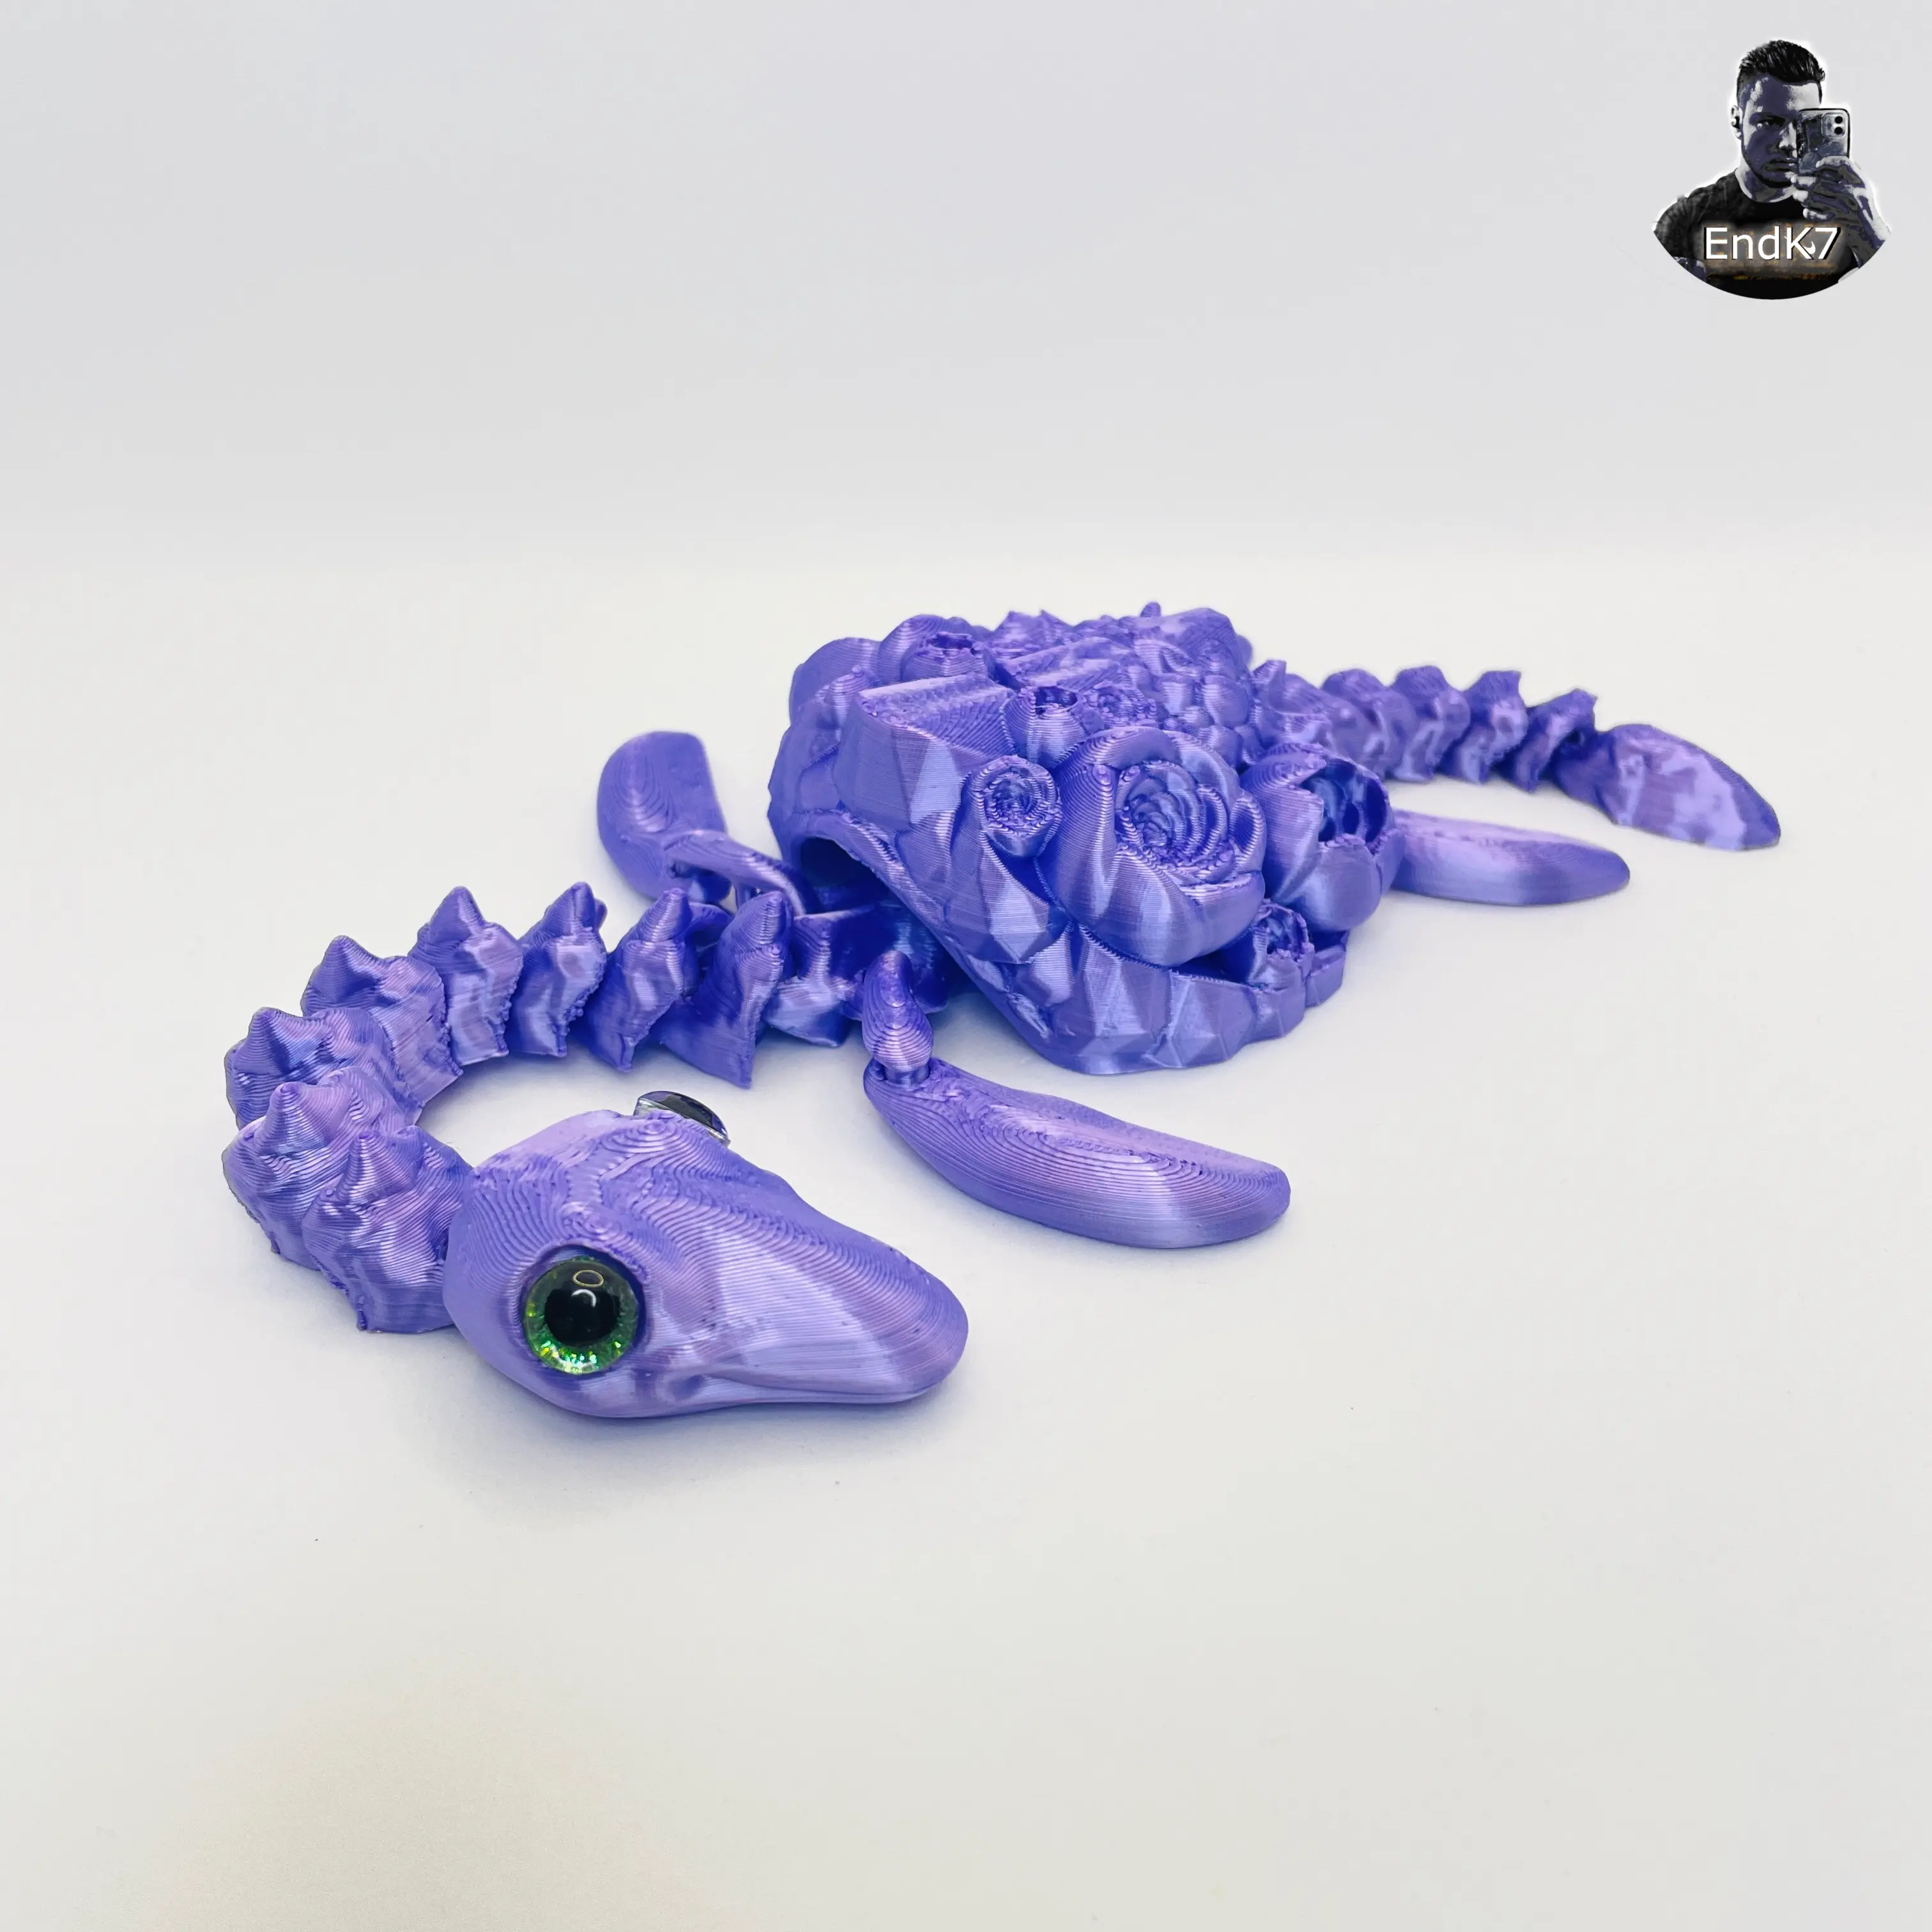
Lucky Plesiosaurus Turtle - Swappable Shell - Articulated - Print in Place - No Supports - Flexi

Slimey Frog – Print-in-Place Kinetic Fidget Toy
Triple Lizard Dragon - Cute - Zombie -Skeleton - Articulated - Print in Place - Flexi - No Supports
Big Skeleton Dragon - Winged - Articulated - Flexi - Print in Place - No Supports - Fantasy - Multi
.gif&w=3840&q=75)
Slimey Basketball – Print-in-Place Satisfying Fidget Toy
