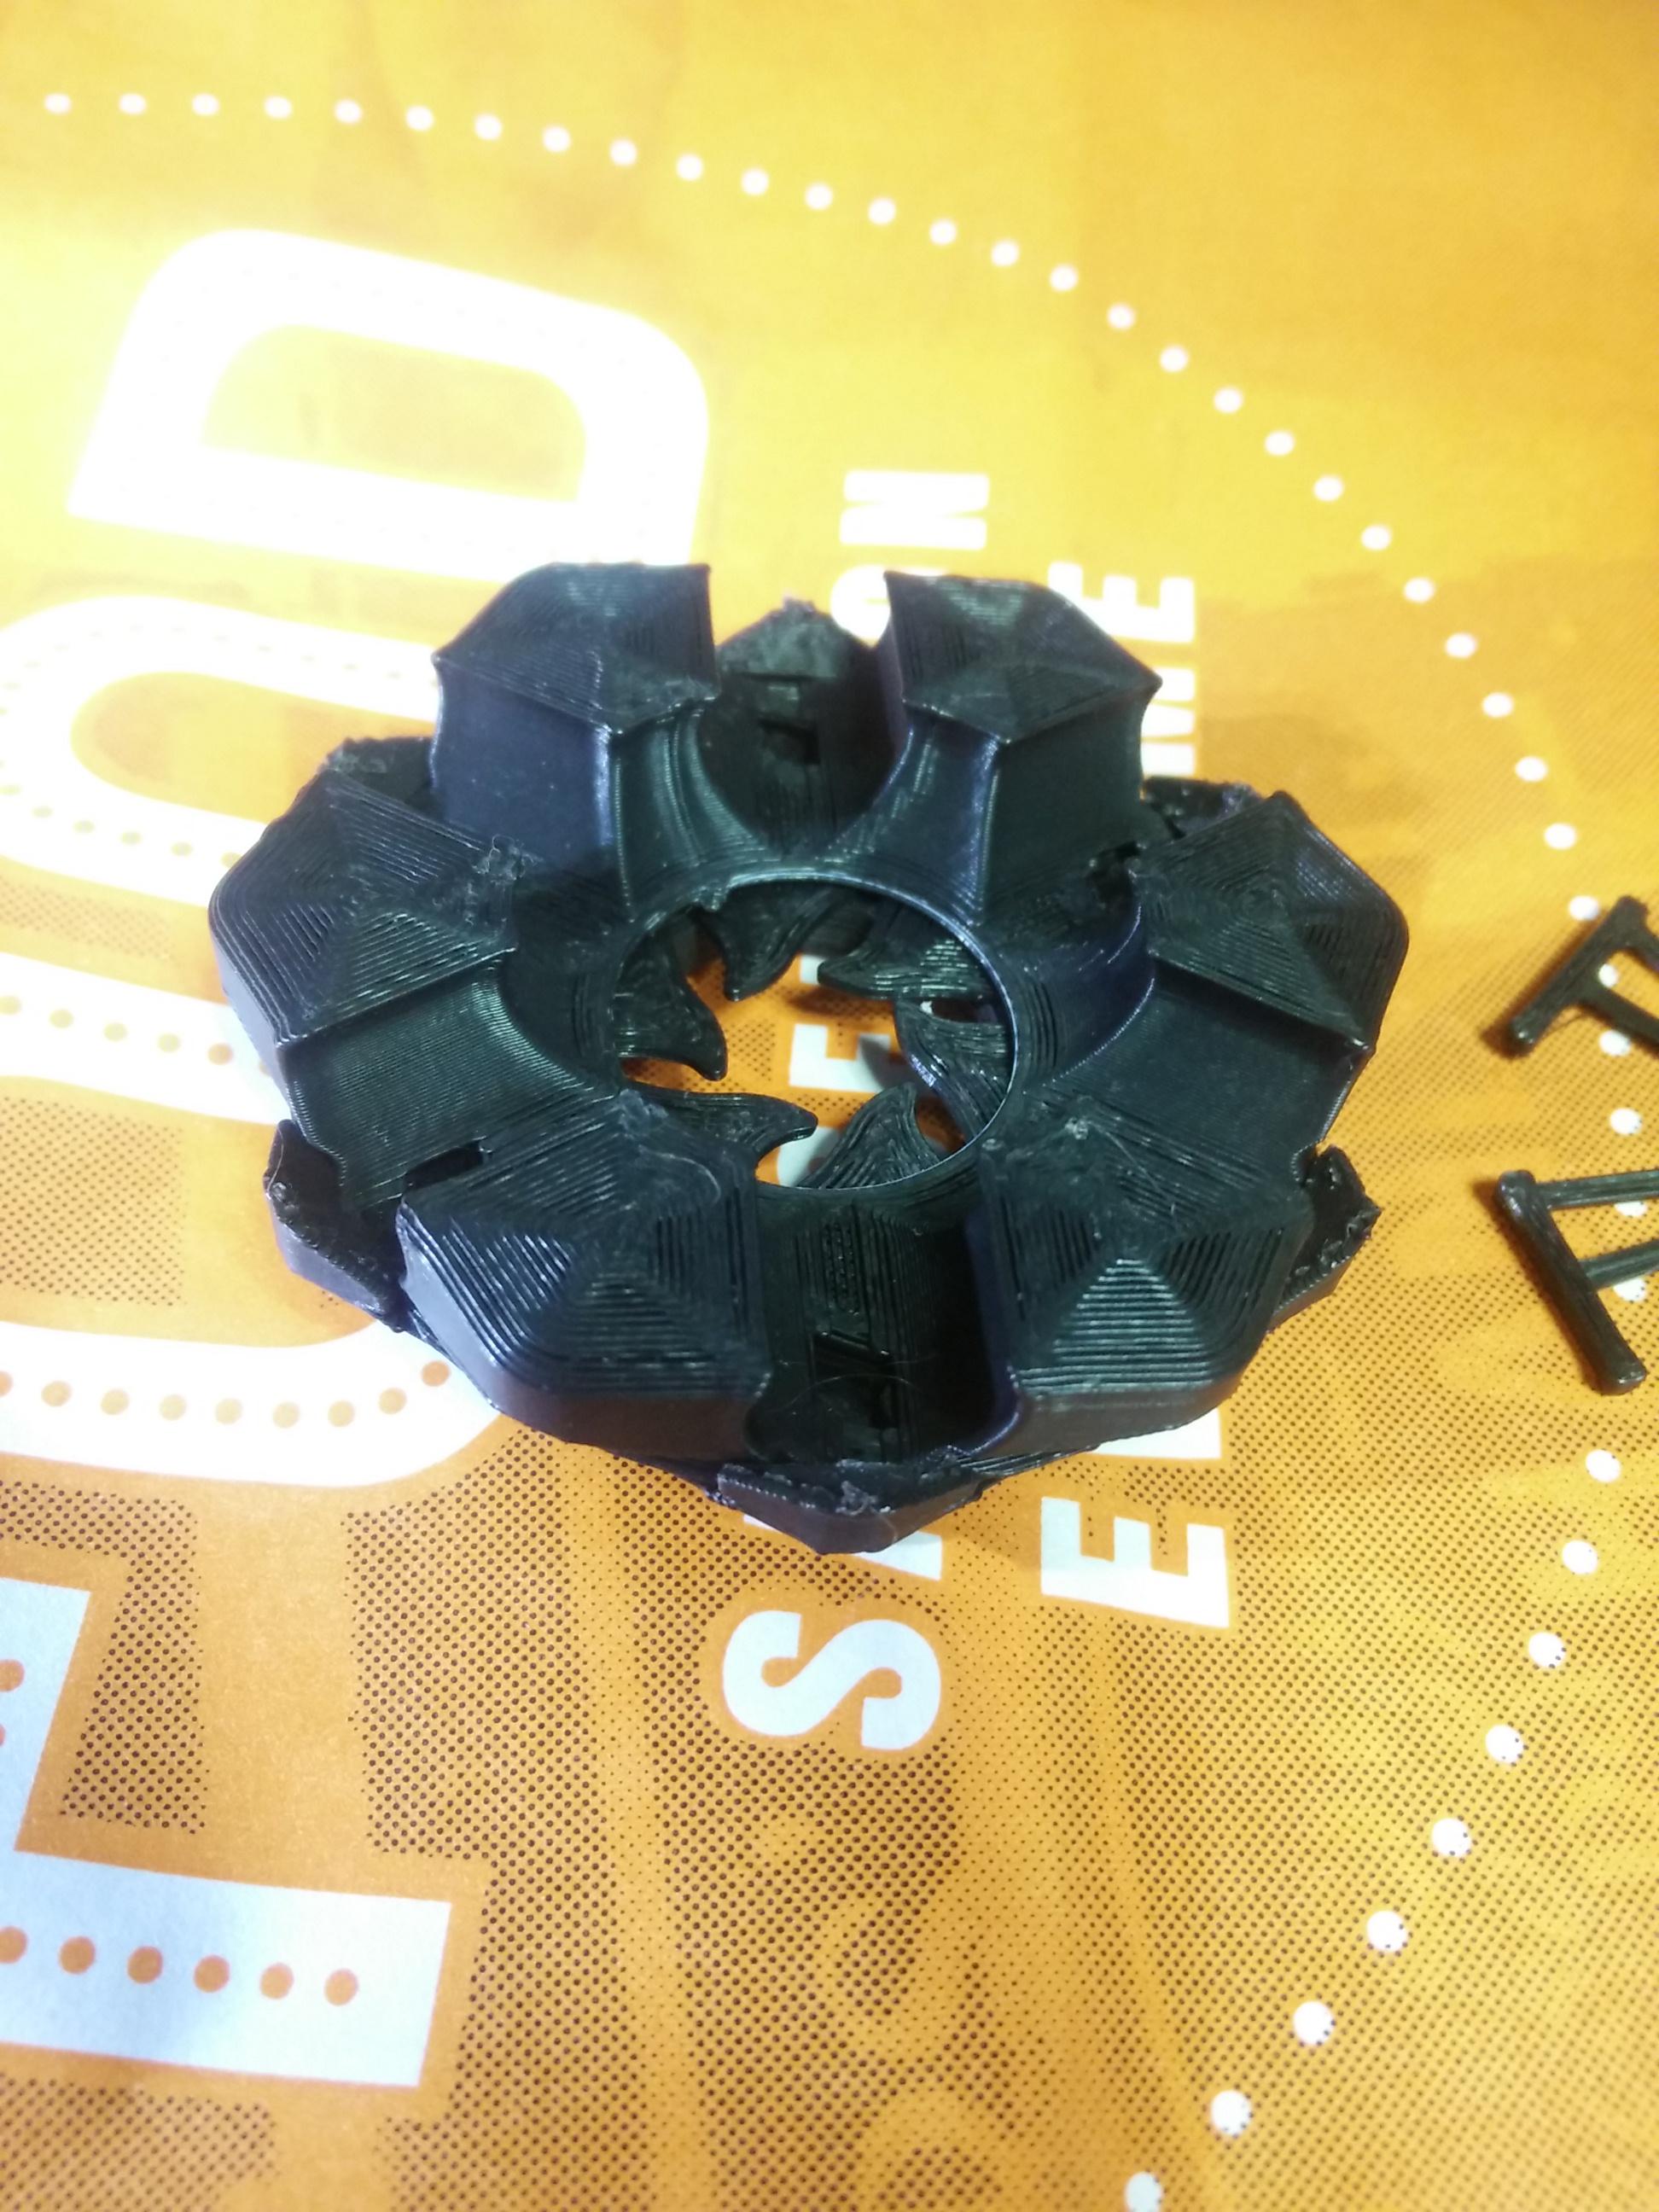
Requires 6 M2x4mm bolts that can maybe be replaced with bits of filament if you're brave.
This one took a few iterations to get right, but here it is; a Hextraction tile with a working iris pit.
There are two versions, one that's just an interesting mechanical piece that you open or close and play as normal, and one with an effect star and effect jaggeys around the opening with an accompanying card instructing you to open or close it.
For assembly, print an assembly jig, and for each tile, a base, either lid, and 6 blades.
- Using the M2 bolts, attach each blade to the base with the knobs pointing upwards. Leave the bolts just loose enough for free movement. If you're substituting filament; glue or weld the filament in the blade hole protruding opposite the knob and pray.
- Take the assembly jig and align it under the base, then close the blades until they are touching the central column of the jig.
- Take the chosen lid and, being sure to keep the blades in place against the jig, clip it into the base offset by 30 degrees. This should have the clips of the base lining up with the thinnest part of the lid, and the knobs of the blades lining up with the gutters of the lid.
- You may need to poke things around to make sure everything has set into the correct place.
- It will probably be stiff when first assembled, opening and closing it a few times should loosen it up. If it's too stiff to actuate by hand, you can get leverage with the game board and a pencil or similar.
Turning the lid relative to the base, it's clockwise to open, counterclockwise to close.
Category:
18 Likes51 DownloadsNovember 9, 2023
18 Likes51 DownloadsNovember 9, 2023


