Hello there,
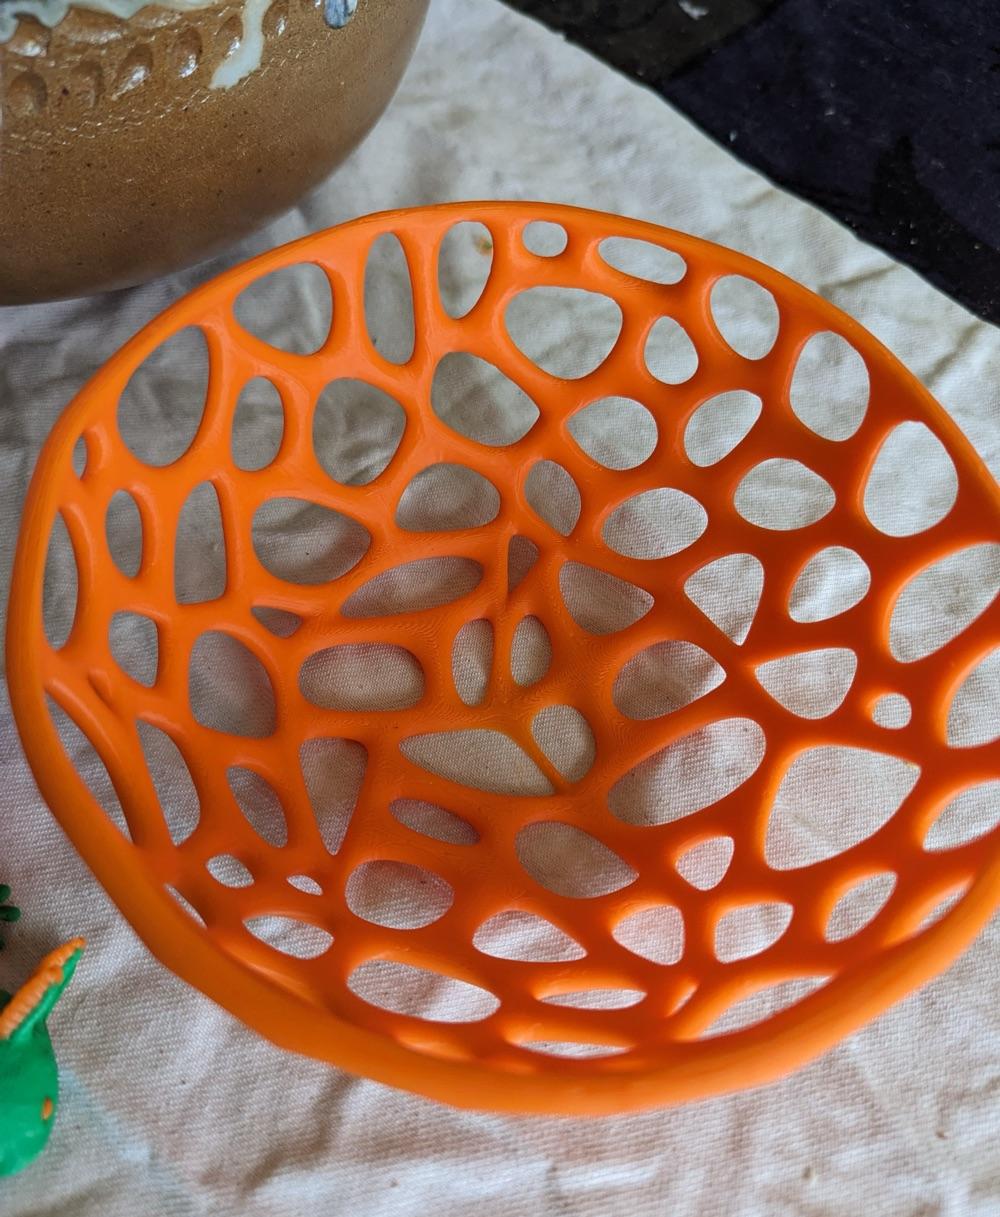
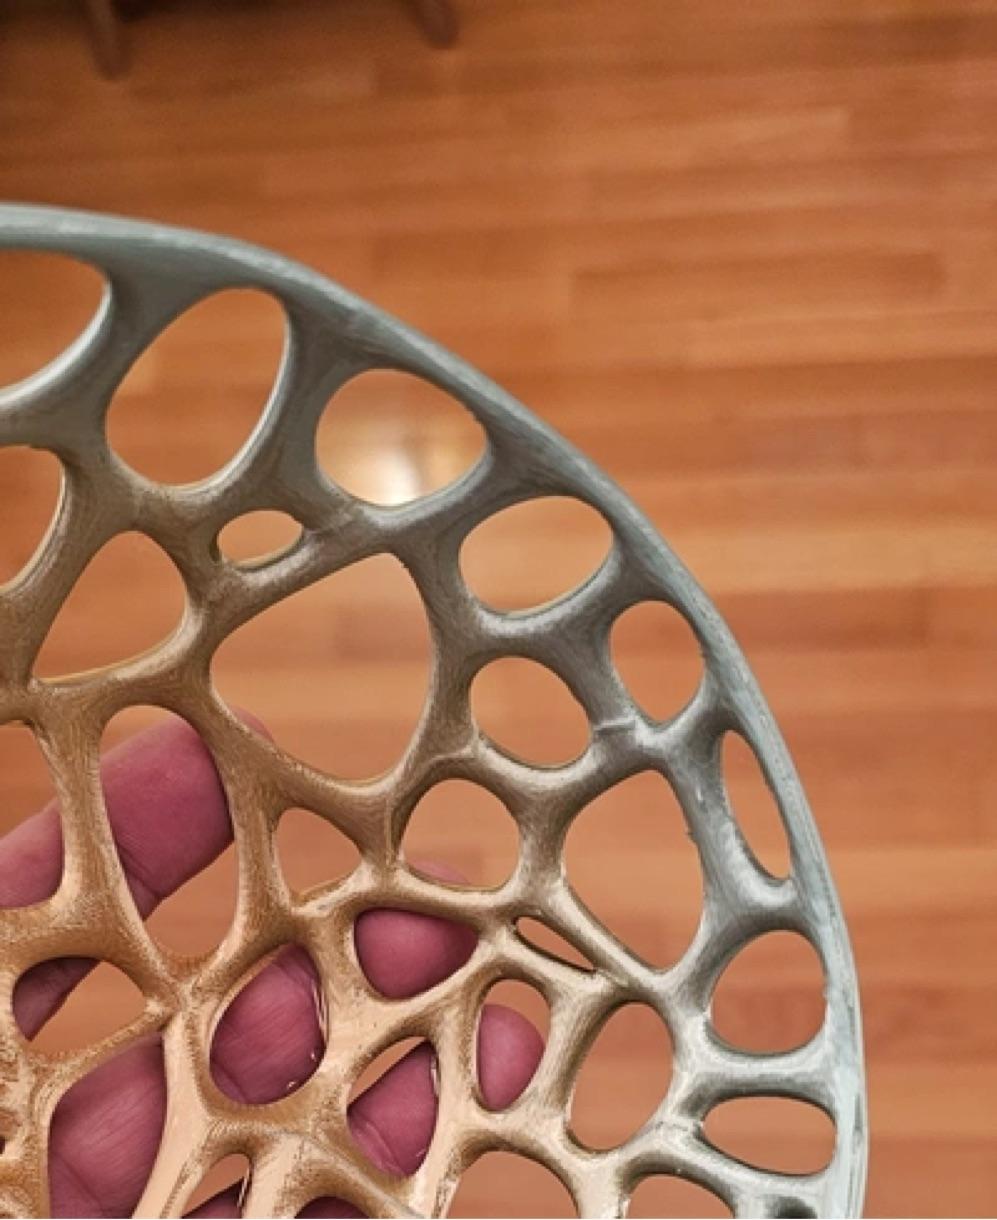
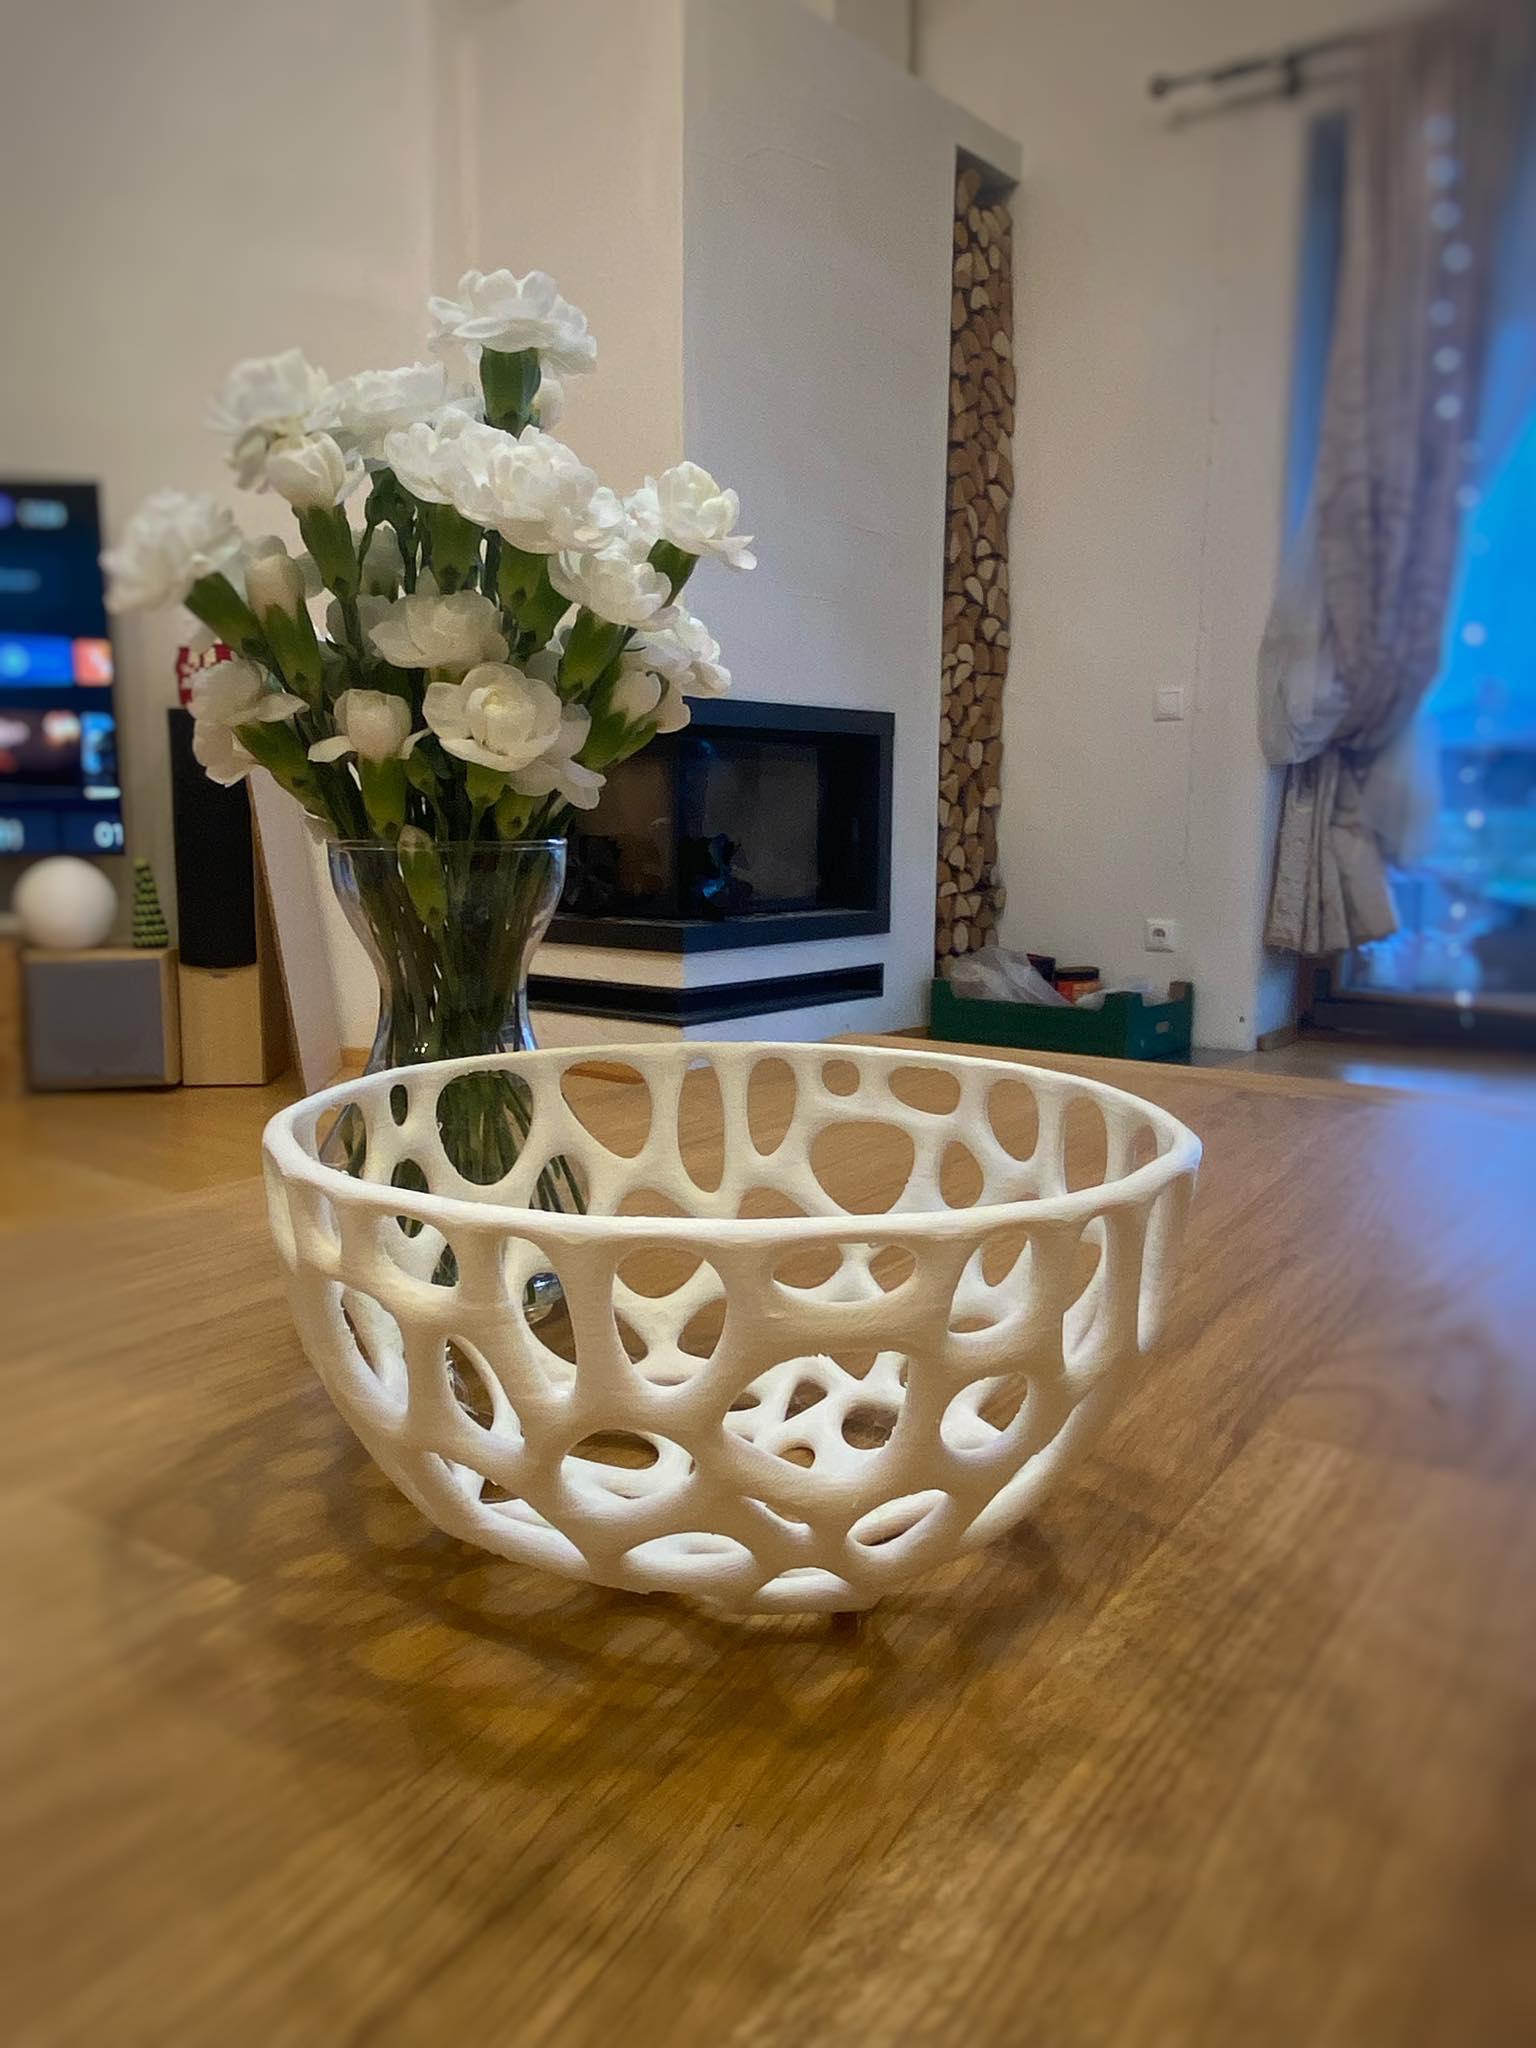
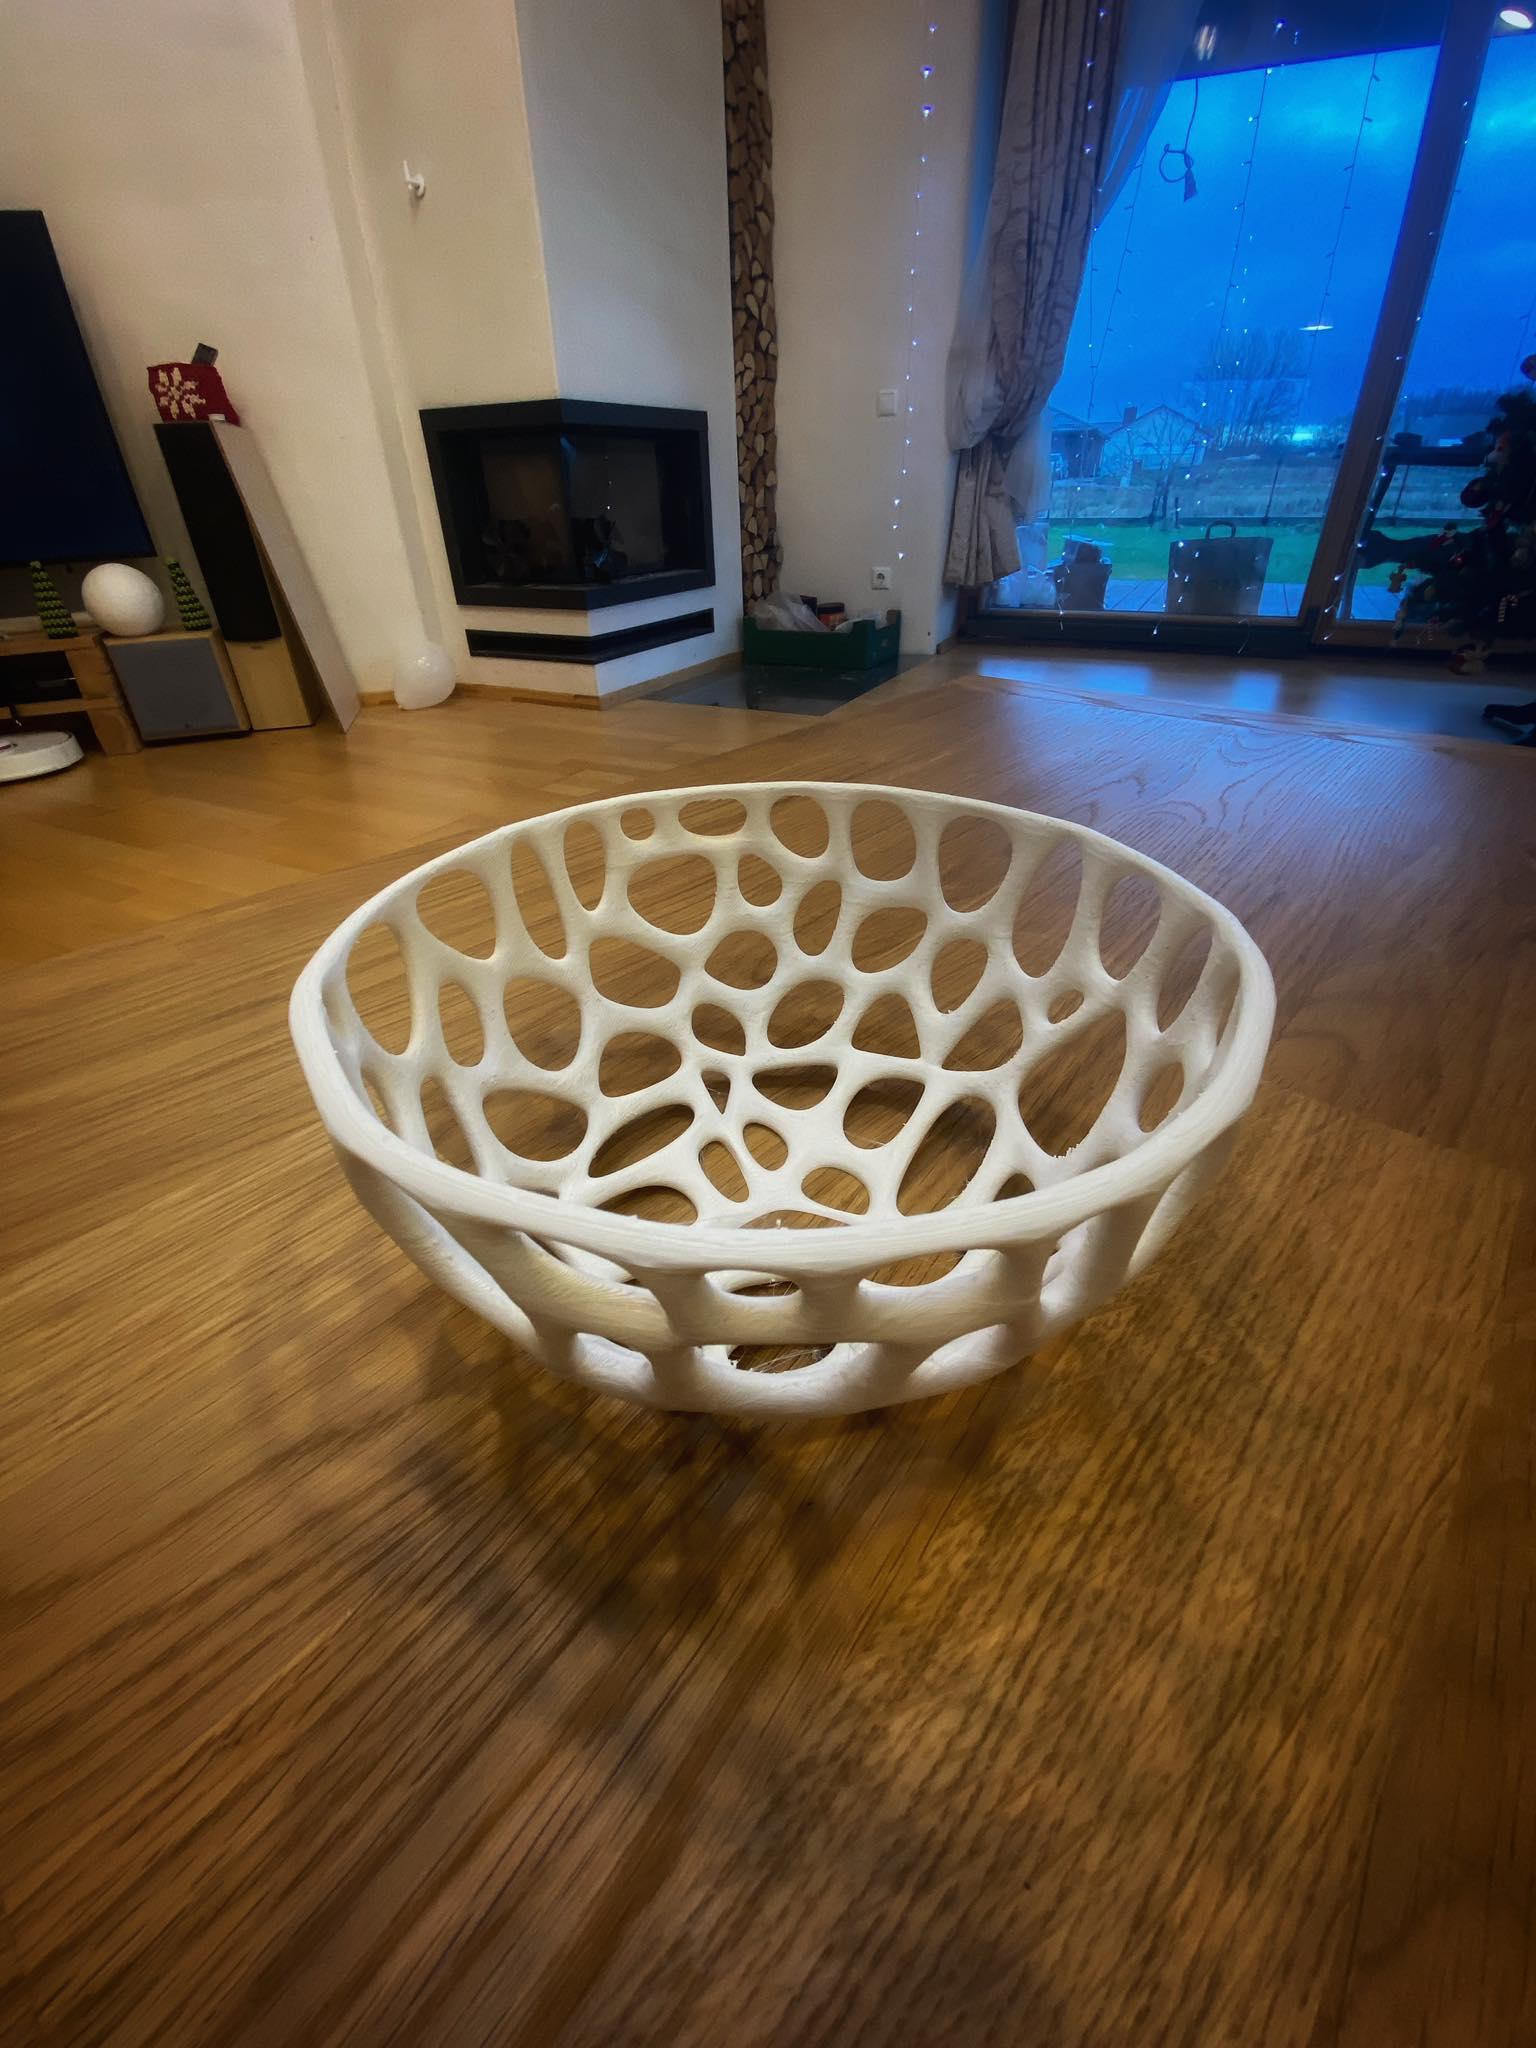
I was intrigued and amazed by some of the beautiful voronoi models on the internet, so I wanted to try it myself. I chose to give it a bowl shape and form since I enjoy practical things, therefore I designed and offeredgive you my Bowl - a Voronoi pattern bowl.
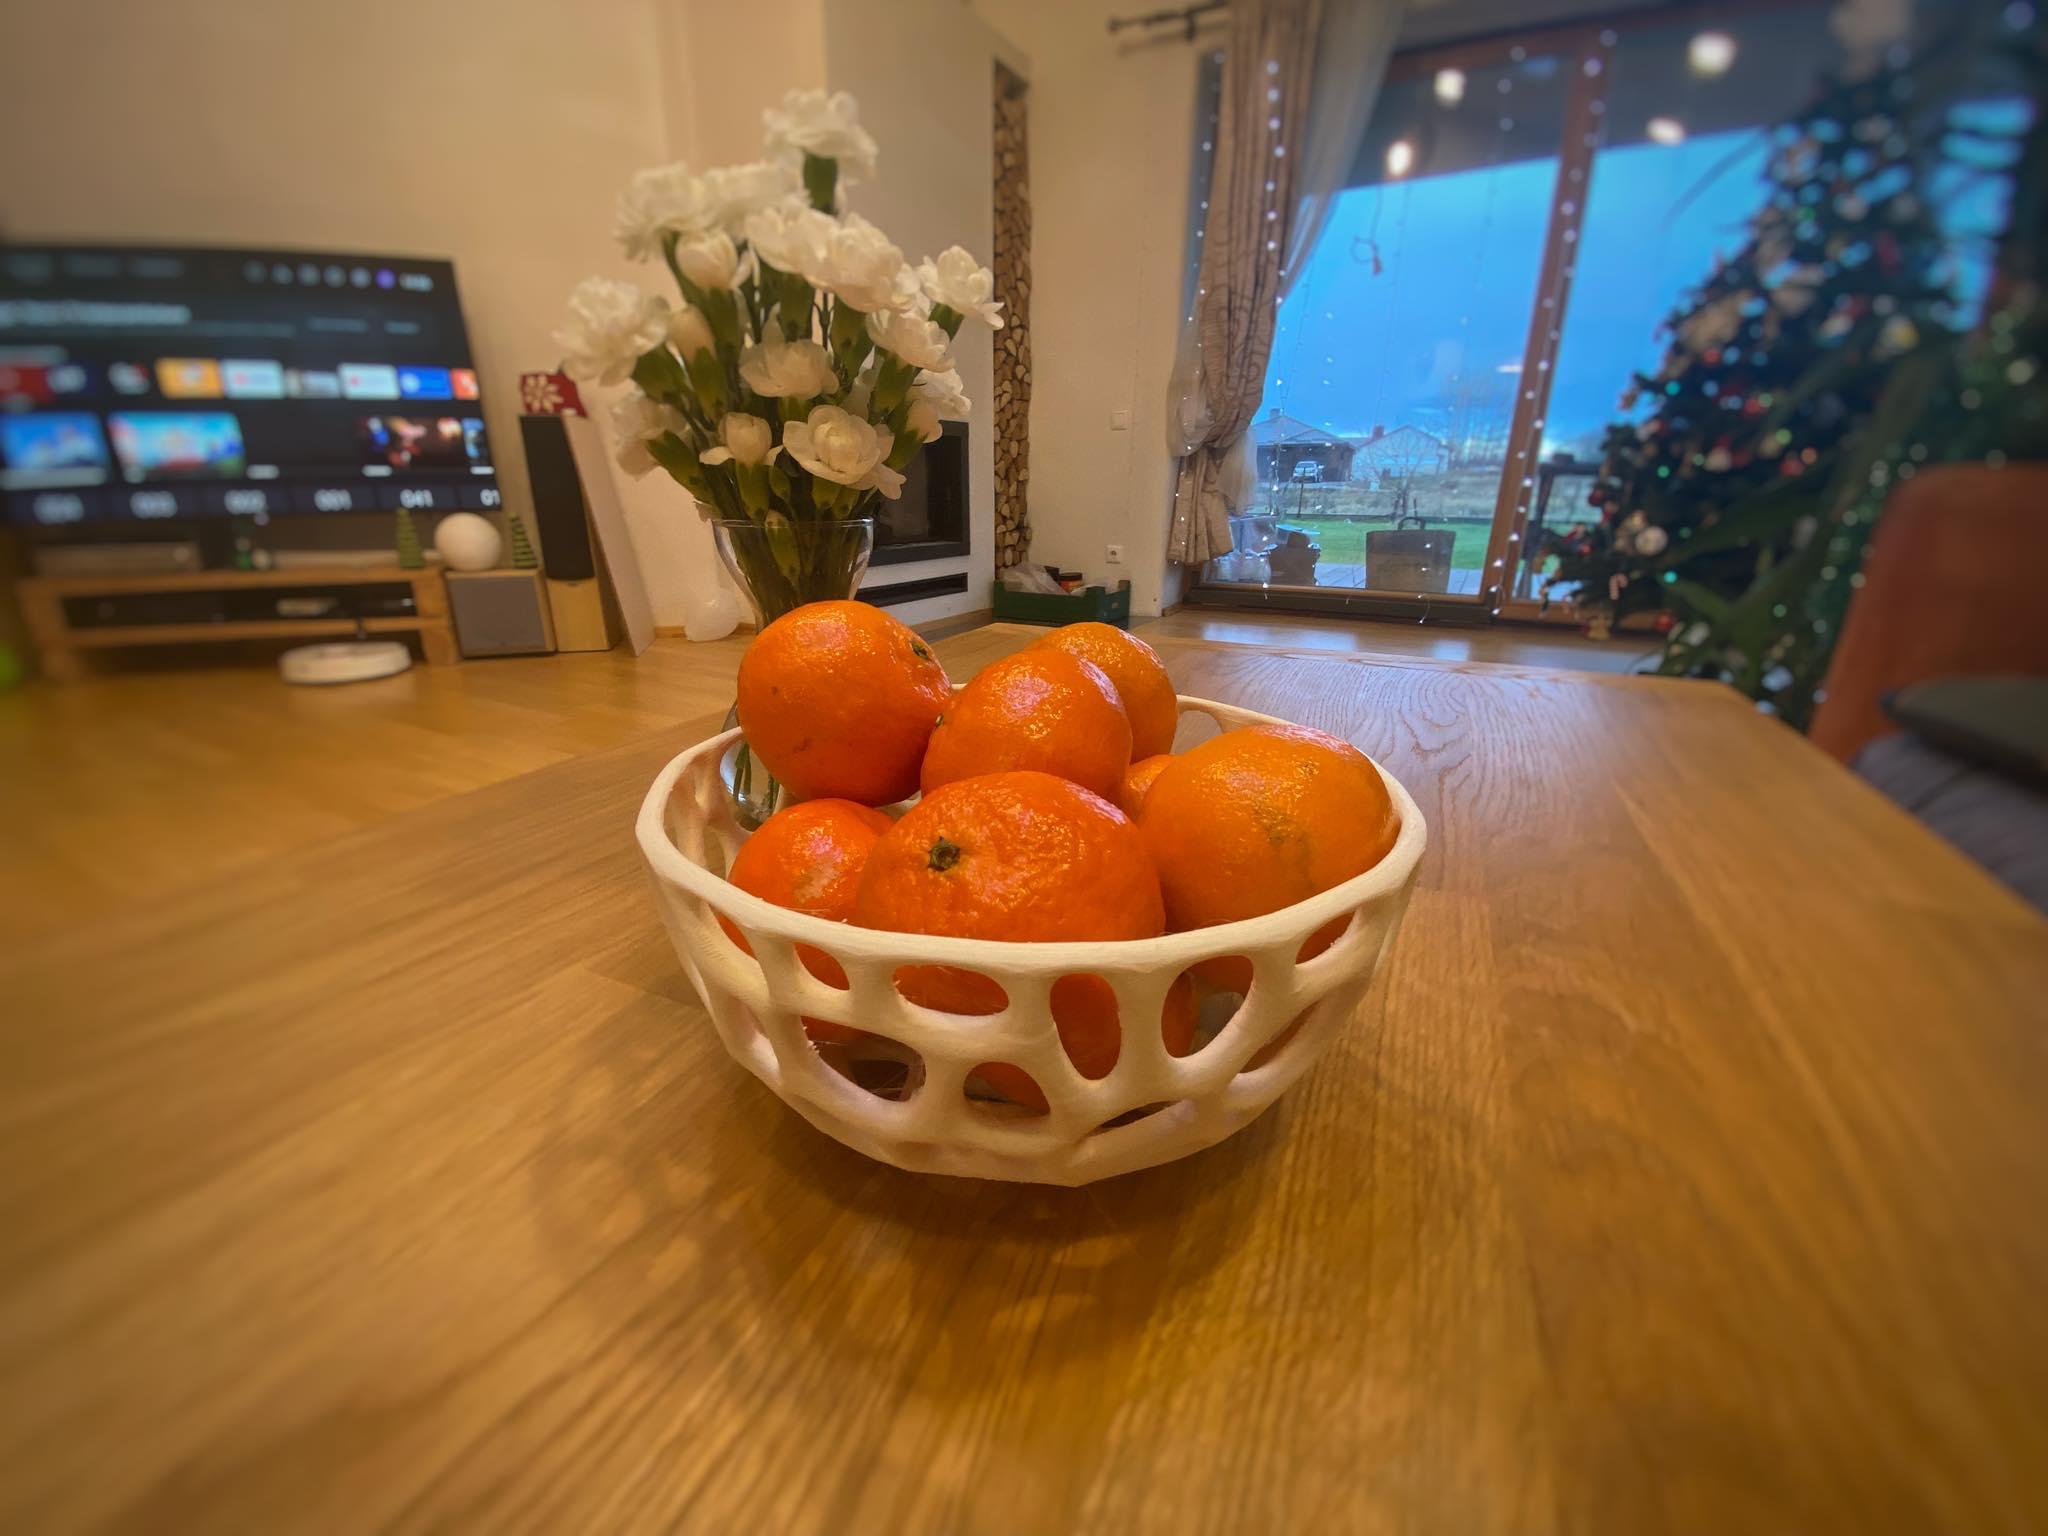
But, let's face it, you're not going to put something little in there like sweets anytime soon. However, you may try scaling it down to match your needs.
**Print settings : ** Layer height: 0.15mm or 0.2mm
A lower layer height will result in a smoother surface finish, but it will also take longer to print. A higher layer height will print faster, but it may not be as smooth. Infill: 20% or 30%
A higher infill percentage will make the bowl sturdier, but it will also make it heavier and more difficult to print. A lower infill percentage will make the bowl lighter and easier to print, but it may not be as strong. Wall thickness: 1.2mm
Top/bottom thickness: 3mm
Print speed: 20mm/s or 80mm/s
A slower print speed will help to prevent the filament from stringing and warping. This will help to produce a smoother surface finish and a stronger print. Temperature: 200°C or 210°C
The temperature of the nozzle should be high enough to melt the filament properly, but not so high that it causes the filament to burn or warp. The optimal temperature will depend on the specific filament you are using. Additional tips:
Use a brim or raft to help the print adhere to the bed. Use a filament guide to prevent the filament from tangling. Allow the print to cool completely before removing it from the bed. Wash the print with warm, soapy water to remove any residue from the filament. No supports are required; I attempted to keep the number of overhangs and lengthy bridges to a minimum for optimal printability, but if you want to improve the look from the bottom on the little bridges and steep overhangs, you can use supports. In this instance, tree supports will be ideal.
Size: 200x200x90 mm it is easily scalable if you want larger or smaller size.
If you like this model, check out my other models and leave a comment. :)
I am looking forward to your makes,
Augustas
#ThangsWorkspace
.png&w=3840&q=75)
