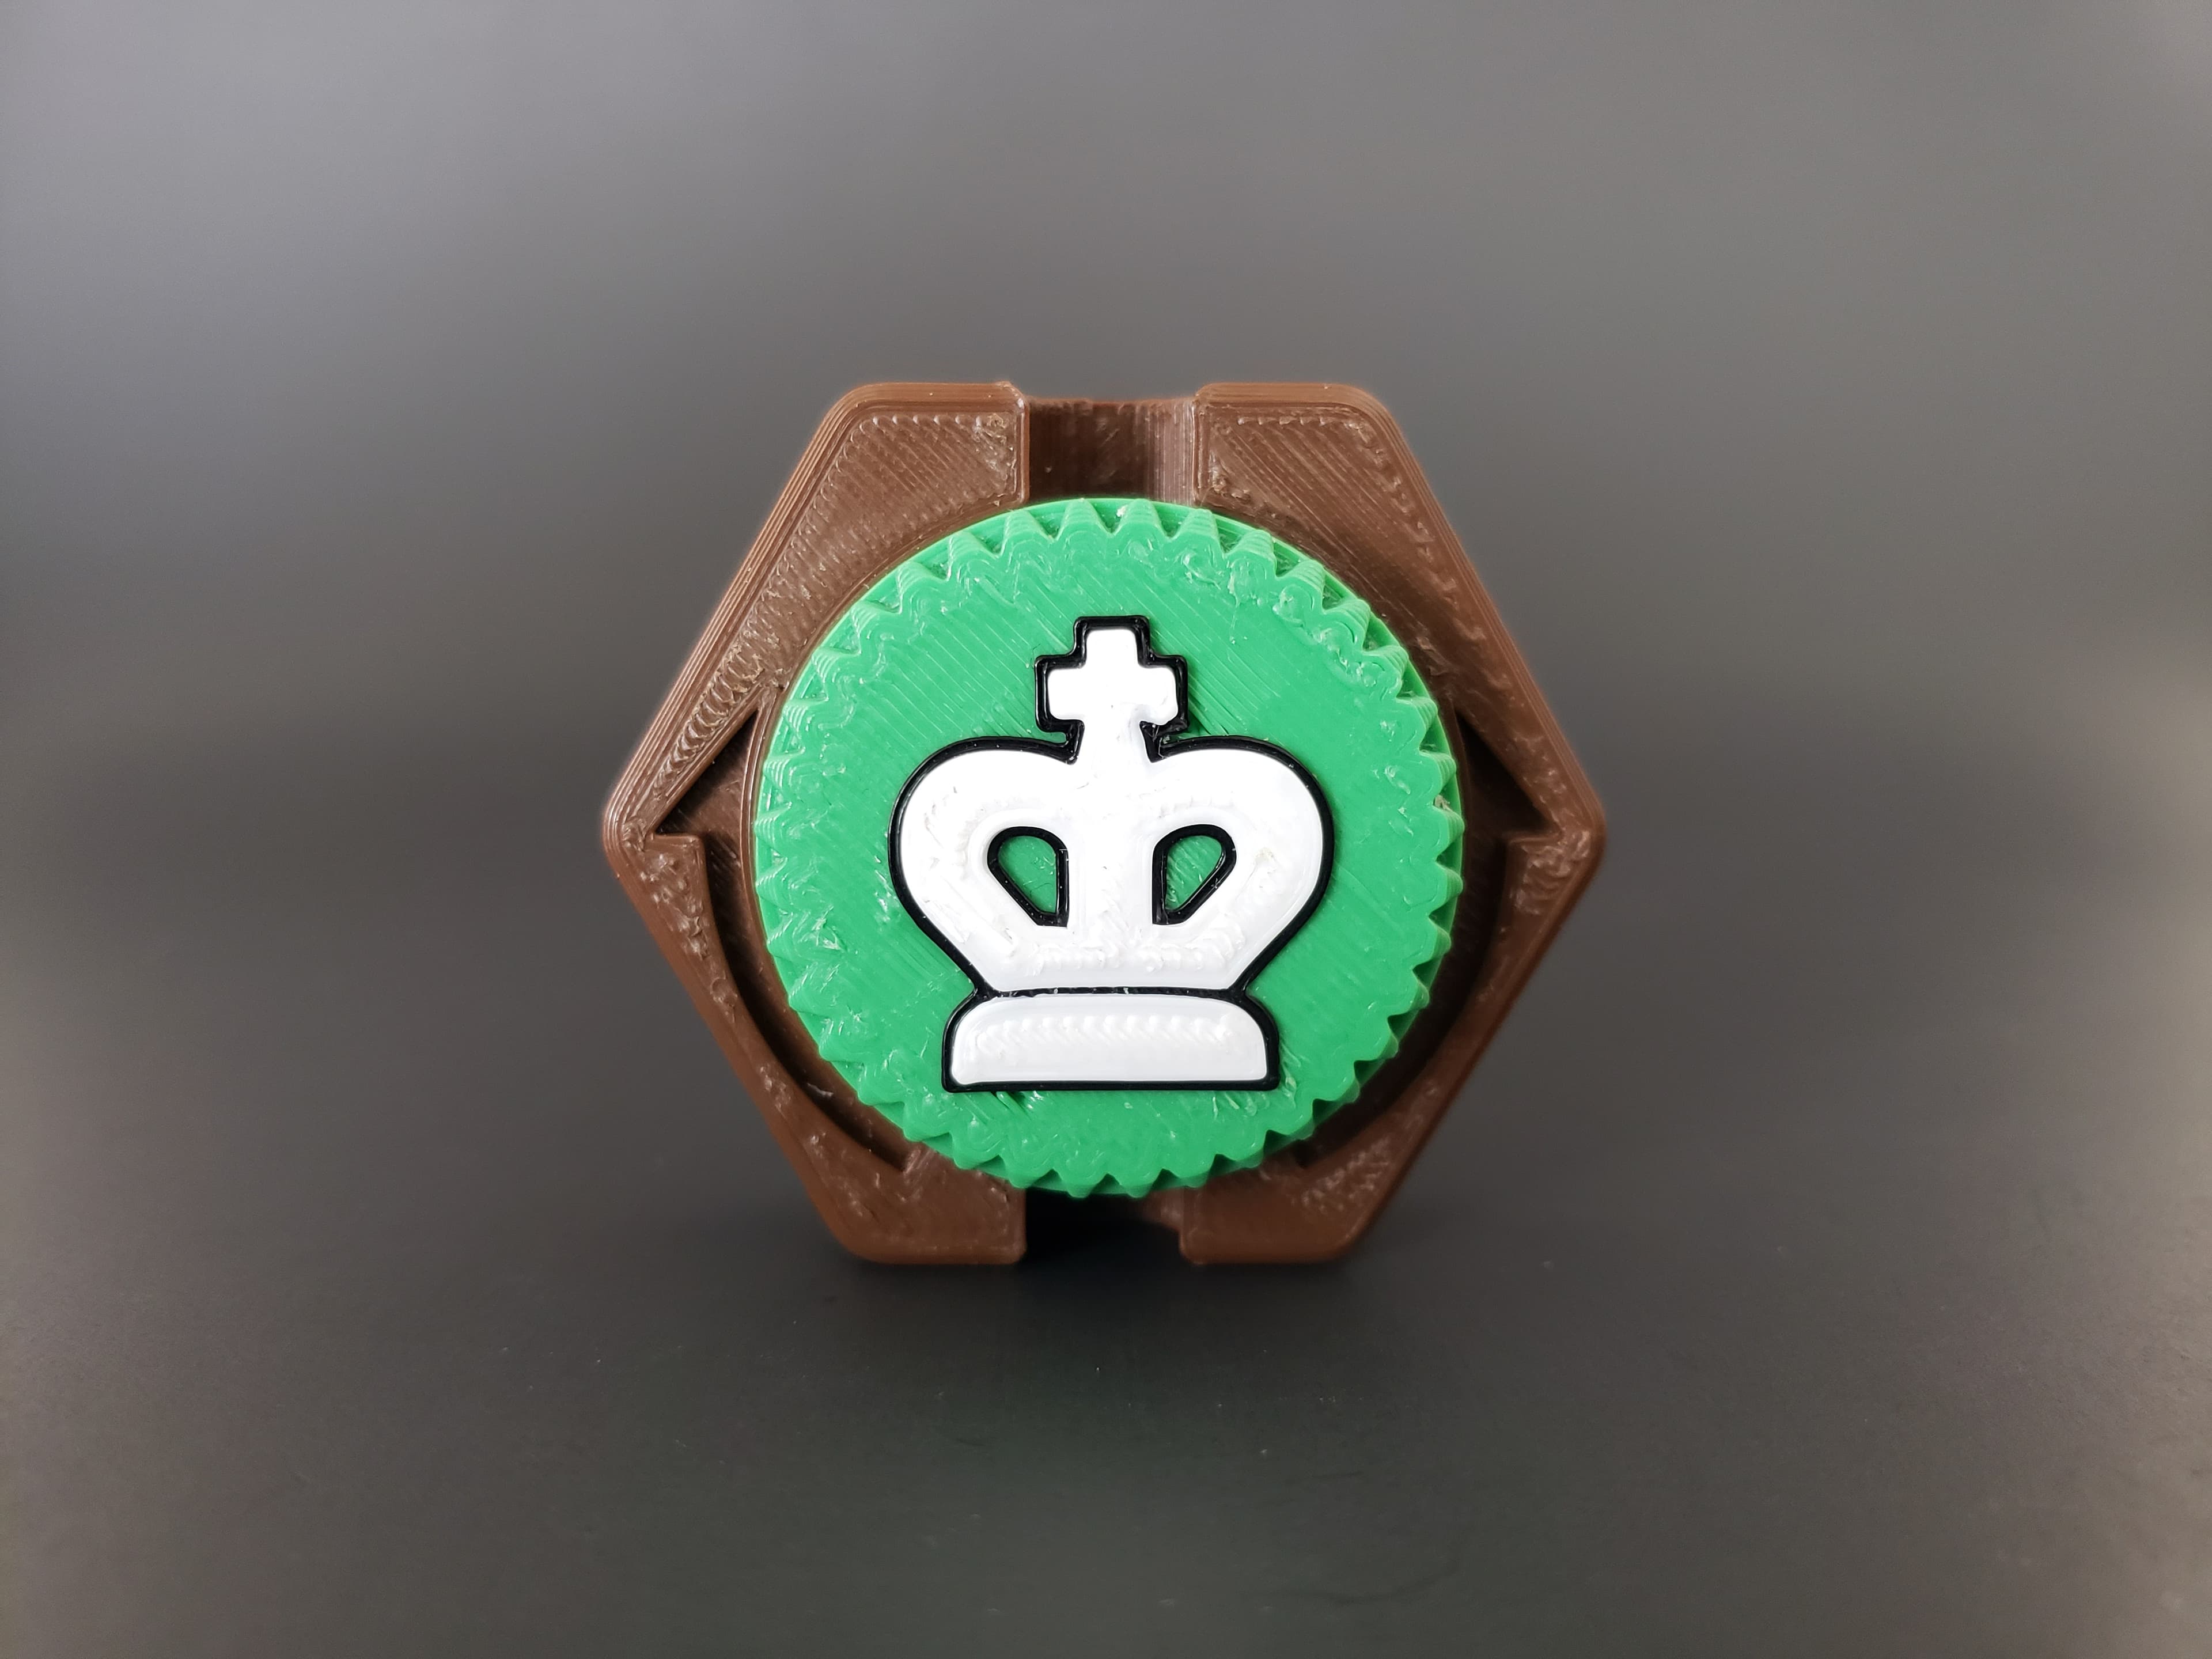
An aesthetic upgrade to the King Tile.
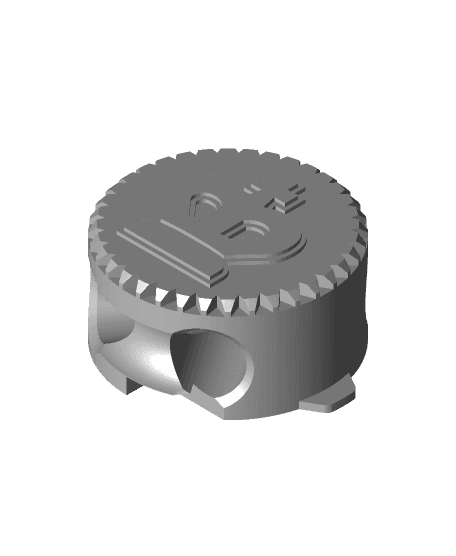
Only the knob and card are altered. The icon is based on the chess.com Neo piece set. The knob is designed for single-extruder printers. The color effect can be achieved simply with 2 filament changes at 'X' layer height. You can reuse your old Rules Card or print a new one matching the Neo Knob. You can also reuse your old upper, lower, and spring parts for the new assembly if you have already printed the original tile.
Rules Card Text Trigger: Move tile to an adjacent open slot if possible, then turn knob
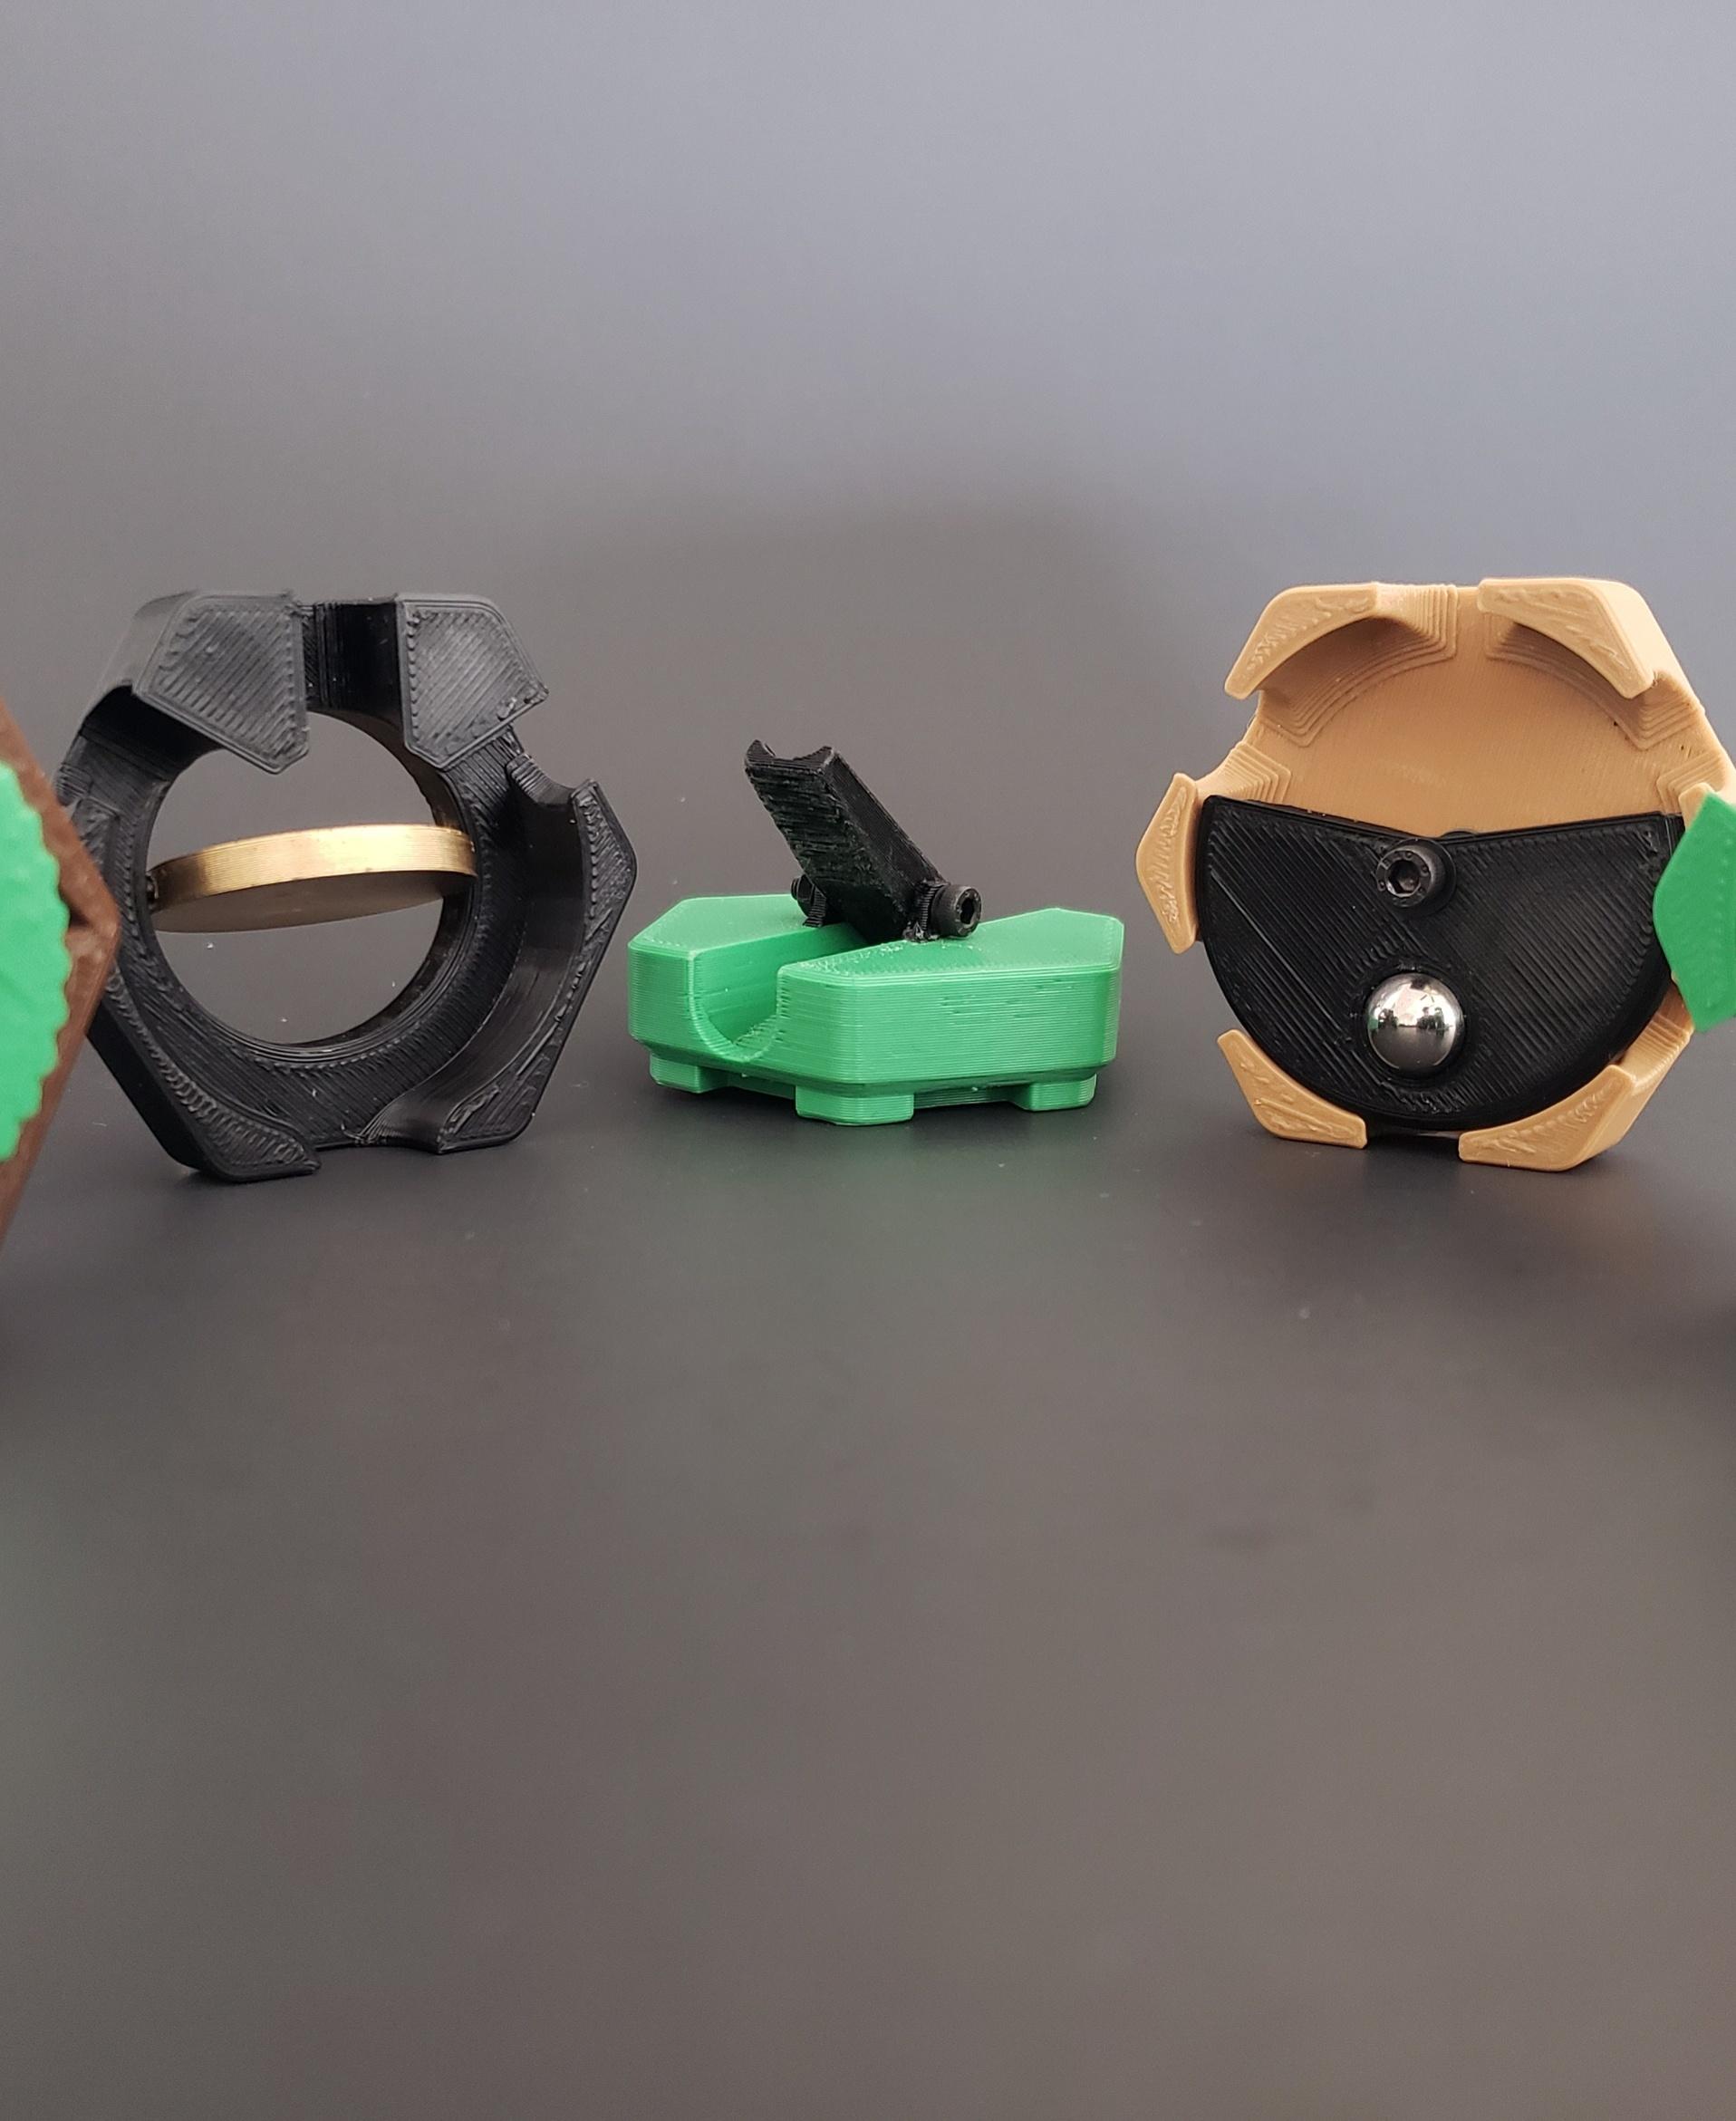
*Zack Freedman's King Tile Printing/ Assembly Instructions I strongly recommend printing the Spring in PLA for stiffness, and the other components in PETG or nylon for smoothness. Print the Knob with the icon facing up, and the Upper with arrows against the plate, supports enabled. The Lower, Spring, and Kard don't need supports. To assemble:
- Put a thin bead of glue around the center peg on the King Lower, drop in the Spring flat side down, and let it set.
- If possible, apply some plastic-safe grease to the Knob's underside and tabs.
- Push the Knob into the Upper, and make sure the Knob's tabs nest into the Upper's tracks.
- Apply glue to the four pegs on the Lower. Drop the Knob and Upper onto the Lower and let the glue set.
- If necessary, apply more grease to make the motion smooth.
This tile is part of my Mechanism Tiles Pack. Check the others out. Coin Flip https://thangs.com/m/975594 Gear Spinner https://thangs.com/m/975606 Seesaw https://thangs.com/m/975595 Twozu https://thangs.com/m/975596


