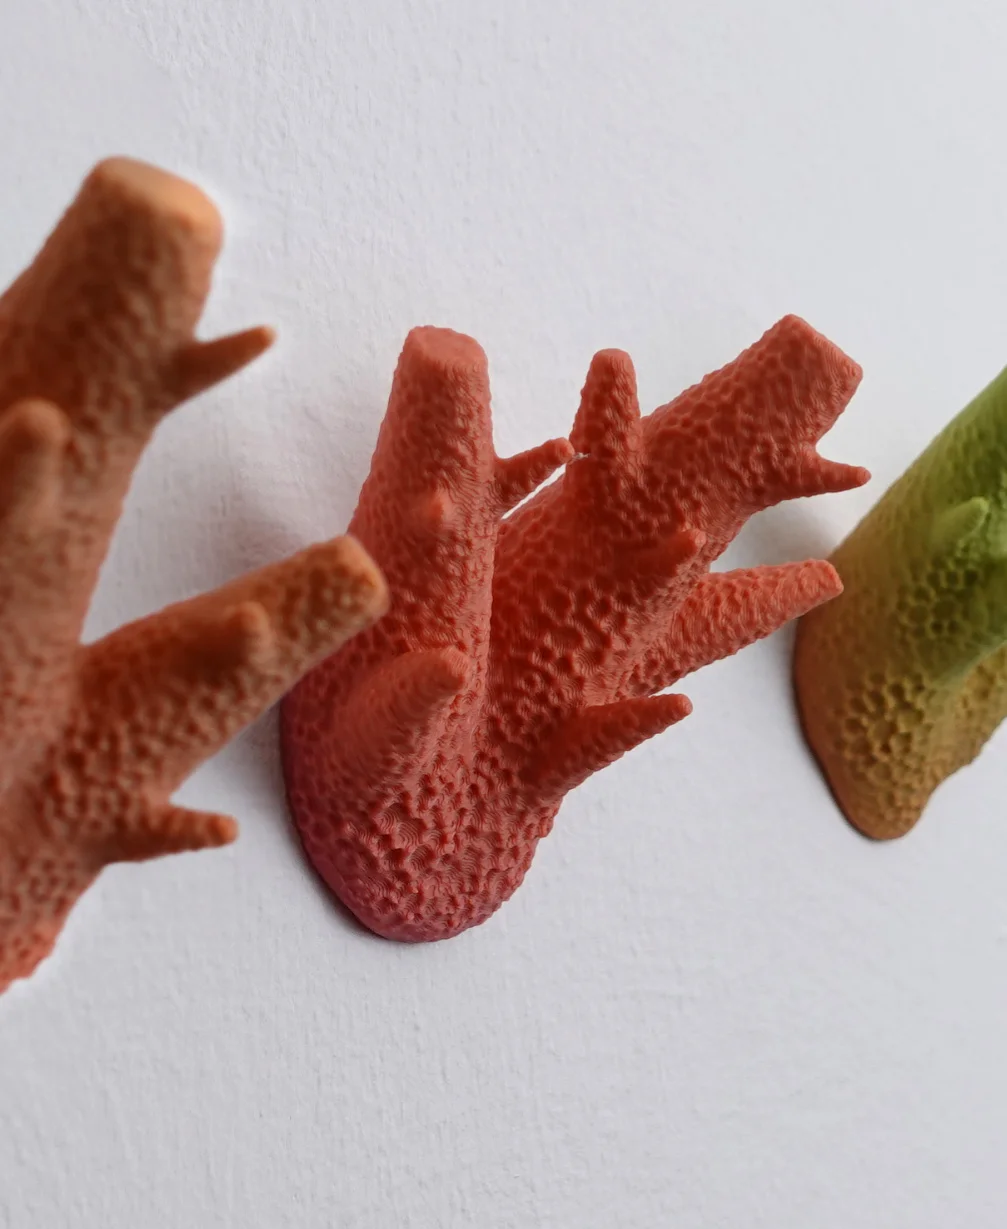
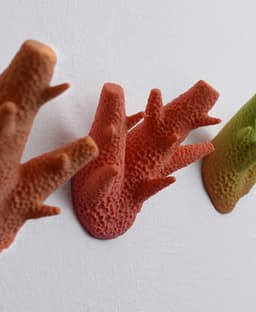

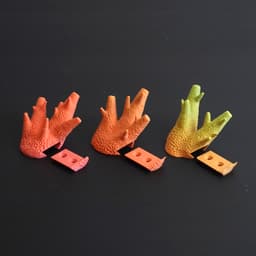


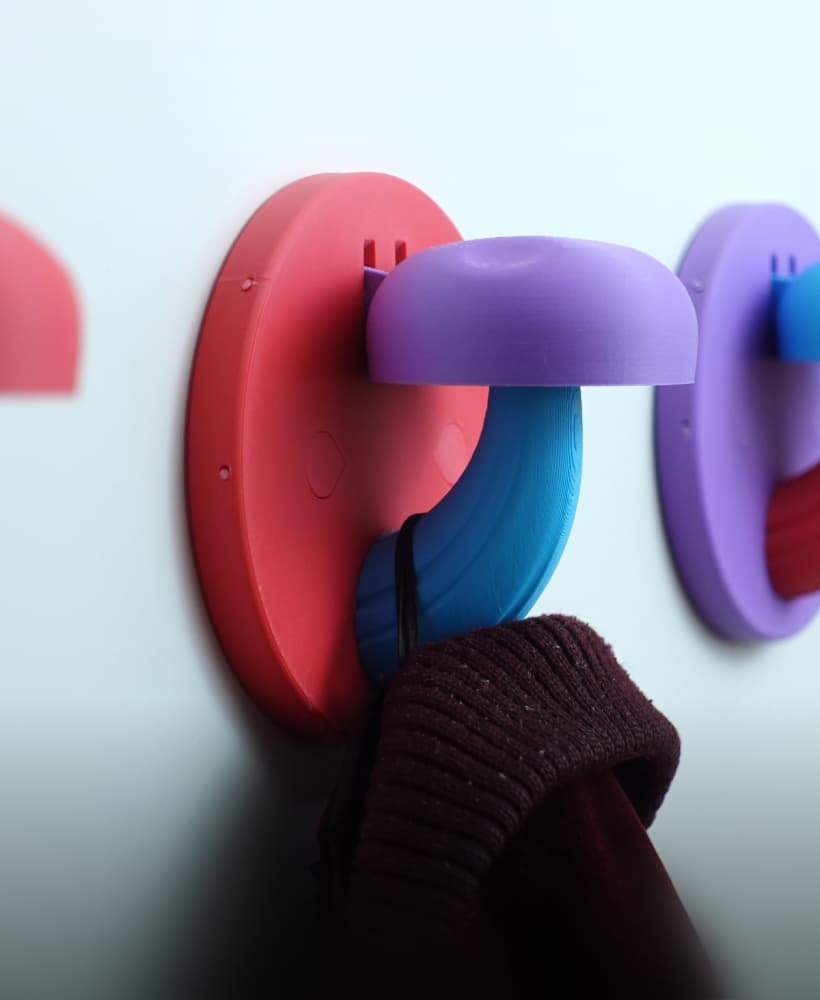
Wall coat hook “caliendrum coral”
Three different coral inspired wall hooks. Often you don’t have enough hooks for your clothes and accessories – with these designs you can always add more extra pieces to one hook. All three designs are provided in two versions. One with the cut-out holder for fixation with screws and one with a flat back for fixation with wall mount glue.
Instructions (screw version)
- Print the hook and the according holder. The holder has a clearance of 0.2 mm to slide in with a little friction. If your printer has issues with bridging, and the holder does not fit – you can scale the holder down a bit.
- Mount the holder onto the wall with screws and dowels. The Diameter of the screw holes is 5.5 mm. The distance of the screw holes is 16 mm.
- Slide in the holder from the side.
Instructions (glue version)
- Print the complete corals and glue them to your wall with specialized wall mount glue.
Size approximately: 80x80x60 mm You can mirror the corals in your slicer to have 6 different versions.
Print settings Material usage per coral: ca 40g Print time per coral: 3-4 h
Material: PLA Print direction: stls are rotated correctly, check images Support: none Nozzle size: 0,4 mm Line width: 0,4 mm Layer height 0,2 mm Outer walls: 5 (2mm thickness)
Top/Bottom Layers: 6 (1,2mm thickness) Infill: 30% Build plate adhesion type: none

Wall coat hook “caliendrum coral”

Stool is the box

Modular Shelf
Infinite Notebook
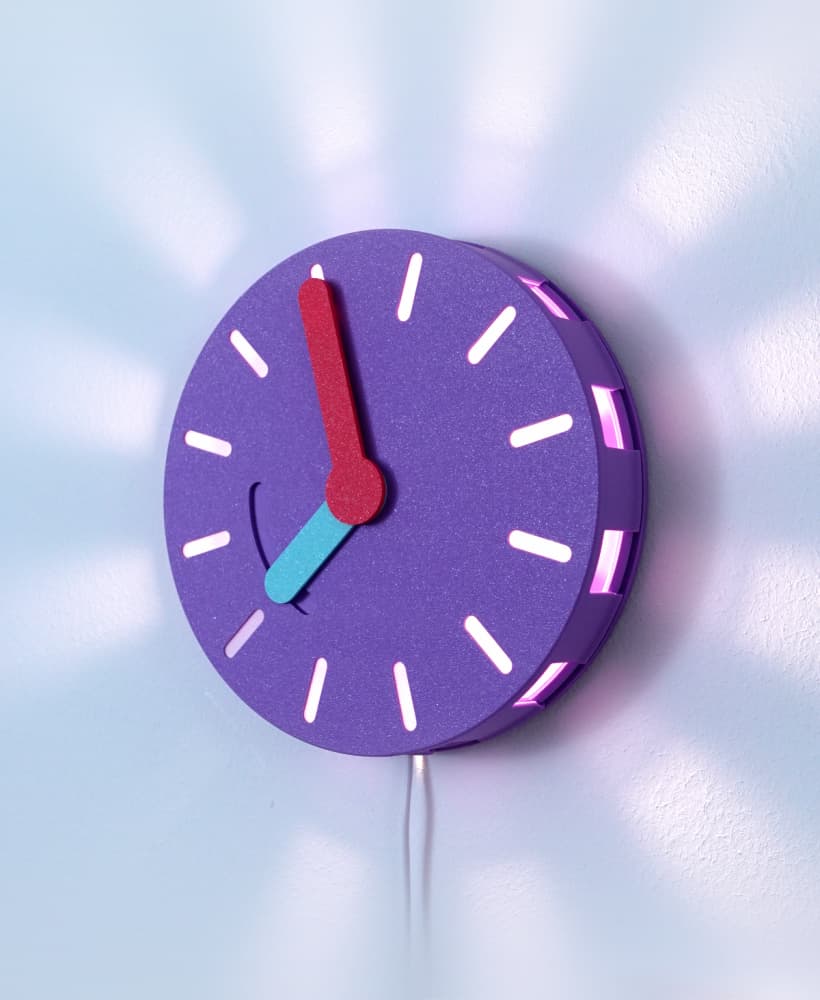
Clock(lamp)
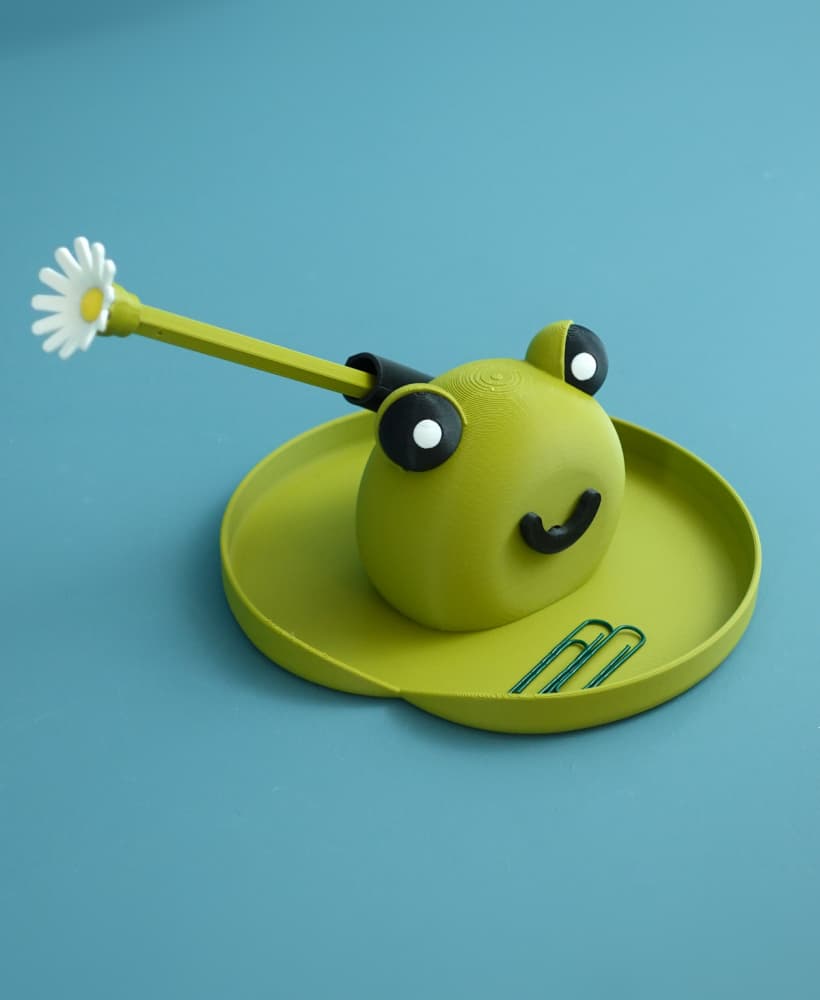
Frank the frog pen holder
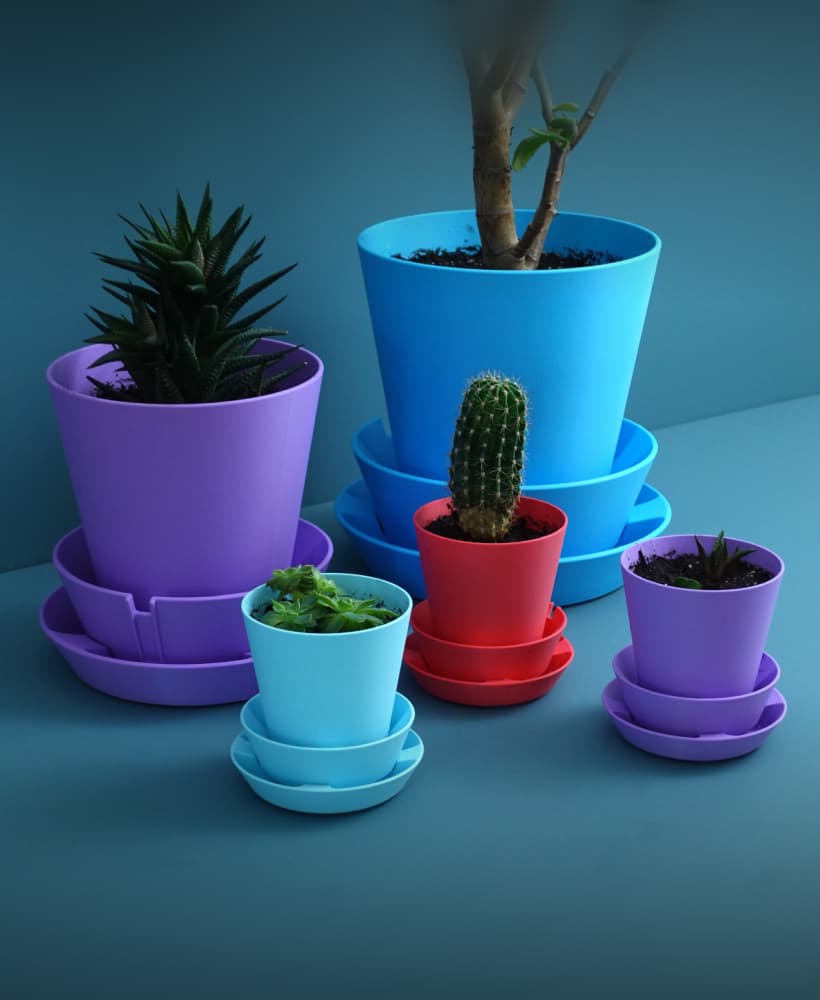
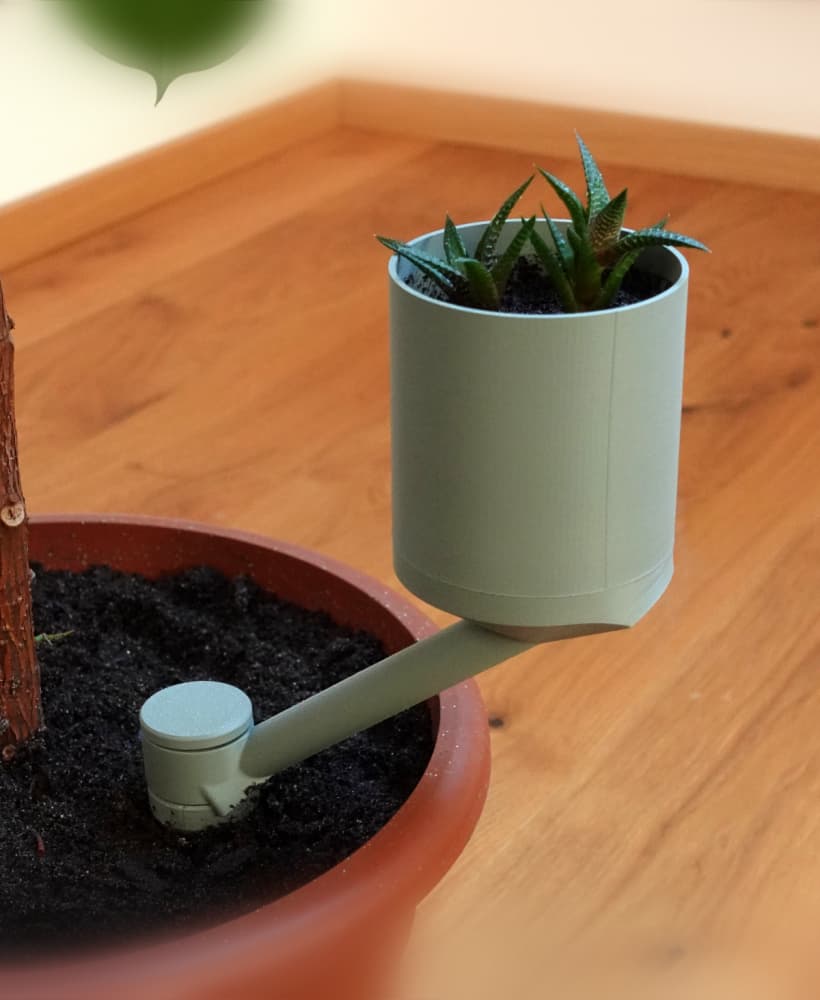
Multifunctional Planter “BRBP”
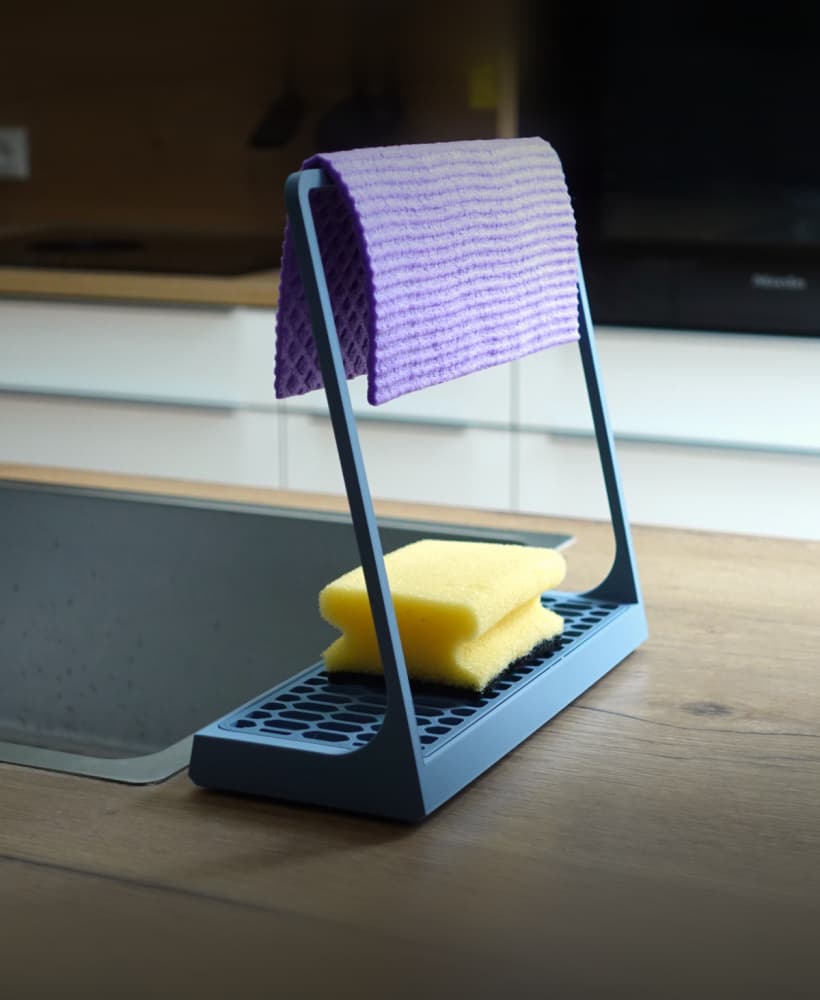
Sponge holder
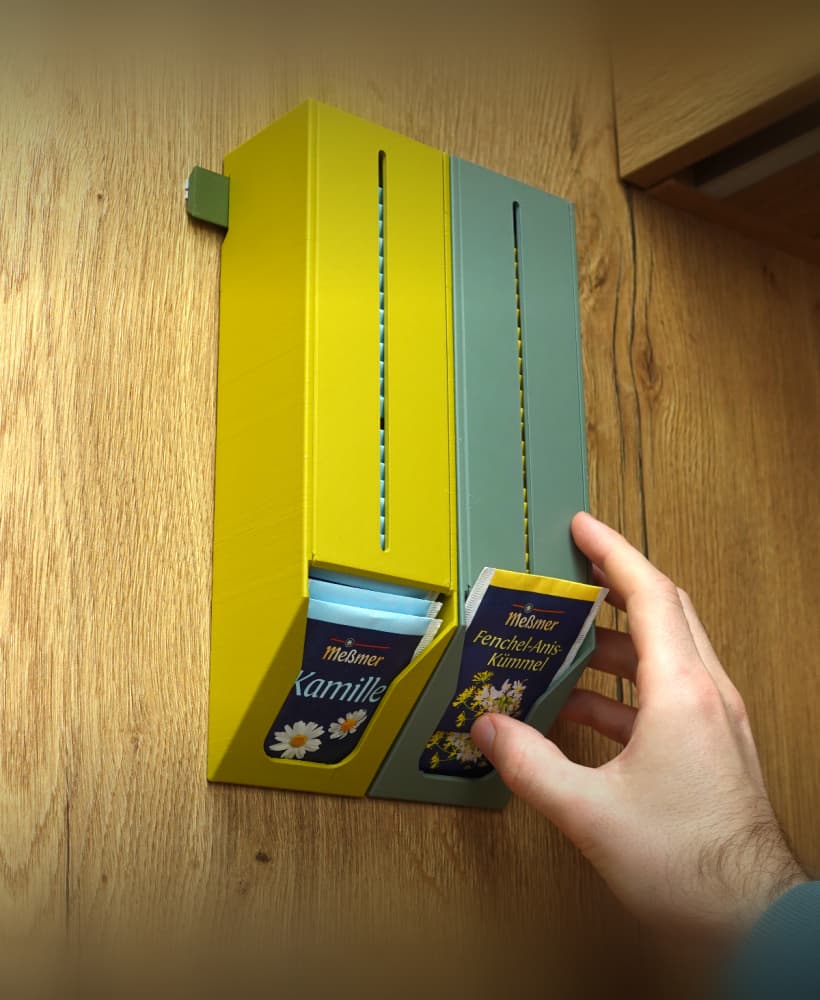
Tea bag dispenser
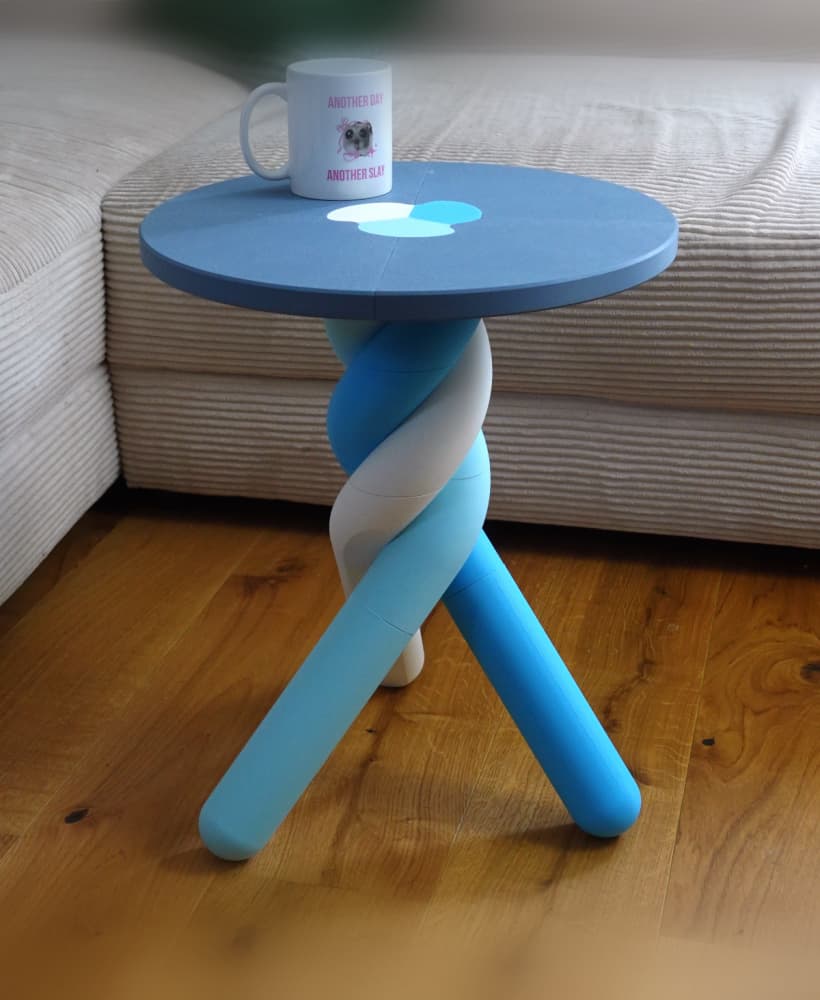
Marshmallow table
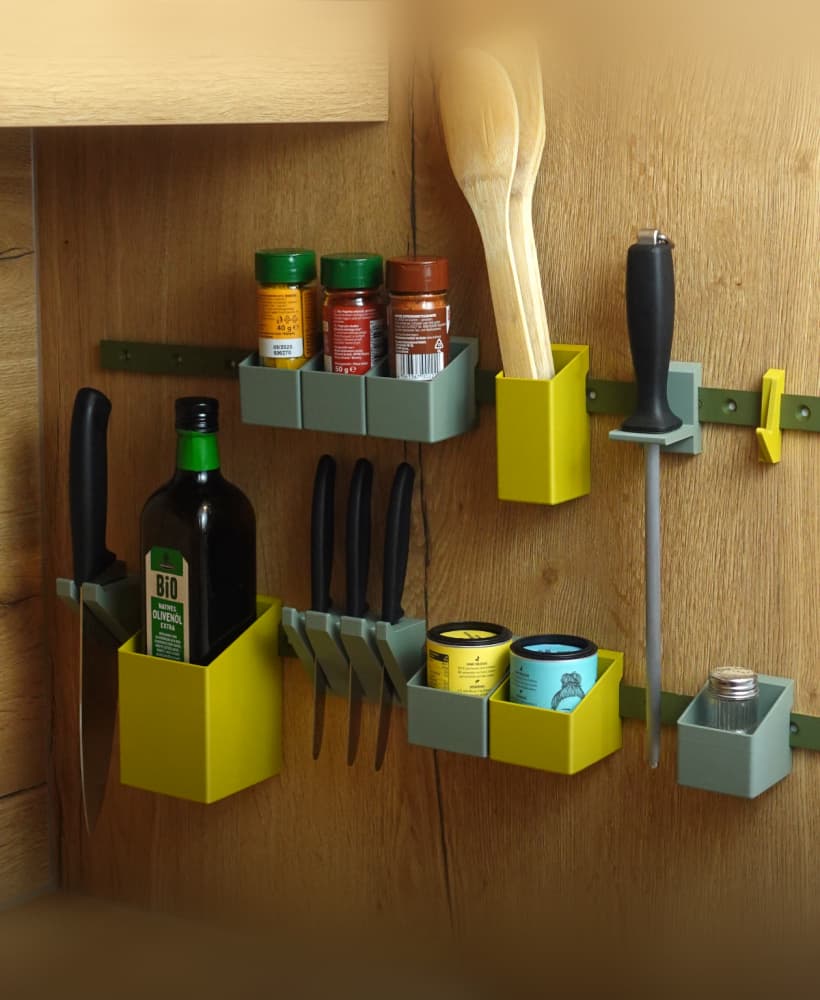
Raily – modular wall organization

Mushroom lamp “Amanita Muscaria”
Glasses case
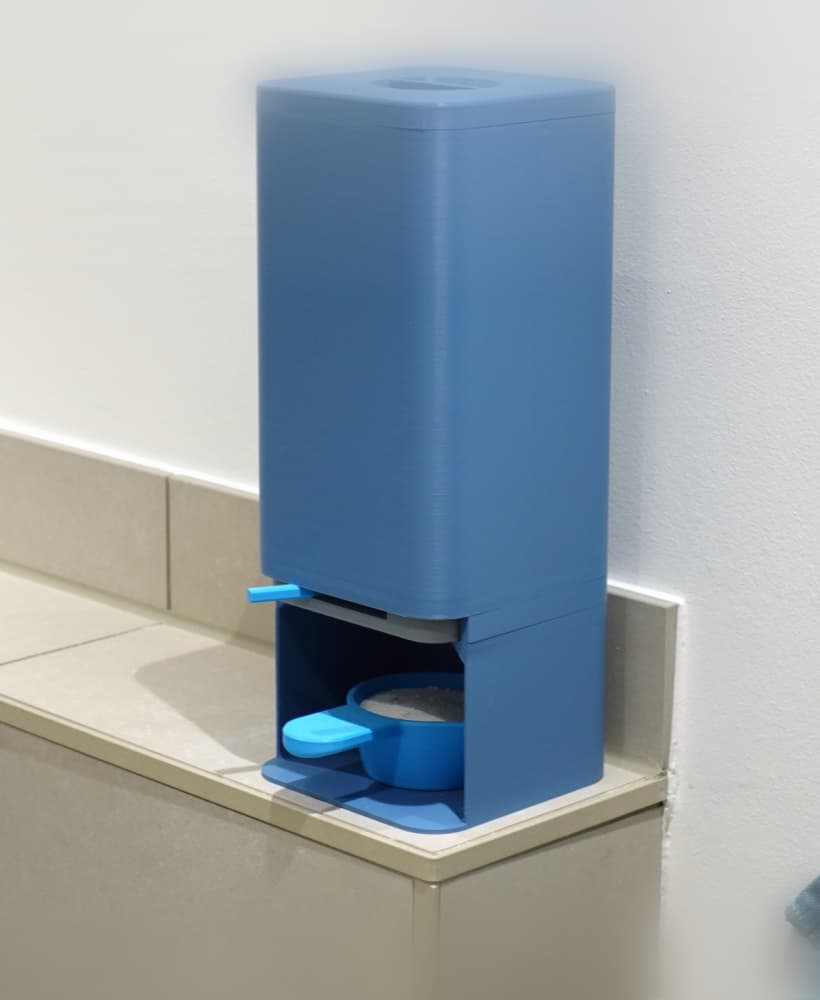
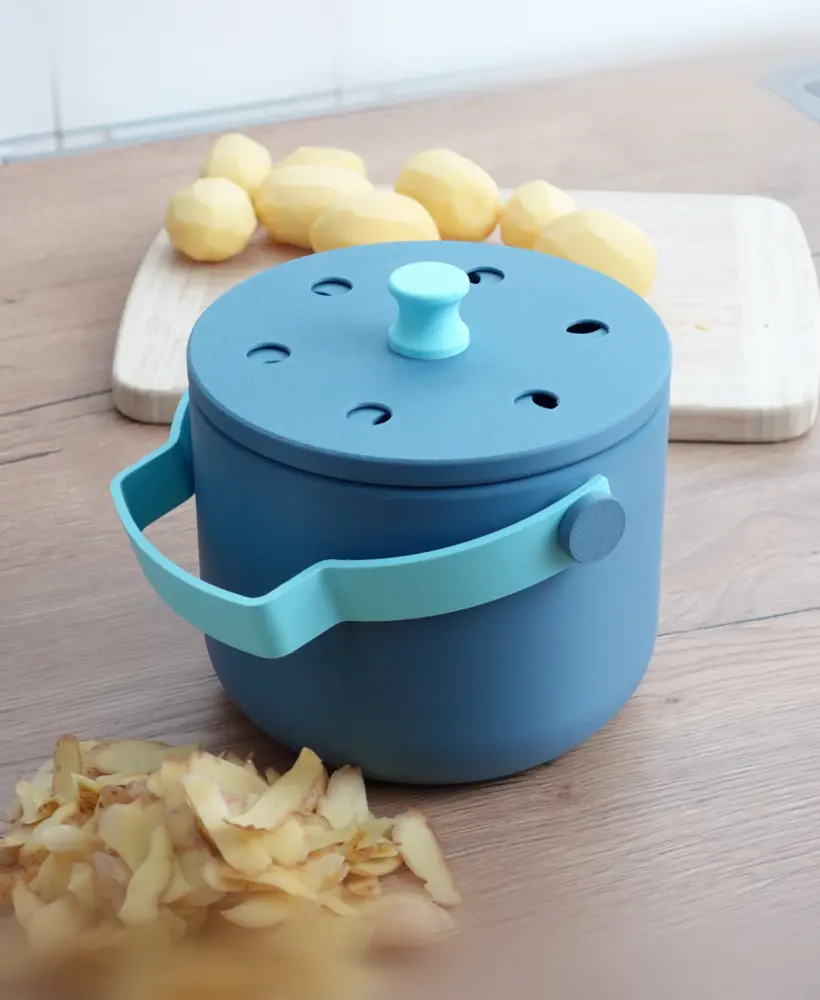
Laundry detergent dispenser
Mushroom coat hook / hanger
Planter “Extra”
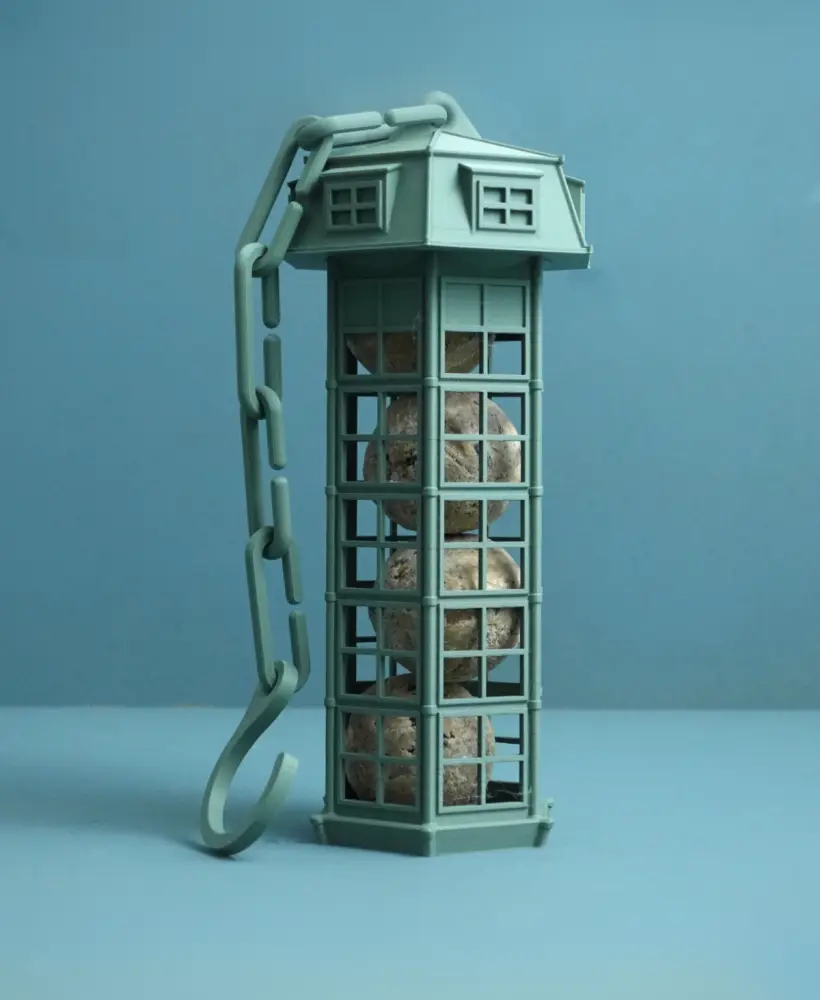
Bird feeder | suet ball holder
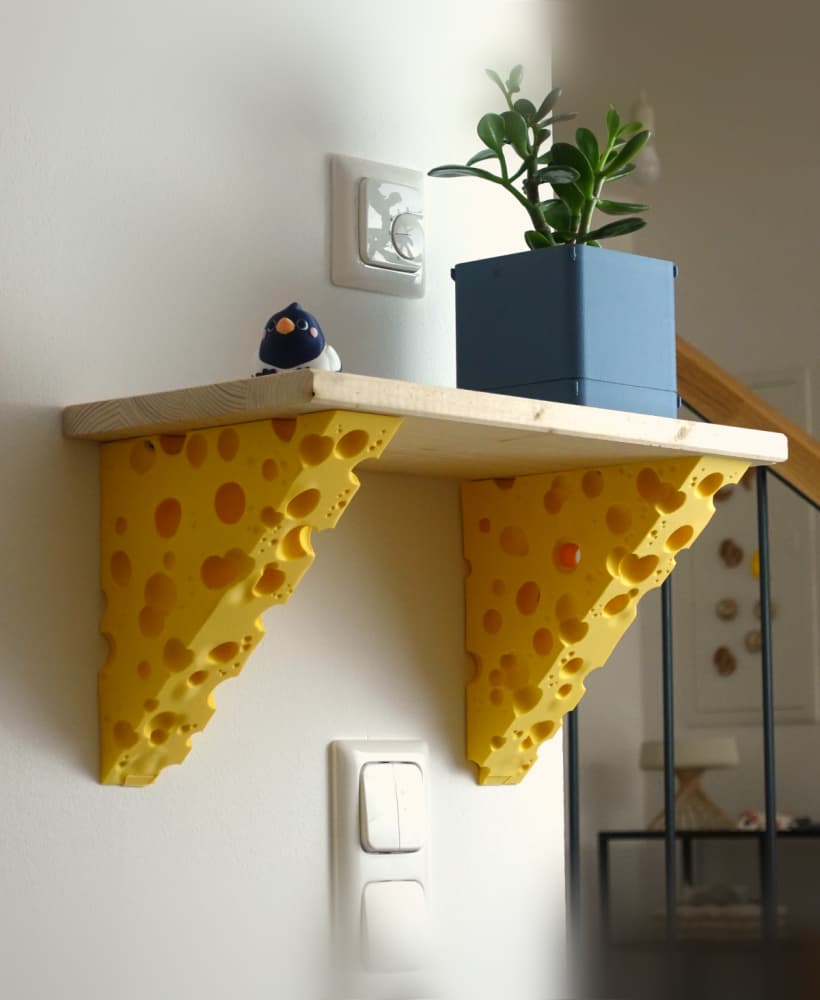
Cheese shelf bracket
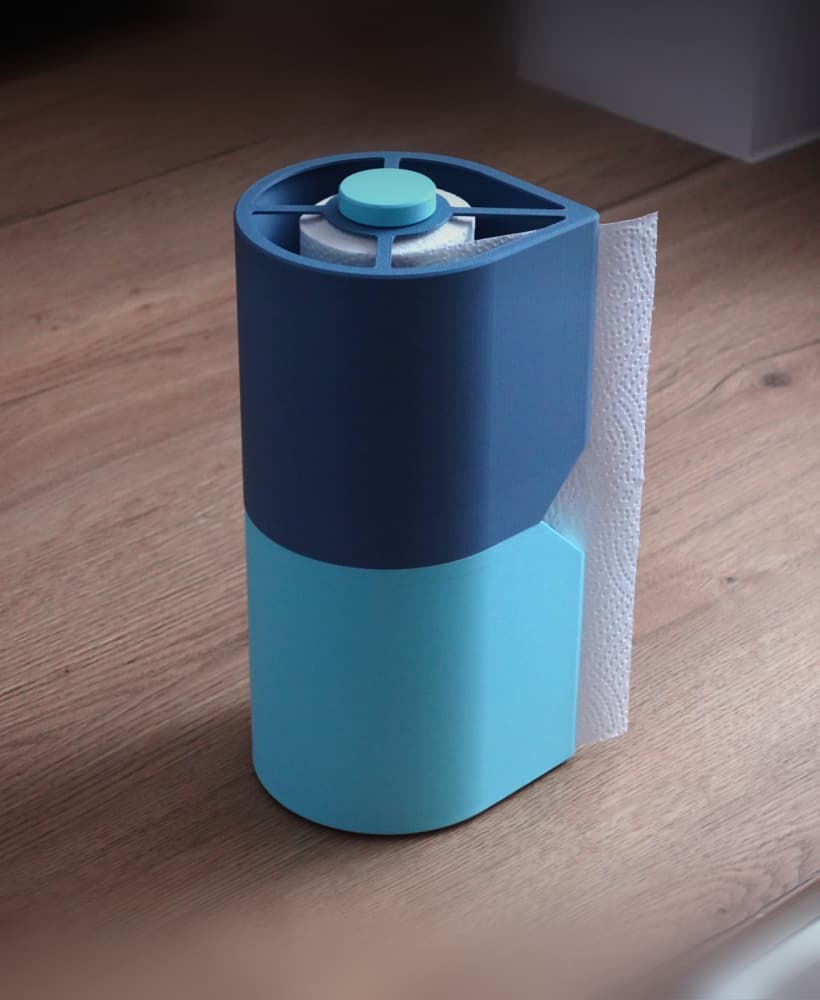
Paper towel holder
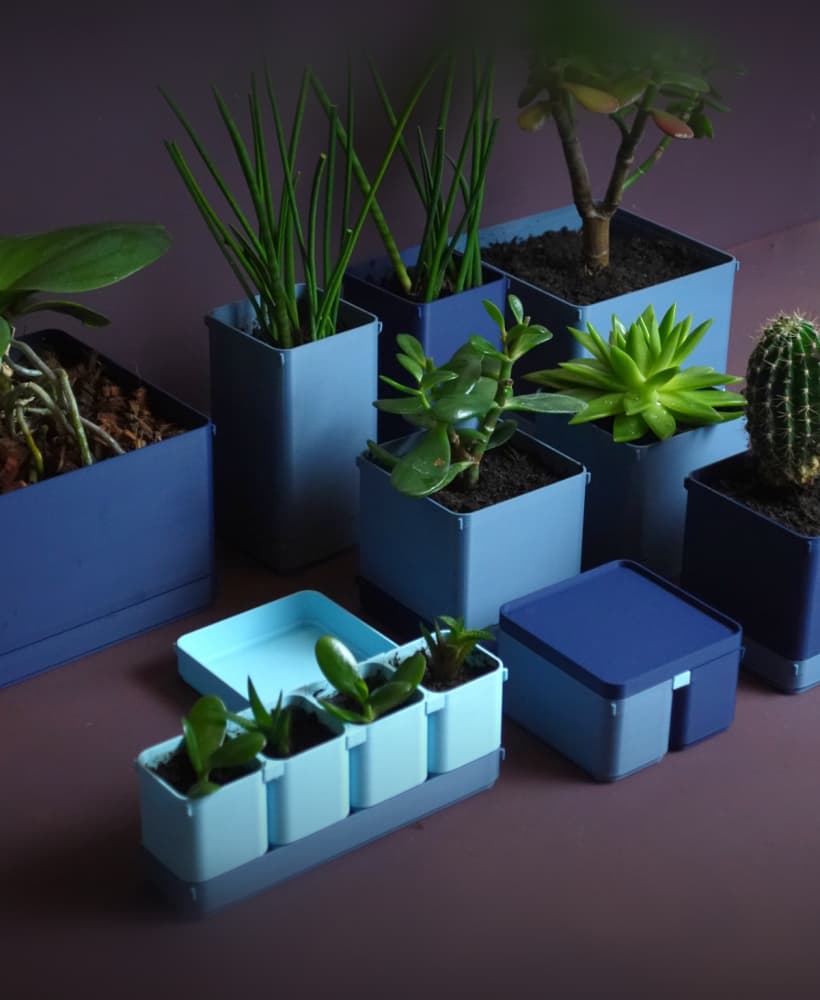
BOXY Planters
These are amazing models. I printed all three - they look great! But all three had one problem - the recess layer for the fasteners was poorly printed. This can be seen in the photo. What could be my mistake?
The first layer after the gap should be at 90 degrees to the direction the holder slides in - so the shortest path. Sone slicers have a setting for this but you can also achieve this by rotating the model and check when it fits!
You can see the direction (at least a little) in one of my pictures :)
Thank you! Could you tell me what the name of the setting in your slicer is that is responsible for the angle of the layer after the gap? I see that in your photo the filling angle is really 90 degrees, but mine is filled diagonally, but I can’t figure out how to change it. I'm quite a newbie.
Hurray, I was able to figure it out! The slicer cut into layers just right! All that remains is to try it in practice to see if I did everything correctly. But it looks right. Thanks again!
What slicer do you use? Bambu slicer does it automatically. In Cura there are bridging settings under the tab experimental. To get to know these, there are great tutorials on YouTube :)