


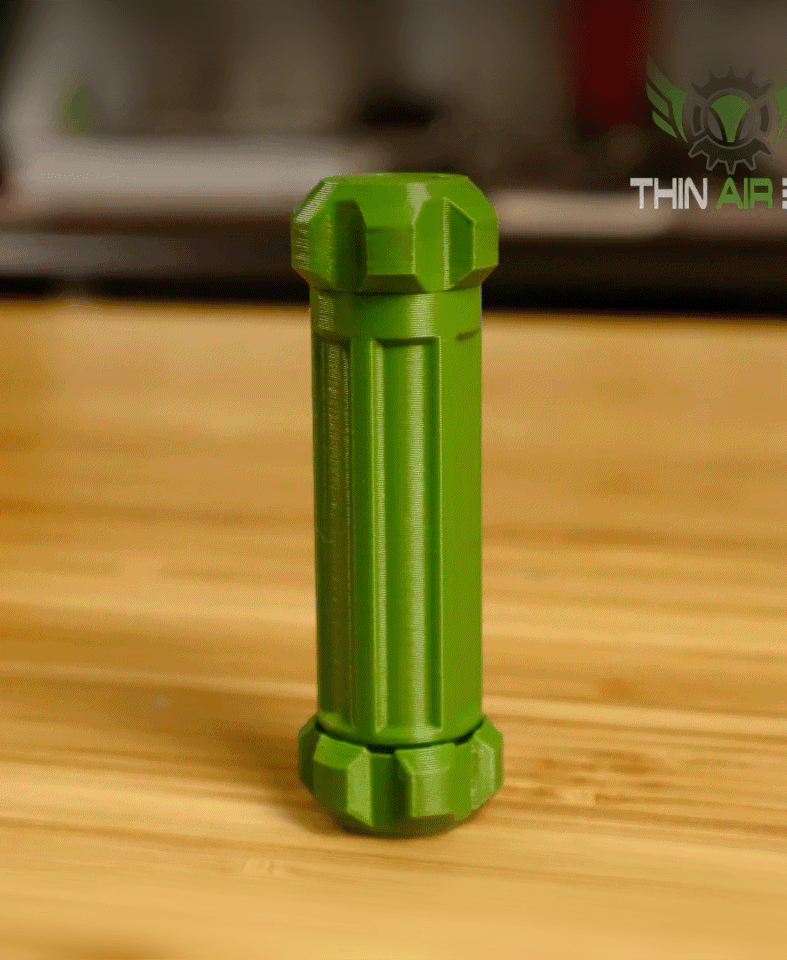
Annoying Easter Egg
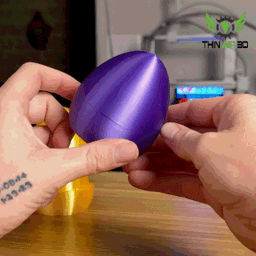
371 downloads · 1 year ago · - Annoying Easter Egg featuring threaded sides that take a little while to get into.
- Storage space
- Annoying Easter Egg featuring threaded sides that take a little while to get into.
- Storage space within the threads for cash, as well as, open storage in the egg itself for other items.
- Support-free. No adhesive or external hardware needed for assembly (100% 3d printed).
Printing Info These are just the settings I used to test the model, which are MOSTLY just stock slicer settings in Bambu Studio. Feel free to use whatever settings work best for you.
- FDM or Resin: FDM
- Scaling: Can be scaled up. Scaling down may cause issues with the threaded parts.
- Supports: None
- Infill/Perimeters: 10-15% infill + 2 wall loops
- Nozzle Size: 0.4
- Layer Height: 0.2
- Print Time (Small): Approx 3 hours (Bambu P1S)
- Filament Usage (Small): Approx 70 grams (Bambu P1S)
Printing Notes
- No Supports Needed. Print both pieces in the orientation that they import in.
- The thread clearance on the model is 0.35. As long as your printer can handle that clearance (which is should), everything should fit together well and move freely.
- If you wish for things to be tighter or looser, trying adjusting XY Contour Compensation (setting in BambuSlicer, may be called something differeint in other slicers) to -0.10 (to make looser) or +0.10 (to make tighter).
Assembly Print top and bottom, screw sides together.
File List (2) annoying_easter_egg_top_v2 annoying_easter_egg_bottom_v2
Annoying Easter Egg
371 downloads · 1 year ago in and
Annoying Easter Basket

Modular Golf Ball Holder
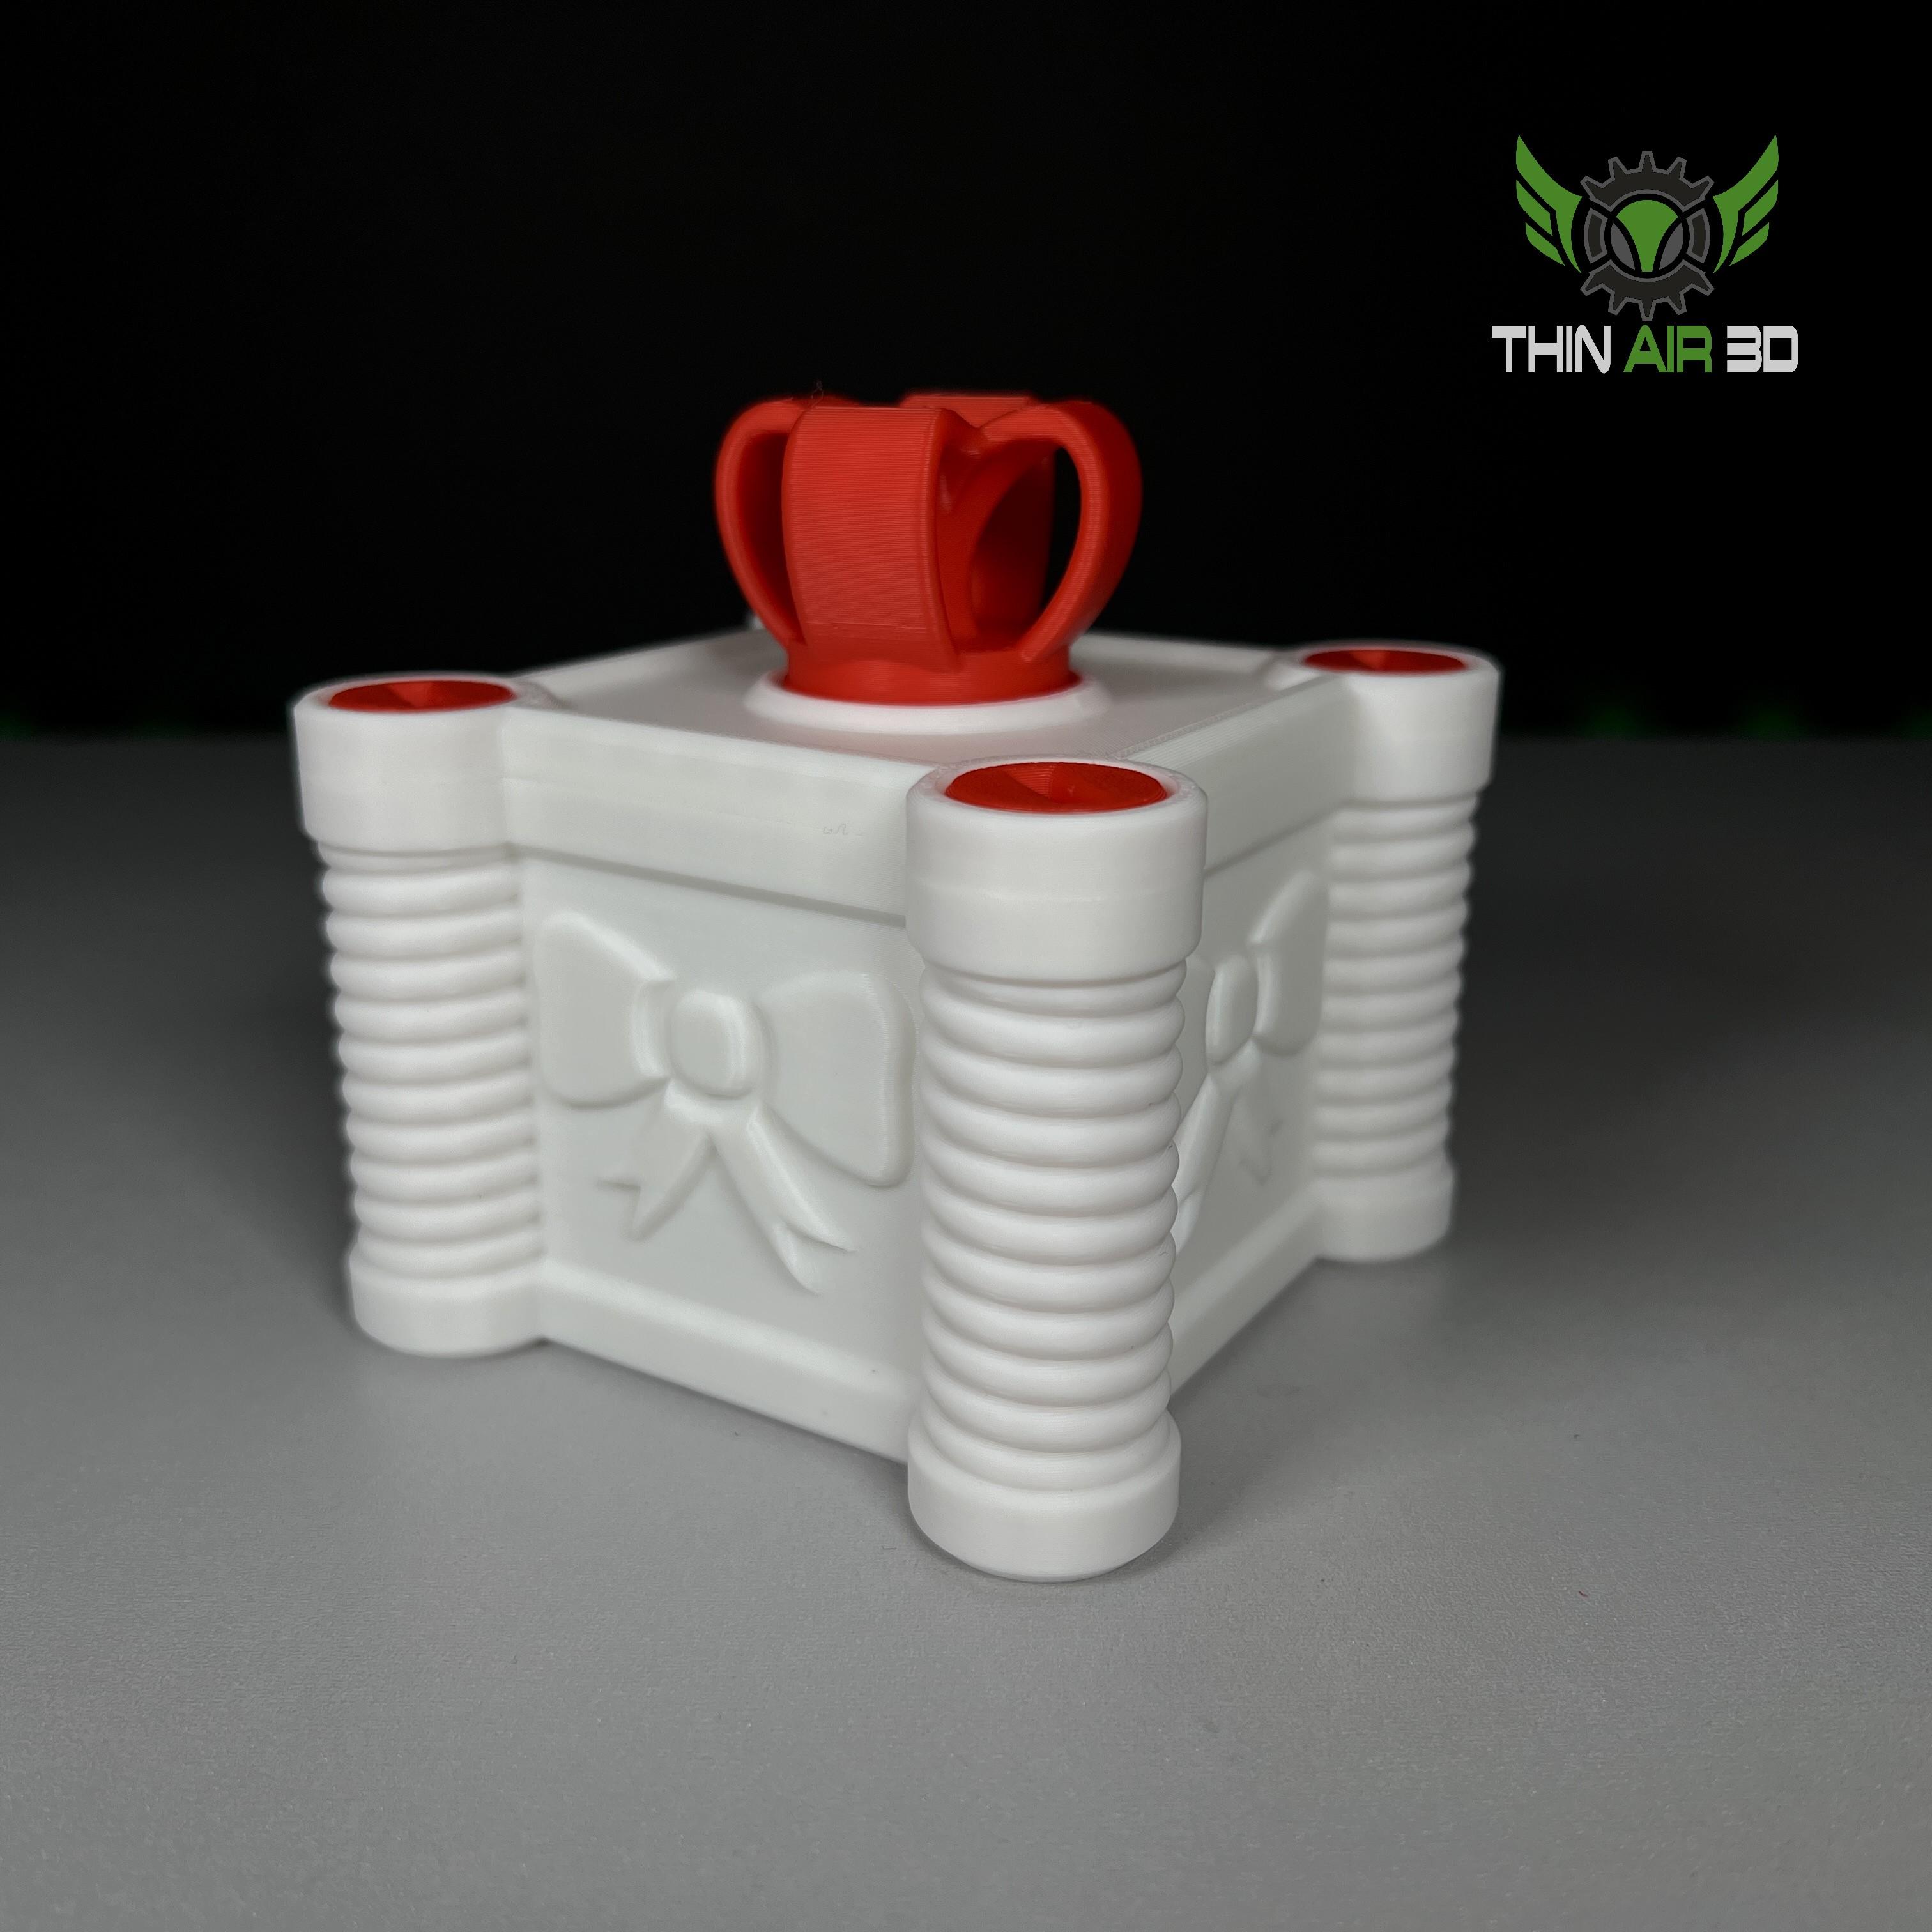
Annoying Nested Gift Box
%2520snowball%2520mold.gif&w=3840&q=75)
Print-In-Place Snowball Mold
Click Screw Fidget

Santa's Sleigh Phone Stand

Hot Cocoa Container
.JPG&w=3840&q=75)
Halloween Gravestones

Desktop Dumpster Fire

Droid Planter #2
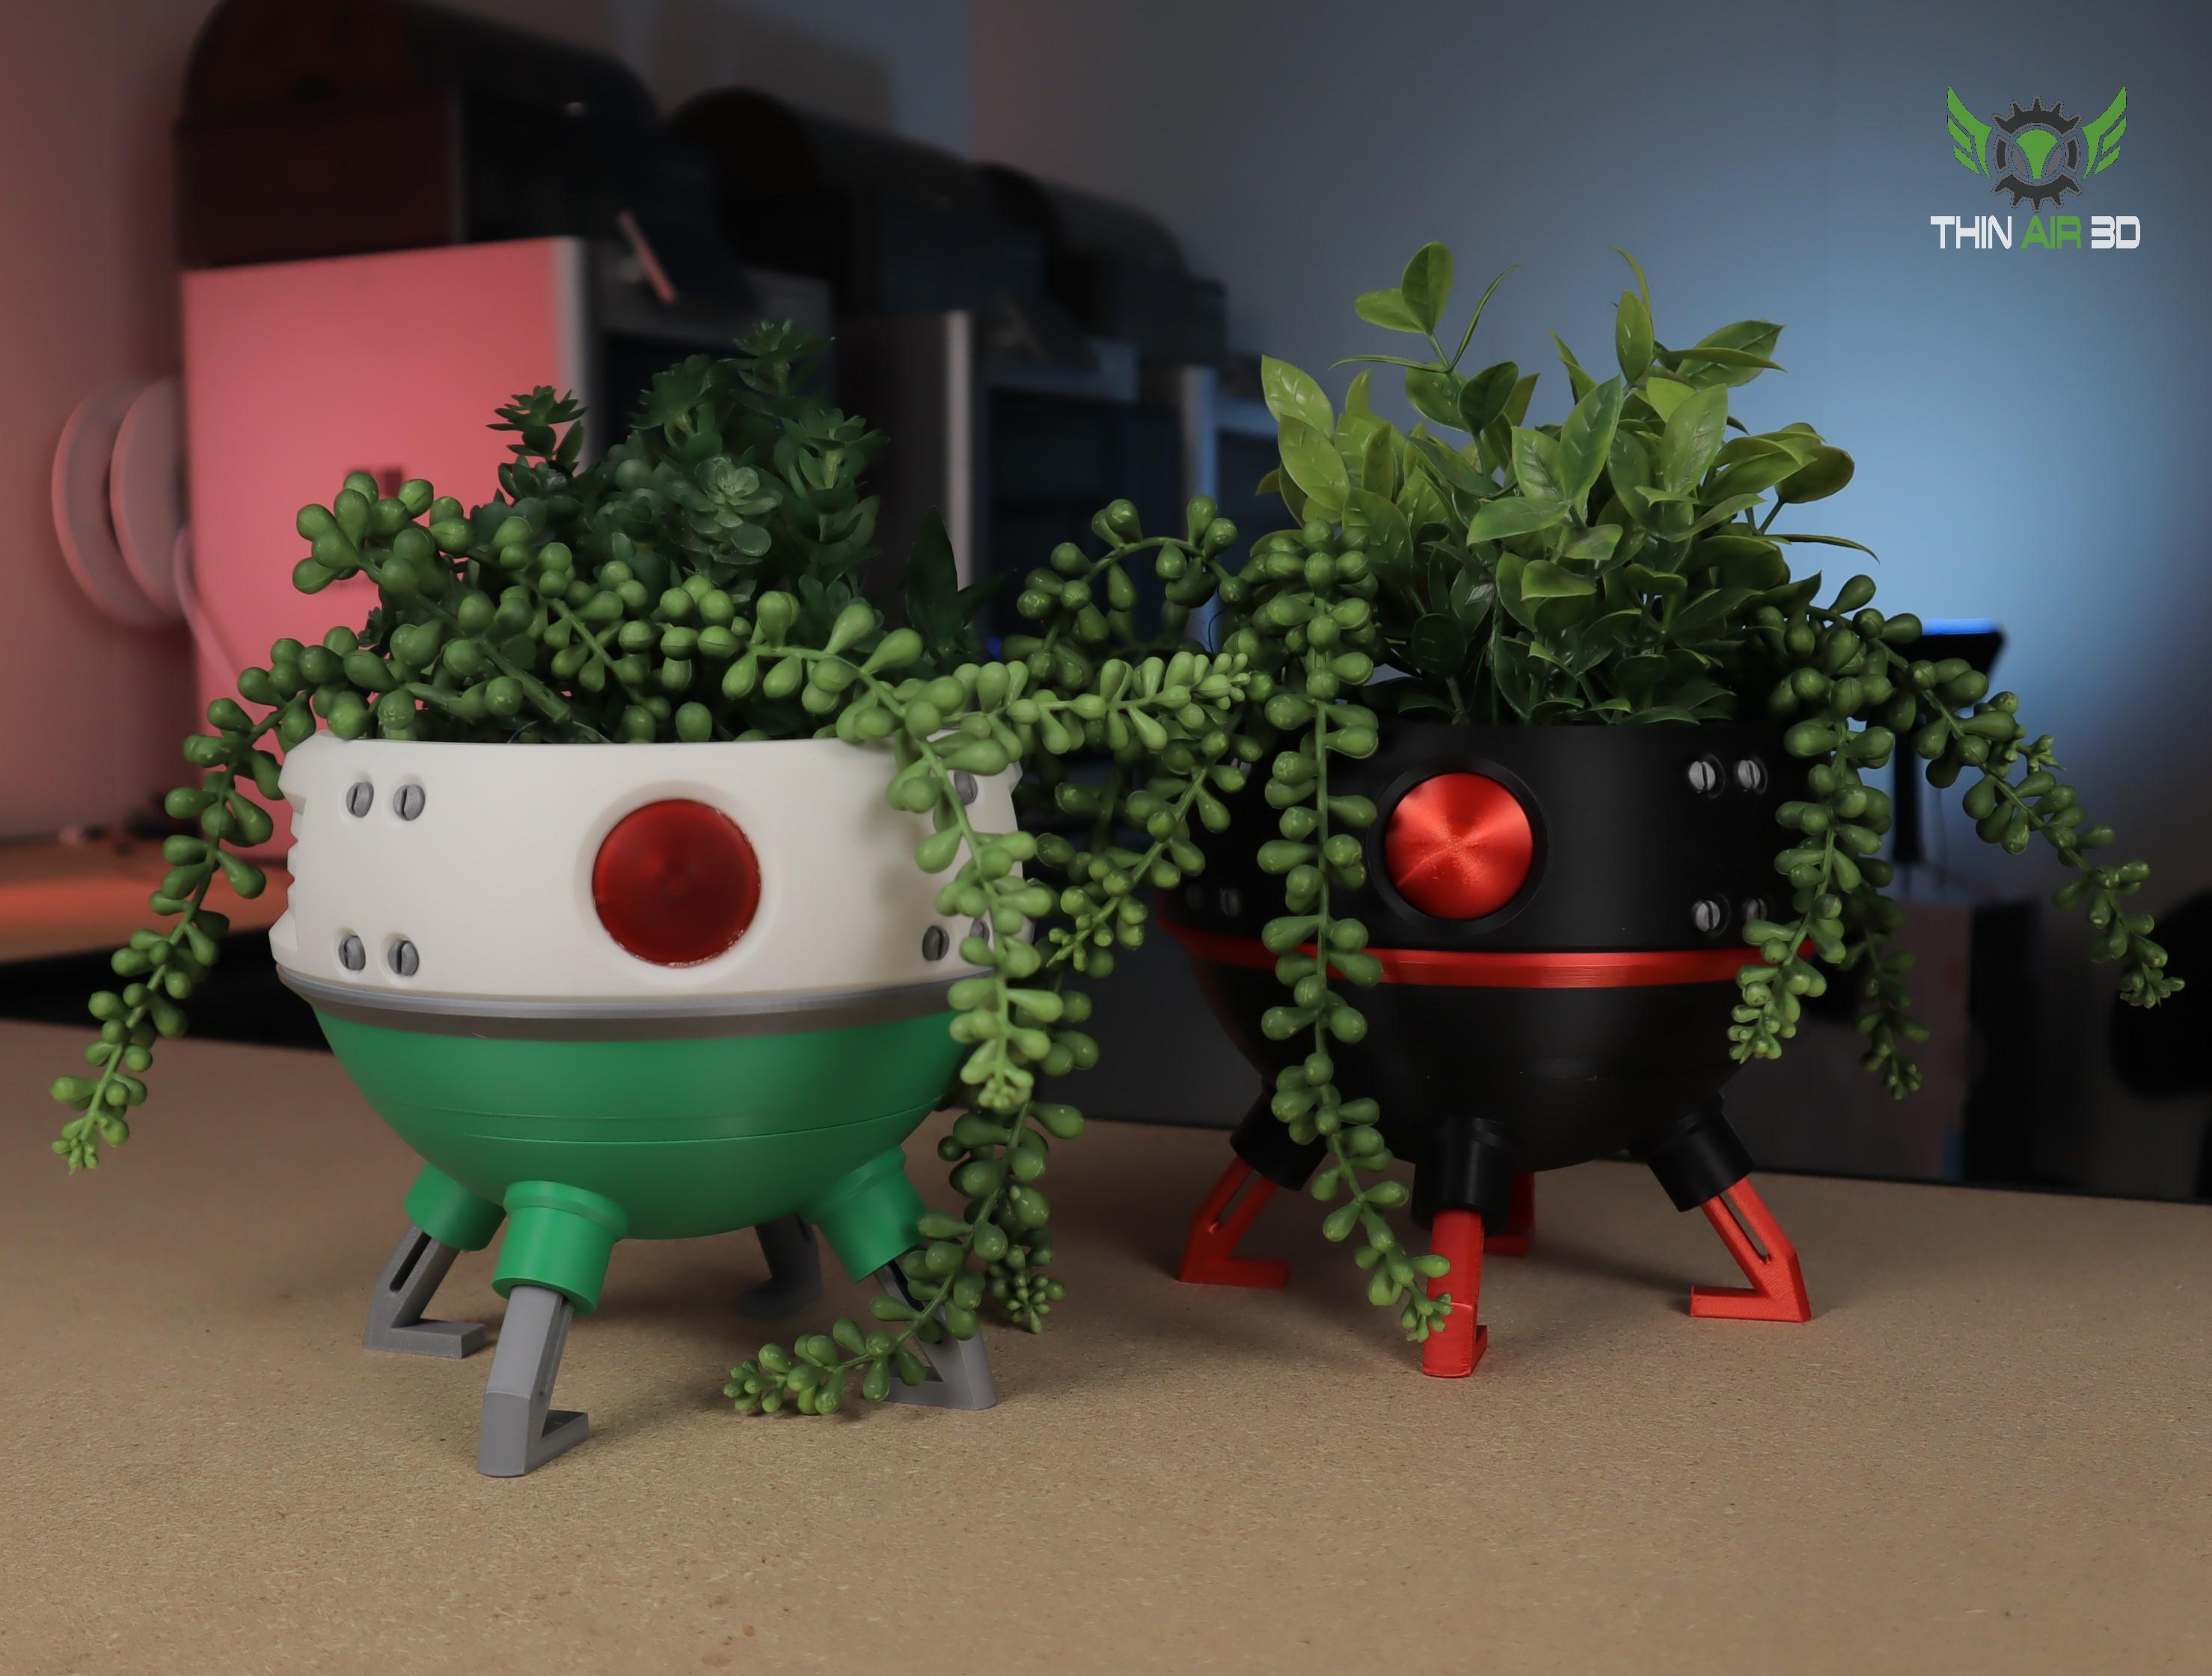
Droid Planters #1
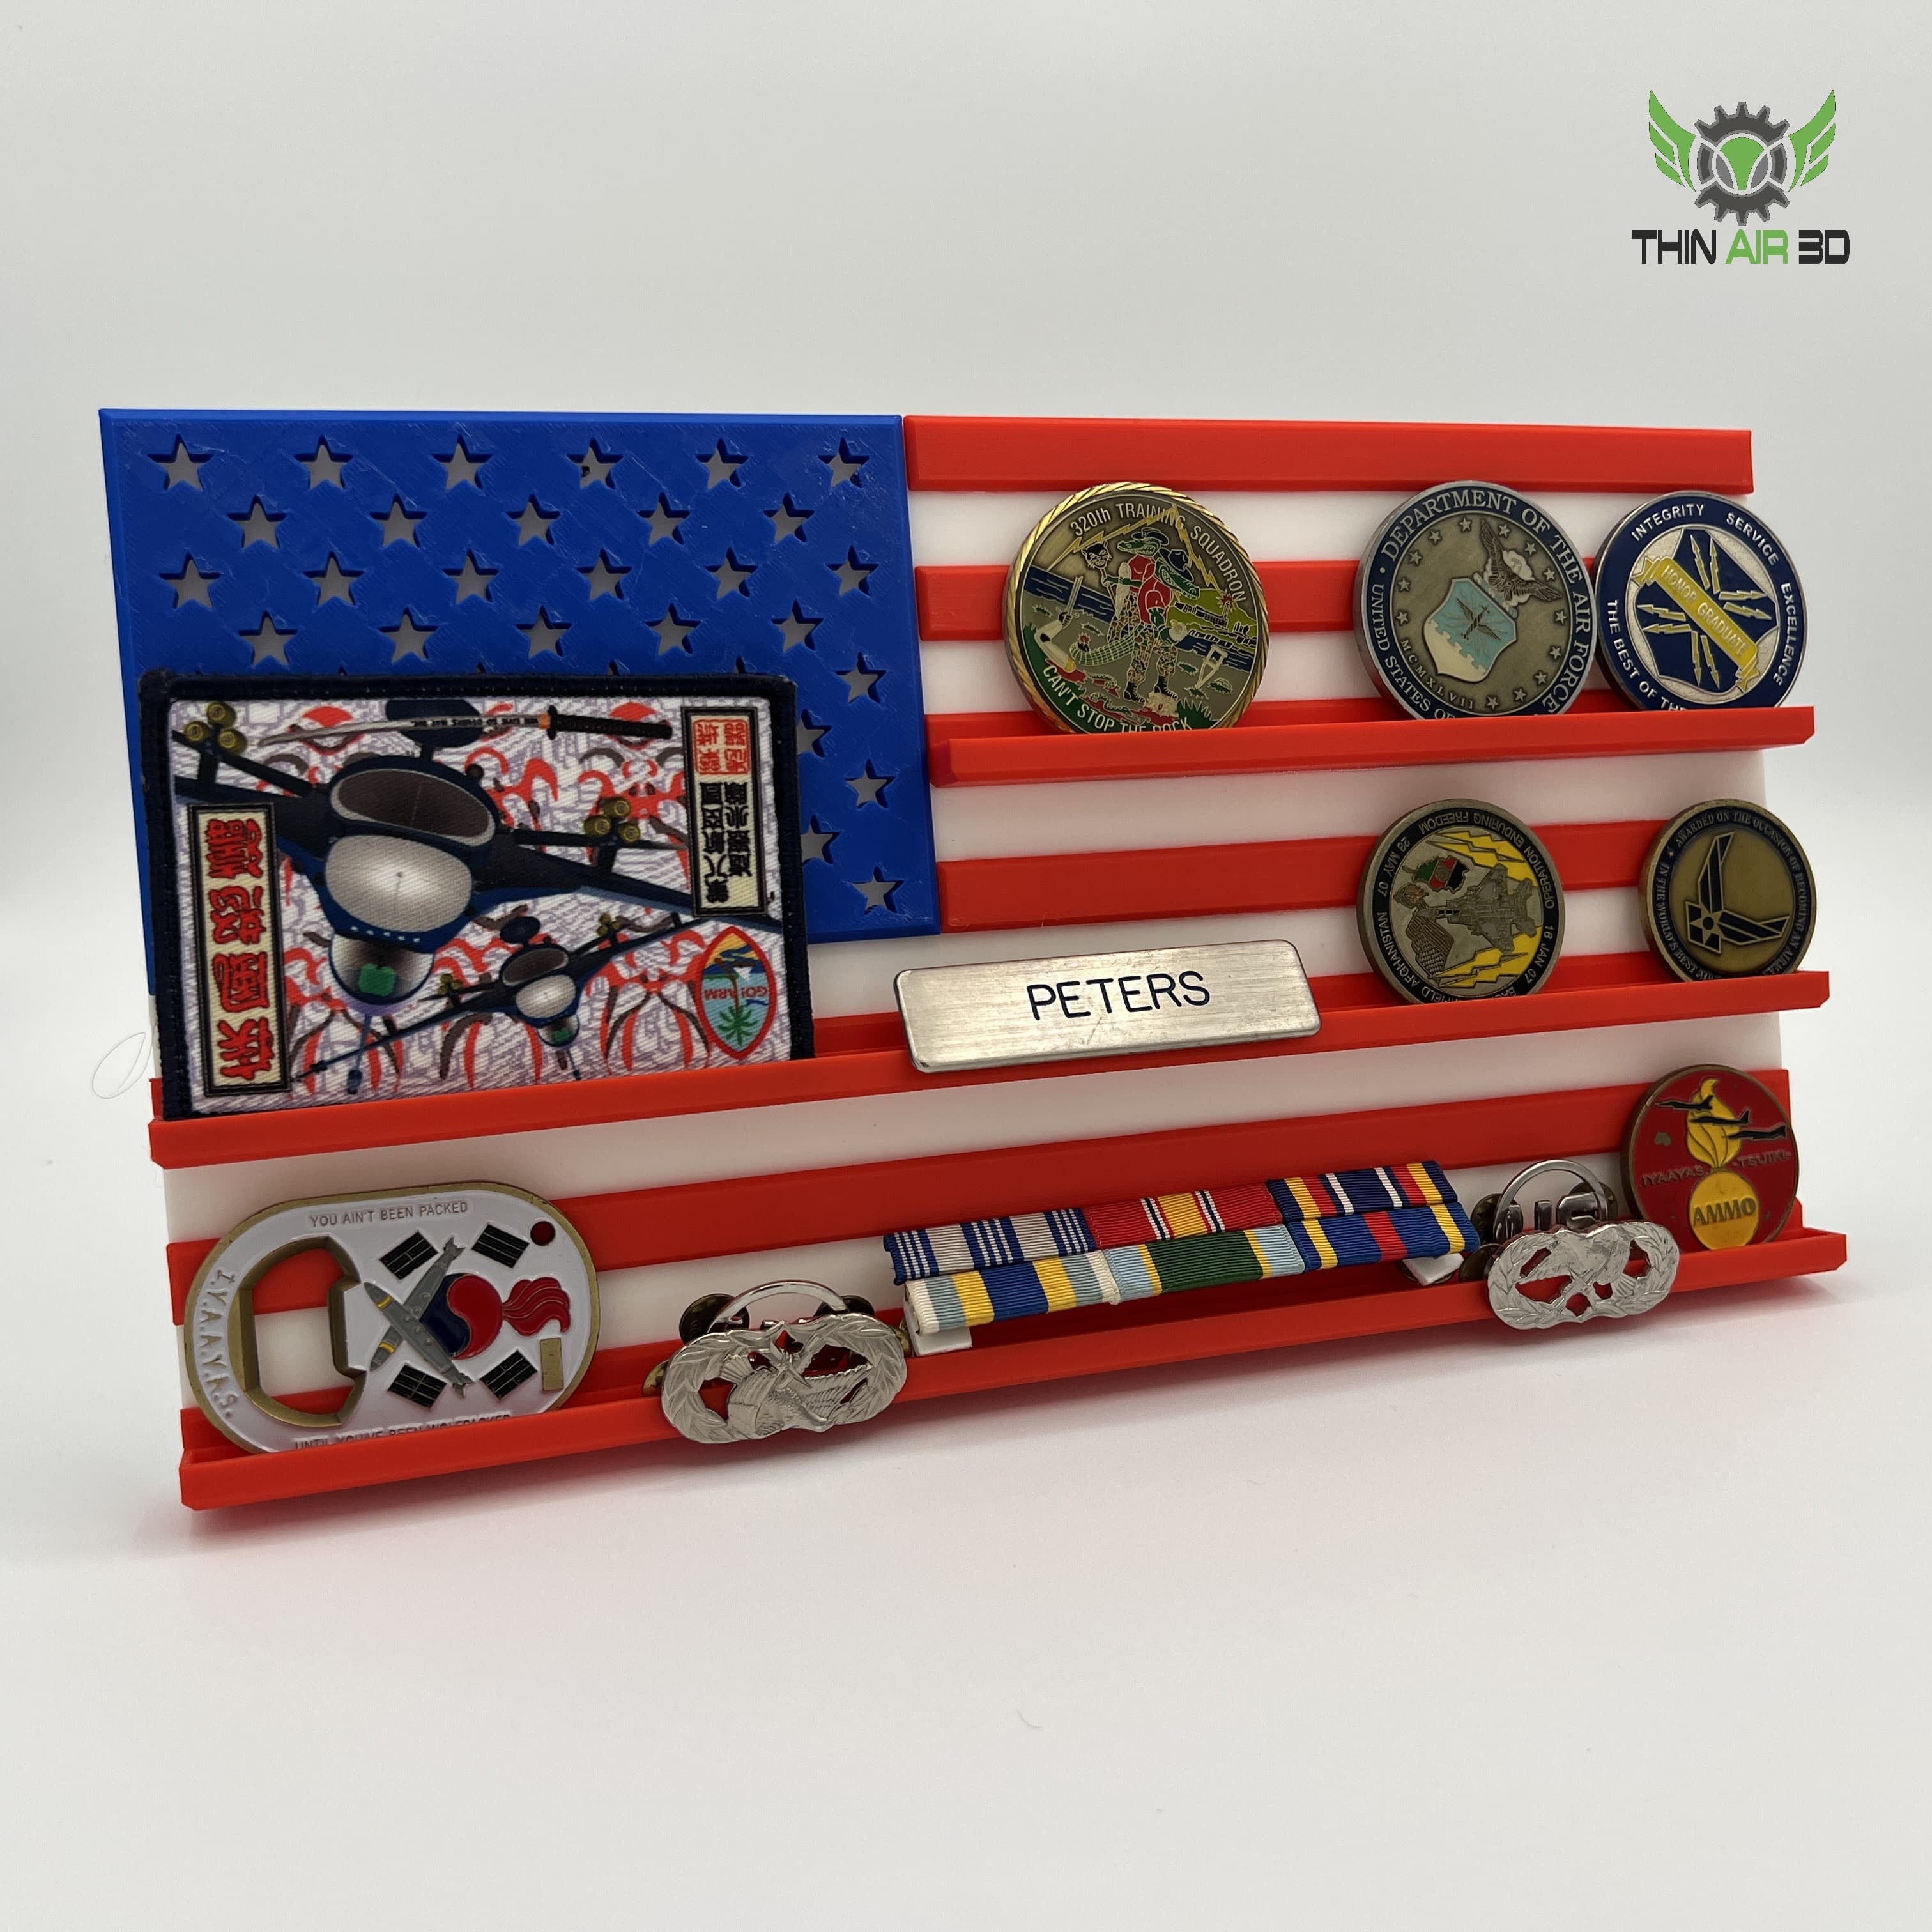
American Flag Challenge Coin Display
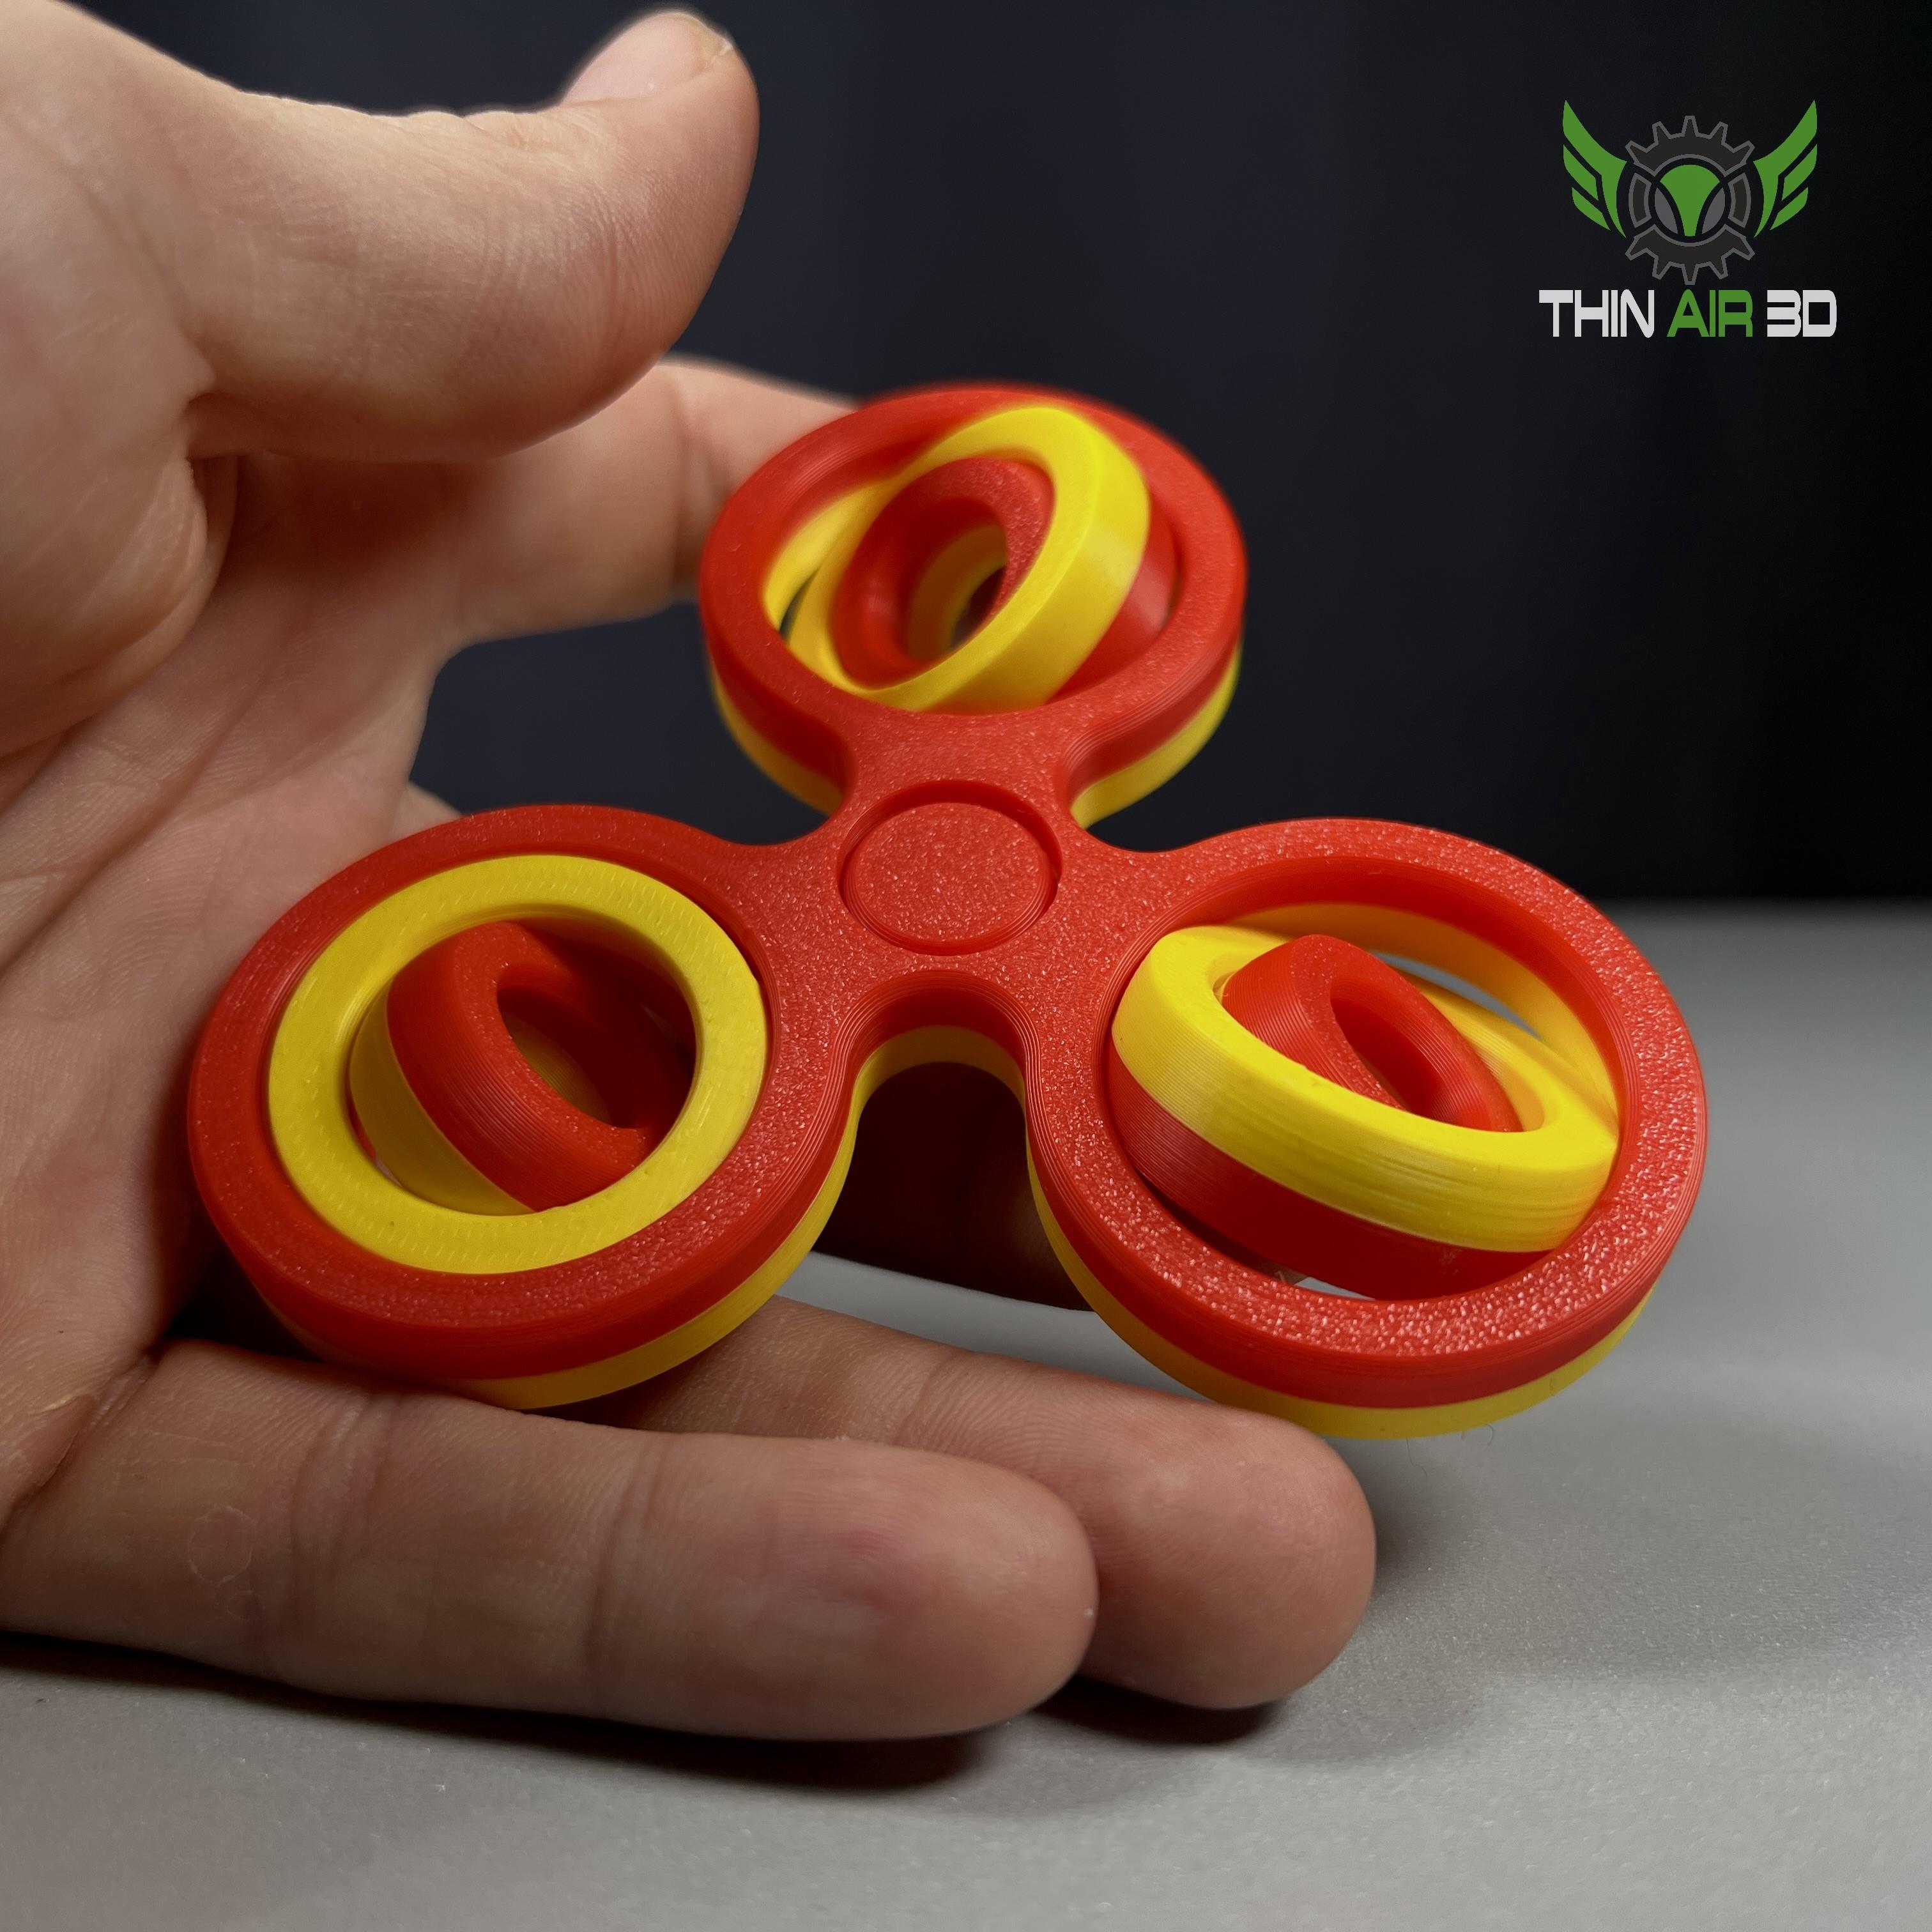
Gyro Fidgets (4 Variations, 7 Models)
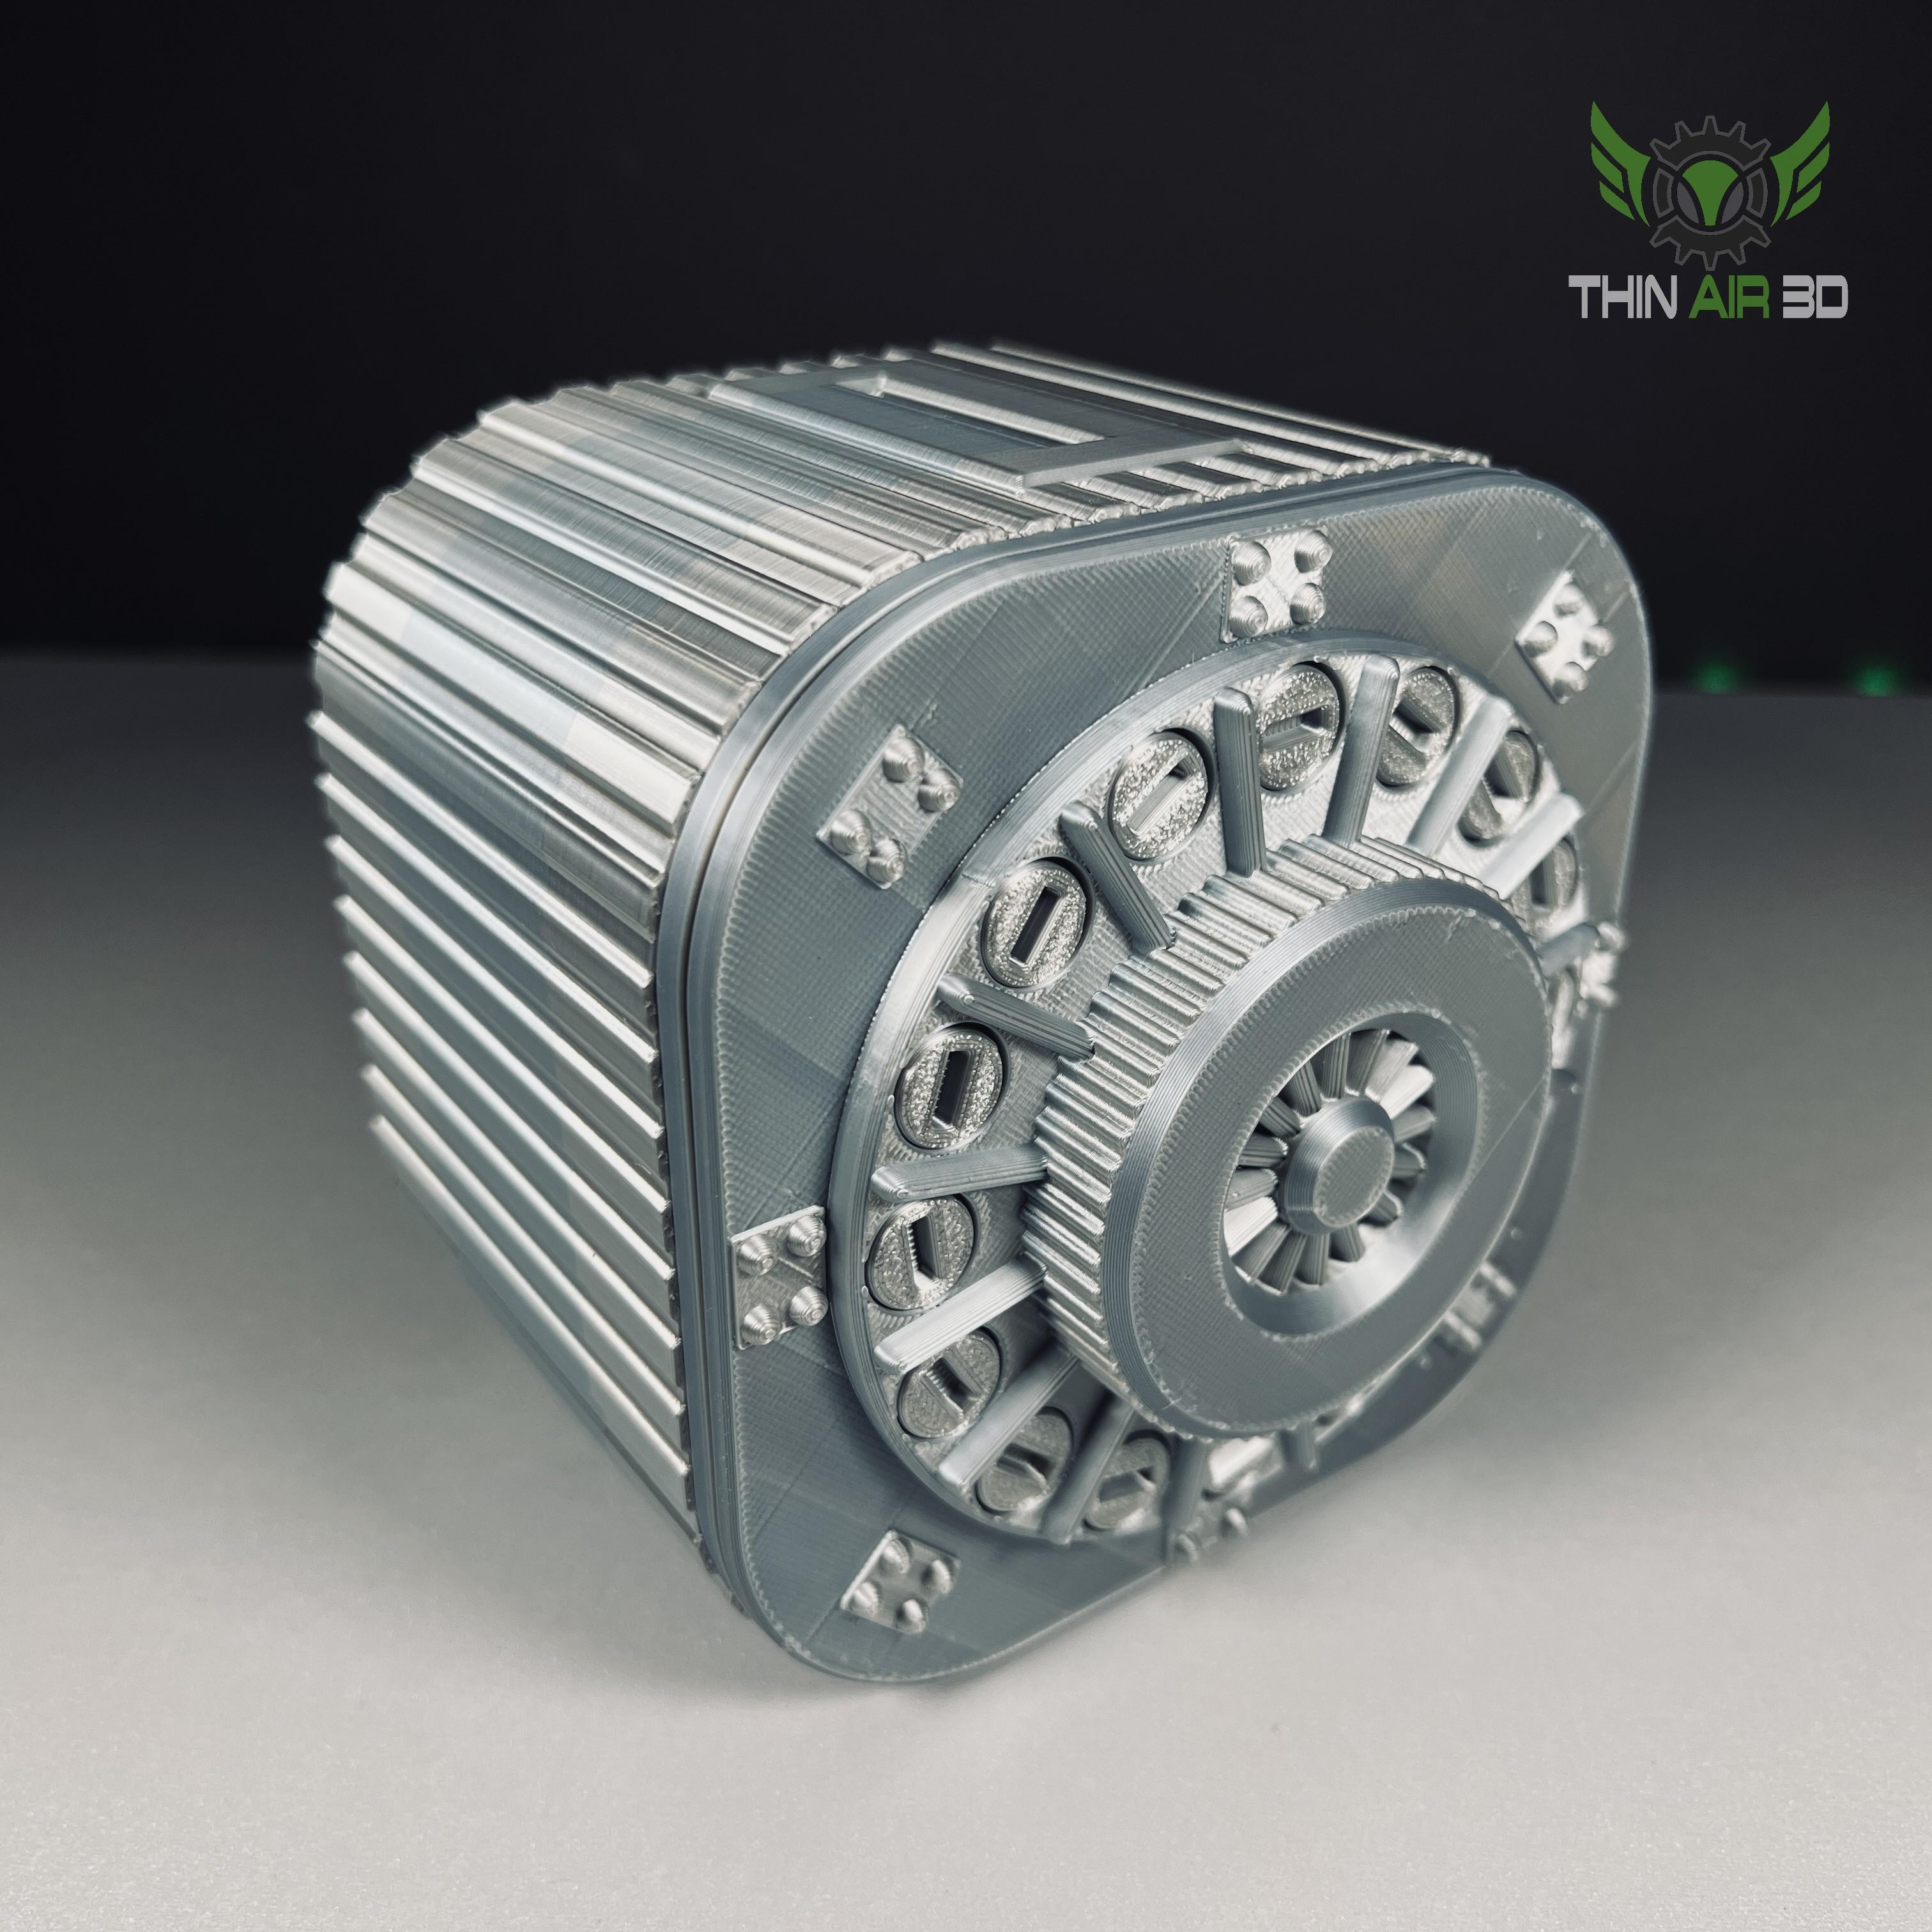
Annoying PIggy Bank
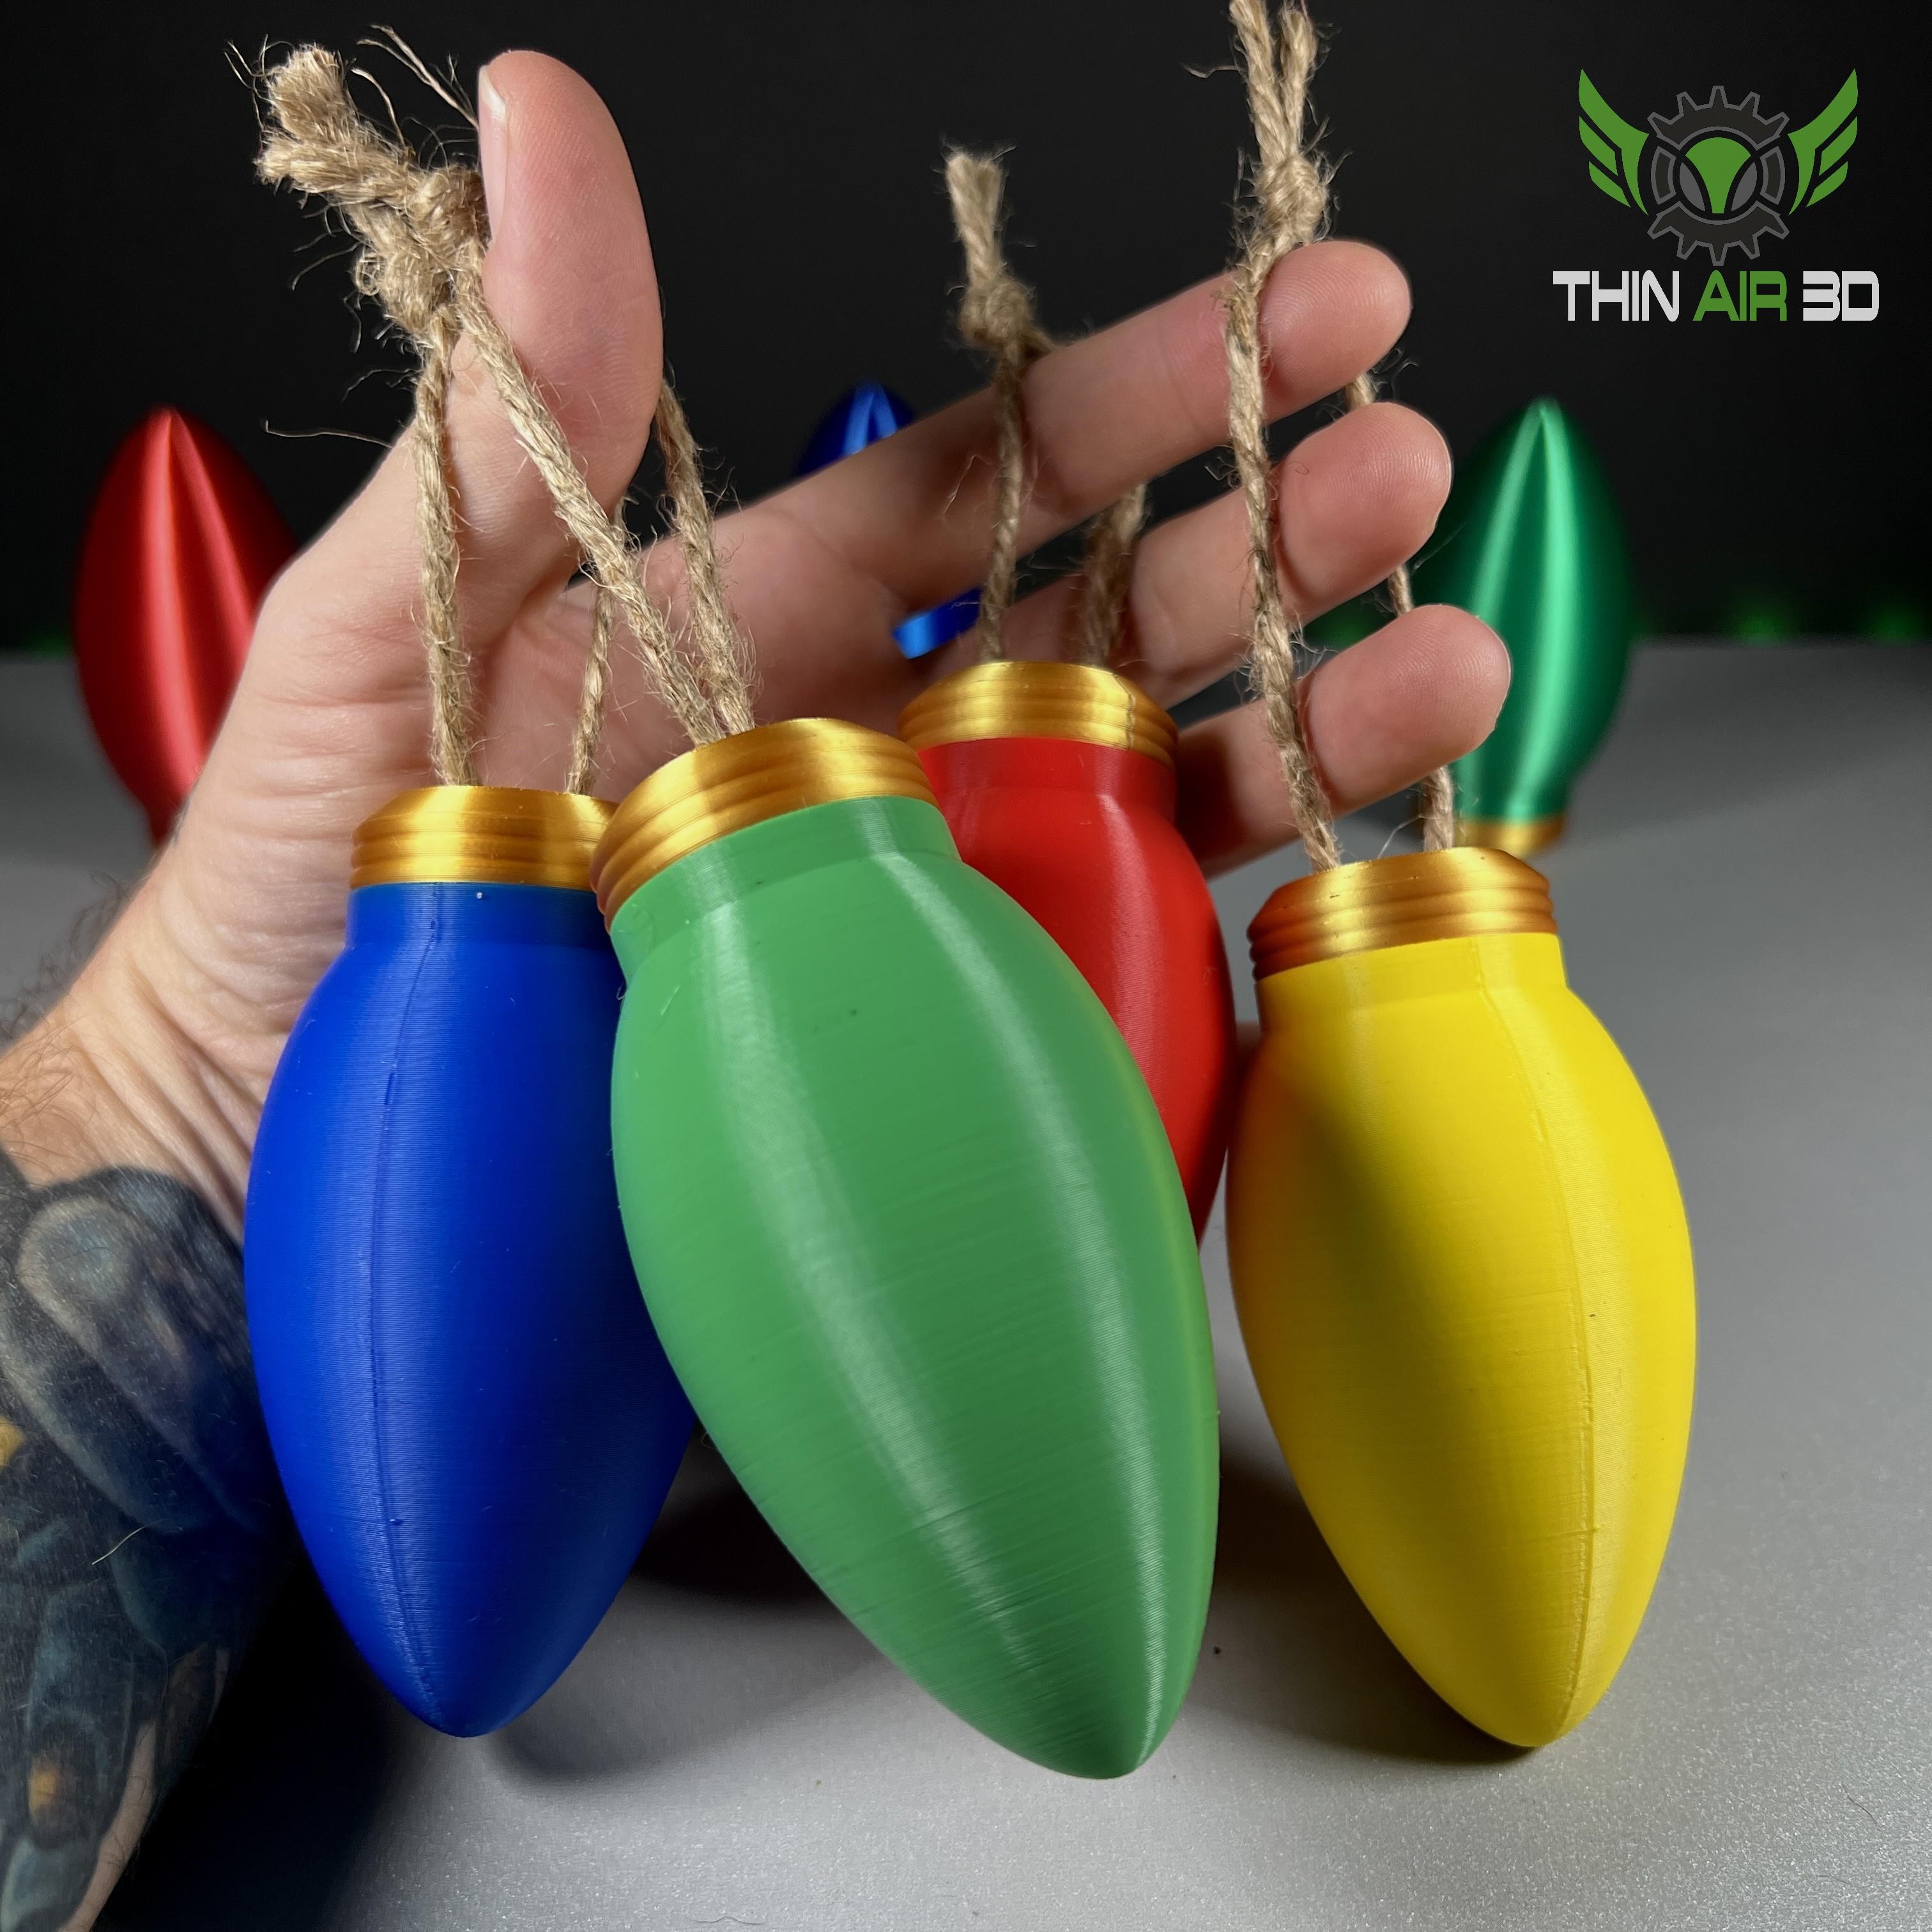
Christmas Lightbulb Ornament/Container
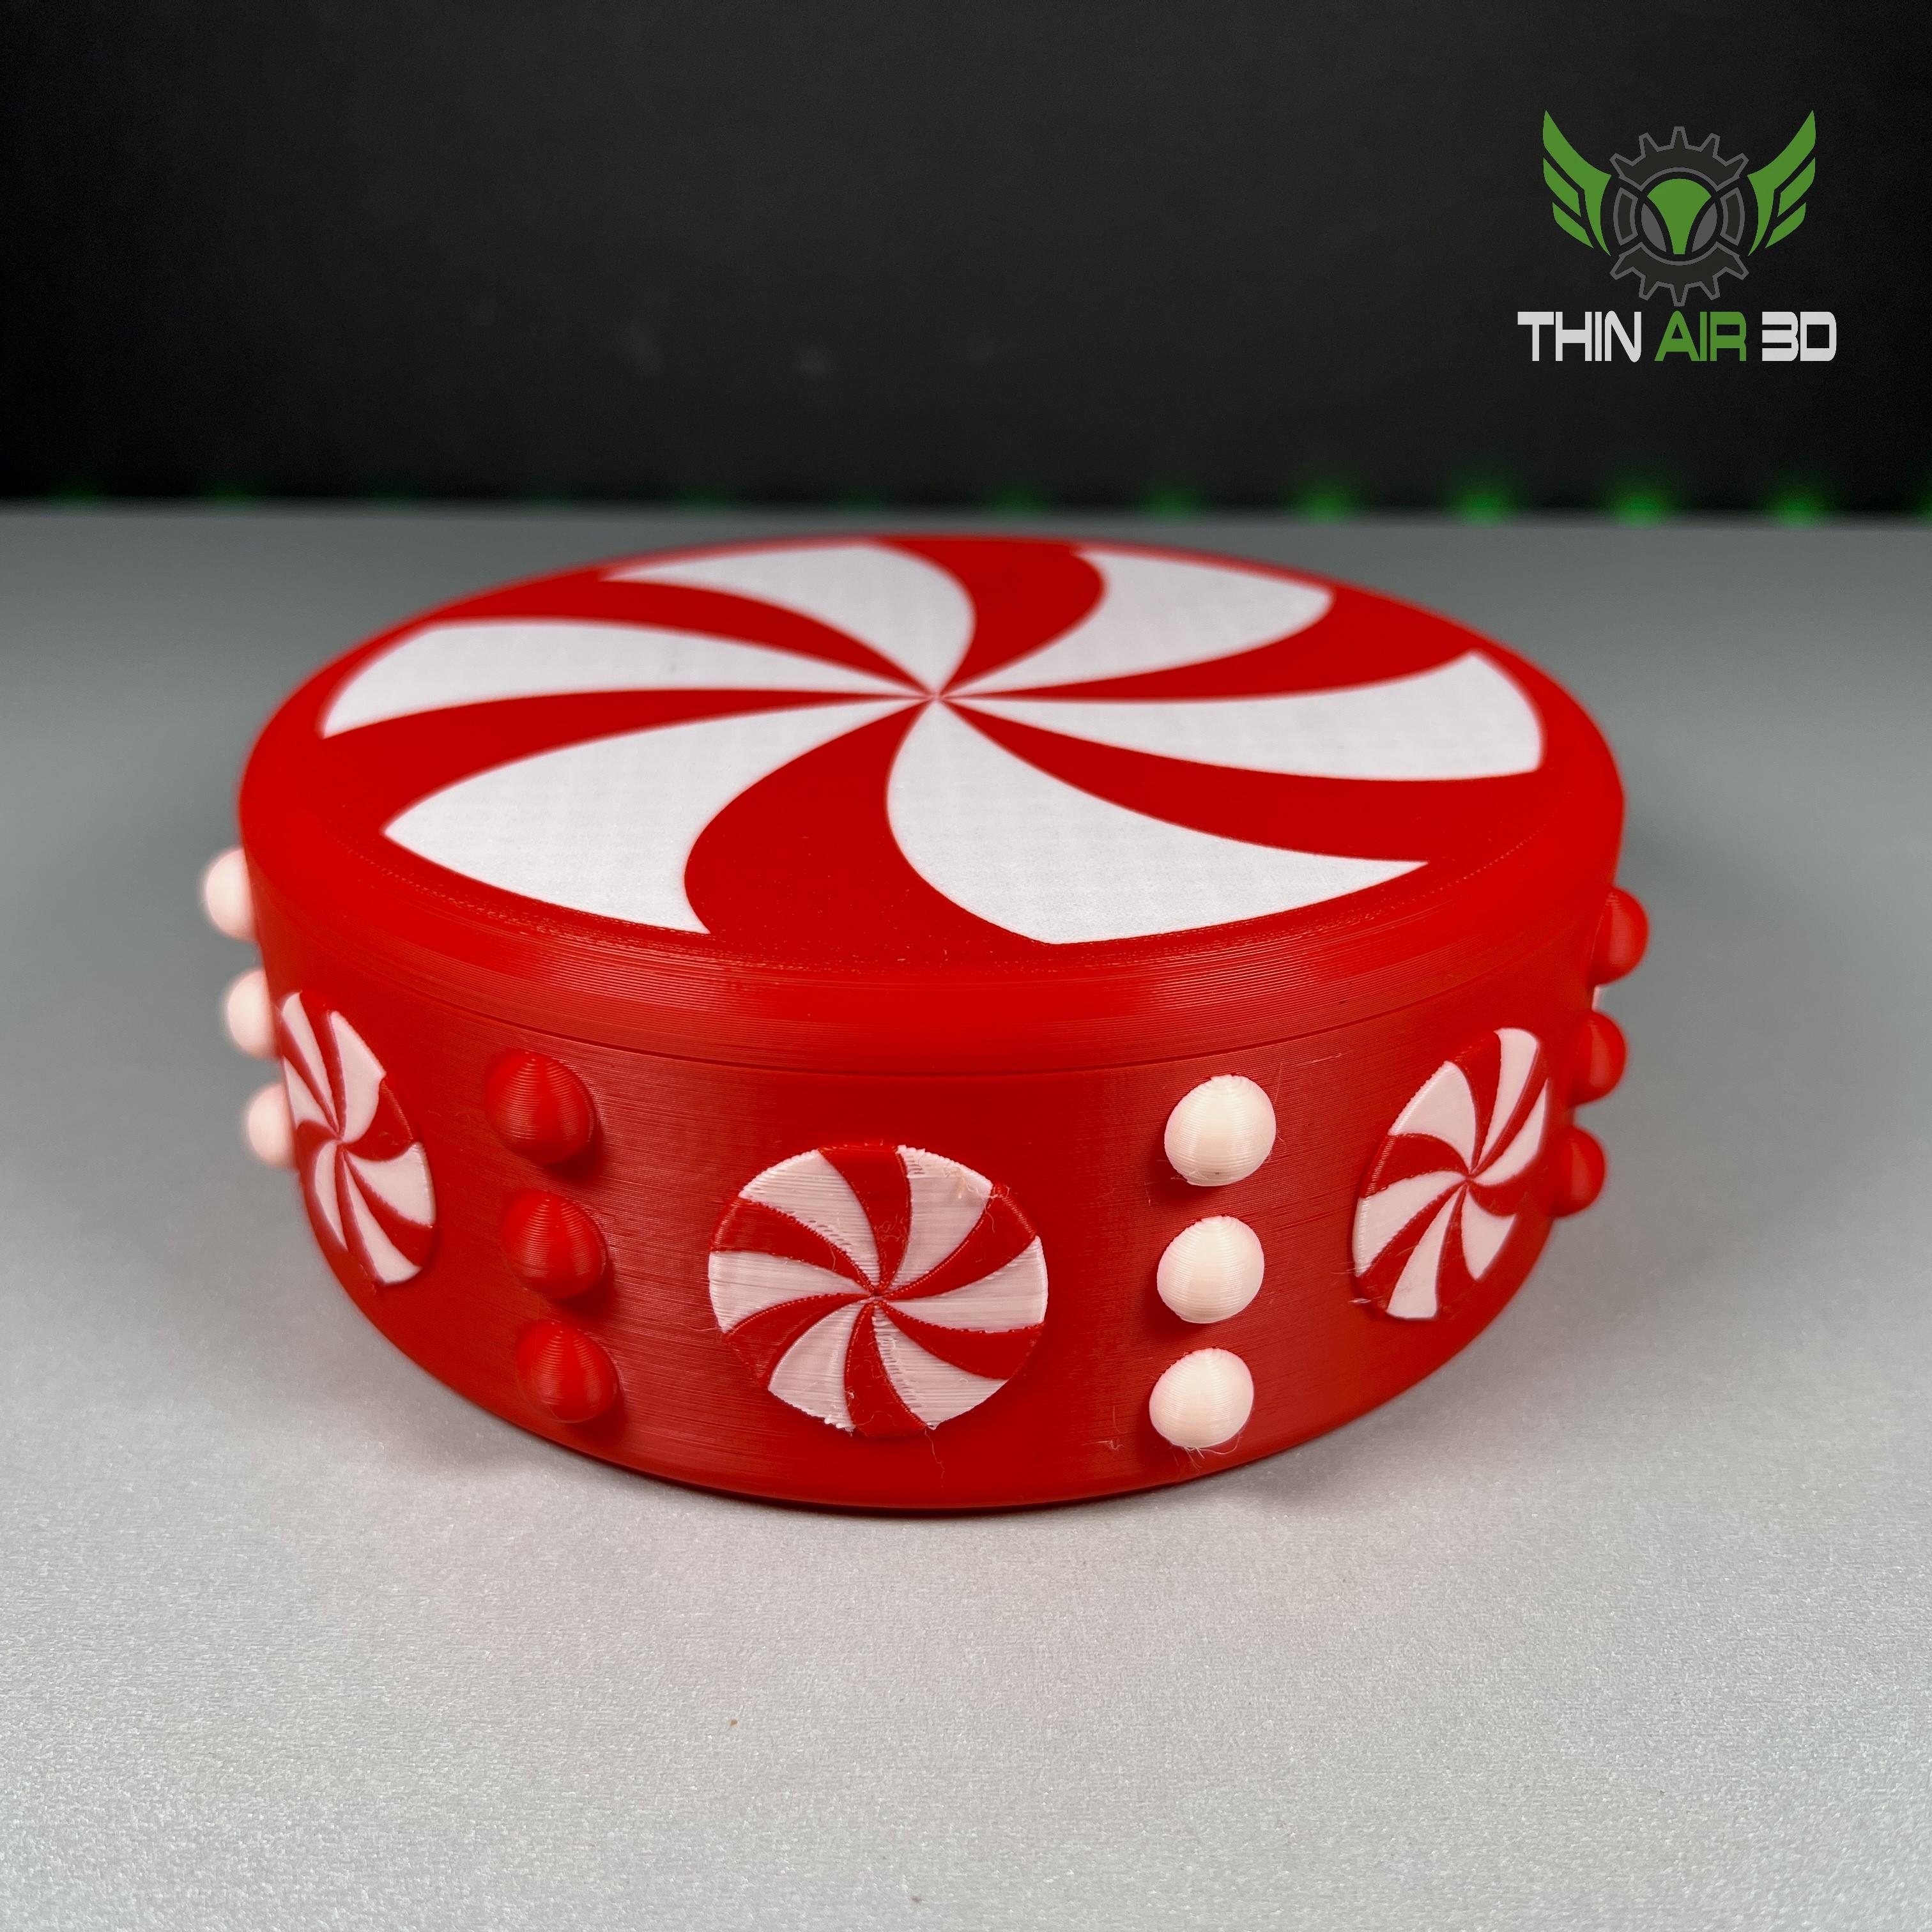
Peppermint Candy Bowl
Annoying Gift Box Mini
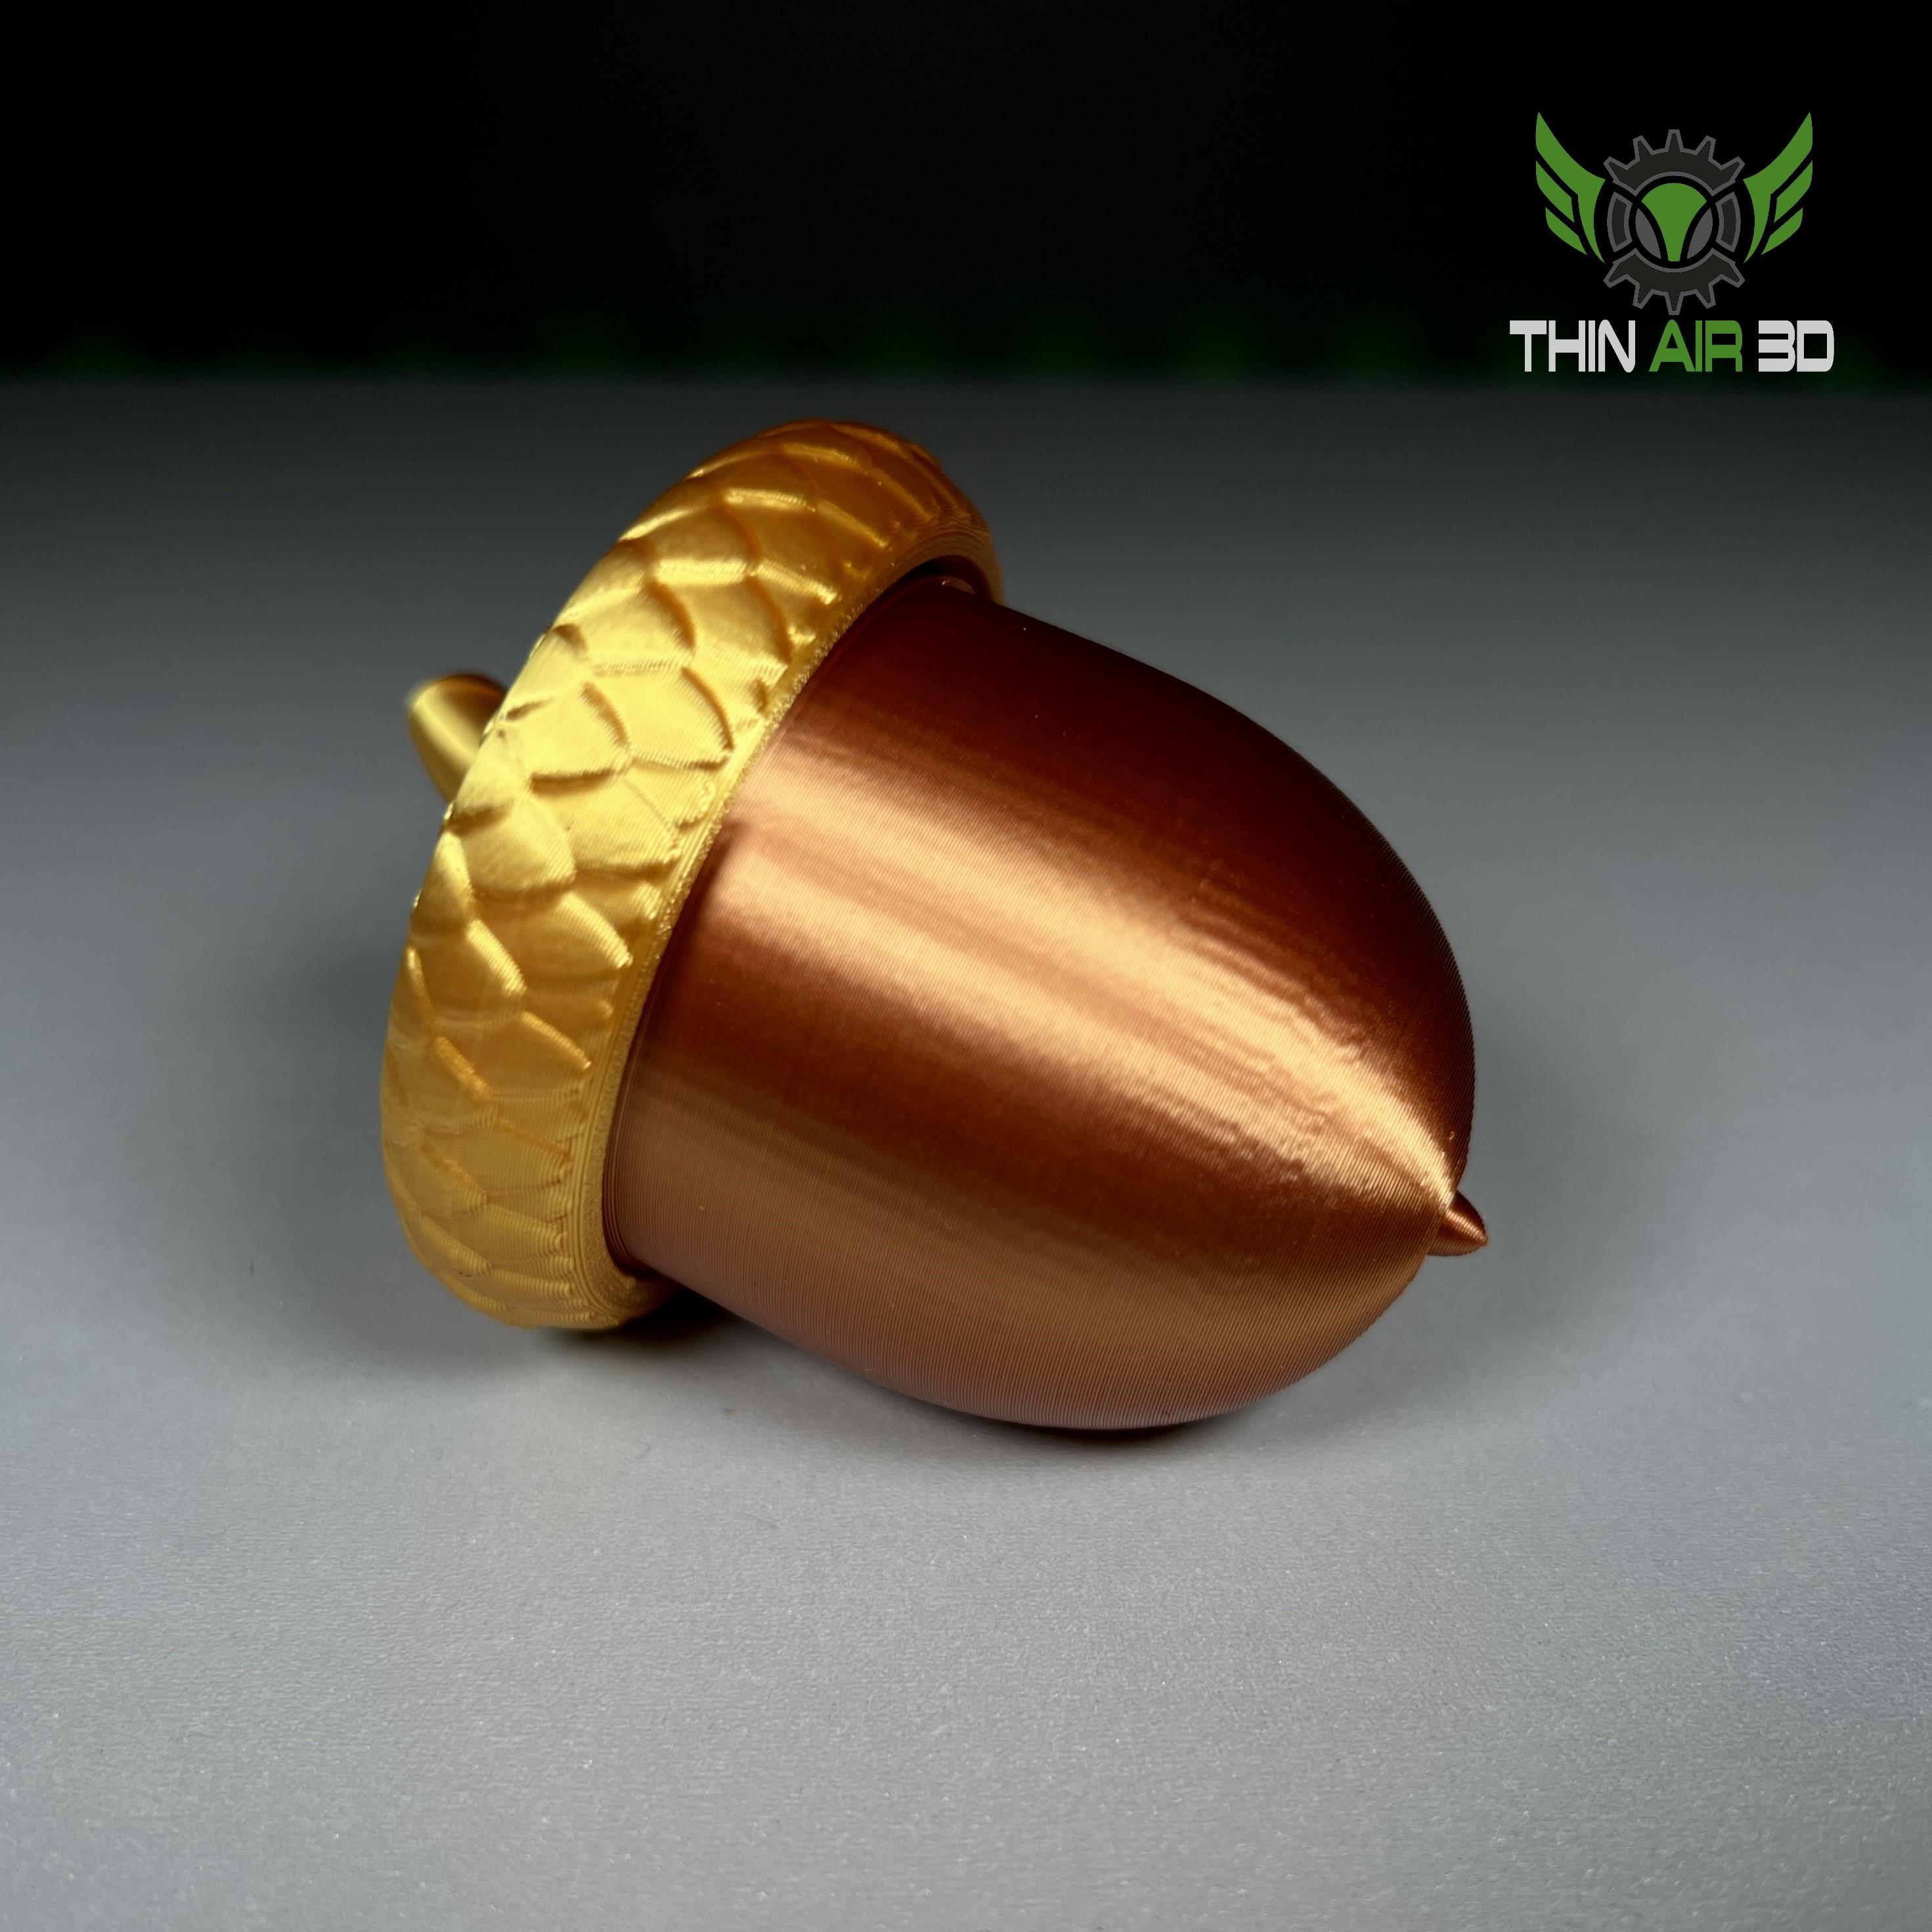
Acorn Stash Jar / Geocache
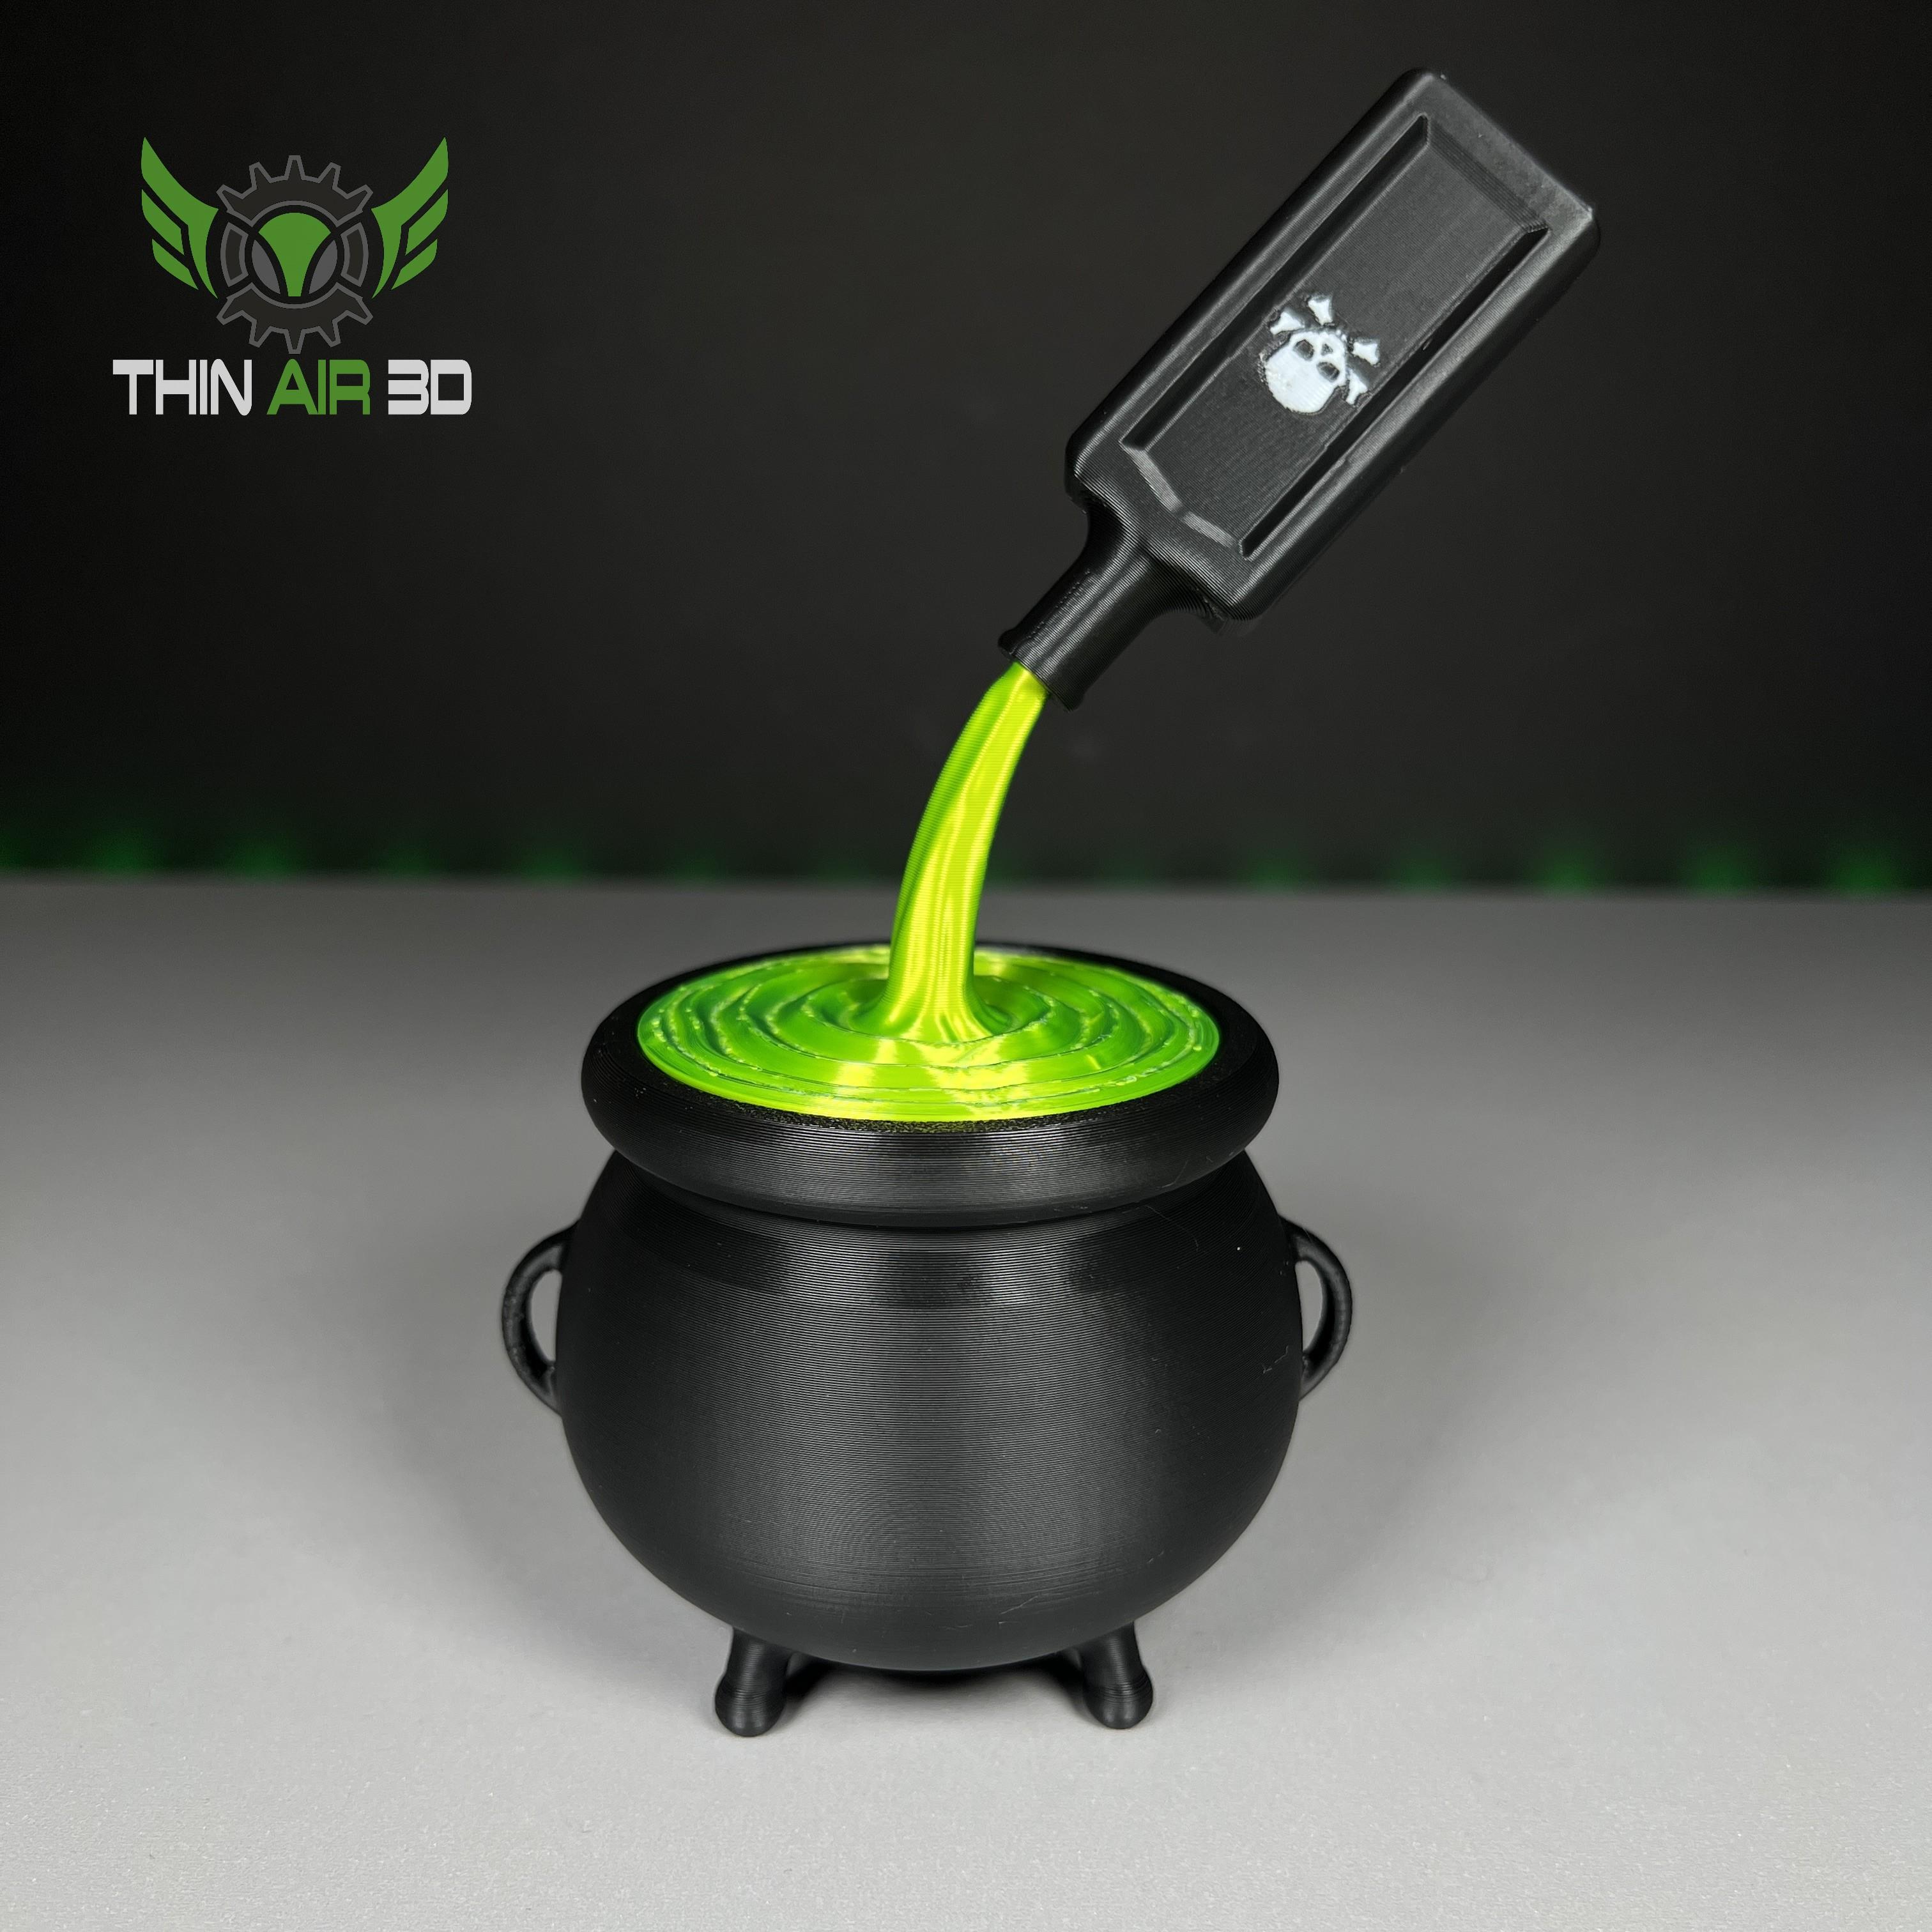
Halloween Cauldron w/ Locking Lid