


Articulated Cubone Toy
Raw STL's do not have paint data or support data attached to them. The 3MF files provided have them, but the coloured file only opens in Bambu Studio. The PRUSA 3MF only has support data.
This model is a complete rework of my old Cubone Toy, which for some reason I had not shared outside of MakerWorld (the old model is no longer available). Part of the model is print-in-place (the tail and body), whilst other parts require you to snap joints together (head and arms).
As the model prints upright, the arms and head must be printed loose. A benefit of this is that they now make use of ball-and-socket joints, which give them better movement options than the old chainlinks they once used.
The ball joints are shallow so that the arms can be popped out easily, to interchange them, and reduce the chance of the ball breaking in the socket. If you want the arms to stay in forever, use glue.
A groove has been added to the bone club, which will help stick the club into either hand with the aid of glue. Due to the thickness of the hand, my original method of making a peg-joint would compromise its strength. So, I would advise supergluing the bone to the hand, or using the arm that has the bone already attached. This method, however, means you'll need a multicolour printer to make the bone a different colour.
To snap the helmet onto the head, first align the “horns” of the head with the widest portion of the skull base, then apply pressure until the horns are inserted. The rest of the head should pop right in behind them. Once the helmet is on it may not come off.
IMPORTANT! Supports and brim are needed on this model.
If printing on a Textured PEI plate, a brim is strongly recommended on all parts. Please be aware that printing with brims or supports on the head will cover the socket joint hole, so carefully remove this covering with pliers. The head does have a hole!
A brim is advised on the bone regardless of what plate you use, otherwise, it is likely to be dragged off the hotplate should too much filament extrude onto it.
The helmet now requires a brim and supports to ensure it prints cleanly (the horns no longer print with a flat defect). The arms require support to print correctly. So long as “only touching buildplate” is checked on your support generator, you should be good.
This file covers personal, non-commercial use; do not share or redistribute without attribution. Do not sell the files or prints of the files. Remixing is allowed but again providing attribution is required. If you want to sell prints of this model, please visit my Patreon to learn how to obtain a Commercial License: https://www.patreon.com/thomastedwards
Articulated Cubone Toy

Funny Capybara Fidget Toy – Articulated Animal Toy

Magnetic Chameleon

Articulated Axolotl Toy – Cute Flexi Toy

Cute Flexi Parrot (Toy, Keychain & Magnet), Fun Articulated Toy

Rainforest Frog Fidget Toy – Articulated Model

Quirky Croissant Flexible Articulated Toy

FlexiPlatypus - Flexible Articulated Toy Model
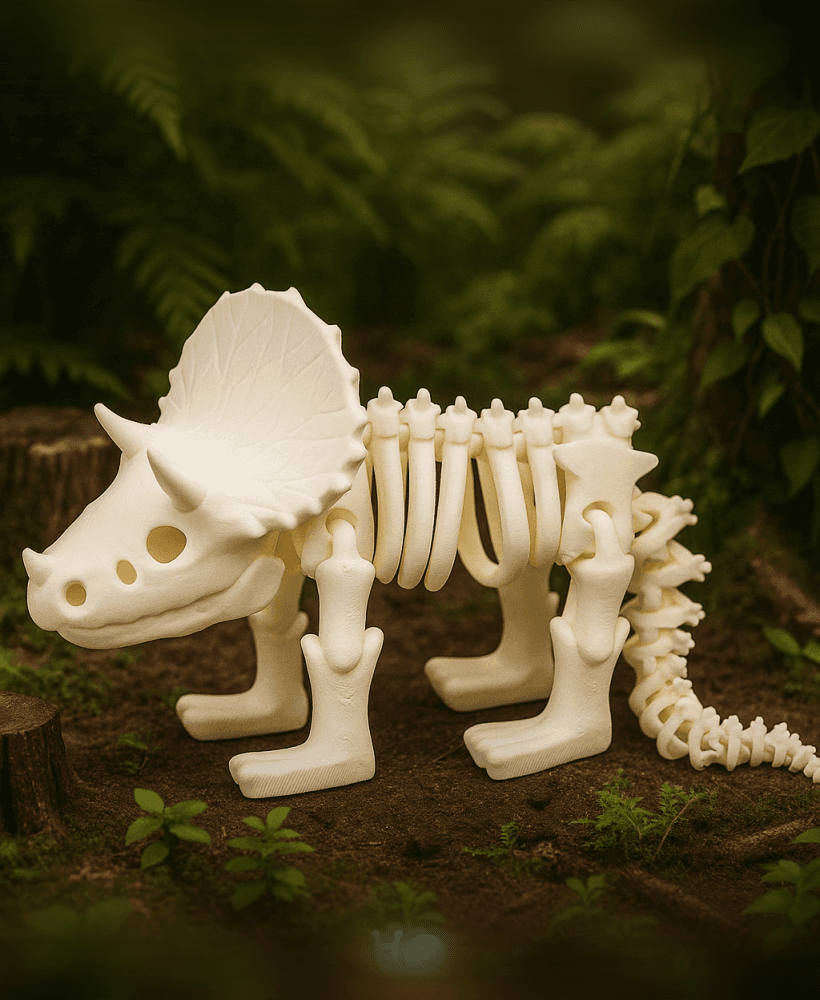
Forest Fossil Dino - Articulated Triceratops Toy

Coral Coil Snake – Articulated Flexi Toy

Adorable Flexibear Articulated Bear Toy

Flexi Xmas Dragon – Toy • Keychain • Magnet, Articulated Christmas Toy

Witch Hat Snappy Cat 2024 - Snap-Flex 2.0 Articulated Fidget Toy

Playful Raccoon Articulated Toy - Flexi Animal

Tulip Articulated Flower Toy with Flexible Stem

Monkey Swing Flexi Toy - Articulated Jungle Figurine

Flexi Flounder - Little Mermaid Articulated Toy

Haku Flexi Dragon - Spirited Away Articulated Toy

Articulated Elephant Toy

Pug Flexi Toy – Articulated Fidget Puppy
