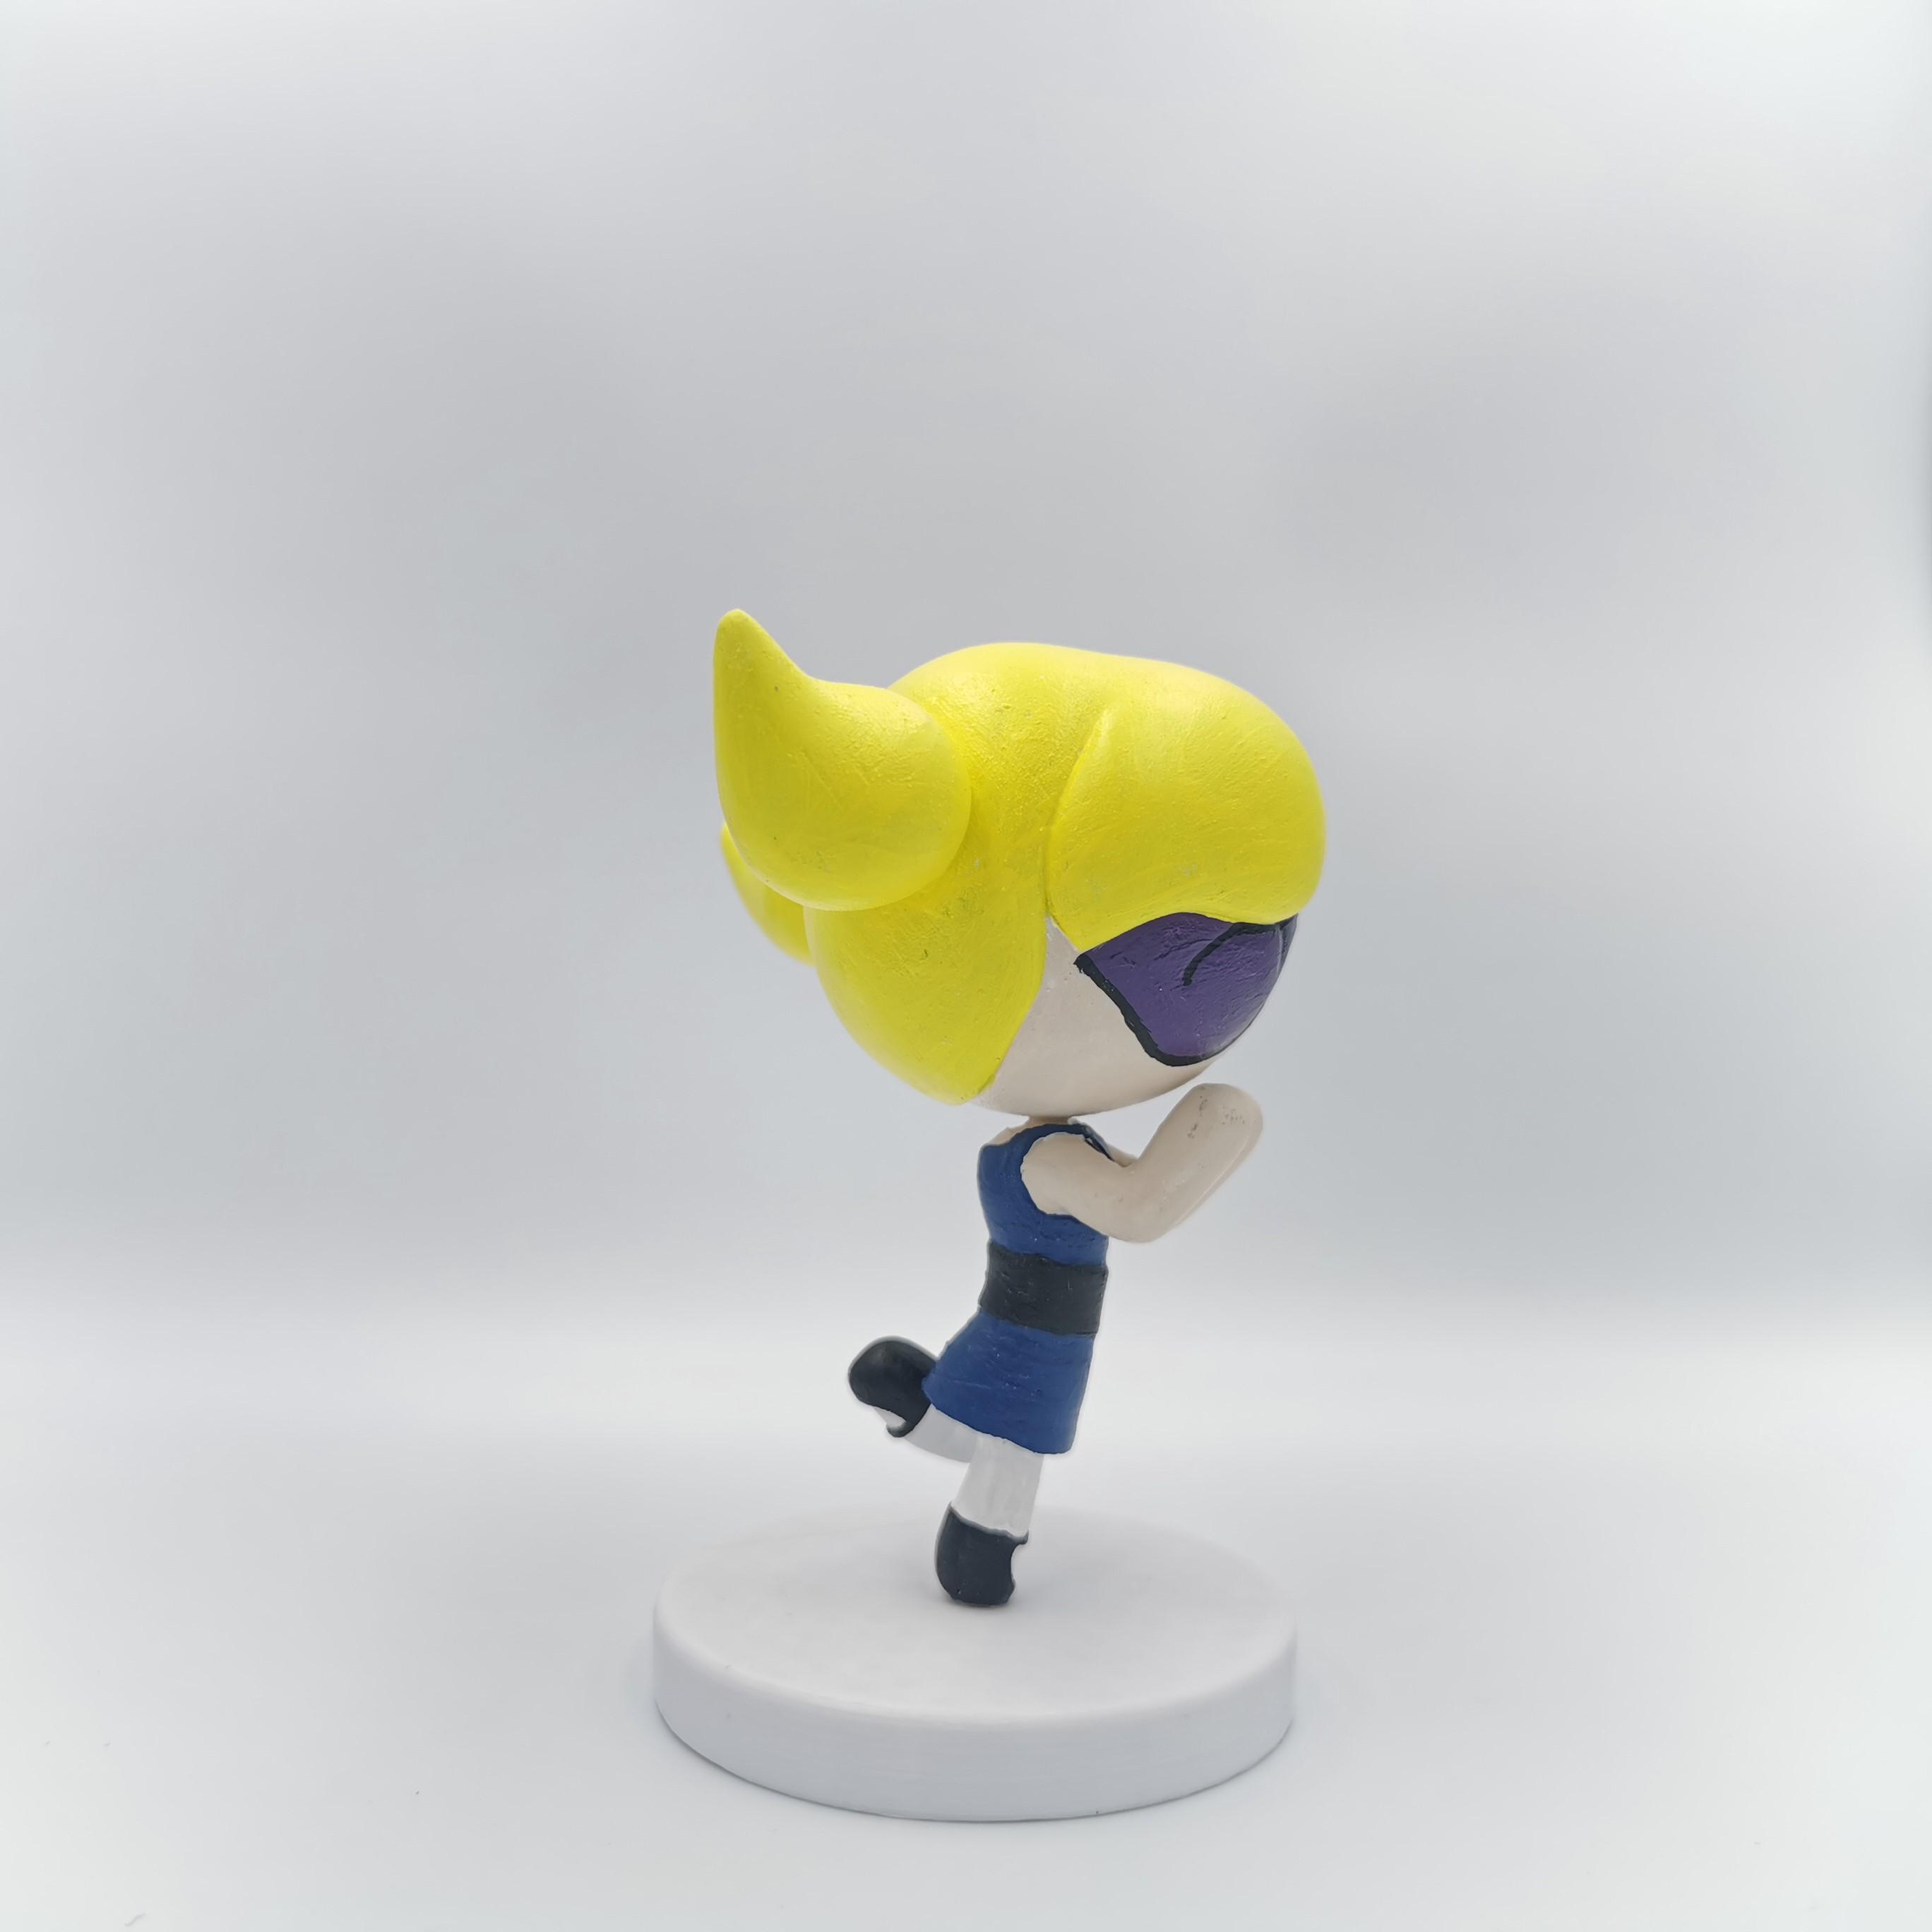
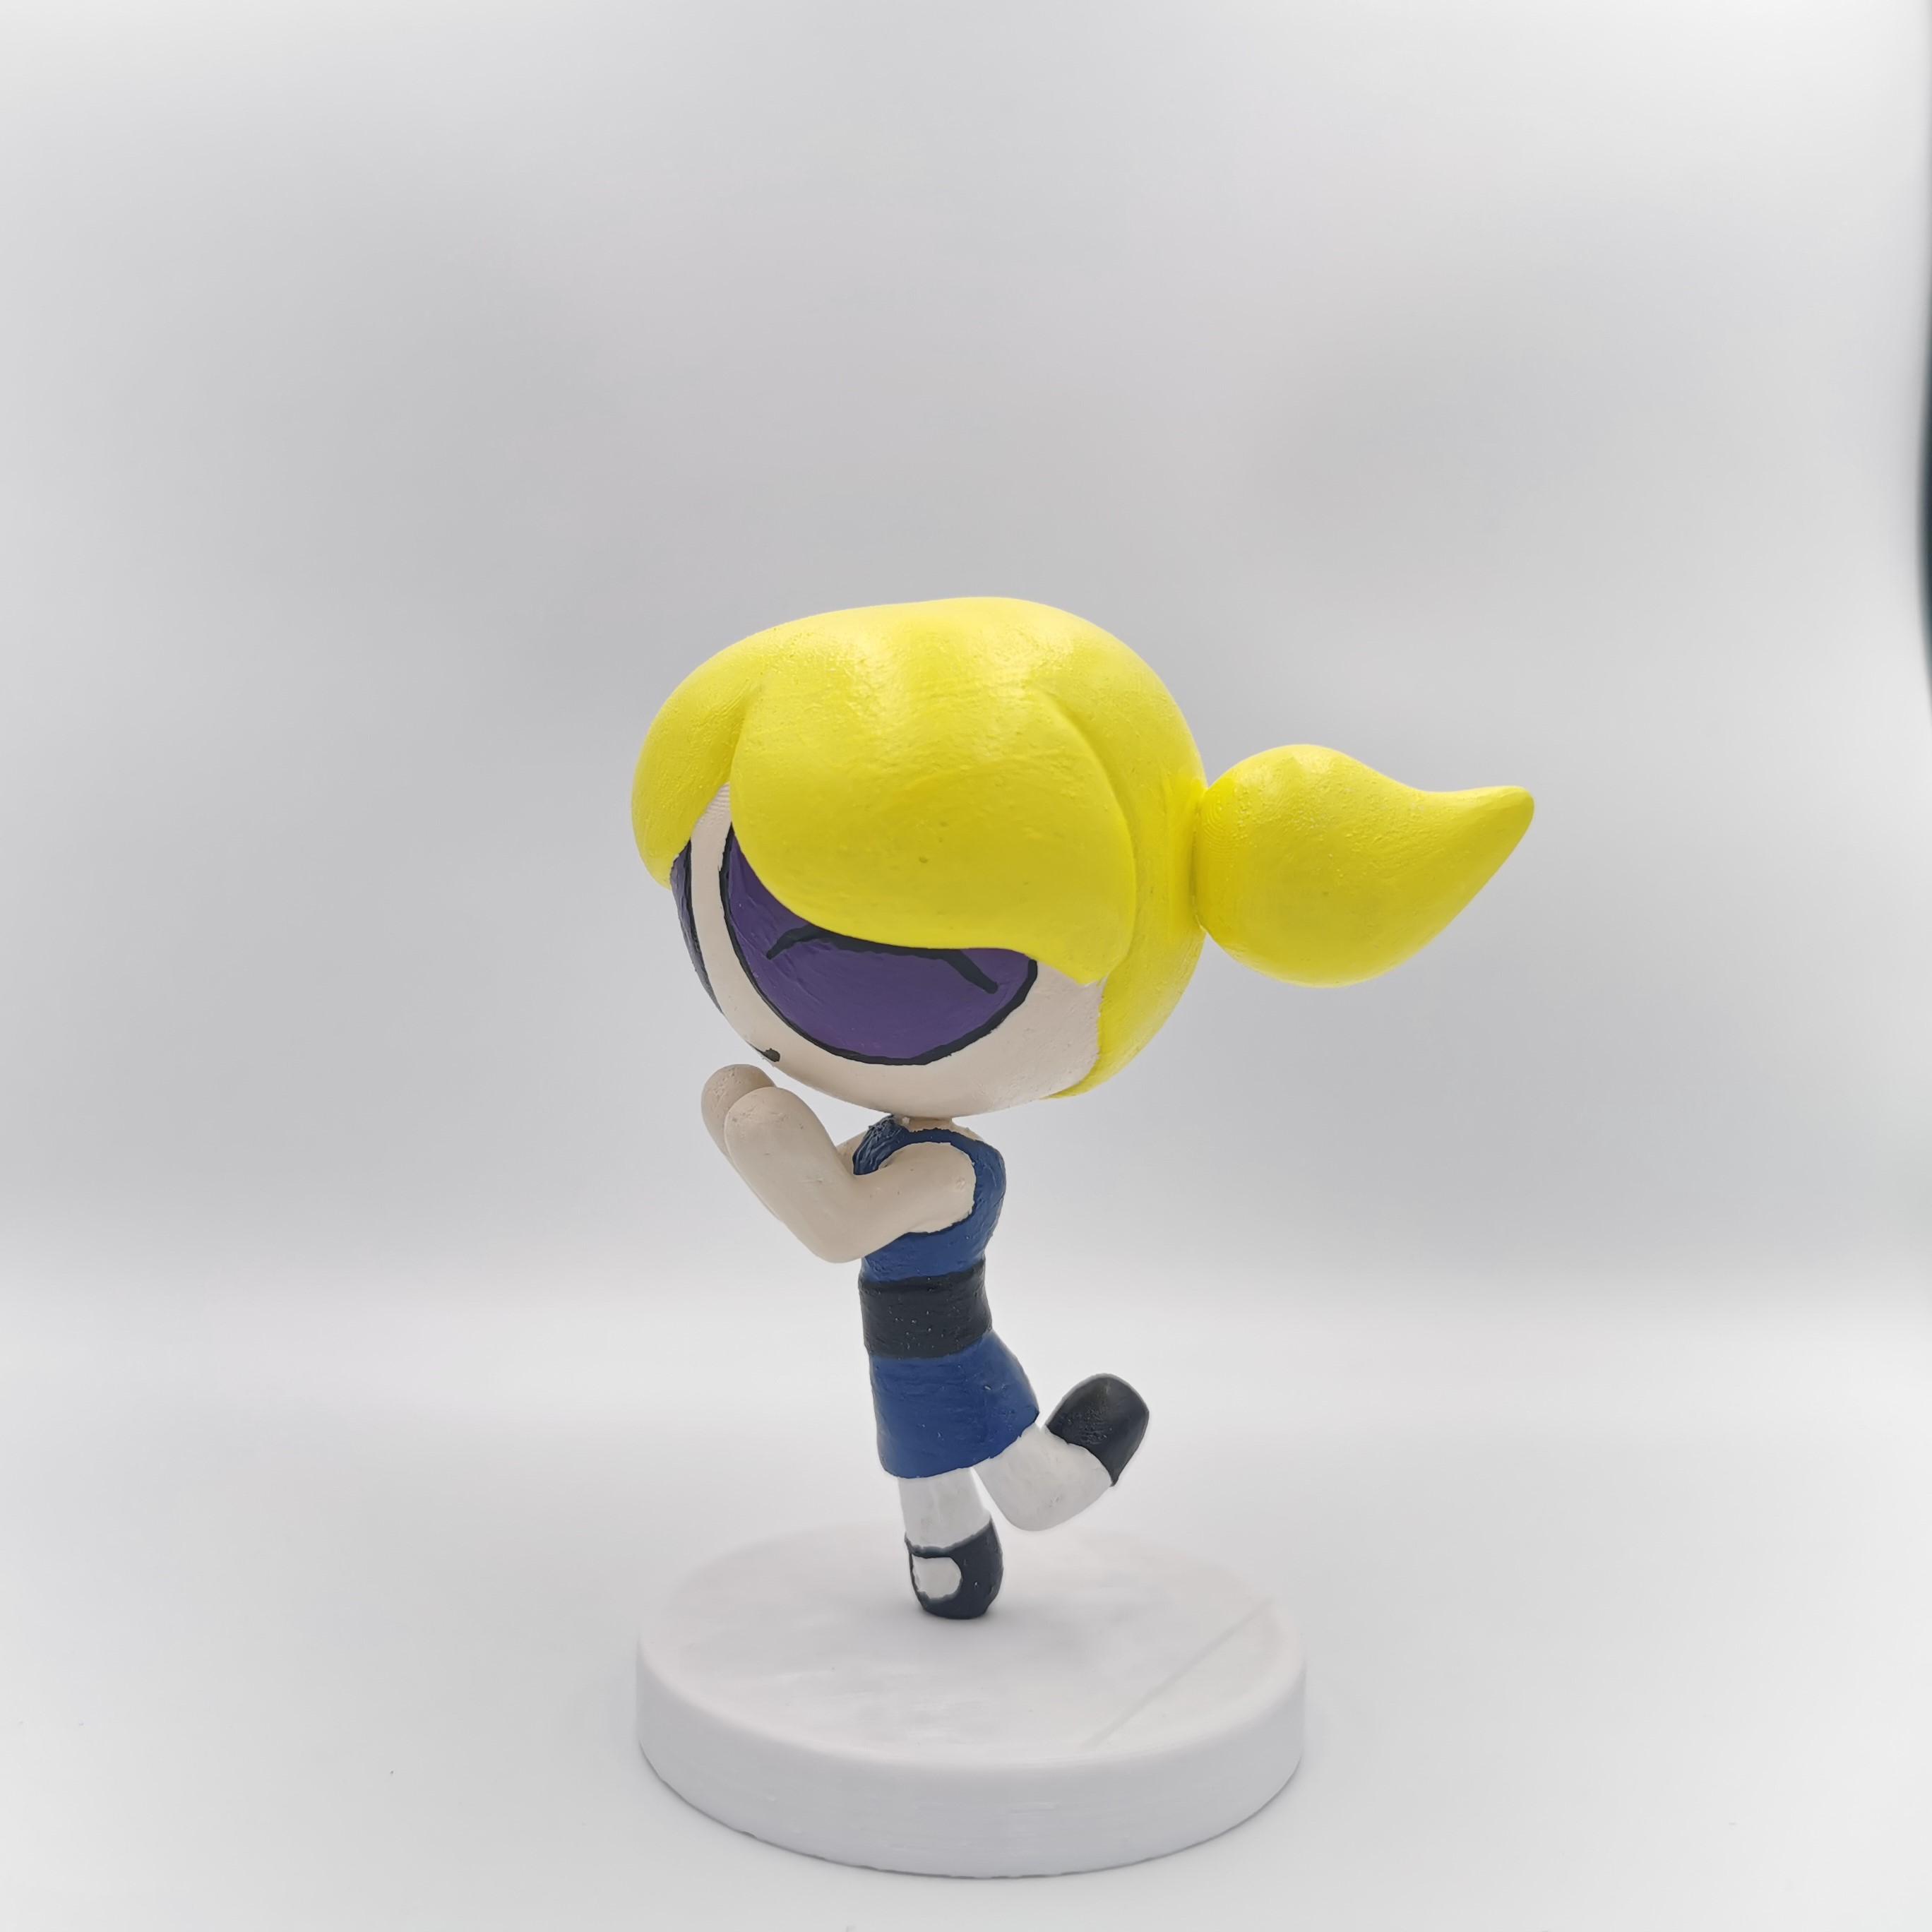
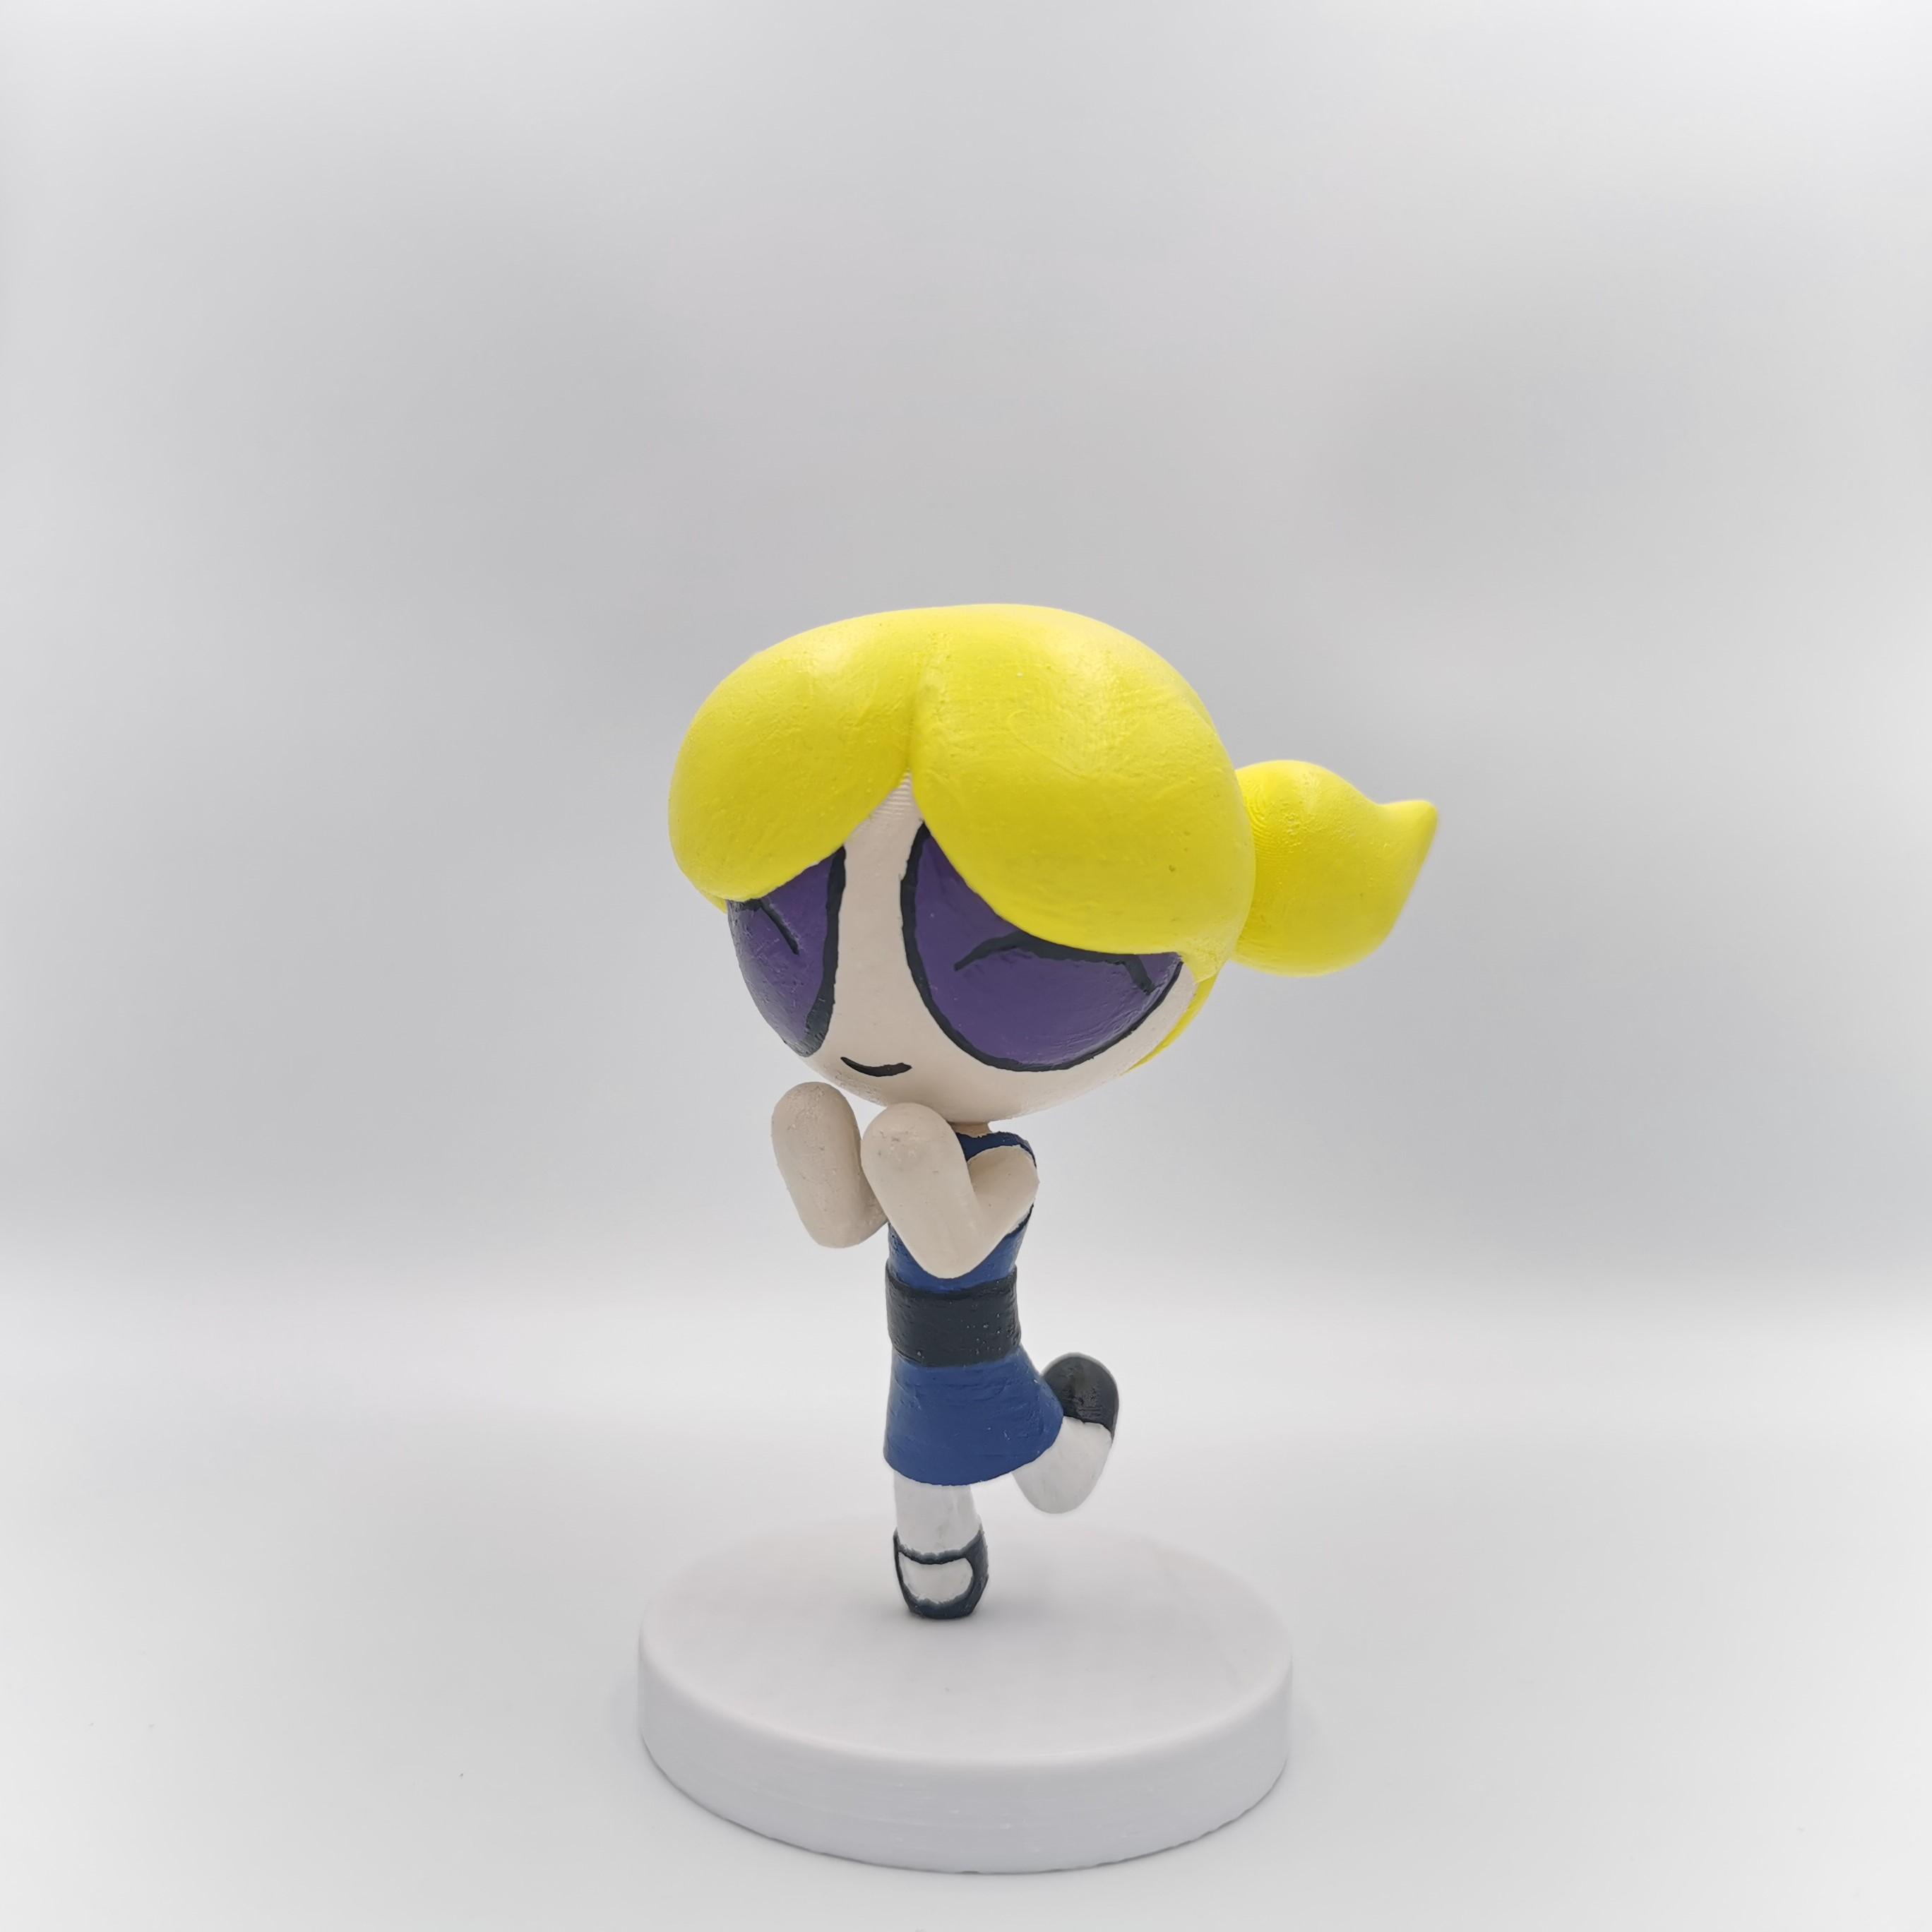
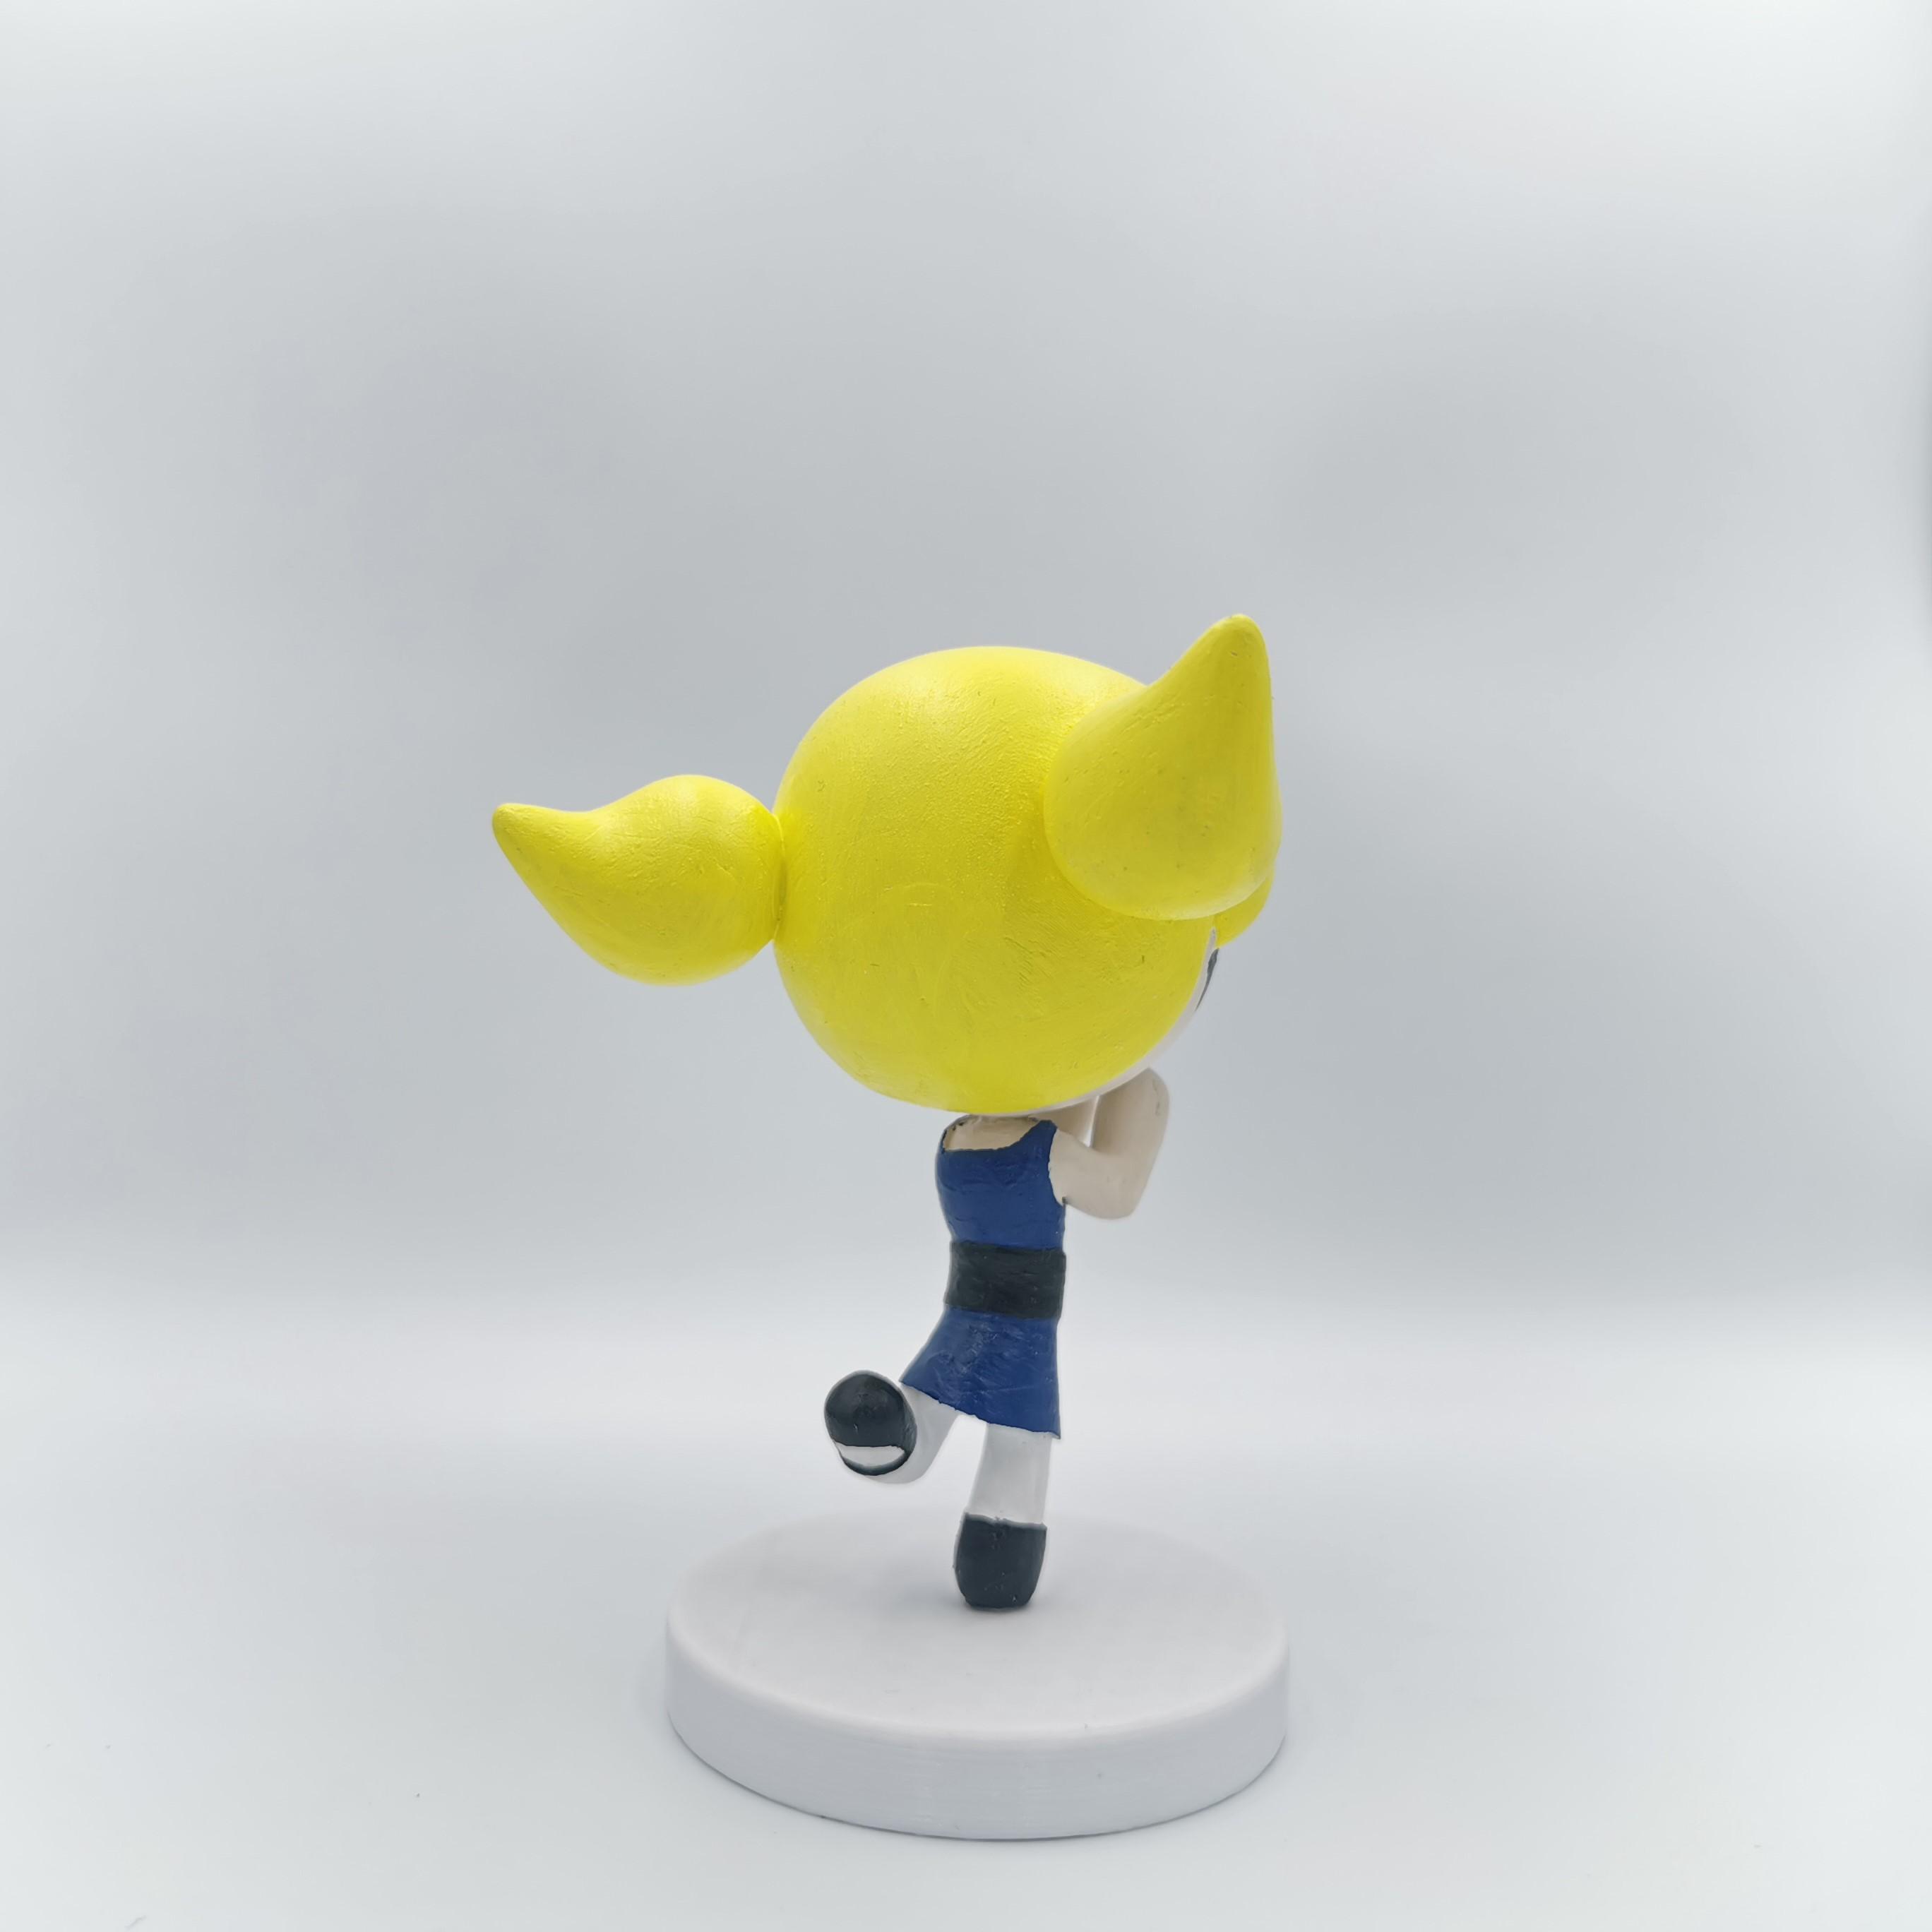
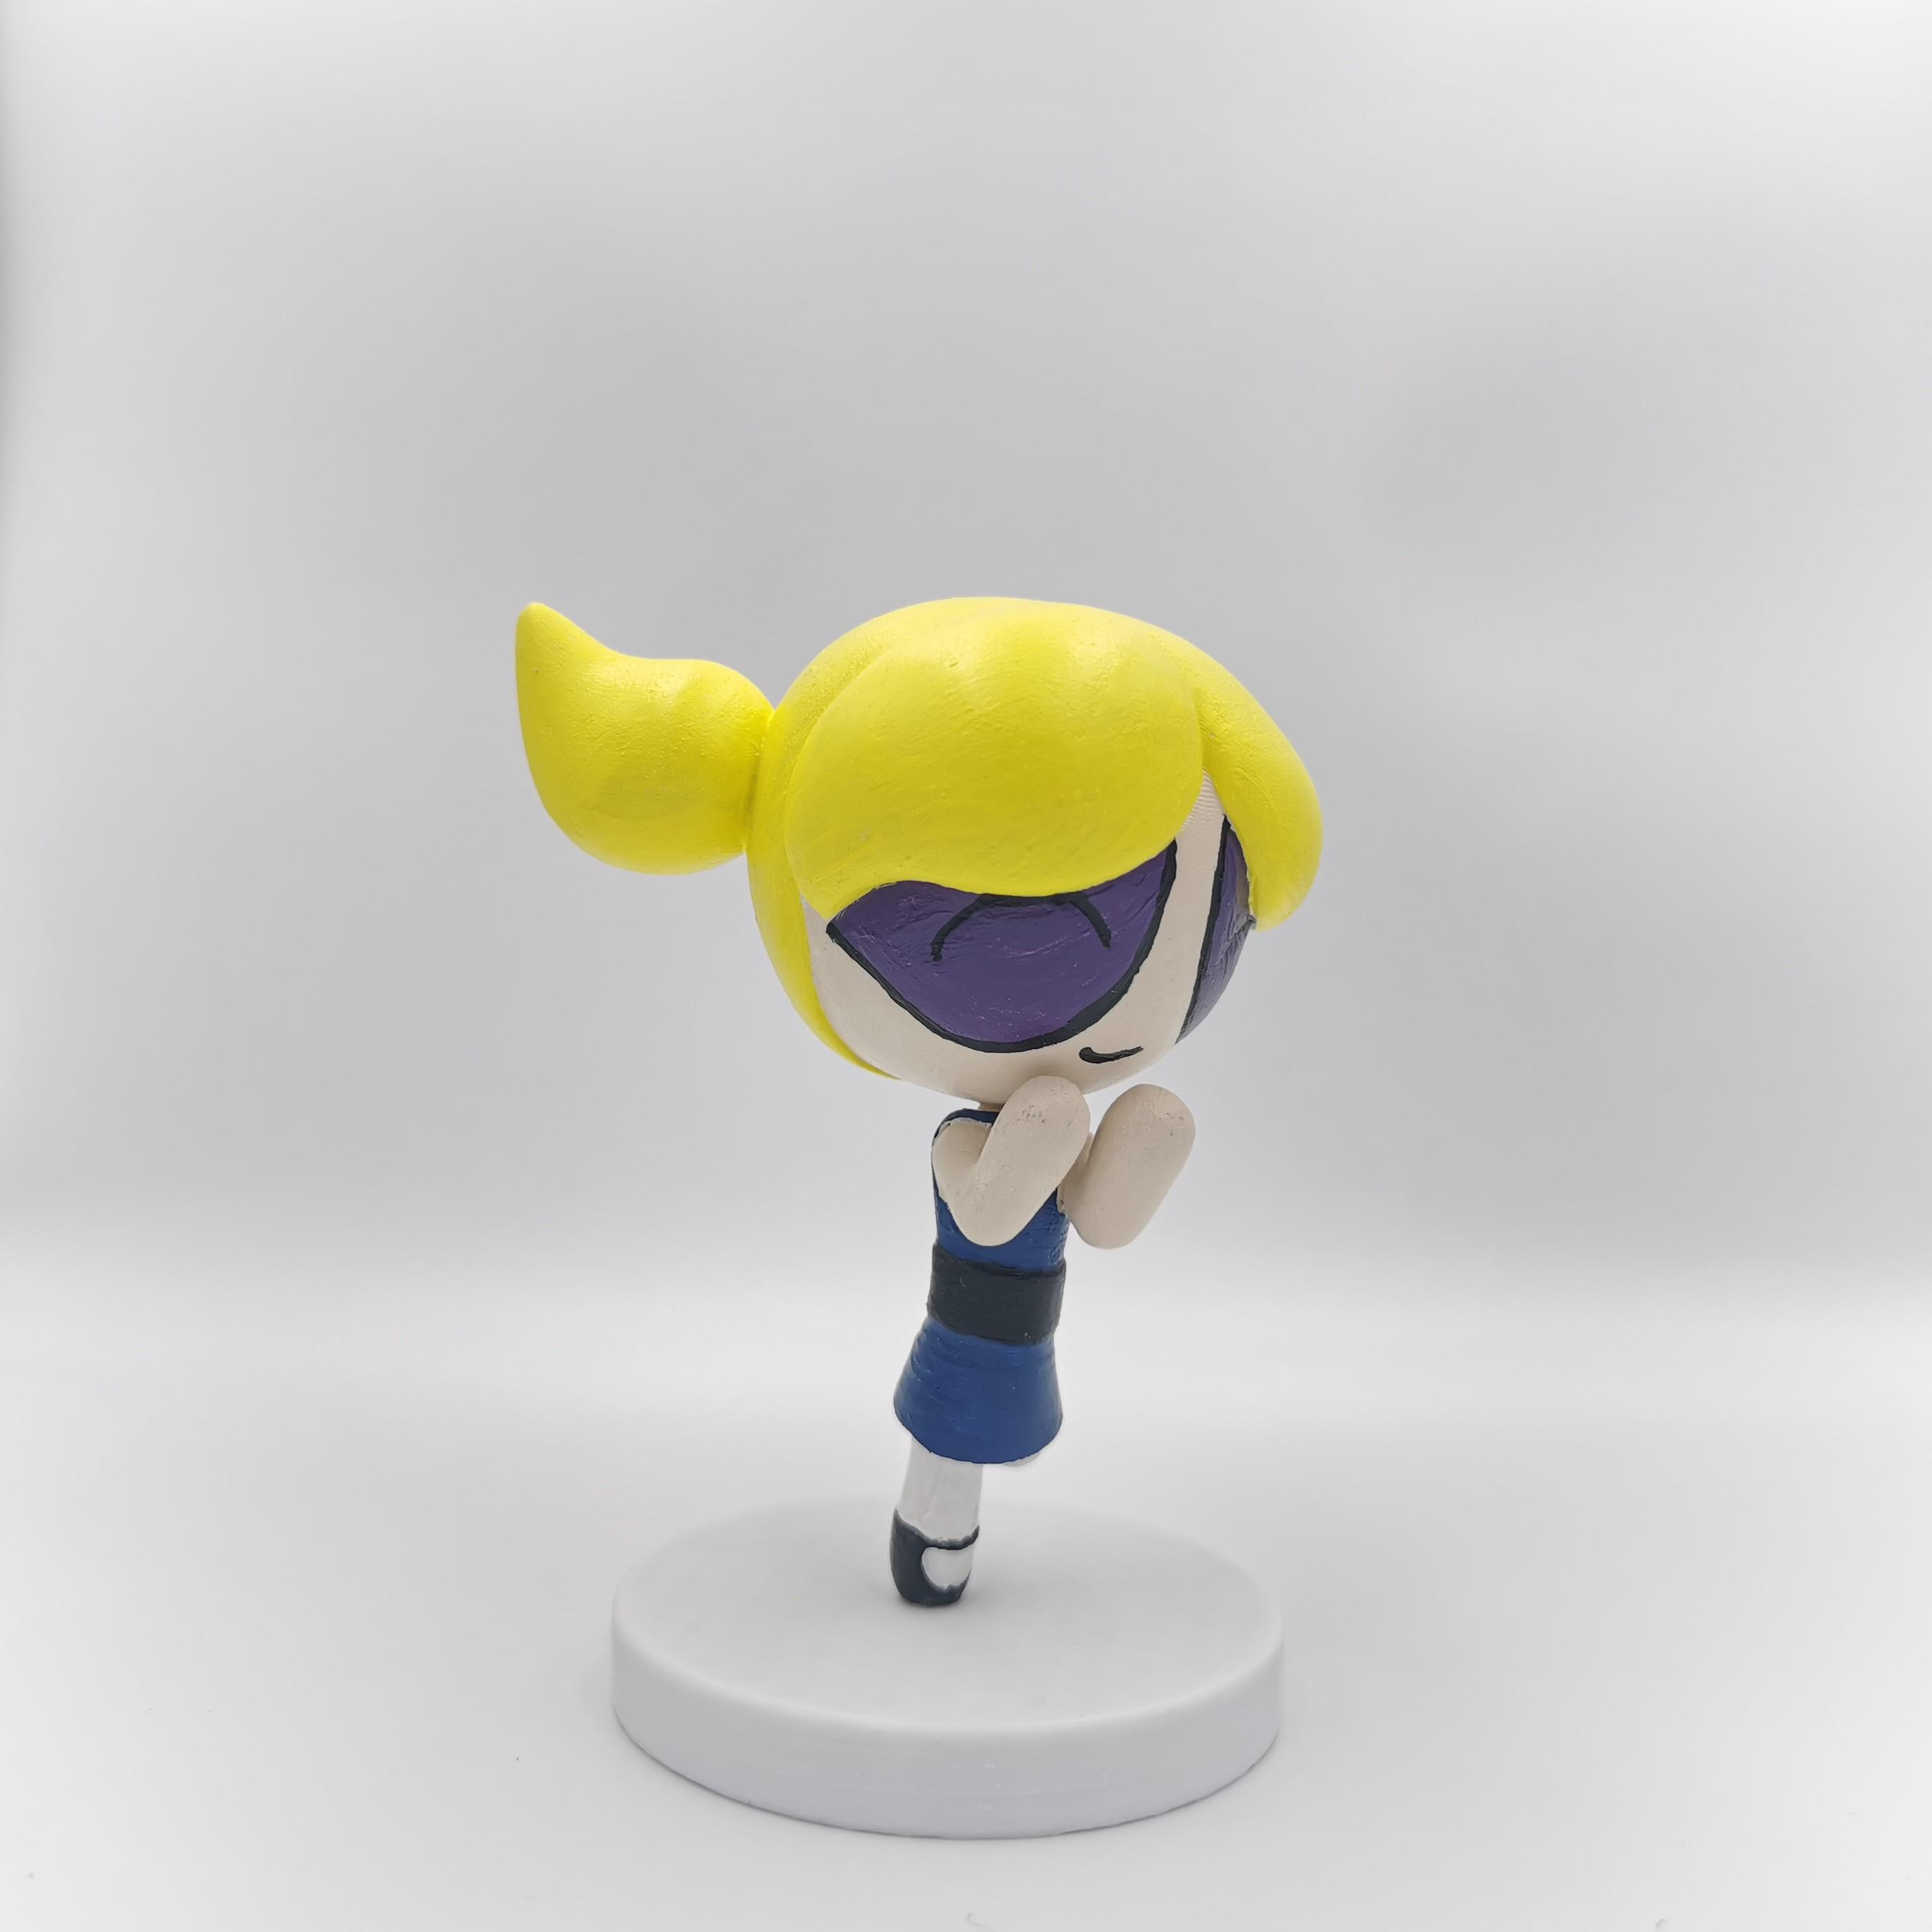
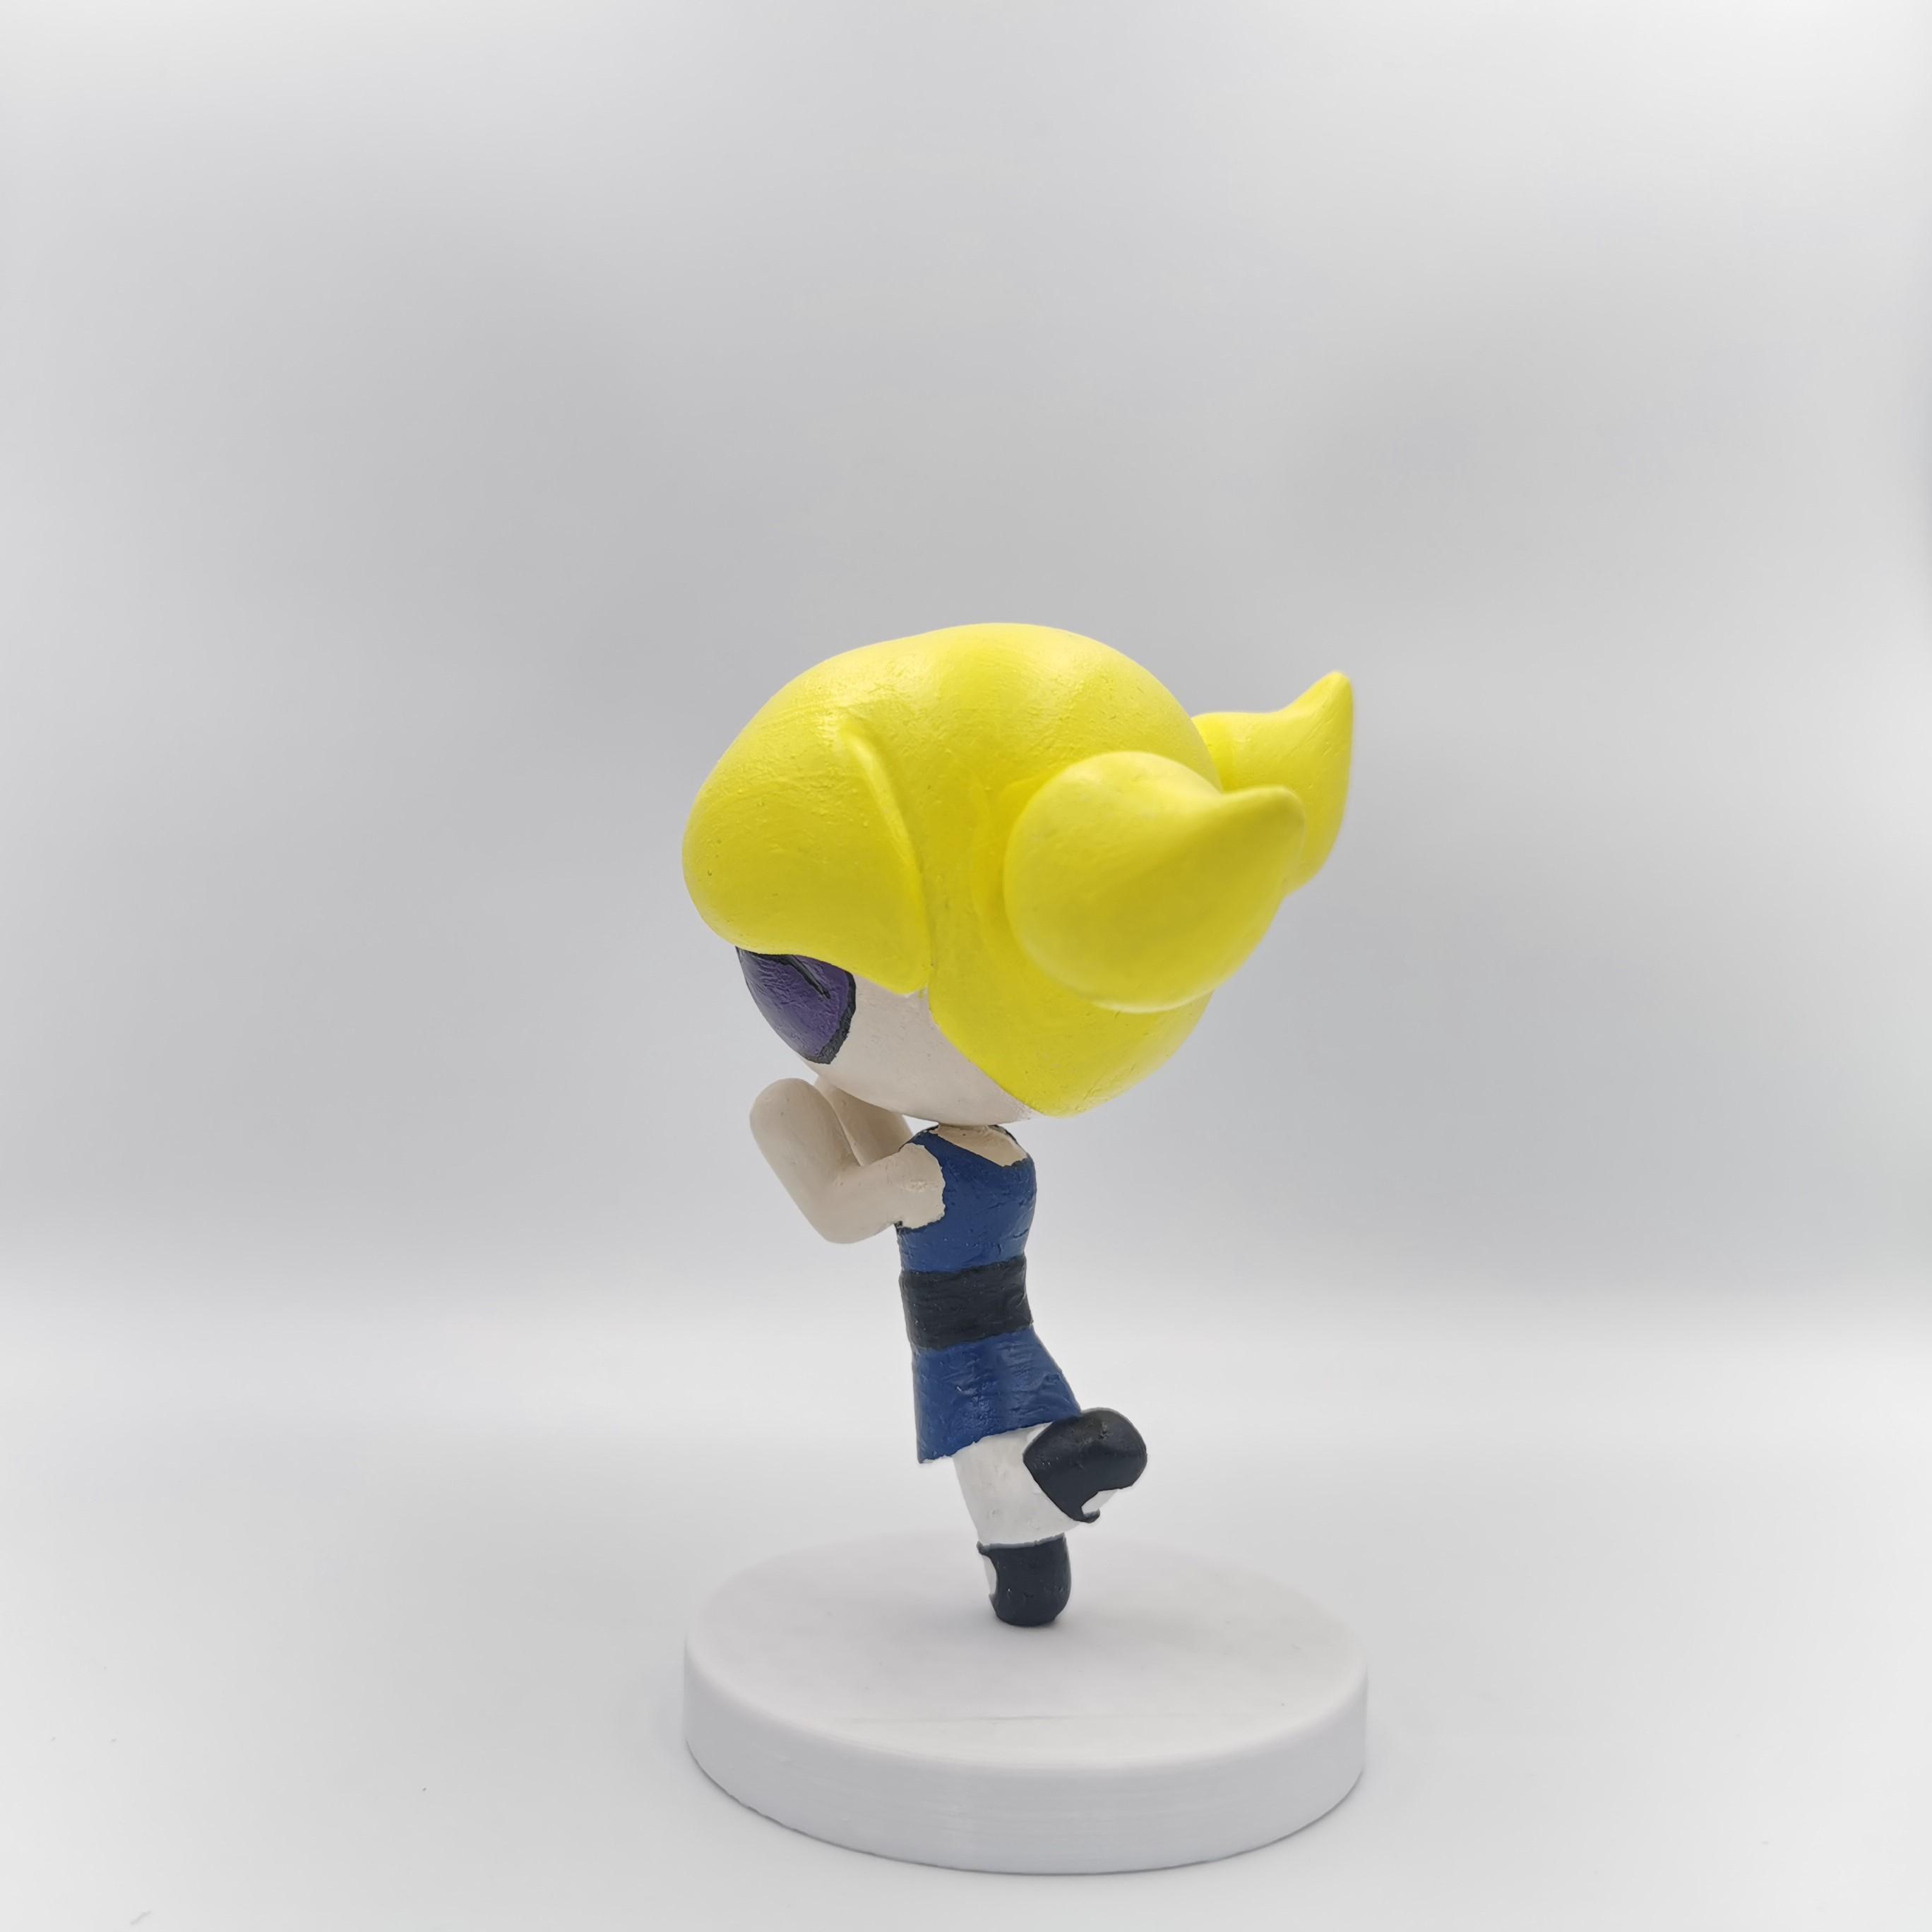
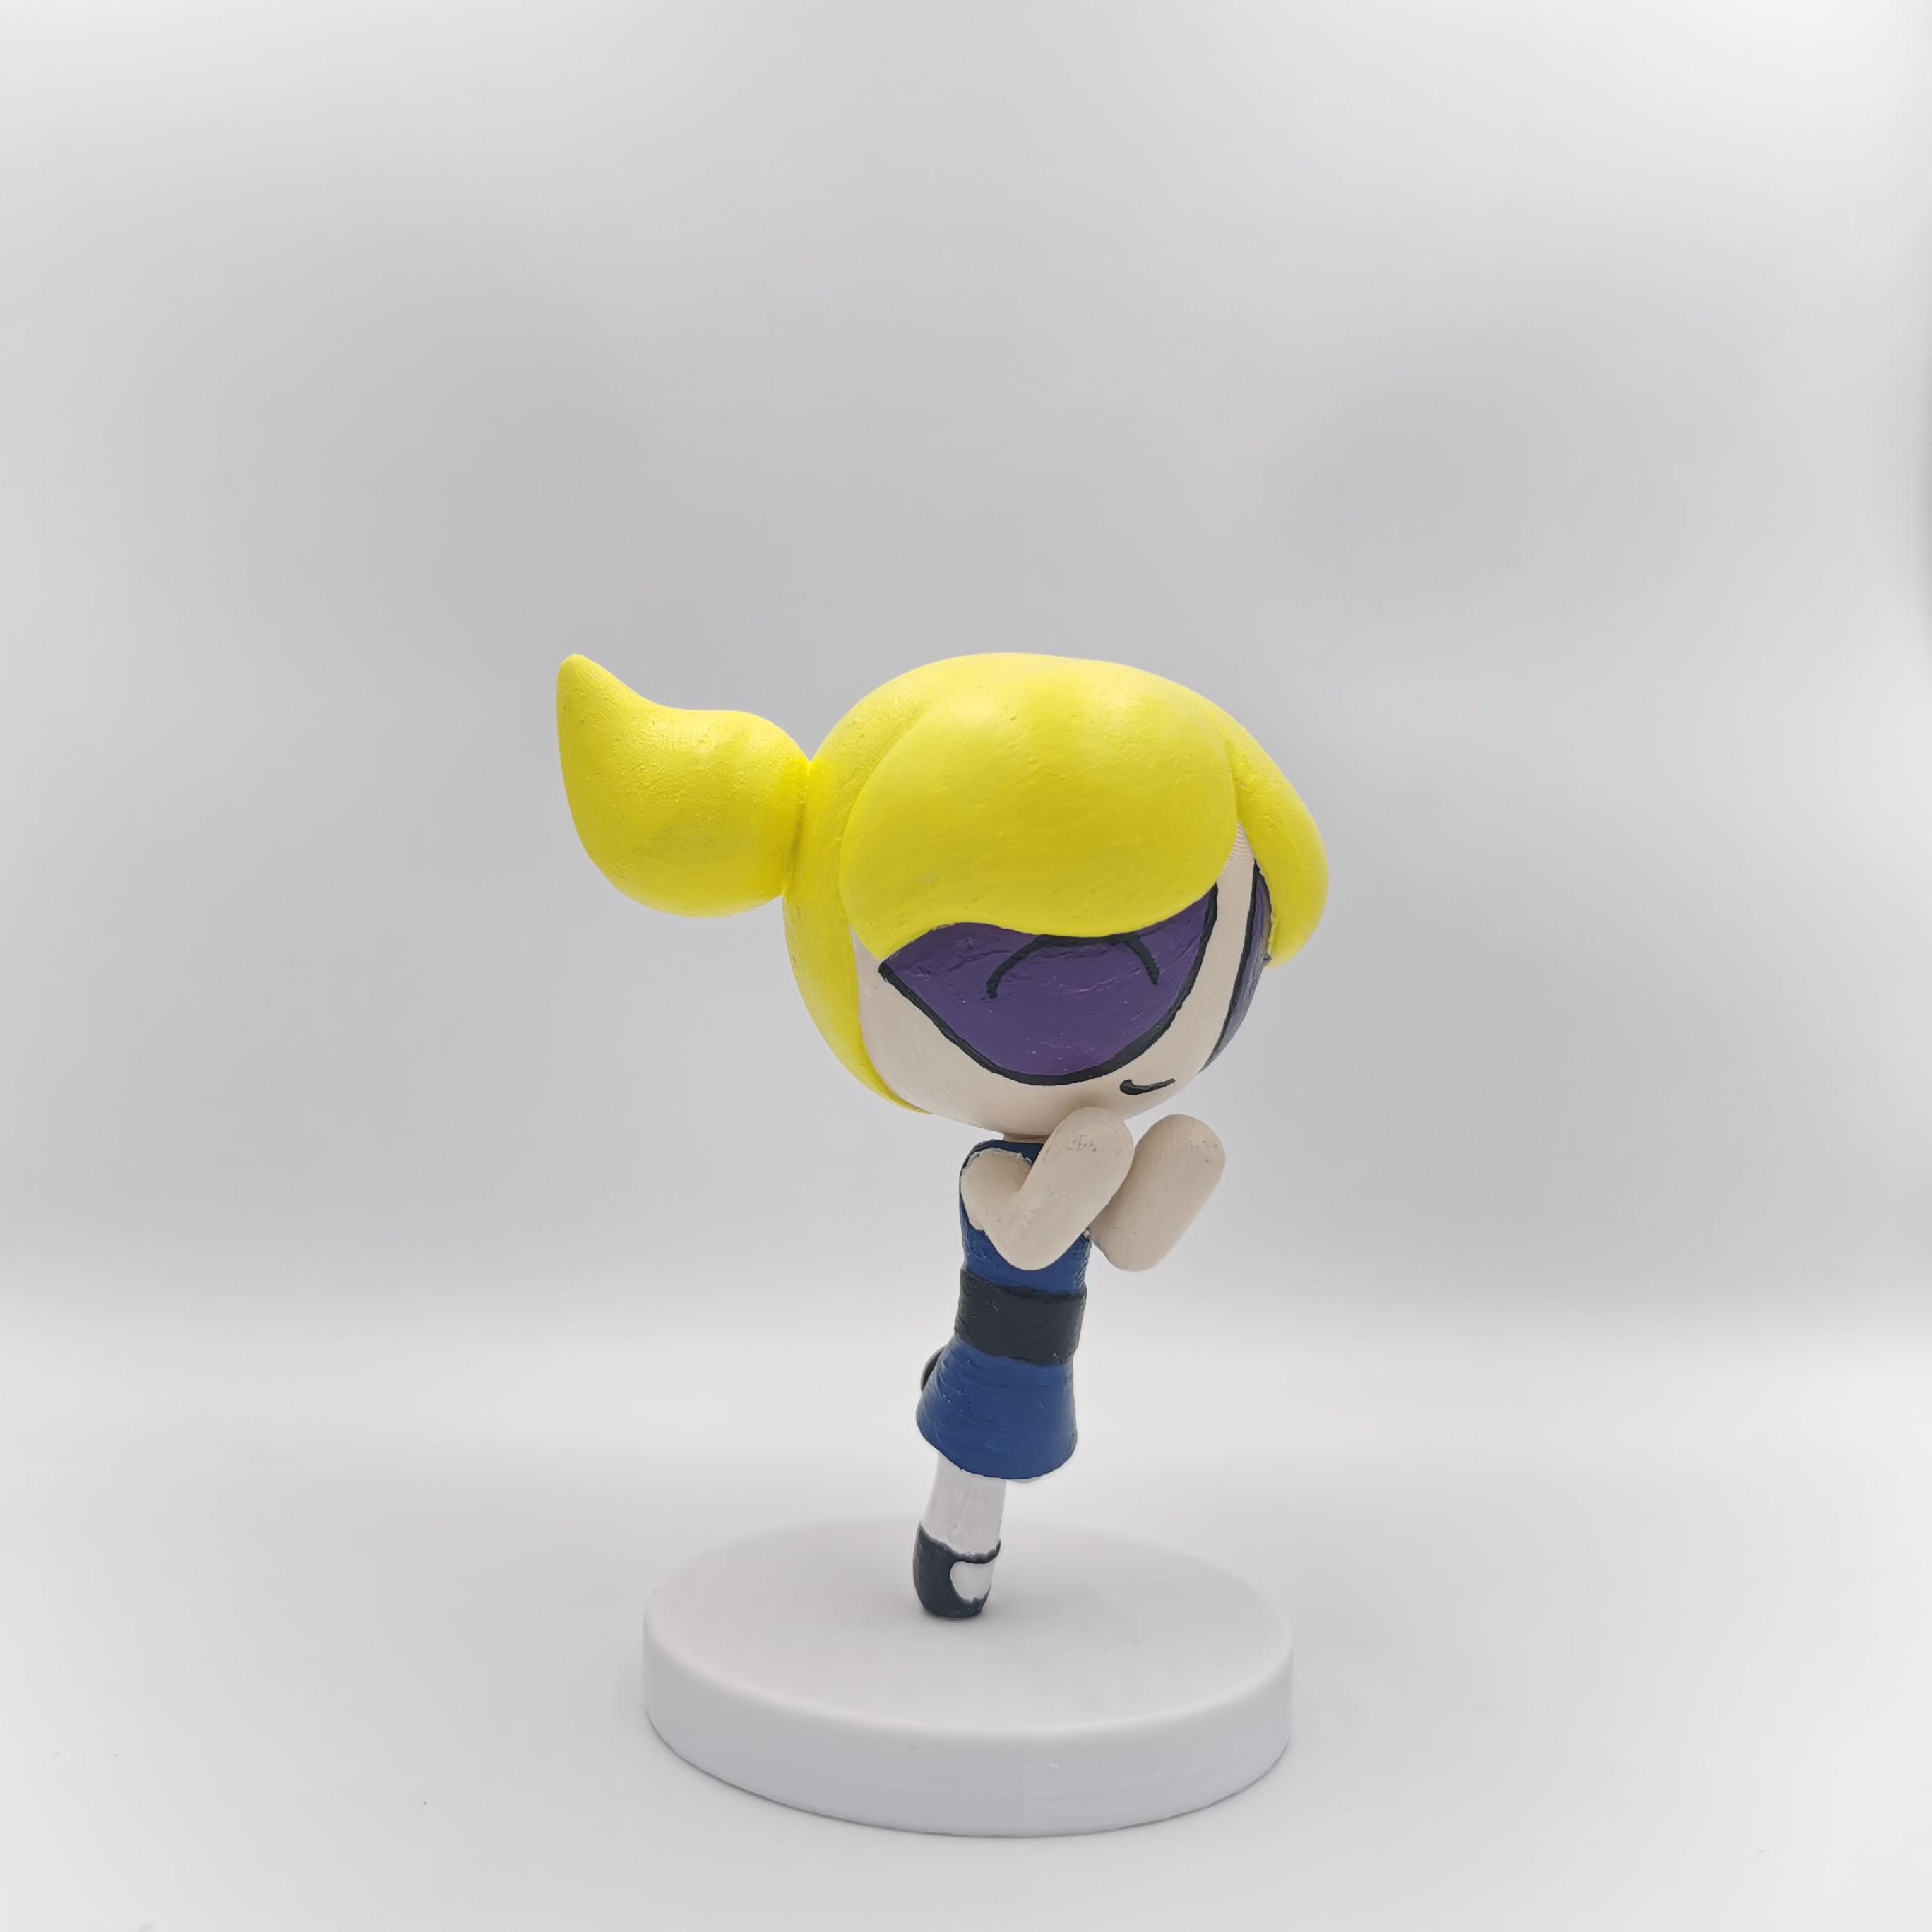
Introduction to Bubbles
She is the cute and sensitive one.
Her personality ingredient is sugar, her signature color is blue, and she has short blonde hair in two pigtails.
Bubbles is seen as kind and very sweet but she is also capable of extreme rage and can fight monsters just as well as her sisters can.
Her best friend is a stuffed octopus doll she calls "Octi", and she also loves animals.
She exhibits the ability to both understand foreign languages such as Spanish, and communicate with various animals (squirrels, cats, monsters), and her unique power is emitting supersonic waves with her voice.
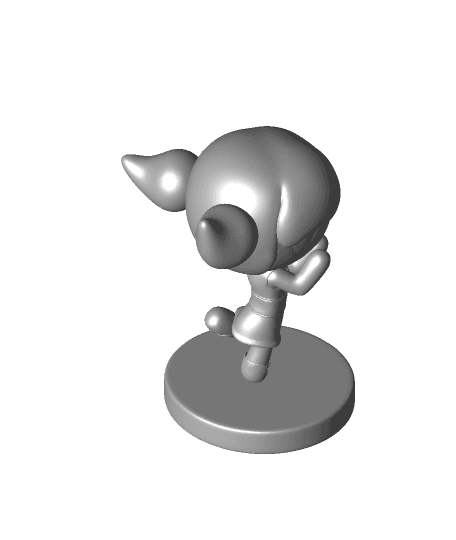
This is a modified version that is ready for 3D printing.
You can print it as a whole or in parts, I have also split it into 3 parts (head/body/base) for easier printing and support removal.
The original can be found here: https://www.myminifactory.com/object/3d-print-buttercup-power-puff-girls-7629
For more models or to support me visit: https://linktr.ee/valley3d
Print Settings
Printer: Snapmaker 2.0 A350
Rafts: No
Supports: Yes
Resolution: 0.16mm layer height
Infill: 10% - 20%
Filament brand: Generic
Filament color: White
Filament material: PLA
Notes:
Slicer: Cura Print time: 11 hours Filament used: 79 grams
Step 1 - Printing:
Print and remove supports
Step 2 - Using sandpaper
Use sandpaper to smooth out your print.
I used different grits (120 then 180 then 320) to make sure its as smooth as possible.
Step 3 - Painting
Apply Gesso as a primer to coat the whole print and wait for 10 minutes for it to dry, then you can start painting the model as you like (I used pebeo matt colors).
After the paint has dried out (wait for a day to fully dry) use transparent finishing varnish to preserve and protect your model and to give it a tight and supple cover. Finally
That's it, now enjoy Bubbles as she smiles back at you. 😊
