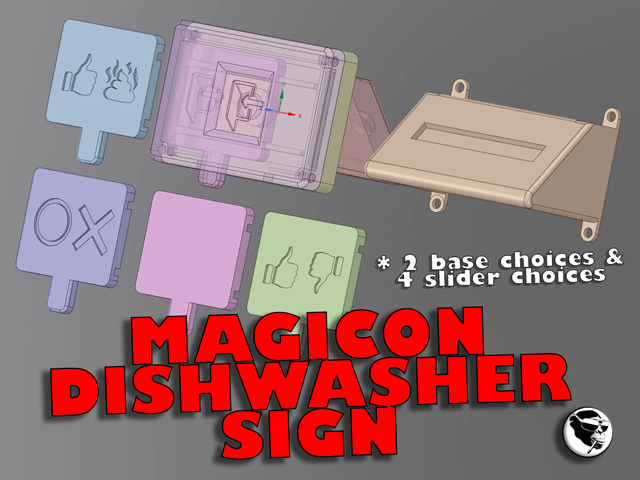


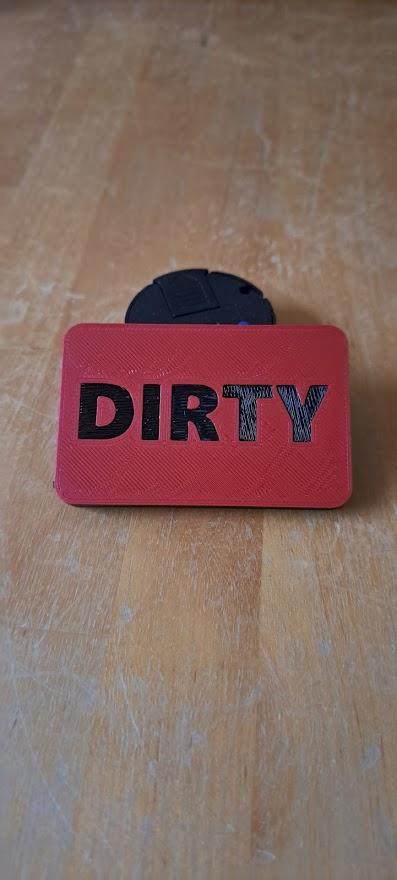
MagIcon Dishwasher Sign
Model originally uploaded to Thingiverse at https://www.thingiverse.com/thing:5026758.
###INTRO
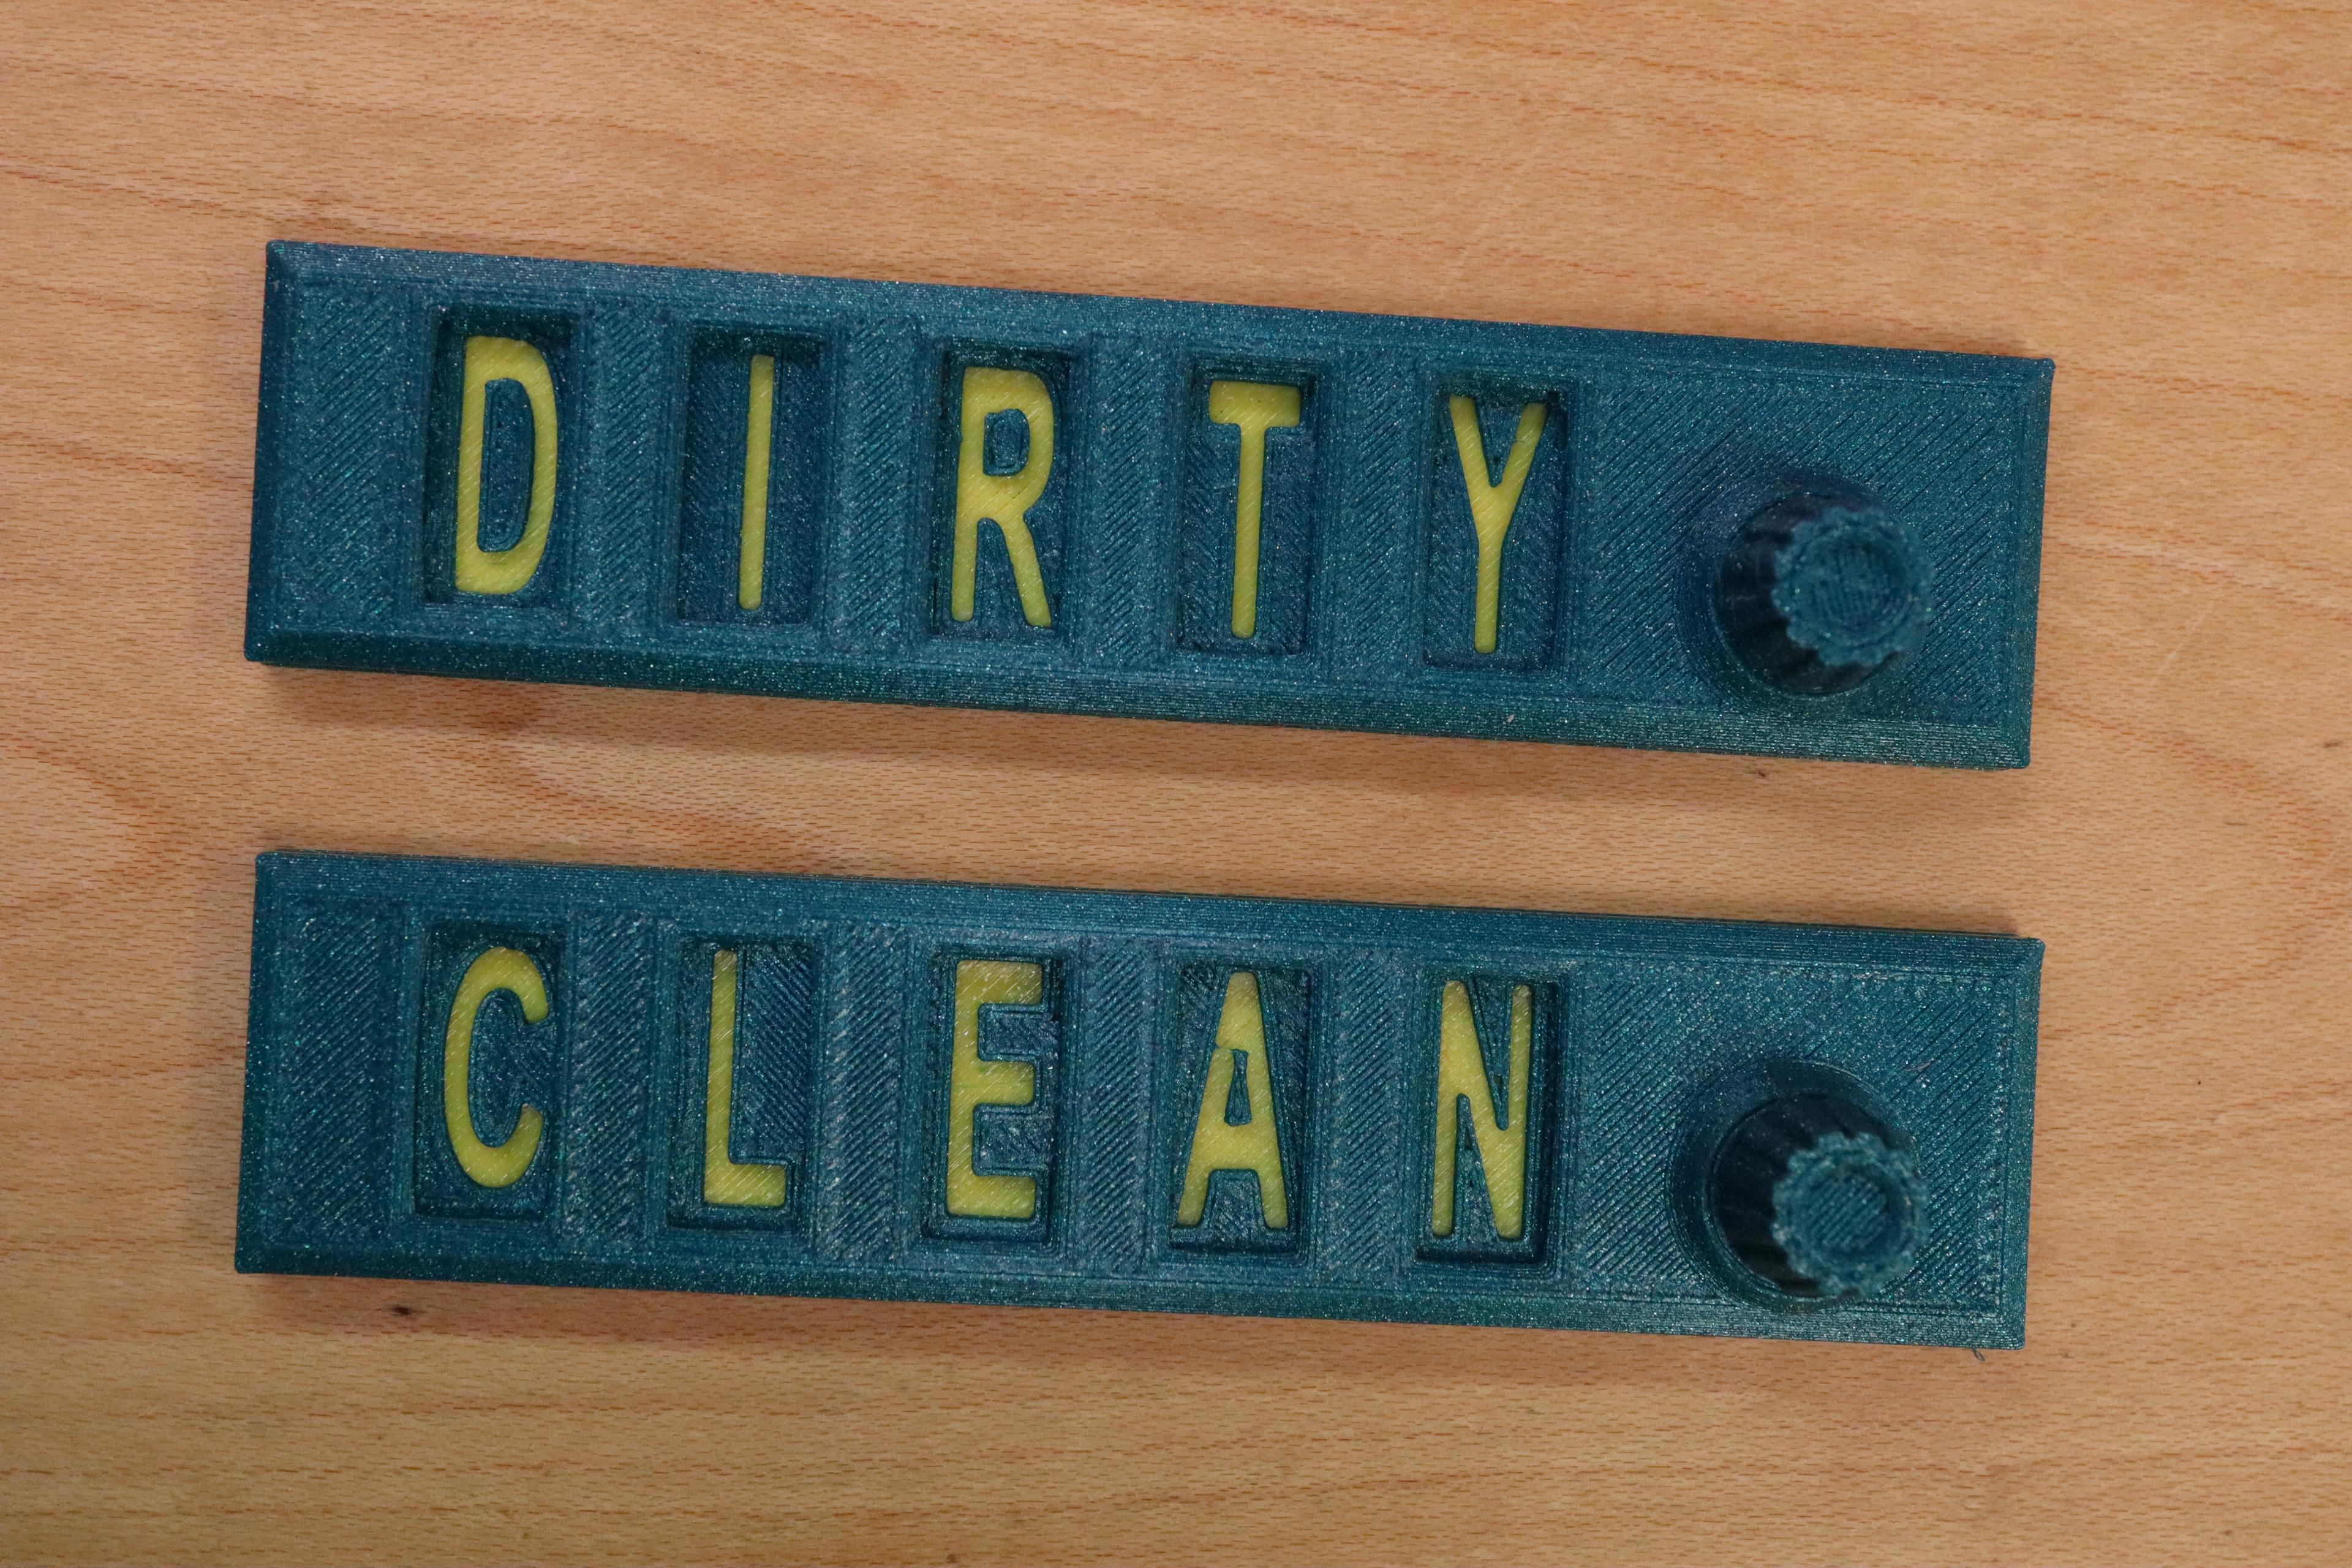
I've printed a few clean/dirty dishwasher signs. After a bit of use (there are many on TVerse...and they are SUPER handy, especially with kids), I started thinking about using a magnet to quantize the sign switching between clean and dirty. I also thought about the fact that there are likely languages where the words for "clean" and "dirty" don't necessarily have the same number of letters and how the use of icons/pictures could make the sign a bit more universal.
From these thoughts and a little brainstorming was birthed the Magnetic Icon Dishwasher Sign. This thing feels sturdy and the action on the slider is crisp and quick. I hope others enjoy the utility of this as much as I enjoyed designing it.
###PARTS
###PRINTED
- Top
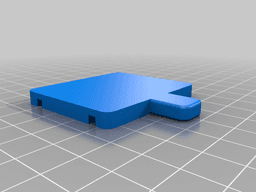
- Slider (choose one) - takes 2 button neo mags....there are multiple slider "flavors" + blank
- ThumbsUp/SteamingPoo
- O/X
- ThumbsUp/ThumbsDown
- In/Out
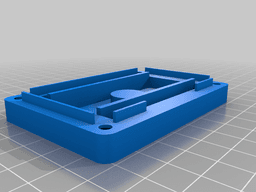
- Bottom - takes 1 button neo mag
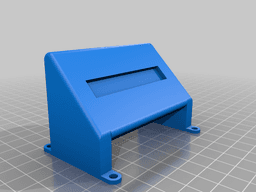
- Angled Base (choose one) - comes in 2 flavors....bar neo magnet and quad button neo magnet
- Quad neo mag base
- Bar neo mag base
###HARDWARE: Top/Bottom/Slider
###HARDWARE: Angled Base (choose one) ##Button Mag Base
- 4 - 10x3mm neo button magnets same as above
##Bar Mag Base
###MISC:
###PRINTING
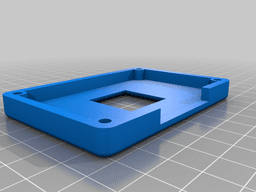
##Top
- Printed top-face down but it could be printed inverted with supports for a cleaner top look
##Slider
- Print with icon facing up/ track grooves facing down
- Supports added to mag button slots
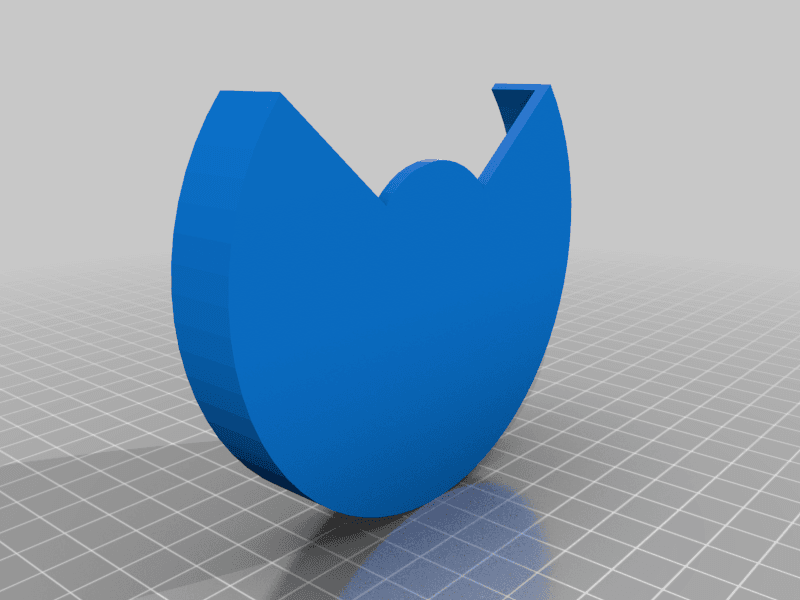
##Bottom
- Printed with back facing bed
- Supports added to the mag button slot and the two base slots
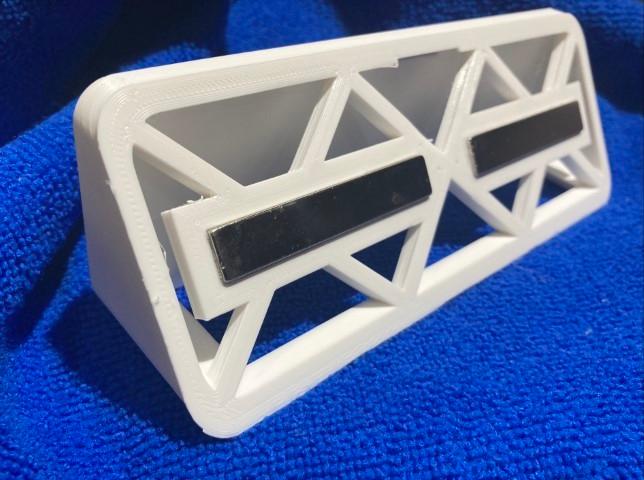
##Angled Base
- Printed with legs on the bed and supports on the lower edge of the angled back
###ASSEMBLY
- SLIDER: Affix two button mags into back of chose slider (CA glue)
- BOTTOM: Affix one button mag into back of bottom (CA glue)
- ANGLED BASE:
- Quad Button Mag Base: Affix four button mags into base (CA glue)
- Bar Mag Base: Affix bar mag into base (CA glue)
- Place Slider into grooves of bottom
- Enclose top over slider onto bottom
- Turn over and place angled base legs into base leg slots of back (ensure the back is angling towards the top of the assembly)
- Attach everything with the 4 M4x8mm bolts (Squeeze the Top and Bottom assembly together while you twist in the bolts...you may find it necessary to twist into and out of the assembly slightly as you go as it's meant to be a tight fit)
###IN-ACTION

Dishwasher Sign

dishwasher sign
Sliding Word Changing Dishwasher Sign (Bar Magnet Remix)

Magnetic Dishwasher Sign - CLEAN | DIRTY
Clean/dirty dishwasher sign
Clean-Dirty Word Swap Sign
.gif&w=3840&q=75)
Diswasher Sign Clean - Dirty / Easy Print

Clean Dirty Dishwasher Magnet
Dish Washing Sign
.gif&w=3840&q=75)
Dishwasher Dial (Clean/Dirty) Magnetic
.png&w=3840&q=75)
Hextraction Teleport Tile

MCM Christmas Ornament

SOFA HUB - COUCH ORGANIZER FOR REMOTE CONTROLS, PHONE, DRINKS...
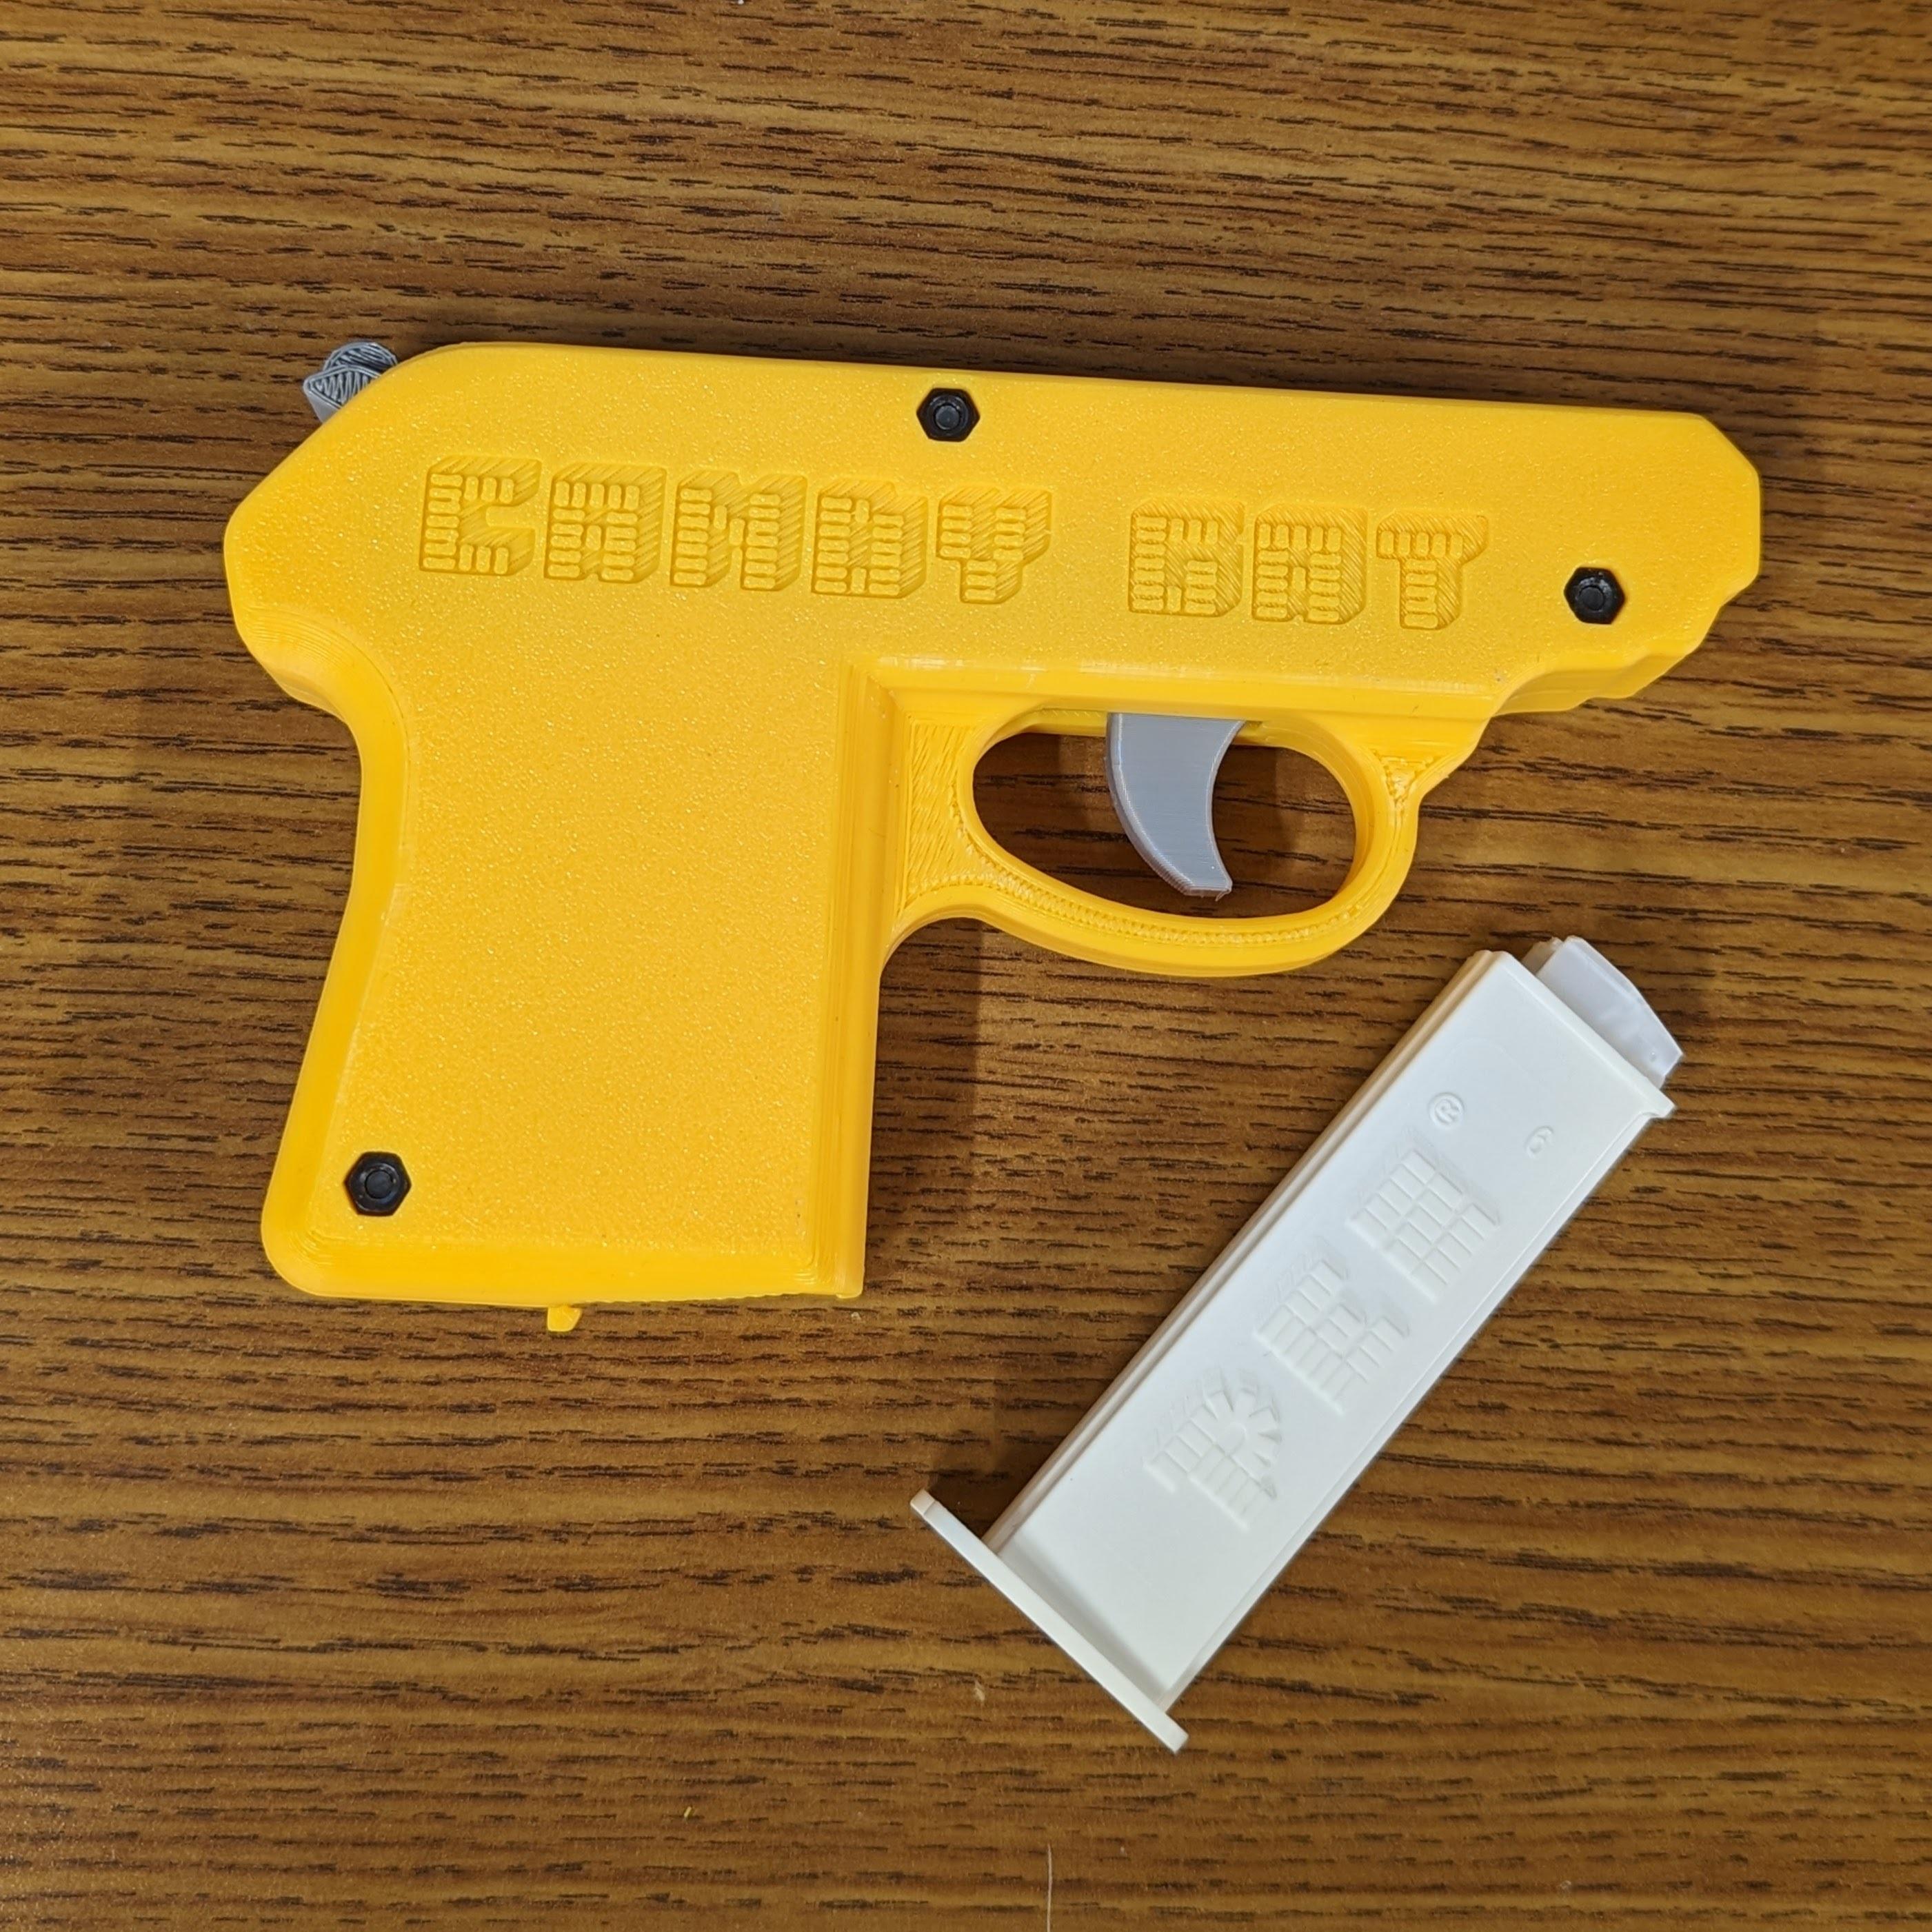
CANDY GAT - THE 3D PRINTABLE CANDY SHOOTER
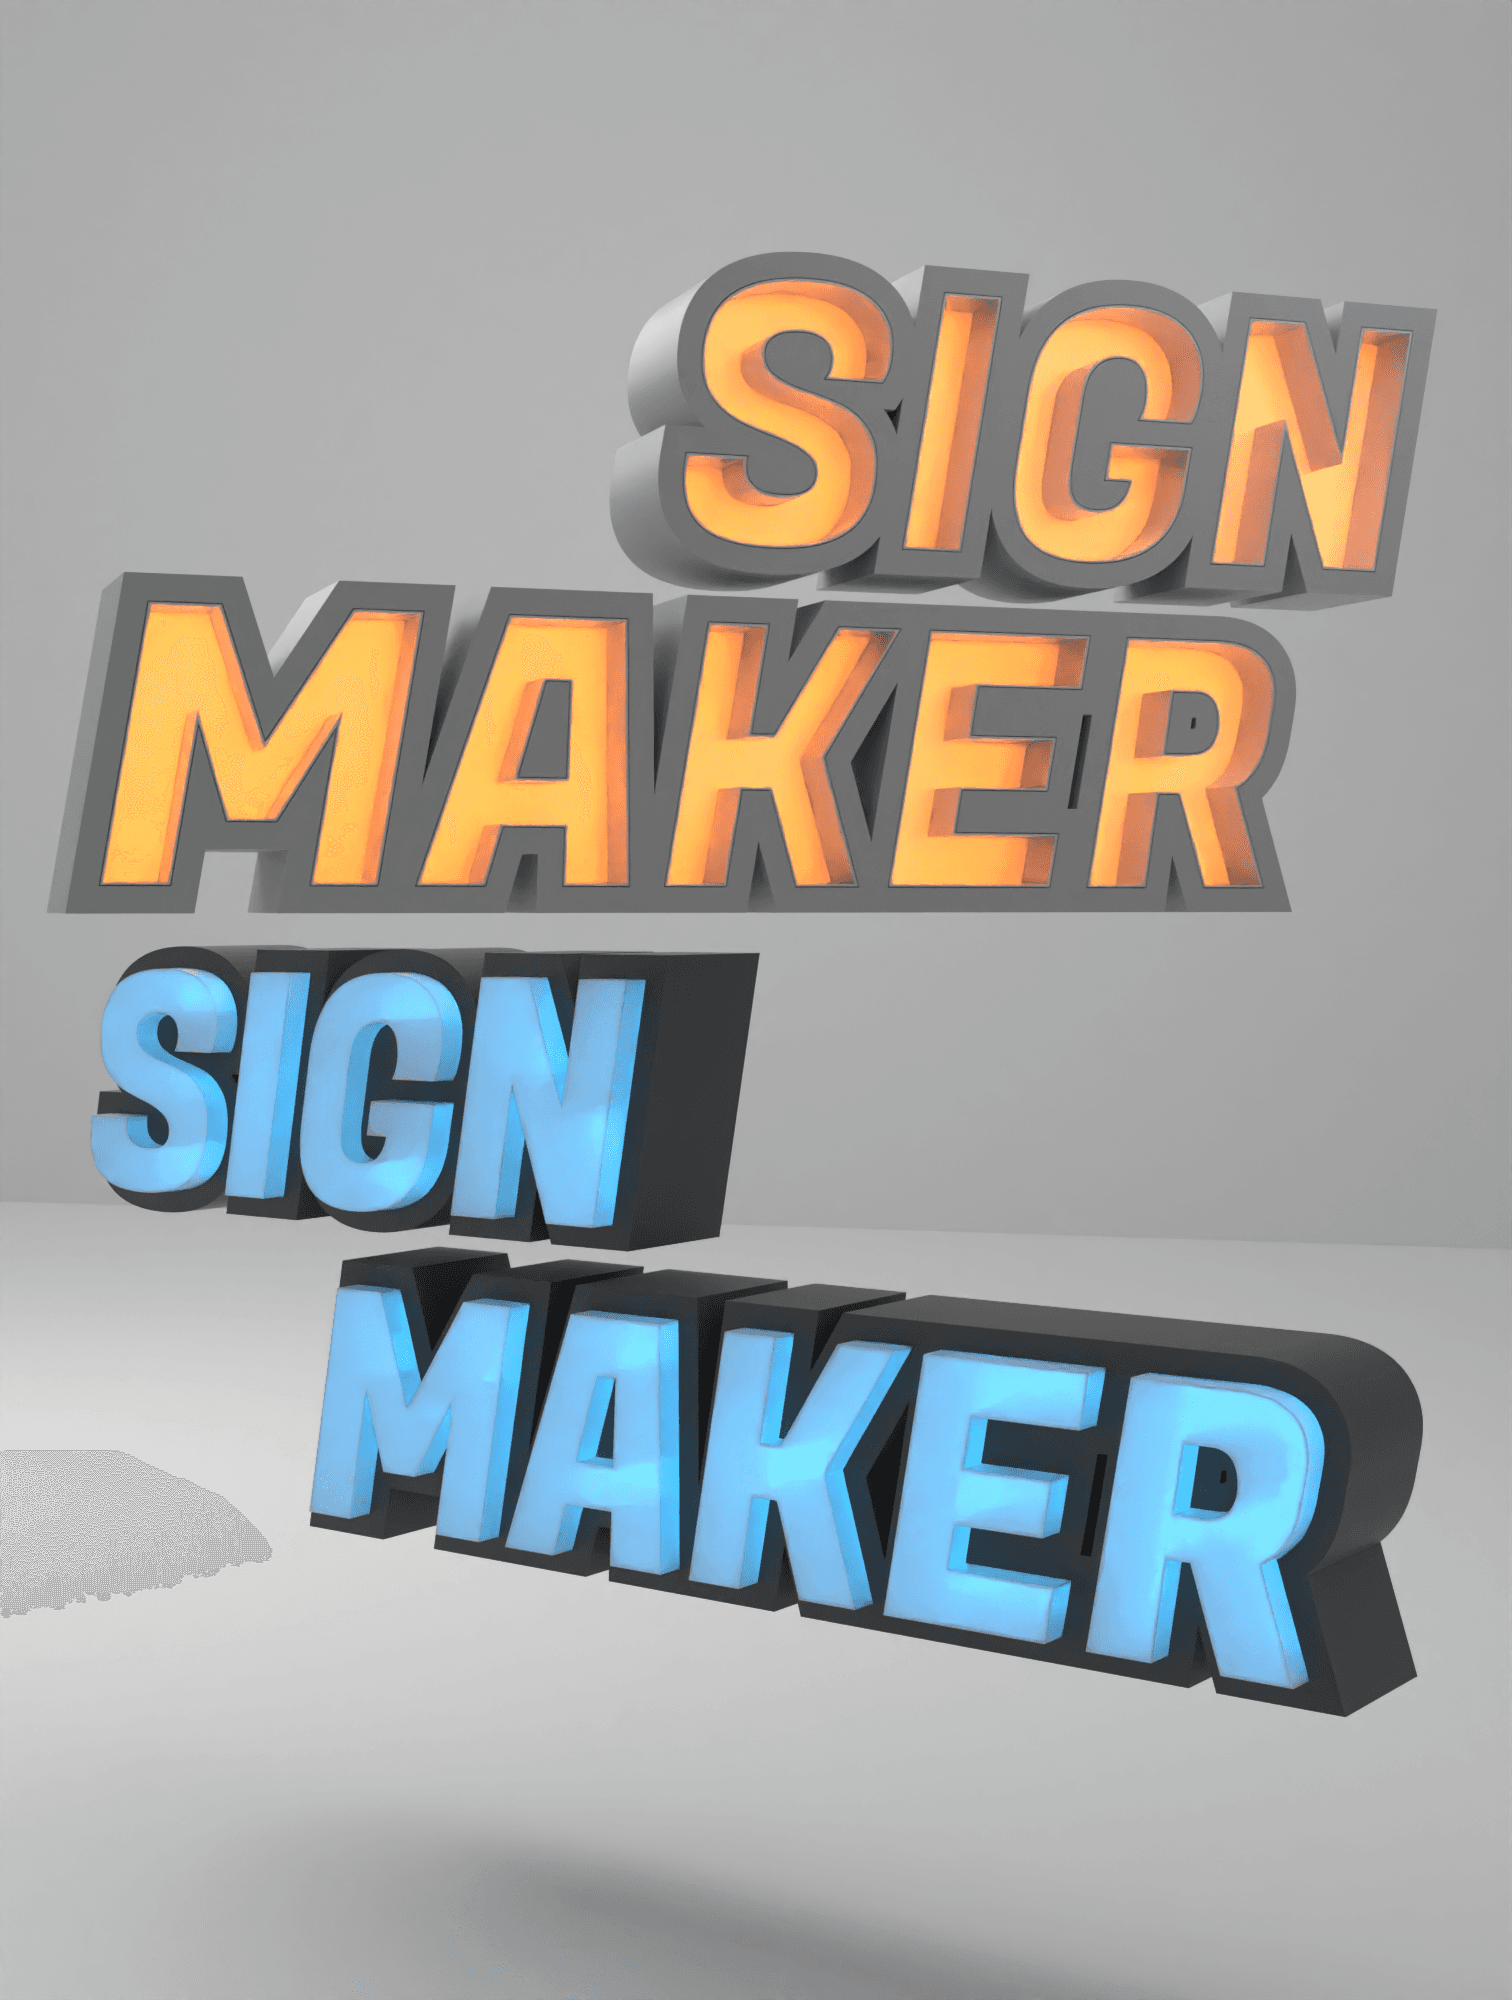
LED Sign Maker

MiniMonster#5 Bearded Dragon Flexi Articulated

Umi, the Unicorn Piggybank
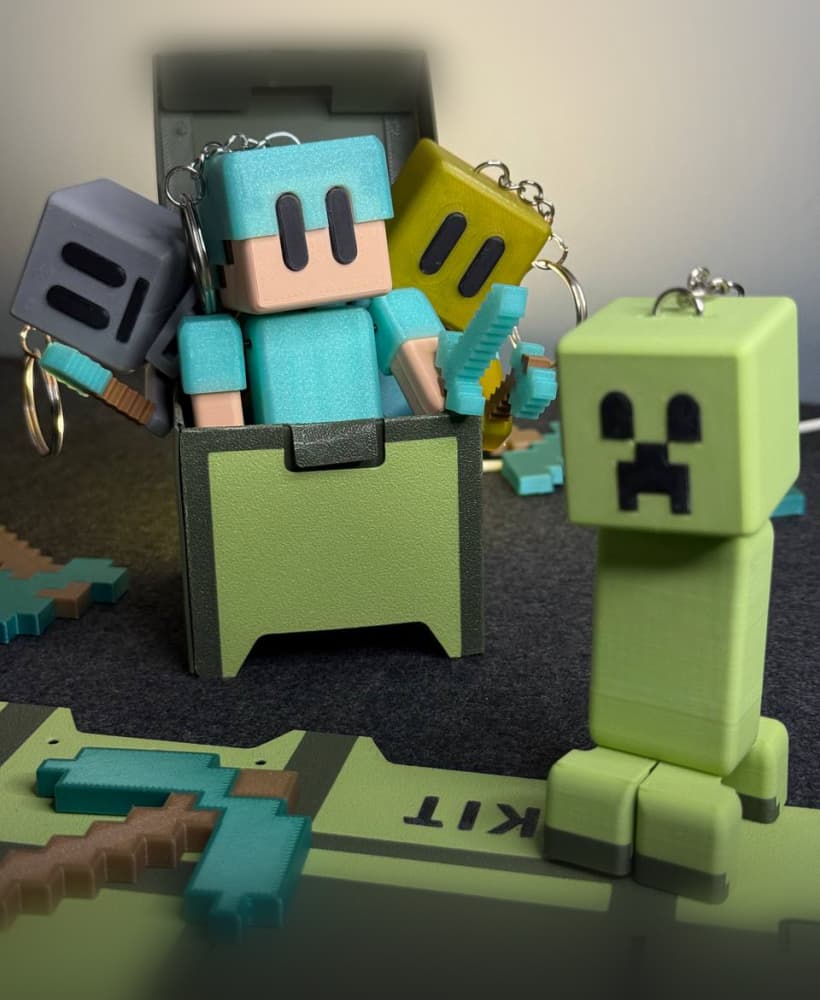
STRING-FLEX - CUSTOMIZABLE CHARACTERS KEYCHAIN - MINECRAFT + GIFT

BEAUTY BOX | BATHROOM / MAKEUP ORGANIZER
