#HalloWearables This is my spider fascinator. Its legs move and it's covered in addressable LEDs. Here is a video of it.
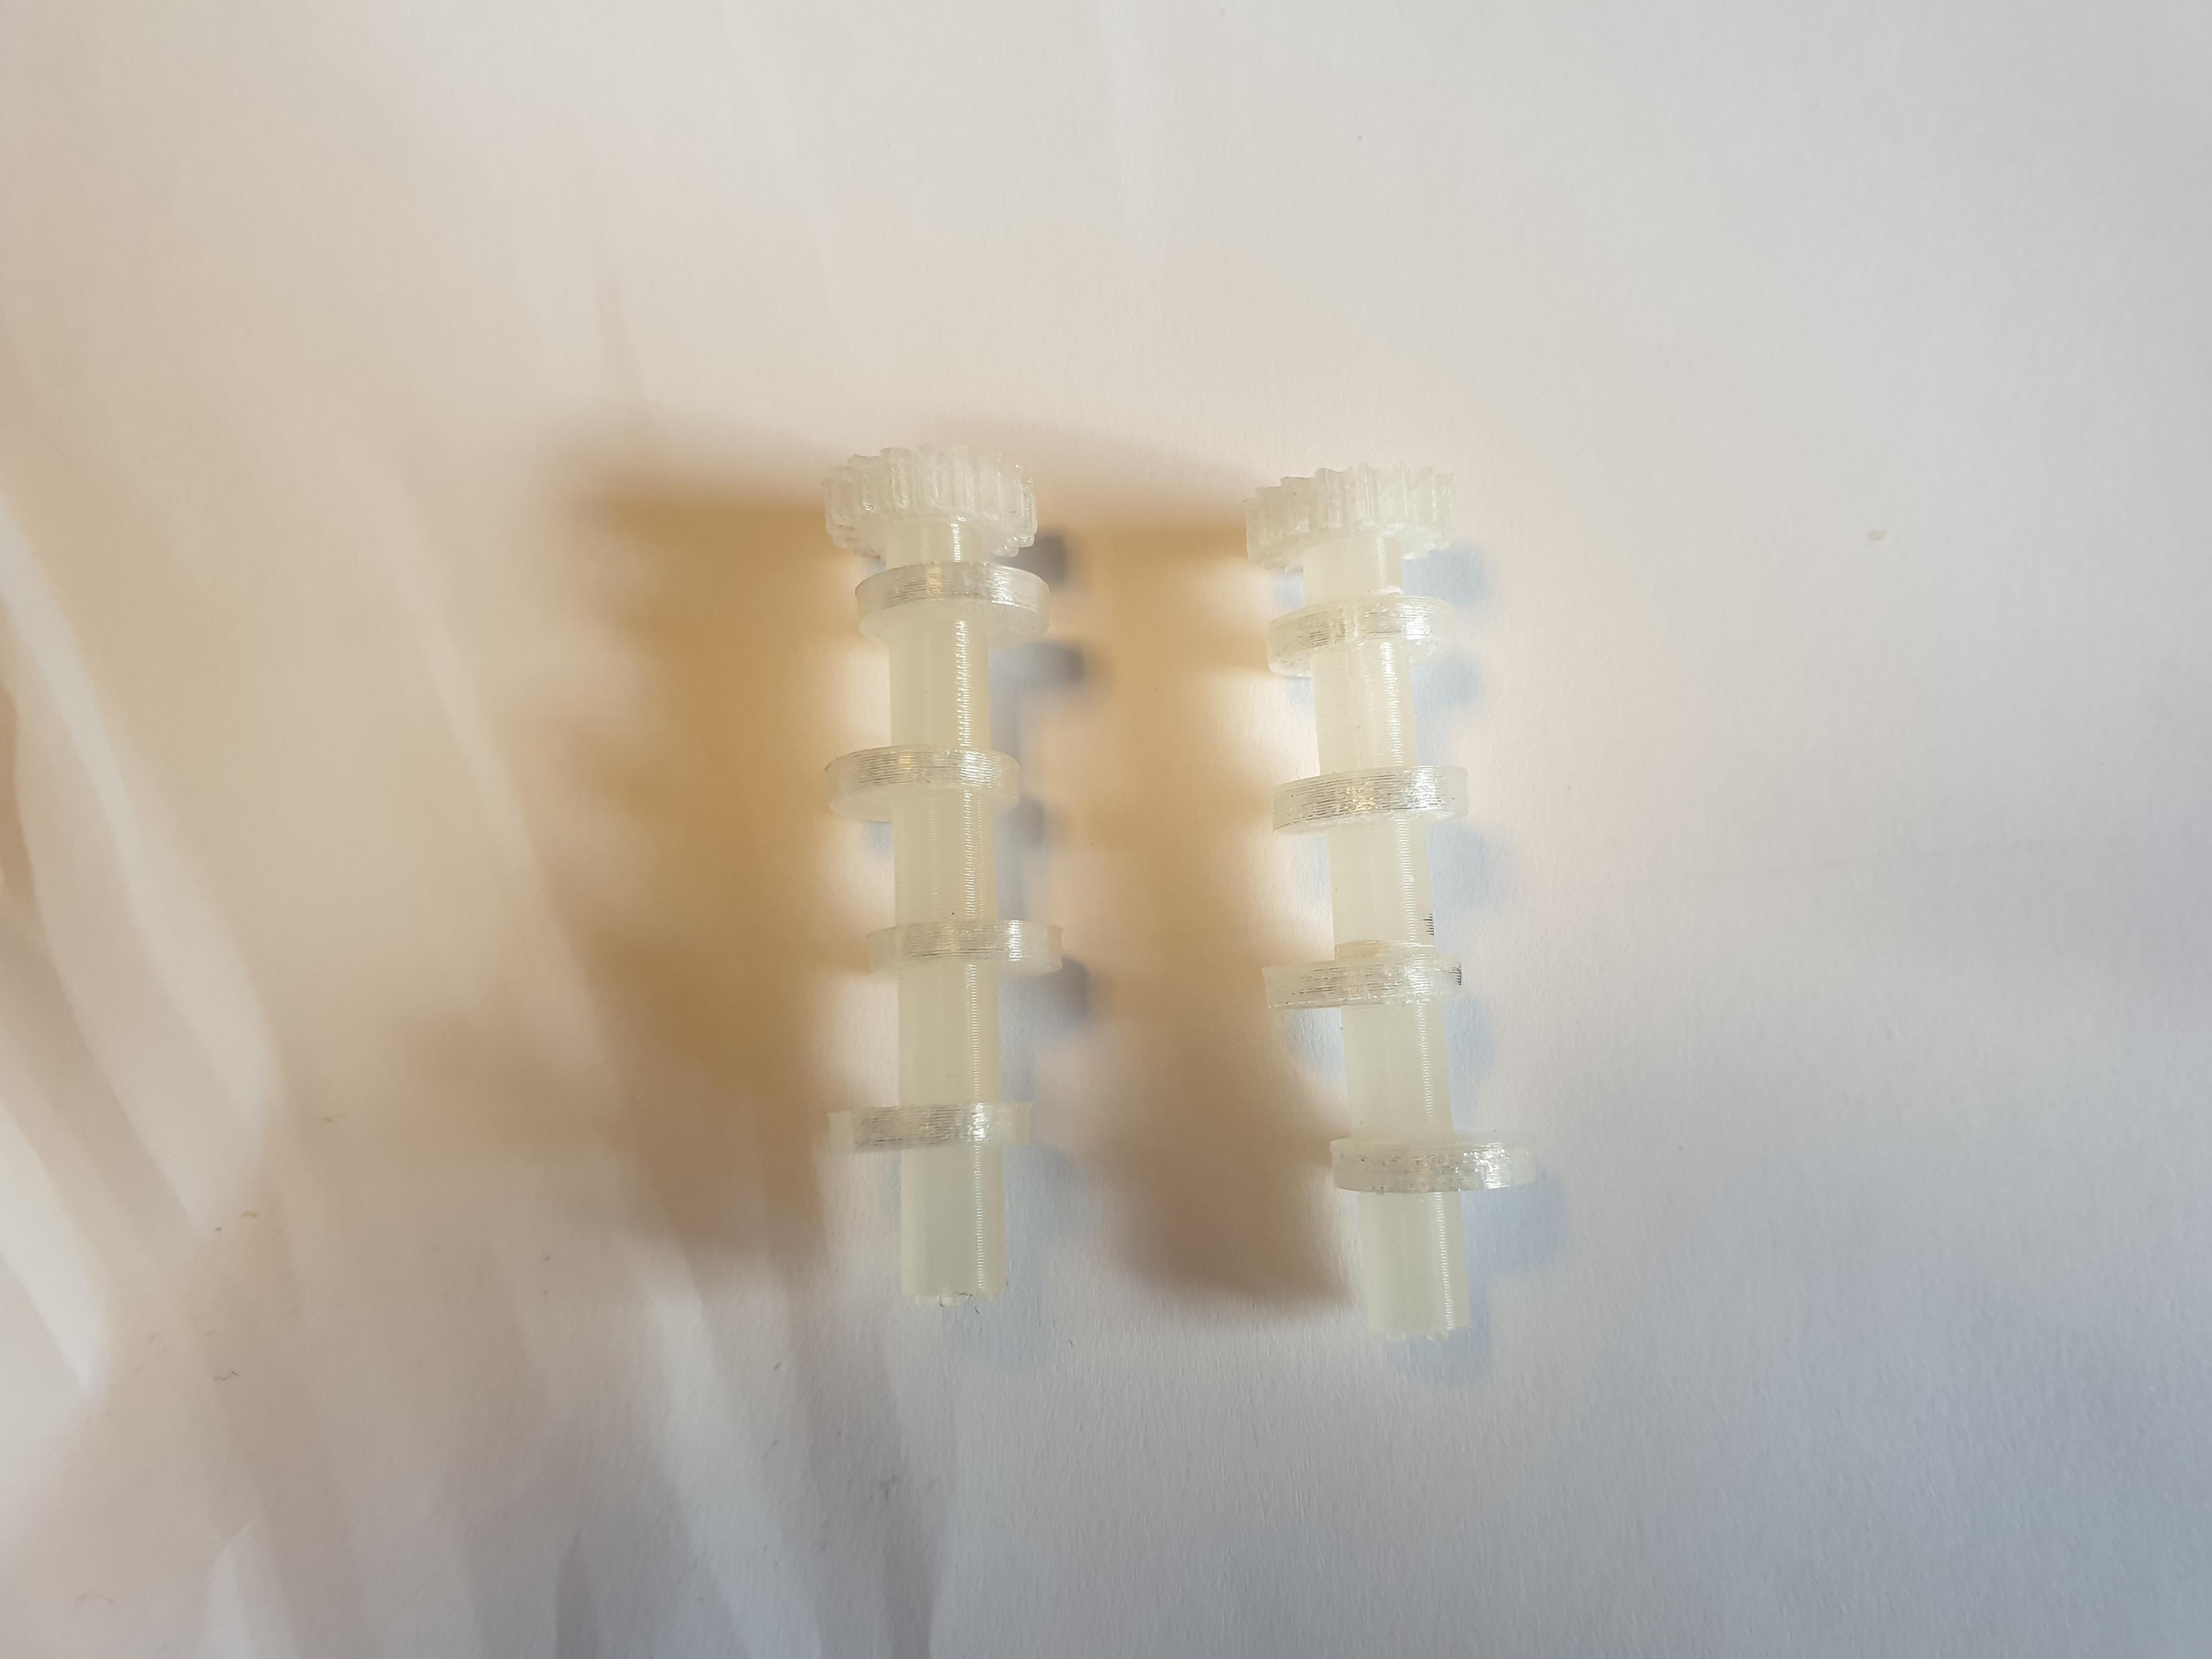
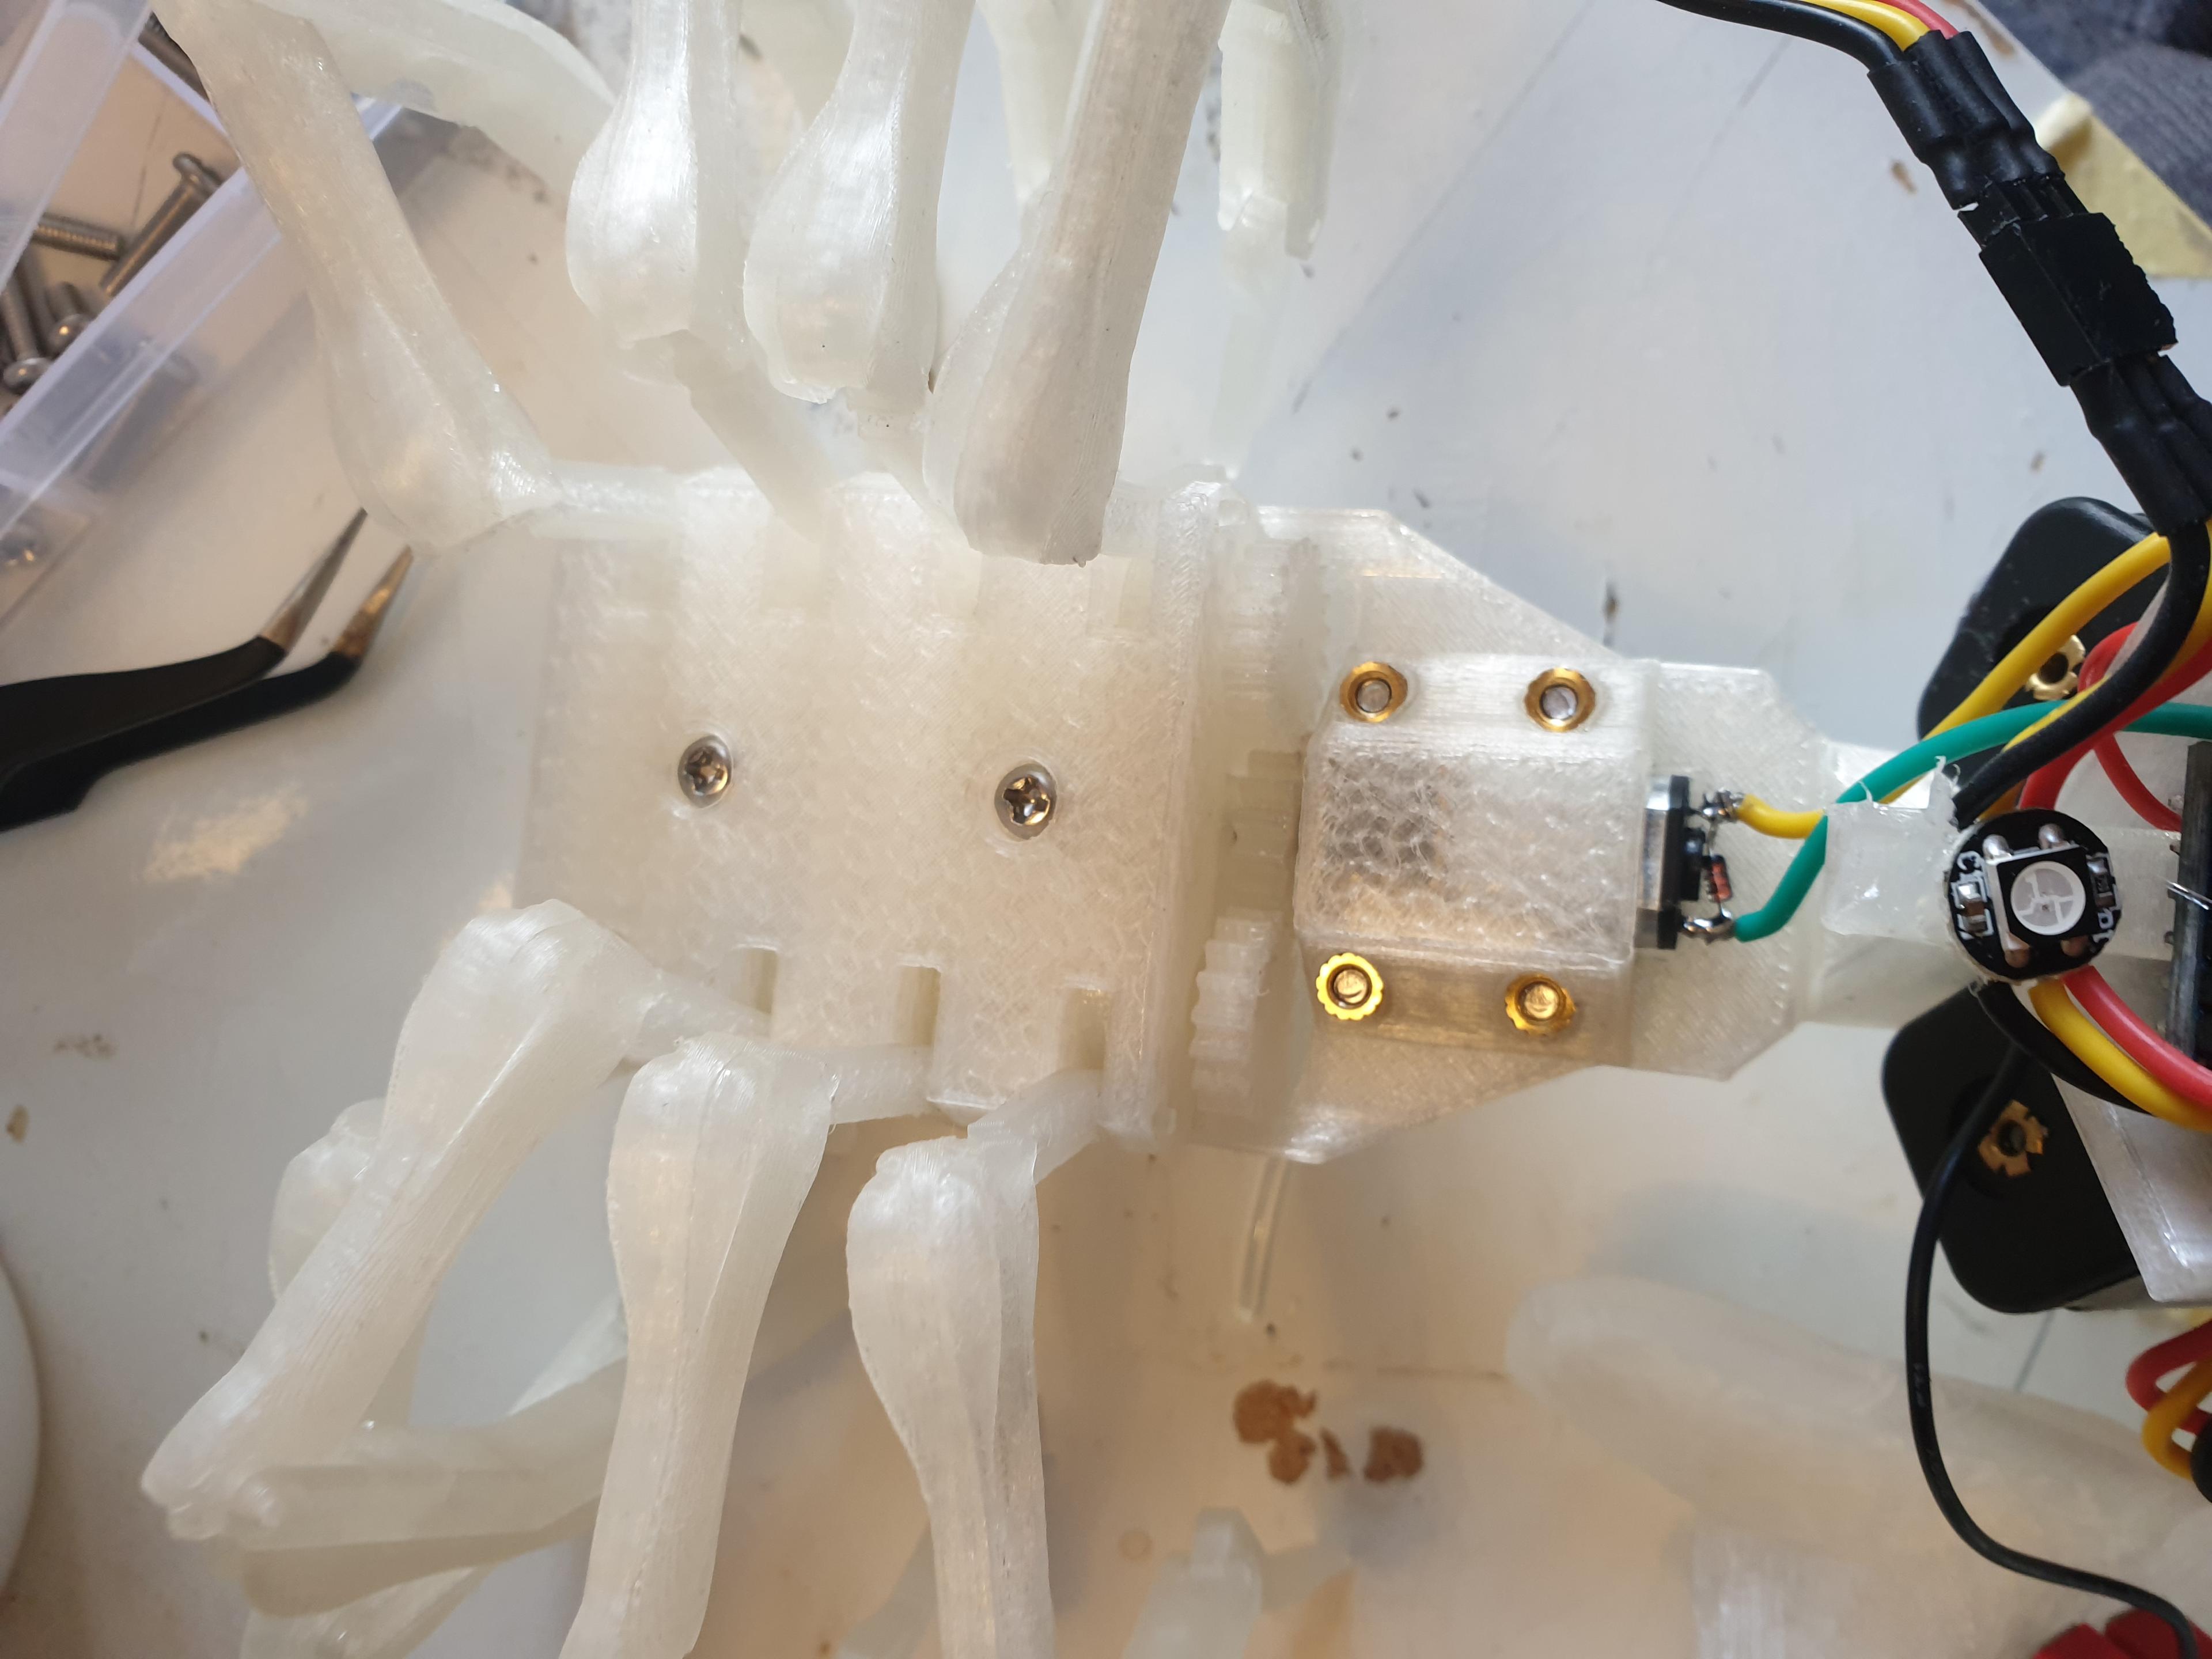
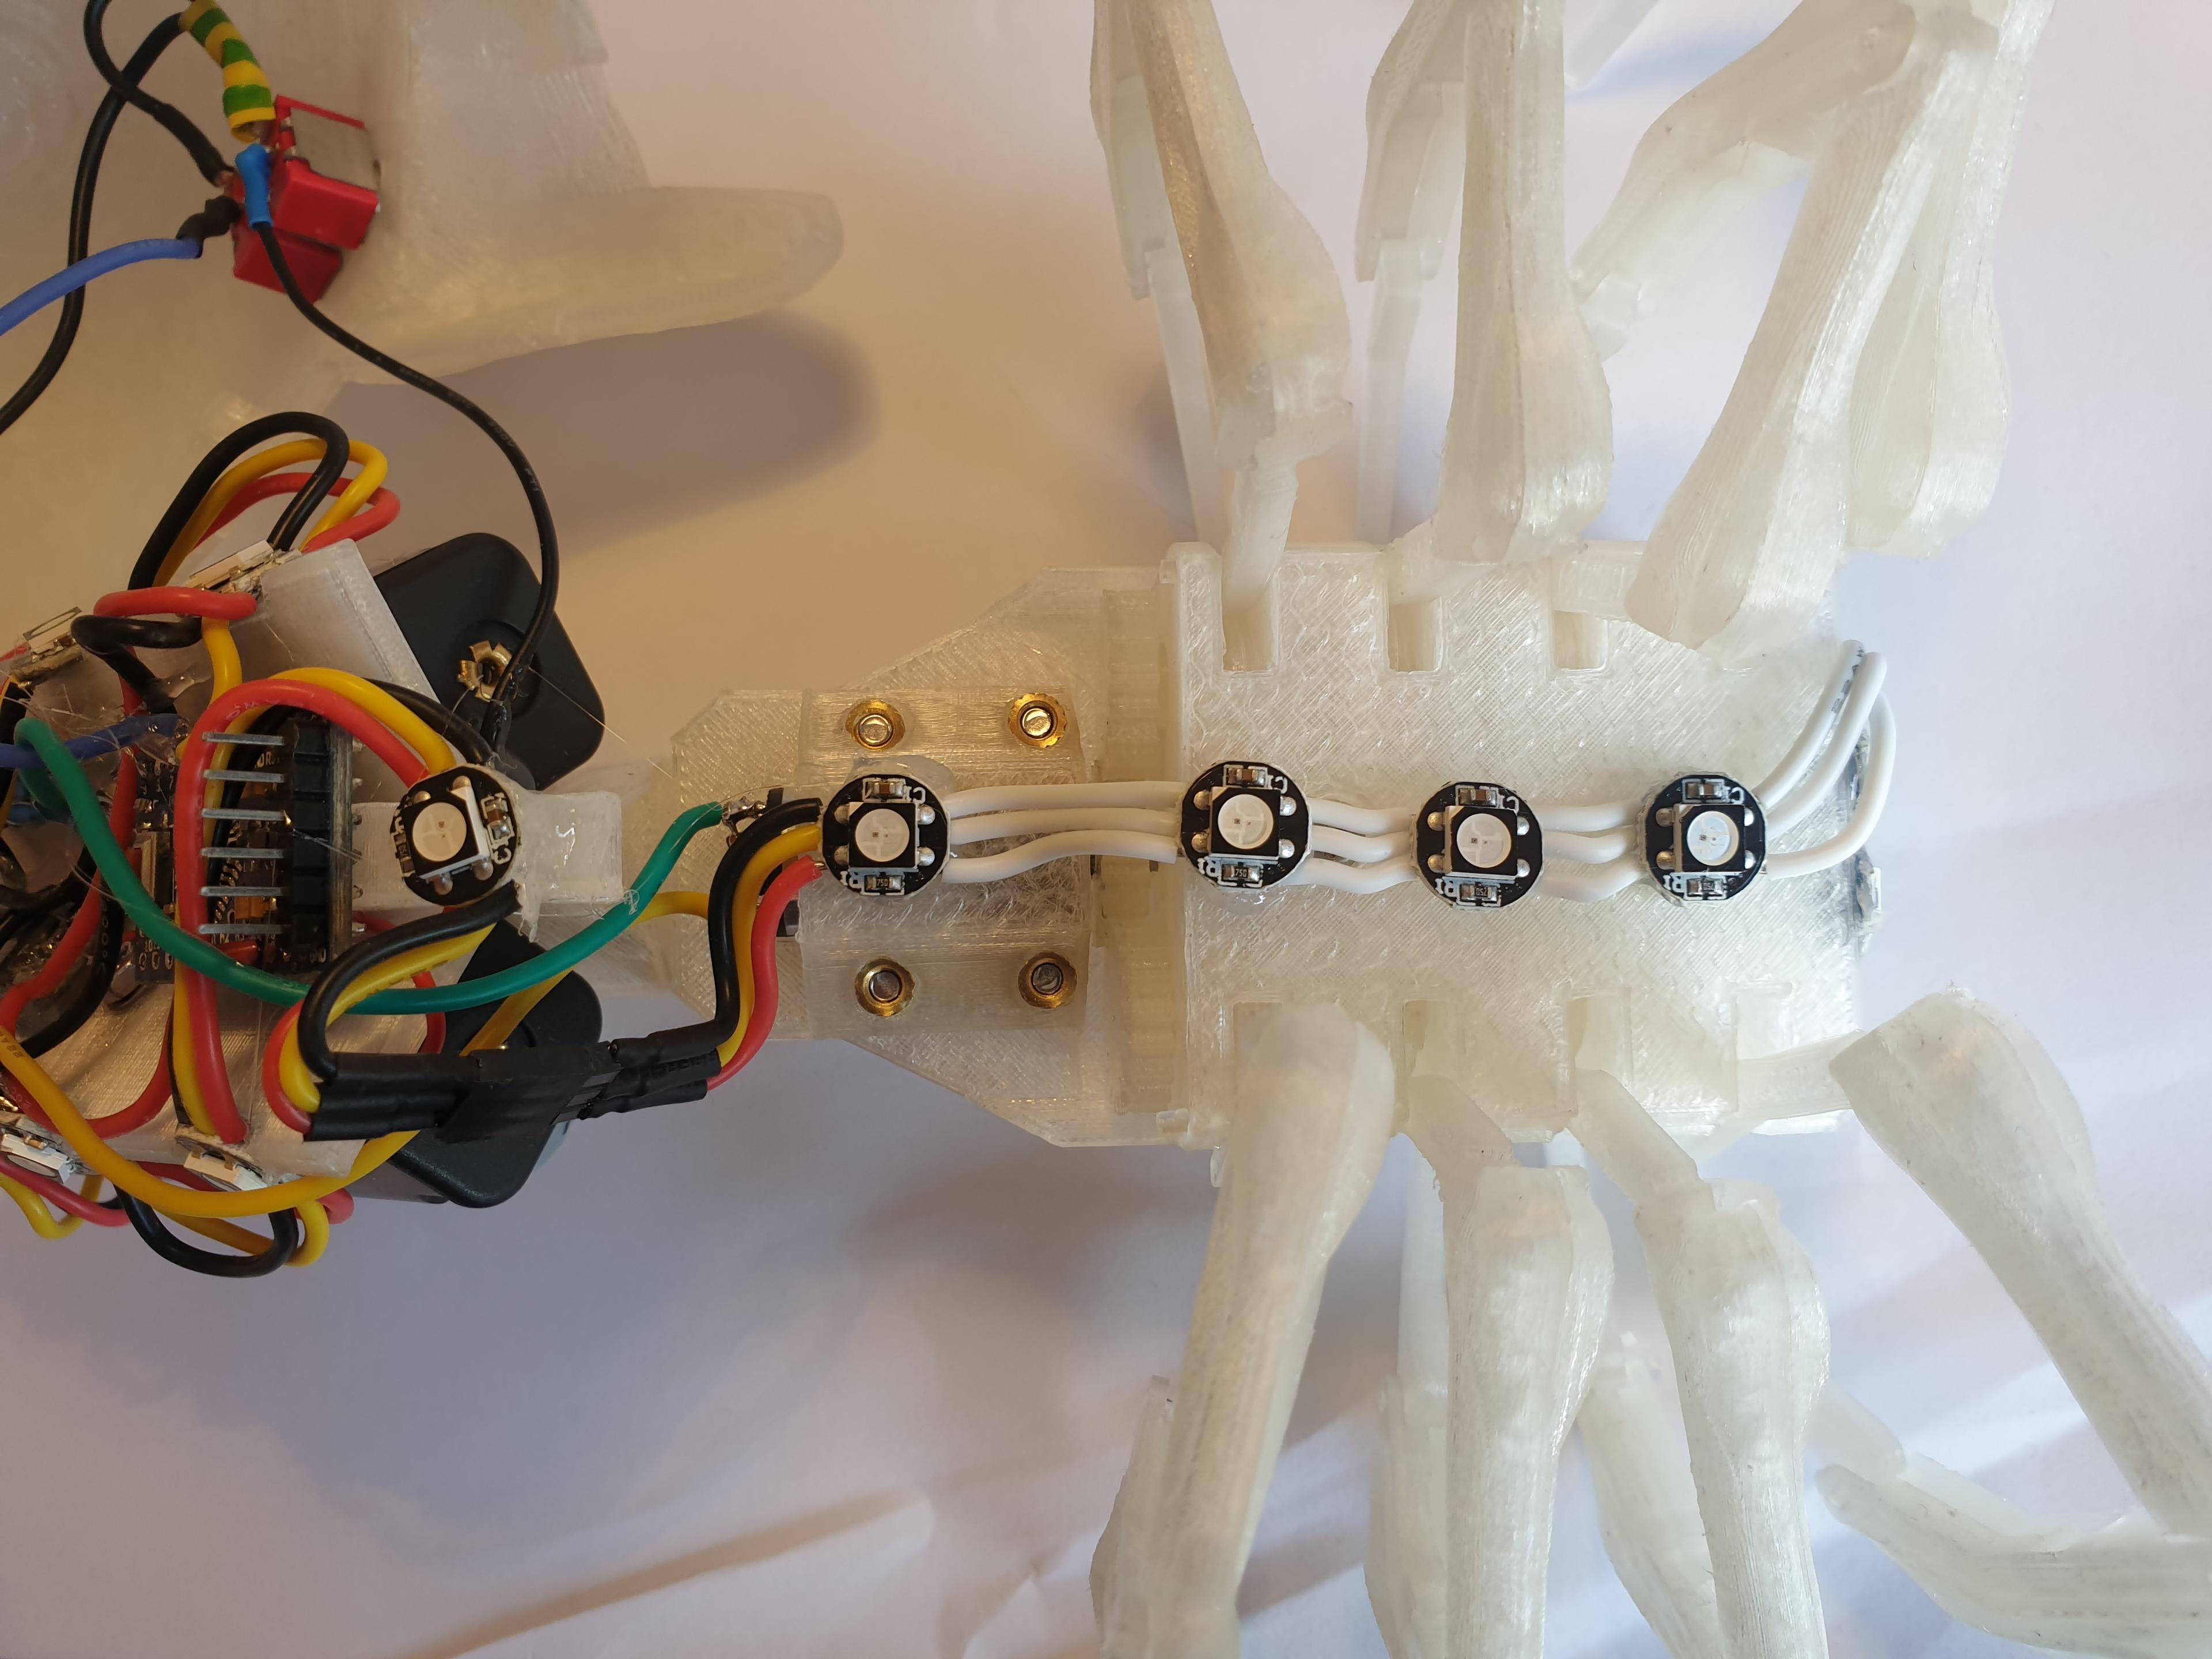
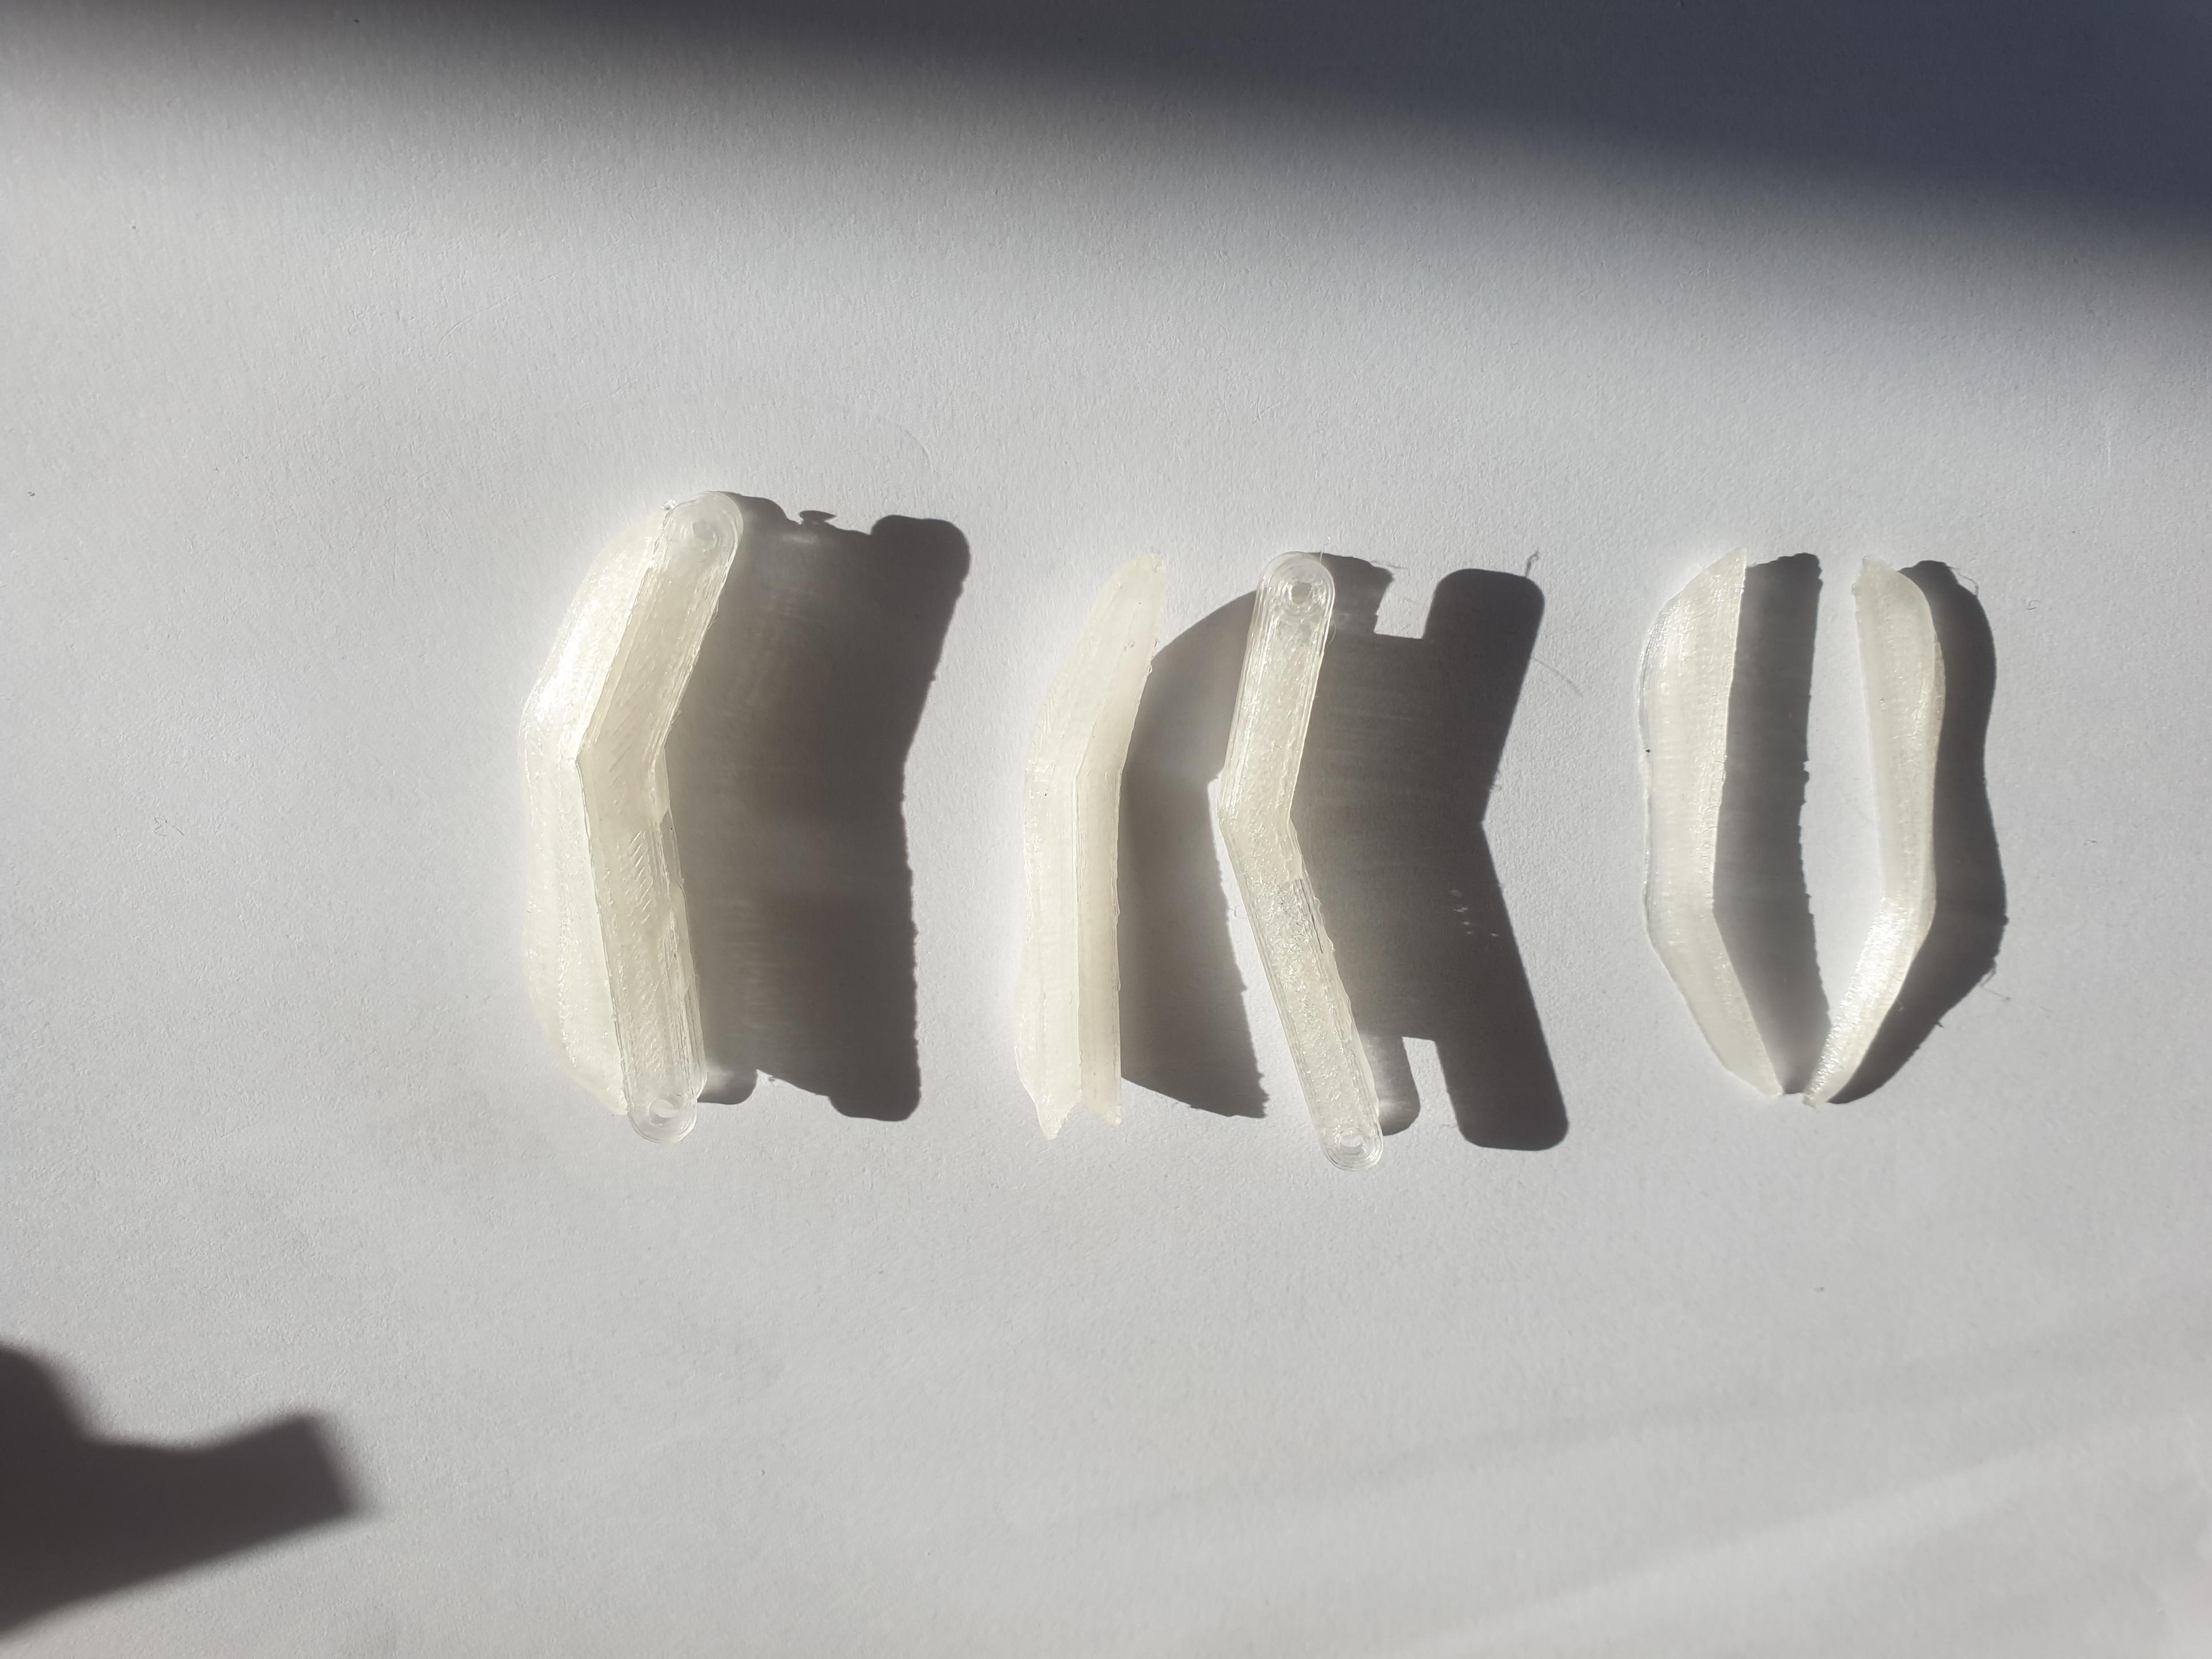
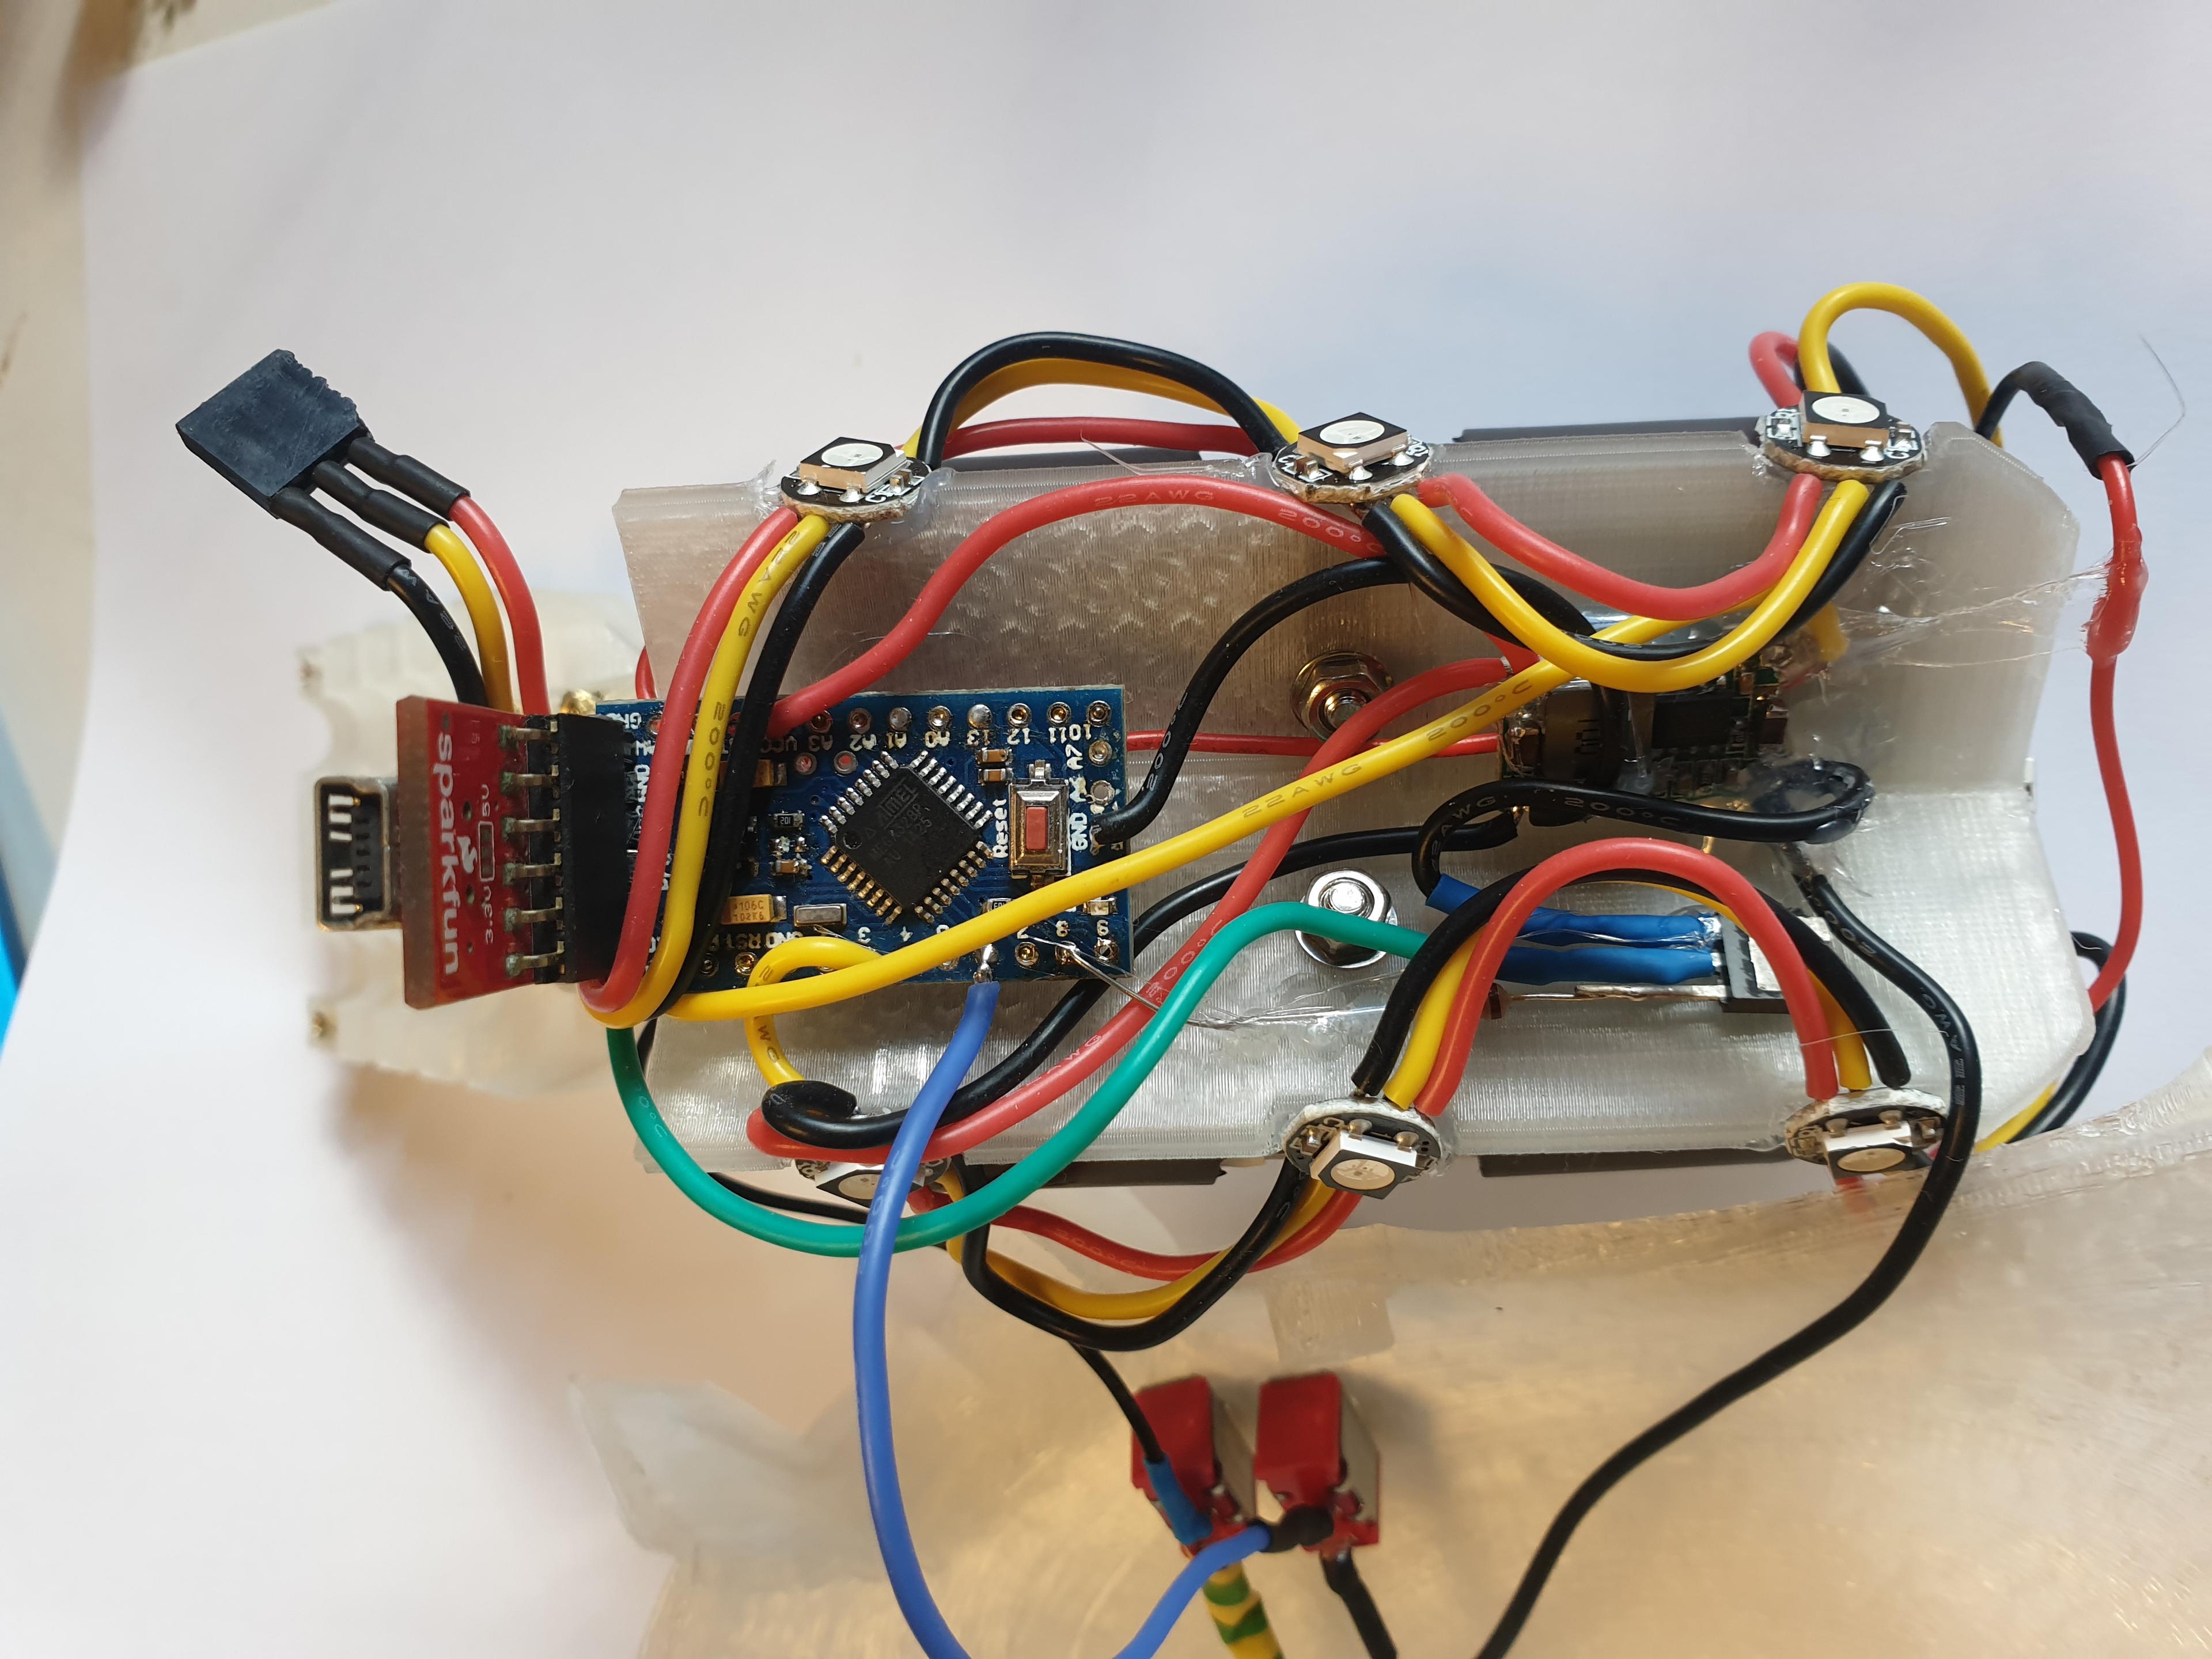
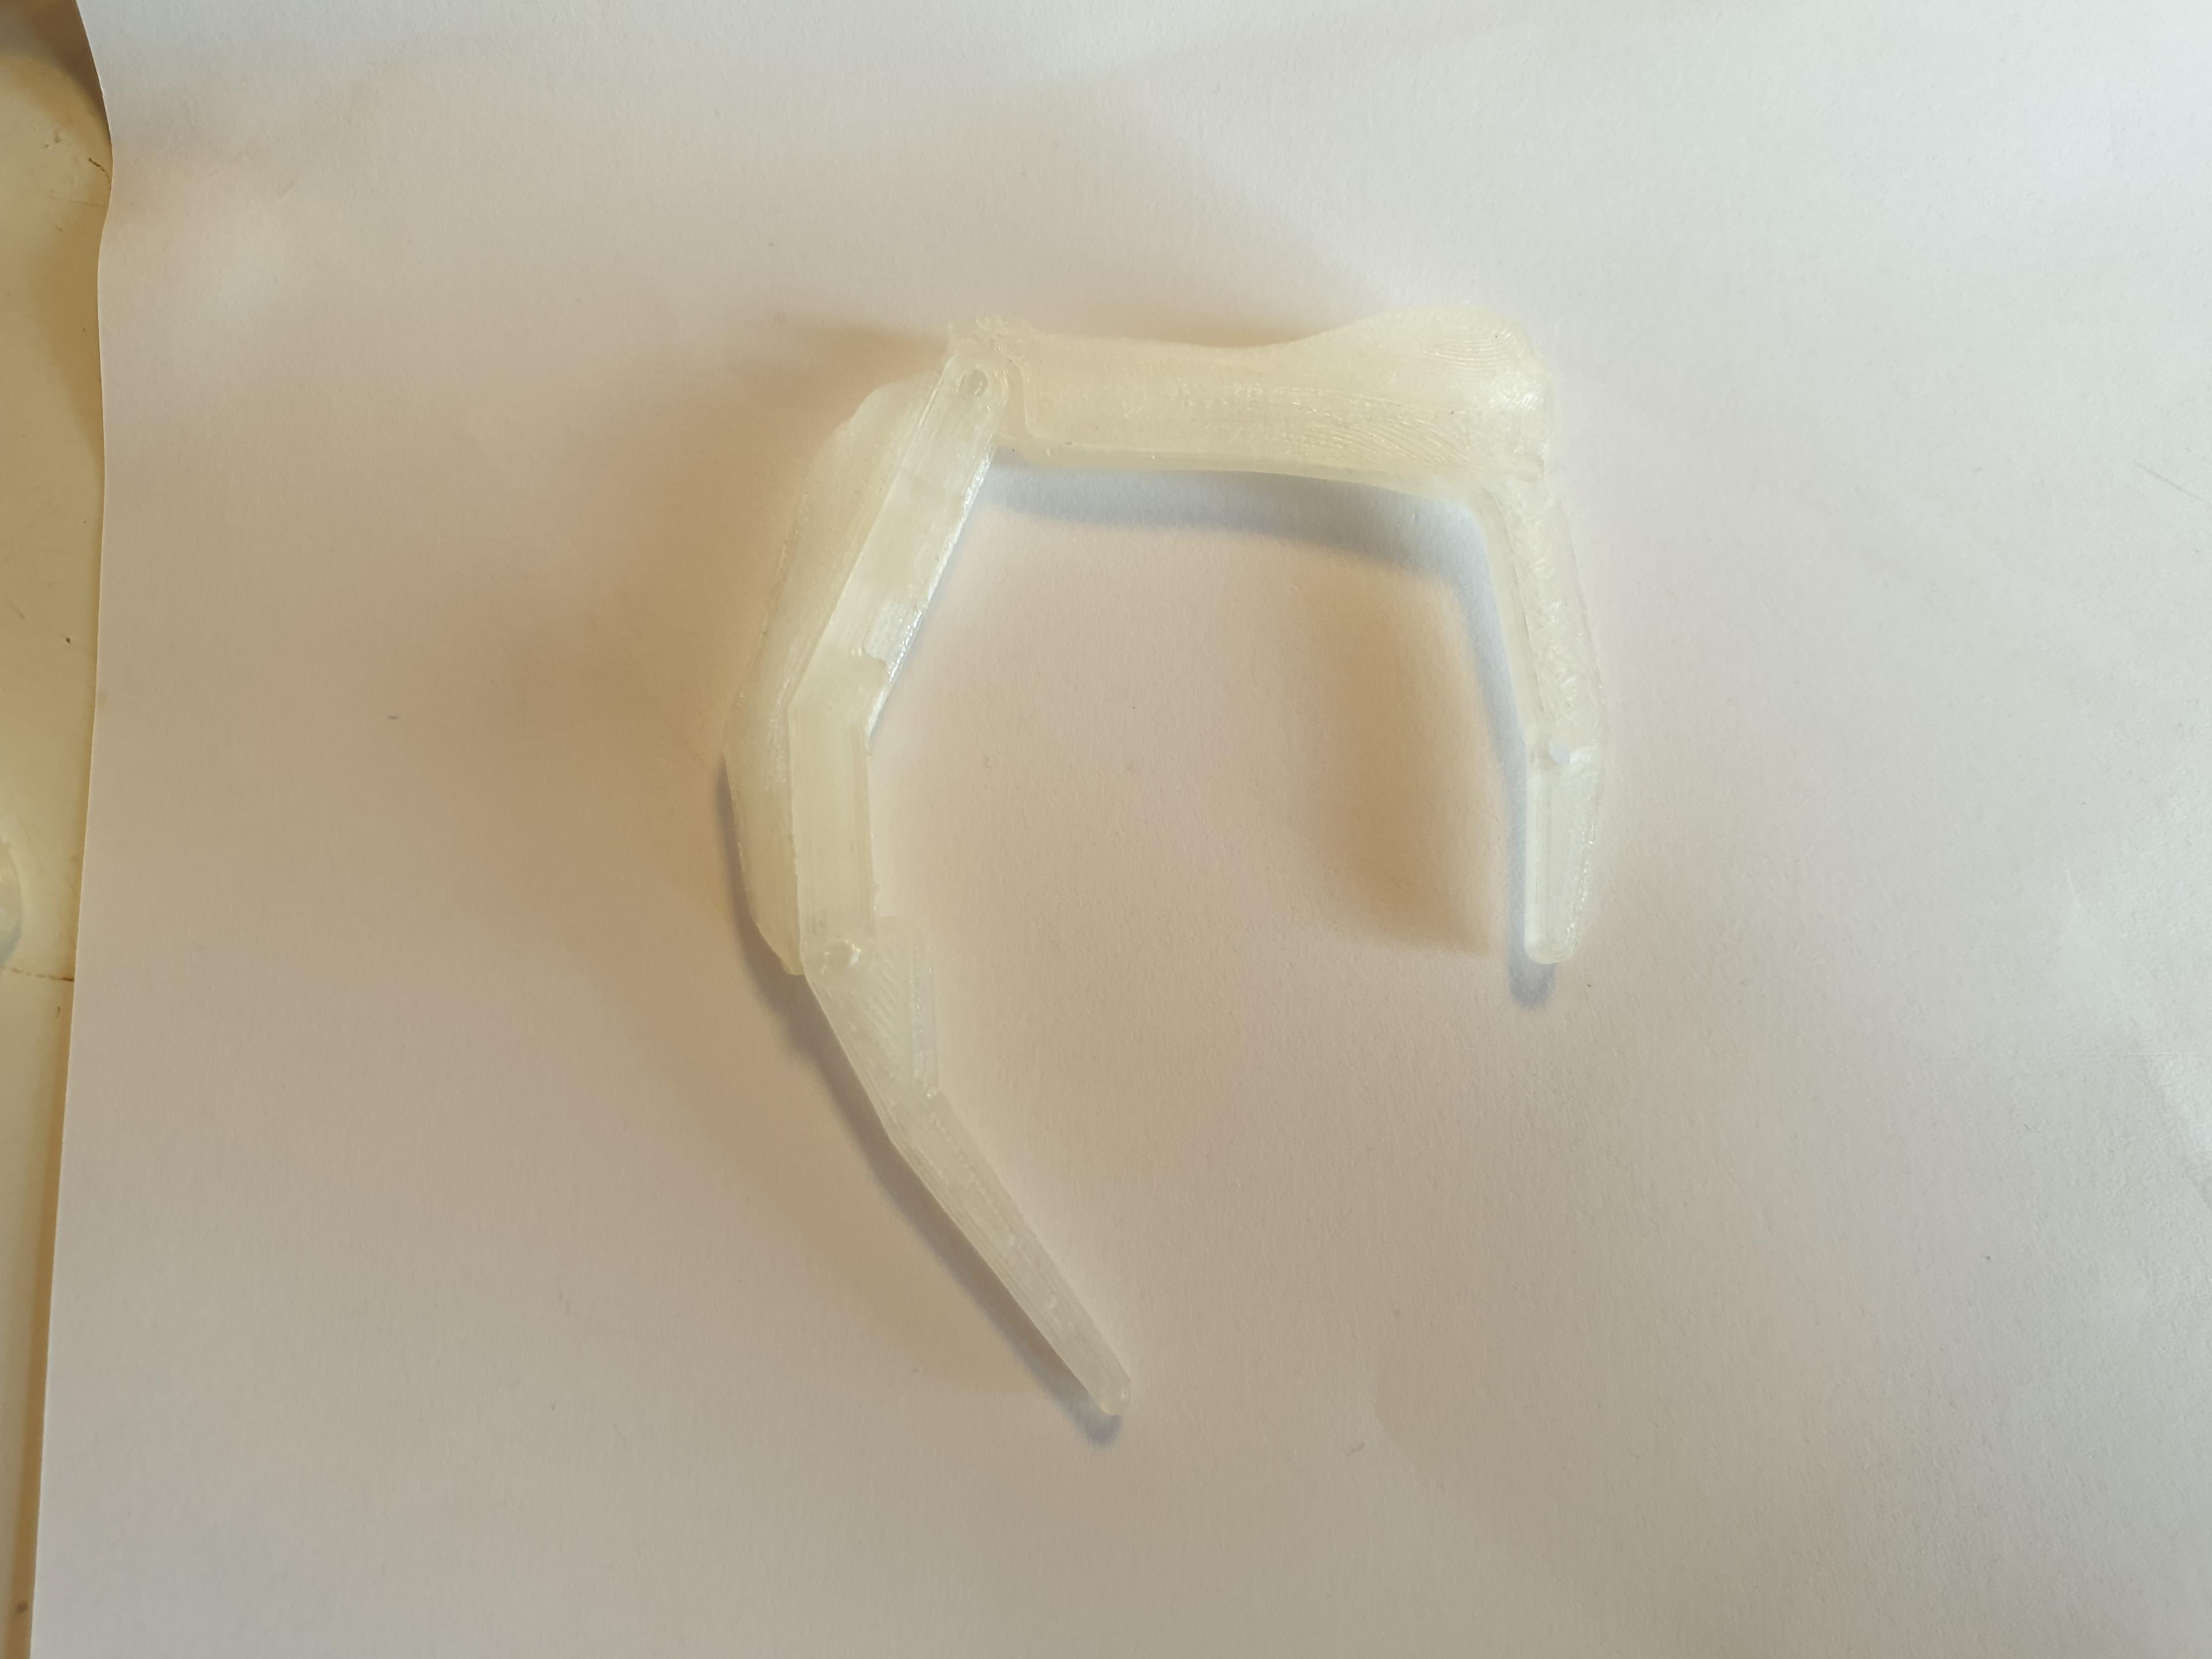
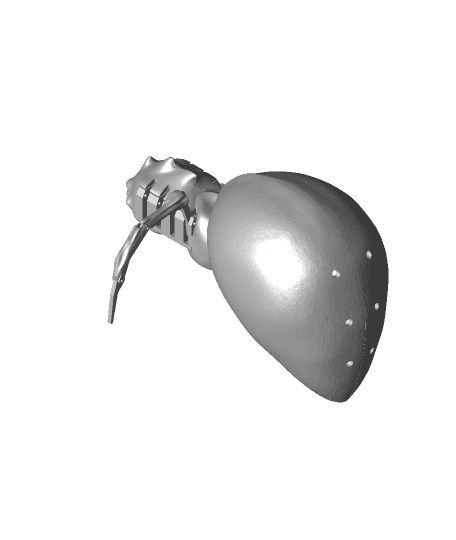
I think this is a fairly challenging thing to build, there is a lot of separate parts to be printed and assembled and a bit of soldering and glueing. Ive attached pictures showing some of the steps and white_widow.stl can be used as a reference for where everything goes.
My spider has 75 3D printed parts. It uses a small DC motor (link) that drives two cam shafts. These push on levers at the base of the legs making them oscillate in an intriguingly arachnoid way.
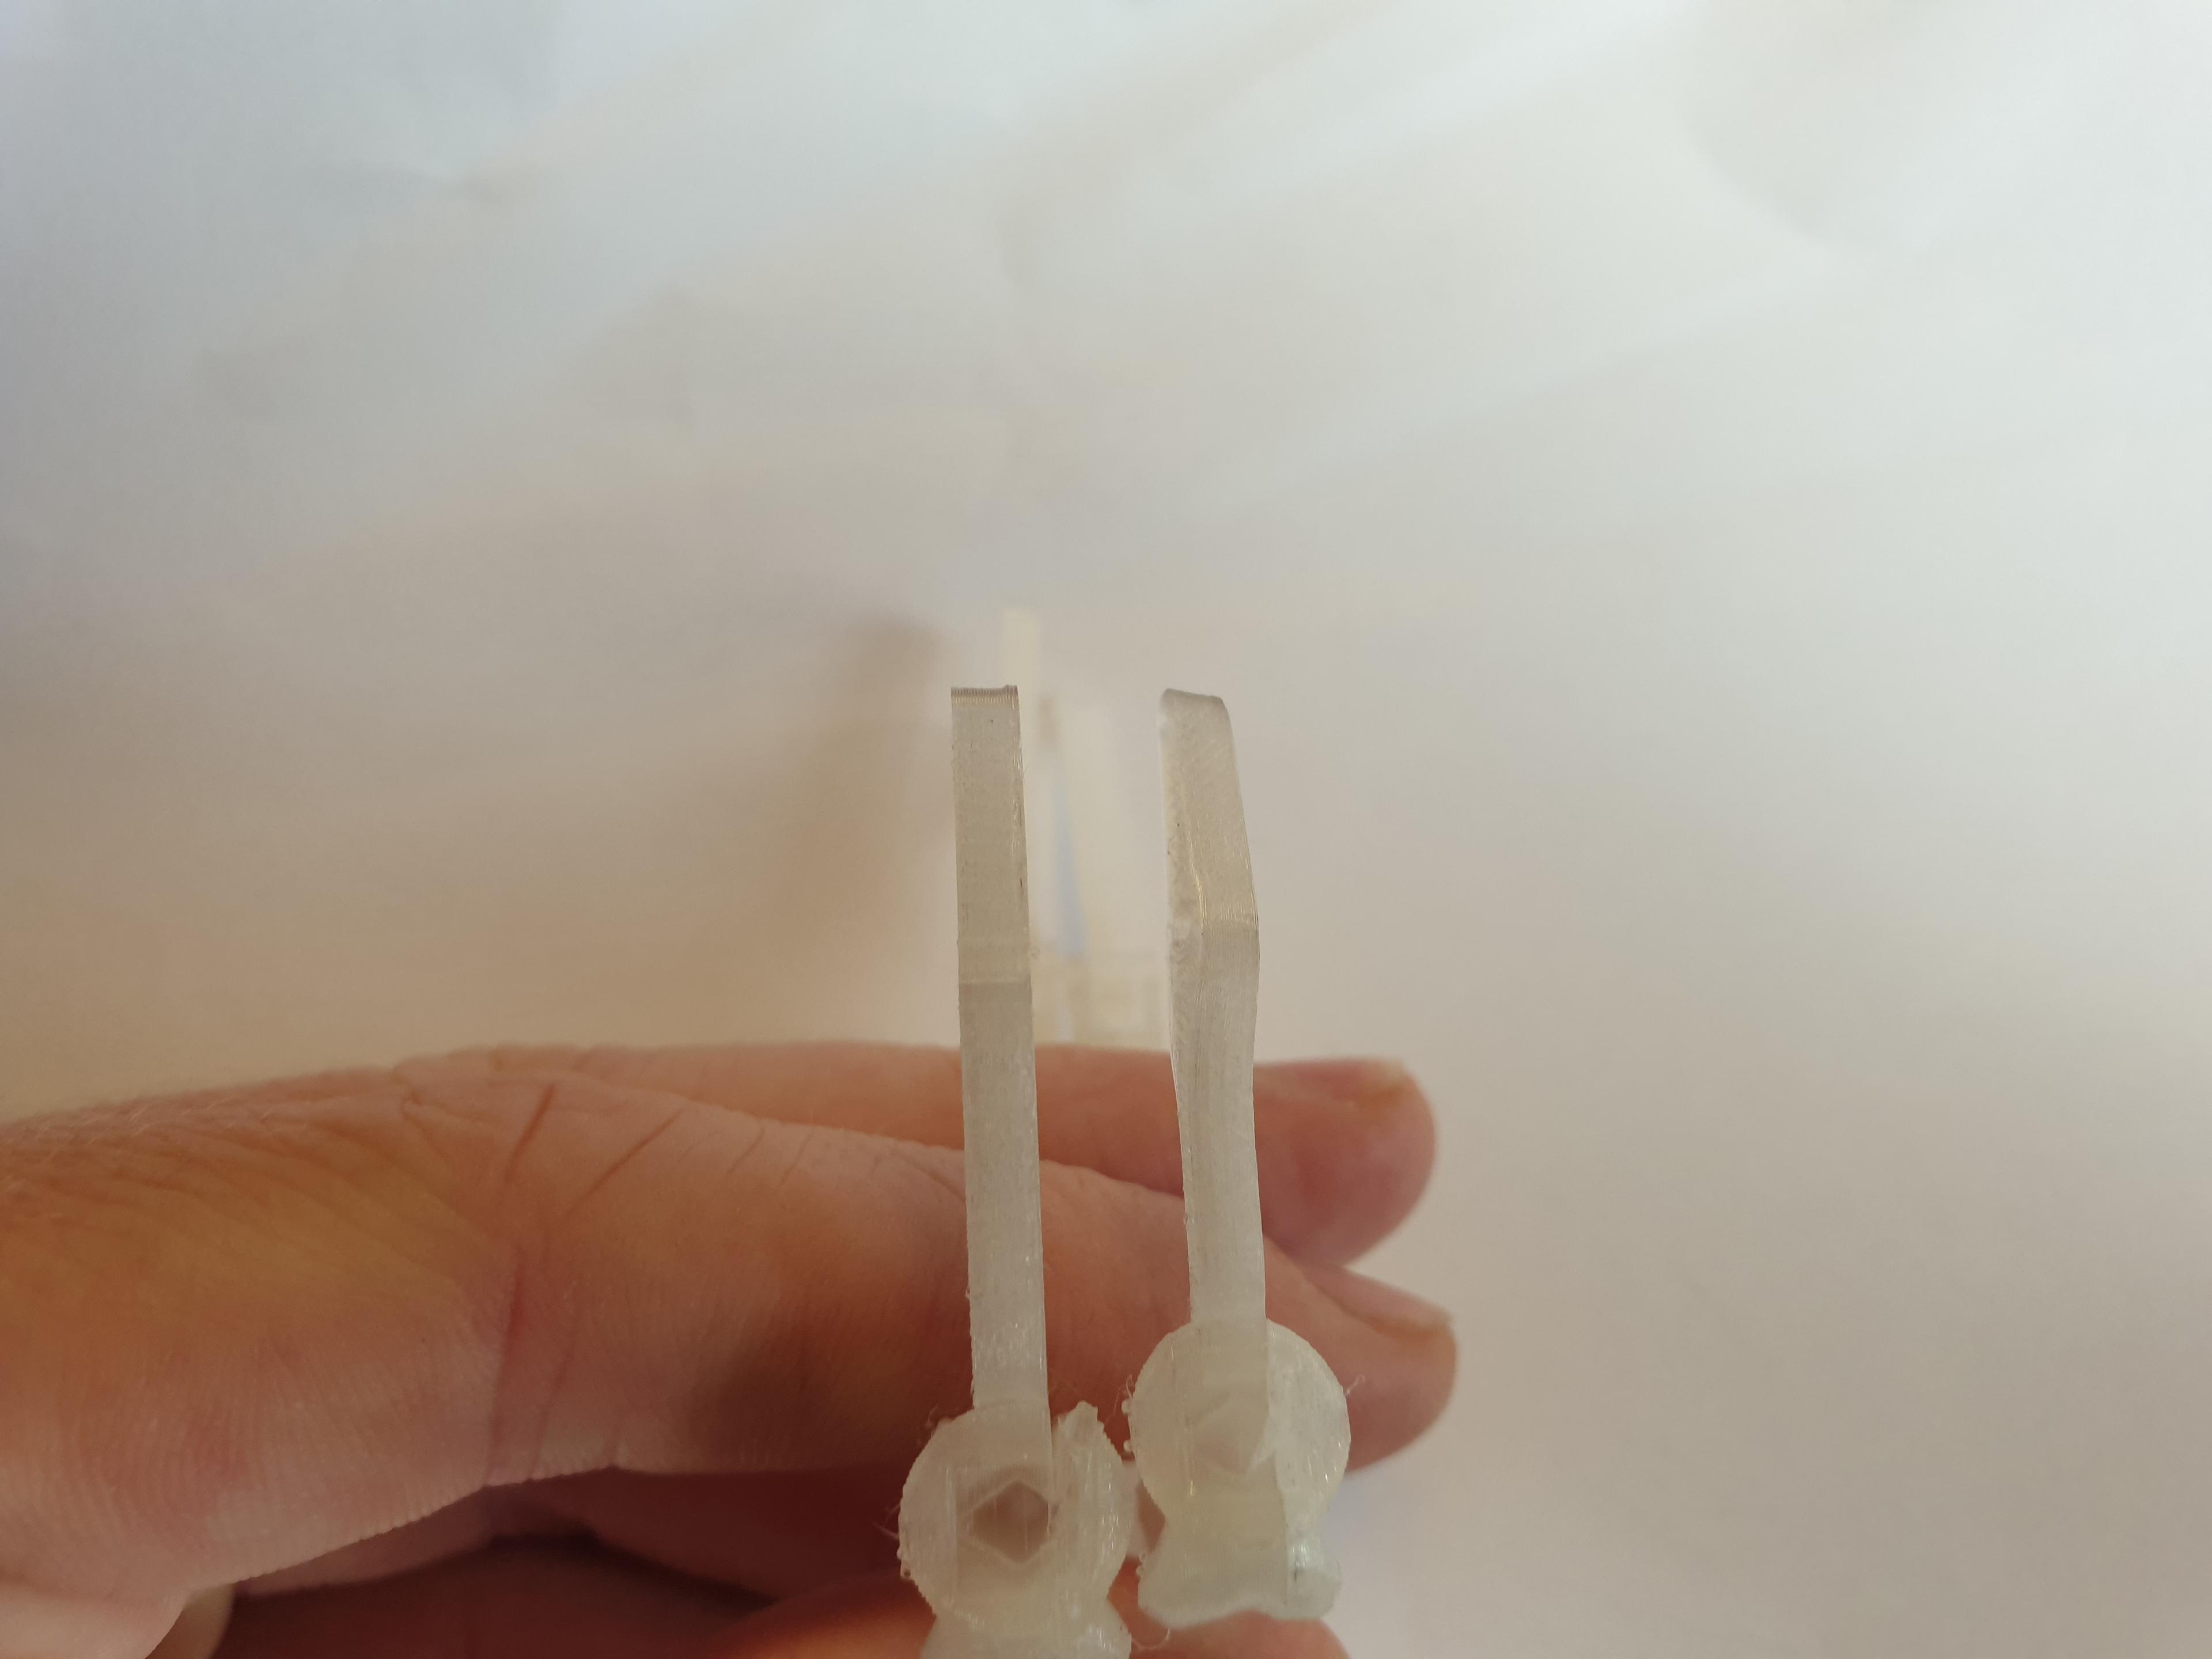
Everything but the outer shells print without supports on an FDM printer. I used transparent PLA. You will have to superglue some parts together. Glued parts that have mechanical function use pegs to align them. You need to glue together 4 cam_segment.stl, aligning them as in the picture. Each leg is made up of 7 separate parts. I used filament for axles and drilled out the holes. I used a 1.8mm bit for the tarsus parts (the middle link of the leg) and 1.9mm for the other parts, allowing them to move freely. Superglue was used to attach the two tarsus segments together (using the pegs to align the axle holes) and to attach the various cosmetic pieces (look at white_widow.stl). To give it a more organic look I dipped the legs in recently boiled water to soften the plastic and bent them near the levers at the bottom. You'll also need to glue the two head shell parts together.
M3 thread knurled brass nuts and M3 bolts hold the spider together. you'll need various lengths so I'd recommend getting a kit with lots of bolts. (link)
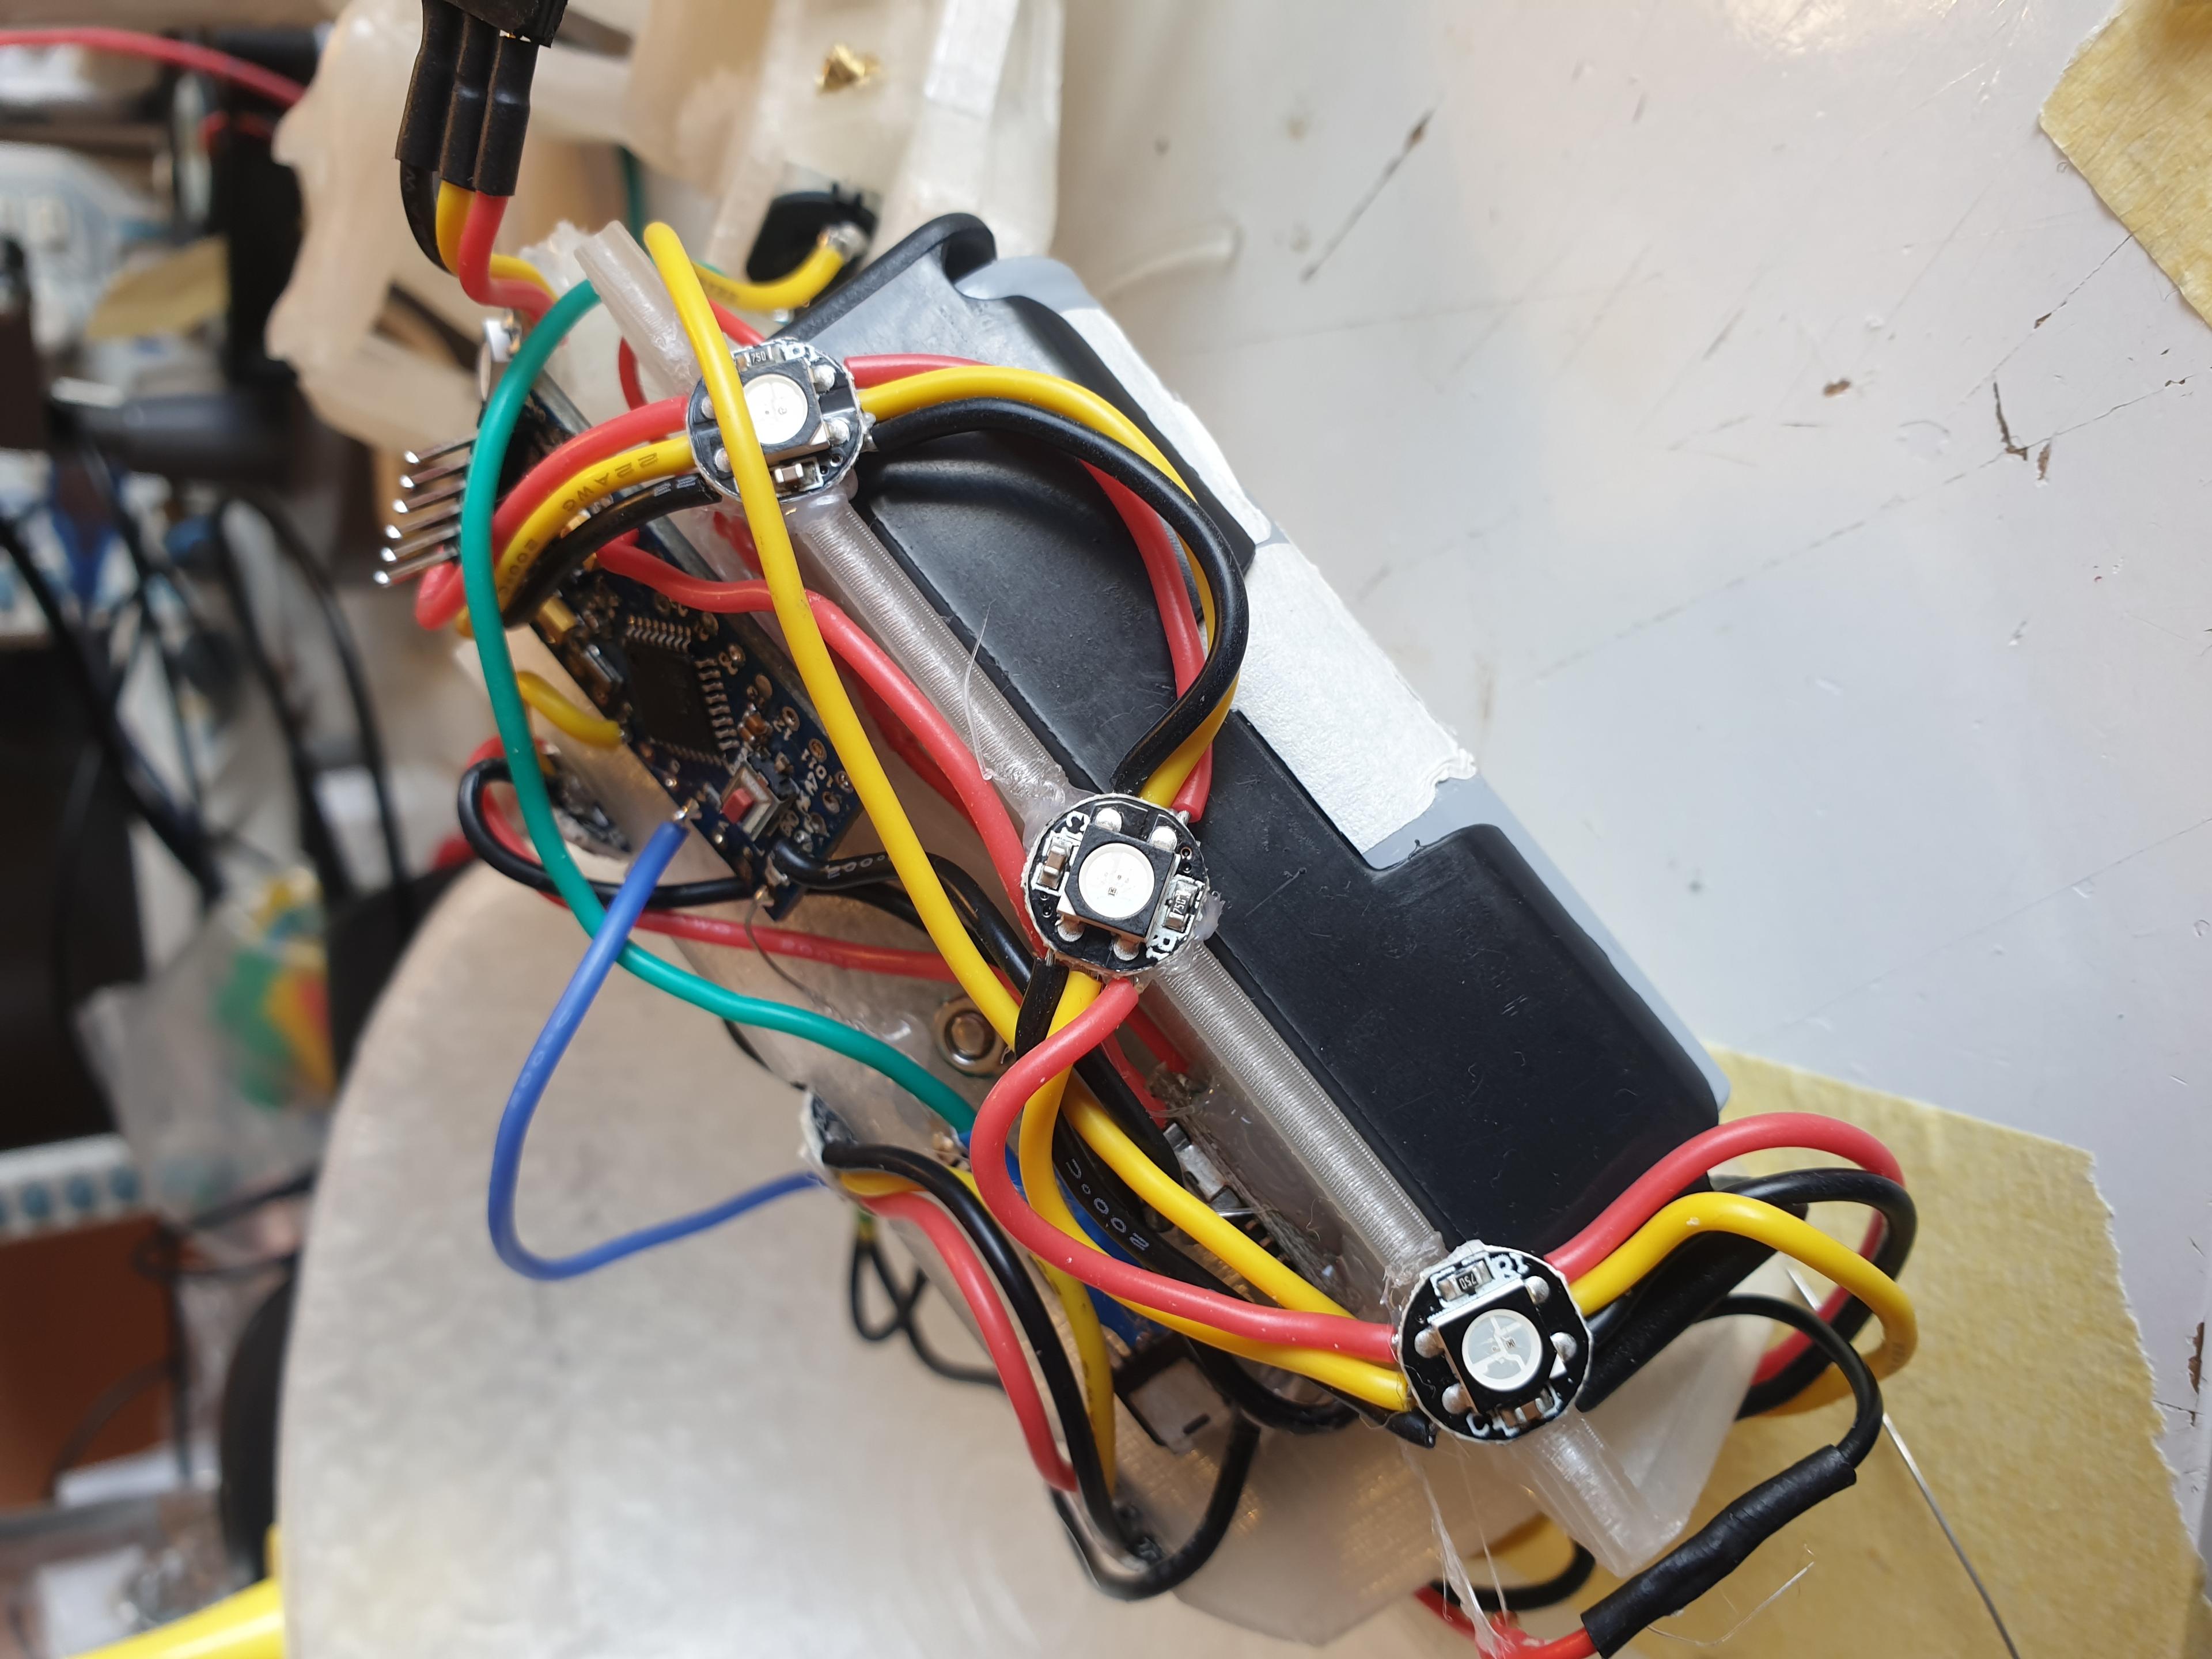
I used WS2812B addressable LEDs on individual PCBs (link). You'll also need wire to hook them up. Look at the photos to see where I put my LEDs. I used hot glue to attach them. There are two places in each leg where an LED can be added, they look really cool but the wires going to them apply forces that make the leg motion not look so good so I didn't use them, but they're still in the model and I'd recommend putting them in if your spider isn't going to have a motor added.
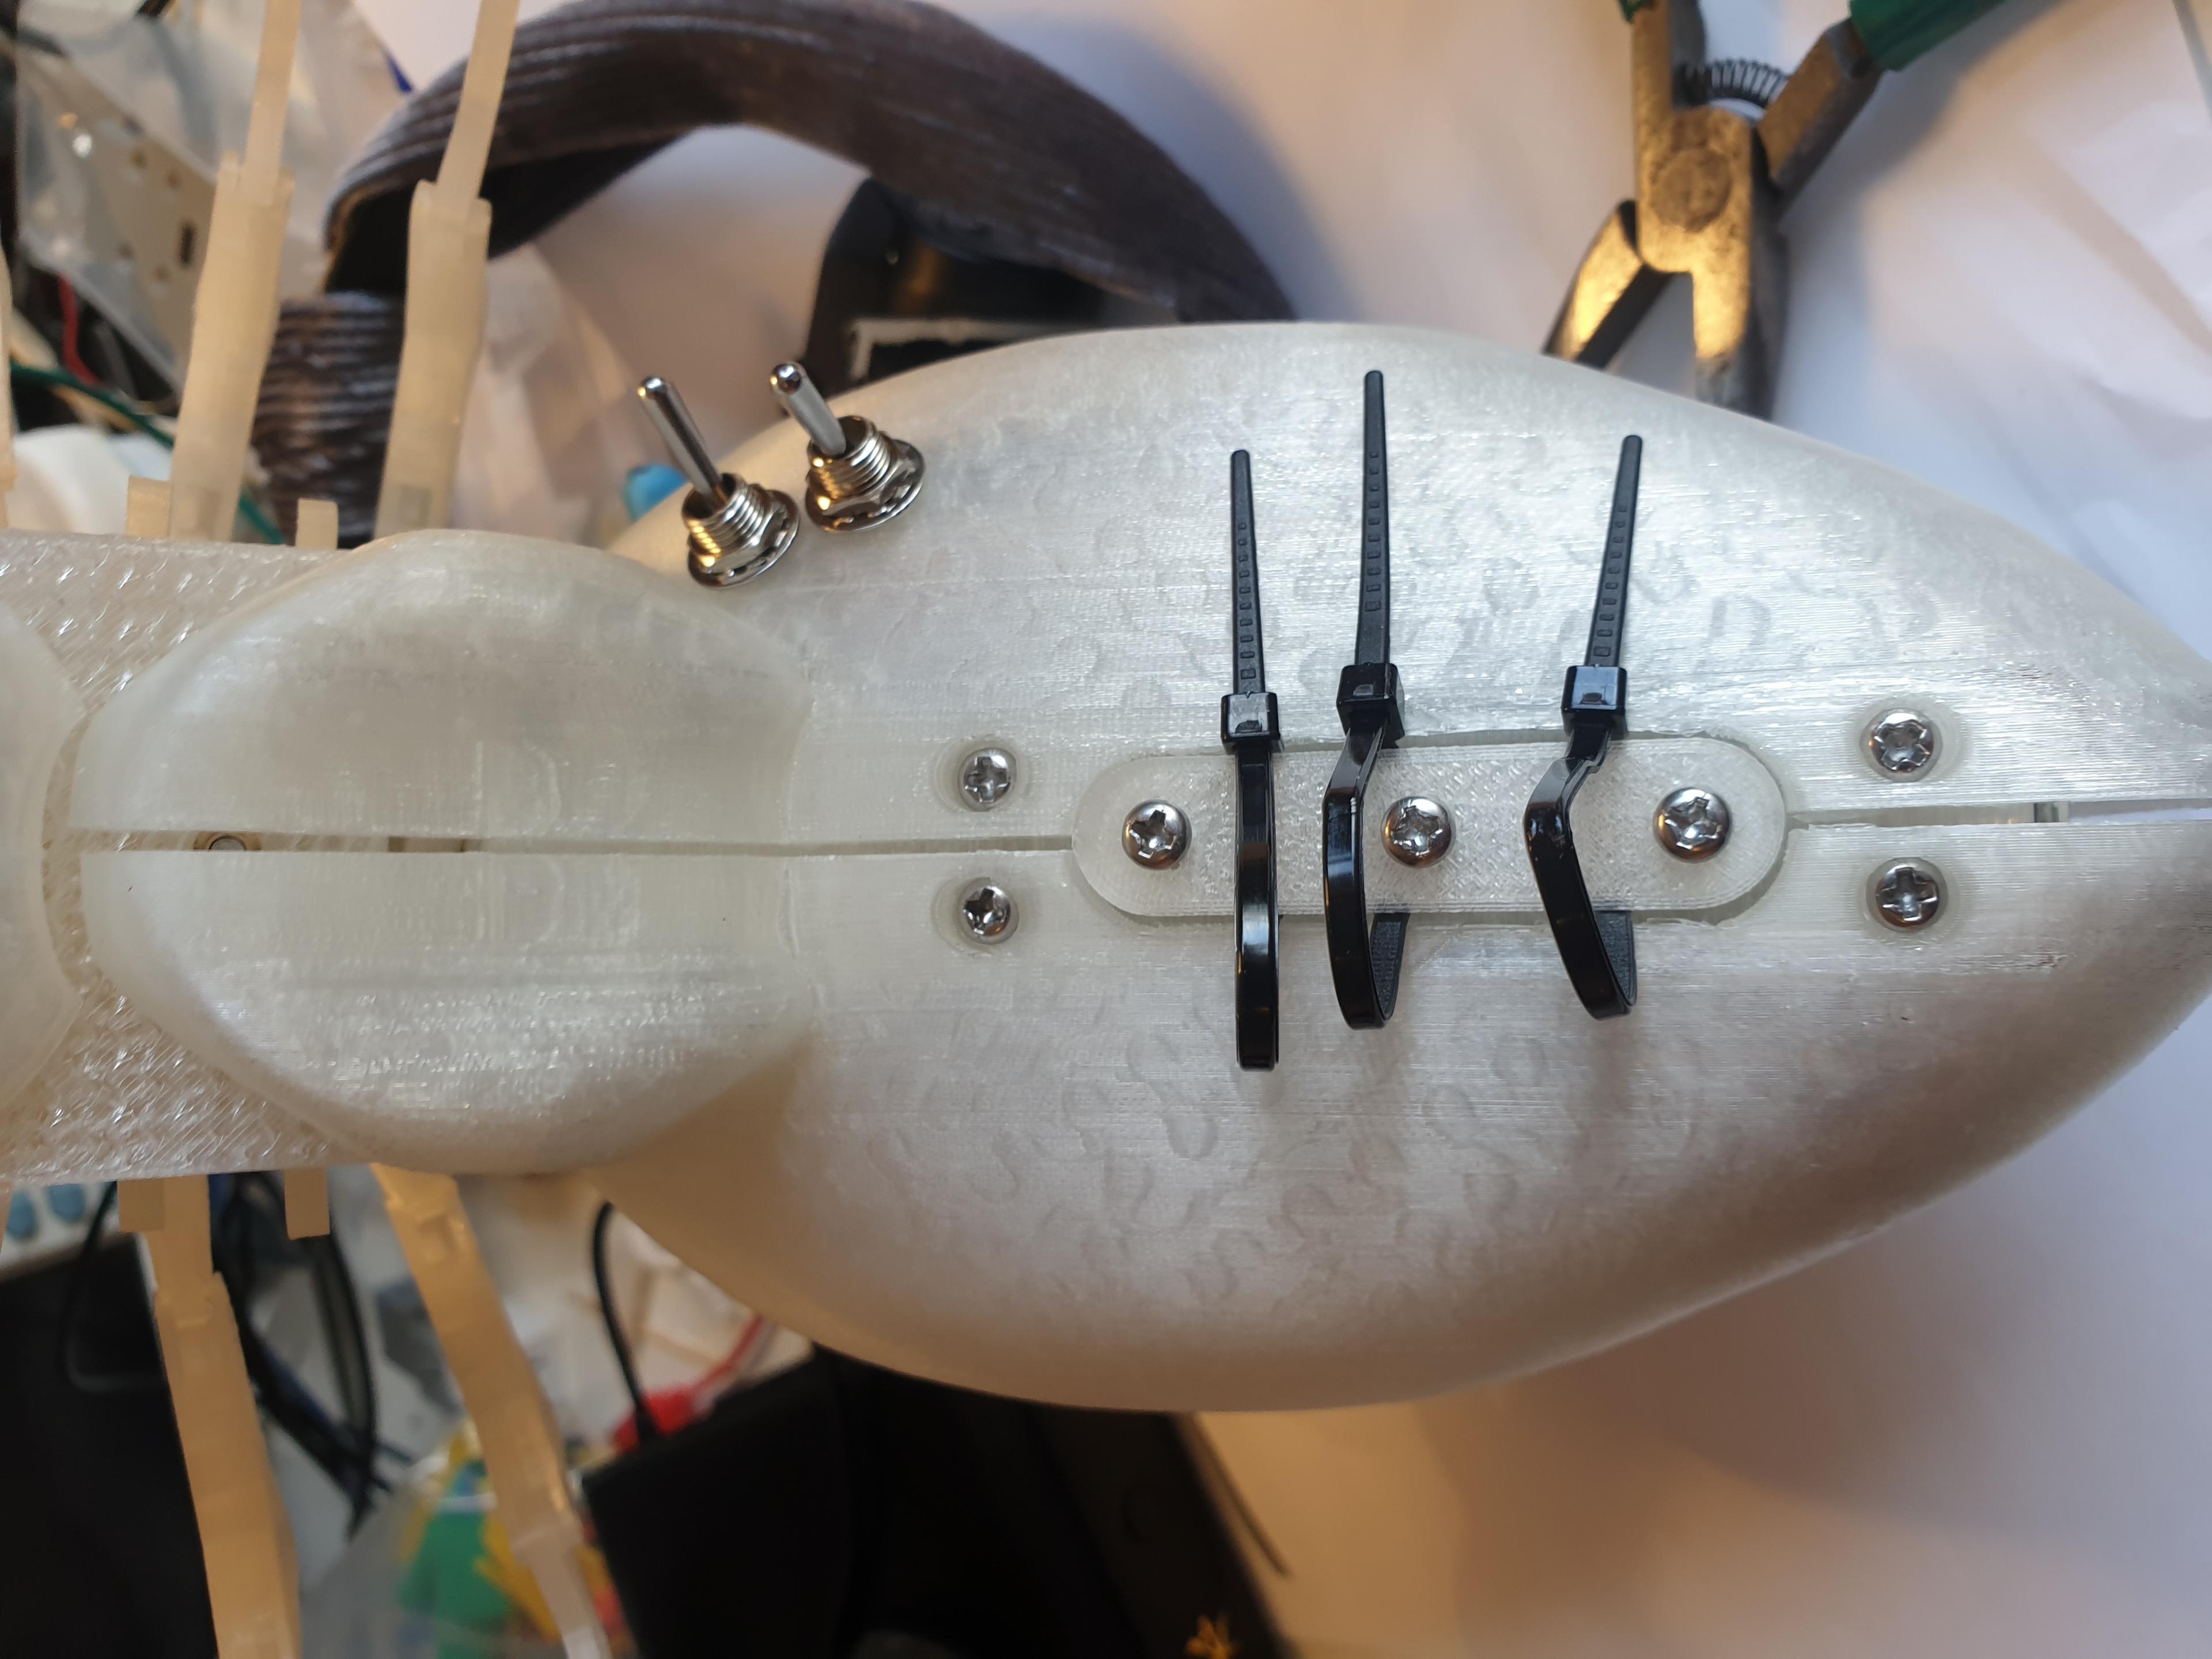
An Arduino Pro Mini controls the spider, an example sketch can be found here. It randomly changes the speed of the legs and LED patterns. There is a power switch and a switch that is yet unassigned. I desoldered the power LED from the Arduino so it didn't shine through the shell.
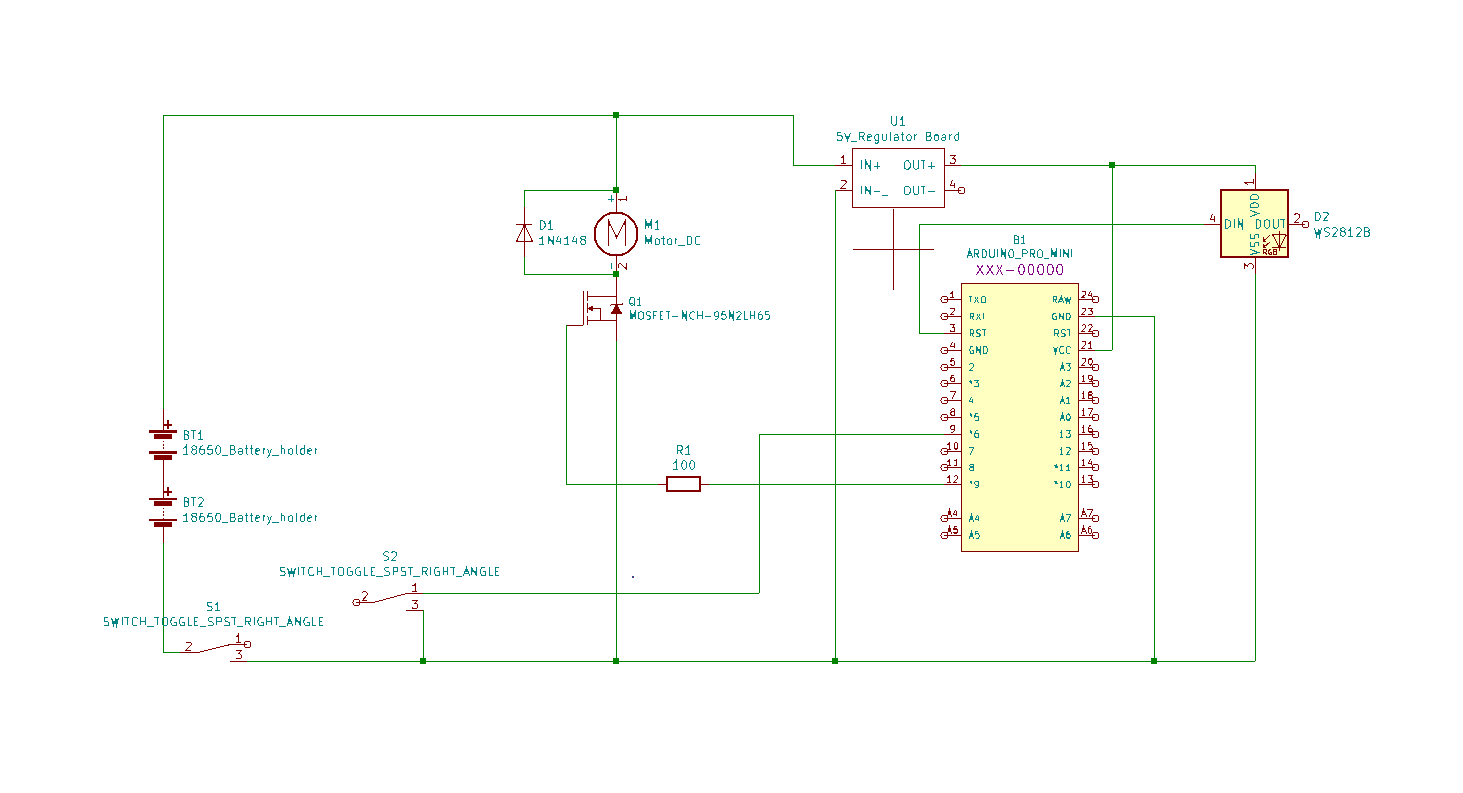
I deadbugged a little motor driver using a mosfet I had kicking around then hot glued everything to the tail bone (see the photos). There is a schematic attached showing the circuit. I used a DC buck module (link) to step down the voltage from the batteries. I powered the device with 2 18650 LiPos, which should give many hours of run time. You'll need two battery holders (link) which bolt onto the tail bone.
To hold the two halves of the shell together and mimic the black widows characteristic red bottom I laced some red ribbon through the back of the shell. Cable ties are clamped under band_post.stl and hold the spider to the alice band. I'd recommend some bobby pins to help hold it on if you're going to be dancing in your spider. You should also look for an alice band that fits your head well with teeth to grip your hair.
Thanks to Kesha Darling for modelling and Lucky Everett for filming it.
