Hello fellow makers and gadget lovers!
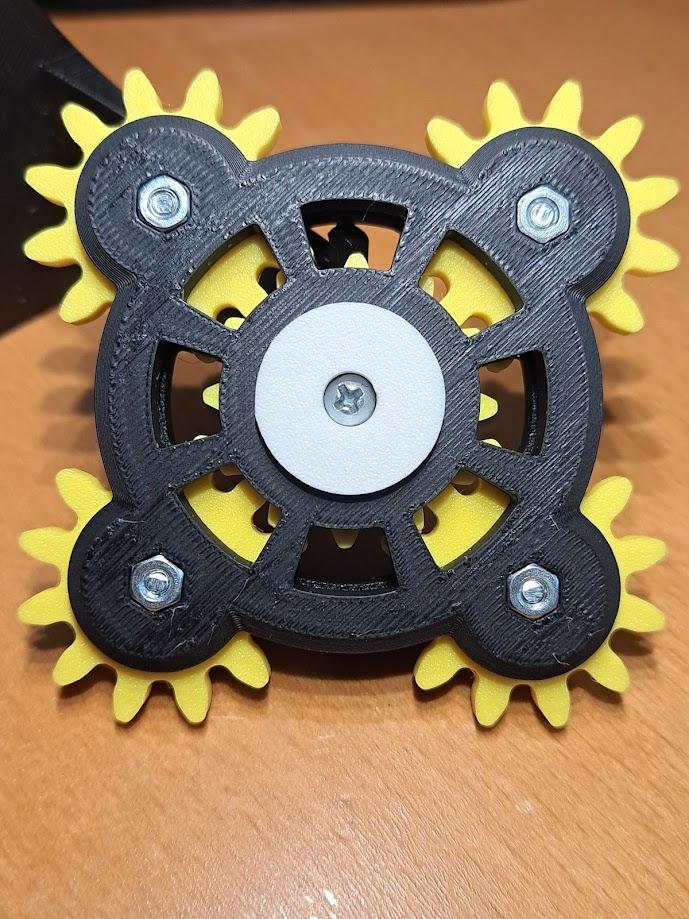
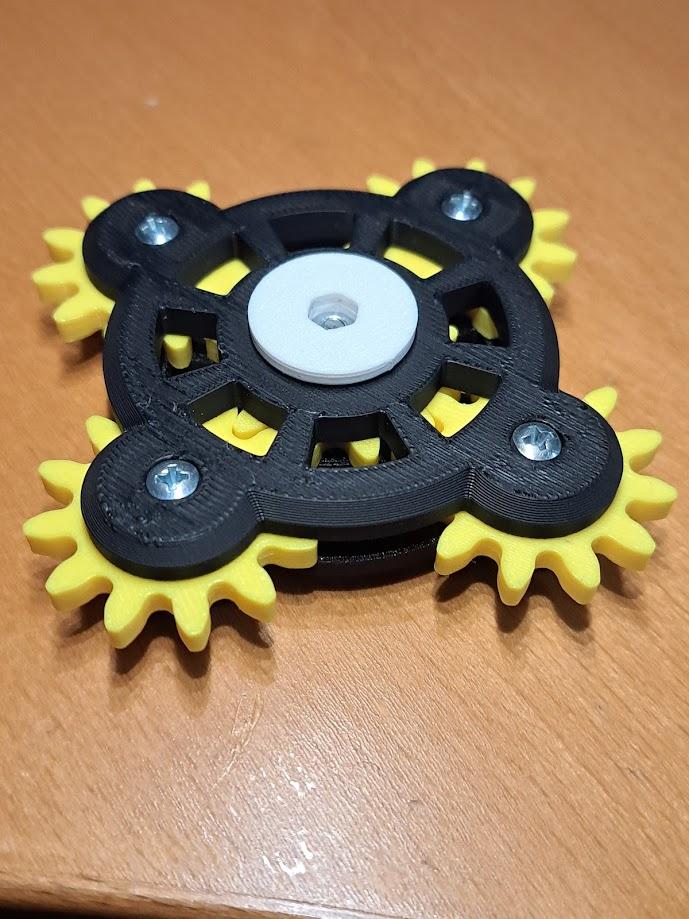
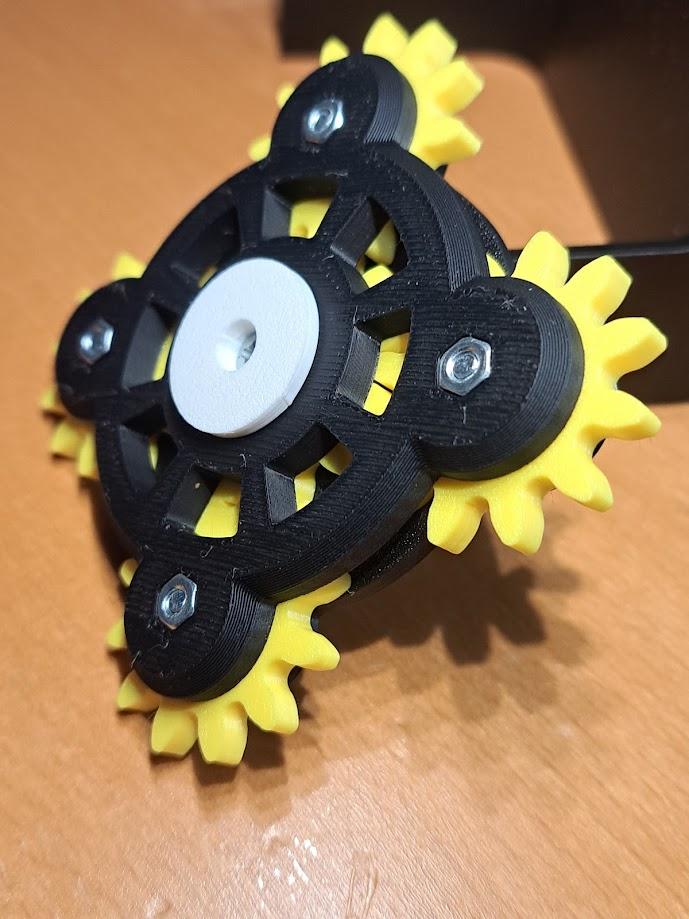
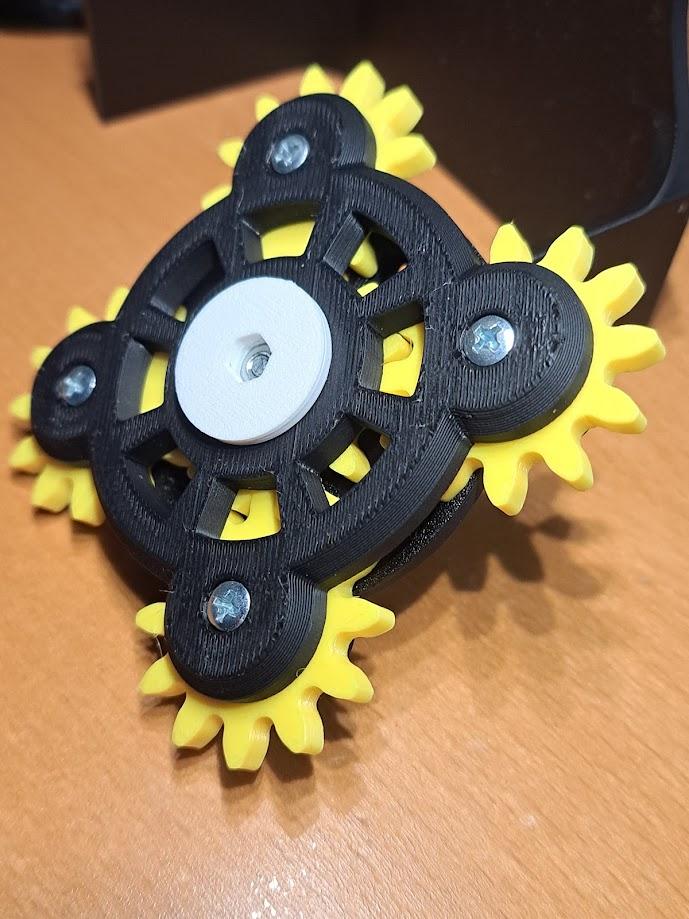
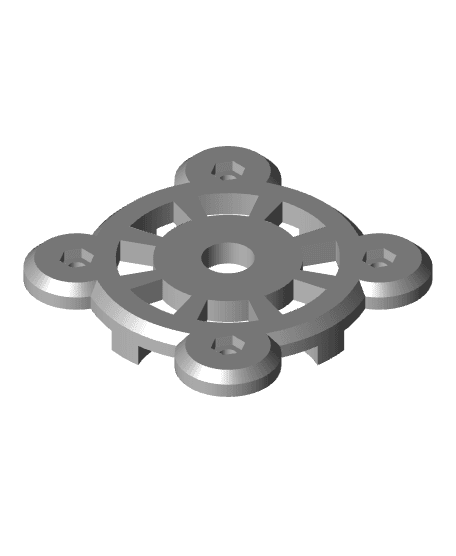
I've always been fascinated by the mechanics and aesthetics of spinners. After stumbling upon a video featuring a captivating 4-gear spinner, I couldn't resist the urge to put my own spin on the concept. The result? A 5-gear spinner arranged in an eye-catching X formation, all snug within a sleek circular frame.
Design Journey: The challenge was to create something familiar yet novel. I wanted a spinner that not only functioned well but also stood out visually. After several iterations and a bit of tinkering, I landed on a design that not only met but exceeded my expectations.
Functionality: While it may not have the "perpetual" motion of its metal counterparts, this 3D printed spinner has a charm all its own. The gears interlock seamlessly, providing a satisfying spin time and a hypnotic visual effect that's sure to draw the eye. It's a testament to what we can achieve with a bit of creativity and our trusty 3D printers.
The Build:
Materials Needed:
- PLA filament for printing the gears, frame and buttons.
- 5 screws (3mm diameter, 12mm length).
- 5 nuts (3mm to fit the screws).
Assembly Instructions:
Frame, buttons and Gears: Start by printing the upper and lower frames, along with the five gears. Ensure that your print settings are dialed in for clean, precise edges to facilitate smooth gear movement. Then print the buttons.
Attaching the Gears: Each gear will be secured between the upper and lower frames using the 3mm screws and nuts. Align the holes in the gears with those in the frames, insert the screws, and tighten with the nuts. The fit should be snug but not overly tight, allowing the gears to rotate freely.
Center Gear and Spin Buttons: The central gear acts as the anchor for the entire spinner. Once it's positioned, attach the top and bottom spin buttons. These buttons will lock the center gear in place, ensuring it remains stationary while the other gears spin around it.
Final Check: Before giving your spinner a whirl, make sure all screws are tightened properly and that the gears can move without obstruction. A well-assembled spinner will have a smooth spinning action and create a visually pleasing effect.
Dimensions: The entire assembly fits within a compact footprint, making it a great desktop accessory or a pocket-sized gadget to take on the go.
Breaking In Your Spinner: When you first give your new spinner a go, you might notice it's a bit on the rough side – that's totally normal. Just like a pair of new shoes, your spinner needs a little bit of breaking in. The more you spin it, the more the gears will wear in and smooth out their movements. So don't be shy, give it a good whirl! With each spin, you're polishing the performance, and soon it'll be gliding along with a satisfying smoothness that's well worth the initial spins.
Why You'll Love It: This 5-gear spinner isn't just a toy; it's a conversation piece and a showcase of the intricate possibilities of 3D printing. Whether you're looking for a new project to test your skills or simply want a unique spinner to add to your collection, this design is sure to please.
So, are you ready to take on the 5-gear spinner challenge? Grab the STL, get printing, and let's see those spinners in action!
Happy printing and spinning!
