.jpg&w=3840&q=85)
.jpg&w=256&q=75)


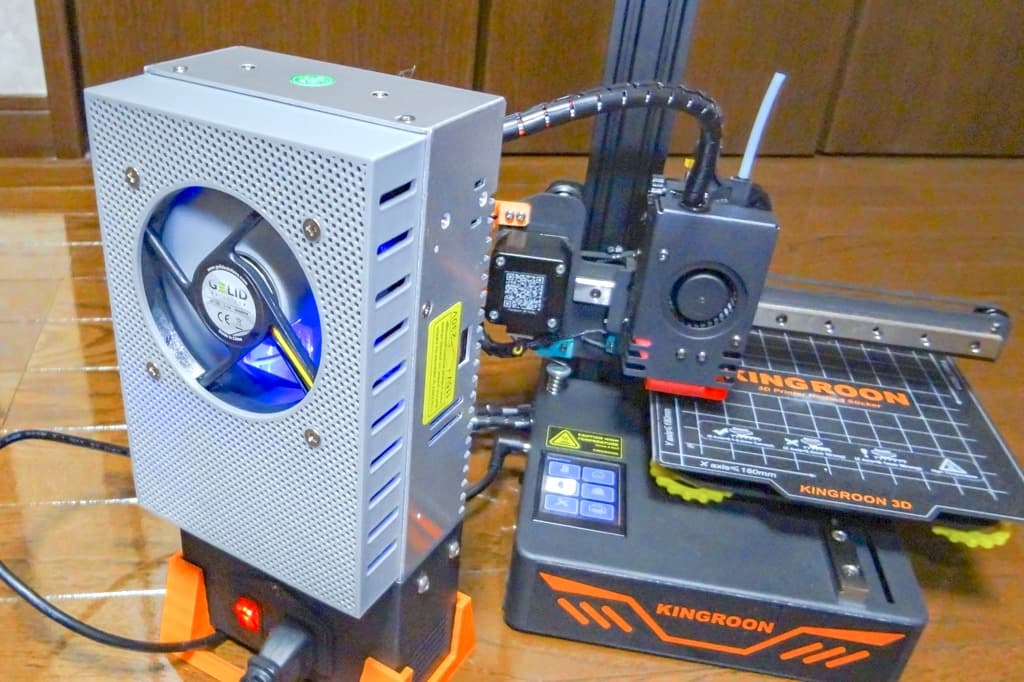
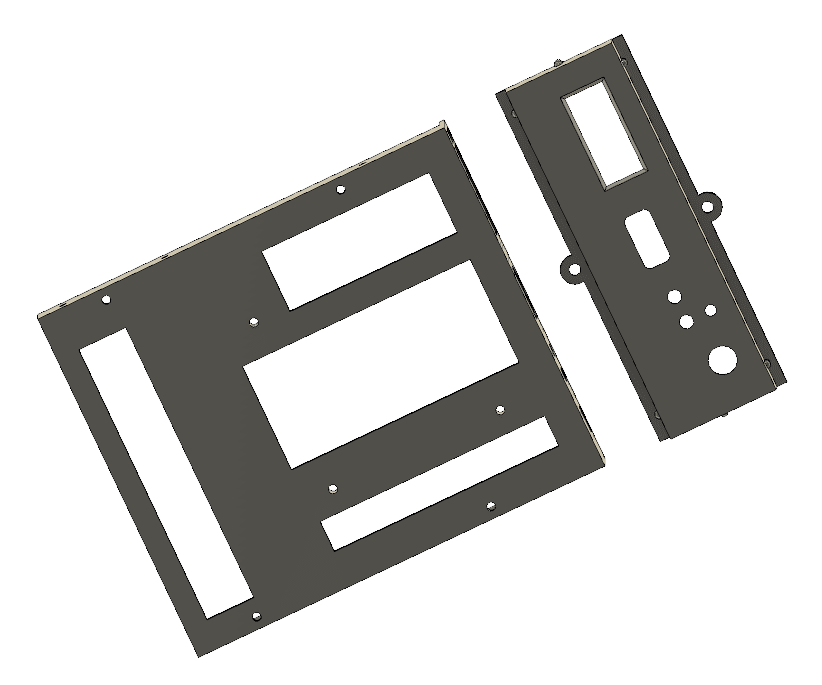
Chromance Electronics Cover
11 downloads · 5 years ago · I loved building the Chromance, but wanted to hide my electronics and terrible wiring so that it was
I loved building the Chromance, but wanted to hide my electronics and terrible wiring so that it wasn't hanging out of the bottom.
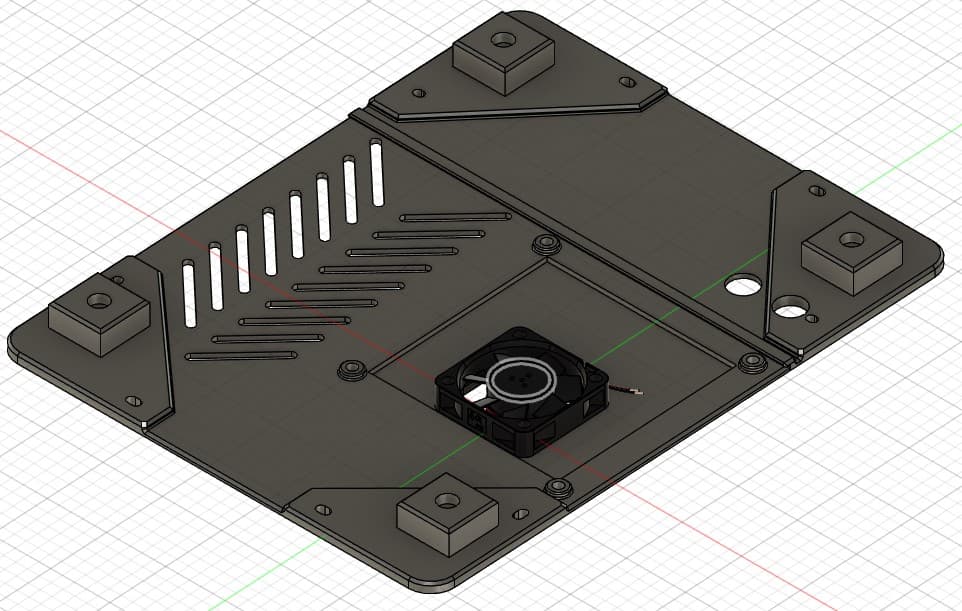
It's essentially 7 of the original "Center_Node" parts arranged into another hexagon (or an octadecagon?!), placed just enough together so that they print in a single piece. The place to slap your parts was flattened, and mounts to the bottom-most node with the same aluminum used to connect the nodes.
Printing Instructions Use the same settings you used for the other nodes. I printed mine in Black PLA with a 0.6 nozzle, 0.3mm layer height, and 15% gyroid infill in about 3.5hrs.
Assembly
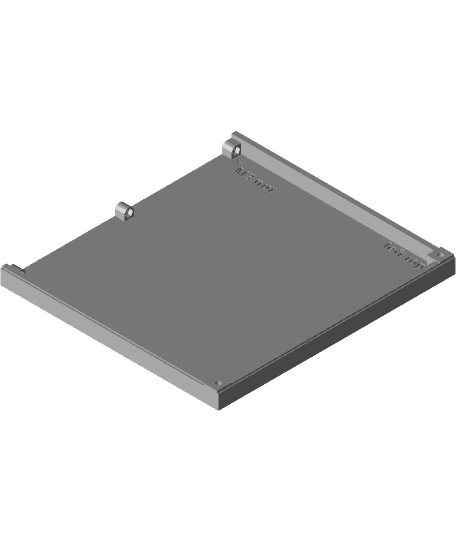
- Cut a 20mm piece of the metal LED channel, and slide it into to the very bottom slot in your bottom node. Adhere with the same epoxy you used in you main build.
- Slide the opposite end of the channel into this part. I chose to have it mounted straight down, but any orientation will work. Make it stick.
- Route wires through the gap in the nodes, and stick all your electronics to the part. I used hot-melt glue because I was trying to cram longer-than-necessary wires into it.
- Optional: Mount a barrel connector to screw terminal adapter to it (again glue worked alright), so that you can plug the PSU directly into it.
Chromance Electronics Cover
11 downloads · 5 years ago in and
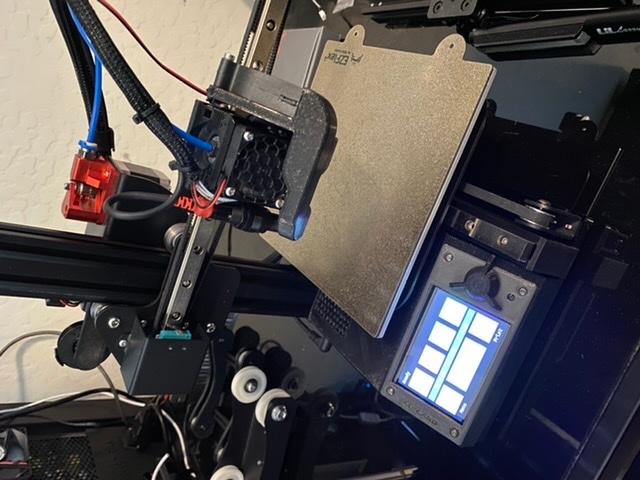
Kingroon KP3S Electronics cover
Ender-5 Electronics cover with 10mm extra room - DIY
Replacement Electronics Cover for Kingroon KP3 - Fits TFT35 V3

Garmin Cover Clean.stl

French Fries Switch Dock Cover
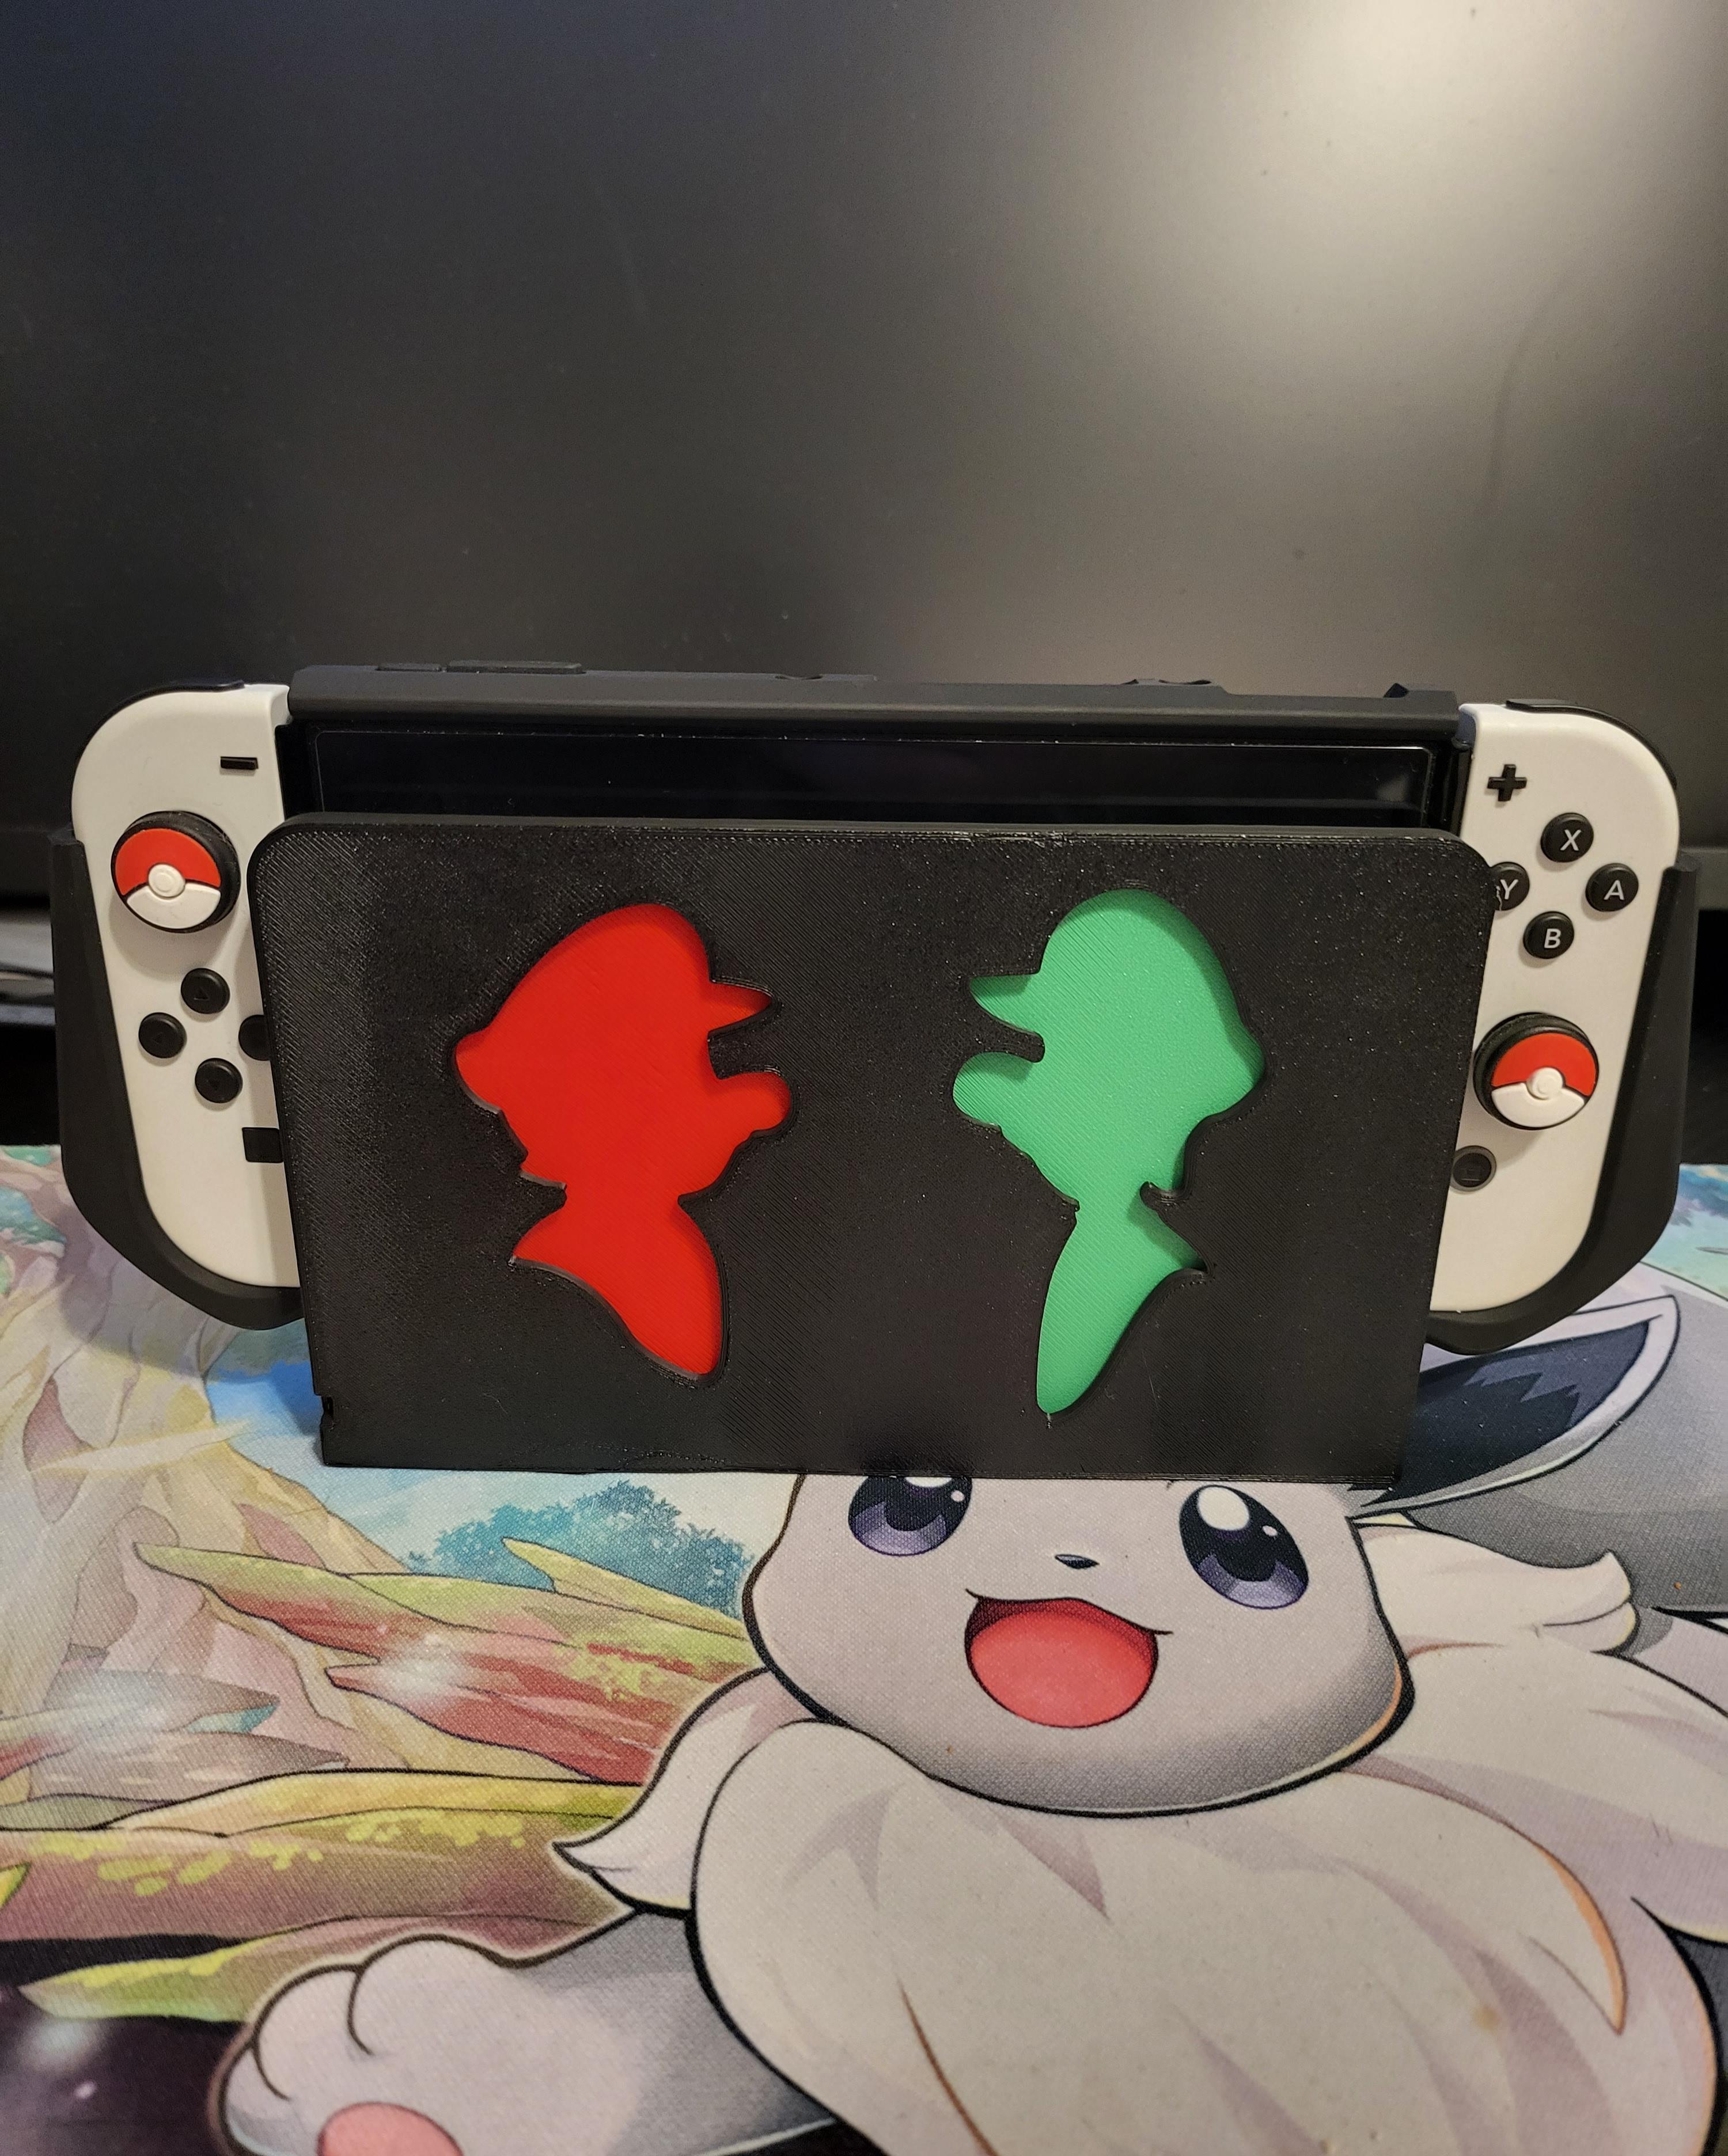
OLED Nintendo Switch Dock Cover
Ender 3 LCD Cover
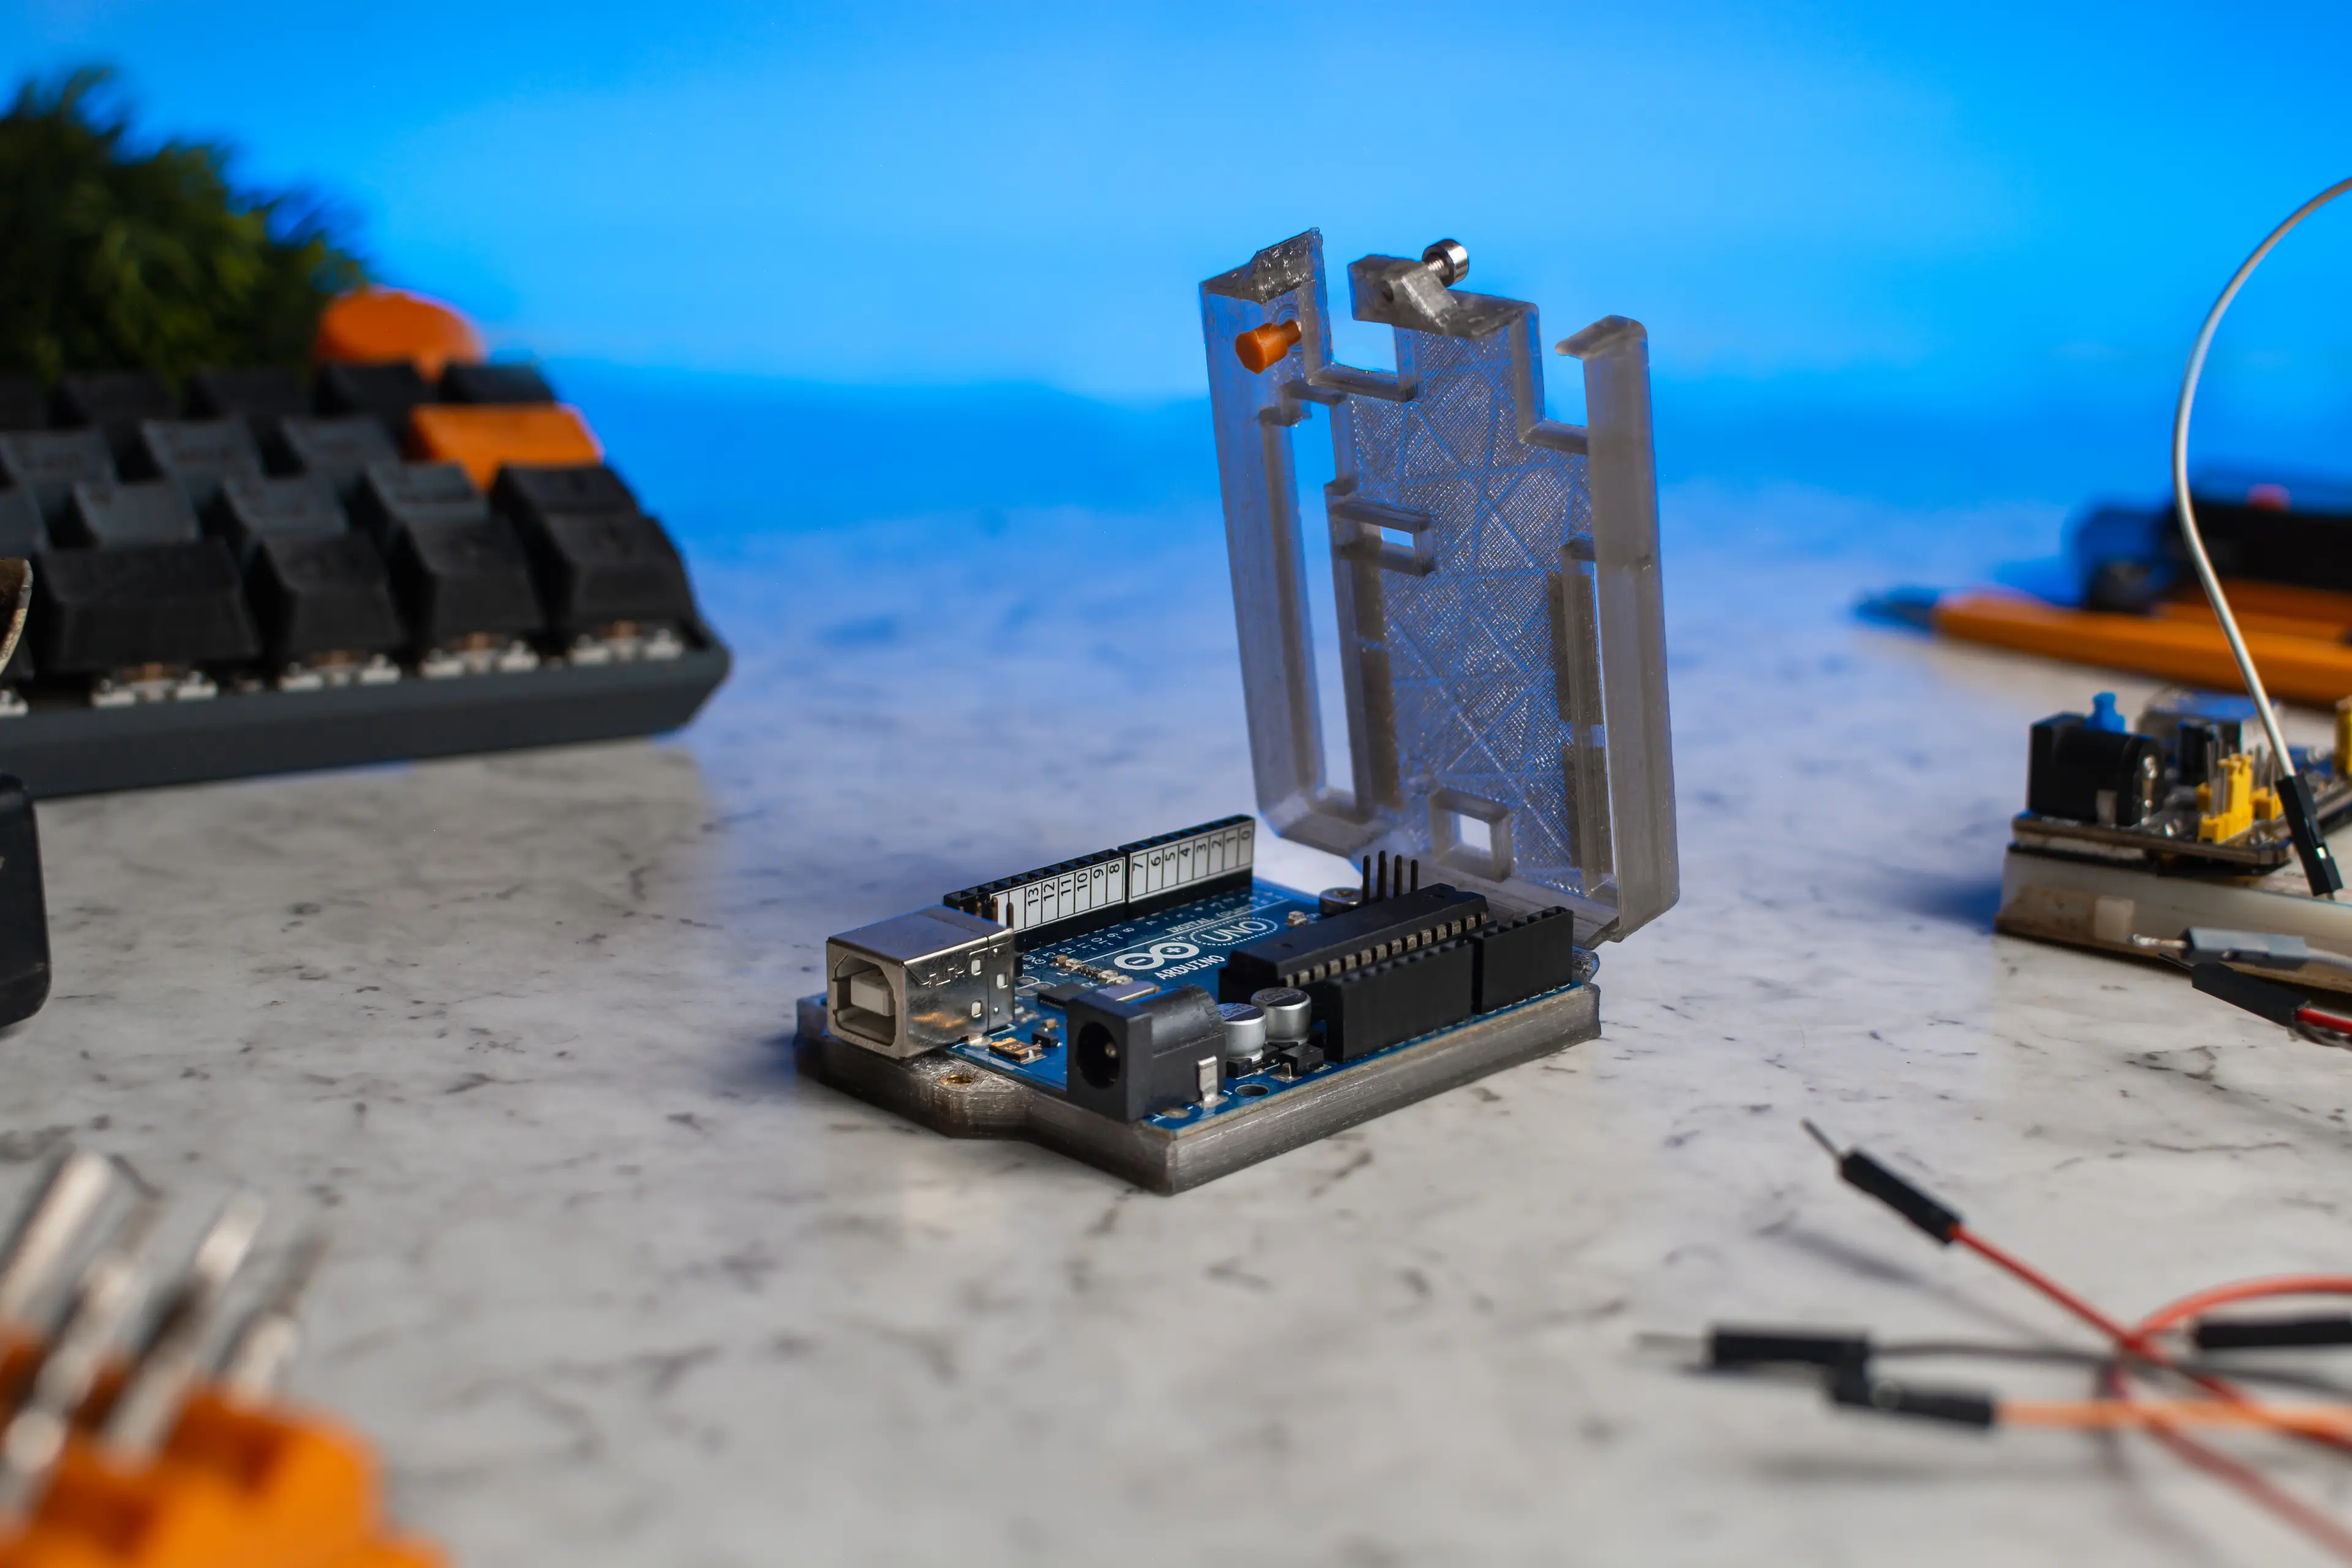
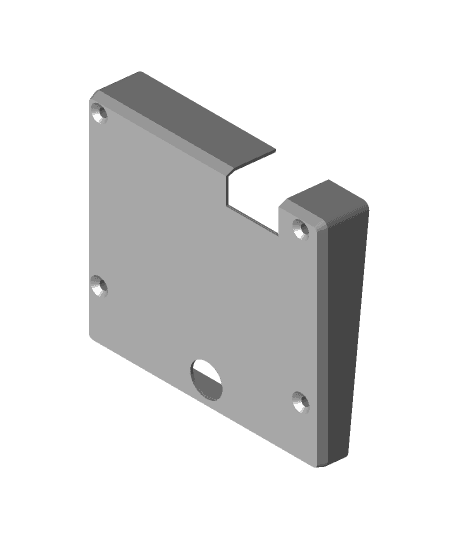
Arduino Uno case

Xbox Series Controller Battery Cover
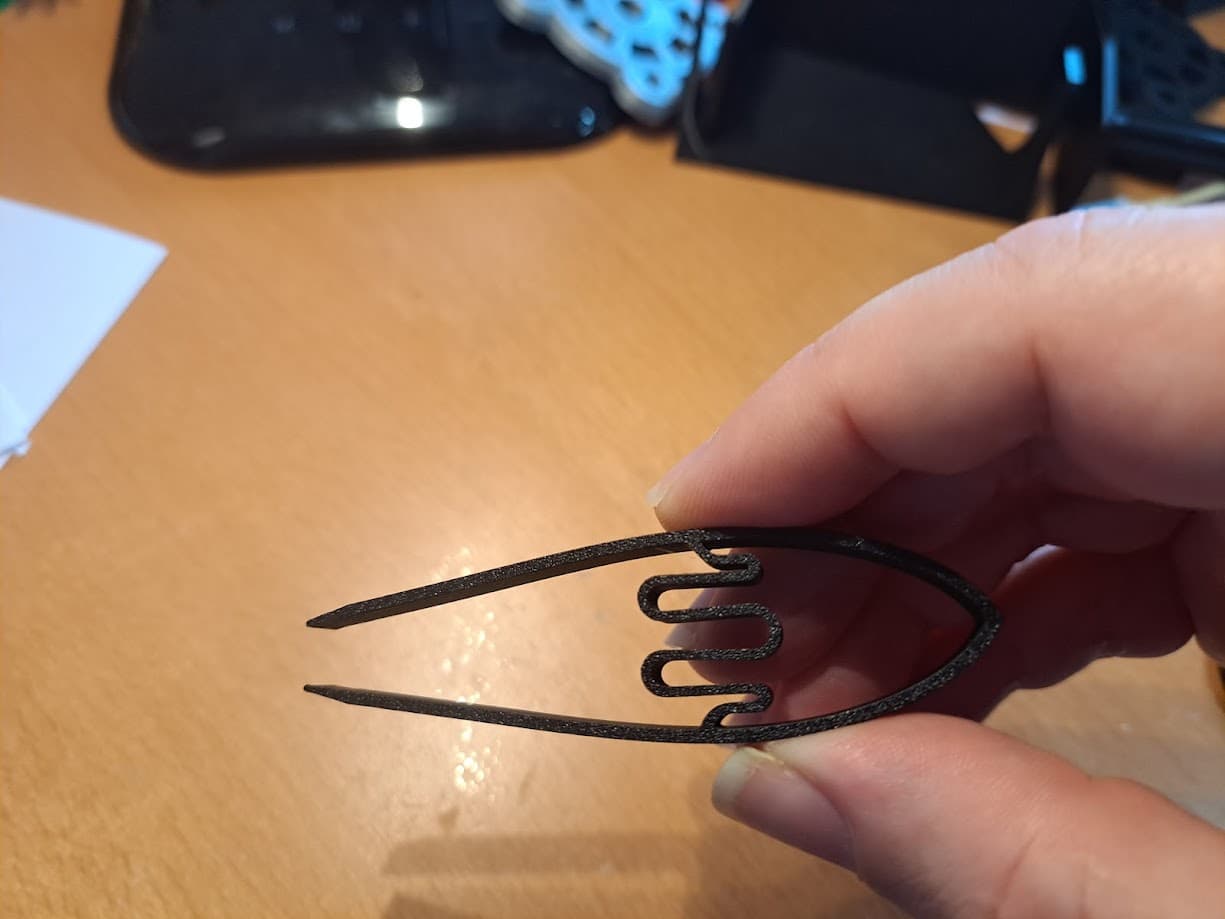
Simple Tweezers
GoPro 9 & 10 Battery Cover
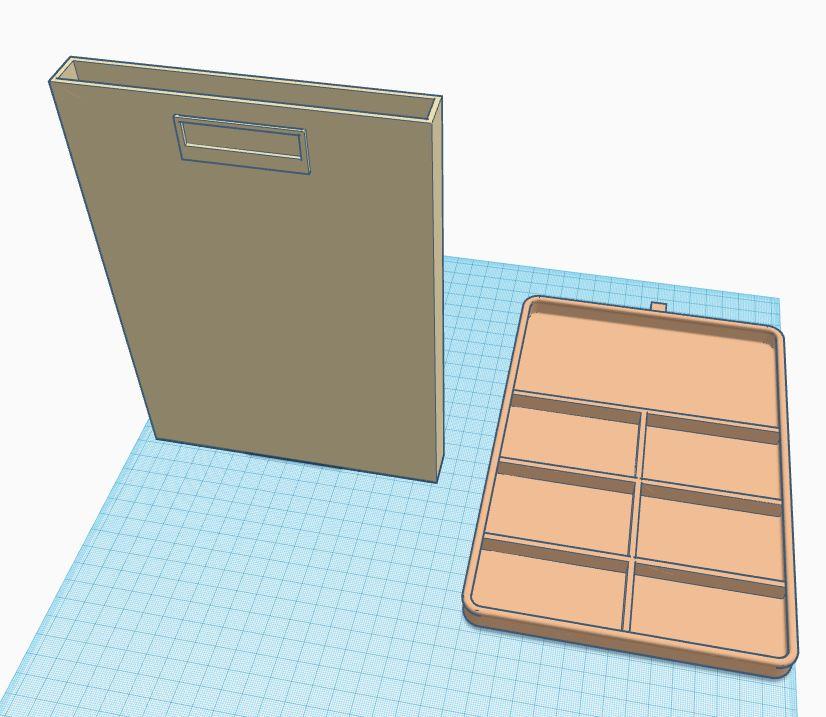
Small Parts Tray with slide in cover

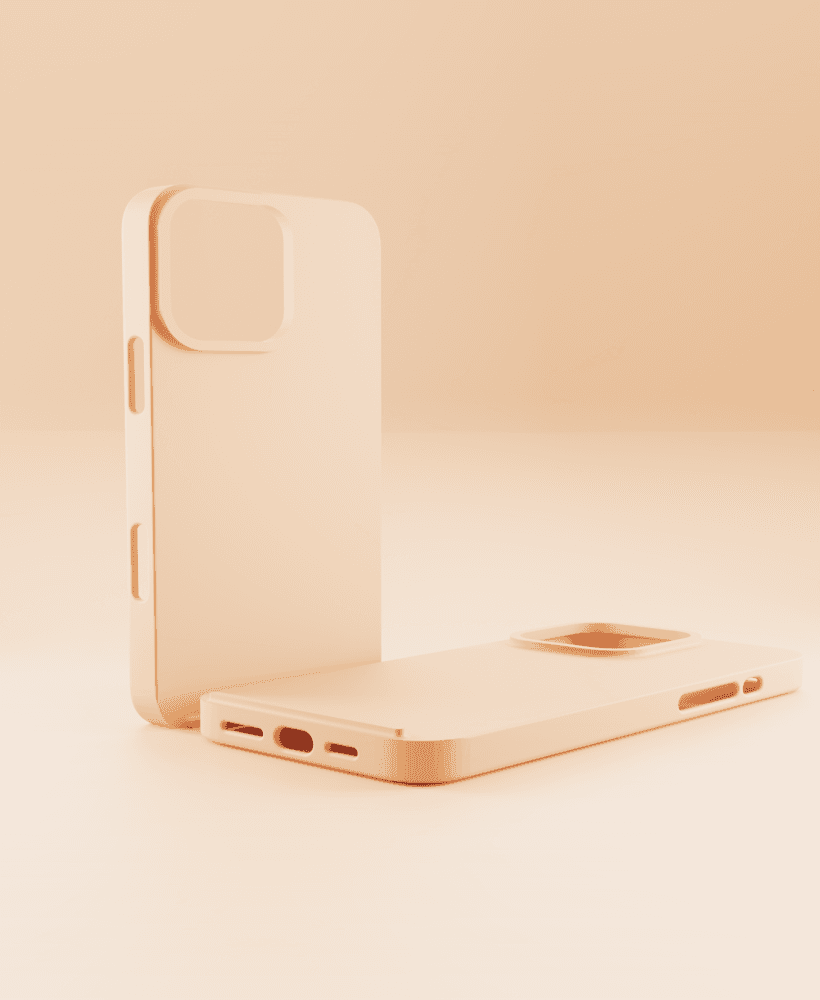
iPhone 15 Flexible Case
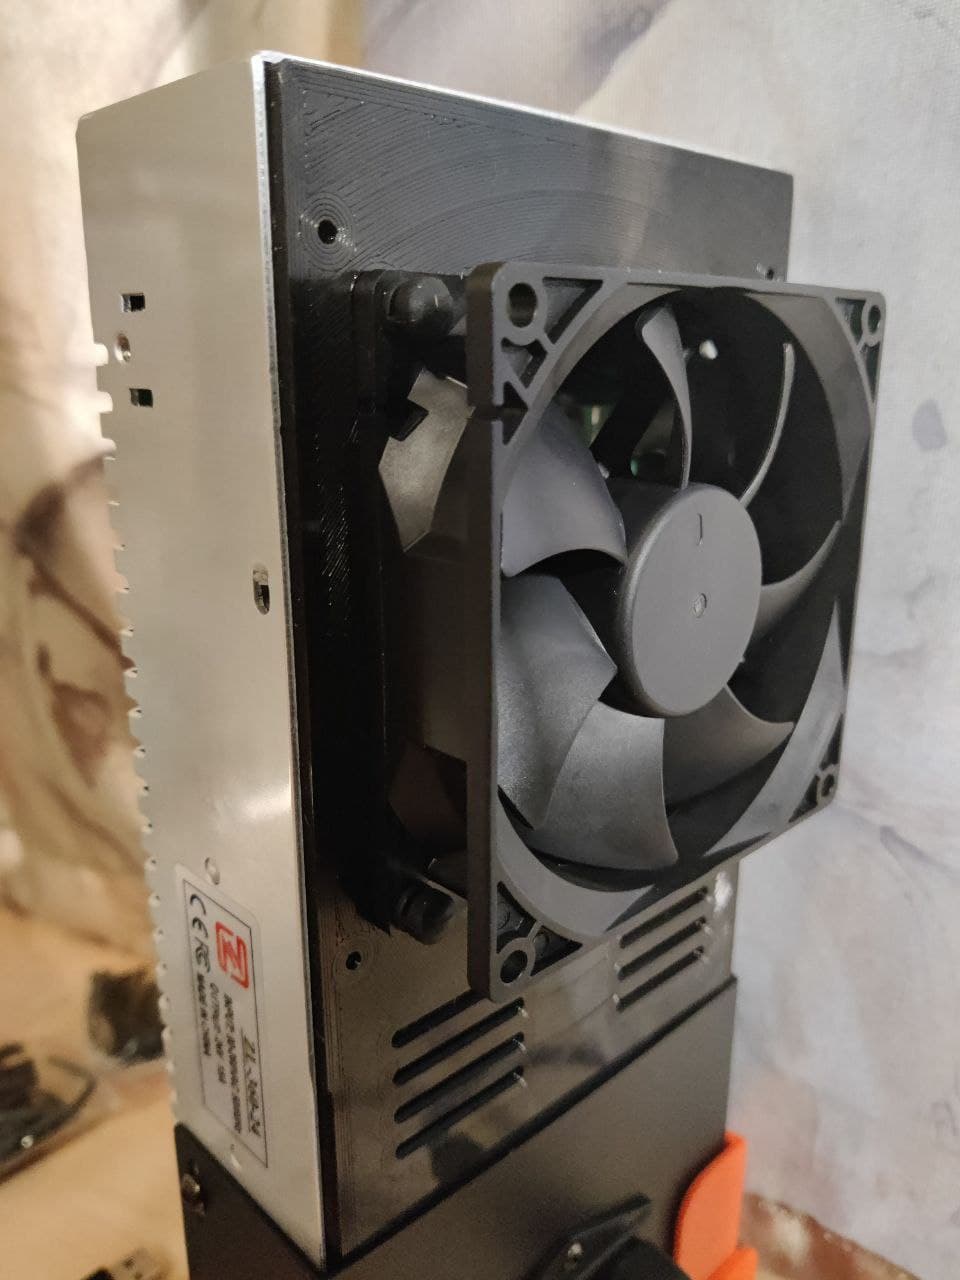
Kingroon KP3S v3 PSU cover
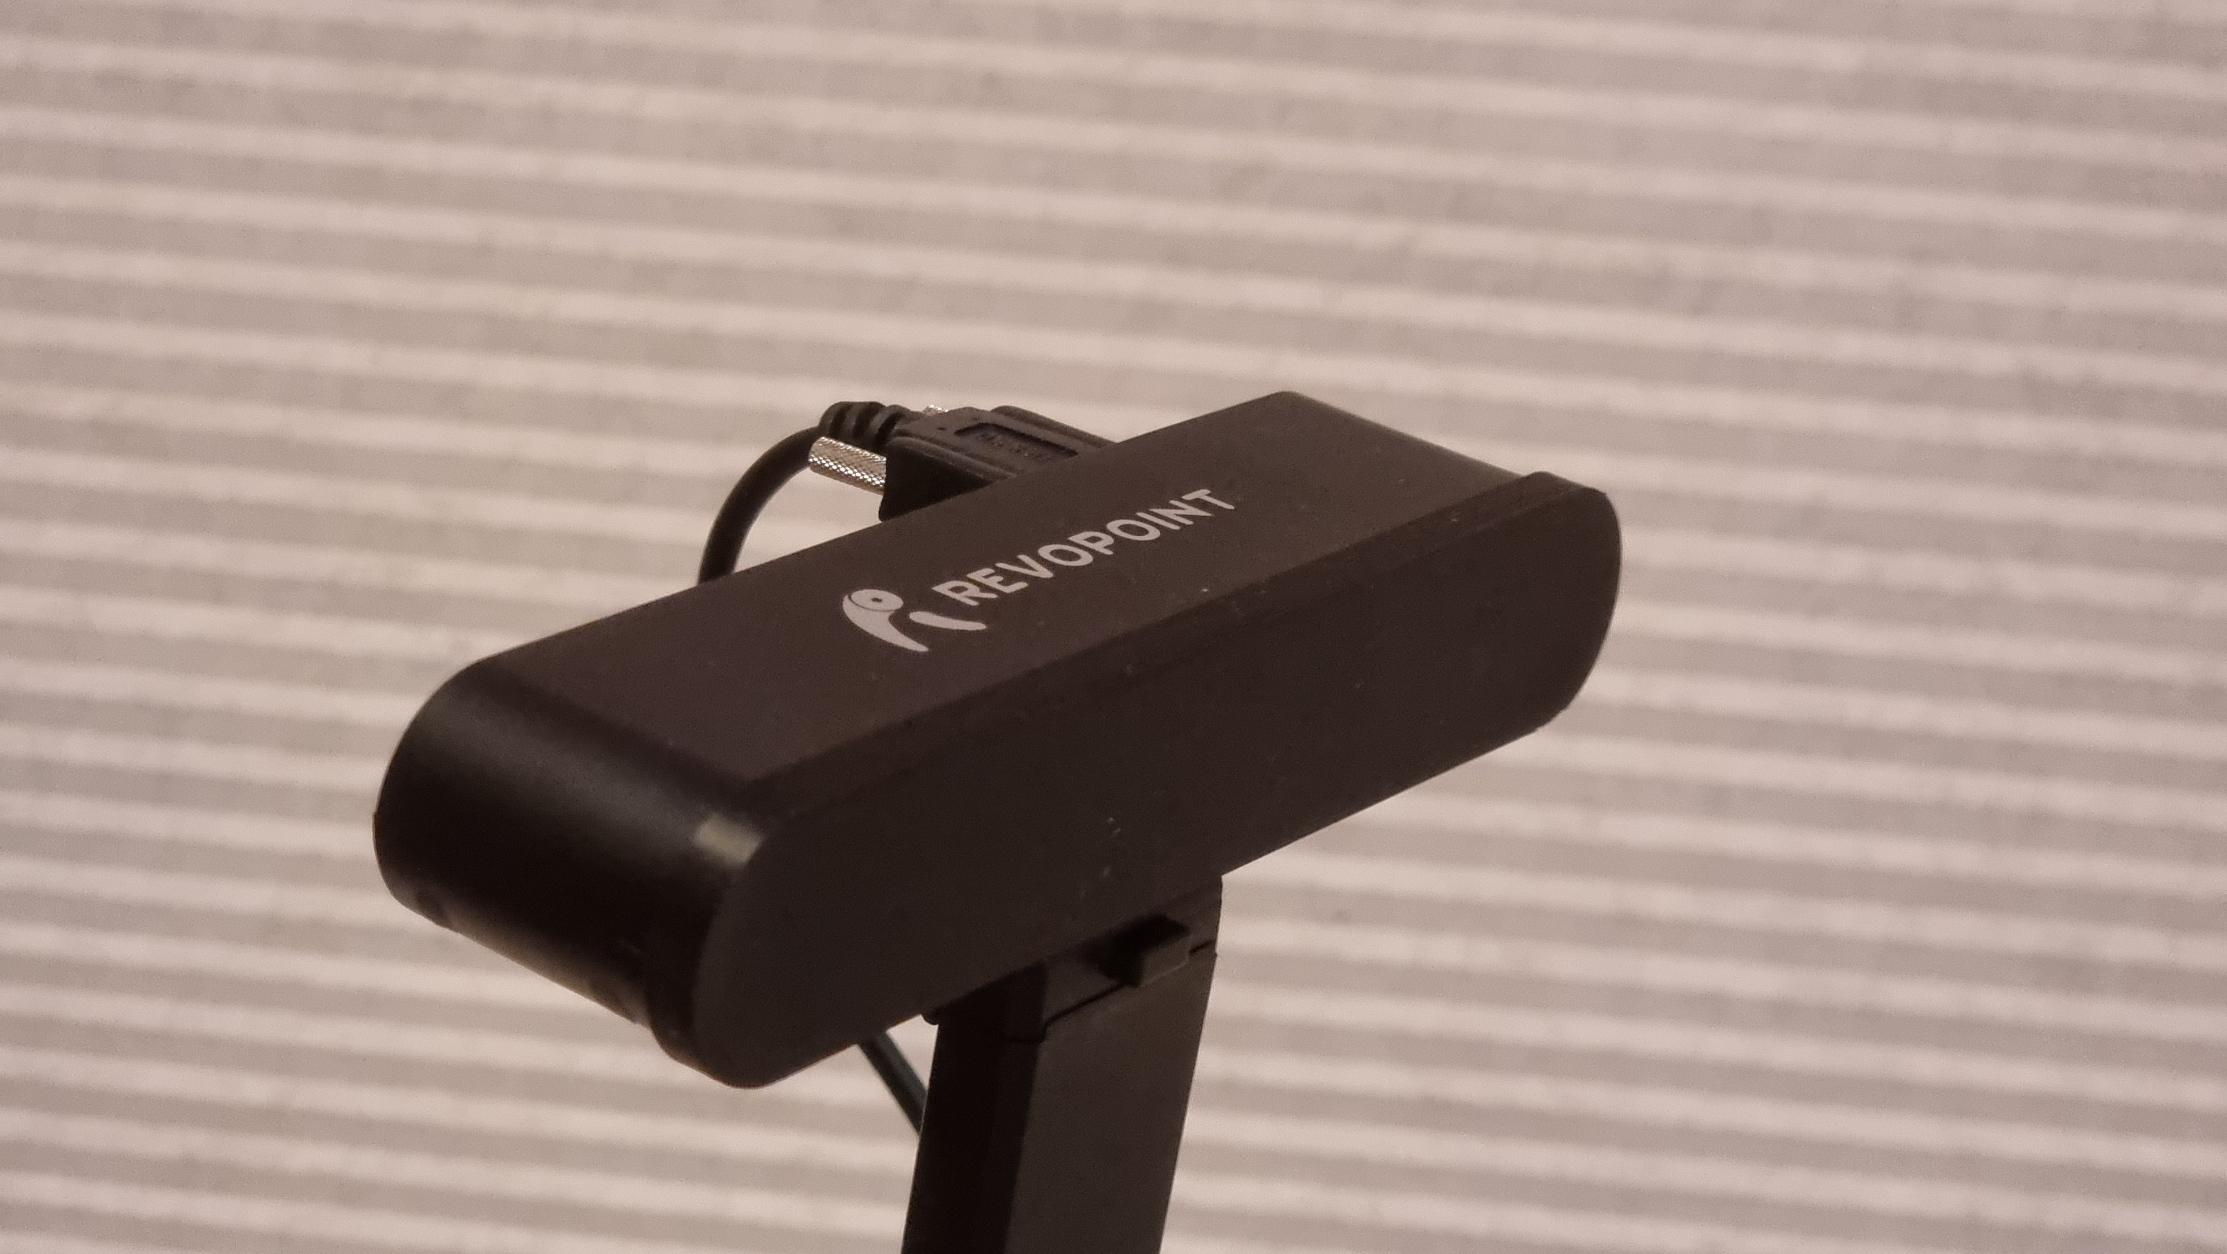
Revo Pop 2 lens cover
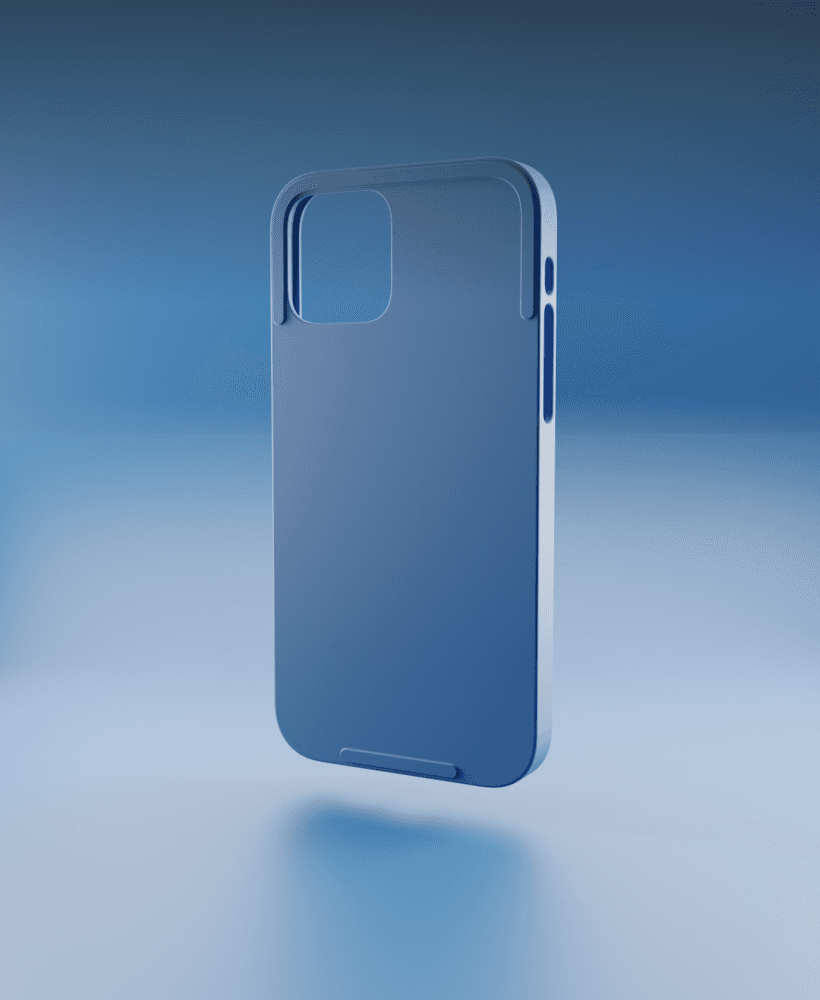
iPhone 12 Flexible Case
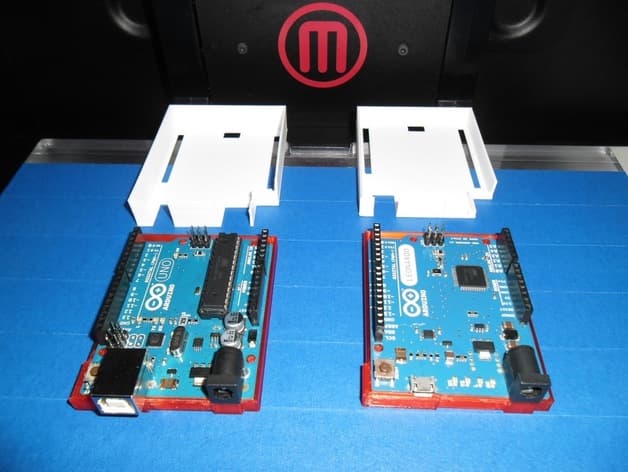
Arduino Uno & Leonardo Covers - Taito 3D Printing Services
iPhone 16 Pro Max Flexible Case
Amiga 2000 Gotek Drive Case and Cover