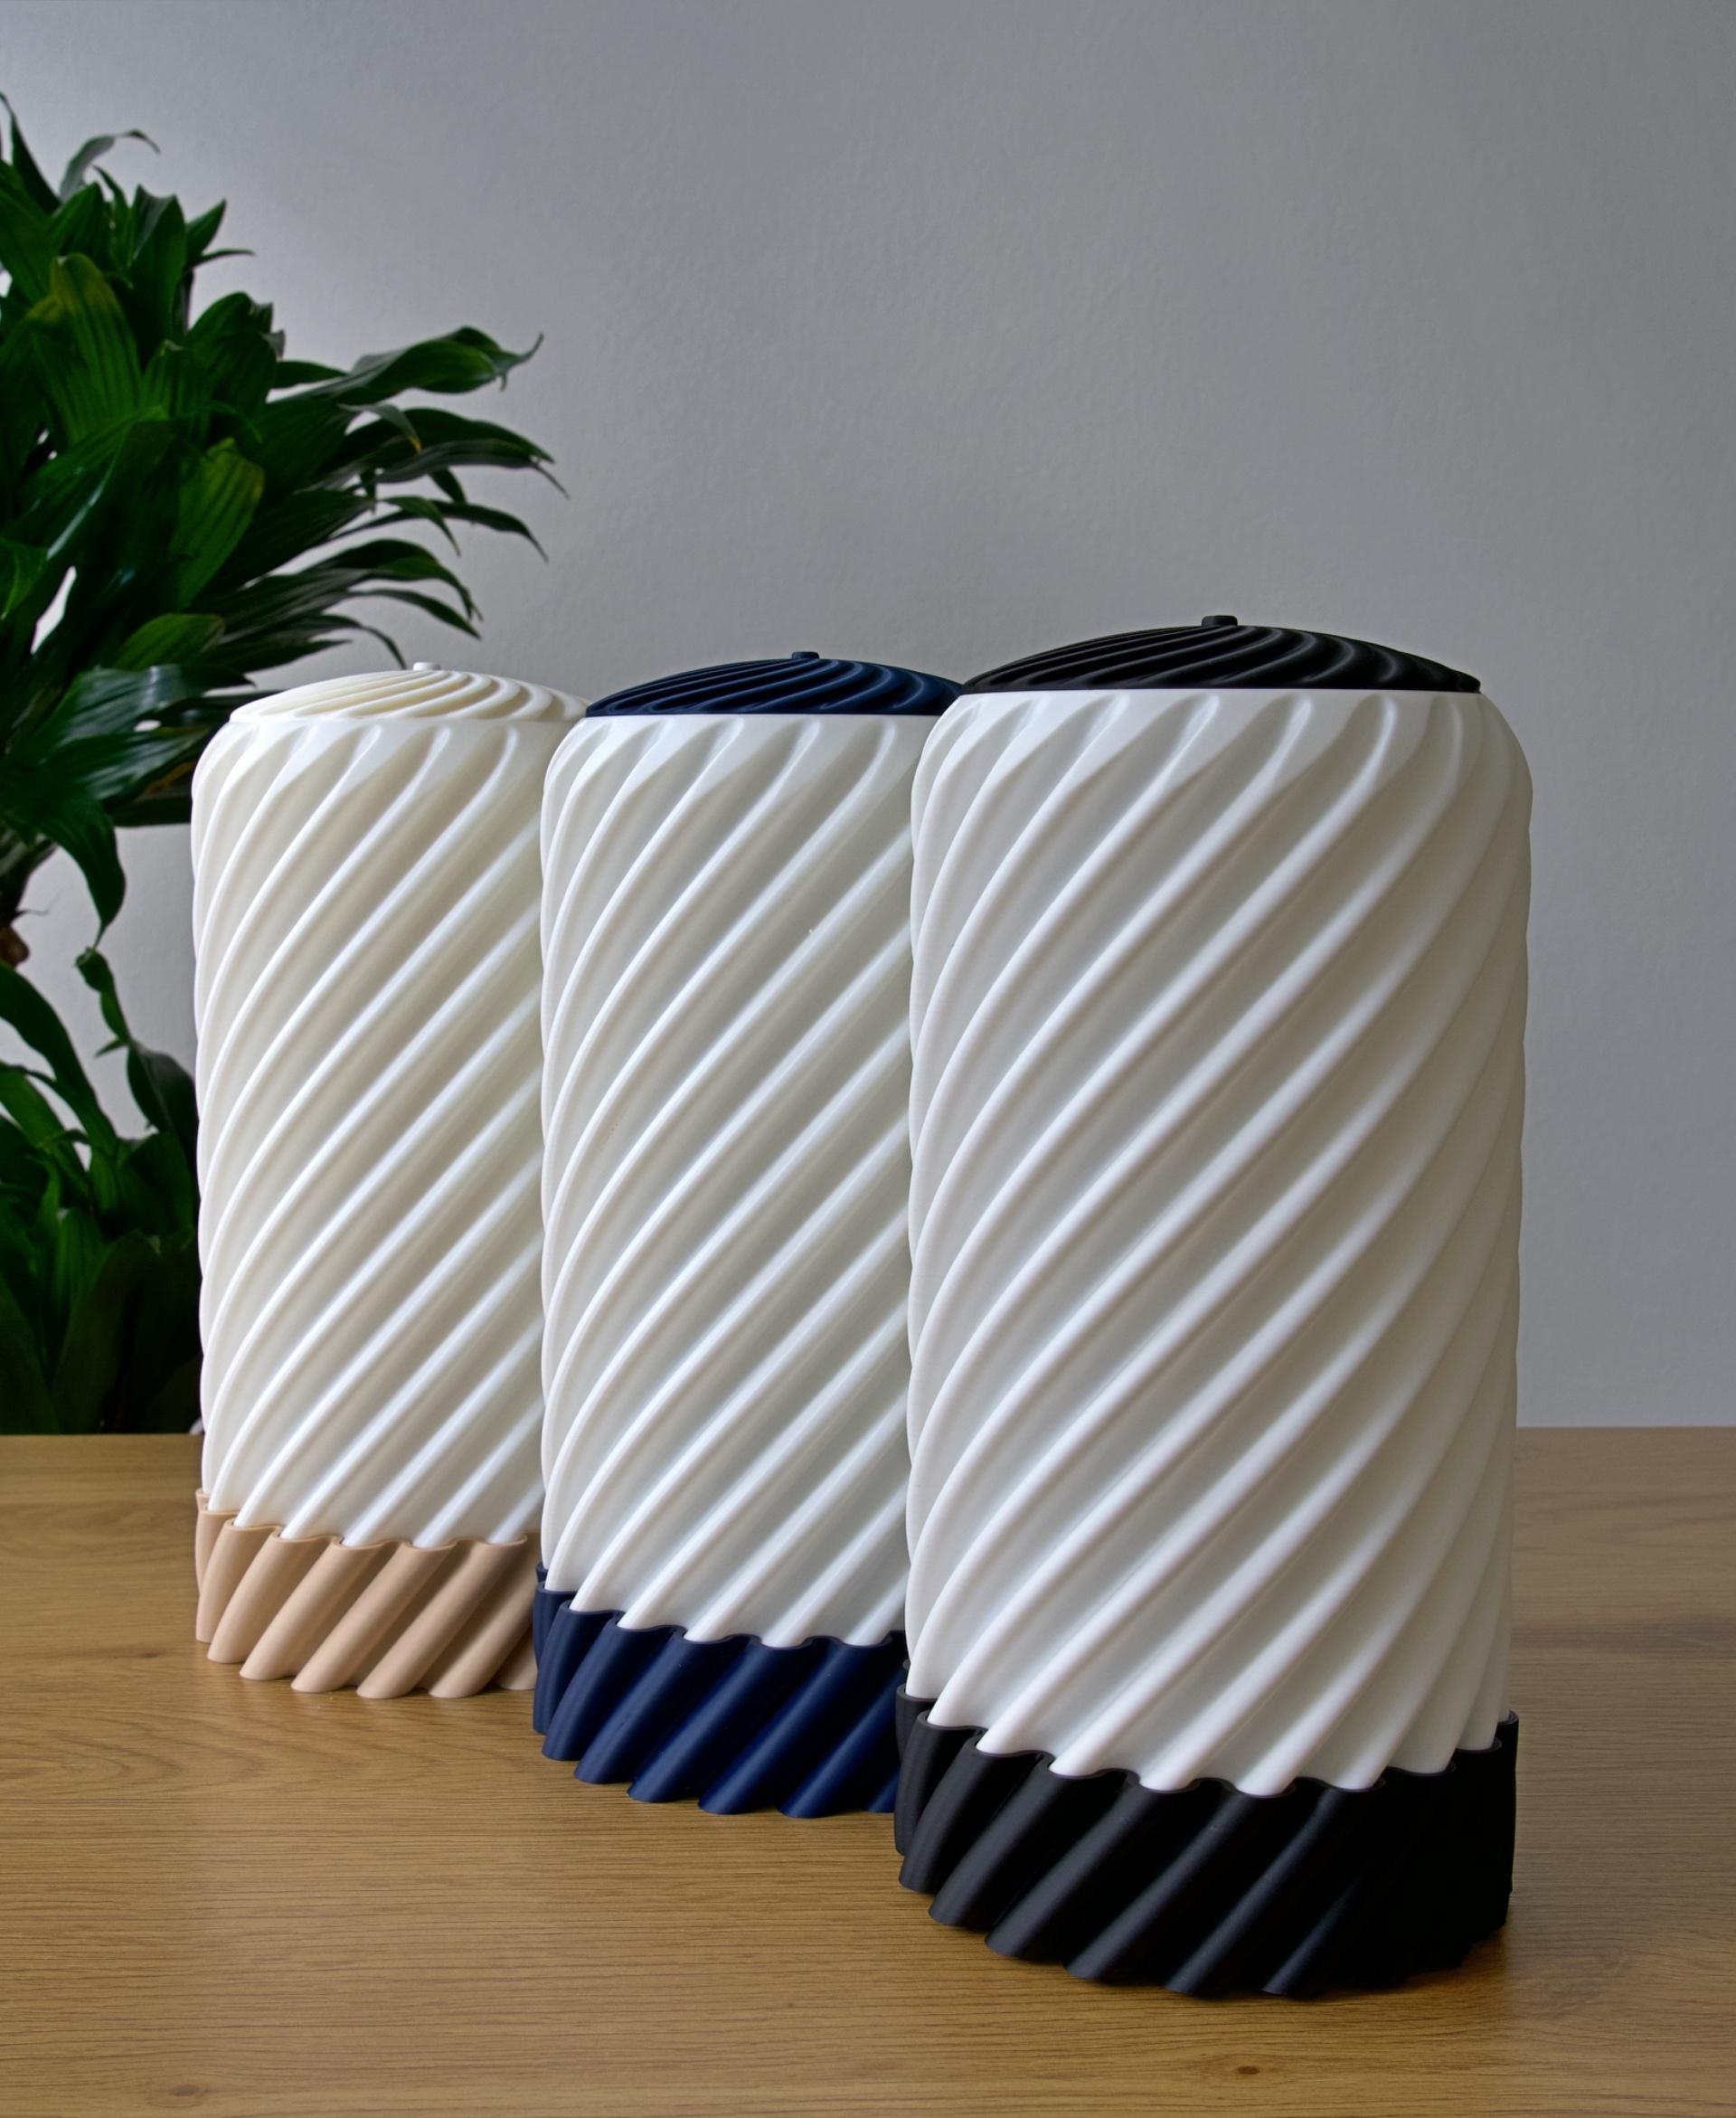
Universal twisted lamp with WLED technology. You can build from any supported WLED component, Esp32/8266 or you can print your own controller board adapter. You can use a different code or use your own, then you can use any controller board. You can even put multiple boards in the base at the same time, you can take advantage of this if you want to put a sensor in the lamp for example or make the lamp a smart home gateway.
I have created a base in which you can insert a wemos mini 8266 board with USB-C or micro USB, you can also use the ESP8266 Lonin V3 or use an adapter to insert any other ESP board. So far I have created an adapter for ESP32-WROOM-32D with 340CH controller and adapter for Arduino NANO. The base can also be fitted with MAX4466/9814 or INMP441 microphones. The tube can be powered with LM2596/XL4015 voltage converters or again with another adapter that you can make yourself. If you use another type of led strips, for example WS2815, which are 12V, you don't need to use the converter at all. The power supply can be connected to the lamp using the DC Power Jack DC099 connector or the USB-C HW-398 module. Everything is screwed in the base with an M2 screw, of course you can use hot melt glue, but I don't like that.
In the files you will find assembly instructions and slicing instructions for the WLED version of this lamp and orca slicer projects for Bambulab X1C and P1S. The slicing manual is for all types of this lamp, but you can tweak some settings, I'm not god.
Dimensions 270x132x132 The largest part is the lamp shade 220x128x128
Now supported components
I recommend using a fuse
Each board or or adapter is held by M2 self-tapping screews. Classic M2 screws work too, I have a lot of them from old laptops.
Control boards -ESP32-wroom-32D HW-394 CH340 with adapter only -ESP8266 LoLin NodeMcu V3 CH340 -ESP8266 Wemos D1 mini CH340 USB-C -ESP8266 Wemos D1 mini CH340 Micro-USB -ESP8266 LuaNodeMcuAmica CP2102 with adapter only -Arduino Nano with adapter only (On Arduino boards WLED is not possible you can use FastLED or Adafruit_NeoPixel )
Step down converters -LM2596 -XL4015
Mics -INMP441 -MAX4466 -MAX9814
Top button -TS-F006, TC-1212T, B3F-4055 (I recommend securing with glue)
Power connector -DC099 5.5 mm x 2.1mm DC Power Jack -Decoy Board USB boost Module Type-C HW-398
You can also use ordinary non-addressable LED strips and create just a simple lamp. You will need approximately 1.2m of LED strip.
Cooling -Aluminium strip 12x2mm You need 1.2m or 6x200mm UK CZ CHN
-You can use led holder without Alu strip or you can use tube holder -In future I will create cooler from CU tube.
Non-slip rubber feet up to 12 mm, recommended for better cooling. Or you can print them from TPU.
Slicer settings Everything is printable with 0.4mm nozzle, whole body is from PLA only LED strip holder must be from PETG or ASA or ABS.
For lampshade I tried 3 types of PLA filament, from Bambulab I tried PLA basic Jade white, from creality I tried Ender PLA white, last PLA filament is Litophane from ROSA3D, you can use all litophane filaments or white filament with low amount of pigment.
In the files you will find assembly instructions and slicing instructions for the WLED version of this lamp and orca slicer projects for Bambulab X1C and P1S. The slicing manual is for all types of this lamp, but you can tweak some settings, I'm not god.


