


Ender 3 Max Cable Chain Solution
I should note, I haven't tried this with the stock extruder. I use the OMG extruder v2 in a bowden configuration.
This has been tested with a direct drive set up as well, and works with the motor mounted in any direction except for the right.
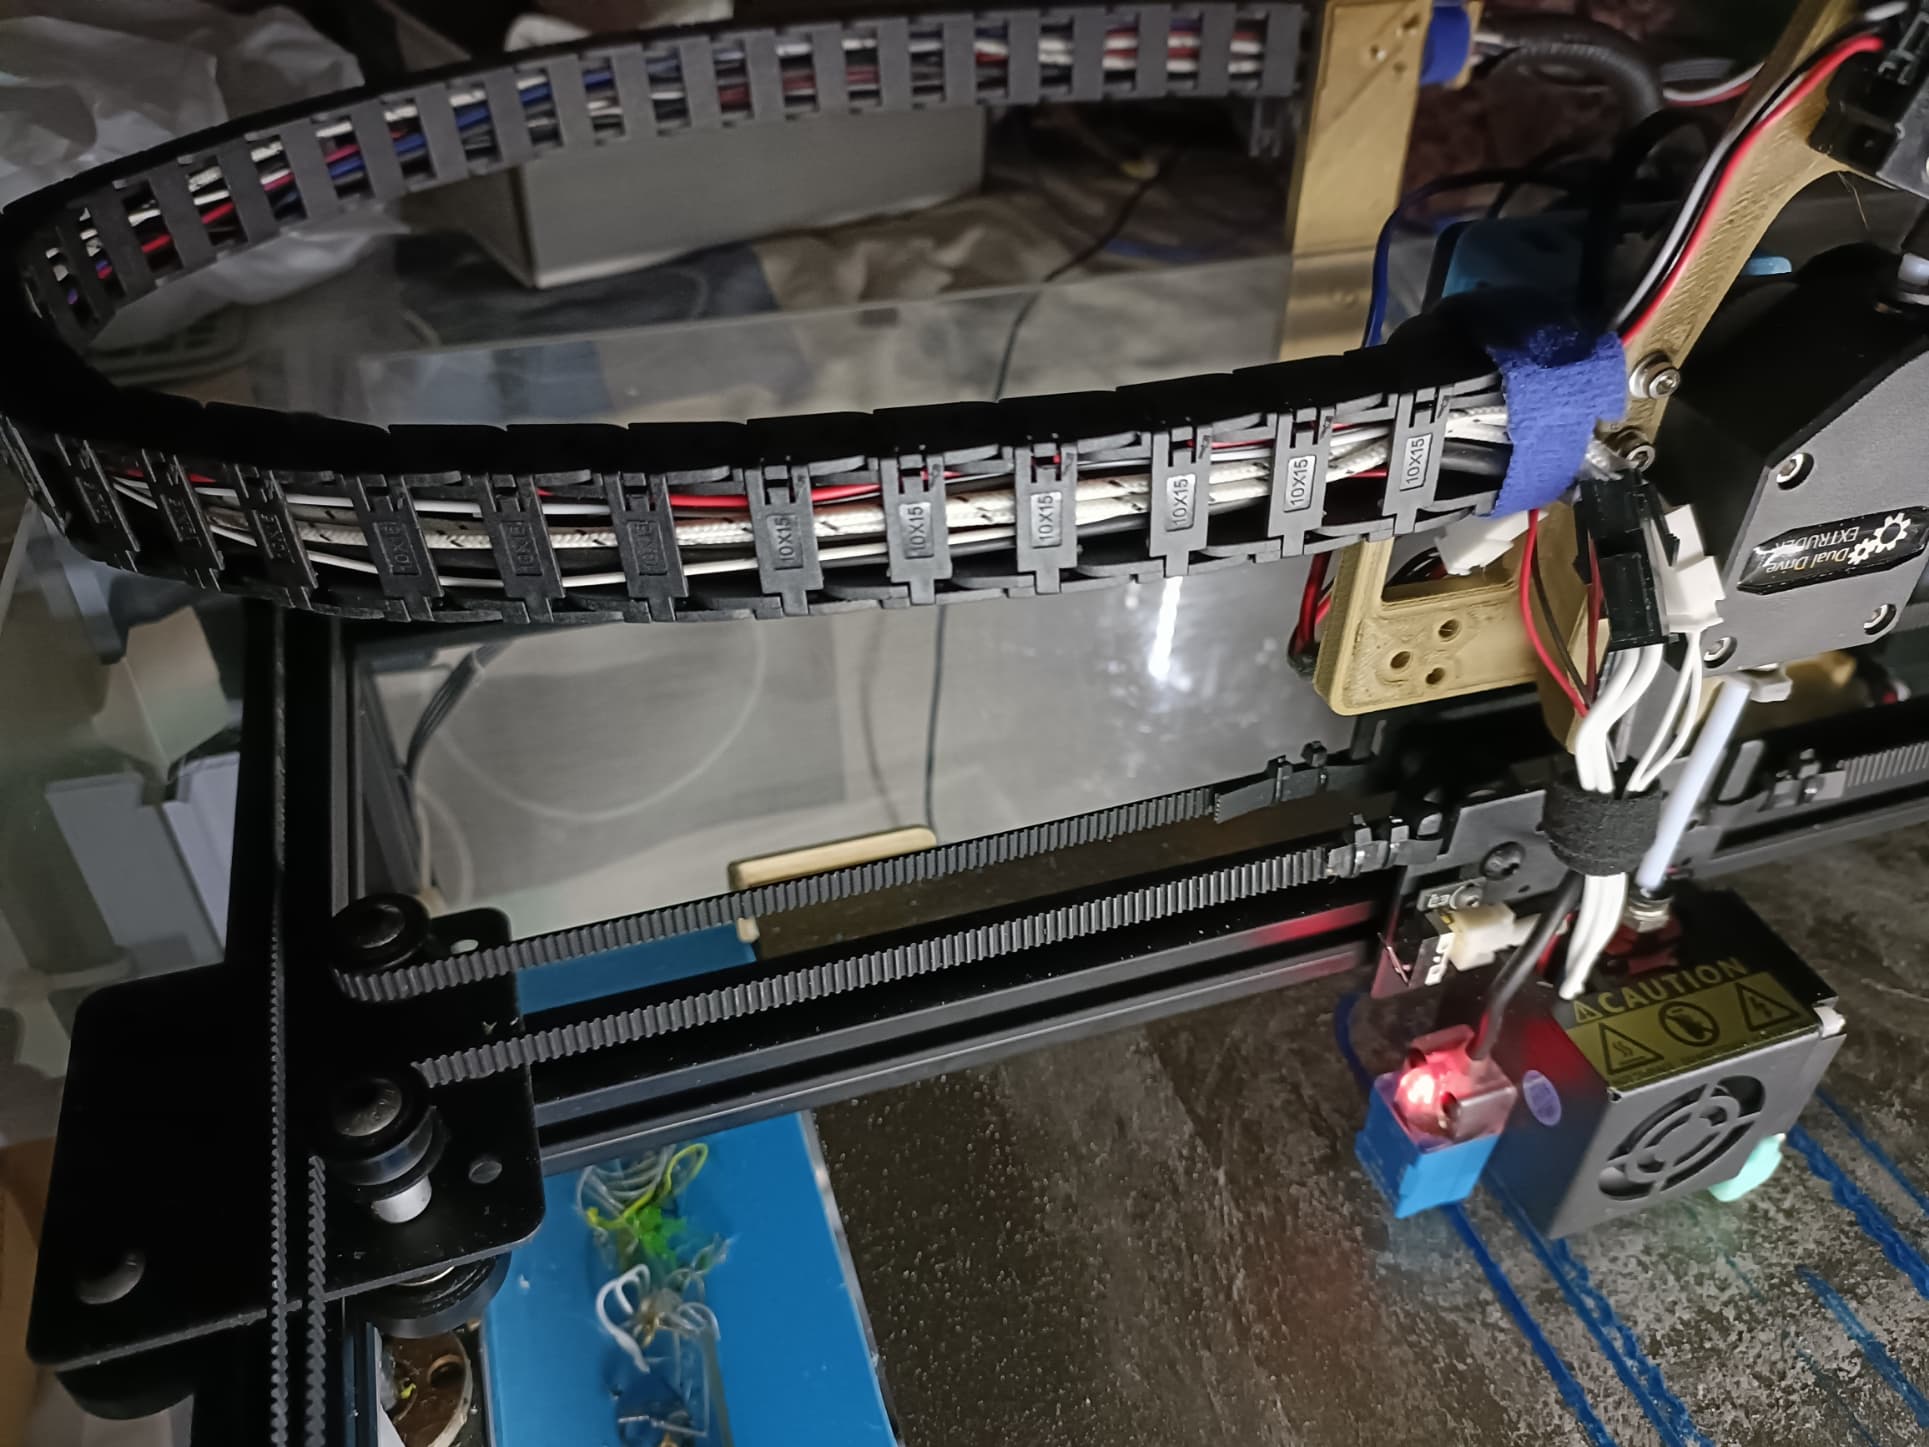
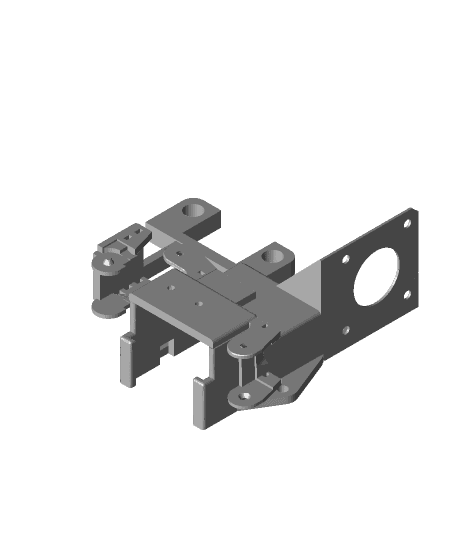
I've spent the better part of 6 months printing, and reprinting many different iterations of drag-chains, or cable chains, for the Ender 3 Max. I think I came up with a pretty decent solution. I have removed my filament runout sensor, but this should still work with it.
This package contains 4 files.
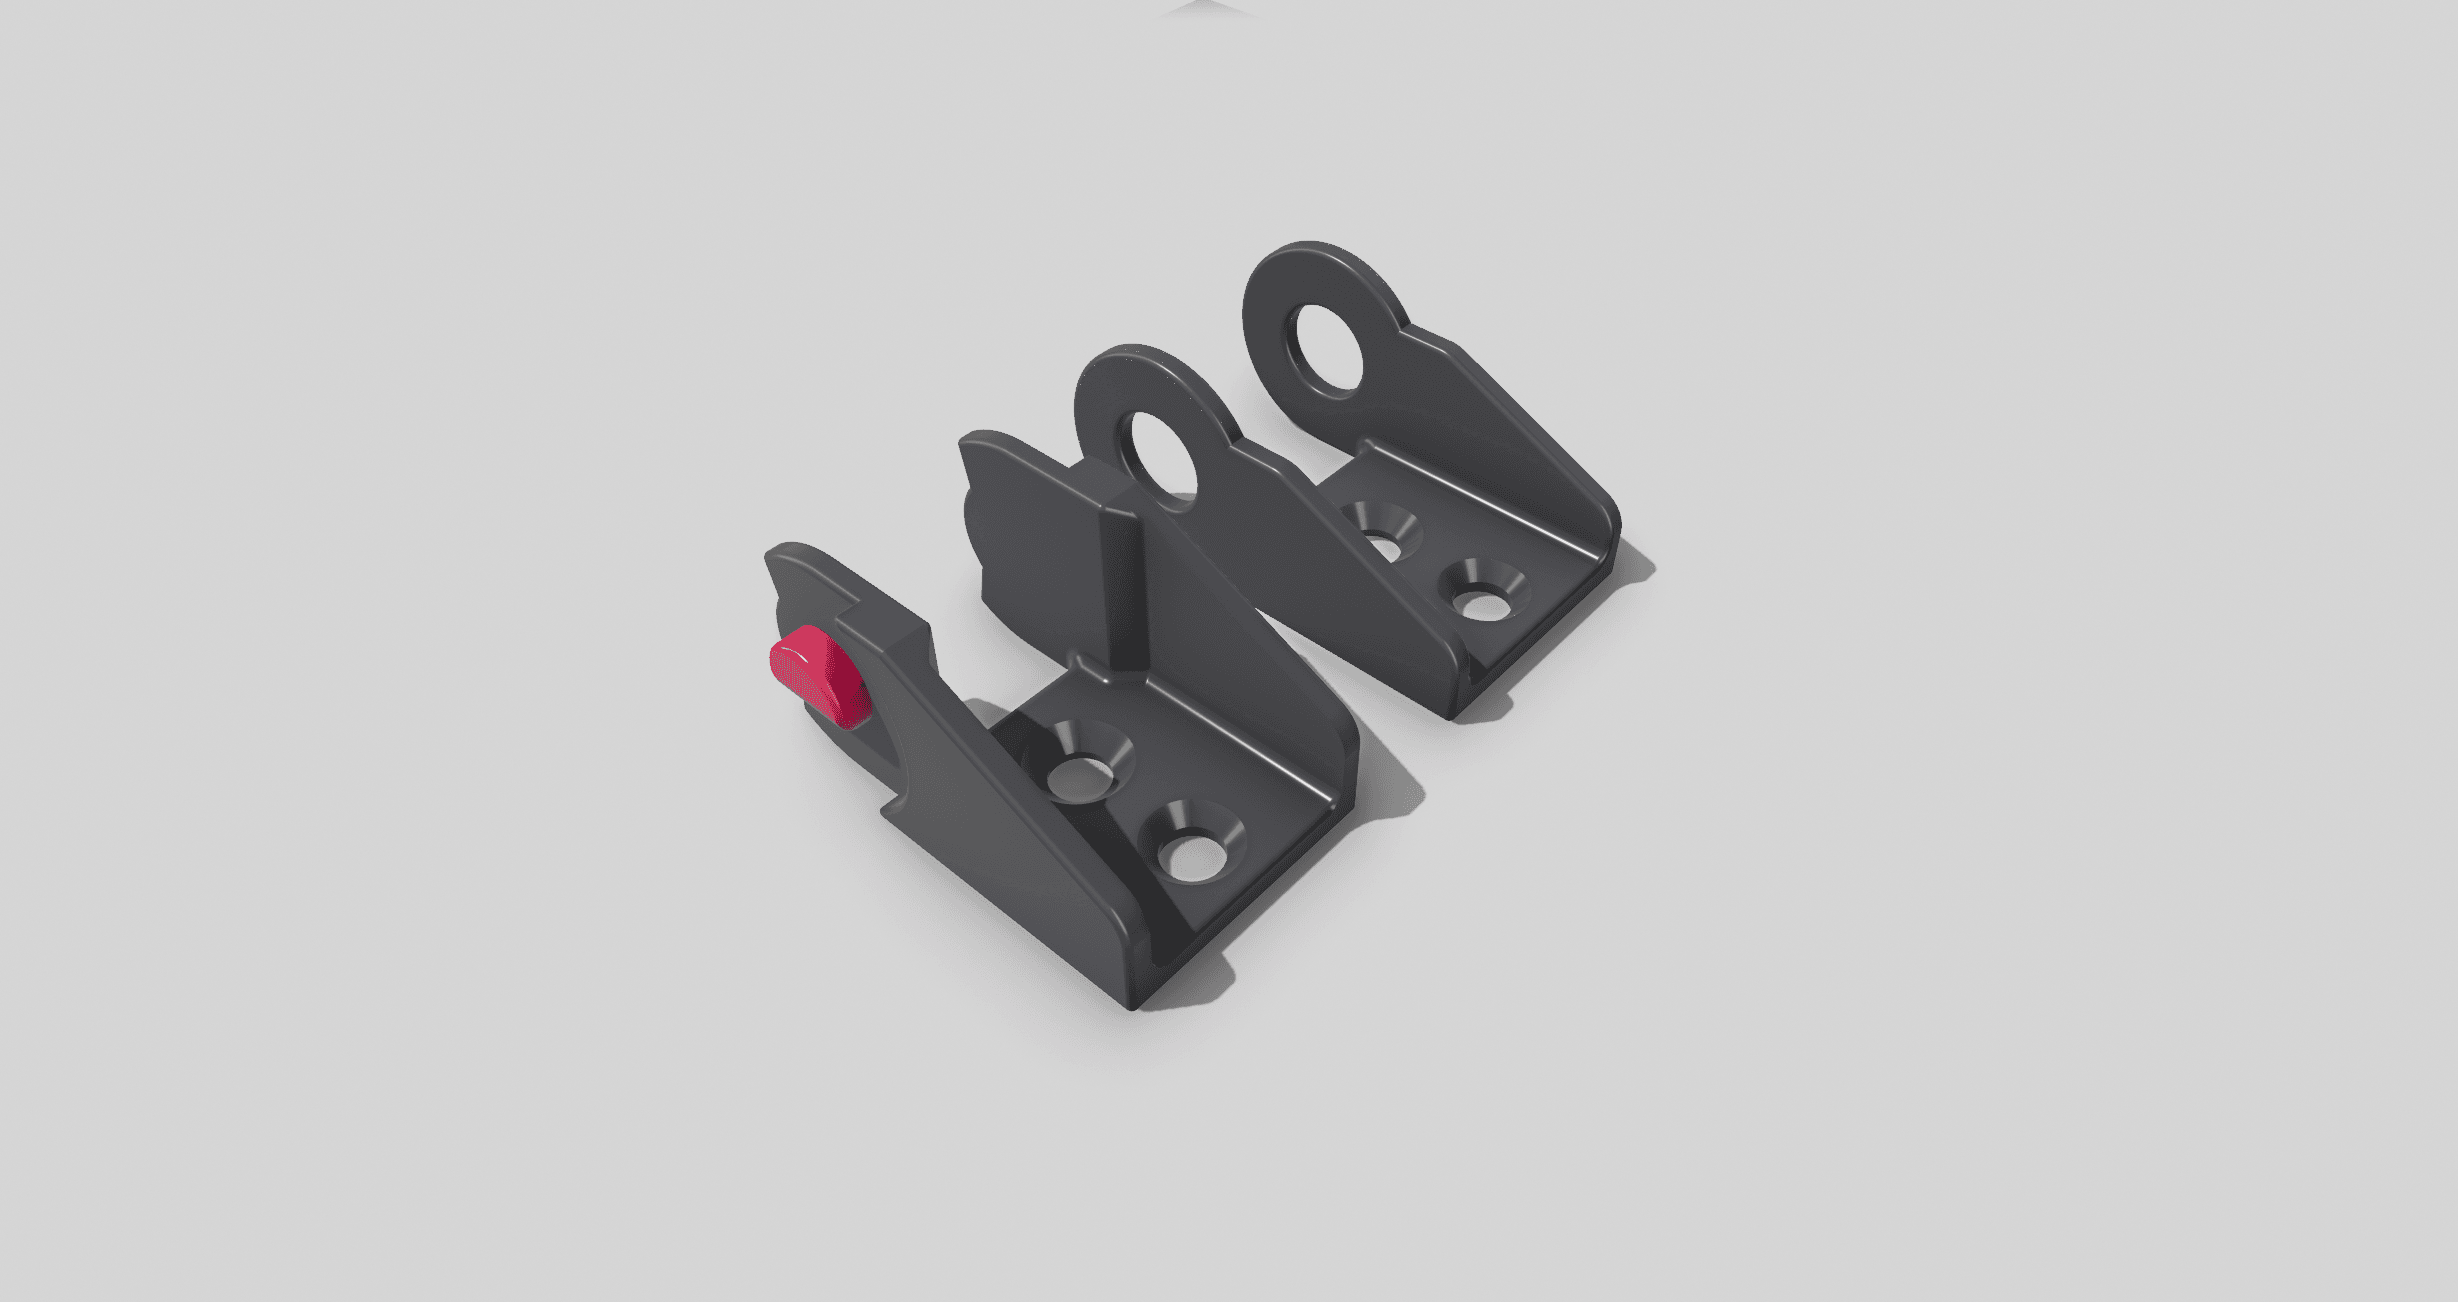
- Hotend Connection
- Extruder End Connection
- Cable Chain Link
- Cable Chain Cap
I HIGHLY recommend printing these parts in ABS, or a similar high temperature resistant filament. PLA will end up sagging, and failing over time.
All of these parts are oriented in the correct printing position aside from re-centering the models.
No supports are needed. *The cable chain end links printed fine with NO SUPPORT in all 30 different test prints I did plus all the chain links. They will print fine with NO SUPPORT.
Print the following amounts:
Hotend Connection 1 Extruder End Connection 1 Cable Chain link 15-20 Cable Chain Cap 15-20
You will also need: m3x8 x2 m3 nut x2
Recommended Print Settings Filament: ABS, ASA (any high temp resistant filament.) Resolution: .2 Infill: 40% (Triangle, Gyroid, Cubic) Supports: None
STEPS:
-
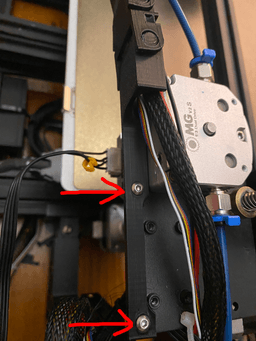
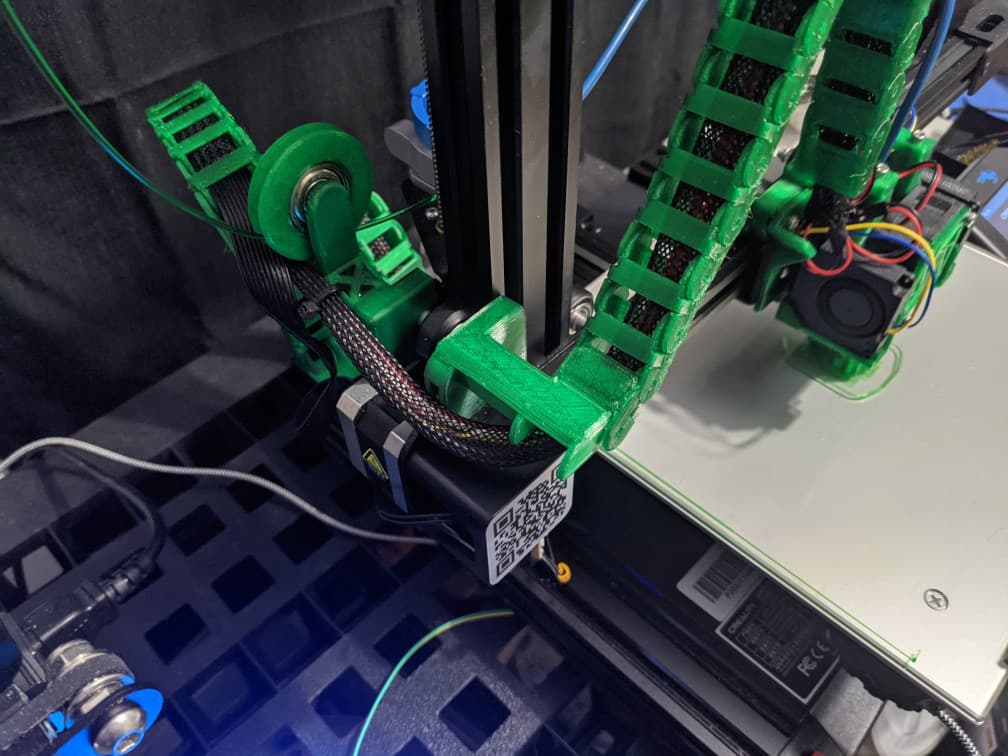
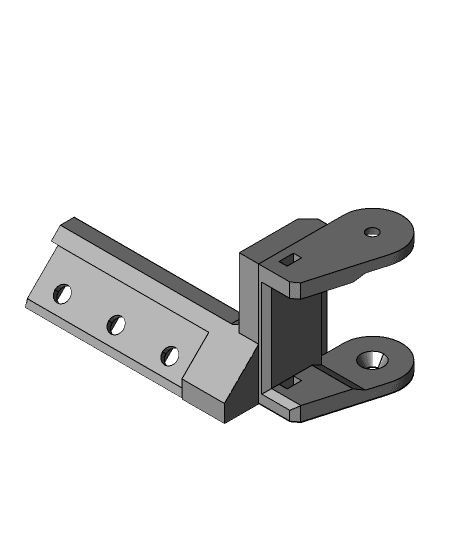
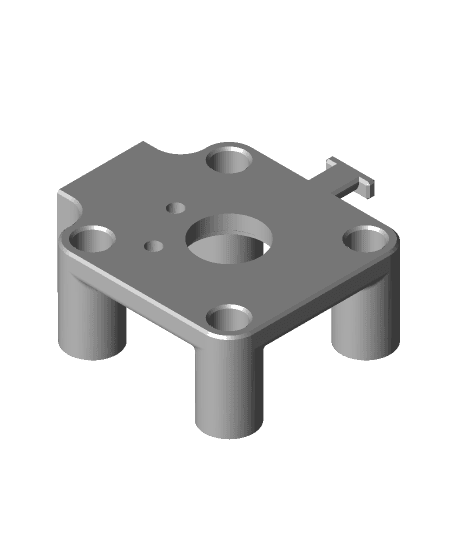
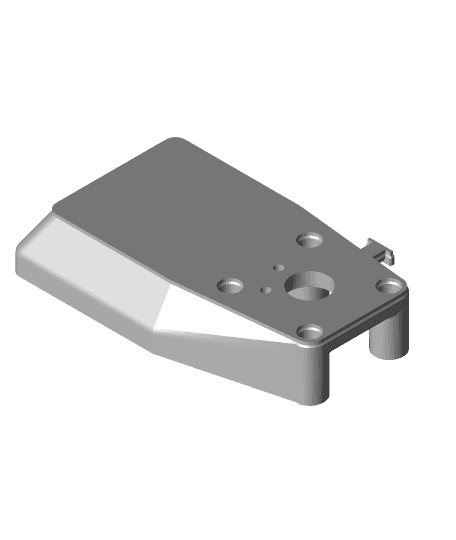
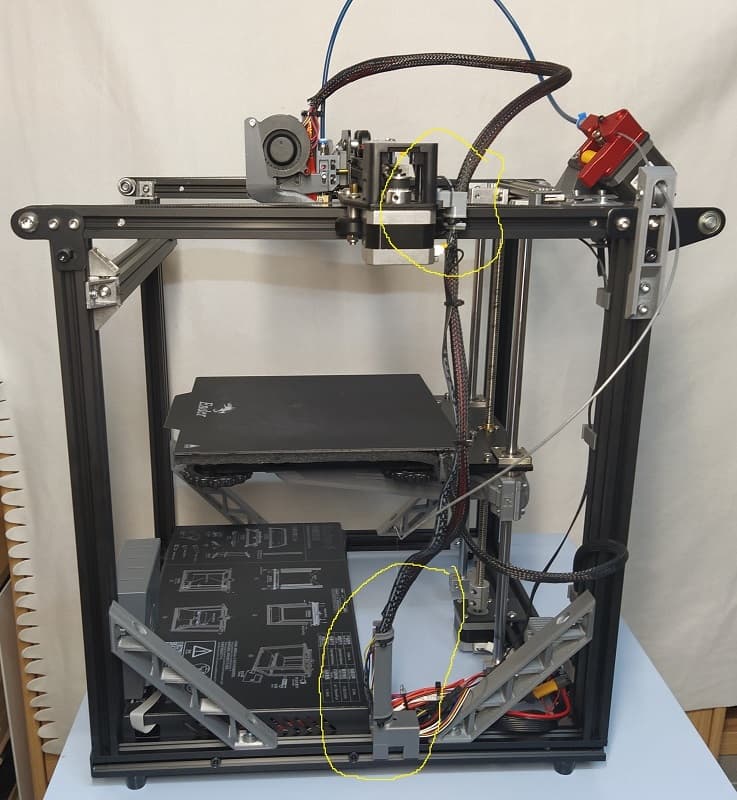
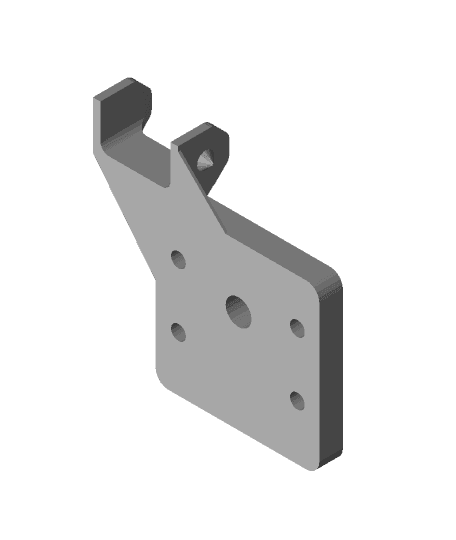
Hotend connection is designed to slide into the top, back part of the stock Ender-3 Max x-carriage. The cable chain connection should be on the right side of the x-carriage plate. [The side closest to the LCD] It'll be a tight fit, but it is meant not to move.
-
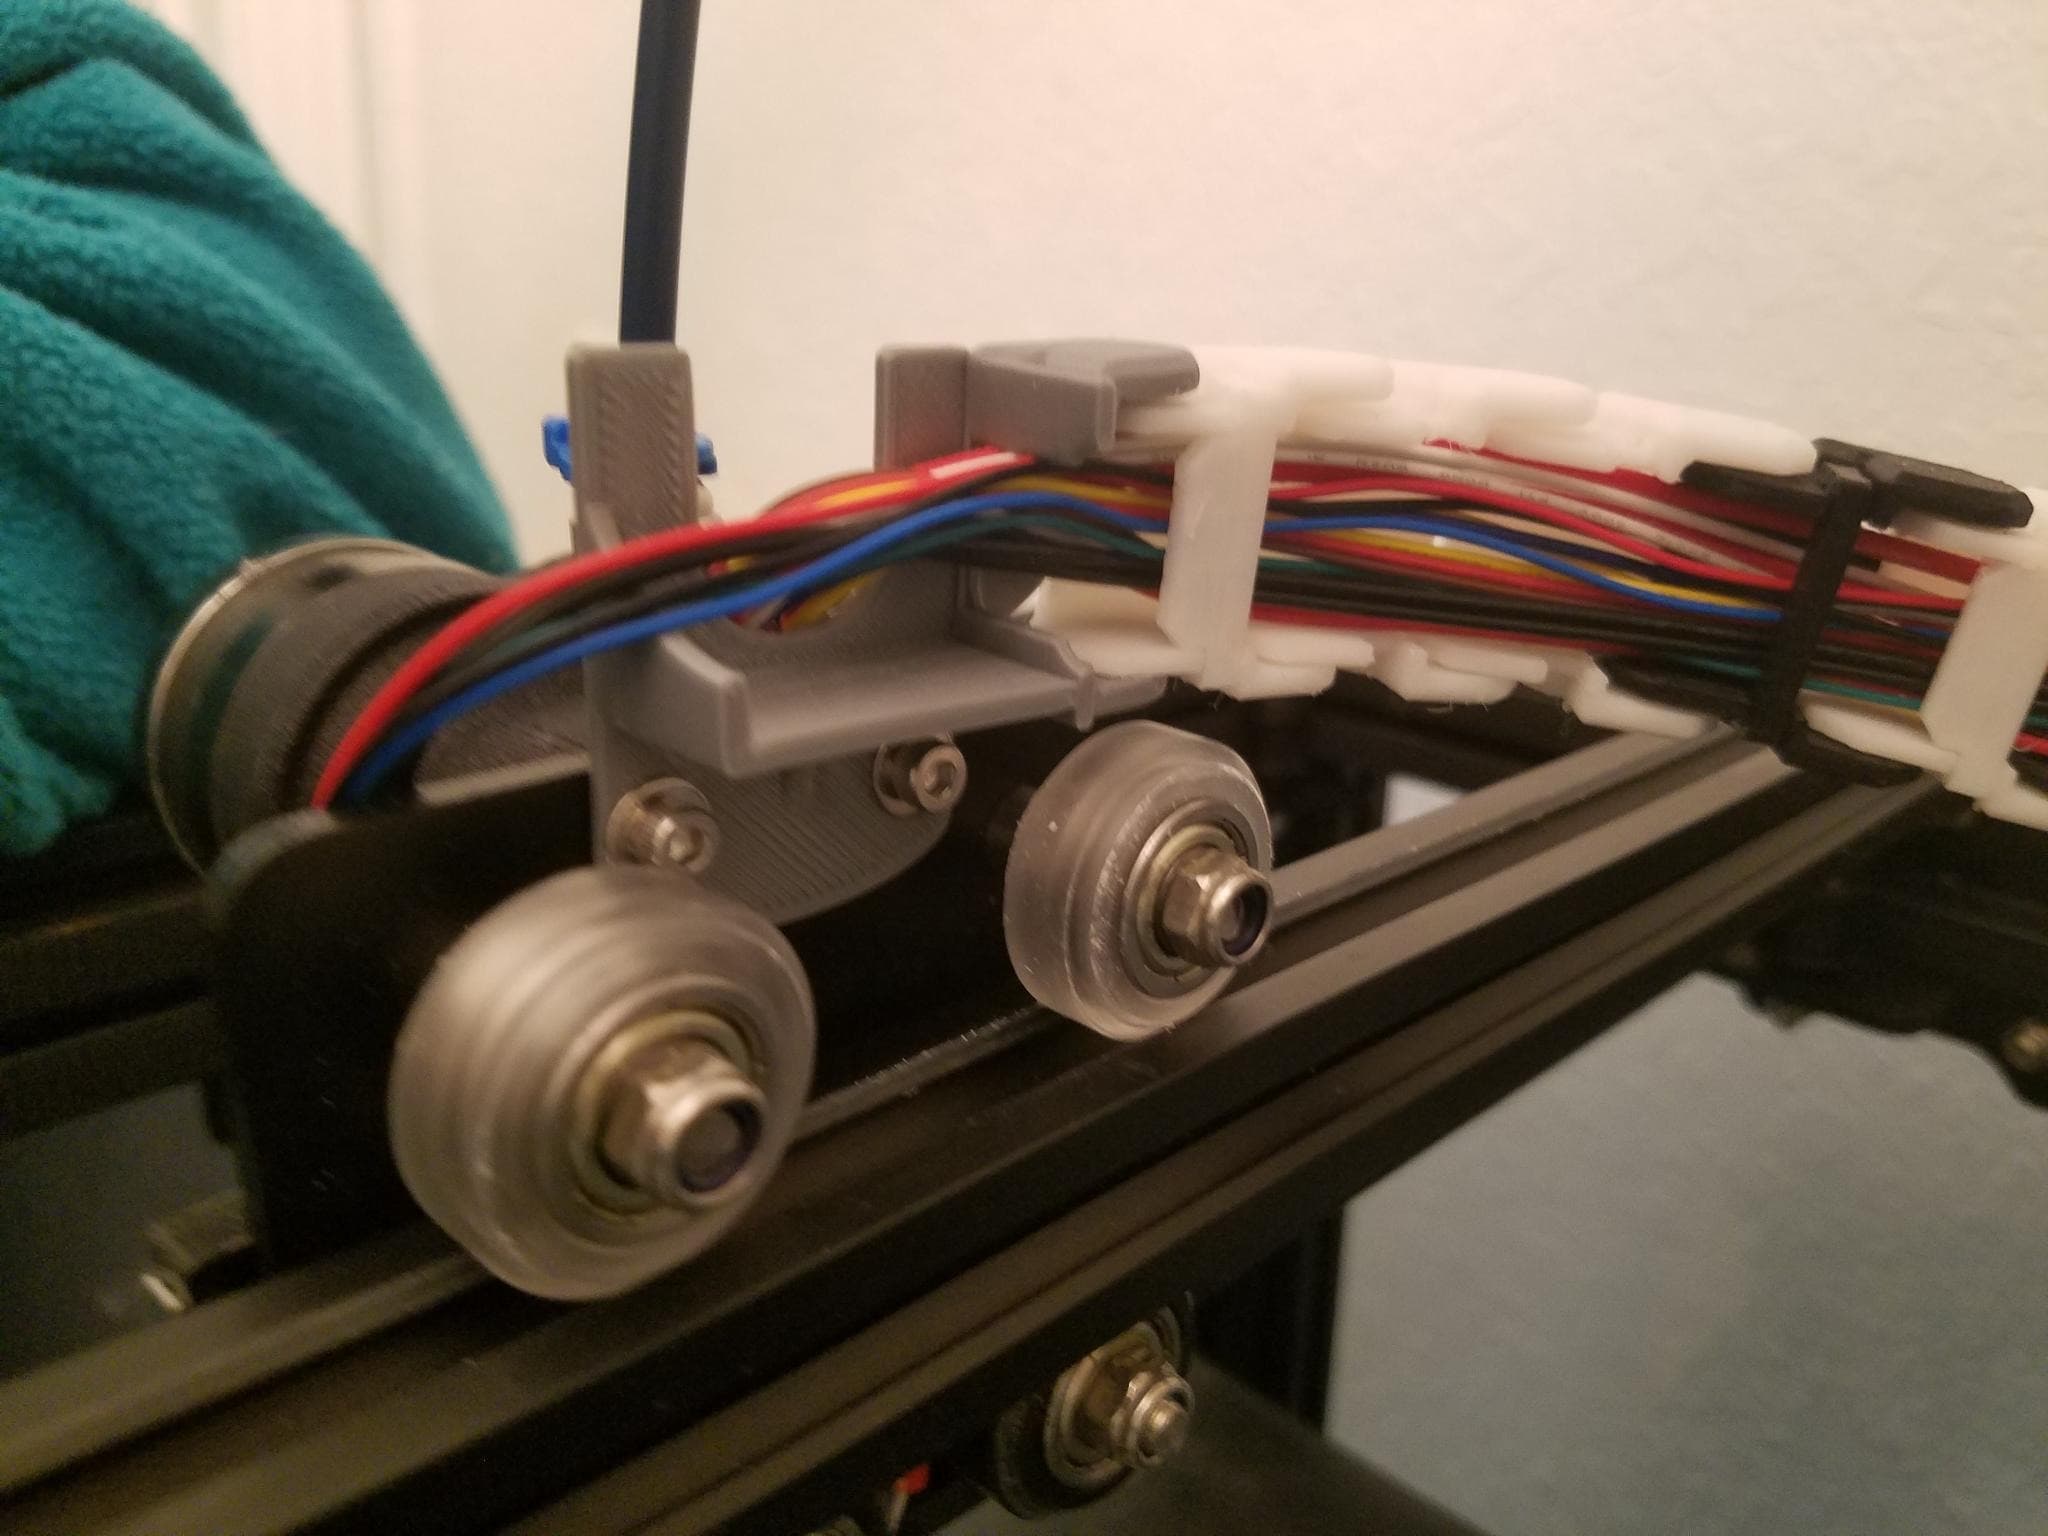
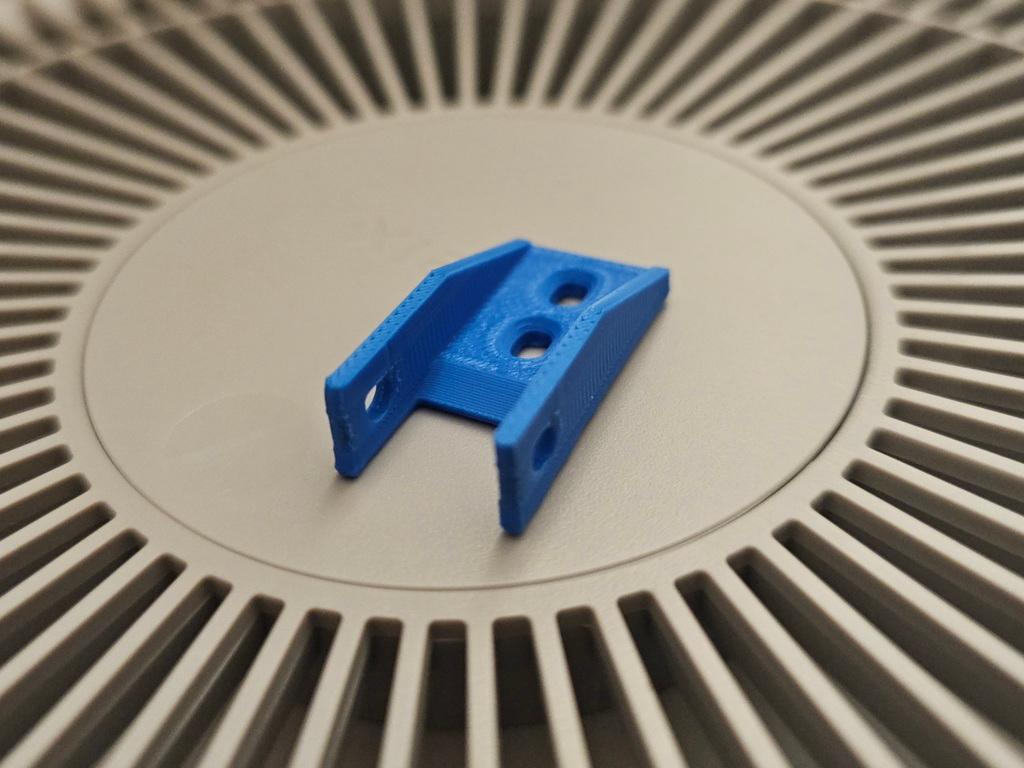
Extruder End Connection. Remove the 4 screws holding the filament runout sensor on, and remove sensor. Place extruder end connection on the far left side of the extruder arm mount and line up the two screw holes. Insert screws and secure with nuts from the bottom. This piece is designed to be a bit flexible to be able to route your cables into the chain. Be gentle, this piece may also be a bit fragile.
-
Replace filament runout sensor
-
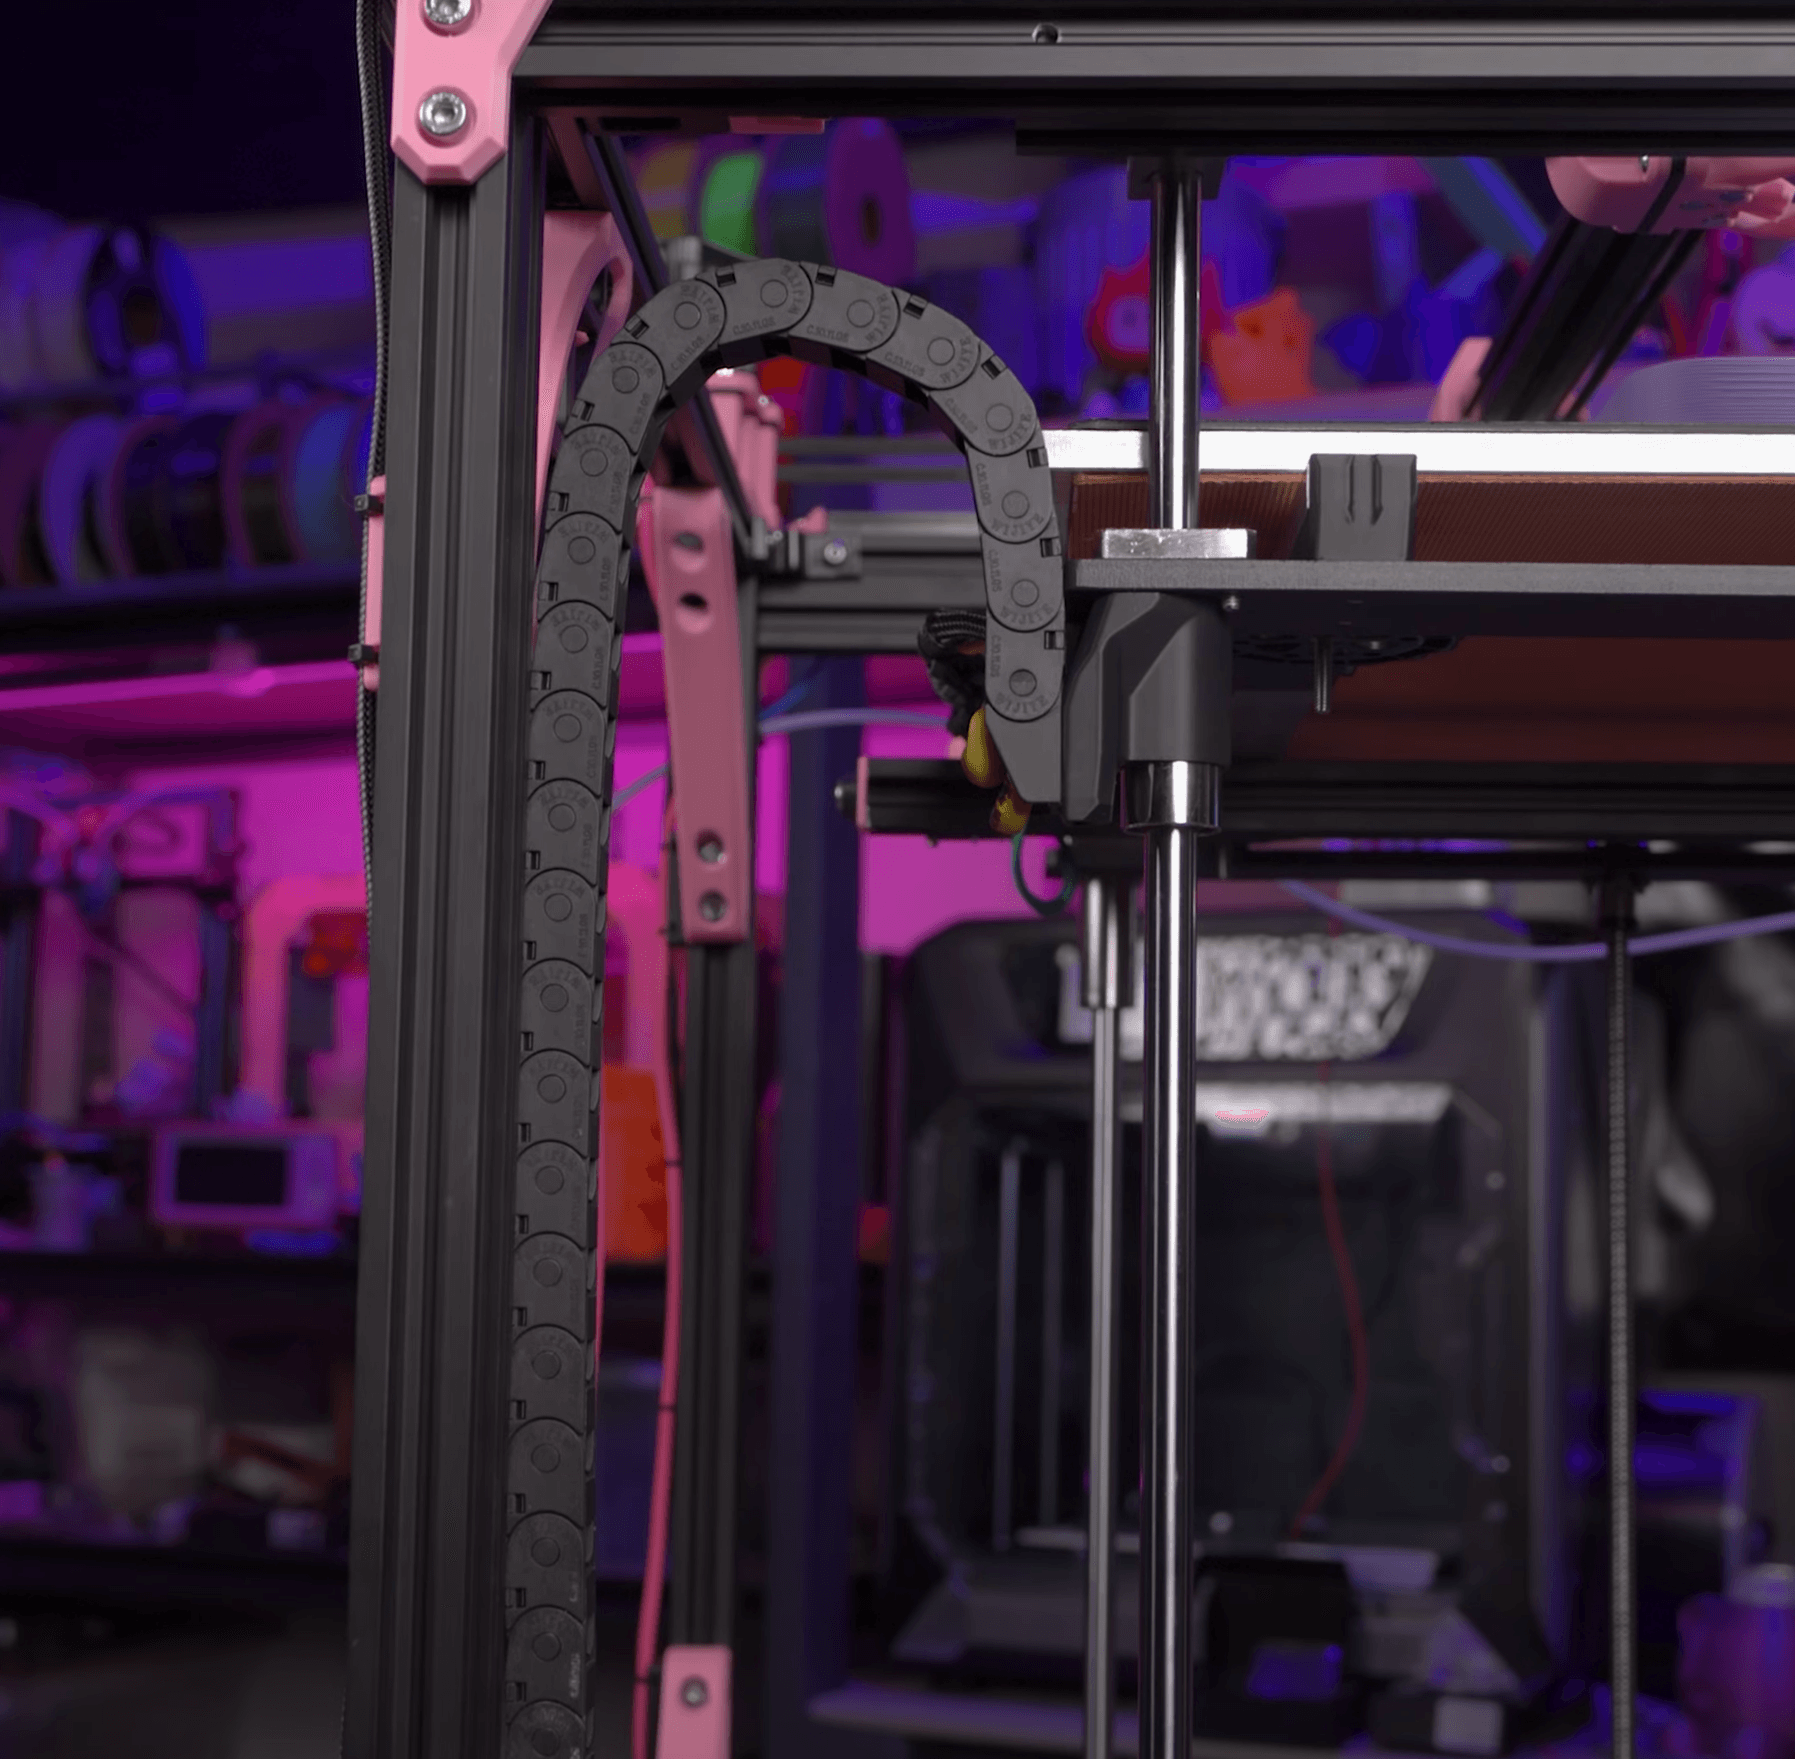
Link 15-20 cable chain links from the extruder end connection to the hot end connection. Connecting links to the Hotend Connection and the Extruder Arm Connection are going to be very tight. They are designed to be pretty firm to help them from popping off easily. Print extra pieces incase anything breaks. Be careful connecting to both Extruder end and Hotend side.
-
Add 15-20 cable chain caps to secure your cables inside of the chain.
That should be everything. Let me know if you need help.
This is based on a few different designs found on thingiverse, and here on thangs. I'd like to credit "OpenDorrPolicy " for the base hot end design, and "neilbalch" for the cable chain link and caps. Check out their designs!
The Hotend Design was initially designed by OpenDorrPolicy on thingiverse. I remixed the creation to make it thicker, denser, fit better, and re-designed the holes to fit the chain links.
The Chainlinks and chain caps were based on a design I found from neilbalch, here on thangs. They are unaltered. They are the most superior printed cable chain design I have been blessed to come across. I recommend them highly for any cable chain need.
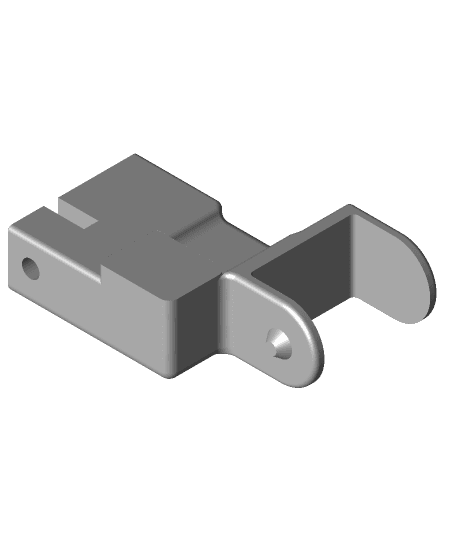
The Extruder Arm Connect was designed entirely by me in Fusion 360.
**This is a work in progress. While this part is functionally complete, I am in the process of designing it to look a little better. The cosmetic design will change over time
Ender 3 Max Cable Chain Solution
Ender 5 Plus Z Cable Chain Mod - Manage your Bed wires on the Z-Axis!

Kobra 3 Max-Cable Chain
Modified parts for the CR6 Max Cable Chain
Ender 3 Cable Chain Gantry Mount
Ender 6 Cable Chain Mount
![[Ender 3 Pro] [Remix] Ender_3_Extruder_Cable_Chain_Base 3d model](/_next/image?url=https%3A%2F%2Fstorage.googleapis.com%2Fproduction-thangs-public%2Fuploads%2Fattachments%2F61f58b47-db9e-4fda-9aca-e3f3aec270ee%2FEnder_3_Extruder_Plate_Cable_Chain_Base_robo_modded_fixed_for_ender_3_pro.png&w=3840&q=75)
[Ender 3 Pro] [Remix] Ender_3_Extruder_Cable_Chain_Base
Holder Clip for Creality K1 / K1 Max cable chain mount replacement
Awesome Ender 3 Cable Chain mount for MegaX
Ender 5 X Axis Cabling, Y Axis Movement Cable Chain Adapters
Ender 5 X Axis Cable Chain Adapter with cap

Cable reel - Small Cables (max 4mm)
Tronxy X5SA direct drive with 10x15 cable chain

K1 Cable Chain Anti-Sag Riser Back

K1C / K1 SE Cable Chain Attachment Base
![[Ender 3 Pro] [Remix] Direct_Drive_Cable_Chain_Base 3d model](/_next/image?url=https%3A%2F%2Fstorage.googleapis.com%2Fproduction-thangs-public%2Fuploads%2Fattachments%2F7bbf8691-c914-4a92-914b-1739ff2e7503%2F%255BEnder_3_Pro_%255BRemix_Direct_Drive_Cable_Chain_Base_v3.png&w=3840&q=75)
[Ender 3 Pro] [Remix] Direct_Drive_Cable_Chain_Base

K1C or K1 SE Cable Chain Base
Cable management cable holder for X- Y-cable Ender 5 / Kabel Kabelmanagement Kabelhalter für X- Y-Kabel Ender 5
Ender 3 V2 Creality Run Out Sensor Cable Chain Mount
x limit cover with extruder mount and cable chain connections.stl