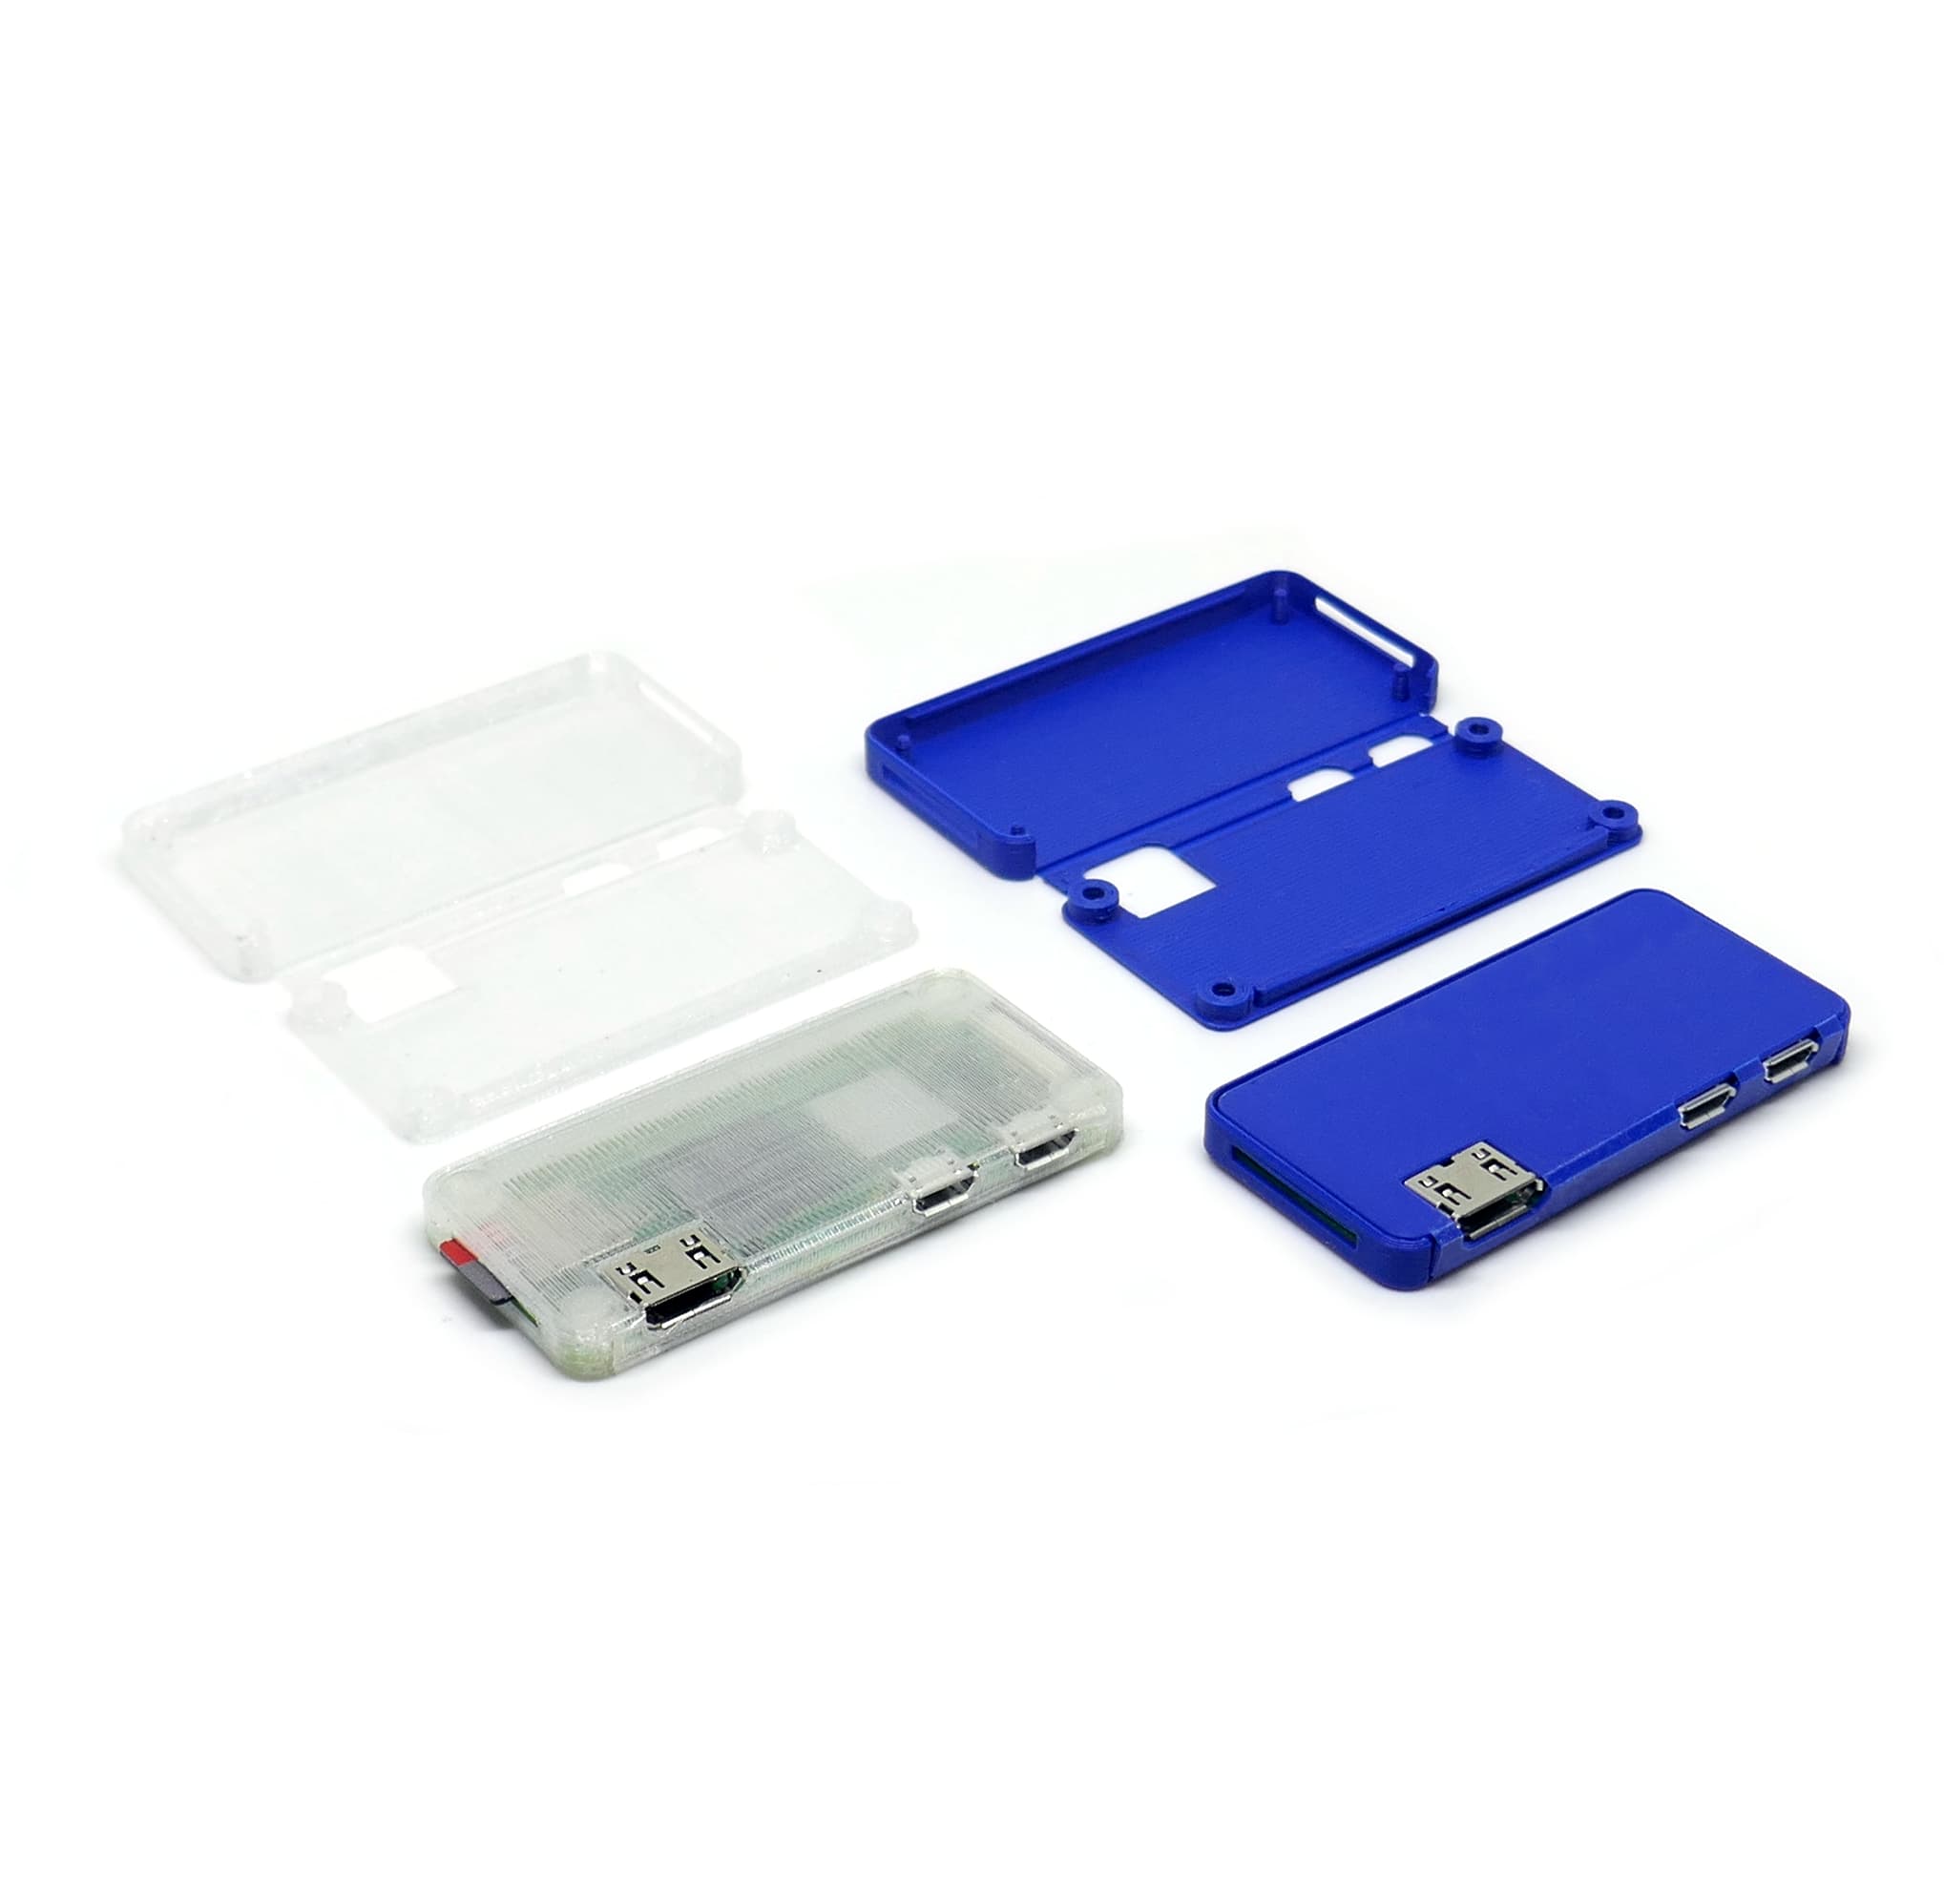

Design This is the reduced to the max case / housing / sleeve for the Raspberry Pi Zero (2 W) in the version without cooling (we have another model that is prepared for cooling), less is hard to imagine. A foldable print in place housing with live hinge that is less than 2mm bigger than the Raspberry itself. All interfaces are accessible and the board itself is covered and protected. Above that it prints as one piece, the assembly is easy and no tools or screws are needed. Just print (in less than an half an hour / under 15 minutes with input shaping) and use…
Construction The case itself has a wall thickness of 0.8mm, optimized for printing with 0.4mm nozzles. The live hinges are exactly one layer (with a layer height of 0.2 mm) high and all openings can easily be bridged with standard cooling settings. All corners and edges (as far as possible) have rounded with fillets clipped at 35° to avoid any overhangs that would need supports.
Since this minimum of a case could be a starting point for your own Raspberry Pi Zero project we also included a STEP file below…
Slicing, Printing The part prints with standard settings (0.4 mm nozzle, 0.2 mm layer height, 2 perimeters, 5 bottom / 4 top layers) without any issues but in case you want to take it one step further and optimize the result there are two recommendations, one for opaque and one for transparent / translucent filaments:
For the opaque materials we suggest to orient the infill at 90° (based on the orientation the file has) since the infill lines of the first layer do then run perpendicular to the live hinges, which is good for their strength and also give a nice outside with beads oriented at the part geometry. Besides that you may also want to set the perimeter count to just 1 in order to get less “frame” around the infill areas. The top layers should be set to 0, the bottom layers to 5 and infill should be set to 100% concentric, which gives the best result for the pins and tubes (especially when we have just 1 perimeter). Usually the part should print without brim which also gives you nice, clean edges.
The super transparent version is a bit more tricky since it uses just one orientation for infill lines. Layer height and perimeters are the same as for the opaque version above but the top and bottom layers both need to be set to zero. The infill is at 100% aligned rectilinear infill set at an angle of 90°. Again no brim will be needed.
In any case auto cooling should be enabled since the layer times are very low towards the end. If you still experience issues with curled areas you might want to try to print two parts at the same time, then all parts should have sufficient cooling time between the layers.
Just one last thing: We recommend “initializing” live hinges direct after printing, and on the print bed when taking the parts off. Just fold them when still warm and you will have a much nicer bend at the live hinges…
Assembly Not much of an assembly actually, place the Raspberry in the case, fold the top and click in place.
Happy printing!