


Ender 3 4020 Fan Housing
Model originally uploaded to Thingiverse at https://www.thingiverse.com/thing:3342107.
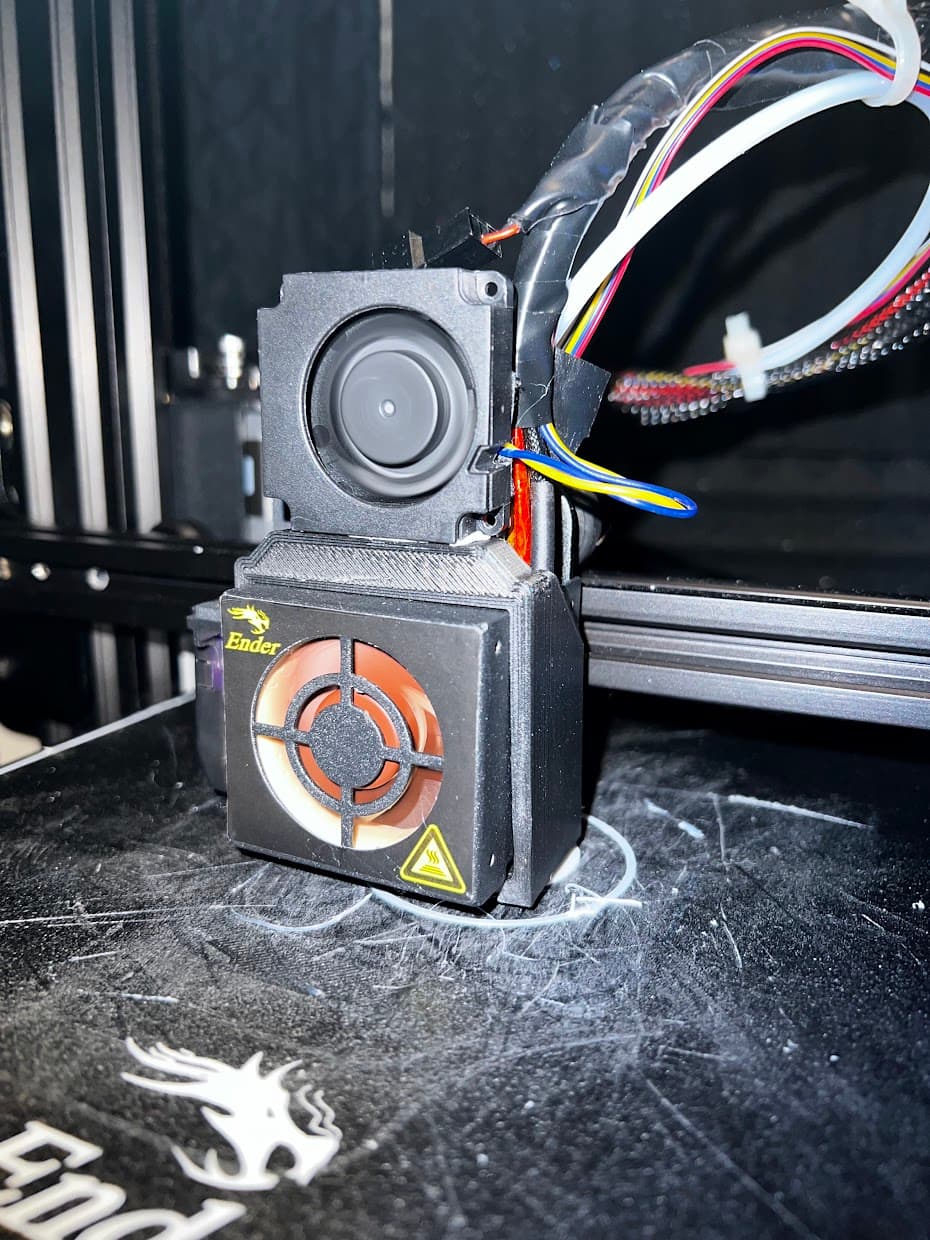
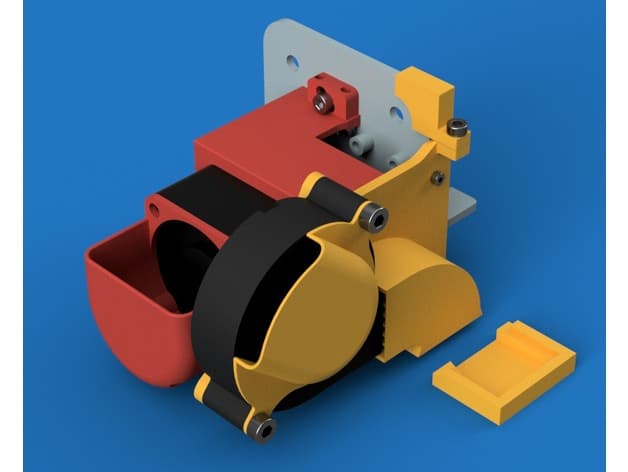
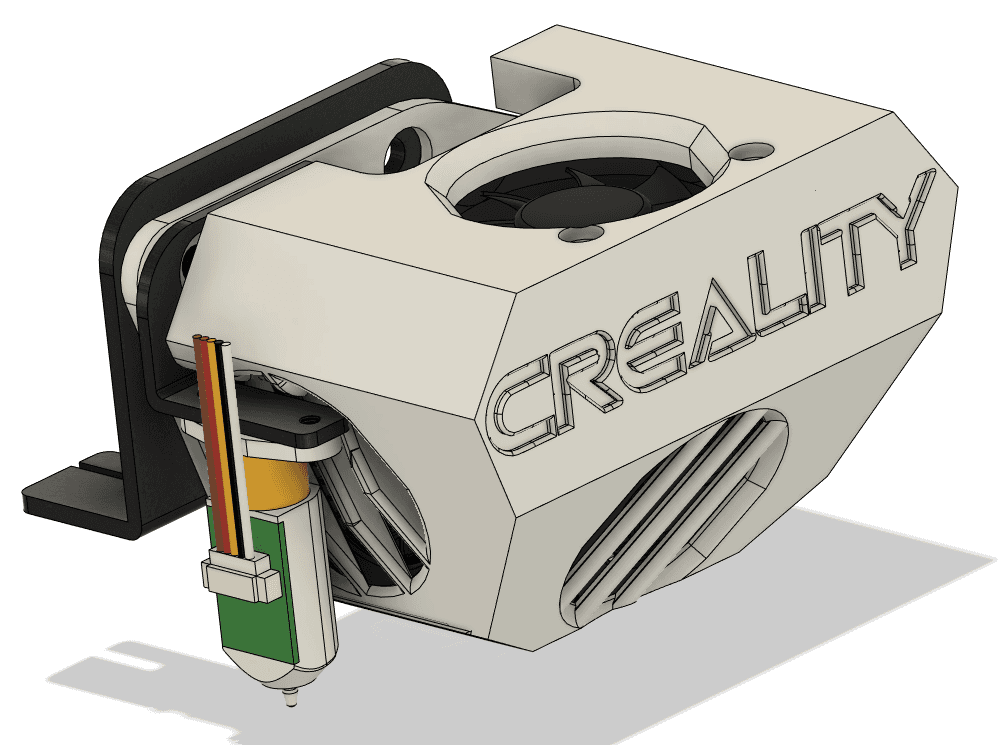
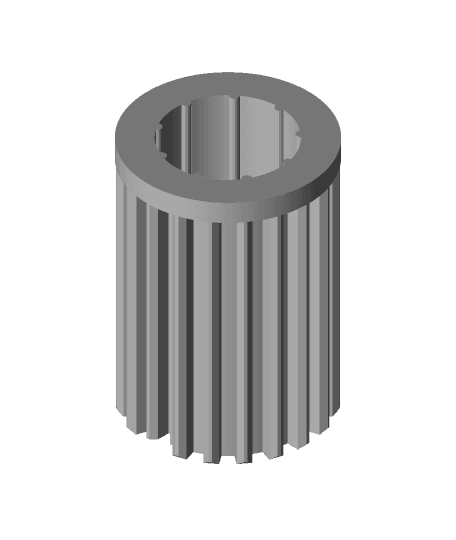
#4020 Axial Fan CoverThis part is based on the stock fan cover, but allows the use of a 4020 axial fan on Ender 3 and maybe other Creality printers. My original fan died after a couple of weeks. I'm now using a Sunon MagLev 40x40x20 fan which moves plenty of air and runs smooth and quietly, but wouldn't fit using the original fan cover.
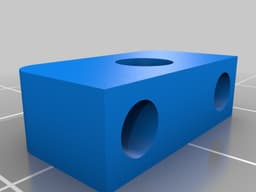
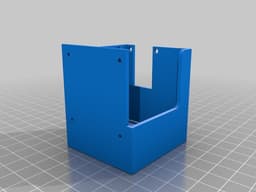
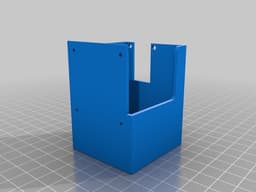
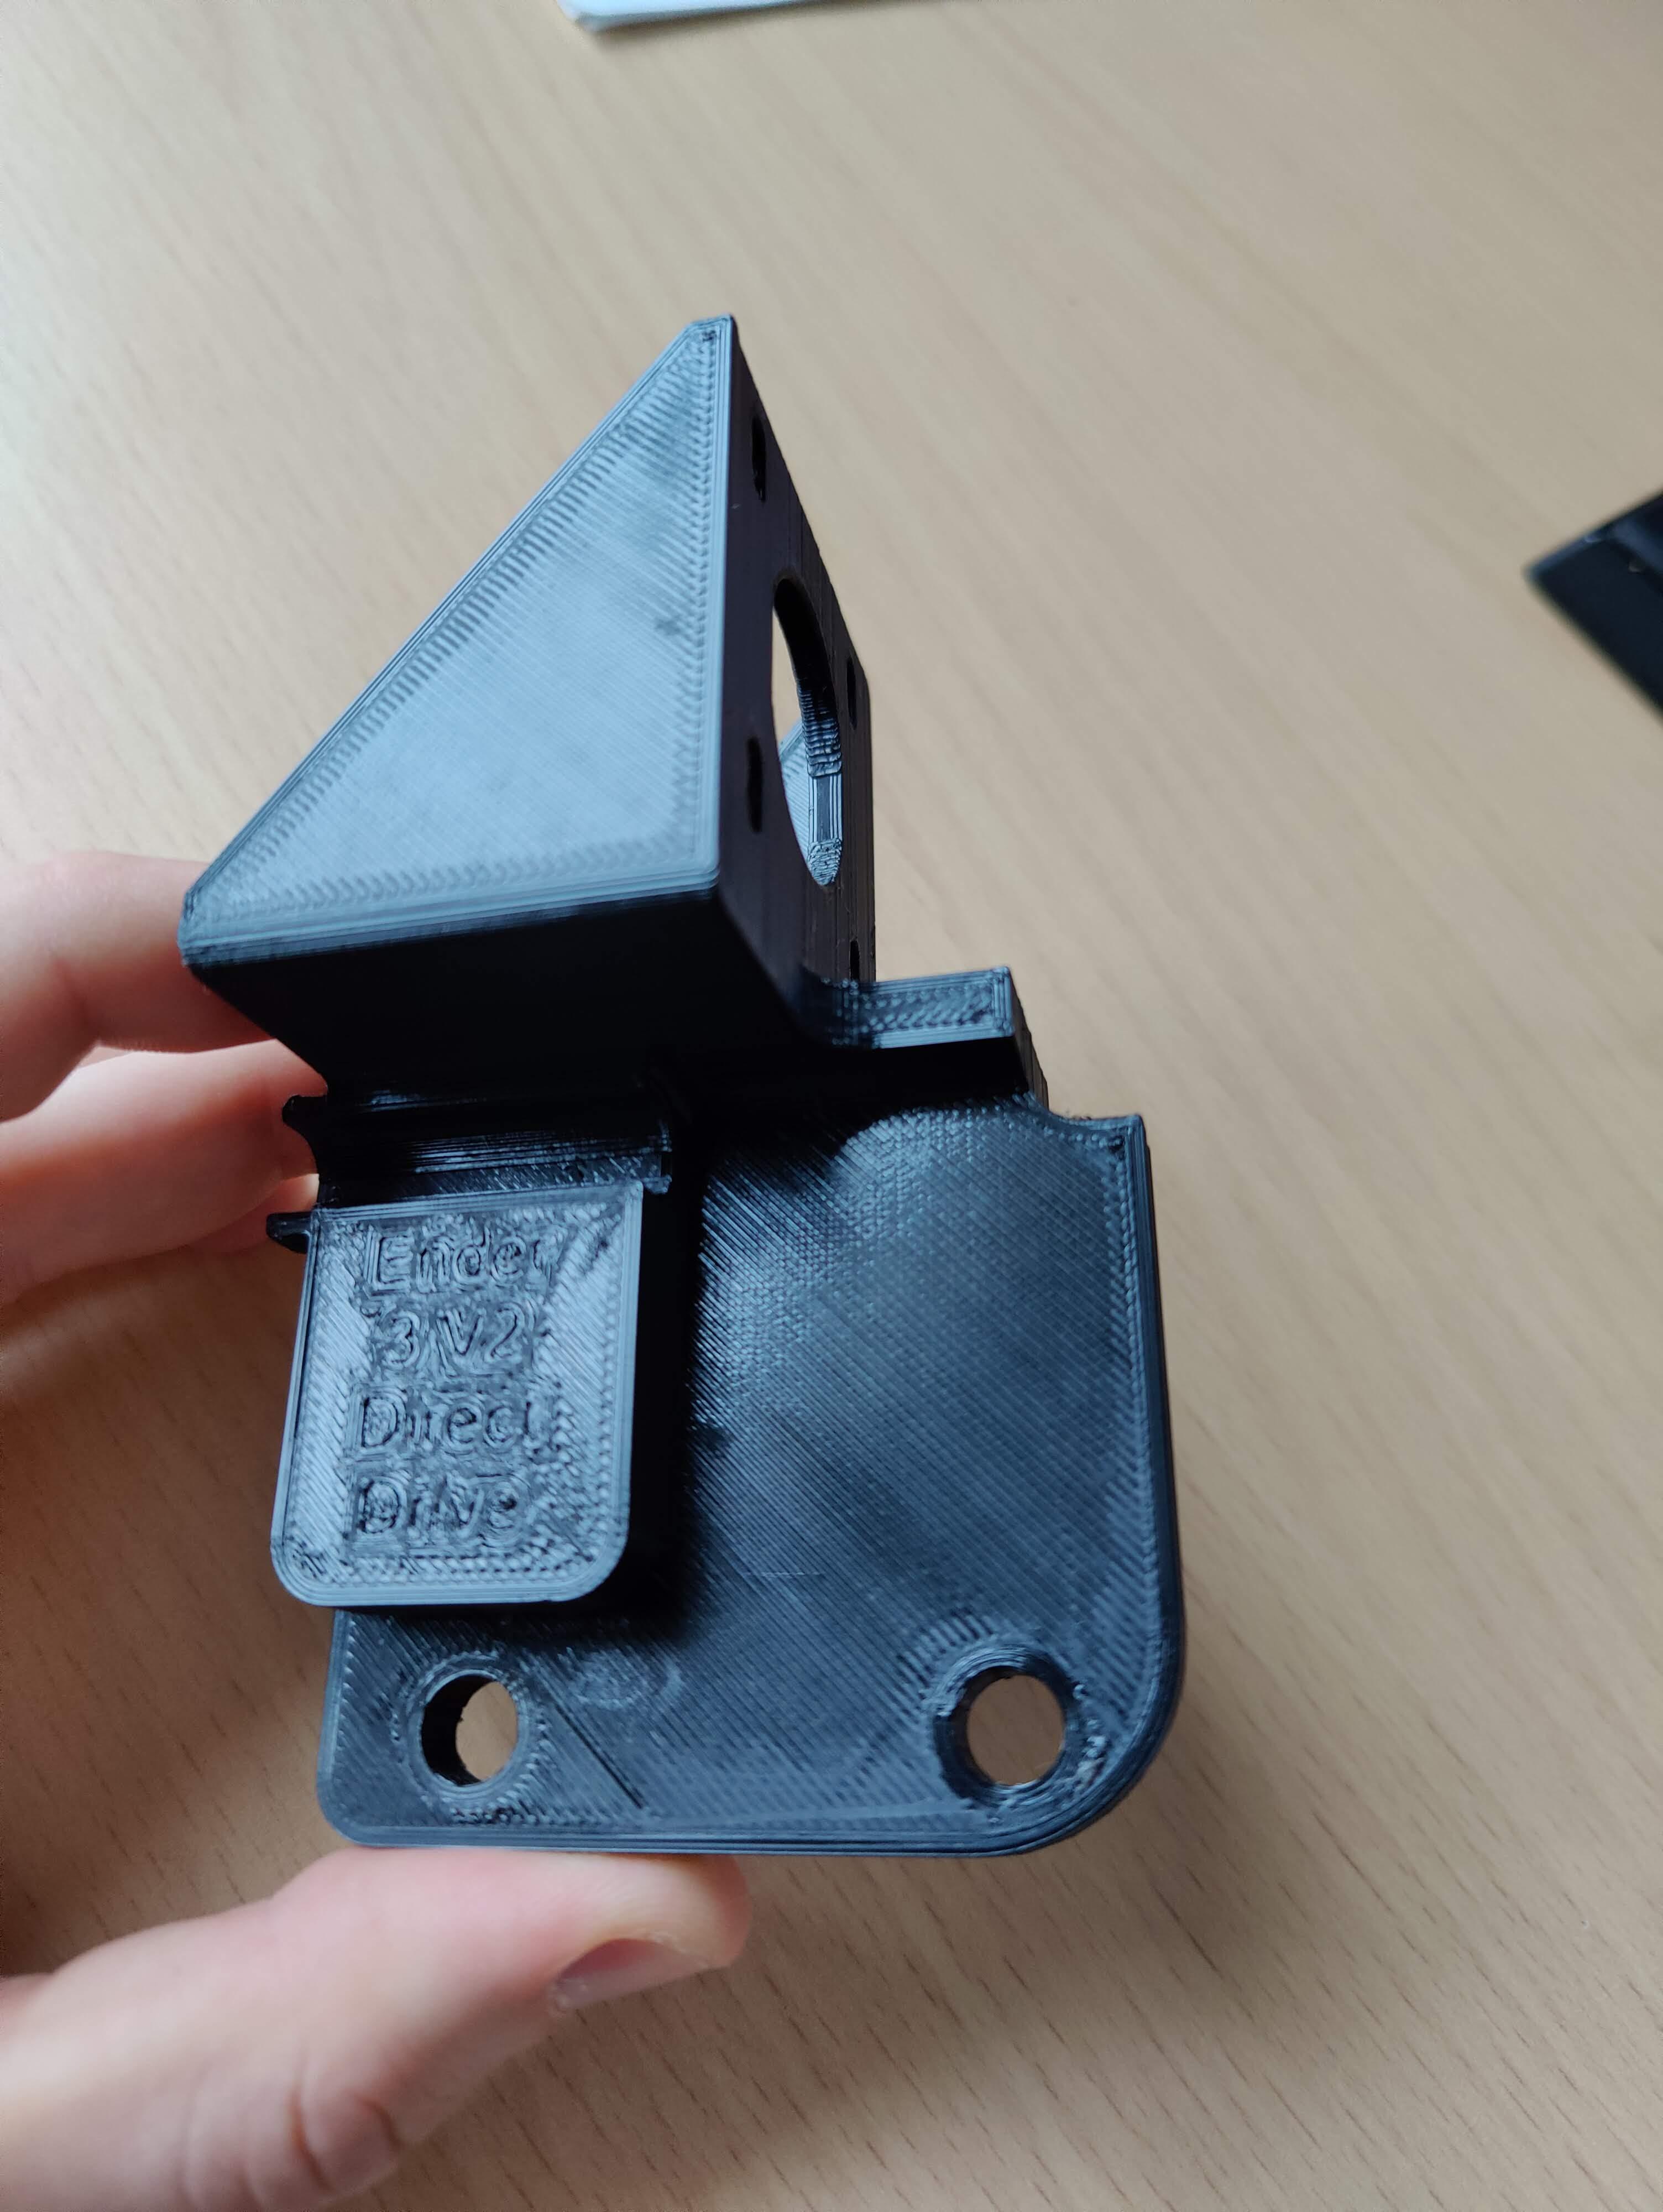
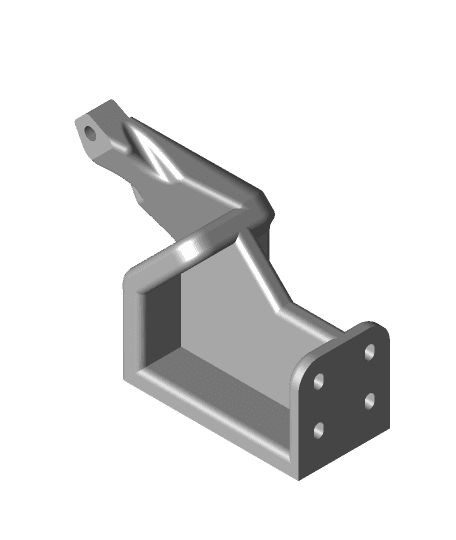
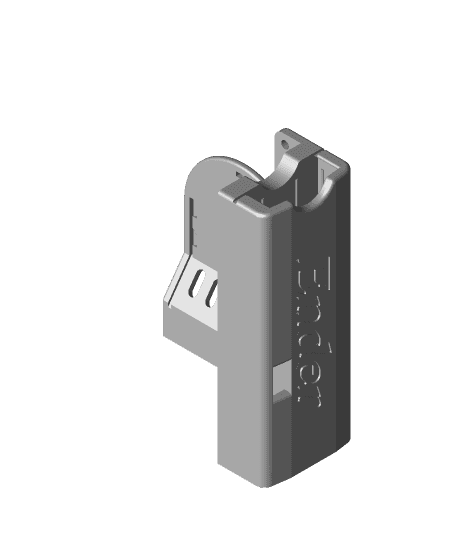
I designed this in multiple parts to avoid the need for supports. Print with the fan intake hole down. Be sure to print the left bracket with a flat side down.
I left the intake hole open. You could mount a wire fan guard either by using longer M4 screws then mount the guard on the protruding ends of the M4 screws using locknuts, or by using 2 shorter M4 going into the unused fan mounting holes from the outside.
Parts needed:
- 2-4 M4 x 25mm screws for mounting the 4020 fan. (I only use 2.)
- 4 M3 x 8-10MM screws.
- The original 2 M3 fan cover mounting screws or 2 more M3 x 6mm.
- The original 4 part cooling fan screws or 4 M2 socket cap screws. I believe the stock screws are 2 8mm at the top and 2 10mm at the bottom (where the duct mounts).
Assembly:
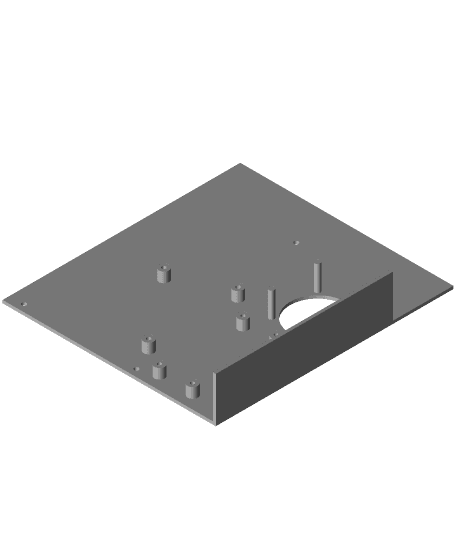
- Mount the top bracket to the fan housing using 2 M3 screws.
- Mount the left bracket to the fan housing using the 2 stock M3 cover mounting screws or your own M3 screws.
- If the screw holes are tight you may get bulges around them where the housing mounts to the metal bracket. If so, trim them and any other bumps using a razor of a file, so that the housing will mount flush with the bracket.
- Do the following 2 steps in whatever order works best for you. I Installed an inline connector for my 4020 fan, so I install it first and then plug it in as the last step.
- Mount the 4020 fan into the fan housing. Make sure it is oriented so that it blows inward.
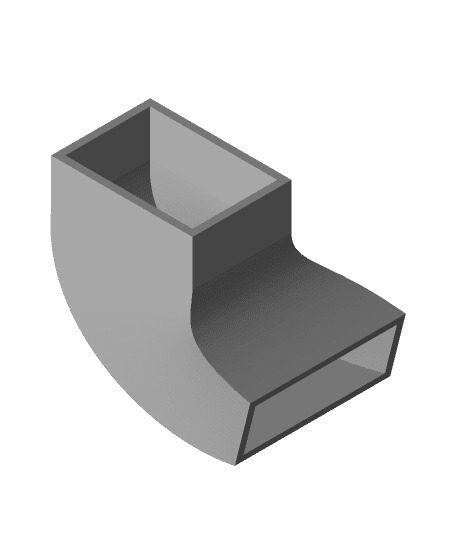
- Mount the stock part cooling fan (don't forget its 90° duct) to the right side of the fan housing. You could also do this after mounting the housing to the printer, but my wires are long enough that I can do this with the fan housing laying on the bed.
- Mount the fan housing using M3 screws.
Ender 3 4020 Fan Housing
Creality Ender 3 4010/4020/5015 Fan Mount and Duct

Ender 3V2 Hotend Fan Cover Housing Duct
QMB Ender 3 Microswiss (clone) hot-end and part cooler

QMB Ender 3 hot-end and part cooler
Ender 3 Klipper Enclosure Pi Zero
Direct Drive adapter long v2.stl
Ender 3, Ender 3 Pro Electronics Enclosure (Updated)
hotend ender 3 with 3 turbo fan
Ring light led Holder for 2020 frame Ender 3, Ender 3 v2, Neptune 2, Neptune 2s.
Ender 3 4020 mainboard fan and relocation
Yet anoter maps Display Knob Ring for Creality Ender 3 / Ender 3 Pro / Cr-10
Ender 3 / Ender 3 Pro Knob
Ender 3 - Ender 3 Pro Side Mounted Spool Holder V3

Ender 3 - Ender 3 Pro Side Mounted Spool Holder
Ender 3 SD Card Adapter Housing with Fan Cowl\Shield
Ender 3 Ender 3 pro Pivoting Filament Oiler
Ender 3 S1 & Ender 3 V2 Stock LCD Screen Mount (Customizable)
Hydra Fan Duct & Tool Change System for Ender 3 Ender 5 CR10
Thermometer/Hygrometer Mount Ender 3 S1 / Ender 3 S1 Pro