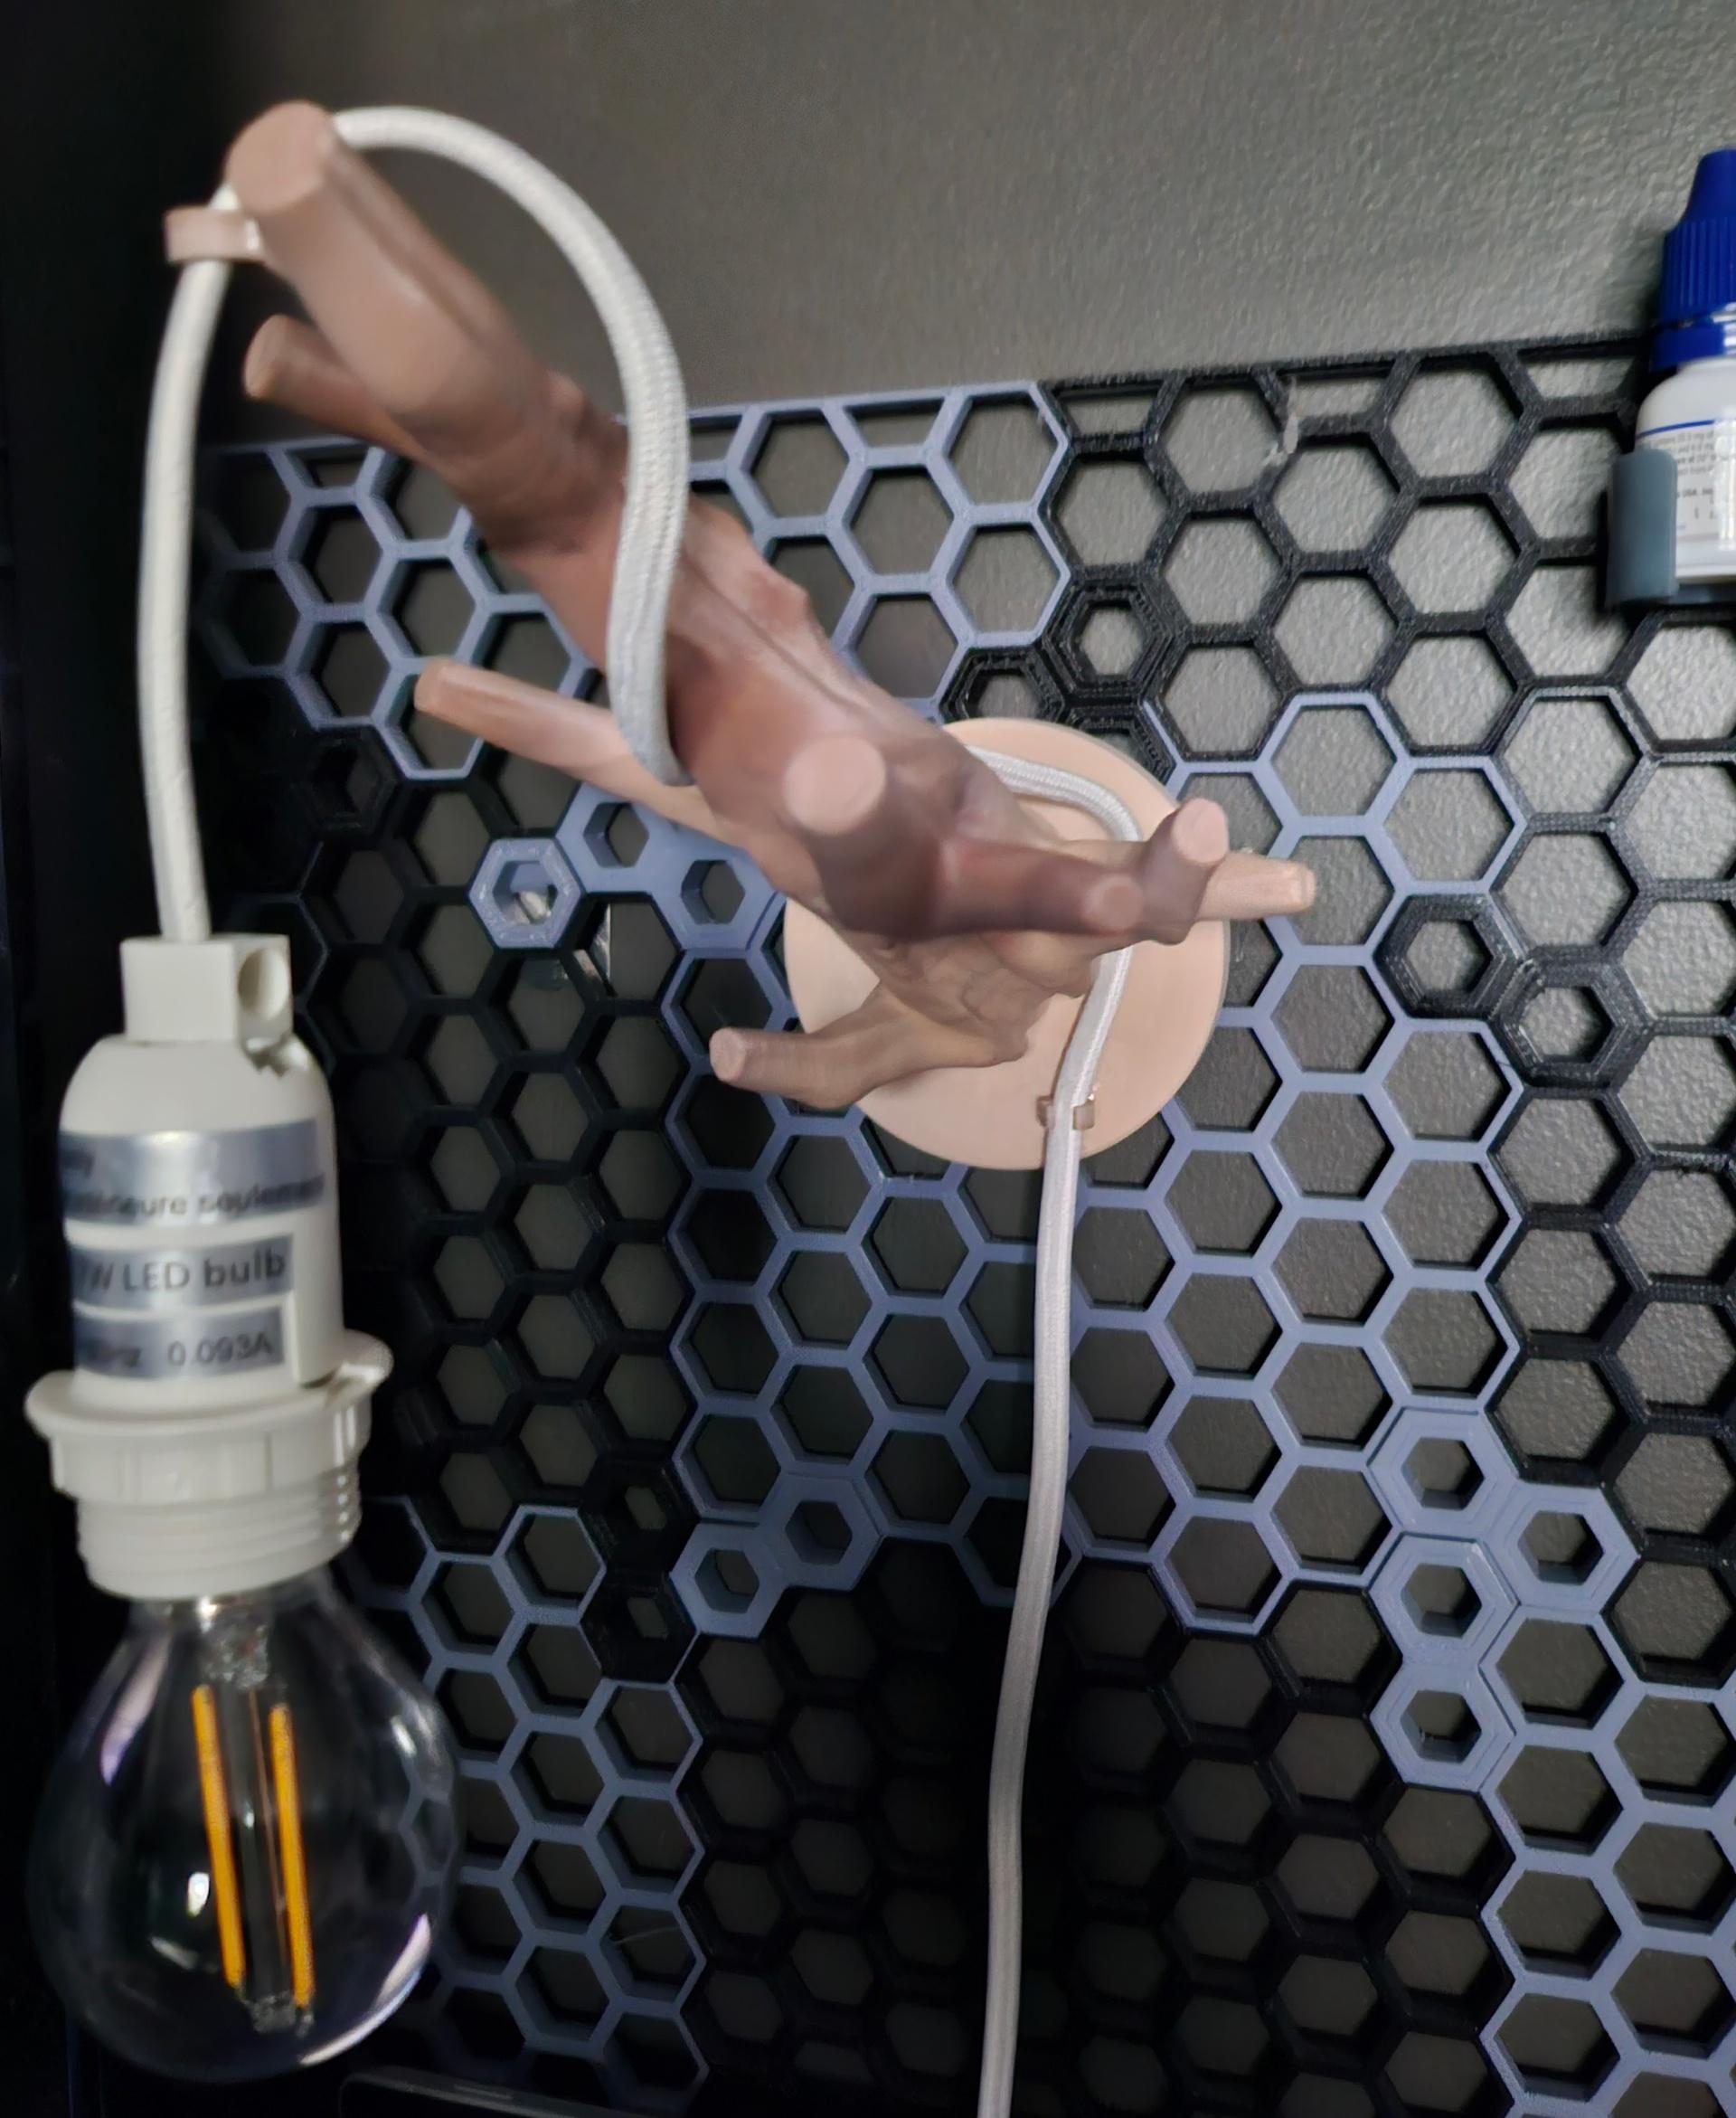
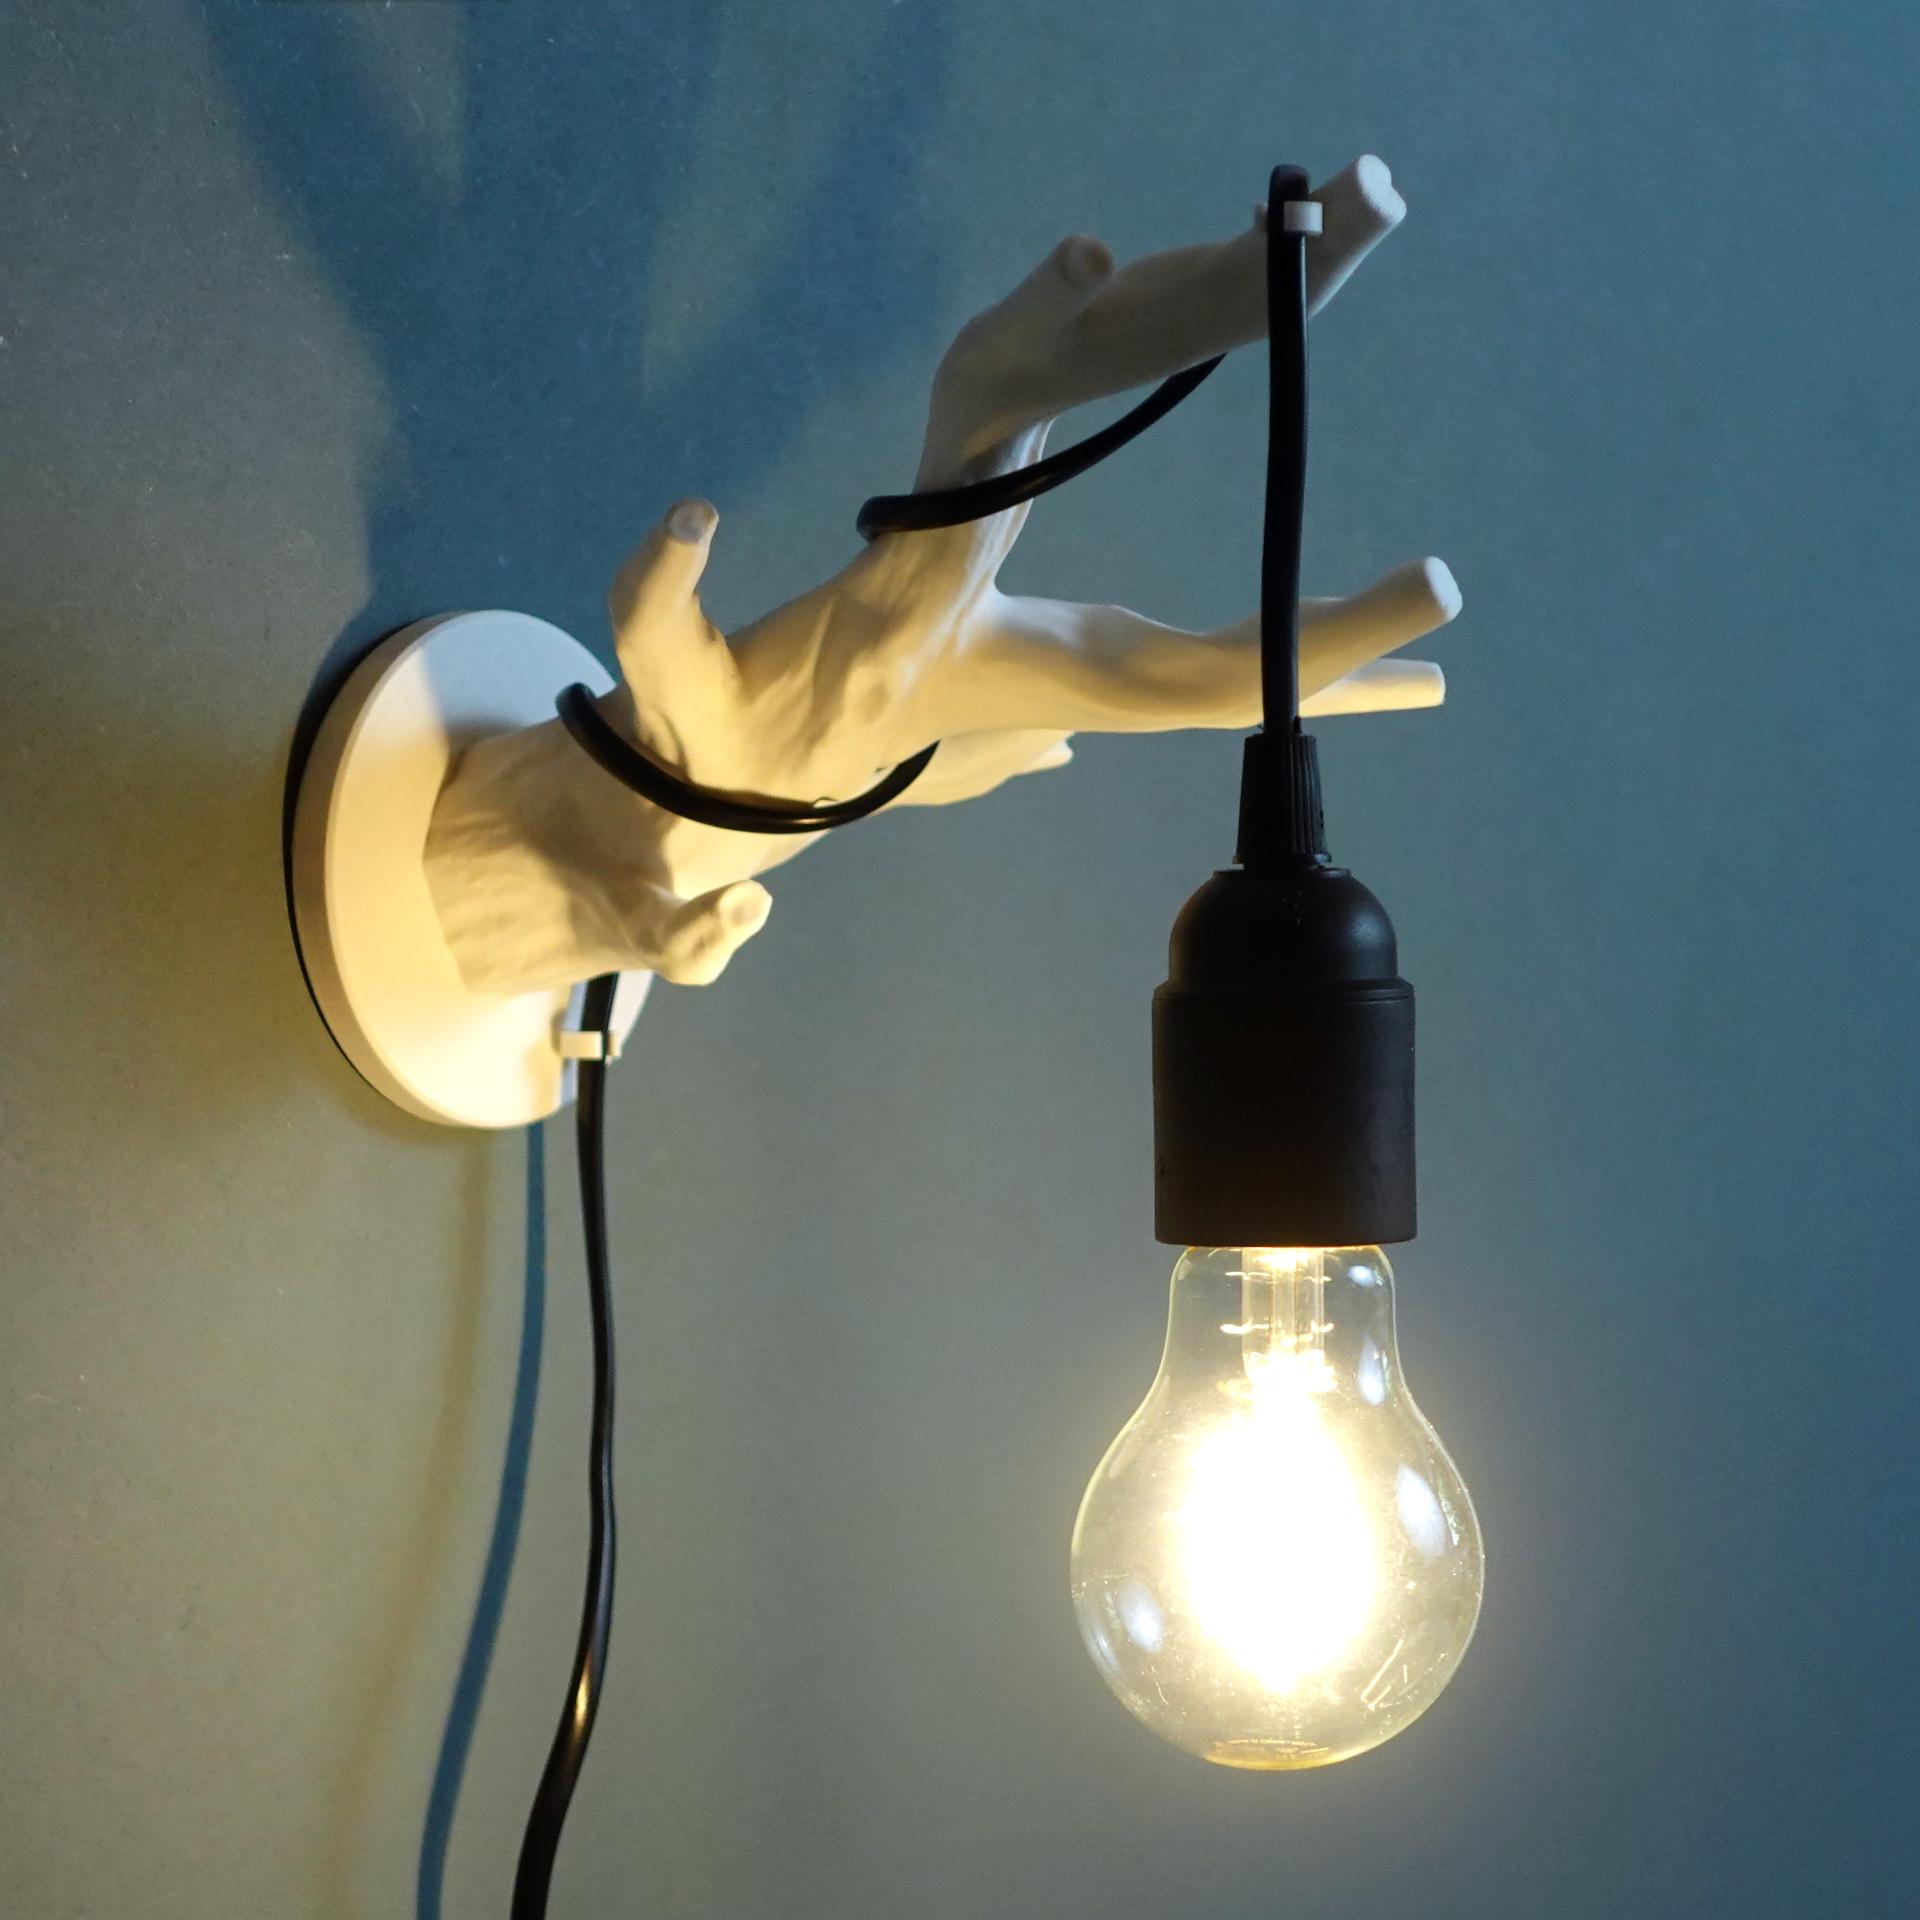
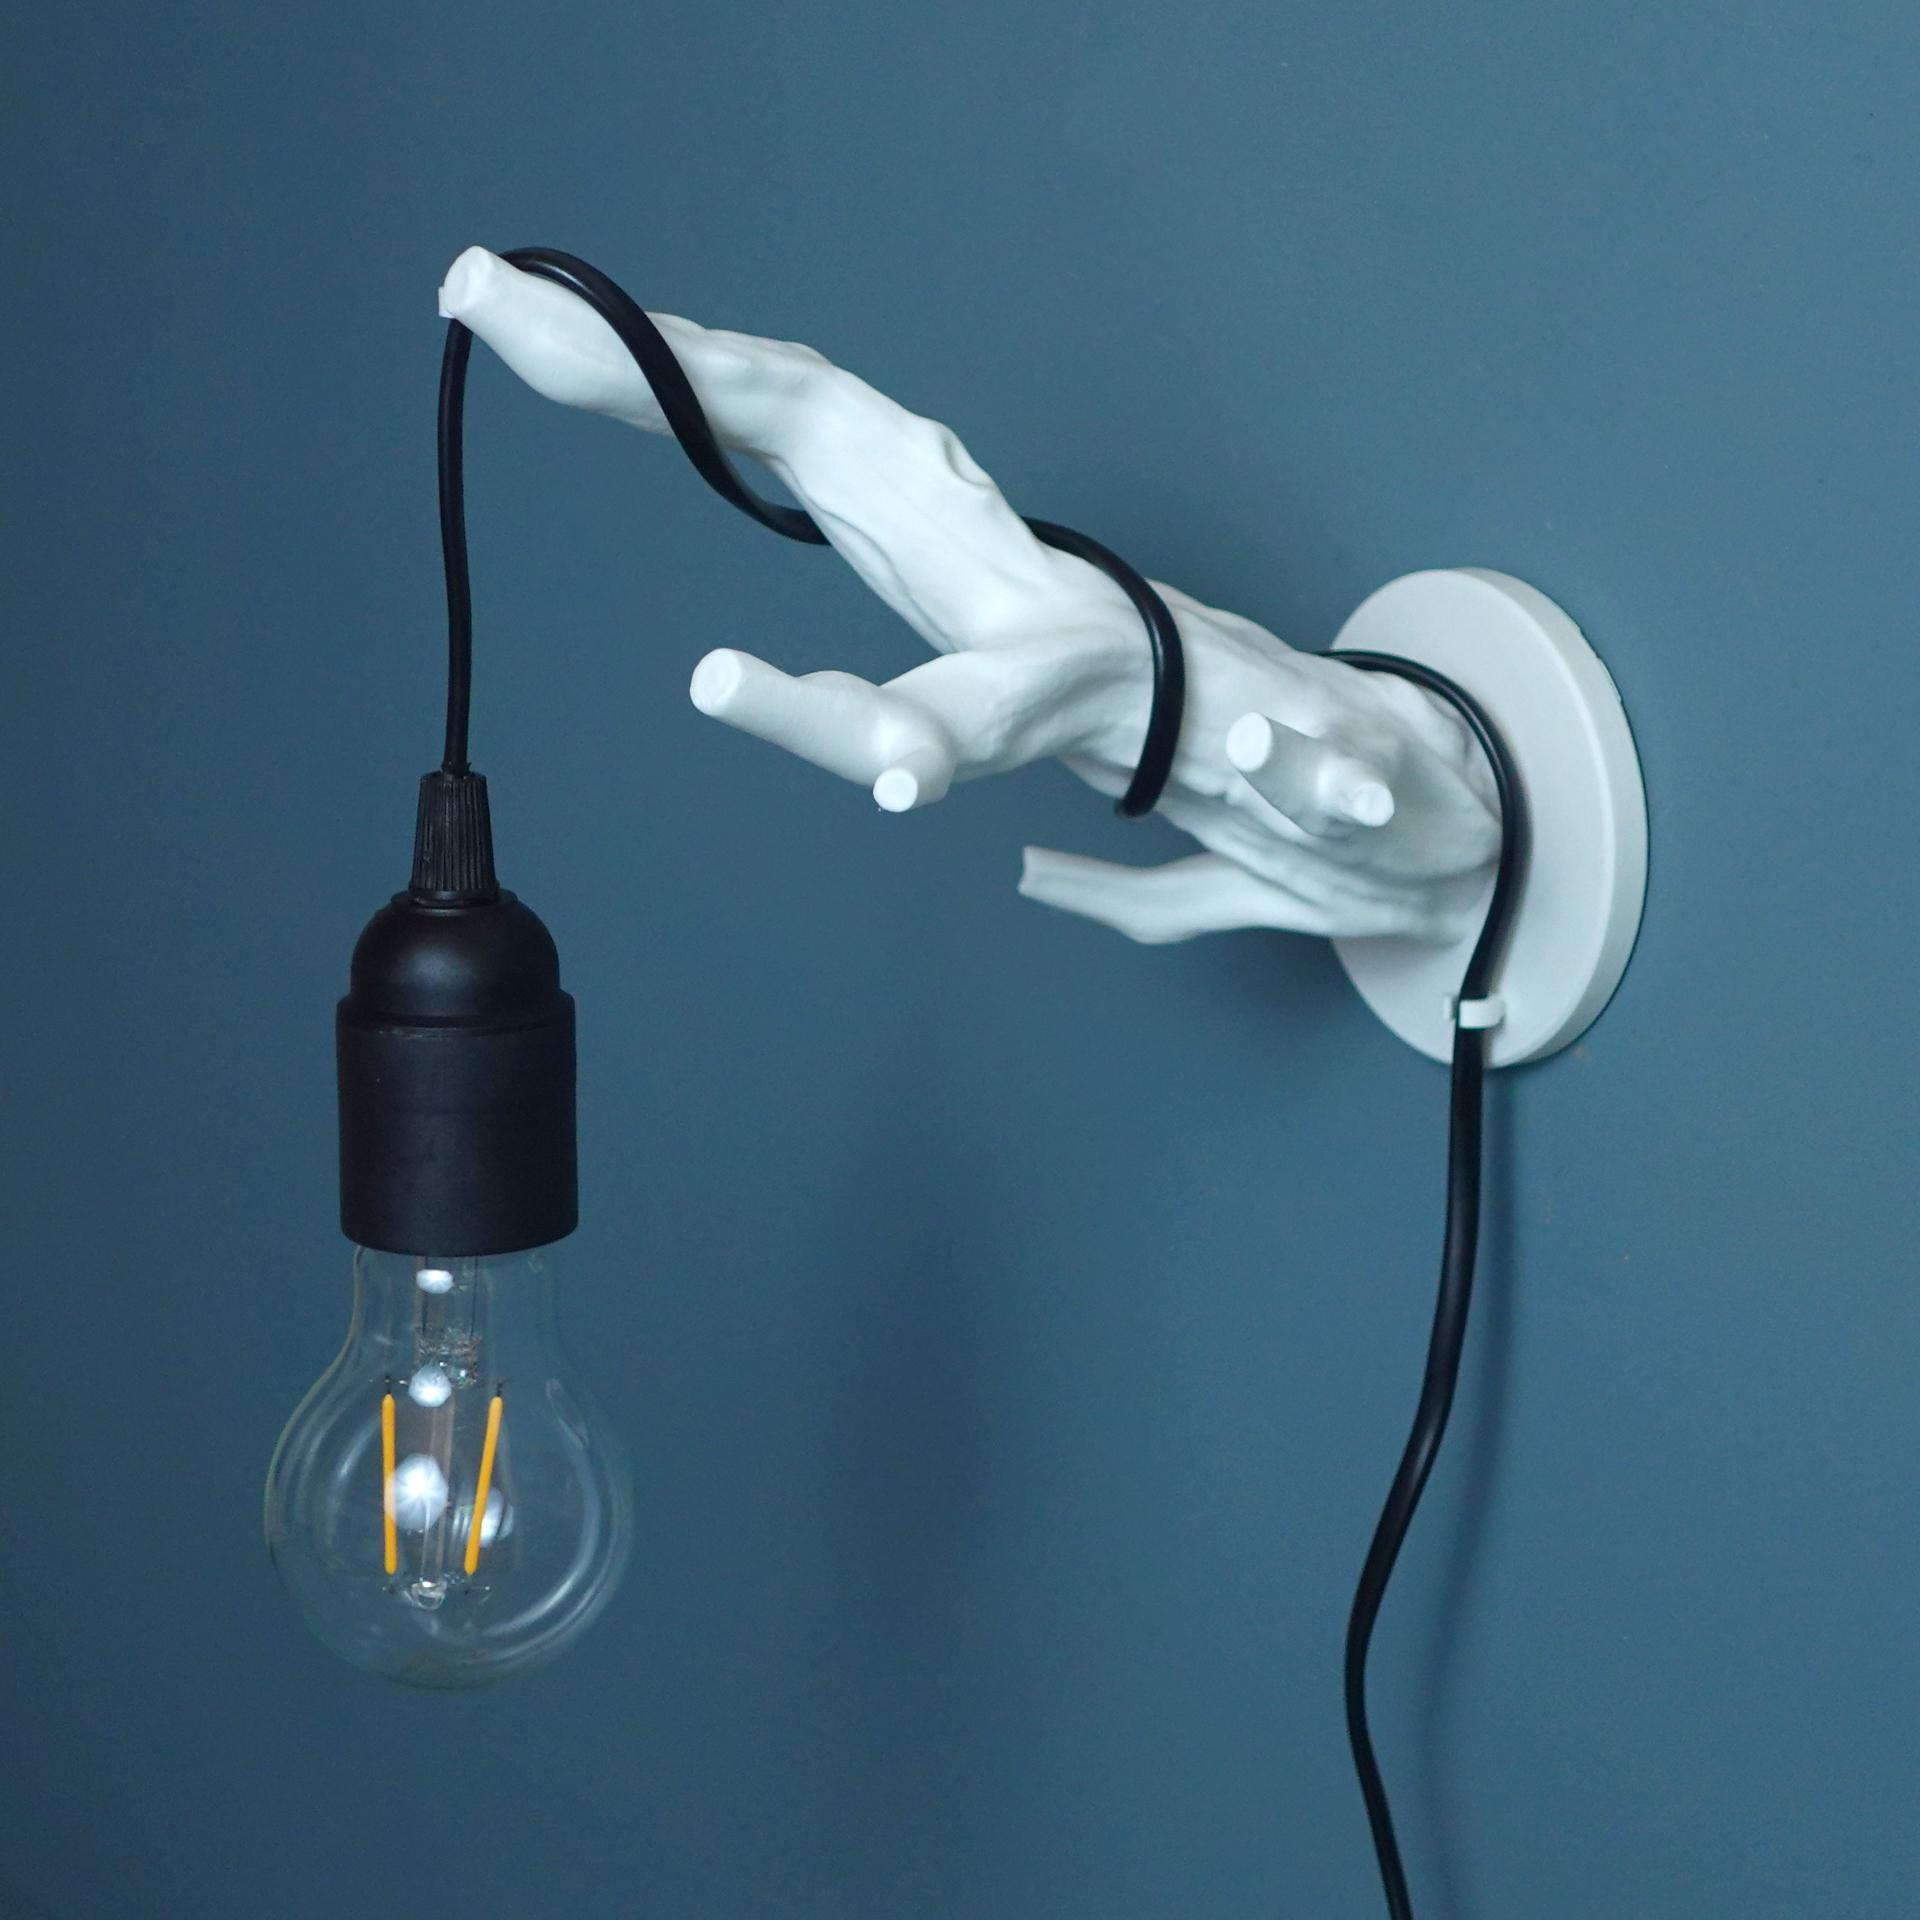
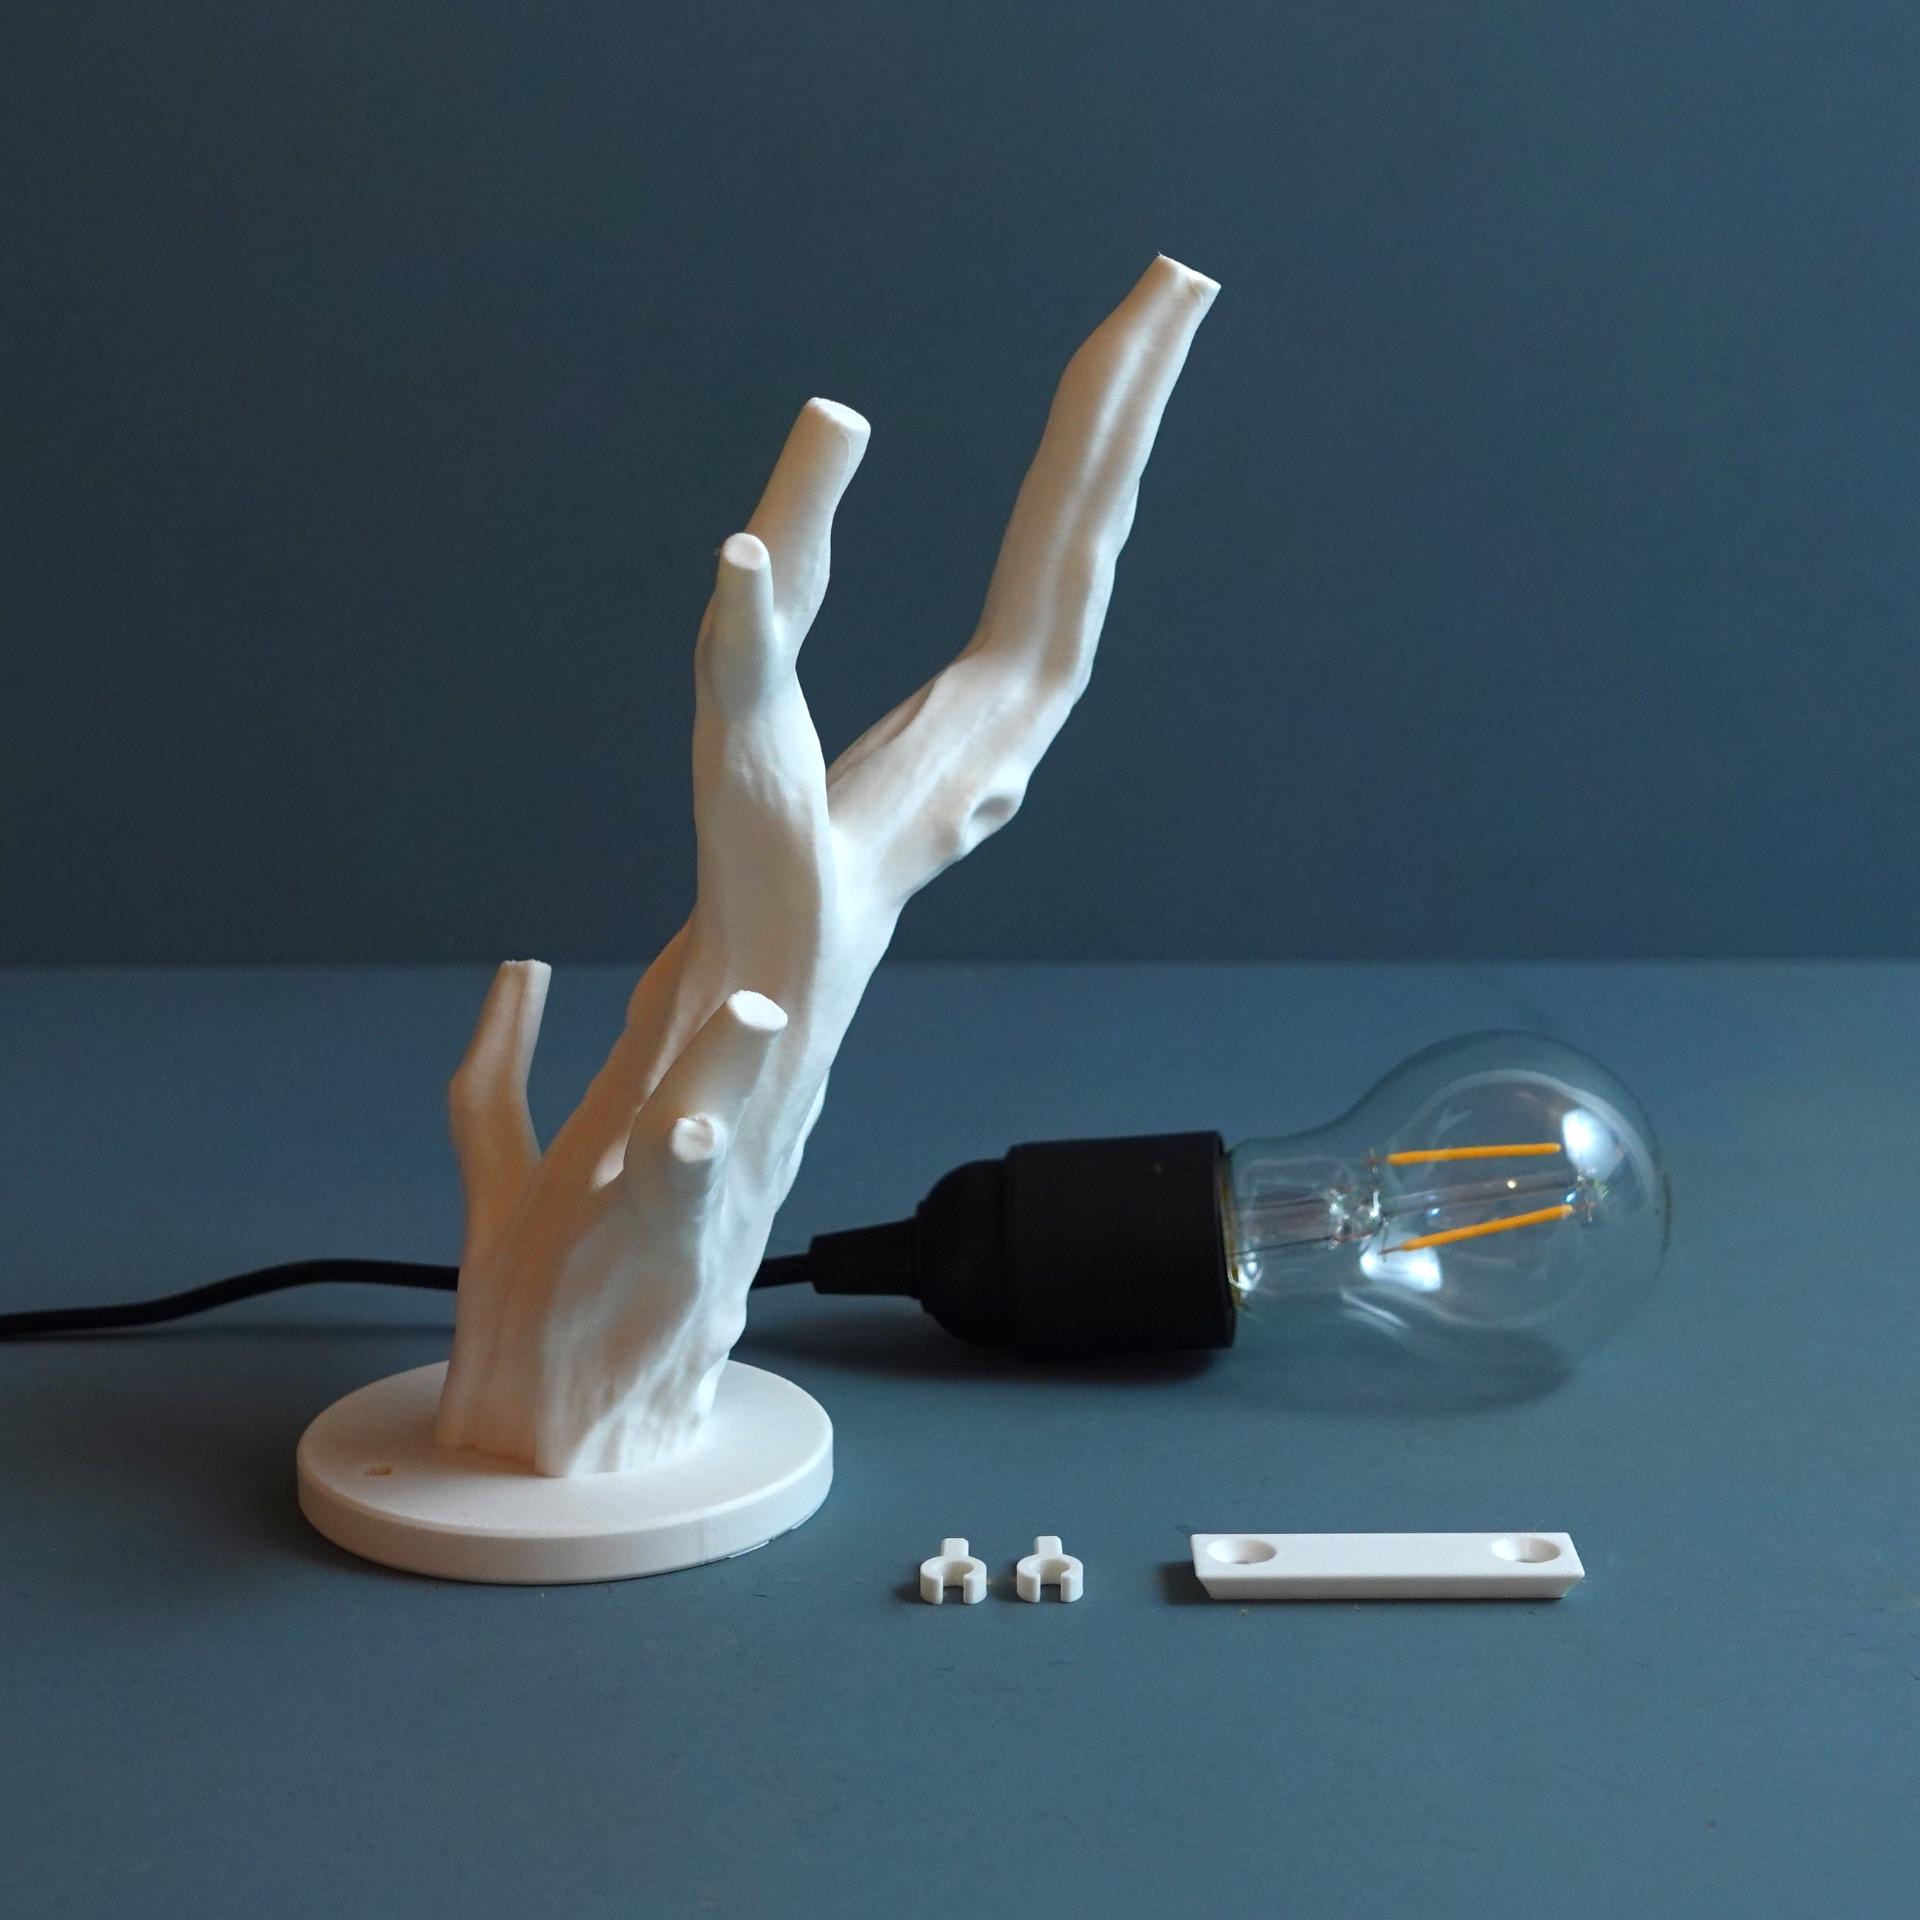
A beautiful and easy to craft wall lamp sculped after a old oak branch (Quercus Robur).
What you need
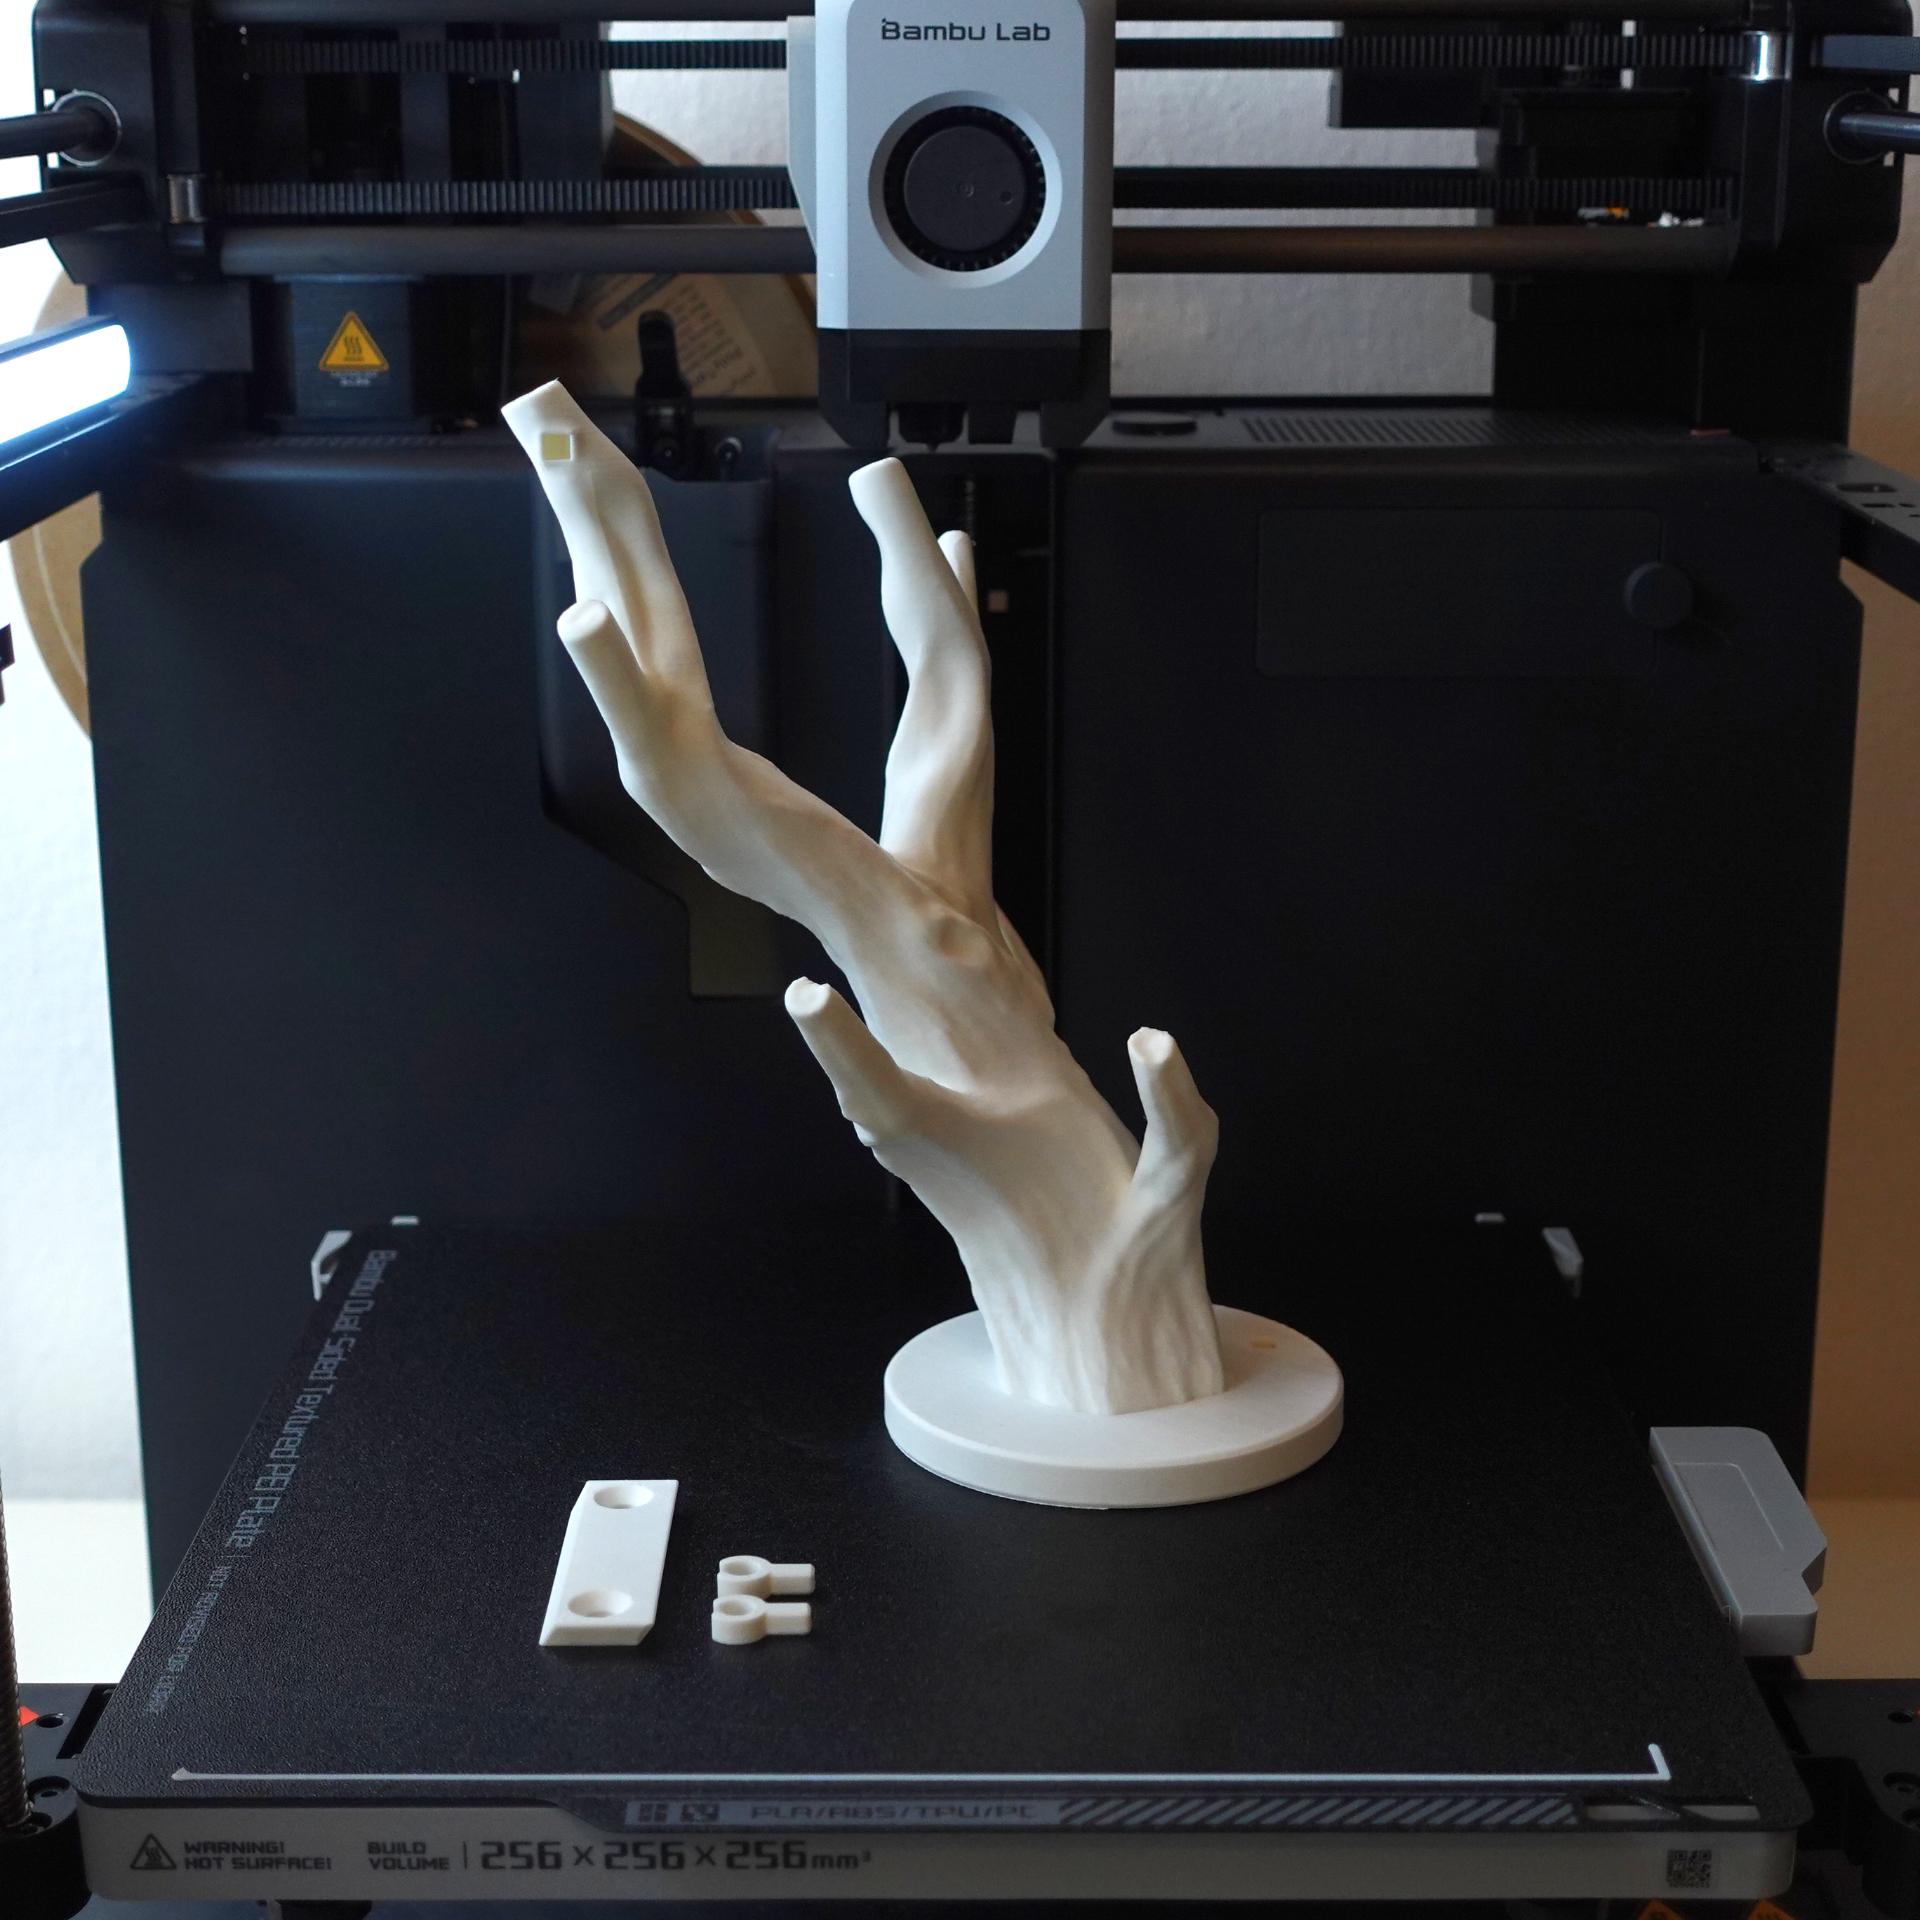
- The 3d printed parts
- A lamp kit including a plug, cord, switch, socket and bulb – available cheaply online and in your local hardware store
- A little glue
- Wall fixation: Either screws and dowels, wall mount tape or wall mount glue. Old fashioned screws and dowels are the most reliable fixation.
Included parts
- Body: The Branch
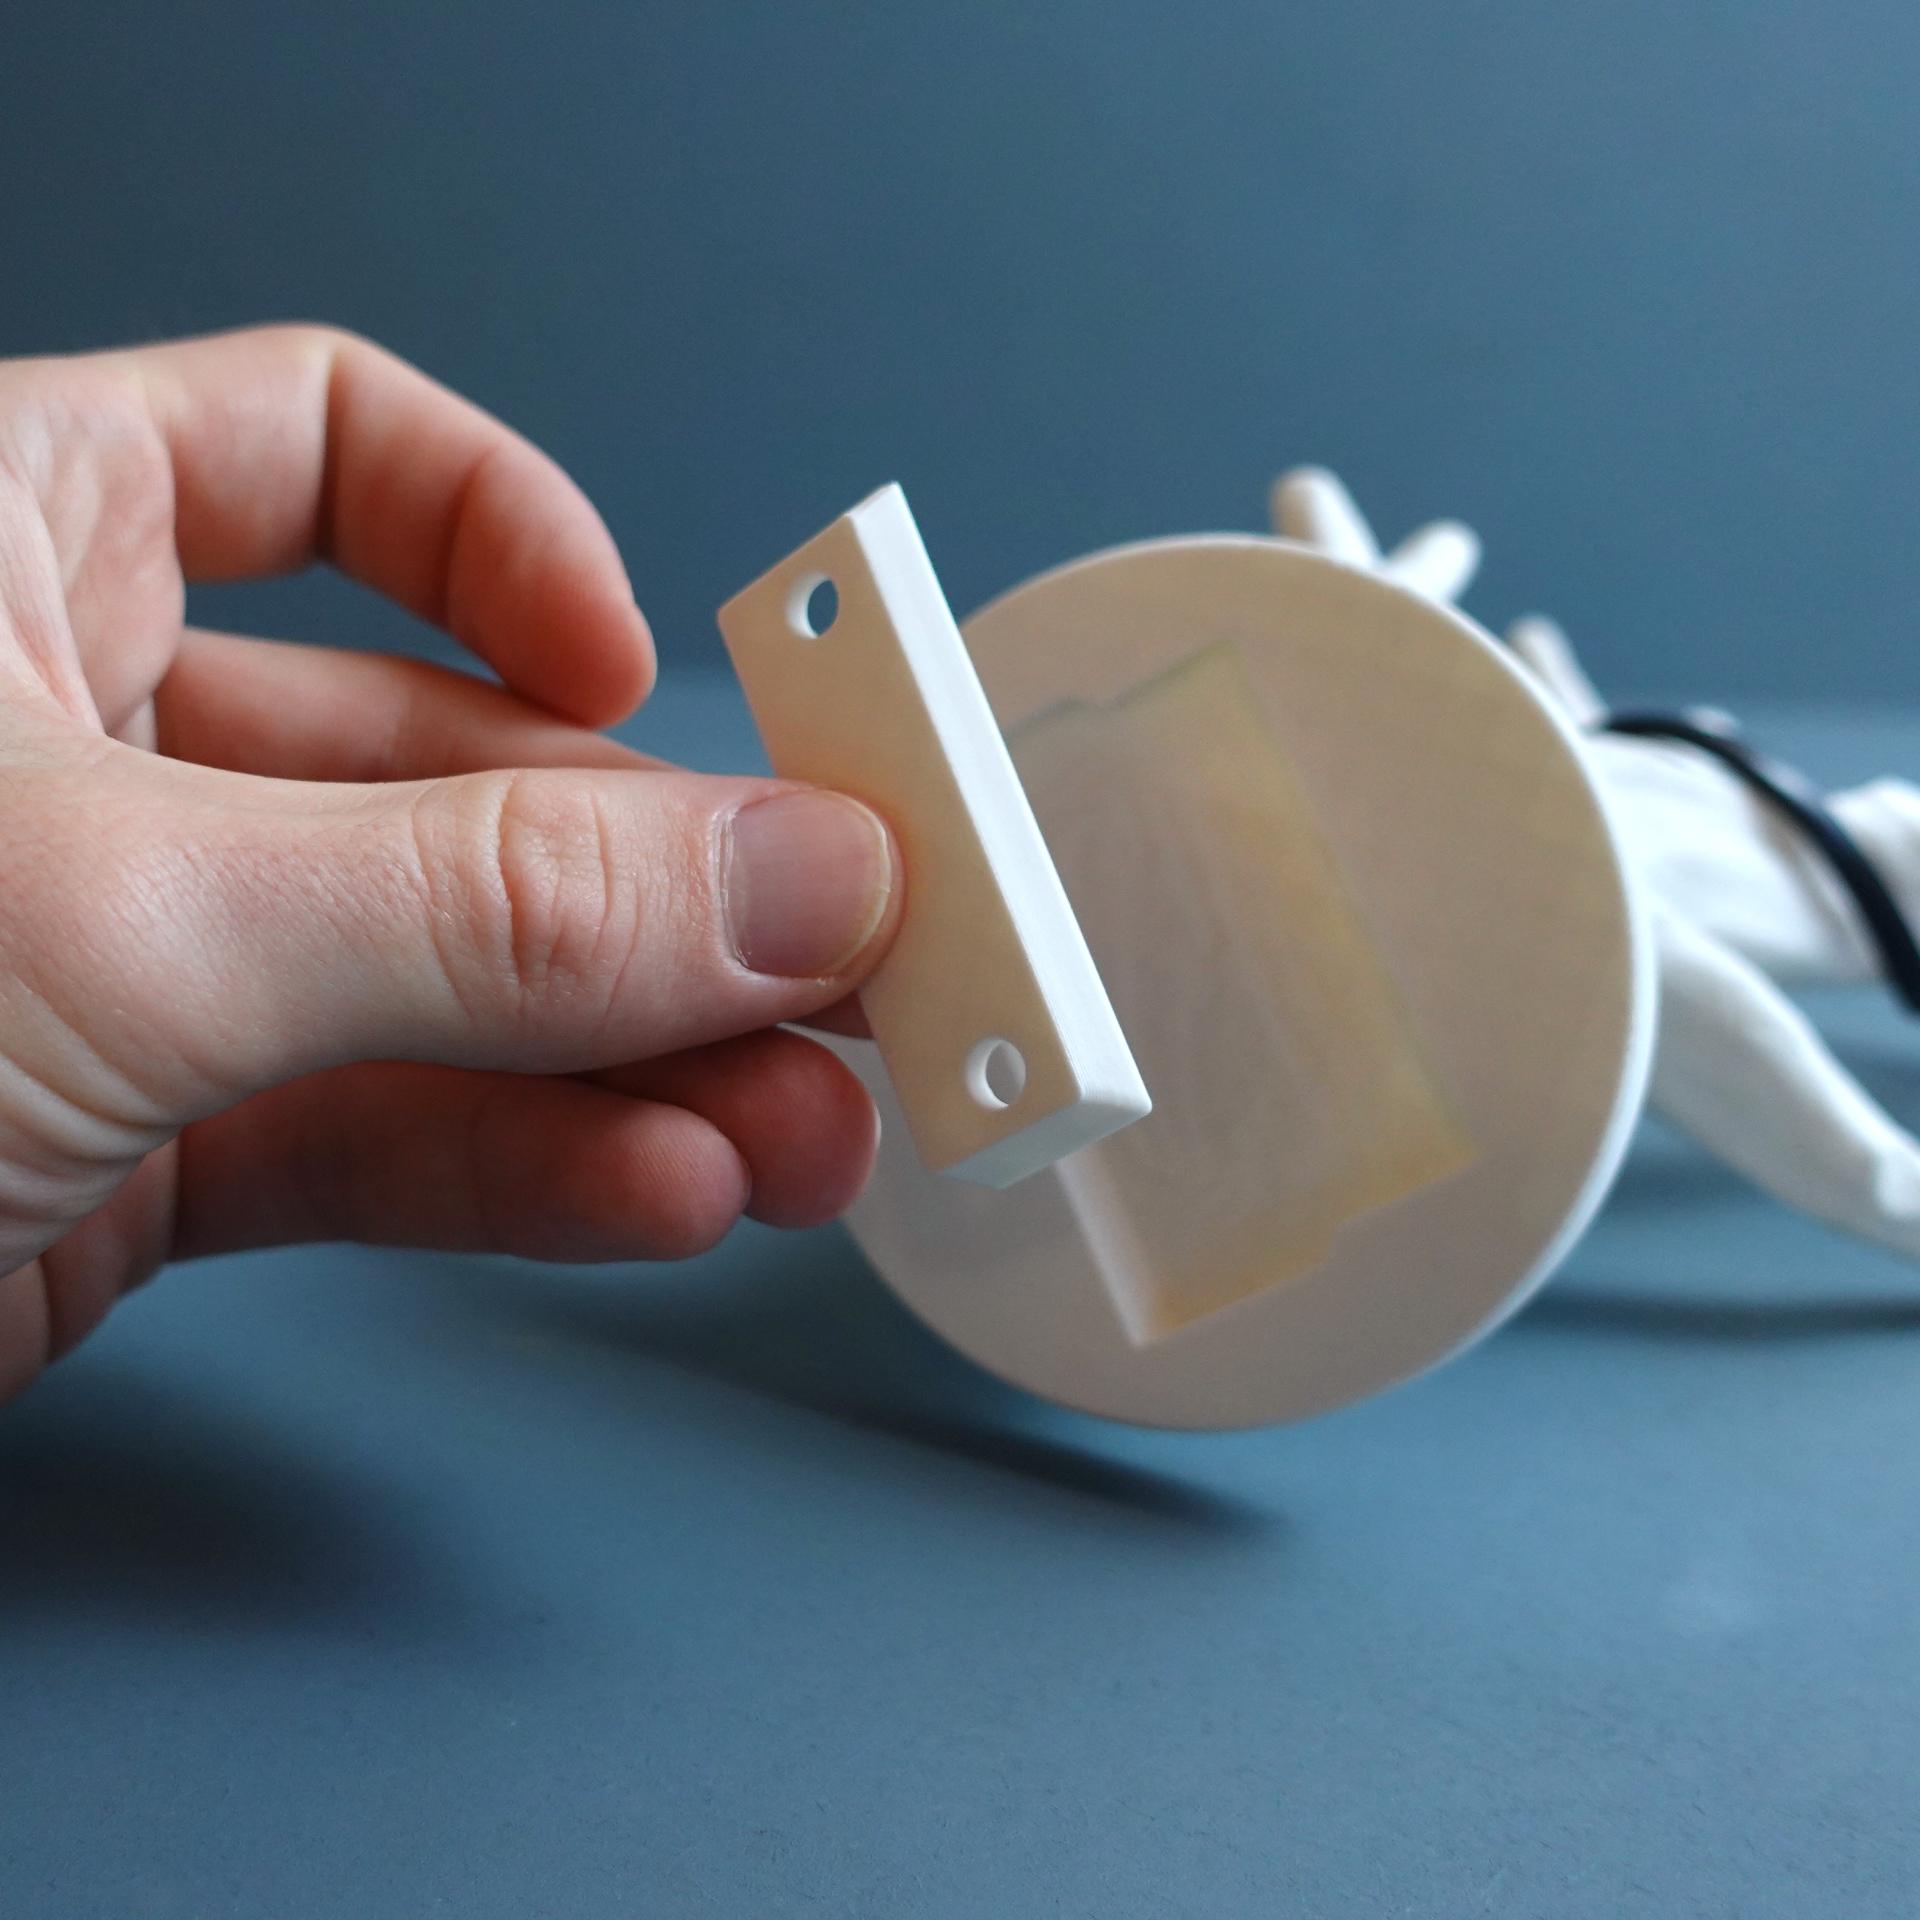
- Holder: the holder with a screw-hole diameter of 5.5mm
- Clip_6_0.1: The cable clip for a maximum cord diameter of 6 mm and a clearance of 0.1 mm for quite accurate printers
- Clip_6_0.2: The cable clip for a maximum cord diameter of 6 mm and a clearance of 0.2 mm for messier printers
- Clip_8_0.1: The cable clip for a maximum cord diameter of 8 mm and a clearance of 0.1 mm for quite accurate printers
- Clip_8_0.2: The cable clip for a maximum cord diameter of 8 mm and a clearance of 0.2 mm for messier printers
Instructions
- Measure the diameter of your cord and choose your clip accordingly - print it twice
- Print the body and holder
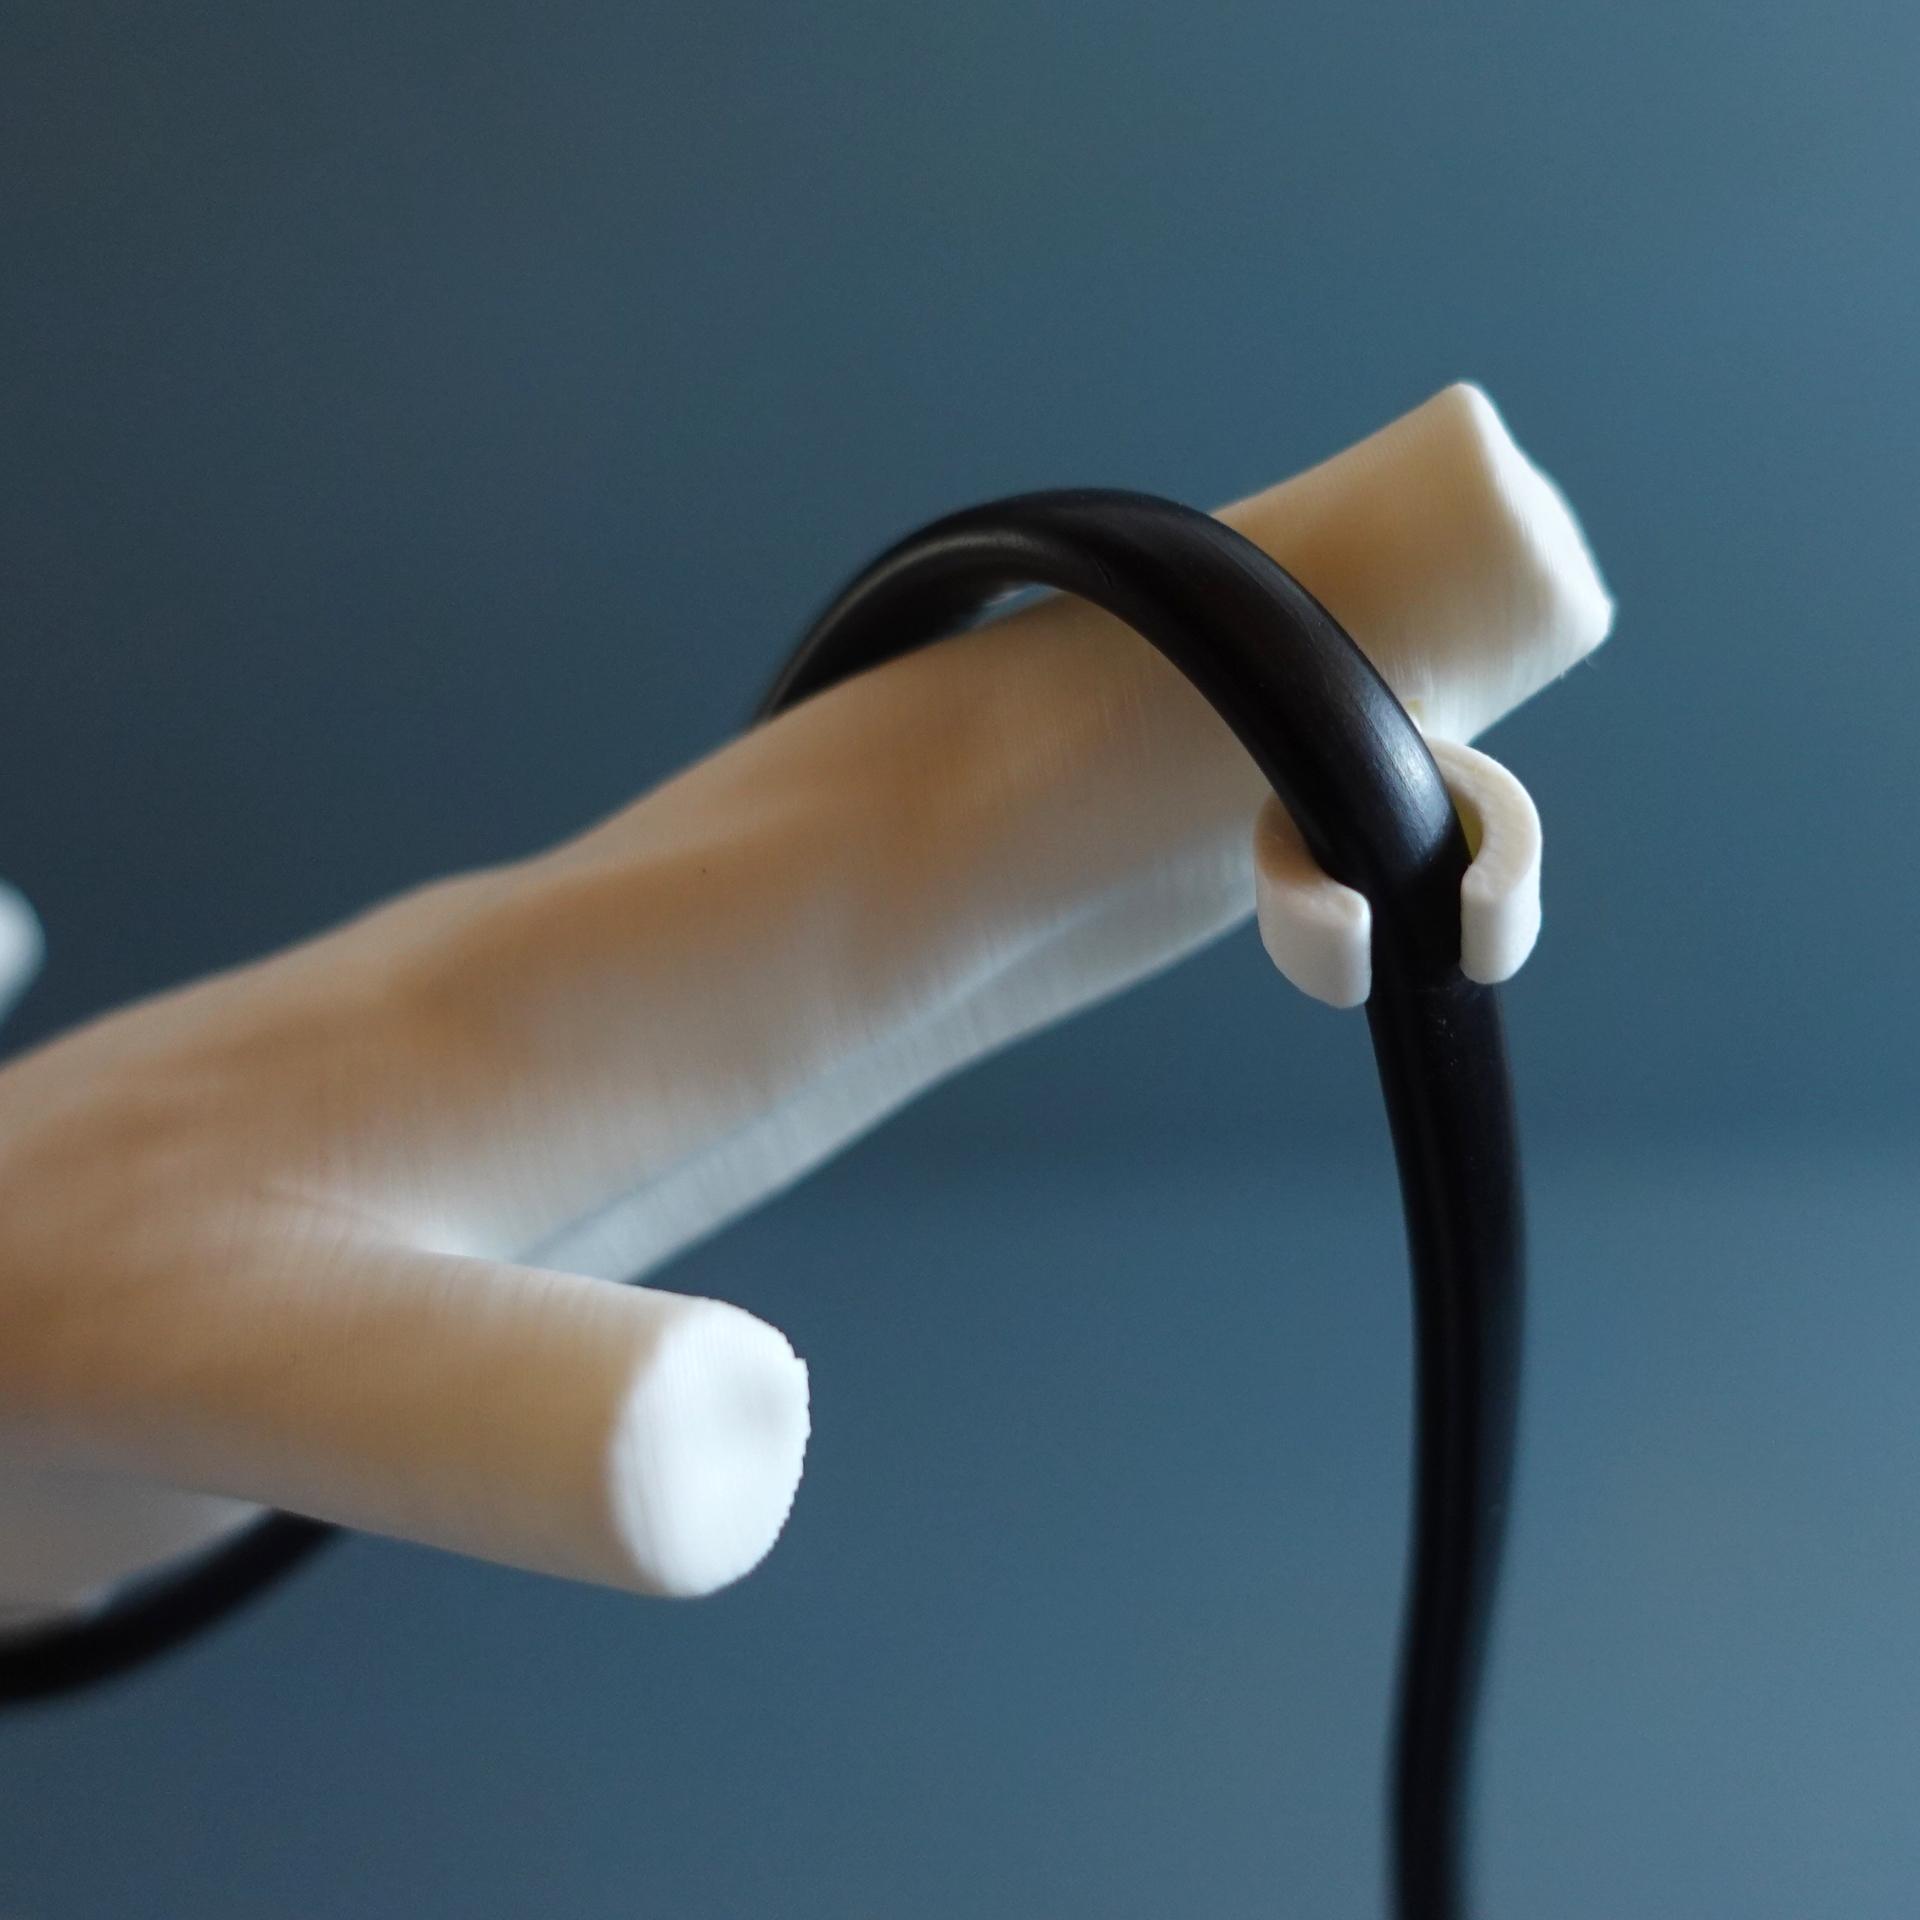
- Glue the clips into the Body - check the images for orientation!
- Mount the holder with your chosen wall mount product
- Insert the cable through the base clip, wrap it around the branch and plug it into the branch clip.
- Insert the lamp onto the holder
- Enjoy your new lamp!
Print settings Important: You cannot use any other bulb type than LED! LEDs still give off a little heat. Depending on the strength of your bulb the design might warm up slightly. The material you use has a certain heat deflection temperature before deformation. Make sure to build a safe product by verifying that the print is not affected by the amount of heat that your bulb emits! If you are uncertain or have little experience in building electrified products, please consult a professional!
Usually, a strong LED bulb does not get hotter than 50 degrees Celsius while regular PLA does not deform under 58 degrees Celsius. Those are approximate numbers, and you need to verify that for own product selection.
Required build volume: 150 x 150 x 200 mm Material usage: 90 g
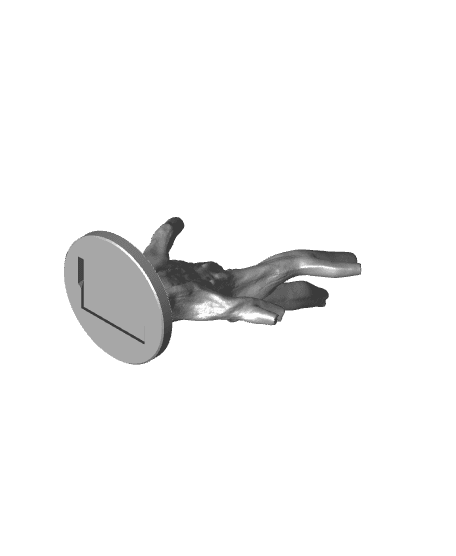
Material: PLA that can handle the heat that your bulb emits. Print direction: stls are rotated correctly, check images Support: none Nozzle size: 0,4 mm Line width: 0,4 mm Layer height 0,2 mm Outer walls: 3 Infill: 15% Build plate adhesion type: A brim for the body if your printer has bad bed adhesion
