Model originally uploaded to Thingiverse at https://www.thingiverse.com/thing:2803002.
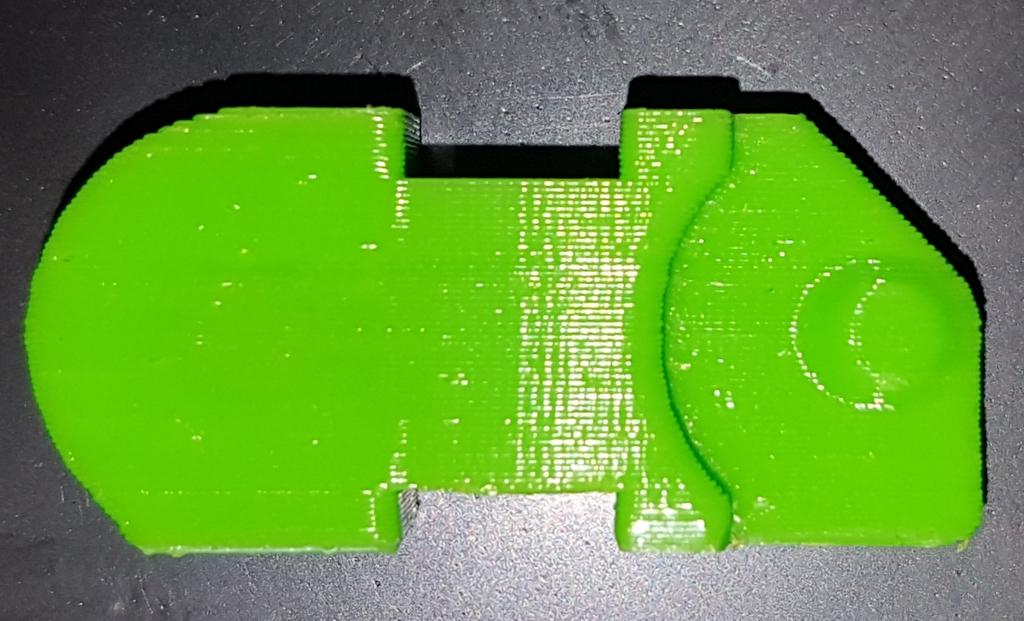
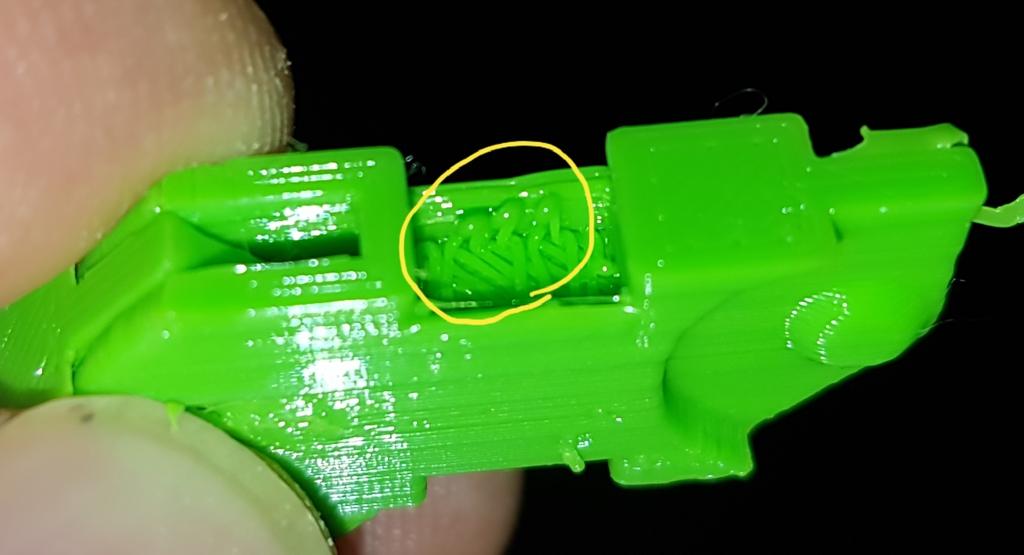
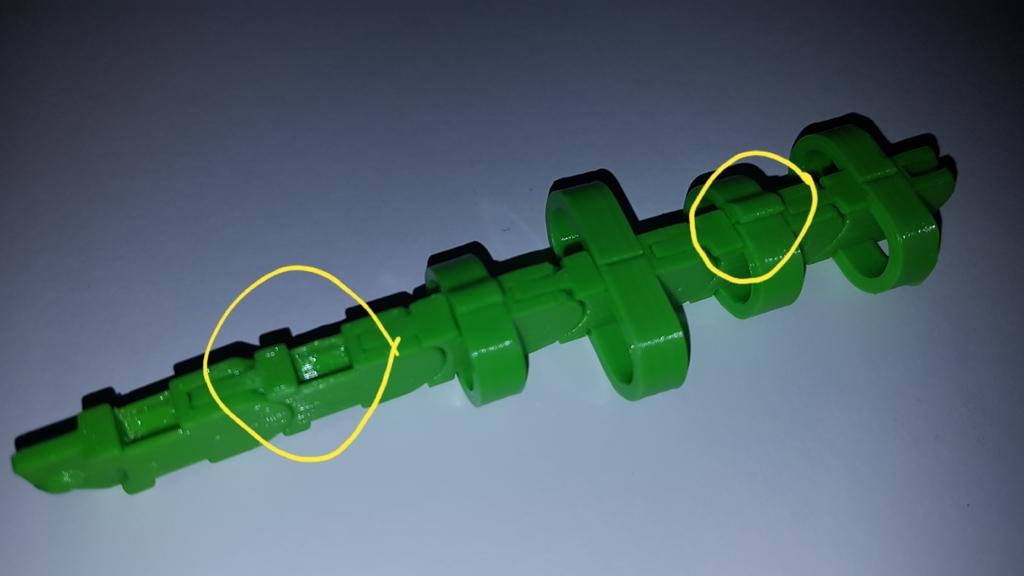
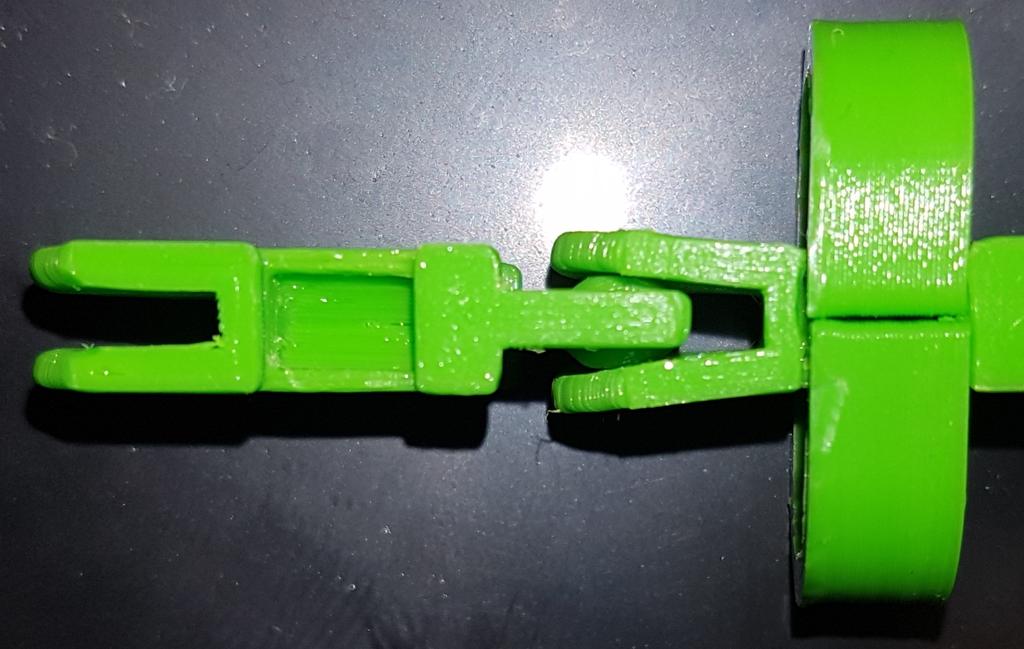
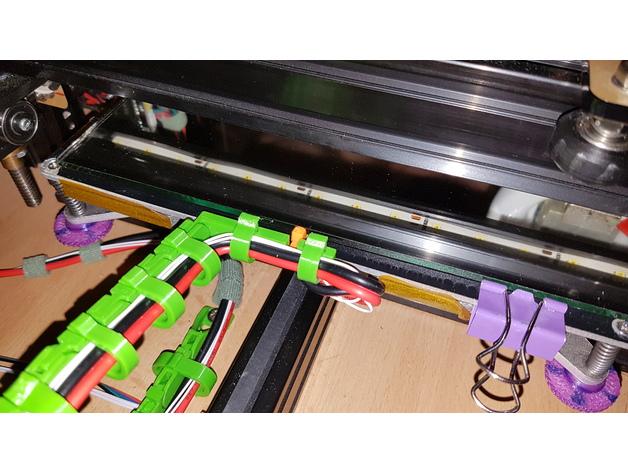
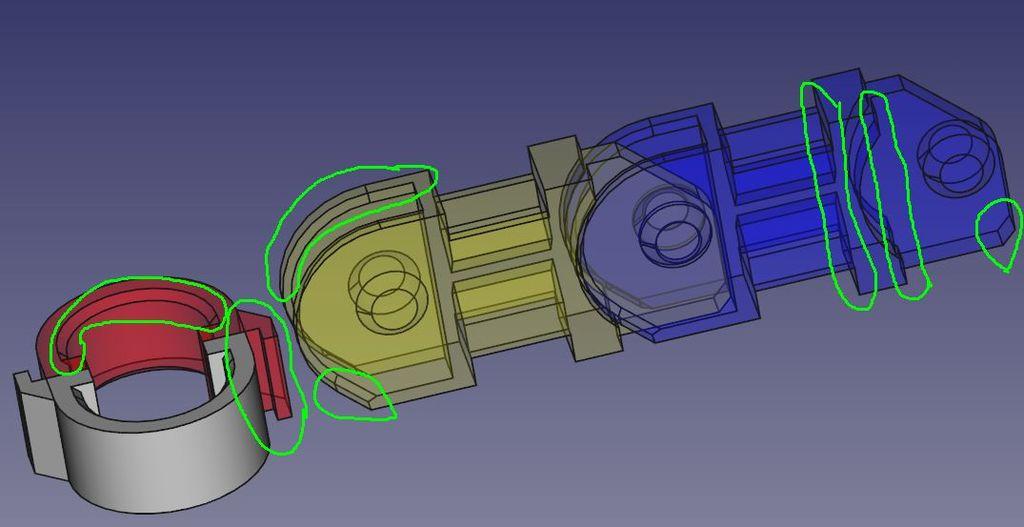
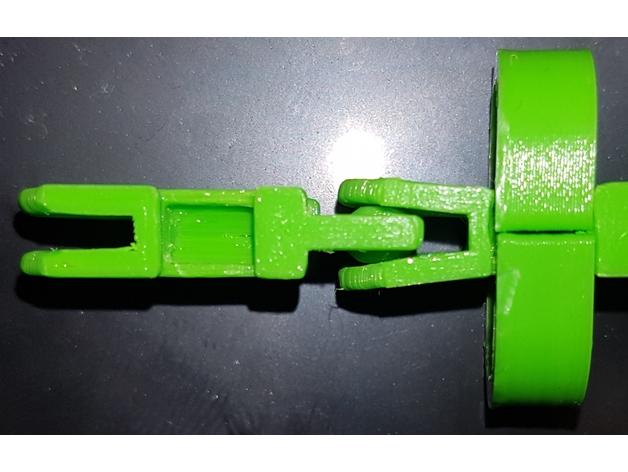
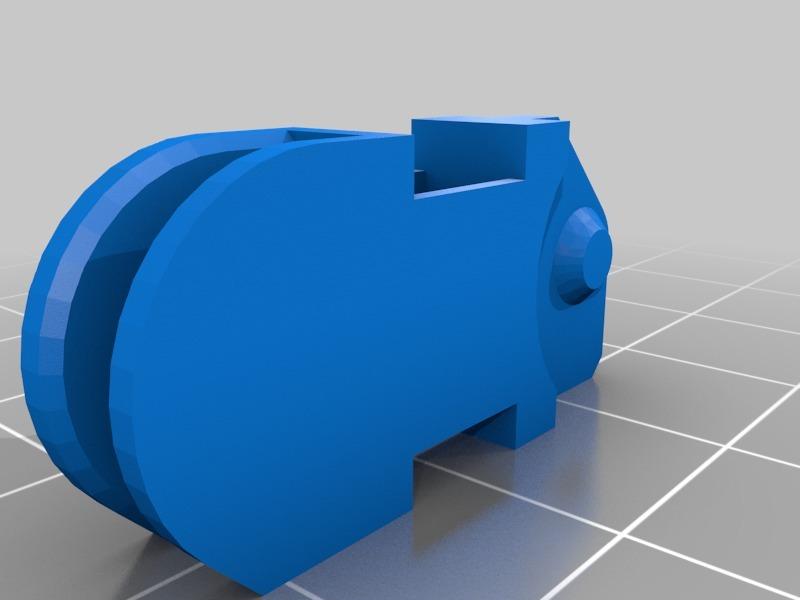
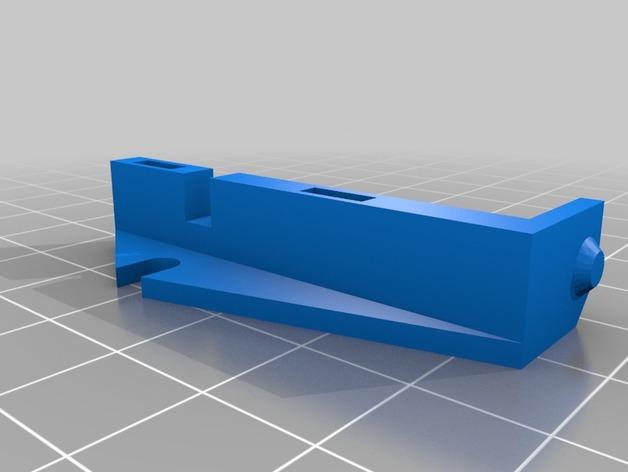
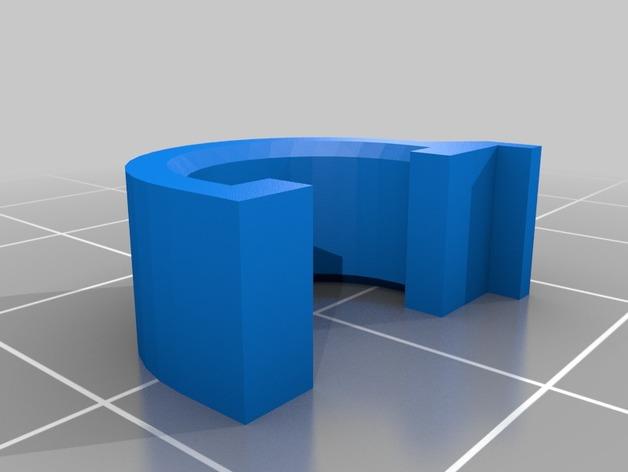
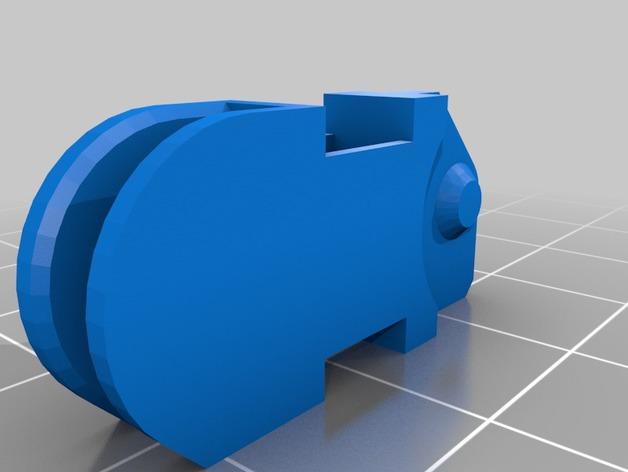
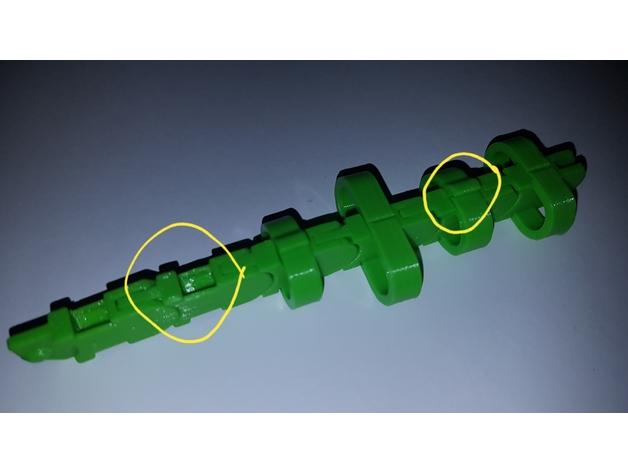
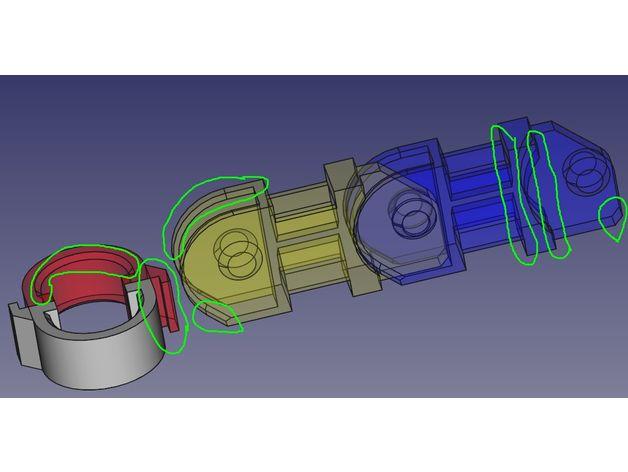
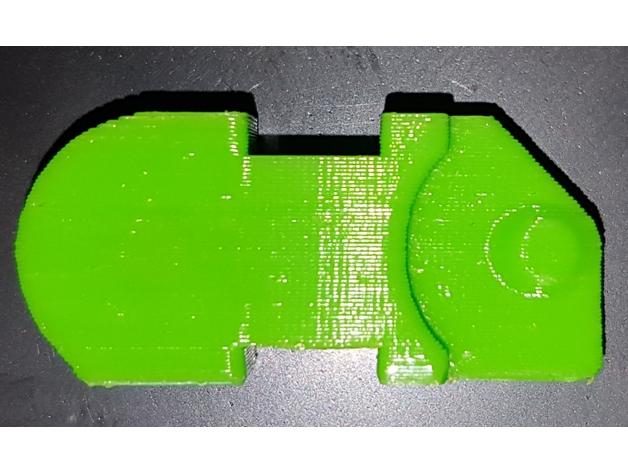
This is a remix of Maxdarkdog's Spine dragchain. I liked the design and decided to print some links as experiment. After the print I had some suggestions and instead of asking for them to be implemented I decided that it would be easier to make them myself, print and test clearances and such. I had to recreate the files in FreeCAD for easy editing so you also get the source as well. The changes I added and why (from right to left):
- chamfer at the bottom edge - no elephants foot and clean, straight contact surface
- cut the round surface - no sharp bottom side, no overhang at the top.
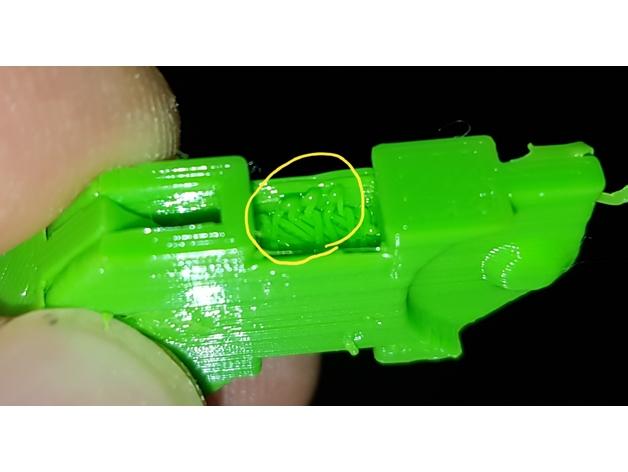
- slanted surfaces of the inside where clips reside - no bridging while printing 4 top) chamfer at the inner edge for less friction from the sharp edge 4 bottom) bottom part of the cylindrical part starts at 45deg - no overhangs
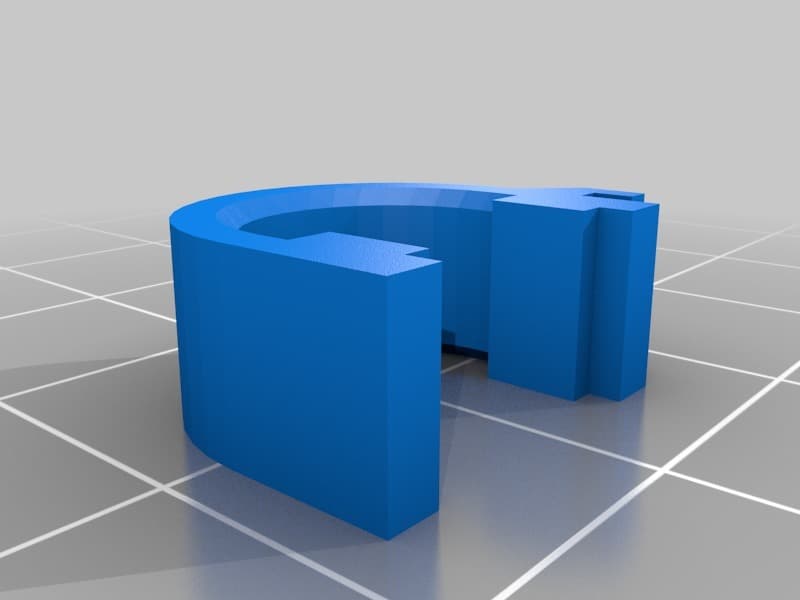
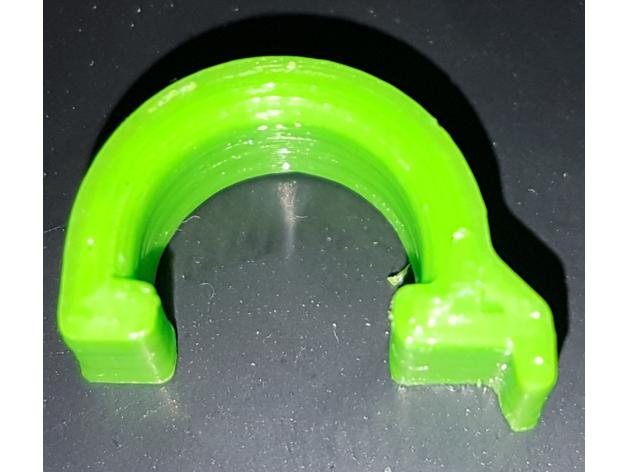
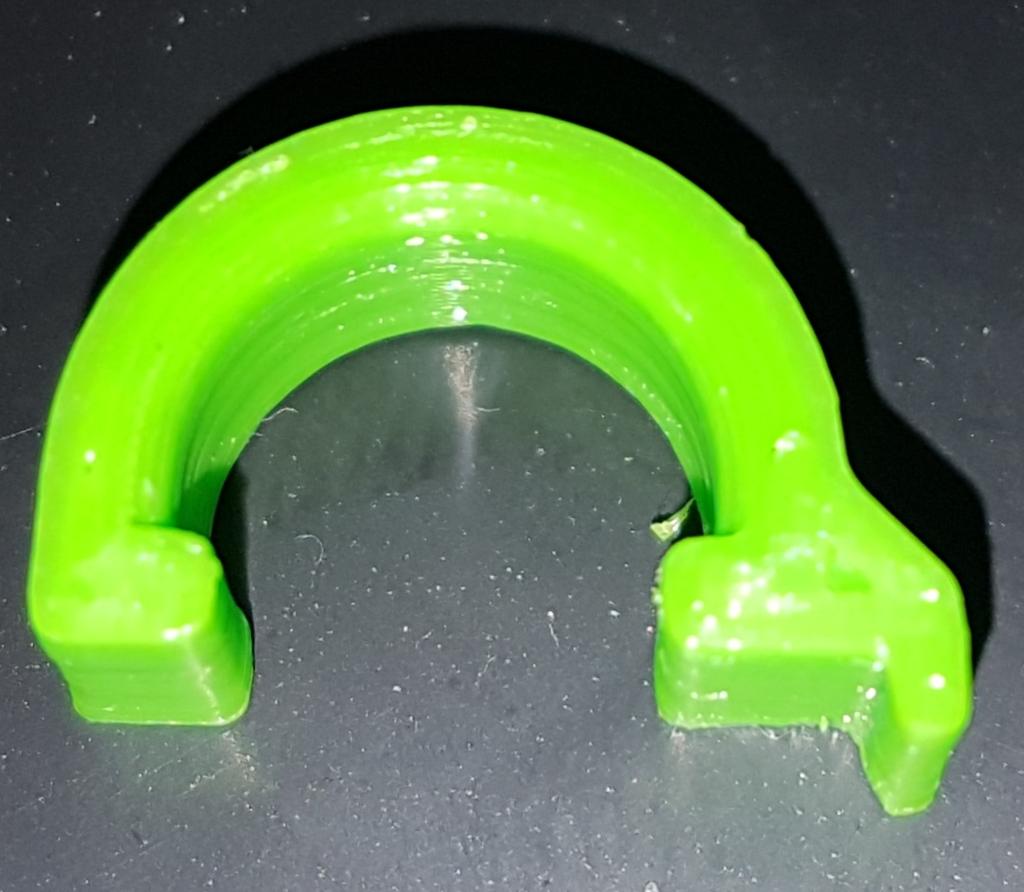
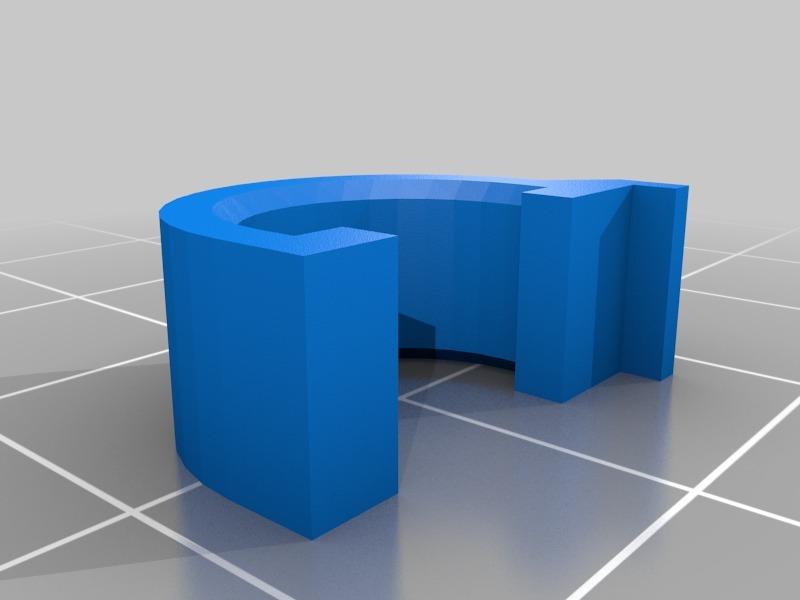
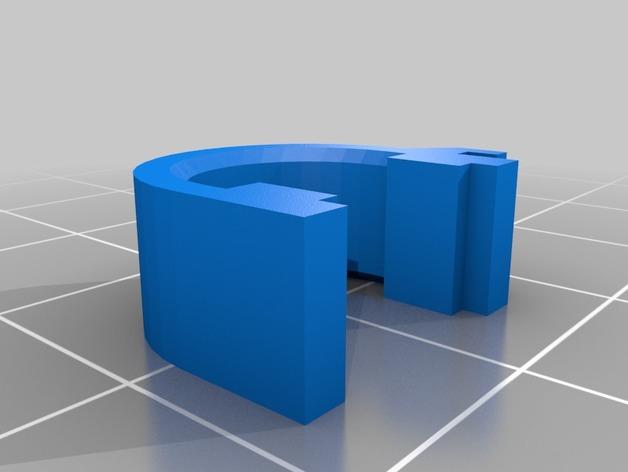
- lip at one end of the smallest clip - easy opening
- chamfer on inside edges of the clip - less chafing on cables
The parts are compatible and interchangeable with the original design. If you want longer clips just change the ClipV1.Pad.Sketch.Constraint35 (which is 3mm) to your desired length and export an STL.
I prinnted mine in PETG and since they bend quite a lot while assembling I am not sure if PLA will work.
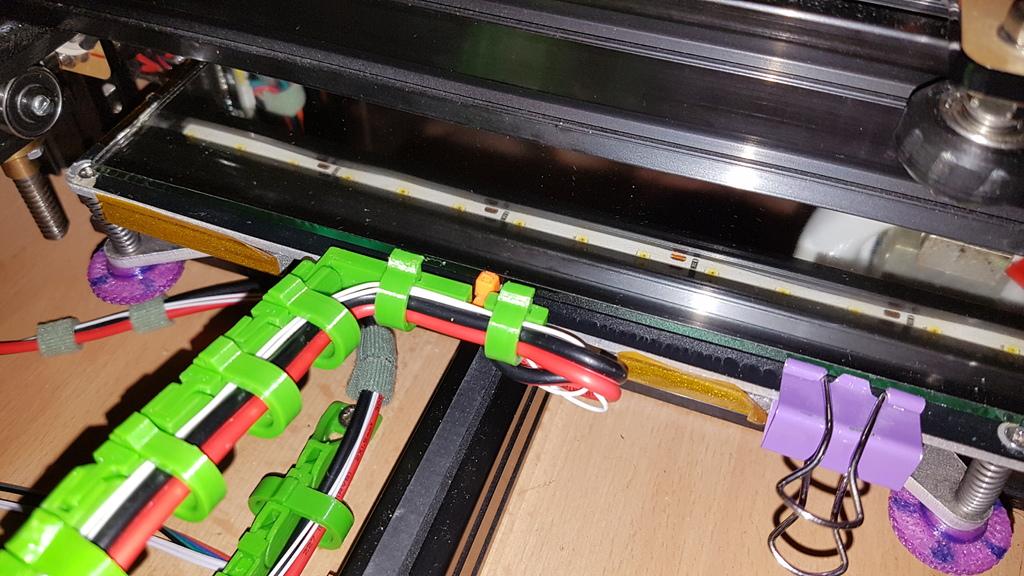
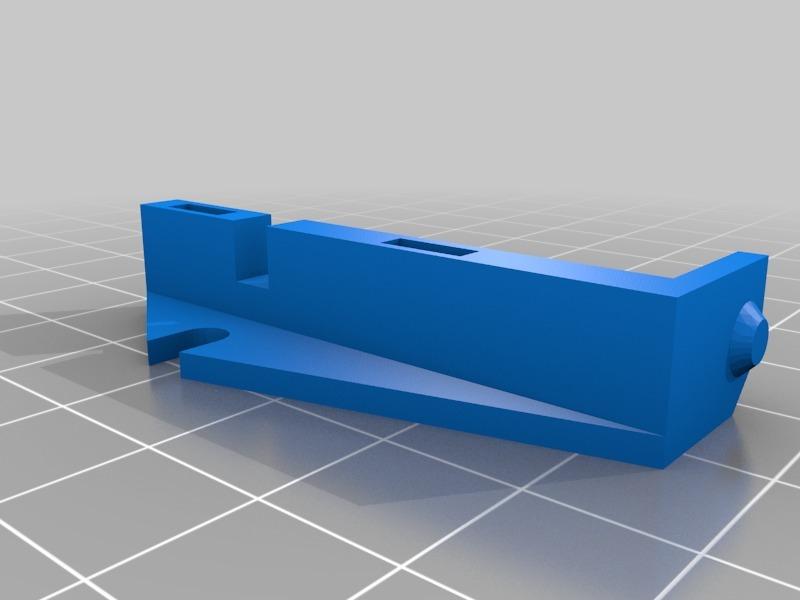
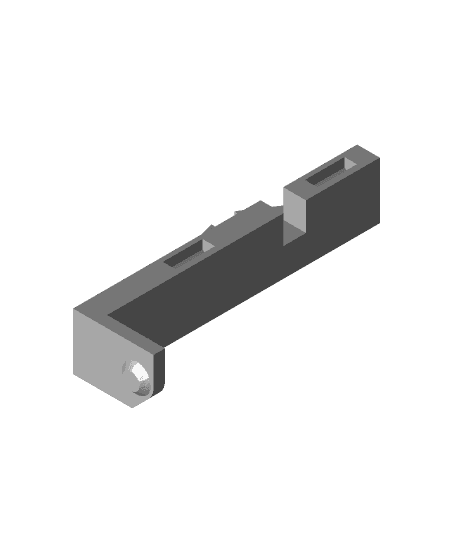
E1: Added one sided clip. E2: Added a bed connection to suit my printer. Use 2 regular clips (not one sided) to hold wires to it. Thought to make a thread in the bed hole but at the end it is held by a single ziptie through the hole. PETG holds well at 80C.
Please post your comments, makes,... :)
