


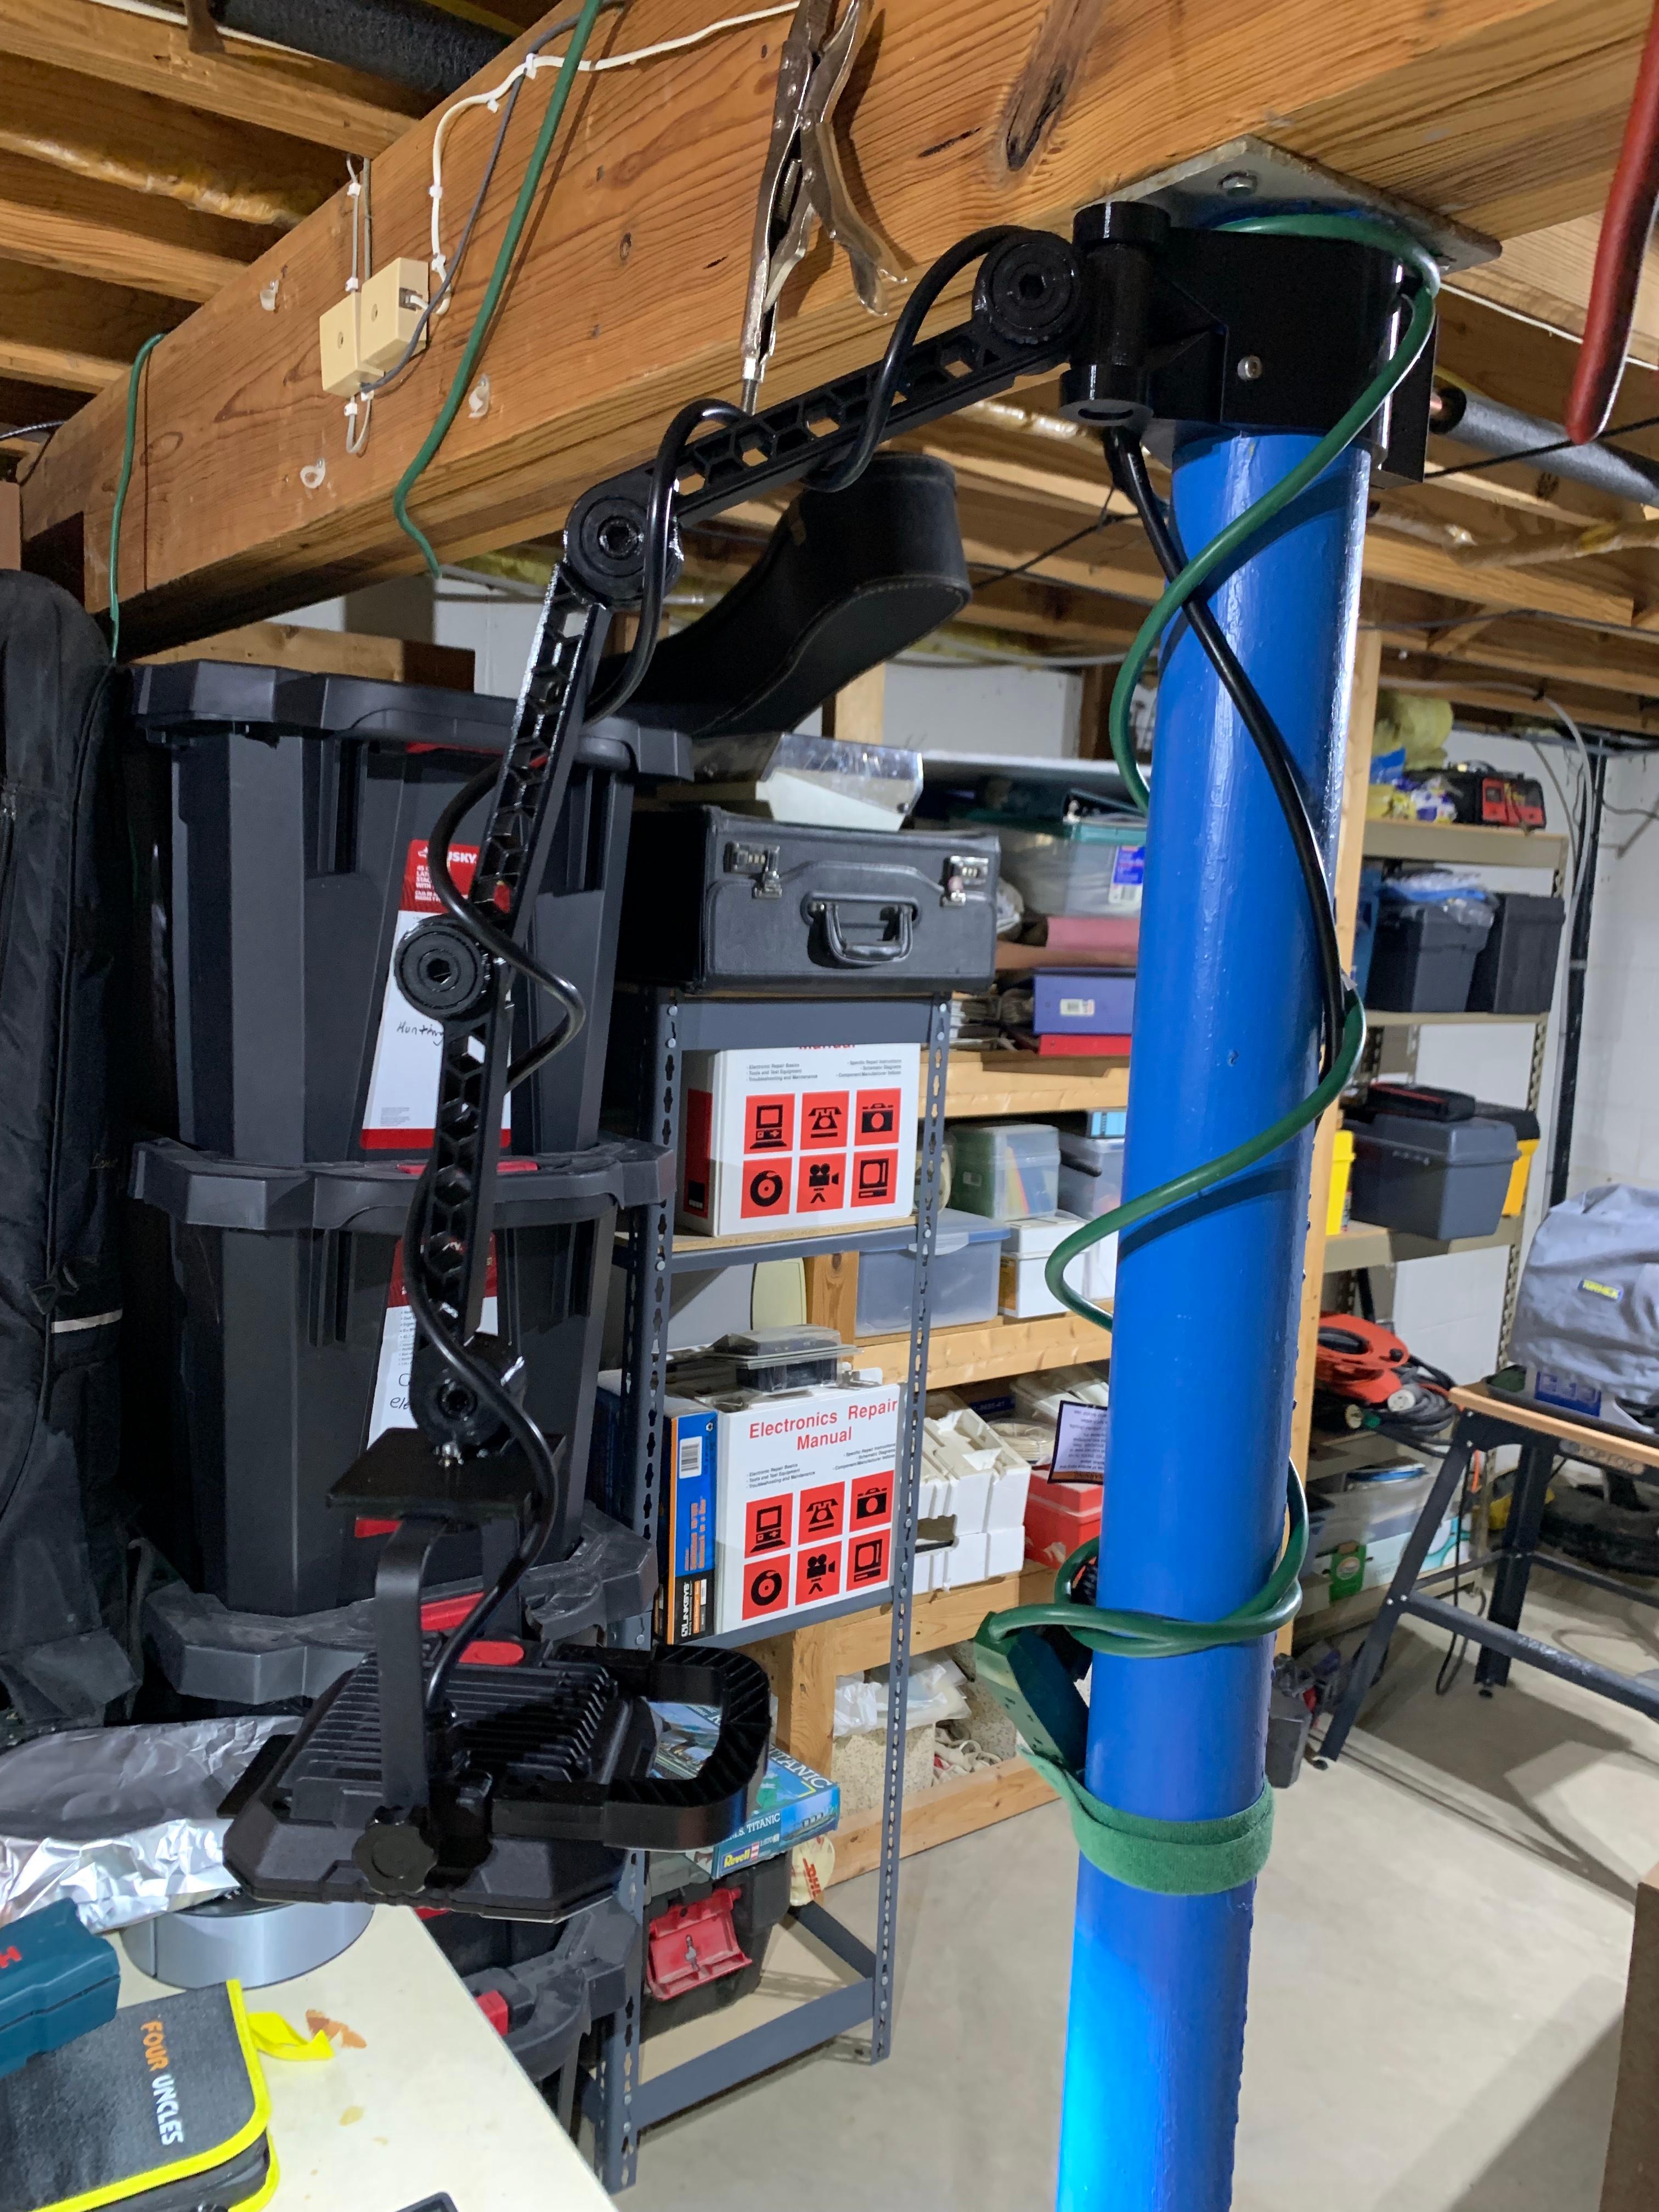
KECCAK256 MIC/CAMERA/LIGHT BOOM ARM
--NOTE: so... updating on thangs kinda sucks. so i'm not going to keep this repository here up to date. if you want the most upto date version, i'll maintain the cults 3d version. so google for that one--
Introducing the Keccak256 Boom Arm. The worlds first ceiling mountable open source 3D printable boom arm designed for makers, crafters, streamers, content creators, gamers, who value their time and like maximizing their space.
Rotates 360 Degrees at Ceiling Mount Articulates at Each Arm Joint in 15 Degree Intervals
---For Product Overview or Assembly Instructions:--- ---Watch the Video on YouTube--- ^^^^^^^^^^^^^^^^^^^^^^
If you have any questions, I'm live nearly every day on Twitch Or join my Discord
Non 3D Printable Materials Needed: Ceiling Mount:
- 100-136x : 6mm ball bearings
- 2x : m6 Nylon Lock Nuts
- 2x : 26mm Washers
- 1x : m6 30mm Length Threaded Rod
- 1x : m4 8mm to 16mm Length Cone Point Grub Screw
- 2x : m4 16mm to 32mm Length Cone Point Grub Screws
- 3x : m3 8mm Length Cone Point Grub Screws
- 4x : m8 10mm Length Spring Loaded Ball Bearing Tipped Grub Screws
Arm (Each):
- 2x : m6 Nylon Lock Nuts
- 2x : 26mm Washers
- 1x : m6 30mm Length Threaded Rod
- 6-8x : m3 8mm Length Cone Point Grub Screws (for knuckle inserts)
- 6-18x : m3 8mm Length Cone Point Grub Screws (for joining 2 halves of arms)
- 4x : m8 10mm Length Spring Loaded Ball Bearing Tipped Grub Screws
Mic Arm:
- 1x : m6 20mm Length Socket Head Bolt
- 1x : m6 Nylon Lock Nut
Accessory:
- 4mm Shock Cord : optional, kinda, might be needed for long 90 degree setups
- Velcro : to hold mic, camera, lights power or usb cords to arm
Assembly Notes
- For Ceiling Mount Ball Bearings - so... 136 is the max you can fit in there, but putting less works. I haven't tested how low you can take that. But I'd guess I have about 100ish in mine and it moves great.
- For connecting the two Arm Halves - There are 18 holes in each, but... like... depending on how heavy of equipment your putting on there, and how many arms your using (more arms = more length = more leverage), you can likely use much less, possibly down to 6.
- Once installed and assembled, tighten the m6 lock nuts against the washer to the point where you can still articulate the arms, but they don't sag/fall on their own.
- If the first Arms from the Ceiling Mount are sagging (you used lots of arms out at 90° angles, and you need more support, use 4mm shock cord from the shock cord plate, to the arm knuckle to support it.
3D PRINTING SETTINGS For All Parts 4 walls 25% infill (honeycomb or cubic)
For Parts With Printed Threads: 0.08 layer height 0.42 line width 0.4mm nozzle
For Parts Without Threads: 0.20 layer height 0.42 line width 0.4mm nozzle
Material: My personal one is printed in Recycled PLA (from SunLu), so... I figure if that's stonk enough on this design, you should be able to print it from just about anything.
KECCAK256 MIC/CAMERA/LIGHT BOOM ARM
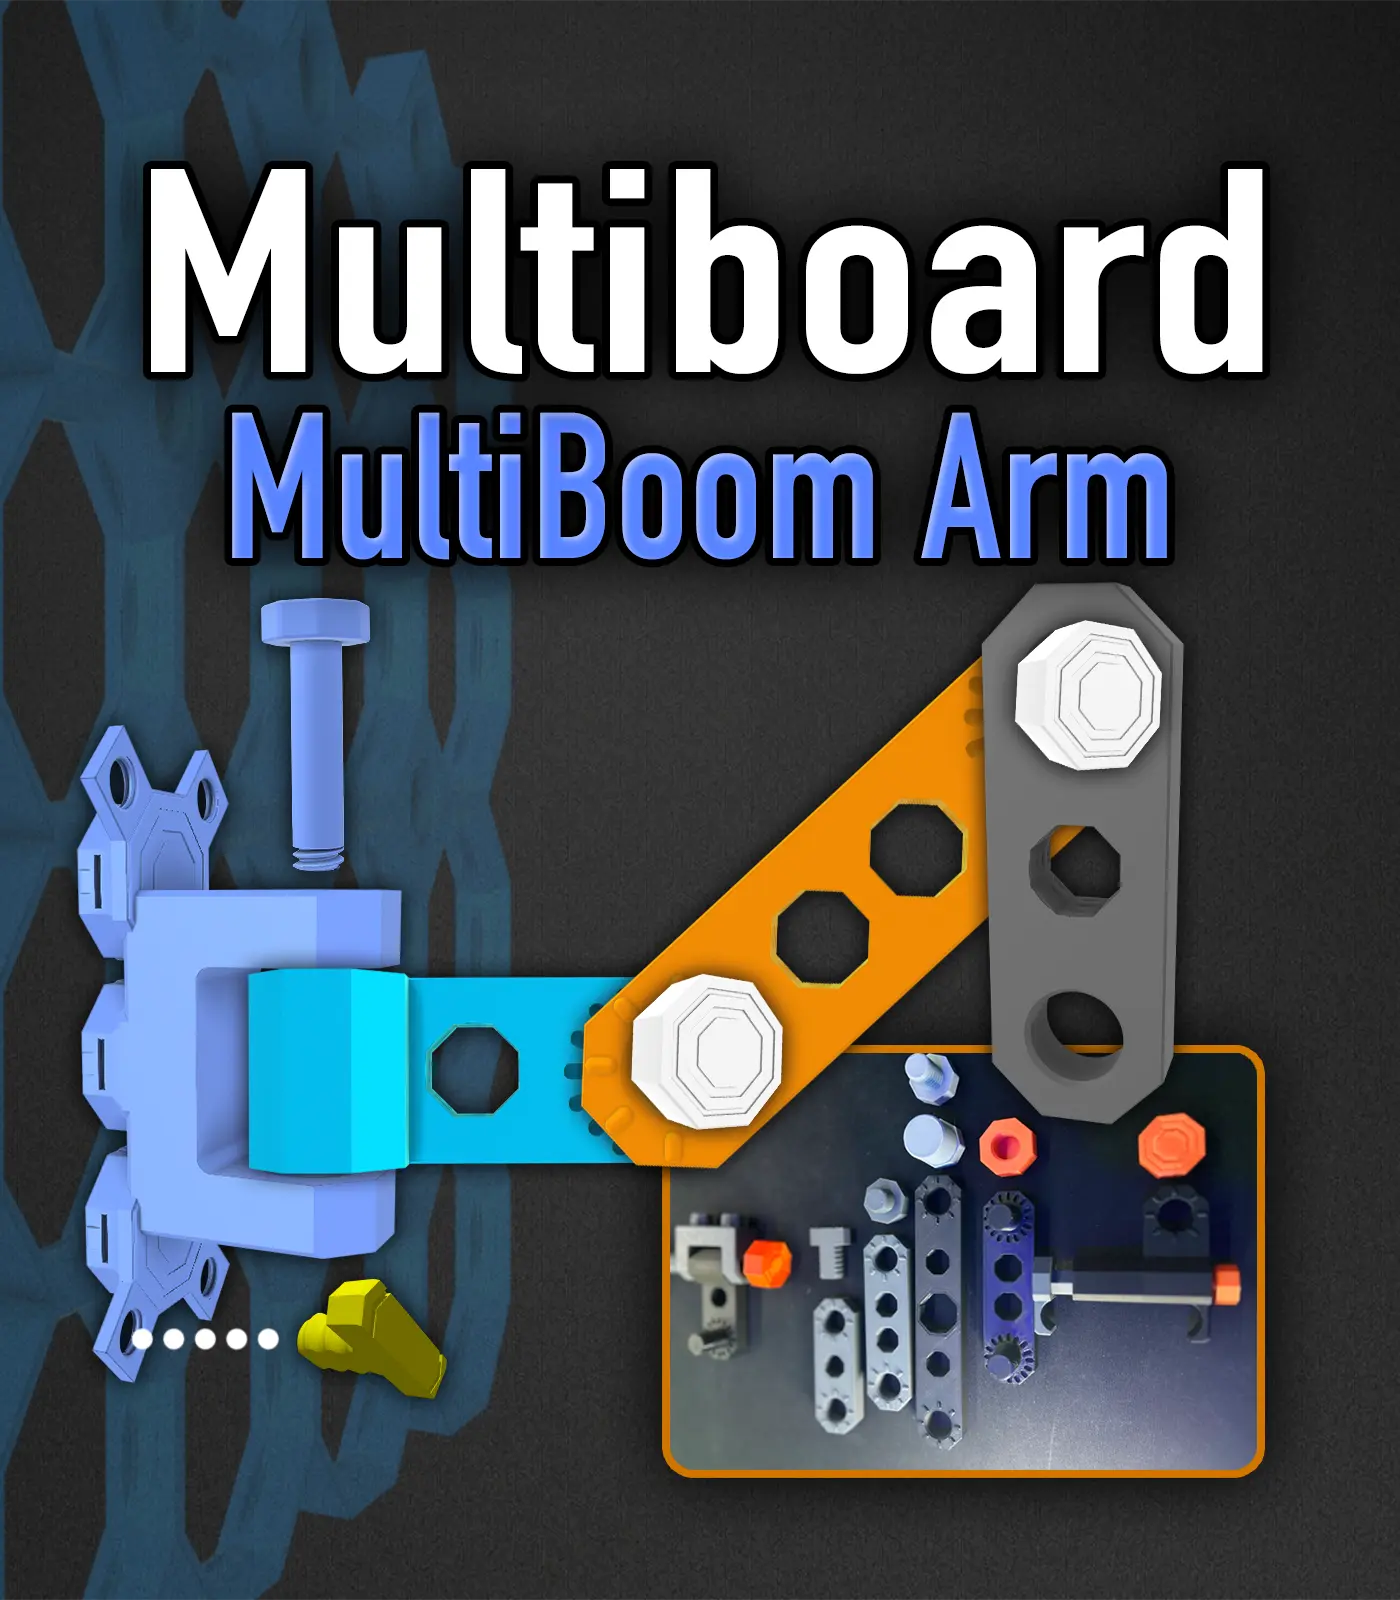
MultiBoom Arm - Multiboard Boom Arm
.jpeg&w=3840&q=75)
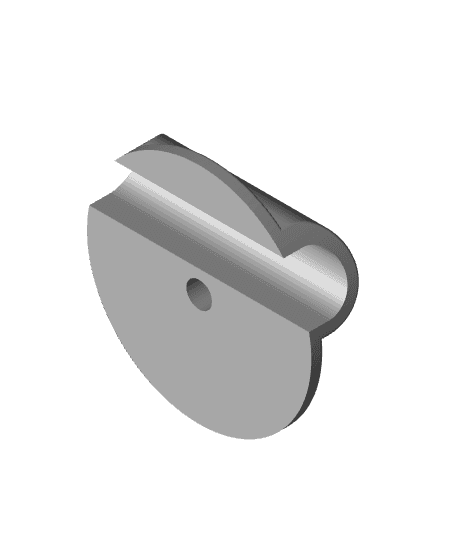
Boom Arm Base
Neewer NB-35 (and others) Microphone Boom Arm Cable Management Clip
MUIN Fume Extractor Boom Arm Mount Housing
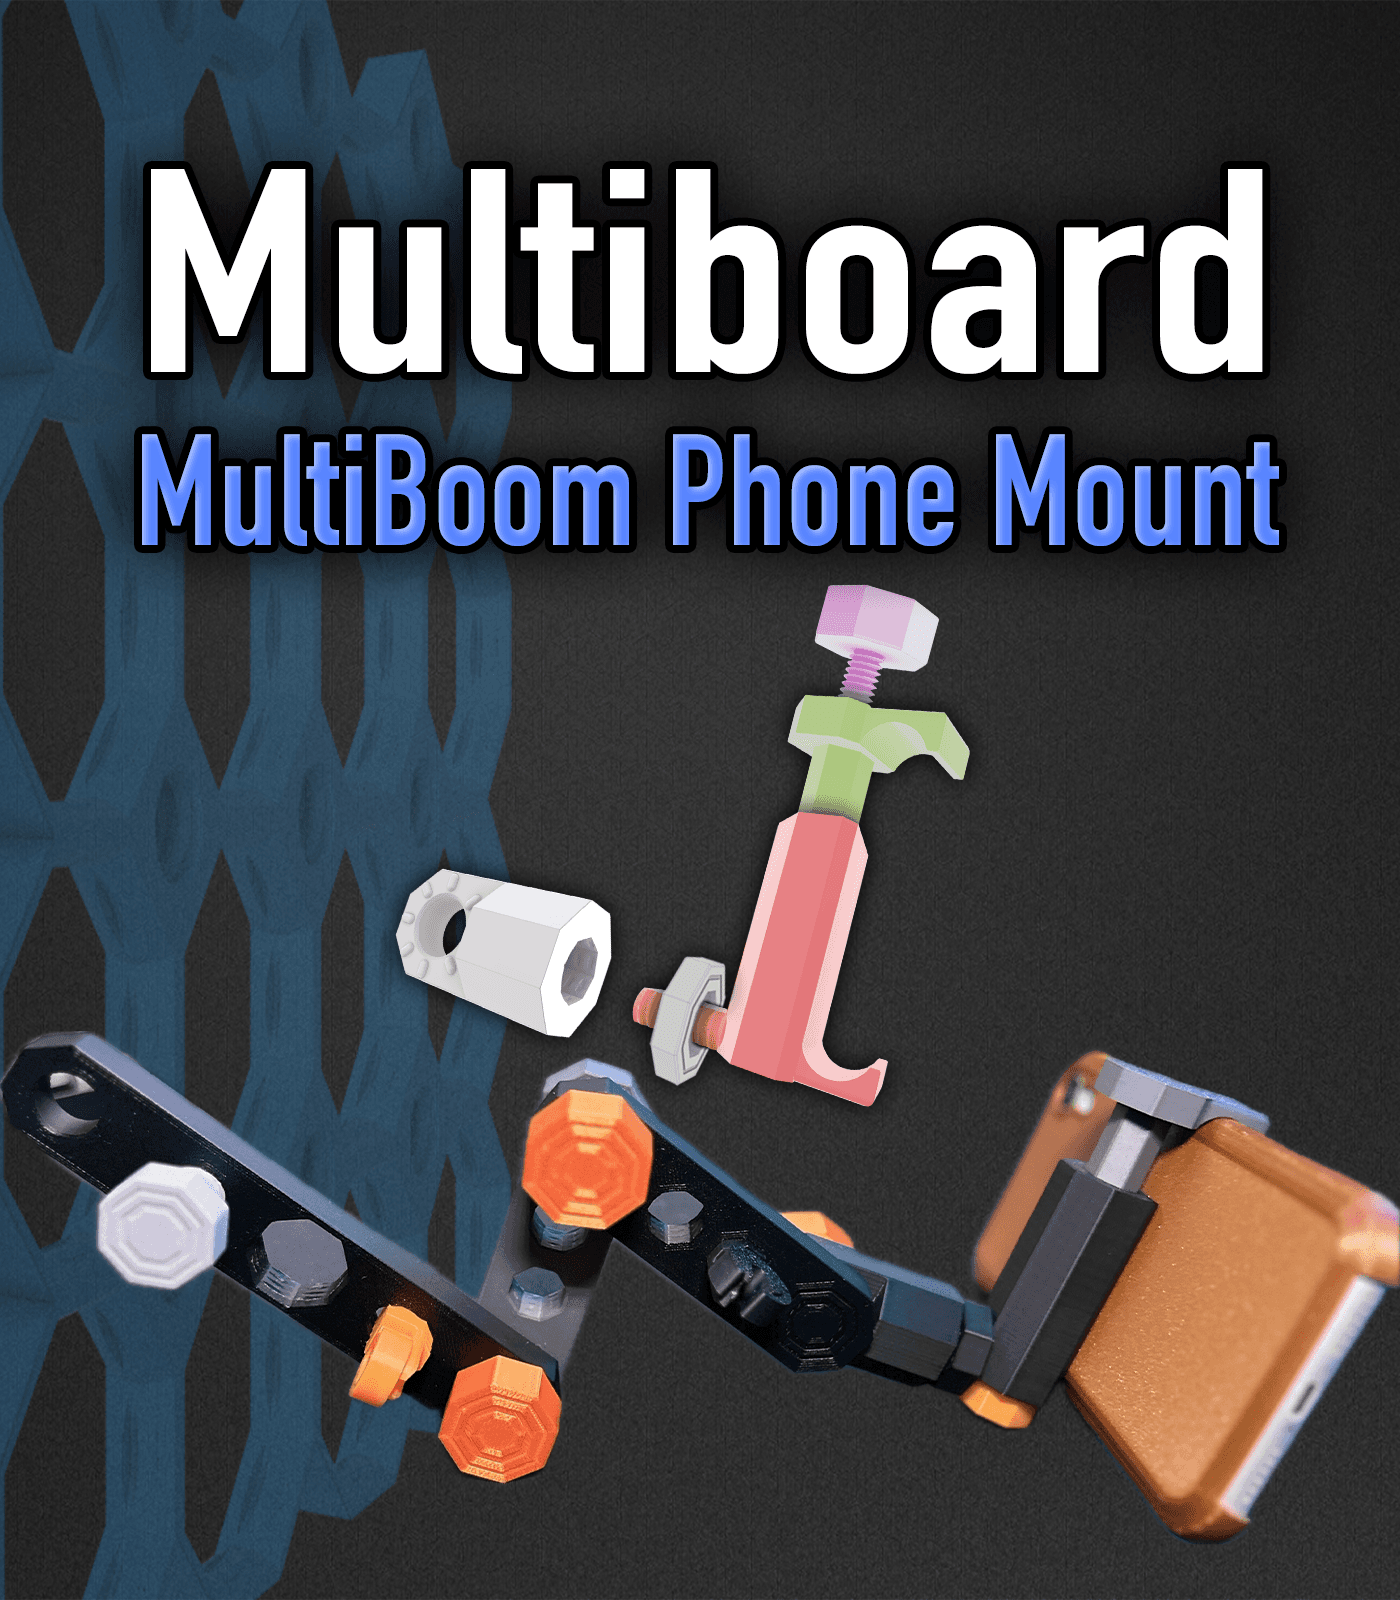
MultiBoom Phone Holder / Mount - Multiboard
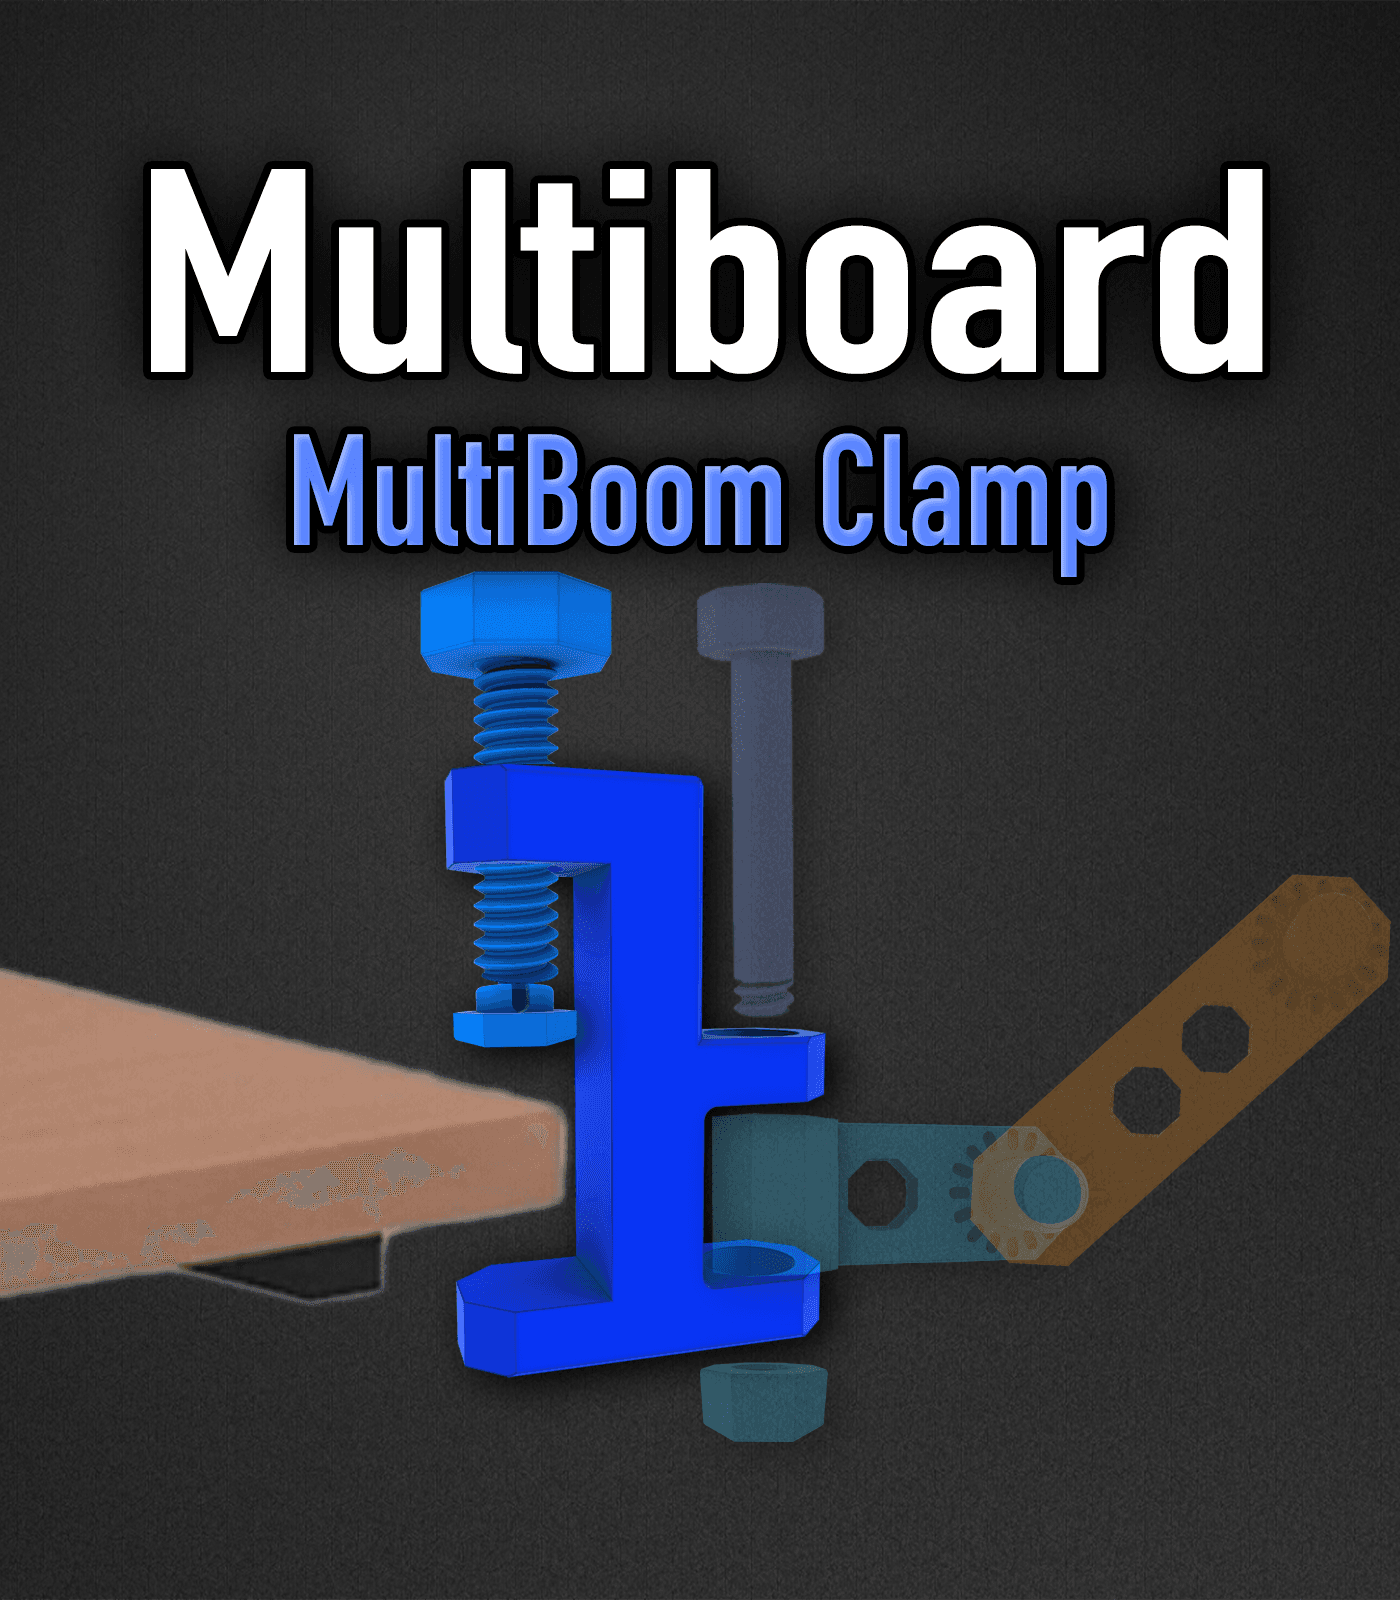
MultiBOOM Clamp
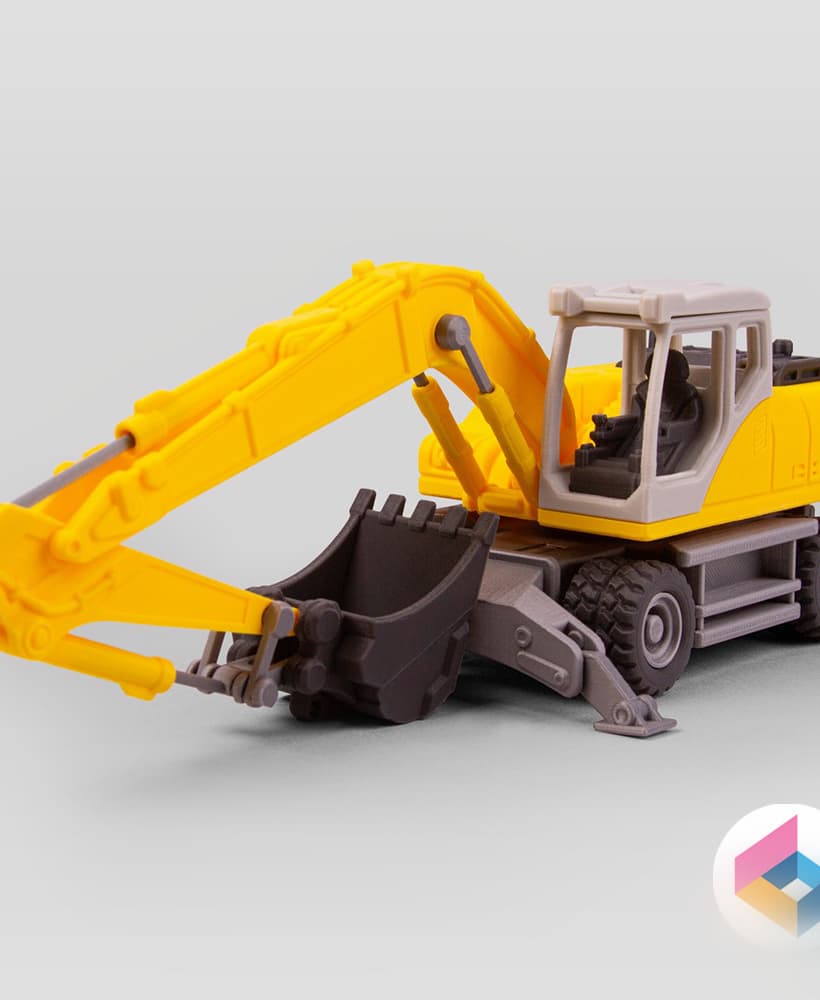
Excavator (Print-in-Place articulated)

EWR Mk1 "WORKRIG"_Wrecker _1/10 RC Body and Chassis
.png&w=3840&q=75)
Minecraft Snowman Surprise

MultiBOOM 3x3 Frame Attachment
Pipe Mounted Swivel Bracket for Adjustable boom

EWR MK1 “WorkRig” Flatbed/Pickup to Wrecker Conversion Kit

EWR MK1 “WorkRig” Wrecker/Flatbed to Pickup Conversion Kit
#3DPNSpeakerCover-SonicBoom.stl

EWR MK1 “WorkRig” Wrecker/Pickup to Flatbed Conversion Kit

Yeti Nano Mount.stl
Microphone stand arm clamp
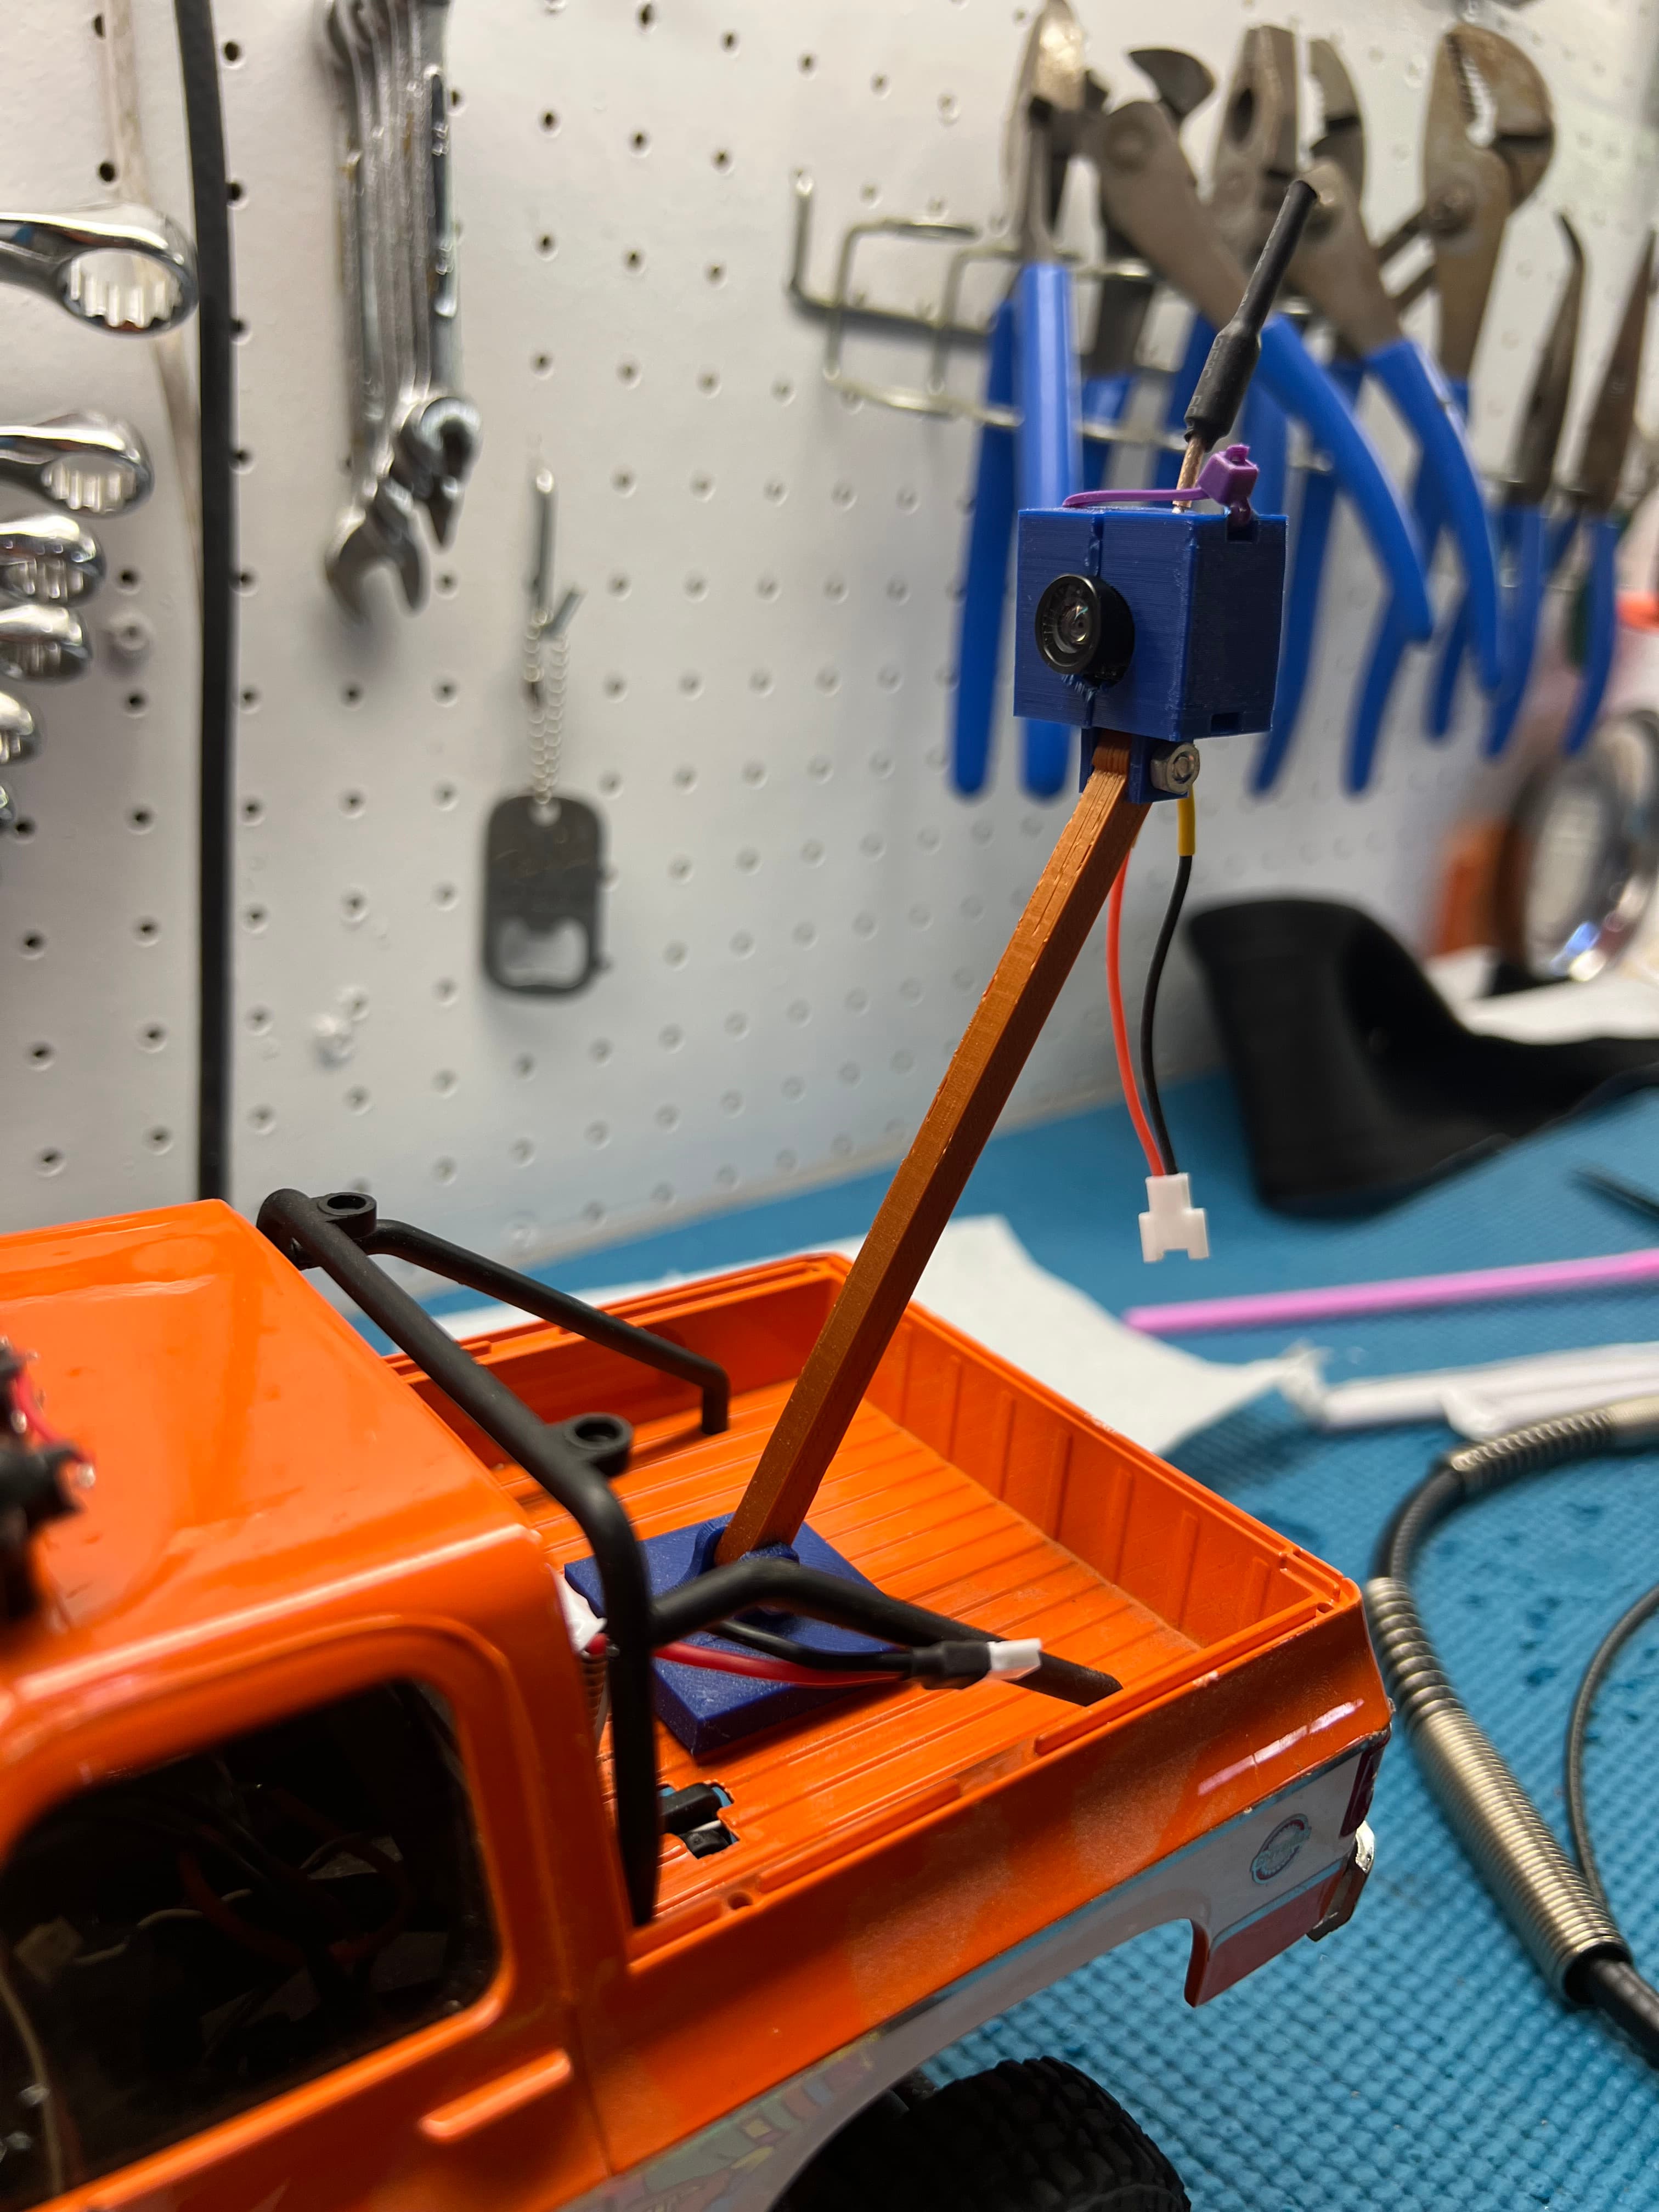
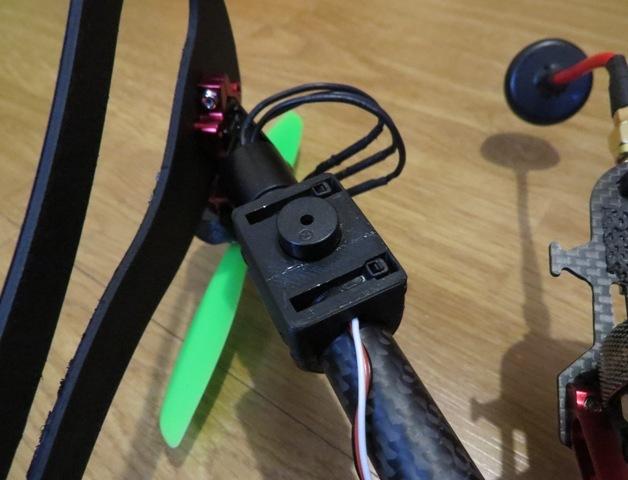
Micro all-in-one FPV boom mount
Sky-Hero Anakin - Buzzer Holder
