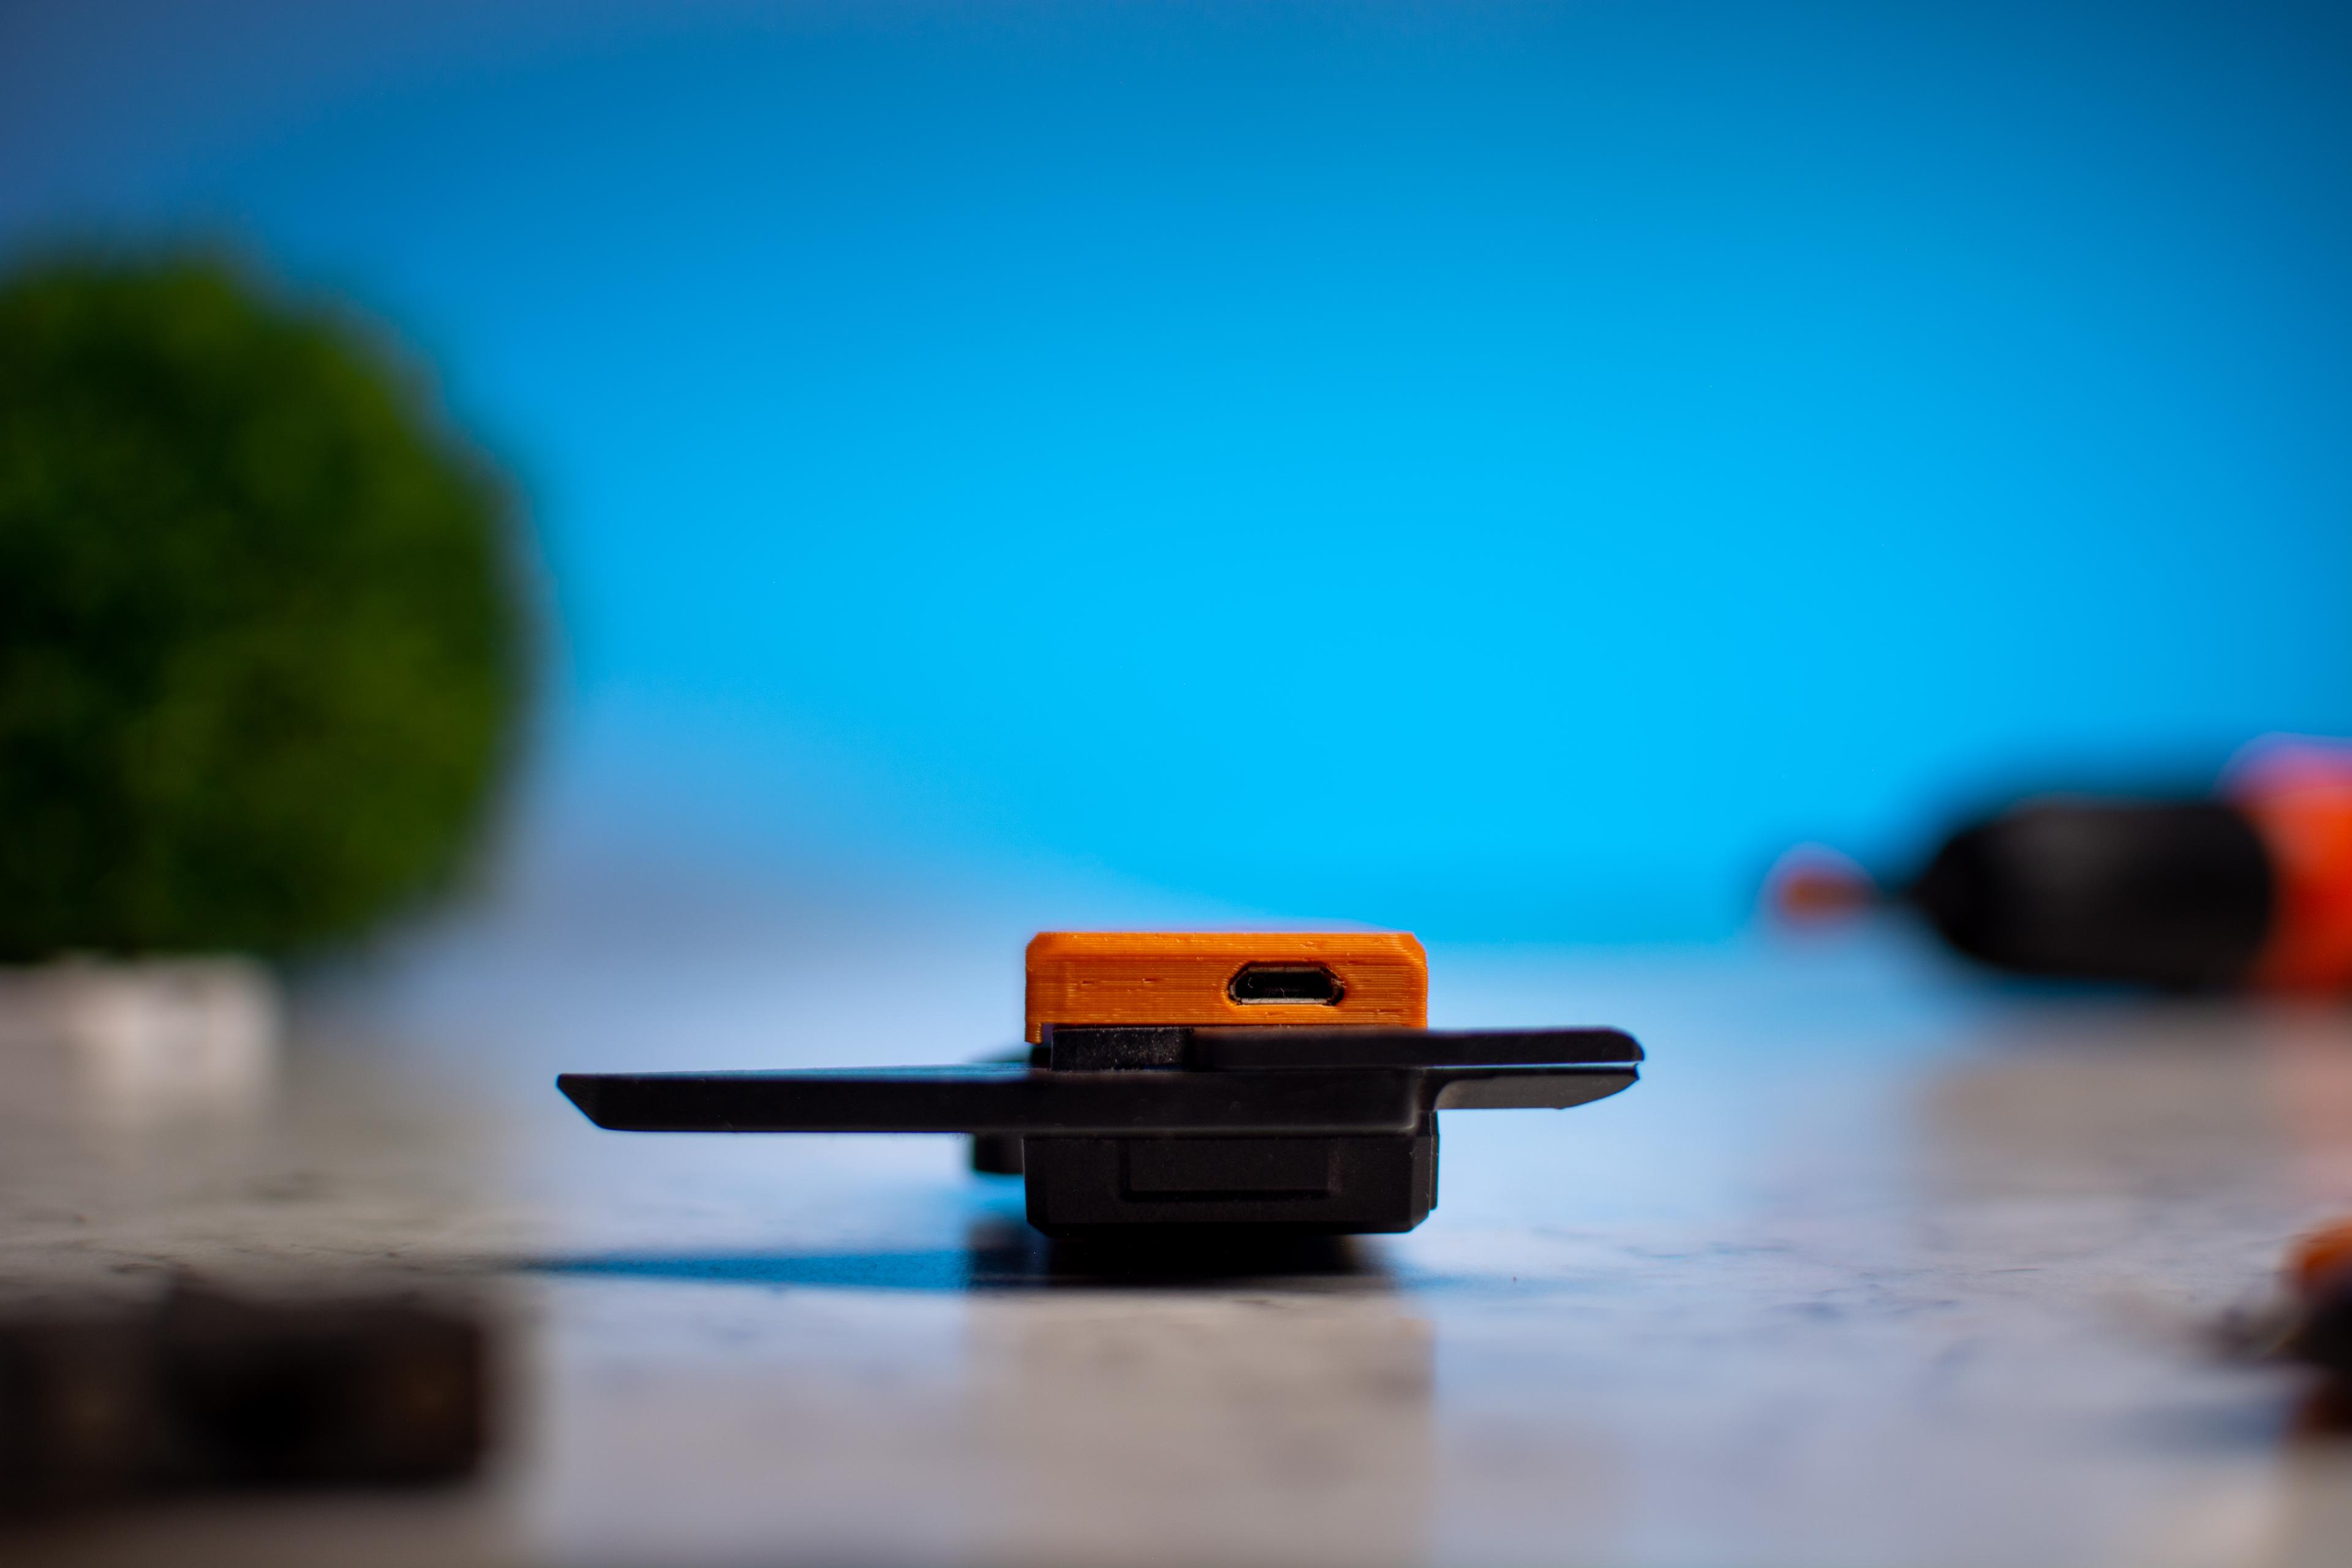
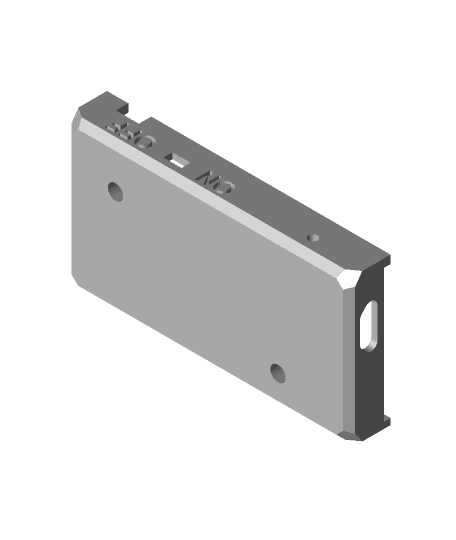
Model originally uploaded to Thingiverse at https://www.thingiverse.com/thing:5222377.
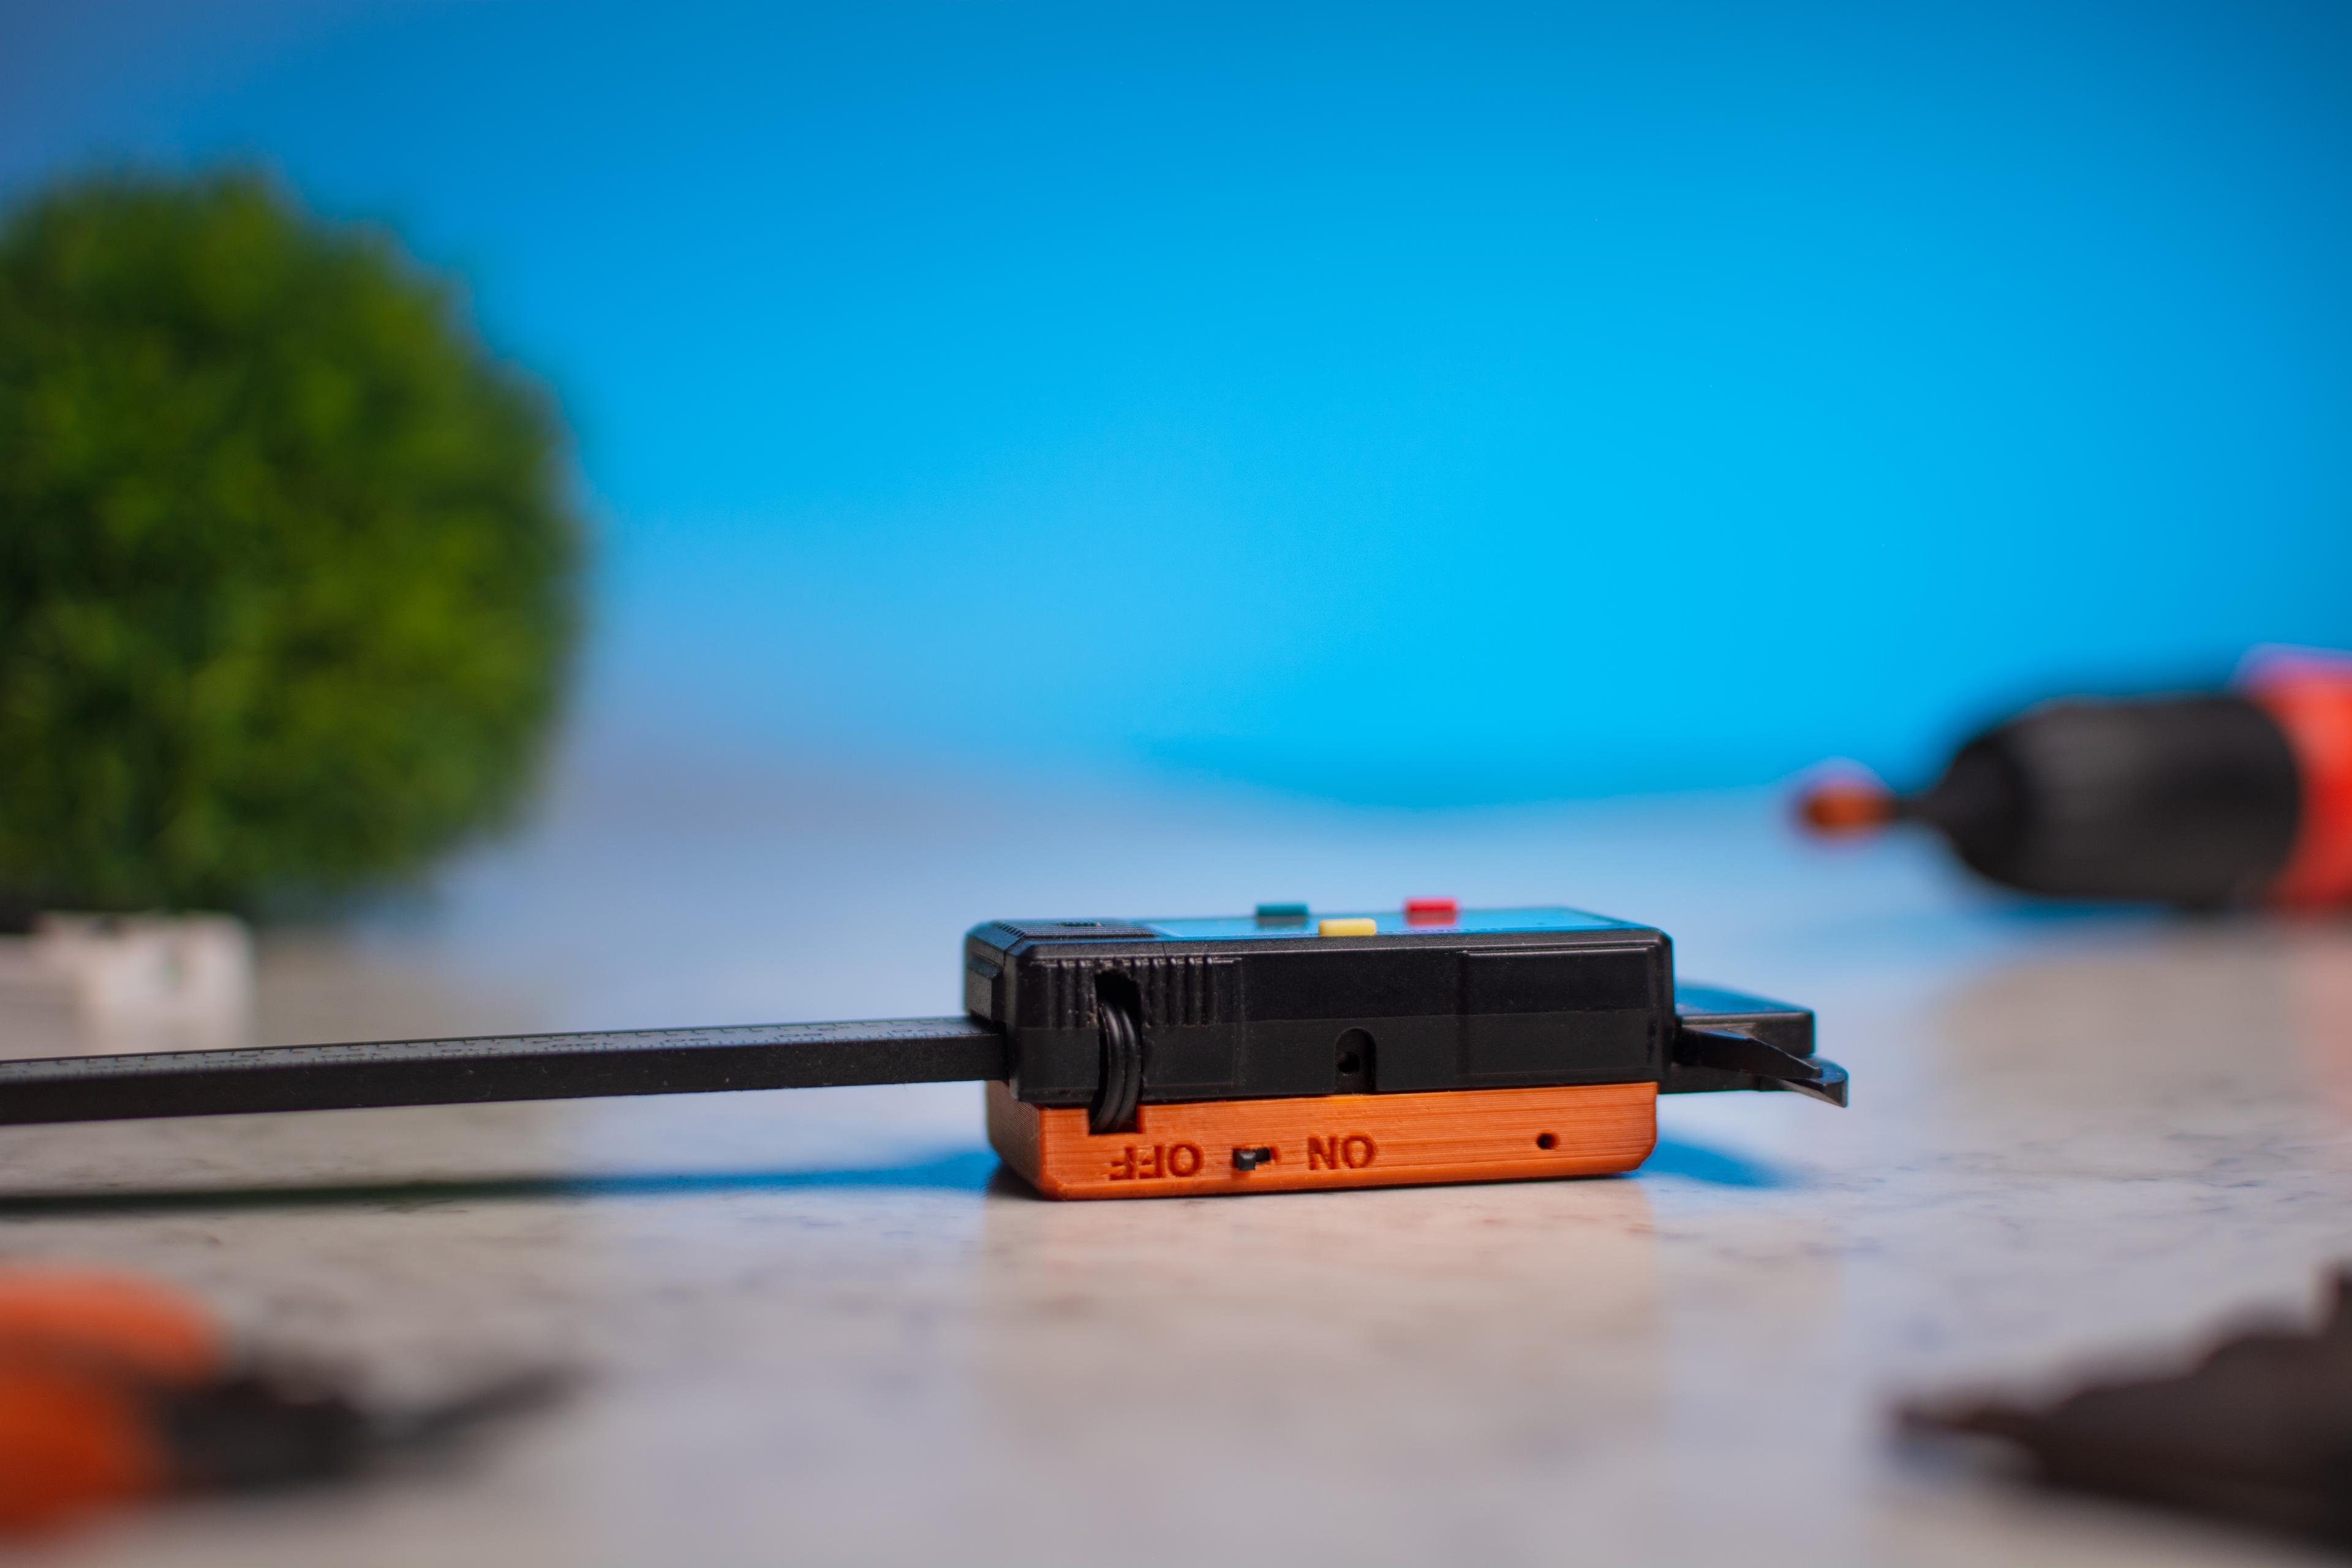
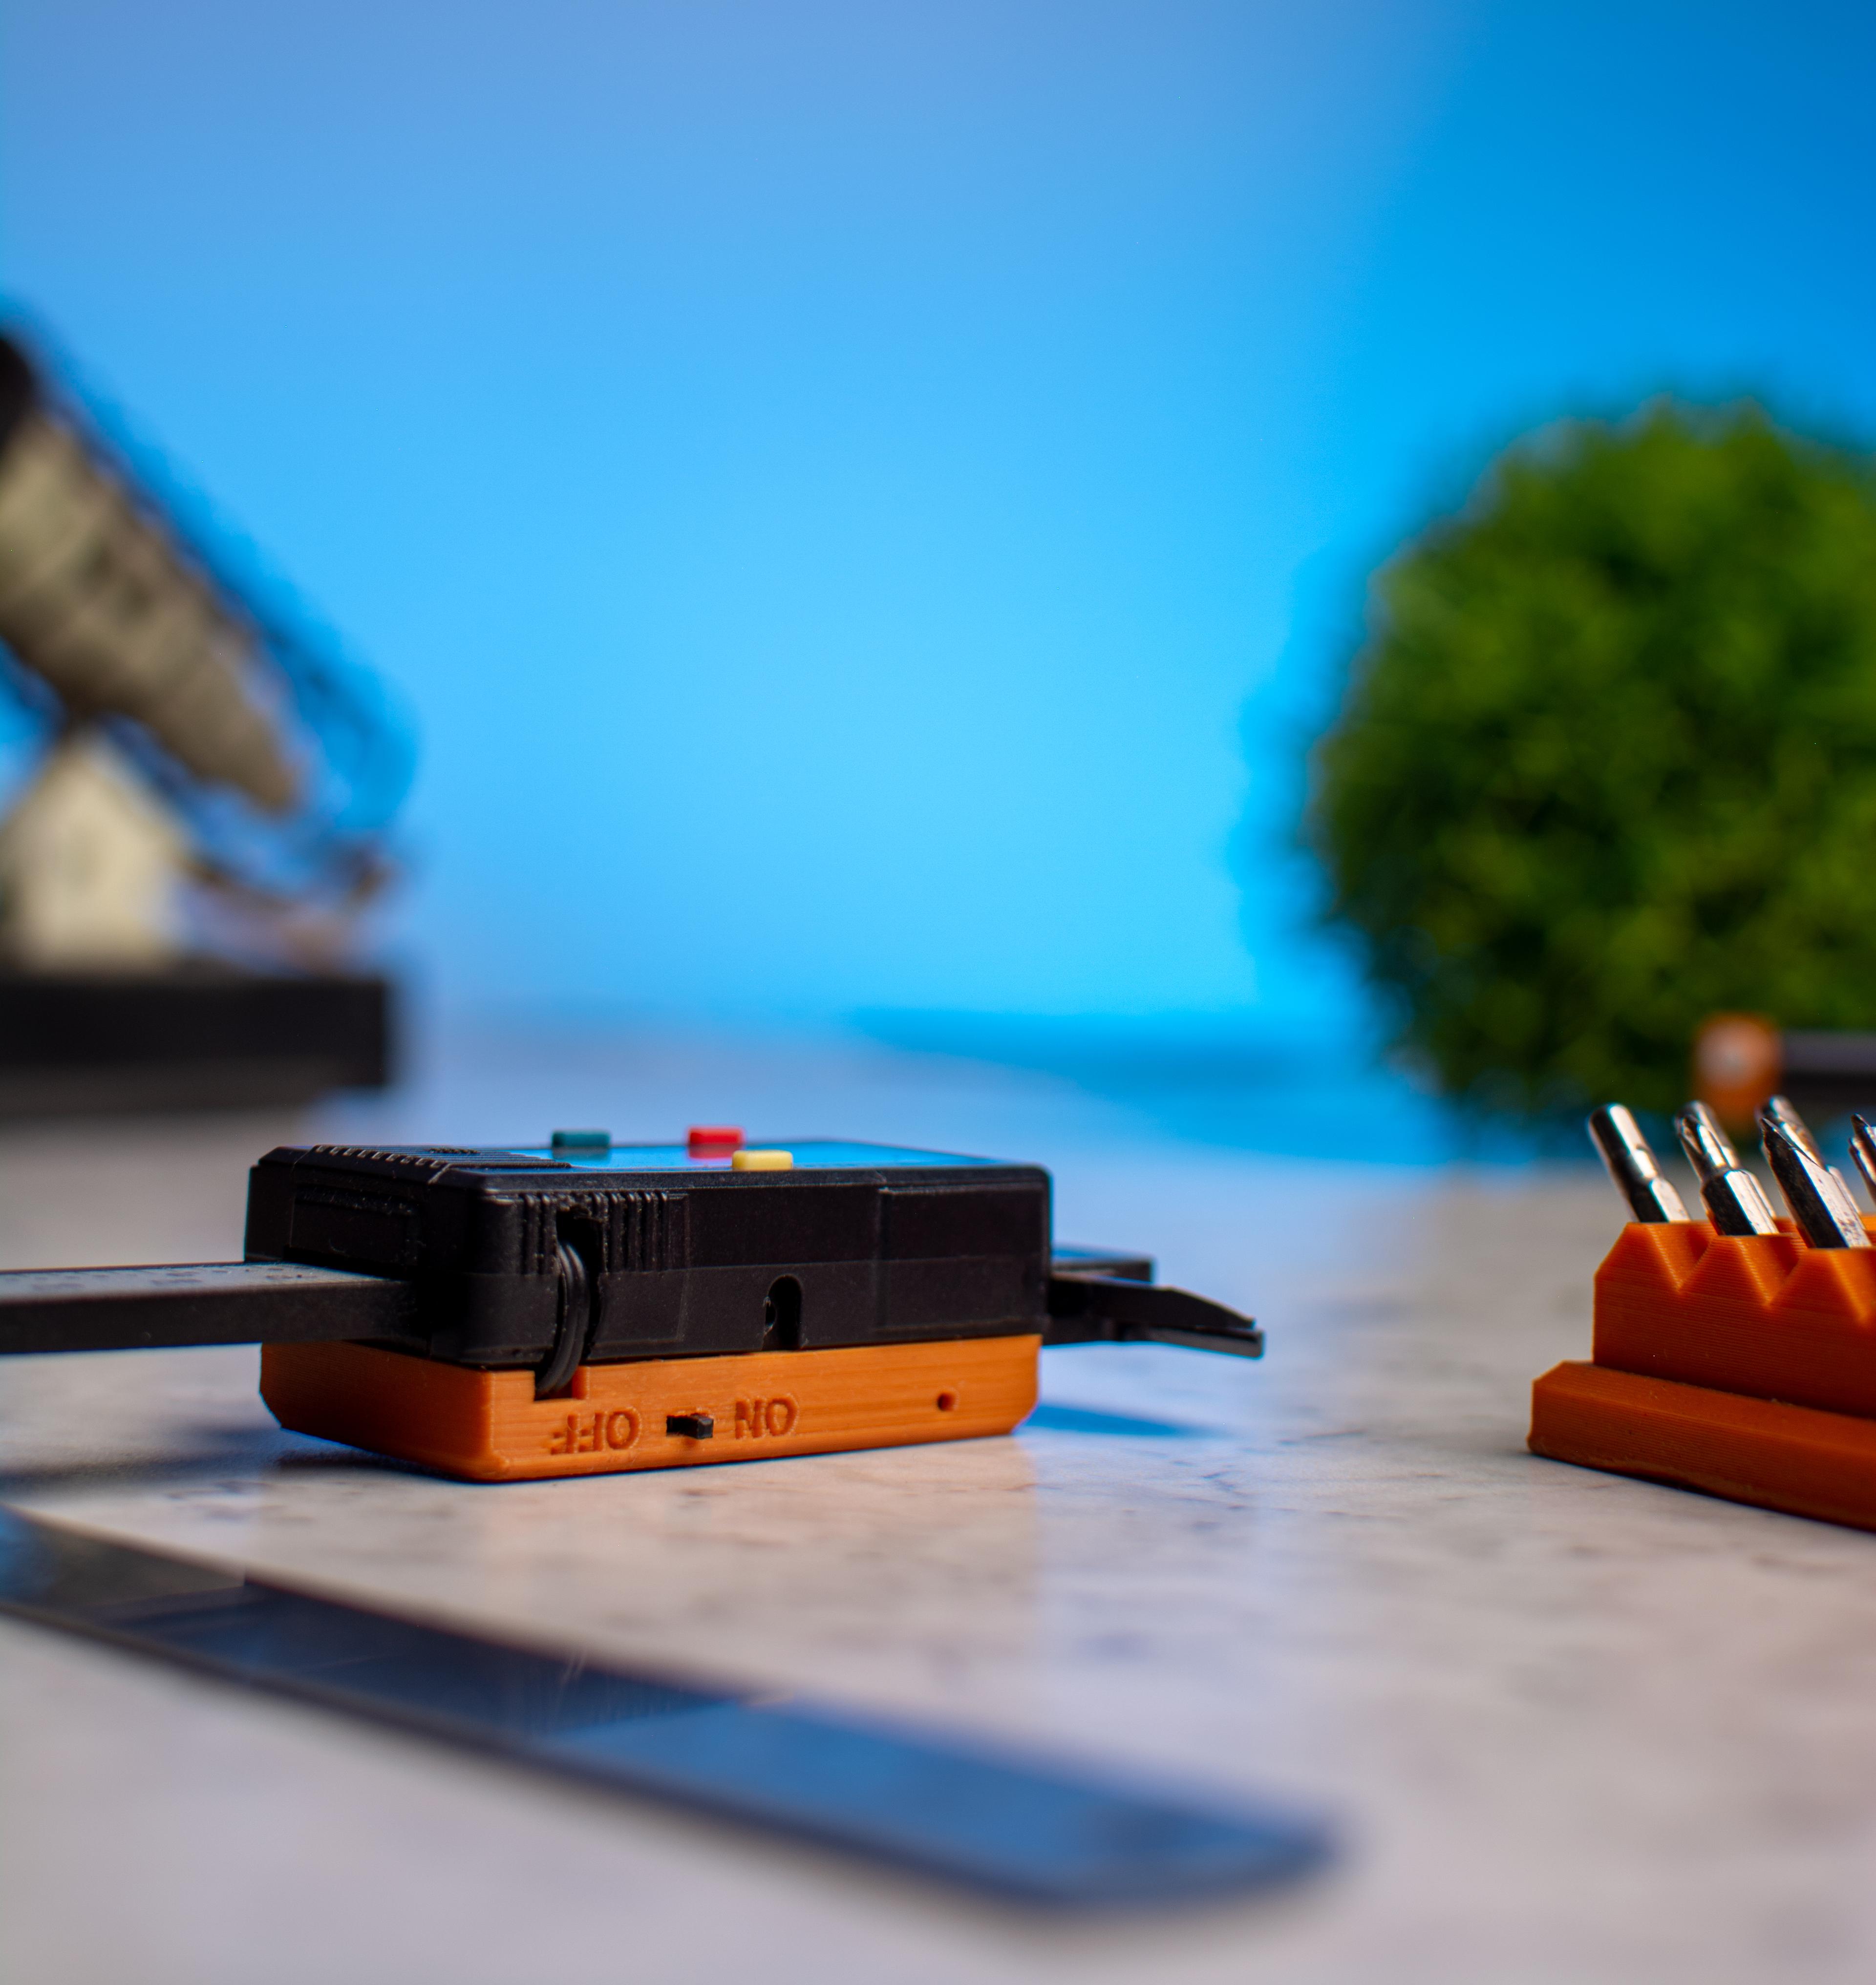
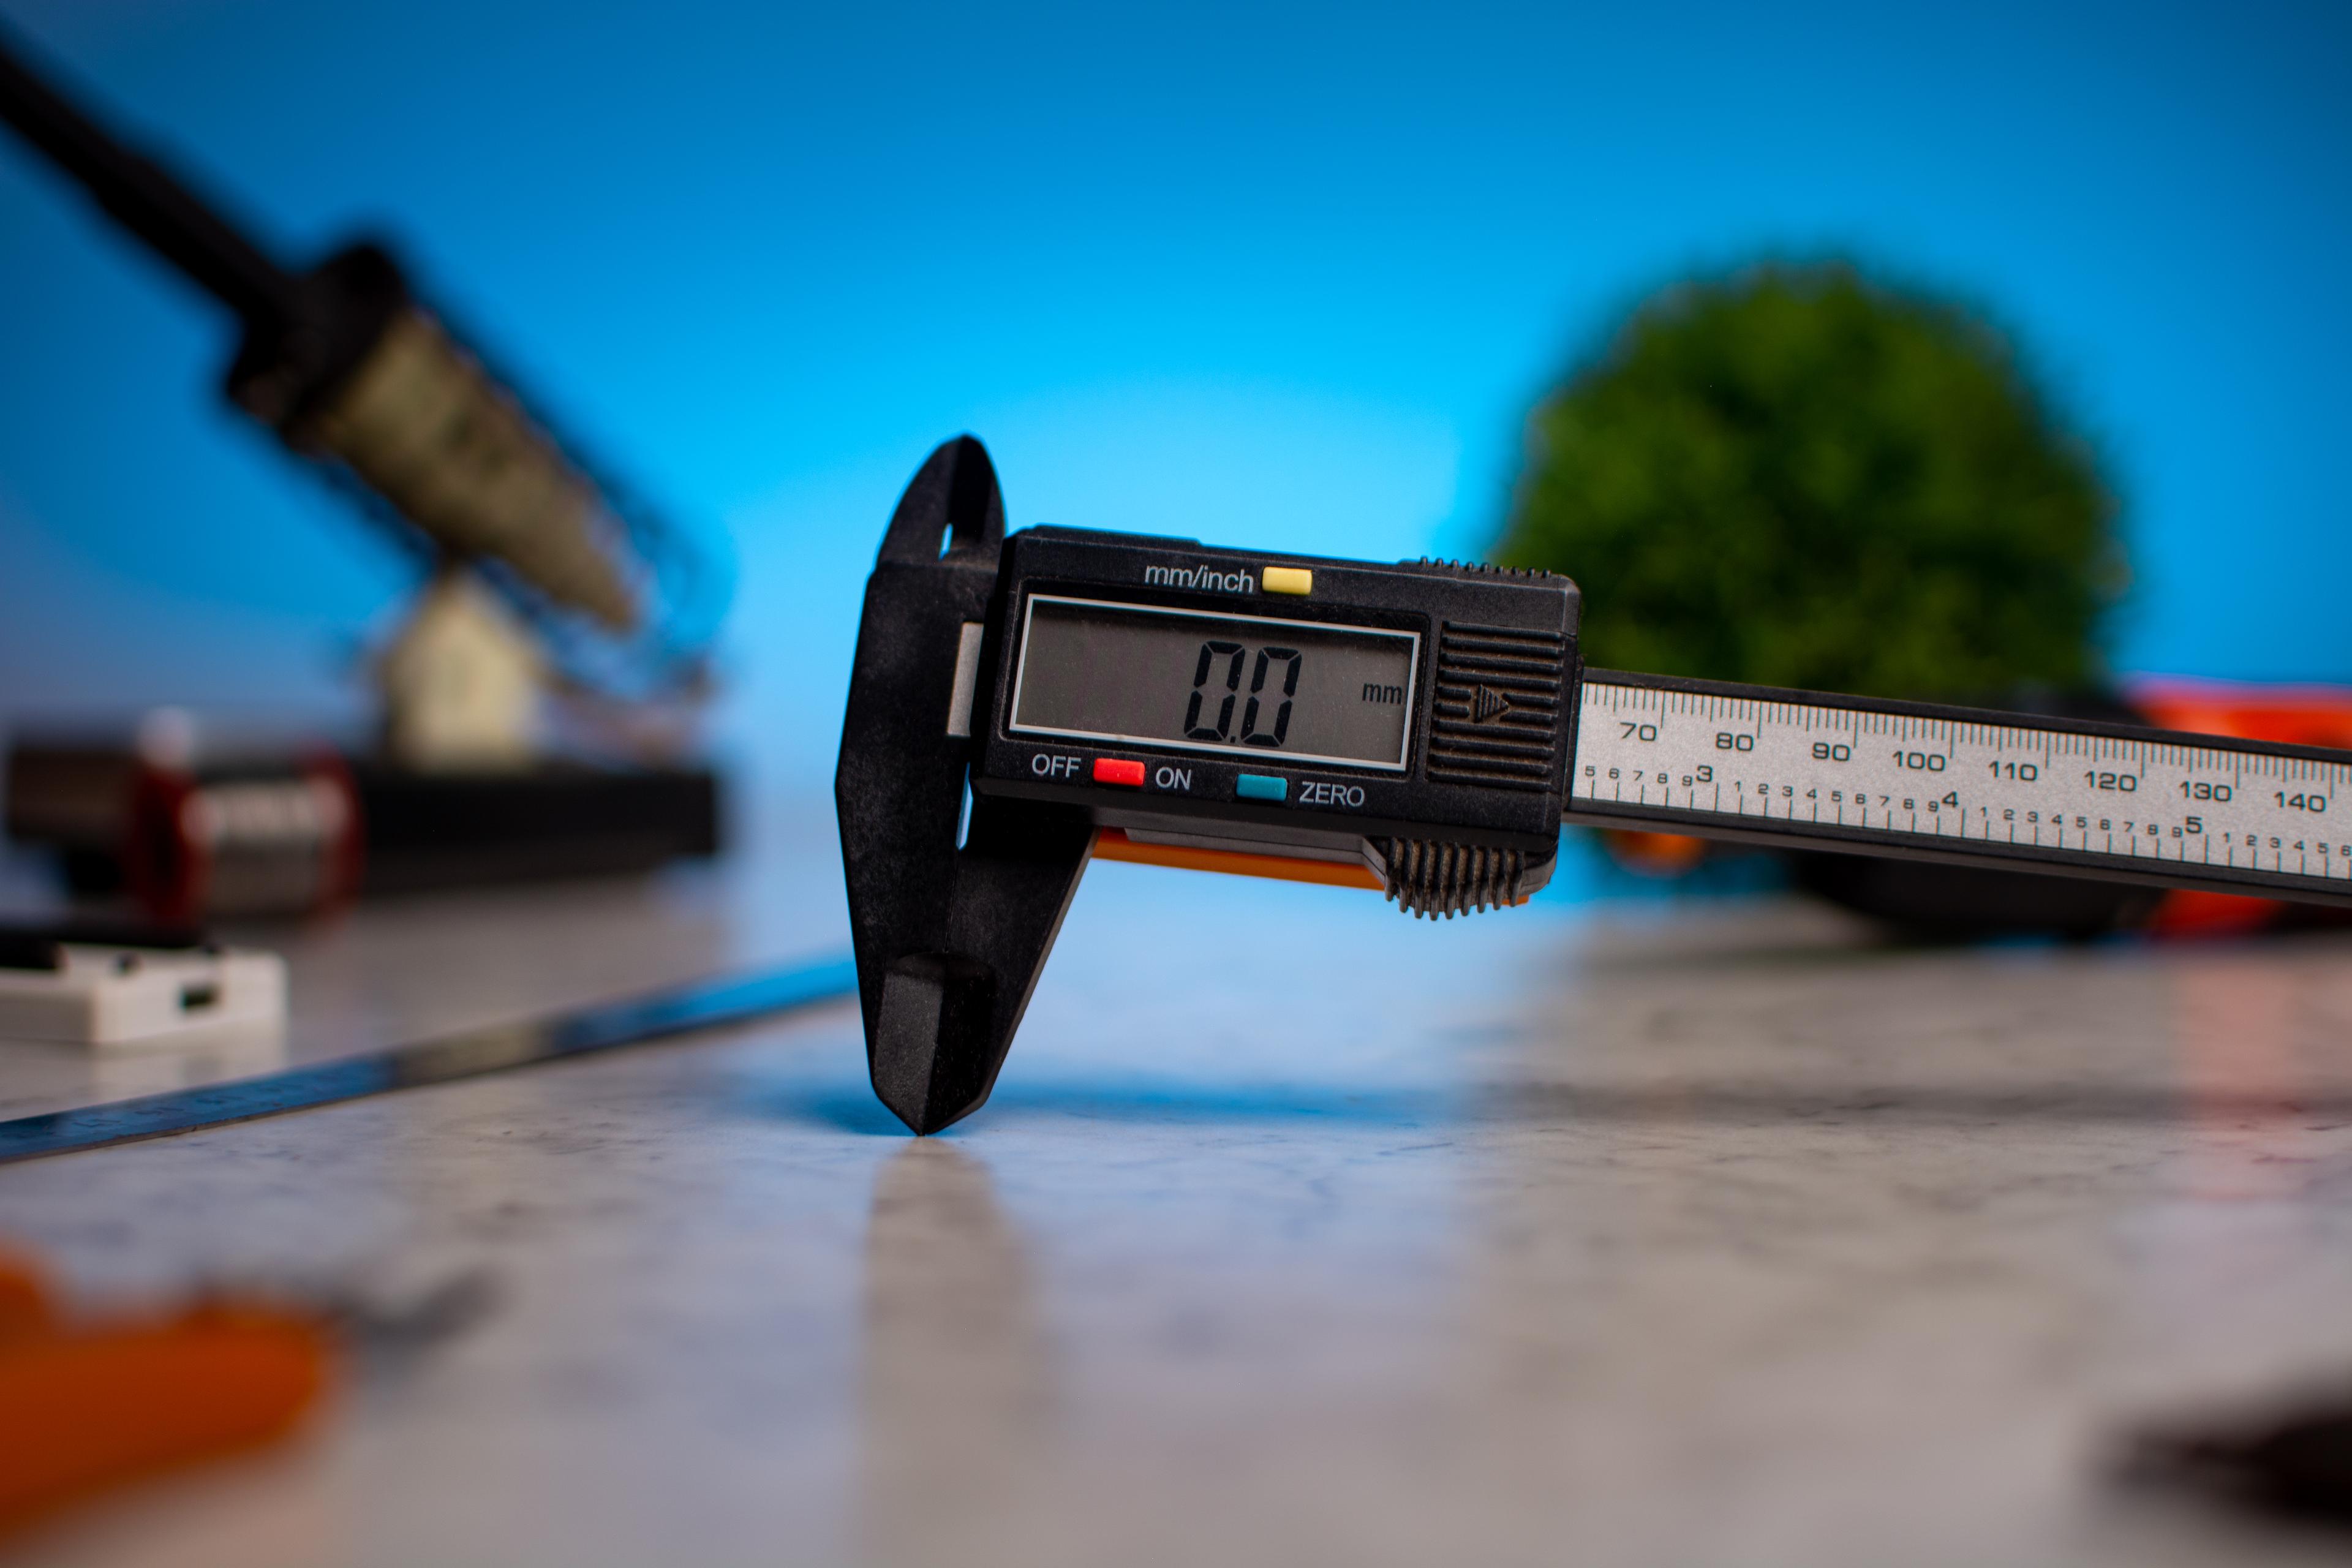
We all hate the coin cells used in cheap calipers. They are outdated and always run out when you need them the most. The problem is not with the batteries but the calipers themselves as they only turn the screen off when the OFF button is pressed so a normal switch would also solve the problem but why not take it a step above and solve the problem of changing batteries once and for all.
I'm using a voltage divider to drop the voltage from 3.7v to 1.5v assuming the current consumption is very less would love to know if there is a better way than this.
instruction
- Print all the parts and prepare the caliper. There is a template that you can print to make a hole for the threaded inserts.
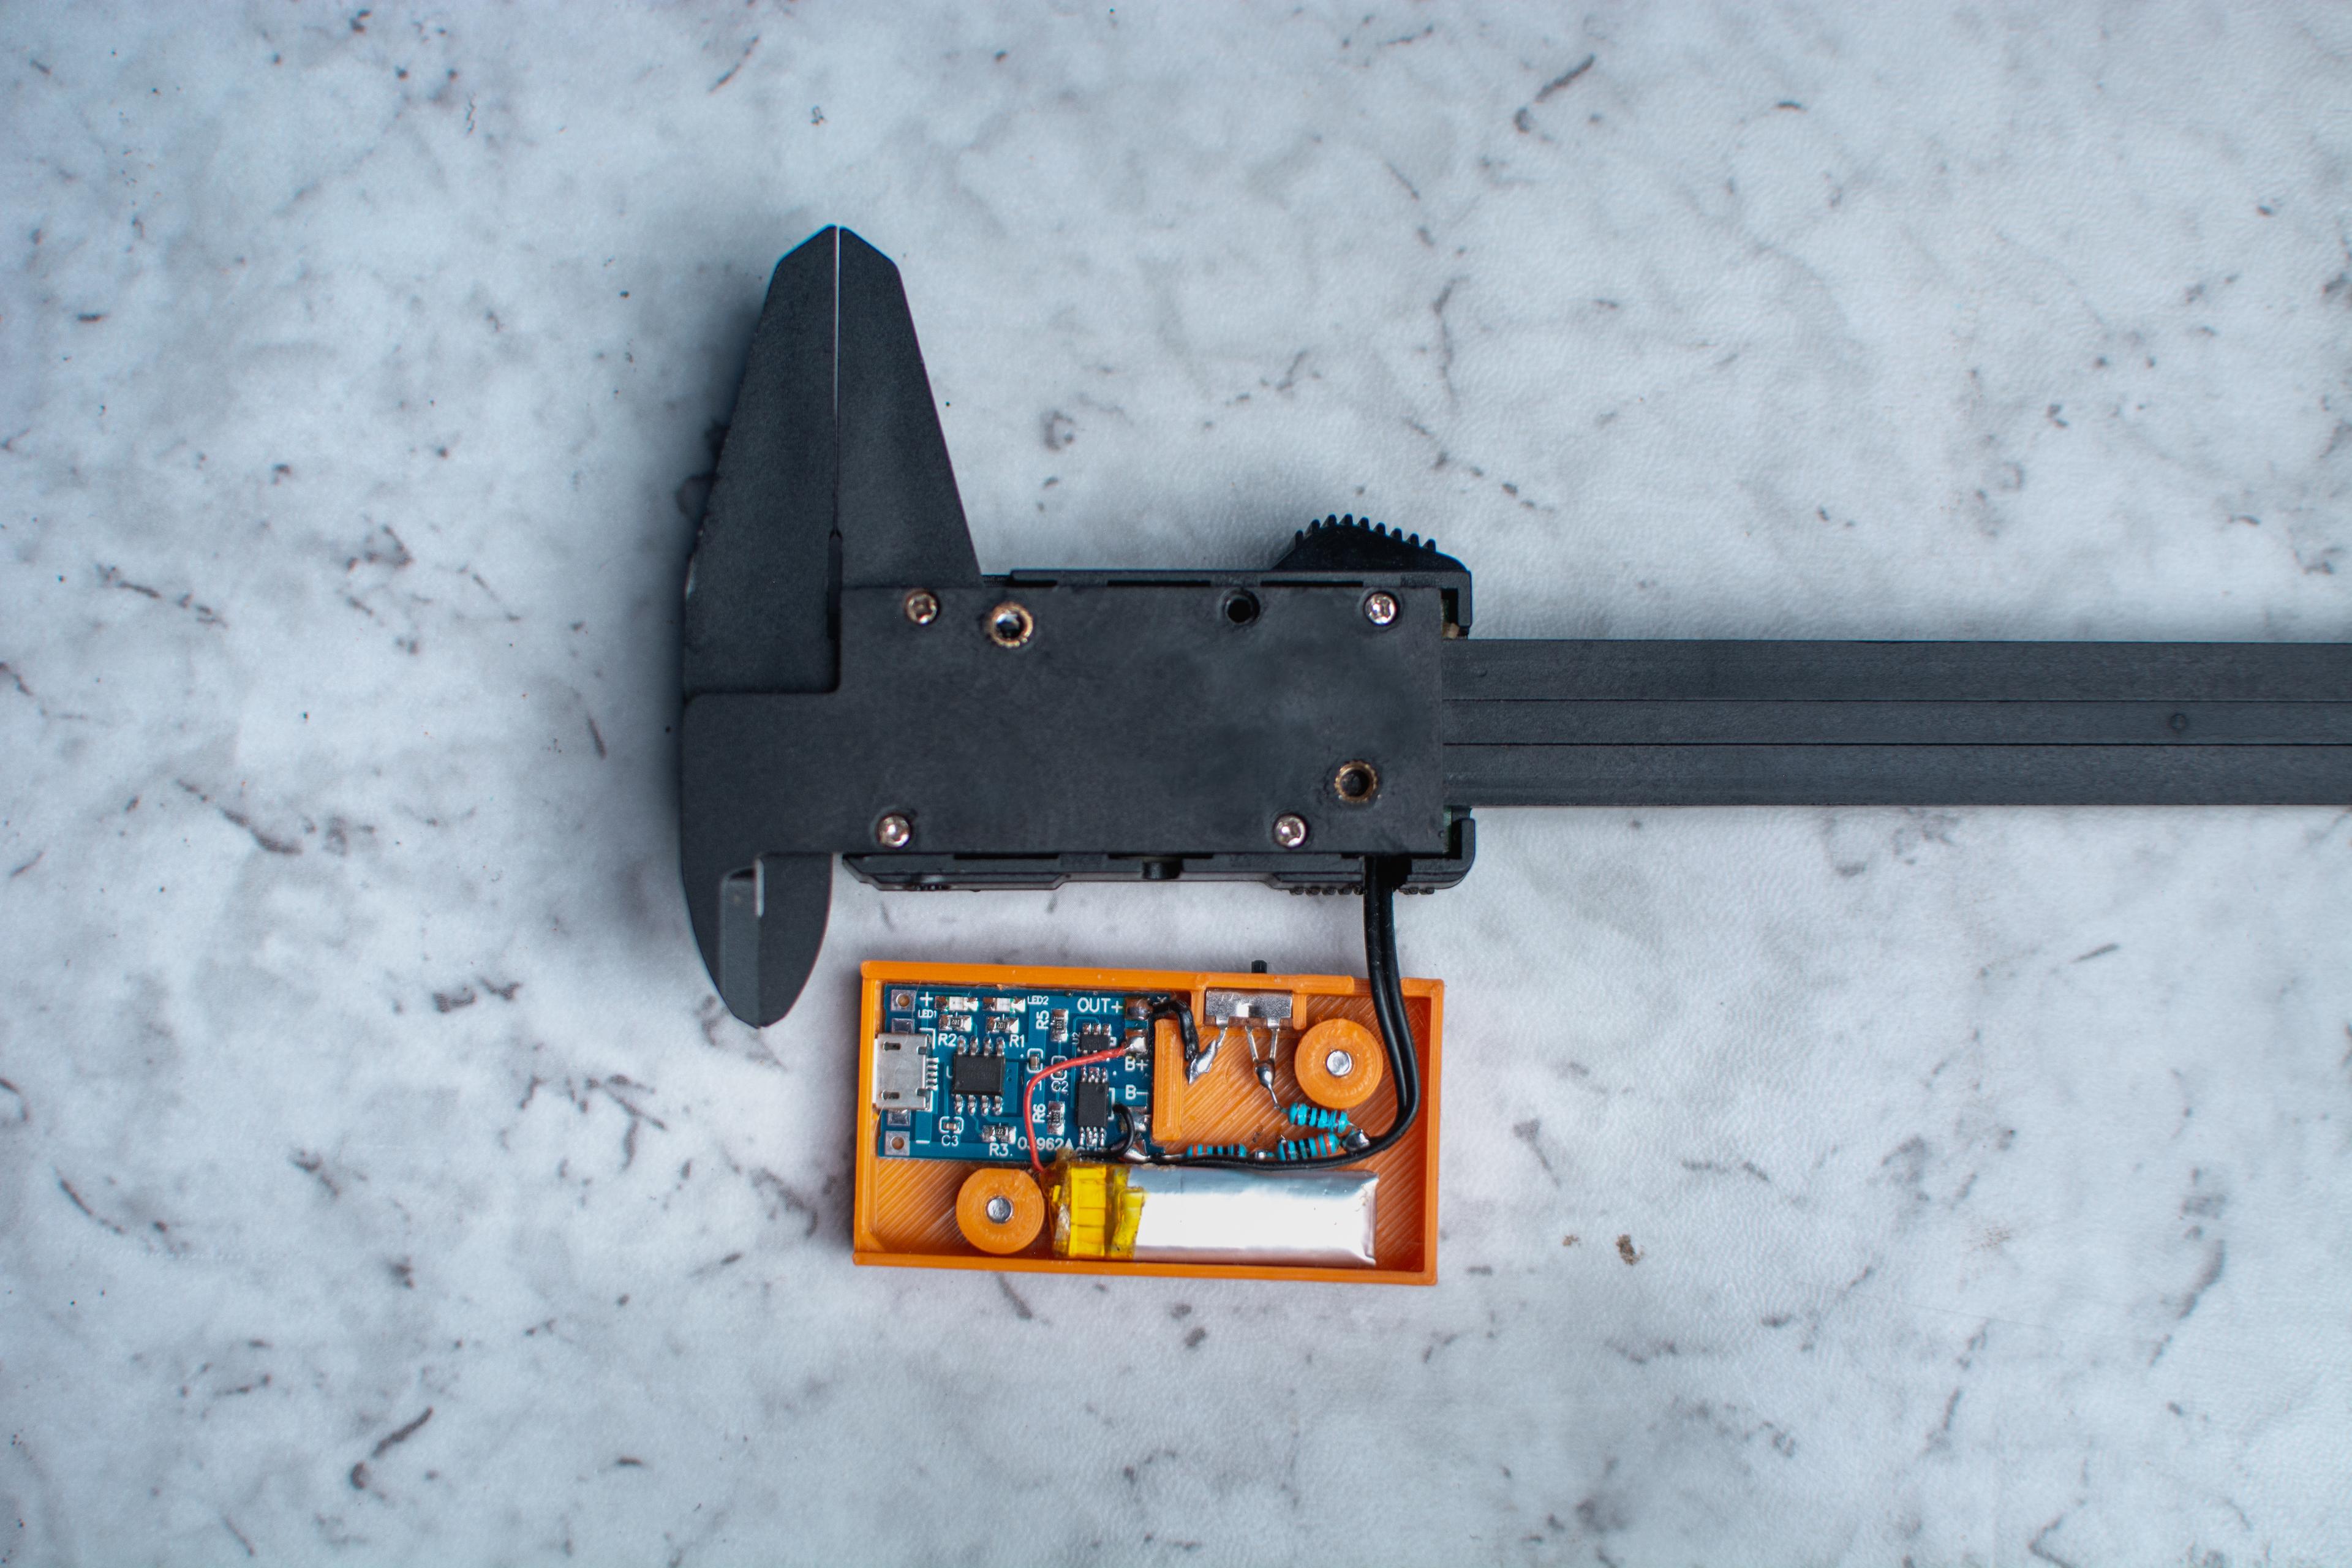
- place the threaded inserts make sure you don't go through all the way. you also have to make a small slot for the wires (refer to the image).
- open the caliper and solder 2 wires to +ve and -Ve terminal, route the two wires out and close the caliper.
- Put the slider switch in and glue it if needed, then place the charging circuit in connecting everything as per the circuit diagram.
- place everything inside and use the M3 screw and screw it on.
Parts list 1.1 tp4056 charging circuit (micro USB) 2.3.7v lipo battery (I'm using an 80mAh from an old headphone) 3. Slide Switch (SS-12D00G3) https://www.aliexpress.com/item/32809225980.html?spm=a2g0o.productlist.0.0.74173d7epGMXjs&algo_pvid=78d89314-c4ca-4edf-87b3-dc5243095f42&algo_exp_id=78d89314-c4ca-4edf-87b3-dc5243095f42-0&pdp_ext_f=%7B%22sku_id%22%3A%2264518550910%22%7D&pdp_pi=-1%3B10.75%3B-1%3B-1%40salePrice%3BINR%3Bsearch-mainSearch 4.1x1kohm resistor 5.1x680ohm resistor (2x330ohm will also work) 6.2x M3 6mm screw or M3 10mm 7.2x M3 3mm threaded inserts (make sure they are not taller than 3mm)
Tools
- soldering iron
- some wire 3.3mm drill
- super glue optional
If you like my work and it helps you in any way consider tipping https://paypal.me/Jimit5
I also do freelance work email: jimit.patel.jp@gmail.com
