


The Piggly Wiggly One.stl
"Get Your Pig On!" That's the slogan for what might be America's most endearing grocery store chain, The Piggly Wiggly.
I live near several, and it's a big part of modern Southern culture in the U.S.
This 3D model might be different than what you're used to seeing. I call these shells, and after they are printed you fill the cavities with tinted resin. I prefer to use Fast Cast white resin tinted with a few drops of enamel modeling paint from the small bottles made by Testors. I mixed the paint with part an and then mix part an and b together. Stir for almost a minute, pour, and then it cures in about fifteen minutes.
At the end you will have the cavities filled with different color resins, and it will be a gloppy mess. This is where a belt sander comes in handy. With a belt sander you sand the face until the black lines emerge again. It only takes a minute.
The photo I included is of my last one, which I kept because it was an older prototype that had artifacts you could see after sanding. Those issues are now resolved.
Turn it into a coaster, lapel pin, or just enjoy it for the pigginess of it.
Ask me questions if you're confused. I've been doing this a long time, and it's tricky at first, but can be a very satisfying way to make art pieces. It's also extremely quick to print the shells..
IMPORTANT: always print at 100% infill for this type of project. You will be sanding a few layers off the top and you don't want to break through an outer layer if the infill is less than 100%
The Piggly Wiggly One.stl

August 2025: Piggly Wiggly: Articulated Pig

Odon the Obsidian Lindwyrm

Wiggly Woodpecker - Articulated Fidget Woodpecker - Ludo Animal
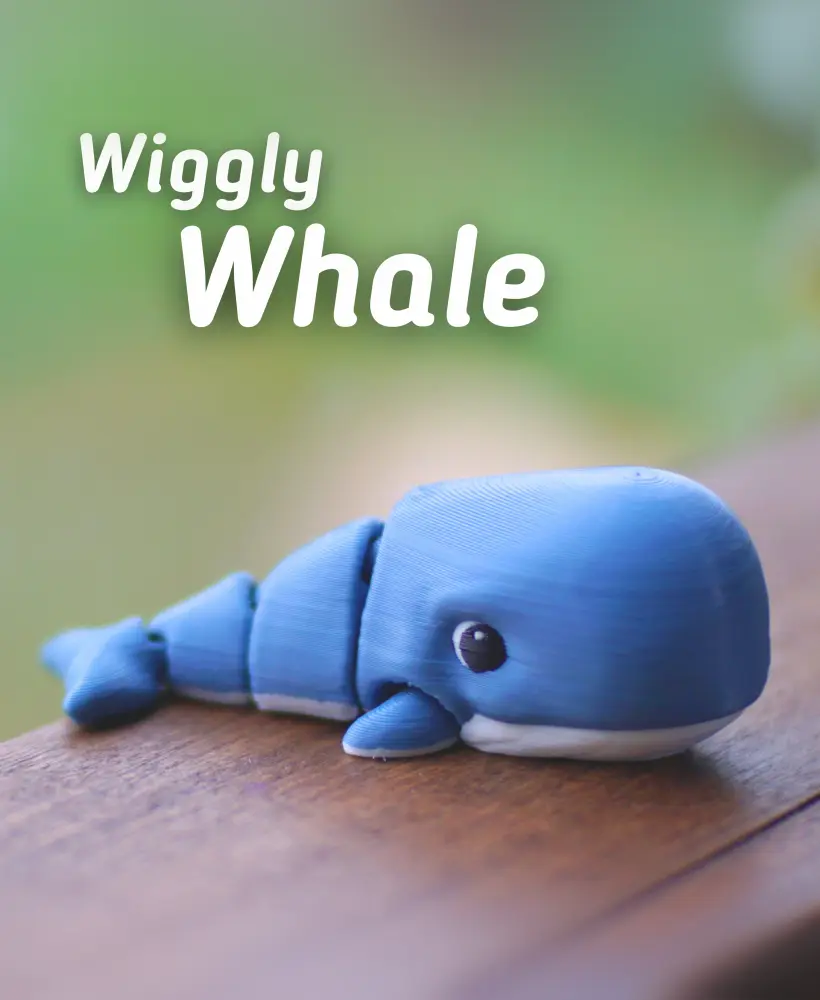
Wiggly Whale - Articulated fidget whale - Ludo Animal
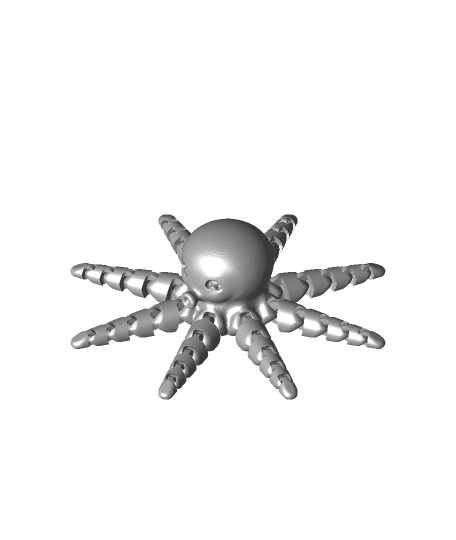
Wiggly Octopi

Lottie the Flexi Axolotl - Magnetic Hand-Holding Companion

Donut Snake
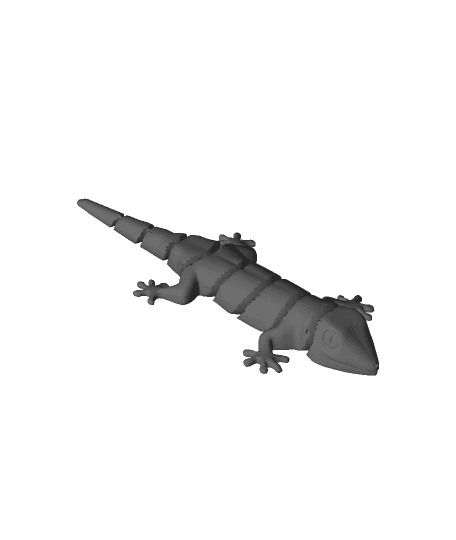
wiggly Gecko

Articulated Charming Otter Toy - Сute Flexi Animal
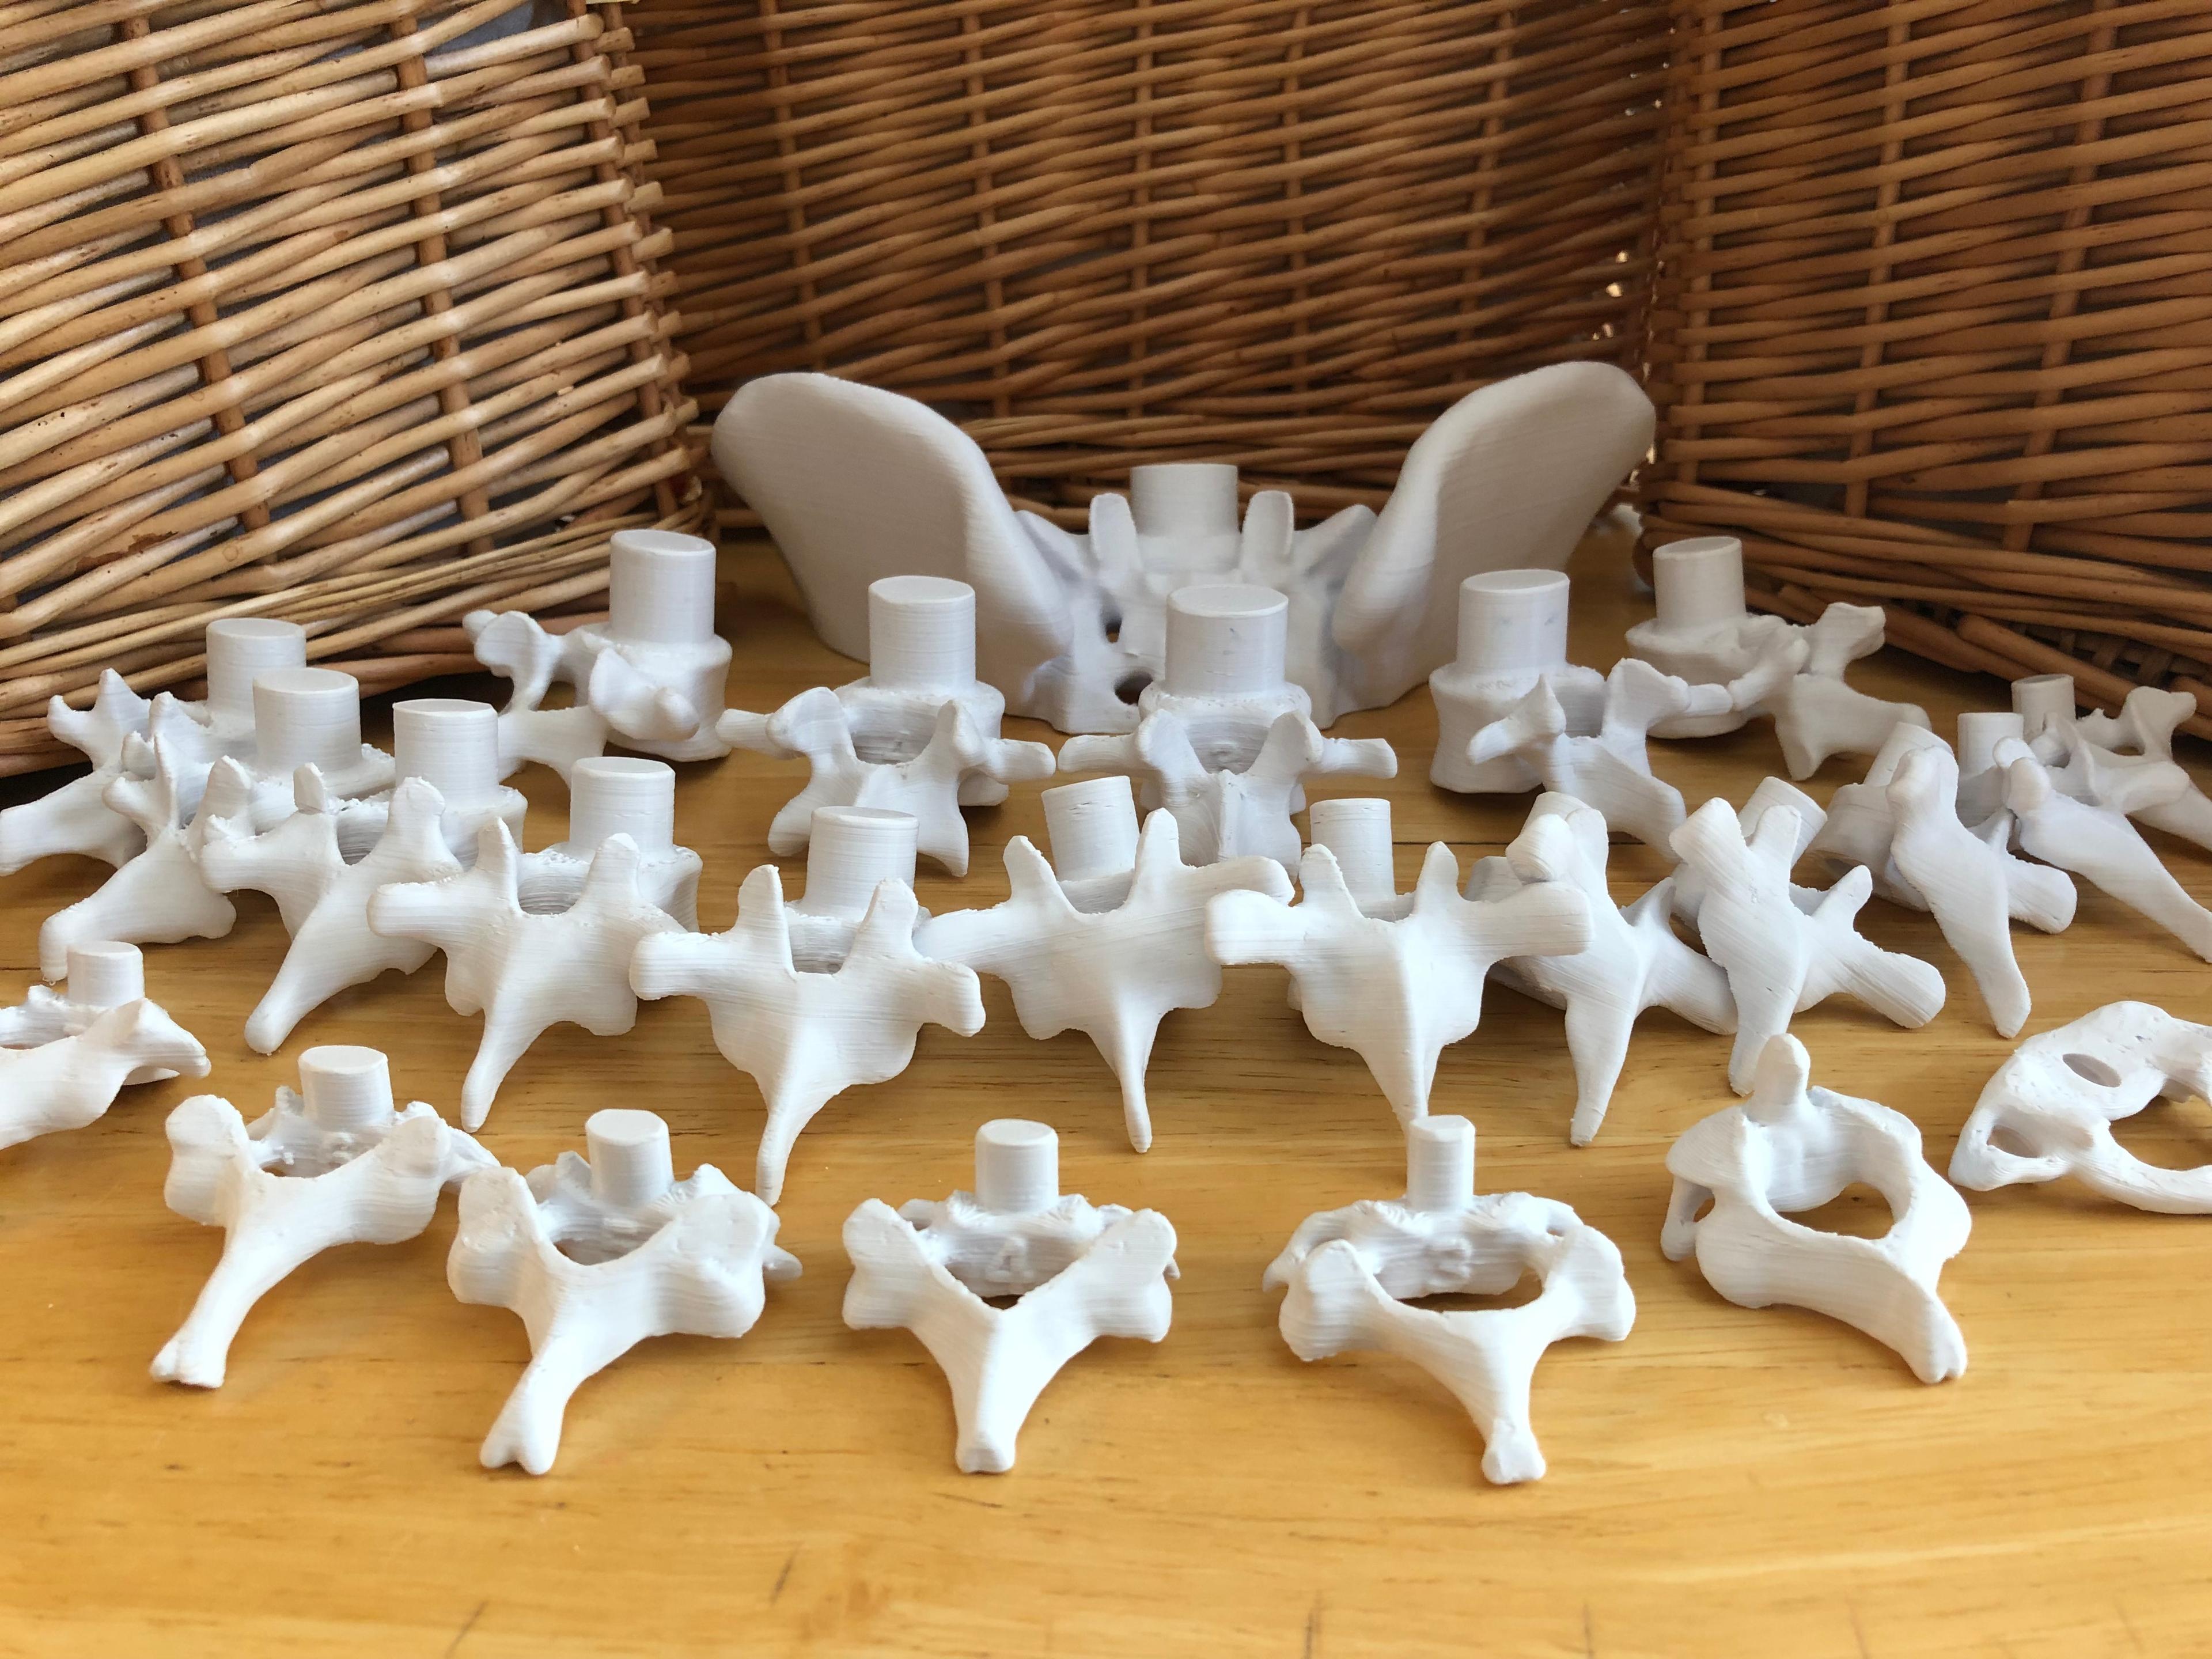
Vertebral Stacking Blocks
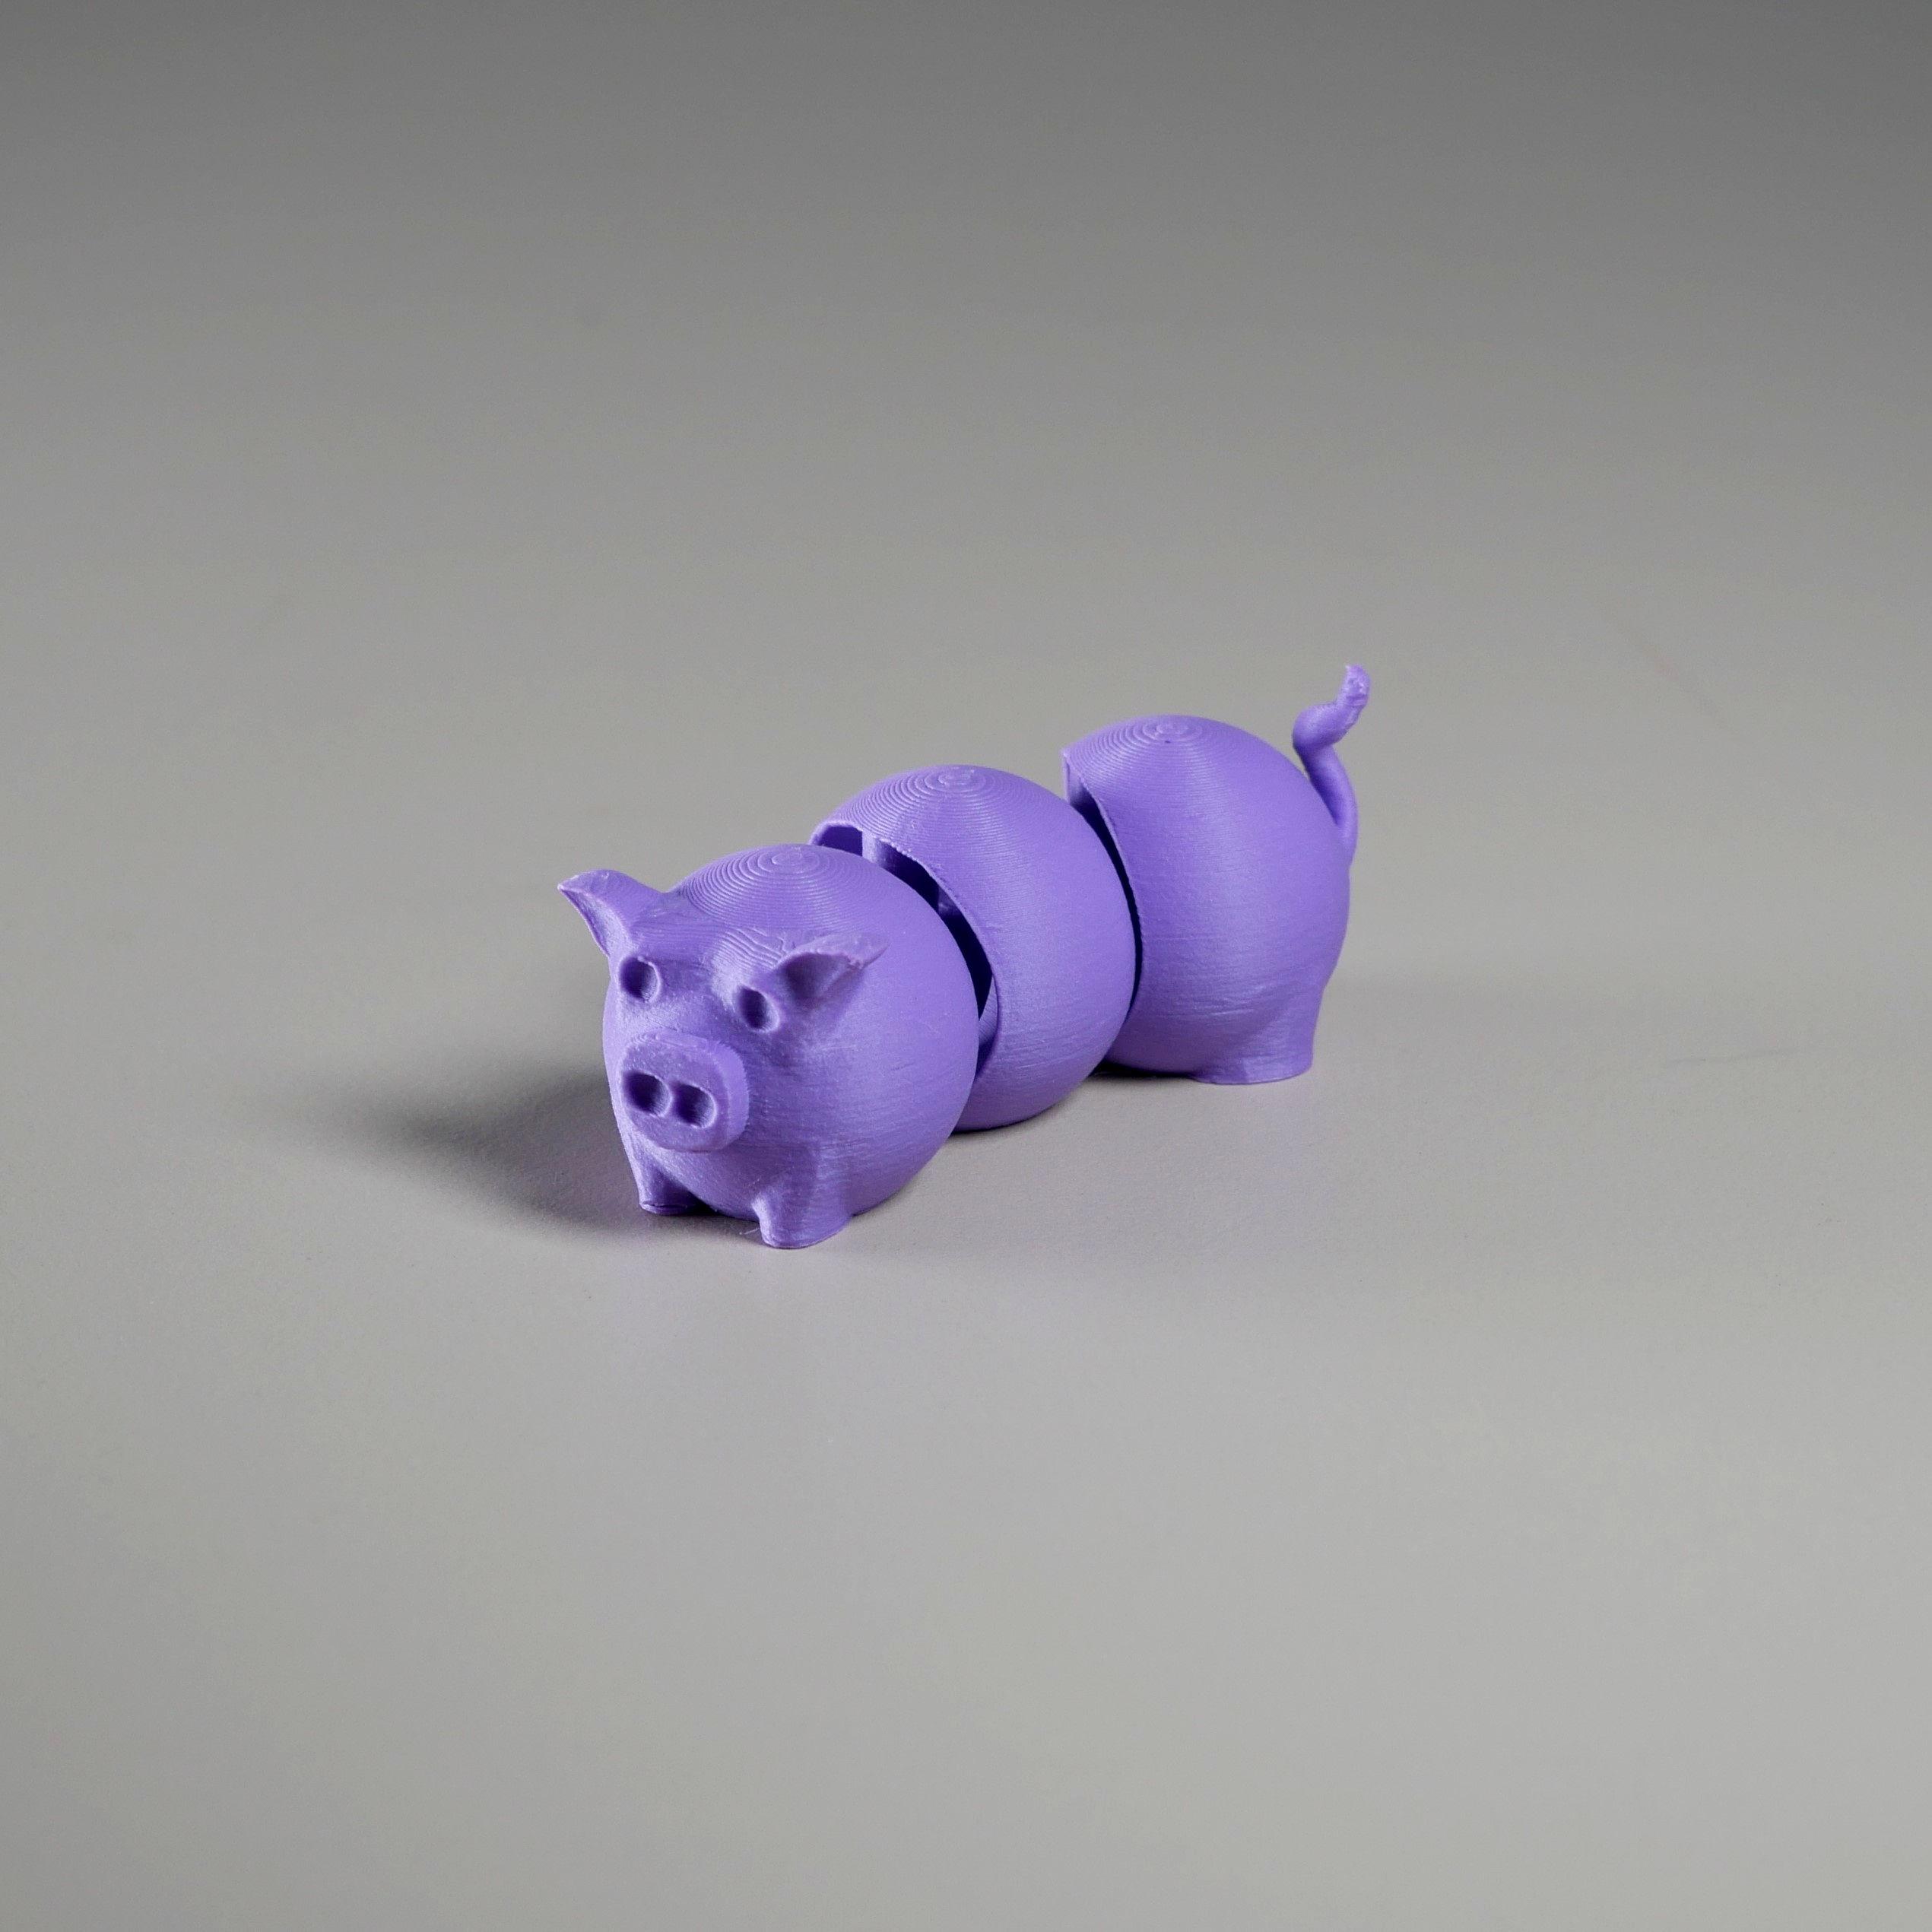
Wiggly Pig
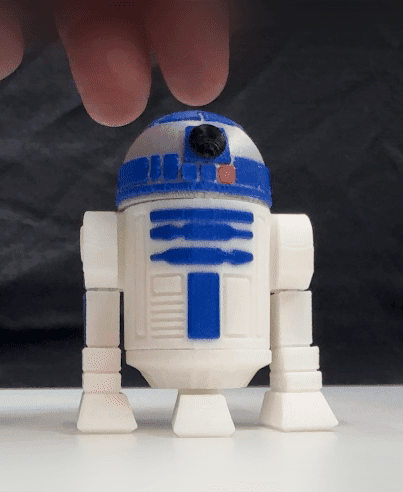
Star Wars R2-D2 Wiggle Bot – Articulated Print-in-Place STL
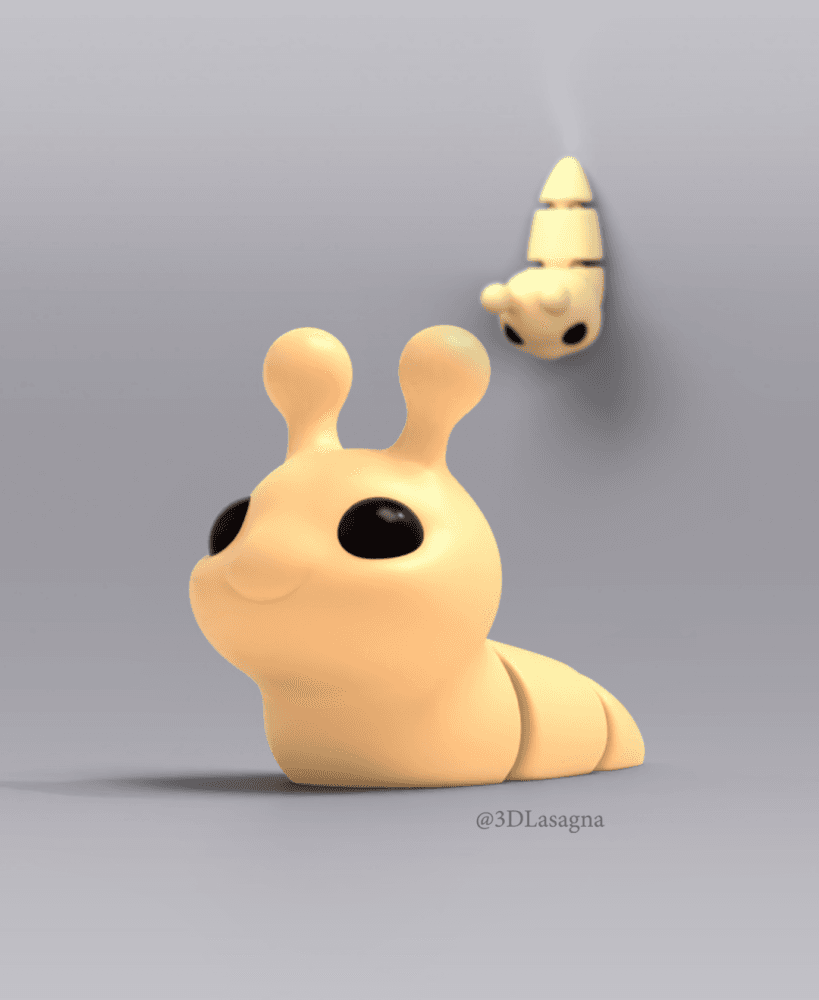
Free 3DL Slug
.png&w=3840&q=75)
Plastic3D Articulated Platypus

Peng the Flexi Panda - Magnetic Hand-Holding Companion

Articulated Octopus Chef

Prosecco Articulated Wine Bottle Fidget Toy

Articulated Hammerhead Shark Toy - Fun Gift Ideas
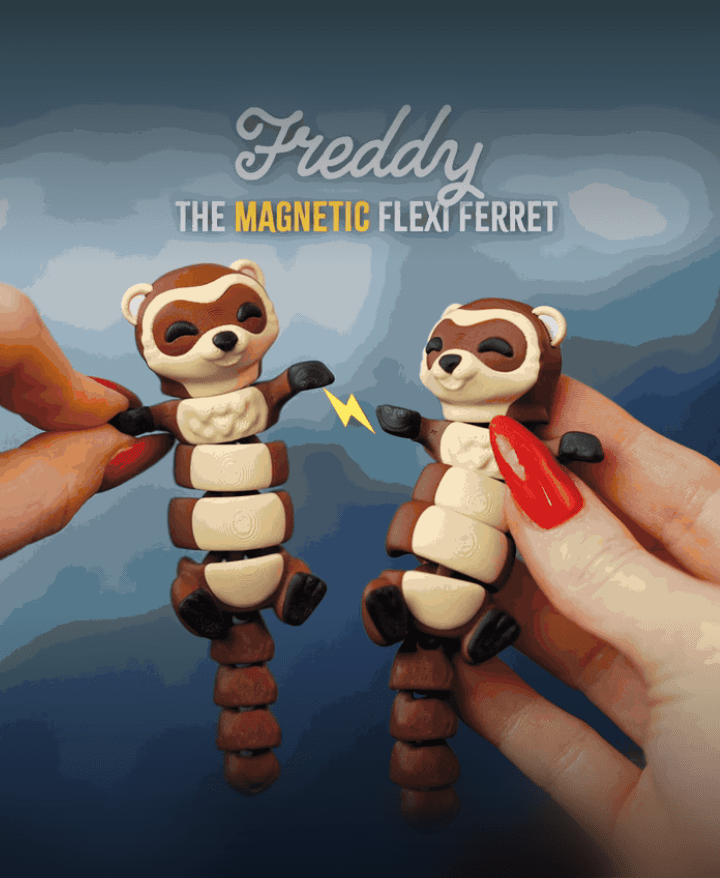
Freddy, the Flexi Ferret - Magnetic Hand-Holding Companion
