
5.25" VR Drive bay
4 downloads · 5 years ago · Model originally uploaded to Thingiverse at https://www.thingiverse.com/thing:3035379.
<b>What is t
This model is restricted by licensing terms.
View license.
Model originally uploaded to Thingiverse at https://www.thingiverse.com/thing:3035379.
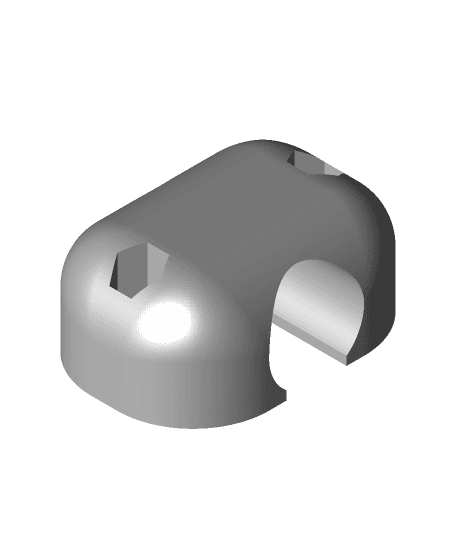
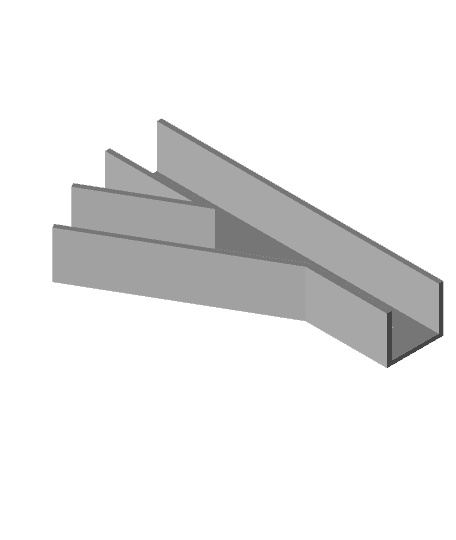
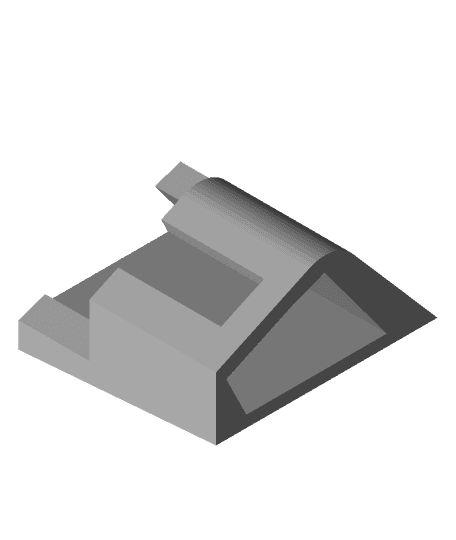
<b>What is this?</b> Here is the front panel and rear PCI slot cover for my VR Headset front panel connector.
<b>Why should i print this?</b> I got fed up with having to go behind my case to connect up my VR headset. Also this gives you an extra few feet of much needed cable length as the VR headset plugs into the front of your PC.
<b>What will I need?</b>
<ol> <li>An un-occupied 5.25" drive bay.</li> <li>un ocupied PCI slop (or other slot to get the cables out the back of your PC i have seen water cooling holes used)</li> <li><a target="_blank" href="http://rover.ebay.com/rover/1/710-53481-19255-0/1?icep_ff3=2&pub=5575379890&toolid=10001&campid=5338352835&customid=&icep_item=401437584500&ipn=psmain&icep_vectorid=229508&kwid=902099&mtid=824&kw=lg">HDMI + USB3 Flush mount</a><img style="text-decoration:none;border:0;padding:0;margin:0;" src="http://rover.ebay.com/roverimp/1/710-53481-19255-0/1?ff3=2&pub=5575379890&toolid=10001&campid=5338352835&customid=&item=401437584500&mpt=[CACHEBUSTER]"> <br> I selected 1m length which fit my case perfectly but you may want to measure the length on the route you want your cables to go before purchasing. </li> </ol><b>Installation instruction</b> Once you have purchased your flush mount kit and printed the 2 £D Printed parts you will need to do the following
<ol> <li>Install the flush mount extention into the 5.25" front panel you have printed</li> <li>Remove the PCI slot plate where you want the HDMI and USB cable to exit your case</li> <li>Remove any covers on your 5.25" drive bay</li> <li>Run the cabled through your case via your favourite route and out the slot where you removed the pci plate</li> <li>Install your printed PCI slot this will hold the cables in place</li> <li>clip the front panel in the 5.25" </li> <li>At the back of your PC plug both the USB 3.0 and HDMI cable </li> <li><b>YOUR DONE!</b> Enjoy being able to easily plug your headset in and out!</li> </ol>5.25" VR Drive bay
4 downloads · 5 years ago in and
This model is restricted by licensing terms.
View license.
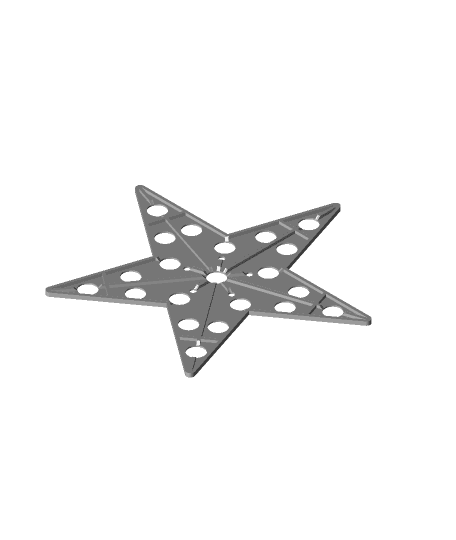
400mm 160mm and 80mm 5 part stars for xLights Light show props.
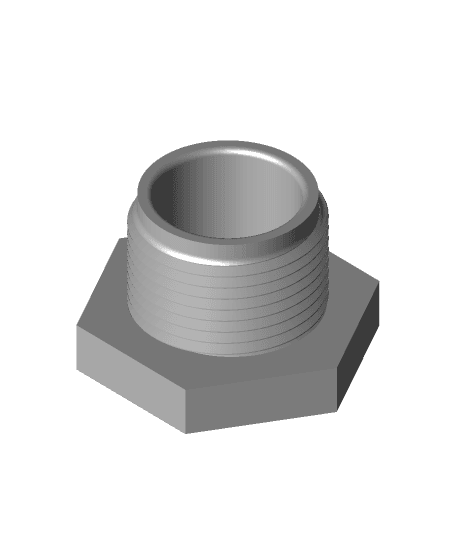
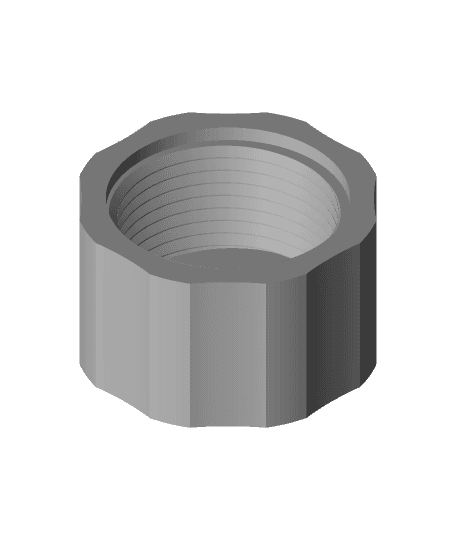
BALs female and Male connector cap (Build a light show)
MaleCapv3.stl
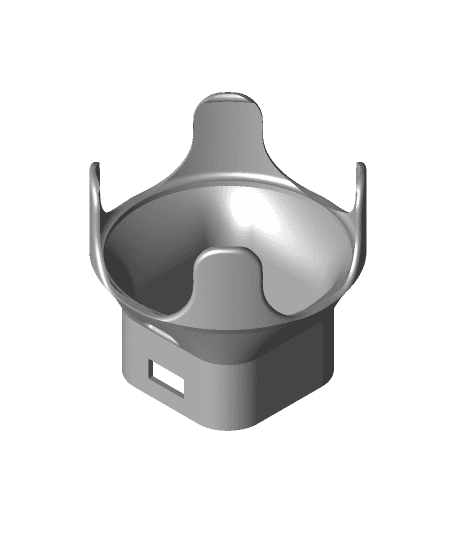
Echo Dot 2 UK socket mount
P3steel Y carriage bearing clamp (igus)
25x40mm Trunking with 12mm RGB Pixels mounting light show
Boot handle repair Nissan Qashqai (2006 -2013)

E-11 Blaster - Star Wars Cosplay Prop Kit | No Supports, No AMS, No Glue
.gif&w=3840&q=75)
Owlfonso the Owl – Ice Pint Holder

Pawblo , the Icepint Holding Polar Bear

The Rail - Grow Light Attachment

Baby Pumpkin Spice Cookie Dragon

Feather Dragon - Hatchling

GAMES BOOK V2 | SWITCH, DS, 3DS, SD CARD & MICRO SD

Fire Dragon - Hatchling
Baby Chocolate Chip Cookie Dragon
.png&w=3840&q=75)
Night Light Lilies - The Lily of the Valley Night Light

Bramble , the Bat Ice Pint Holder

Smores Dragon
