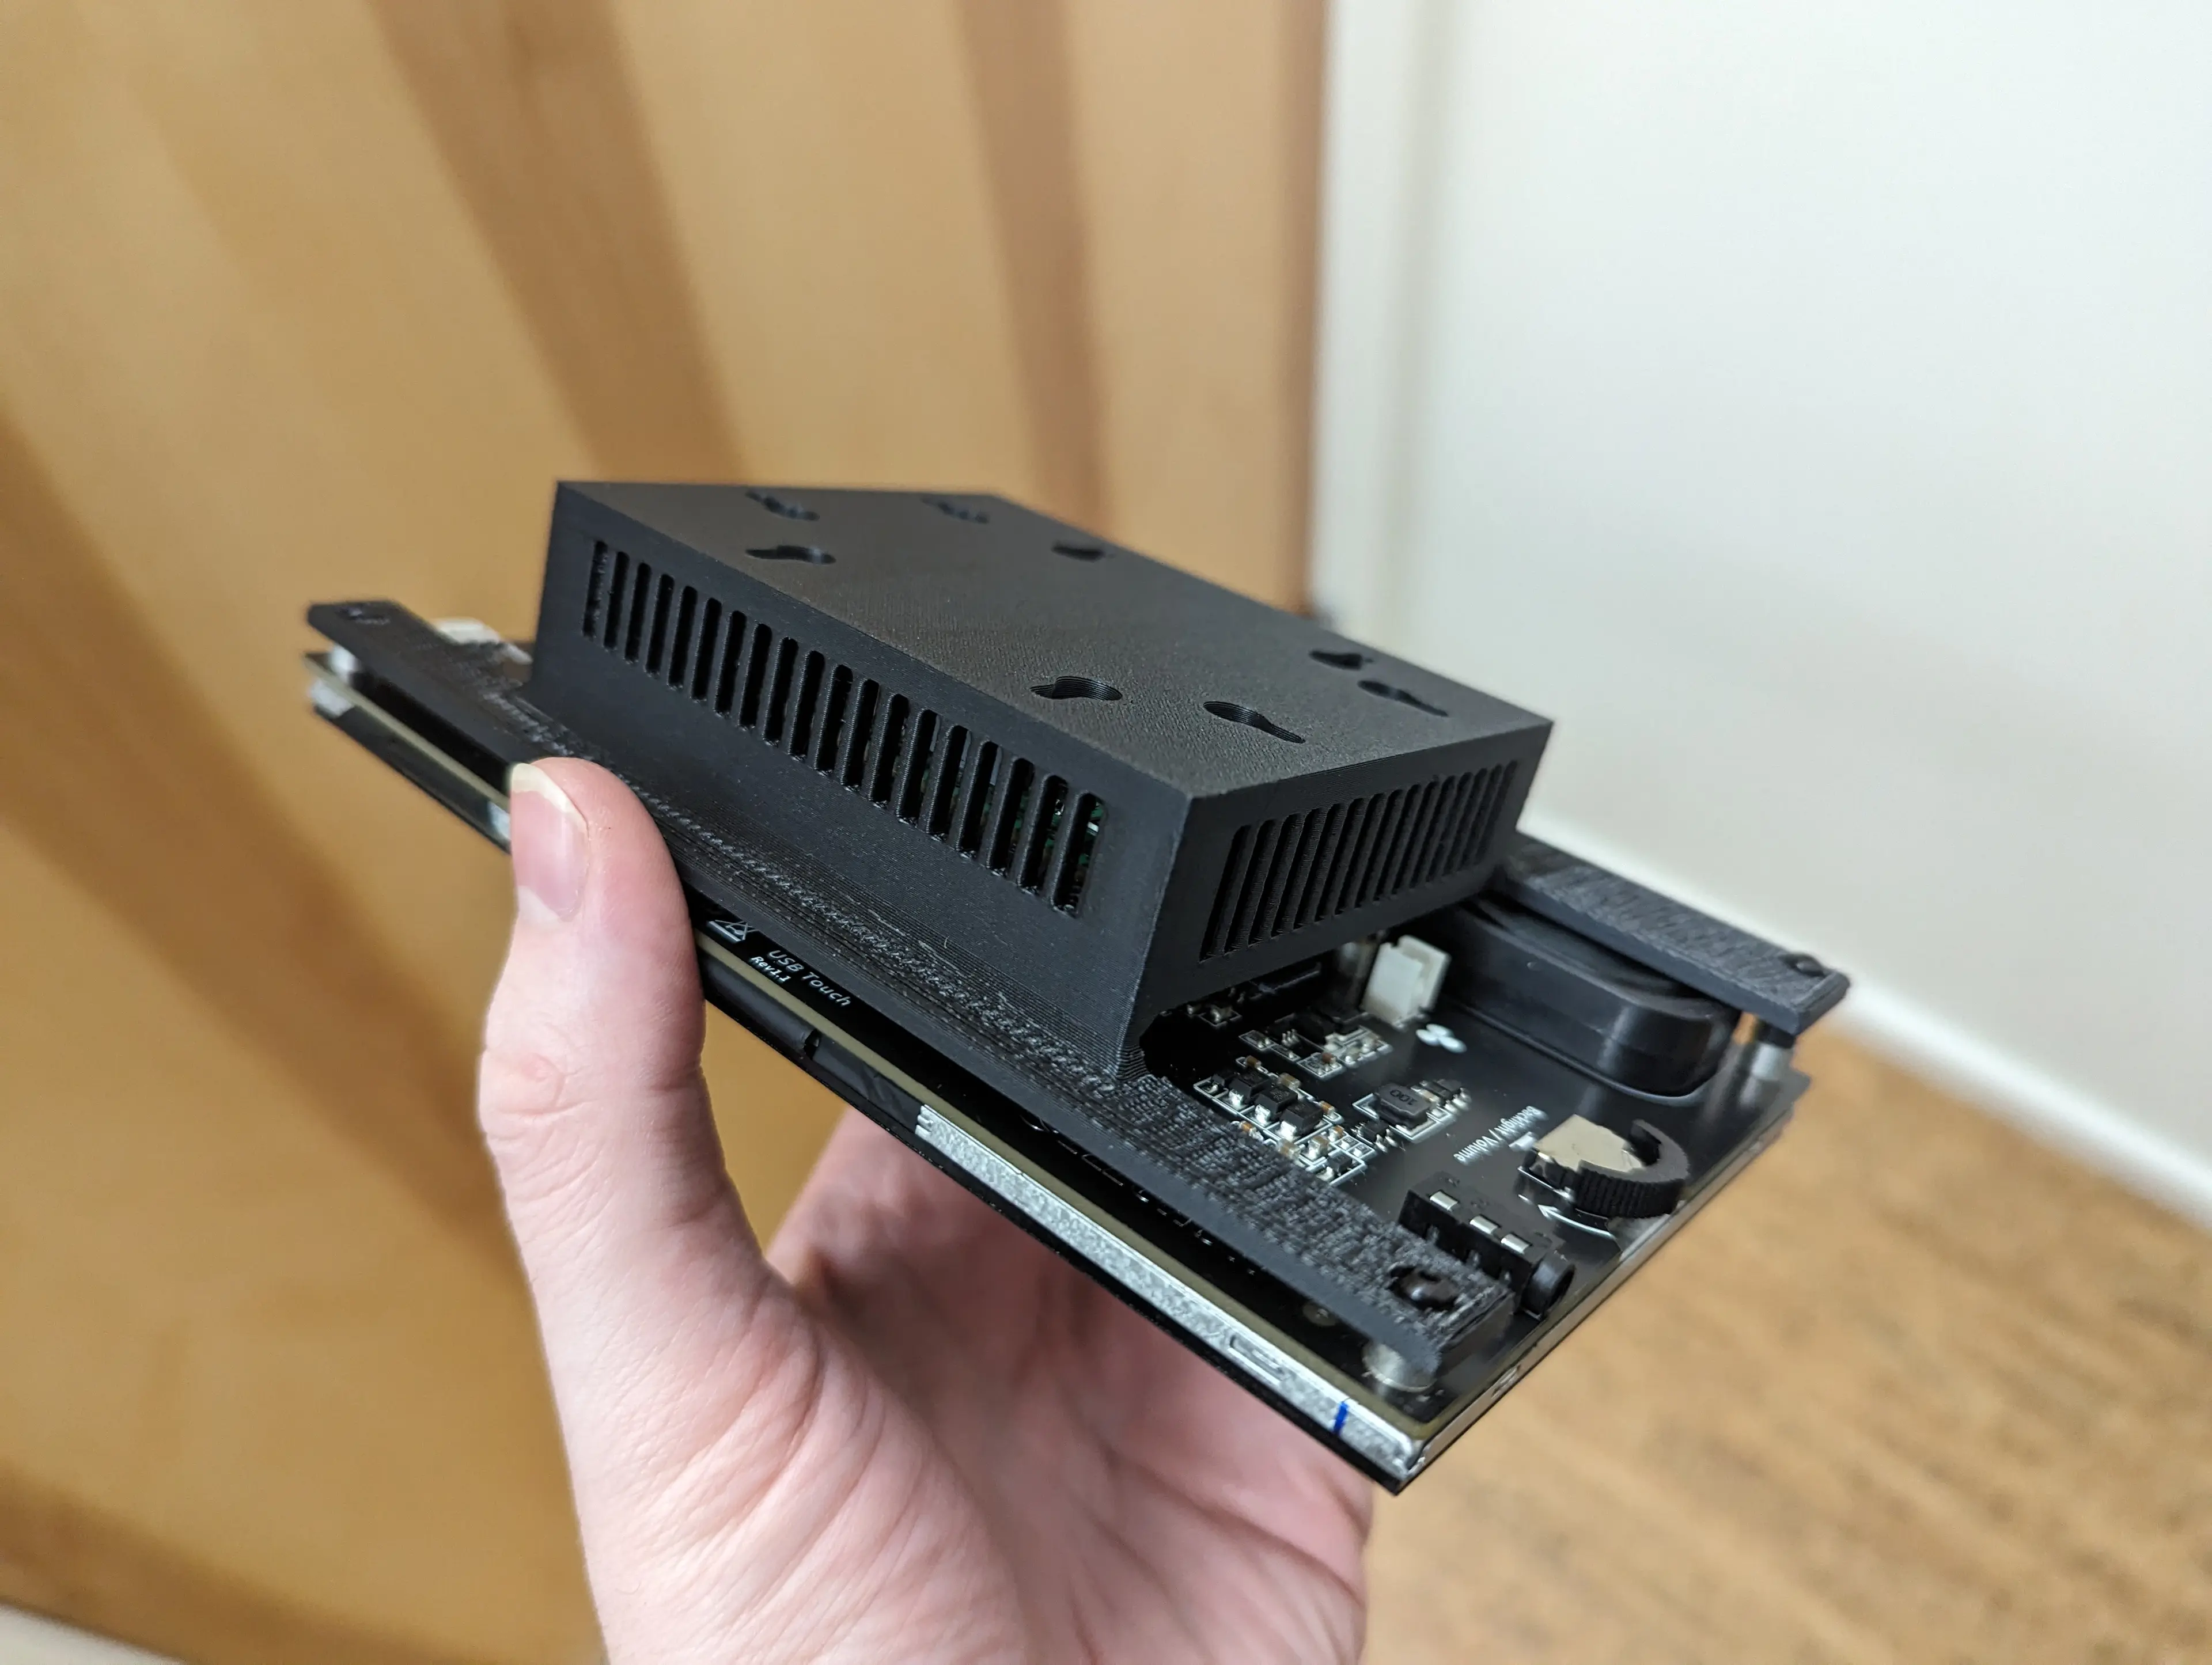
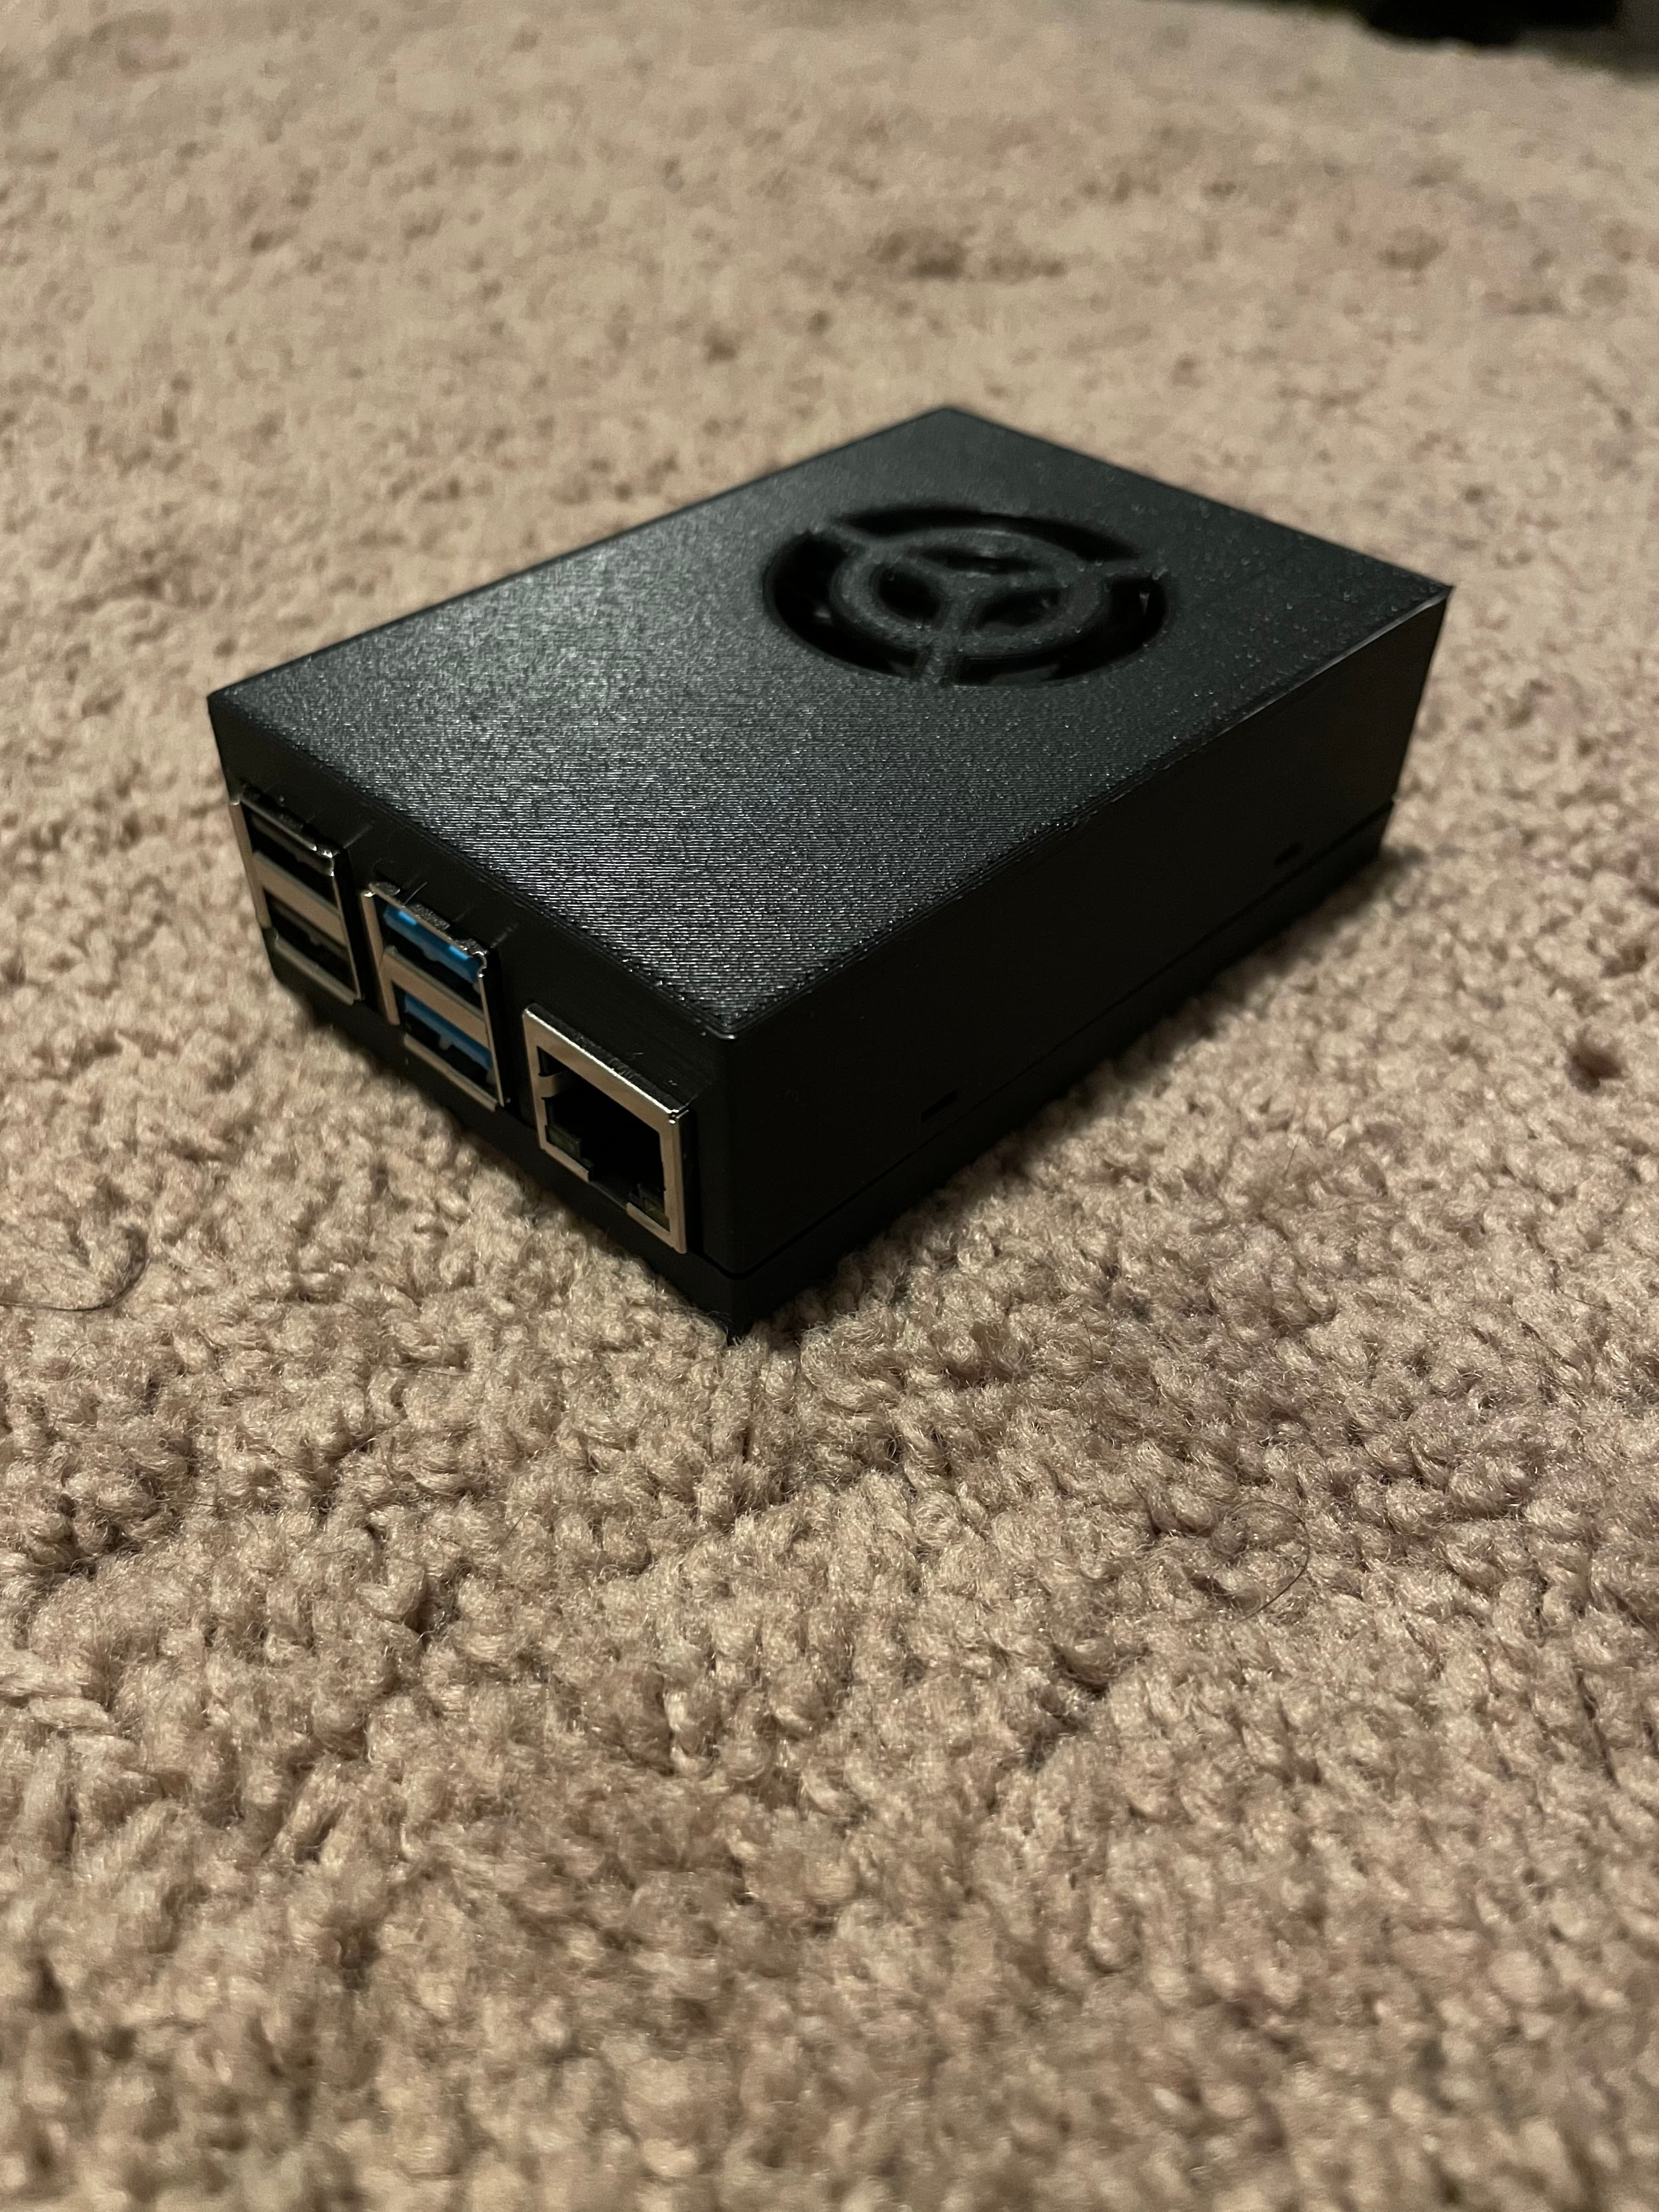
Quiet Raspberry Pi 4B case with active cooling
Model originally uploaded to Thingiverse at https://www.thingiverse.com/thing:4015278.
I wanted a very quiet Raspberry Pi 4B case for playing around with it as a desktop, but knew it needed active cooling. I ordered some 28mm x 28mm x 20m heatsinks and designed this around them.
Design considerations:
- Use a large heatsink so minimal airflow is required. I provide an easy to print alignment tool to ensure the heatsink is properly positioned for the cover to fit.
- Duct the airflow through the heatsink, don't leave proper airflow to chance.
- Duct air in one side and out the opposite to maximize the likelihood of pulling fresh air.
- Squirrel-cage blowers can be much quieter than fans and handle pressure differentials (from restrictions) far better, so I used a 4010 blower.
- The primary source of noise for a blower is the intake, so I wanted the intake fully inside the case, that meant it's going to be used as an extractor.
- The second loudest source of noise from one of these blowers is the backside, where the motor is mounted. Fully enclosing the blower inside the case helps block some of that noise.
- Underdriving a fan or blower is a common way to reduce noise. I'm using a heatsink with a huge surface area, so it doesn't need a tremendous amount of airflow. However, I wanted to run a 12V blower faster than 5V would drive it, so I chose an MT3608 boost converter (Amazon product ID: B07RNBJK5F) to raise the voltage to the blower. This boost converter has no mounting holes, so I made it snap in place.
- External control of the blower speed would be handy so you don't have to take the case apart for an adjustment. I provided a very small hole in the top for you to access the potentiometer with a small screwdriver, adjusting the output voltage.
- Single power source drives both the Pi and the blower. The boost converter is connected to the Pi's power lines for supply voltage.
- Many cases recess the connectors too much for some cables. I made all connectors flush with the outside of this case, with very close clearances and a bevel to accommodate the flared edges of the connectors. Keeping these openings very small is important to force airflow through the heatsink.
- Air that is sucked out of the case by the blower is replaced by air that is ducted through the heatsink to optimize convection.
- The boost converter is actively cooled by a small bypass hole, directly inline with the chip that heats up. Air that flows into that cavity then flows around the coil and into the rest of the case to be sucked out by the blower.
- To be able to use the camera, I provided a thin slot on the end of the cover. It comes up at an angle so should print without issue. I made it thin enough that the amount of airflow through it would be insignificant, while still being large enough that it's easy to slide the camera cable through.
- The microSD card is easily accessible from the outside, with just enough room for it to easily slide in, but not under the Pi's socket. Removal is easy as I provided a relief for a thumbnail or fingernail to grab the ledge that microSD cards have. This small opening also minimizes airflow, although a small amount of airflow across the bottom may be desirable.
- The LEDs provide valuable feedback, especially when shutting down. I provided very tiny filleted holes that allow the LEDs to be easily seen.
- I wanted recessed screws so the heads can't scratch anything. I designed this for flat-head (countersunk) socket-head cap-screws ("allen screws"), M3 for the case, M2 for the blower. The screw holes are sized so the screws cut threads as you drive them into the plastic. The M3 screw holes are 2.8mm diameter and the M2 is 1.8mm diameter. This works very easily with PETG, but requires a little bit more force with PLA (still works fine, you just have to push a little harder). The M2 screws are very short, 3mm, IIRC. The M3 screw holes are fairly deep, so can accommodate a range of lengths.
- I wanted it to be self-aligning, so I added an overlap where the two case parts come together, one fitting inside the other, almost snapping into place (but please use screws).
I used these 28mm x 28mm x 20mm heatsinks: https://www.aliexpress.com/item/32618788162.html You can use other heatsinks of the same width, the height isn't as important. The important part is that it fills out the duct. If the heatsink is too narrow, too much air can flow around the outside of it, reducing its effectiveness.
I used 3M thermal adhesive padding (sort of like double-sided tape, without the tape) to attach the heatsink: https://www.aliexpress.com/item/32794560201.html
I also used a copper shim as a heat-spreader between the heatsink and microcontroller: https://www.aliexpress.com/item/32826278552.html I'm not sure if the shim is providing a benefit or not. The adhesive is extremely sticky, you have one chance to apply it correctly, so I didn't test multiple configurations.
If you don't want to use a boost converter and don't mind the increased volume of a fully driven fan, they do make 5V 4010 blowers: https://www.aliexpress.com/item/32998581988.html
In my testing (comparing with a coworker's Pi 4), this case keeps the Pi 4 cooler than the Flirc case can, while still running almost dead silent. I'm glad I finished this before the Flirc was introduced, else I would not have designed it. The advantage of the Flirc over this one is it has no moving parts. This one has the fan. However, this doesn't block wifi signals, and my coworker has found the Flirc definitely attenuates the wifi signal.
Update (2020/01/11): 5V 4010 blowers can be found if you don't want to use the buck-converter and don't mind running the blower at full speed (it will be louder than when underdriven). I'd recommend my approach if you want it to be as quiet as possible.
Quiet Raspberry Pi 4B case with active cooling
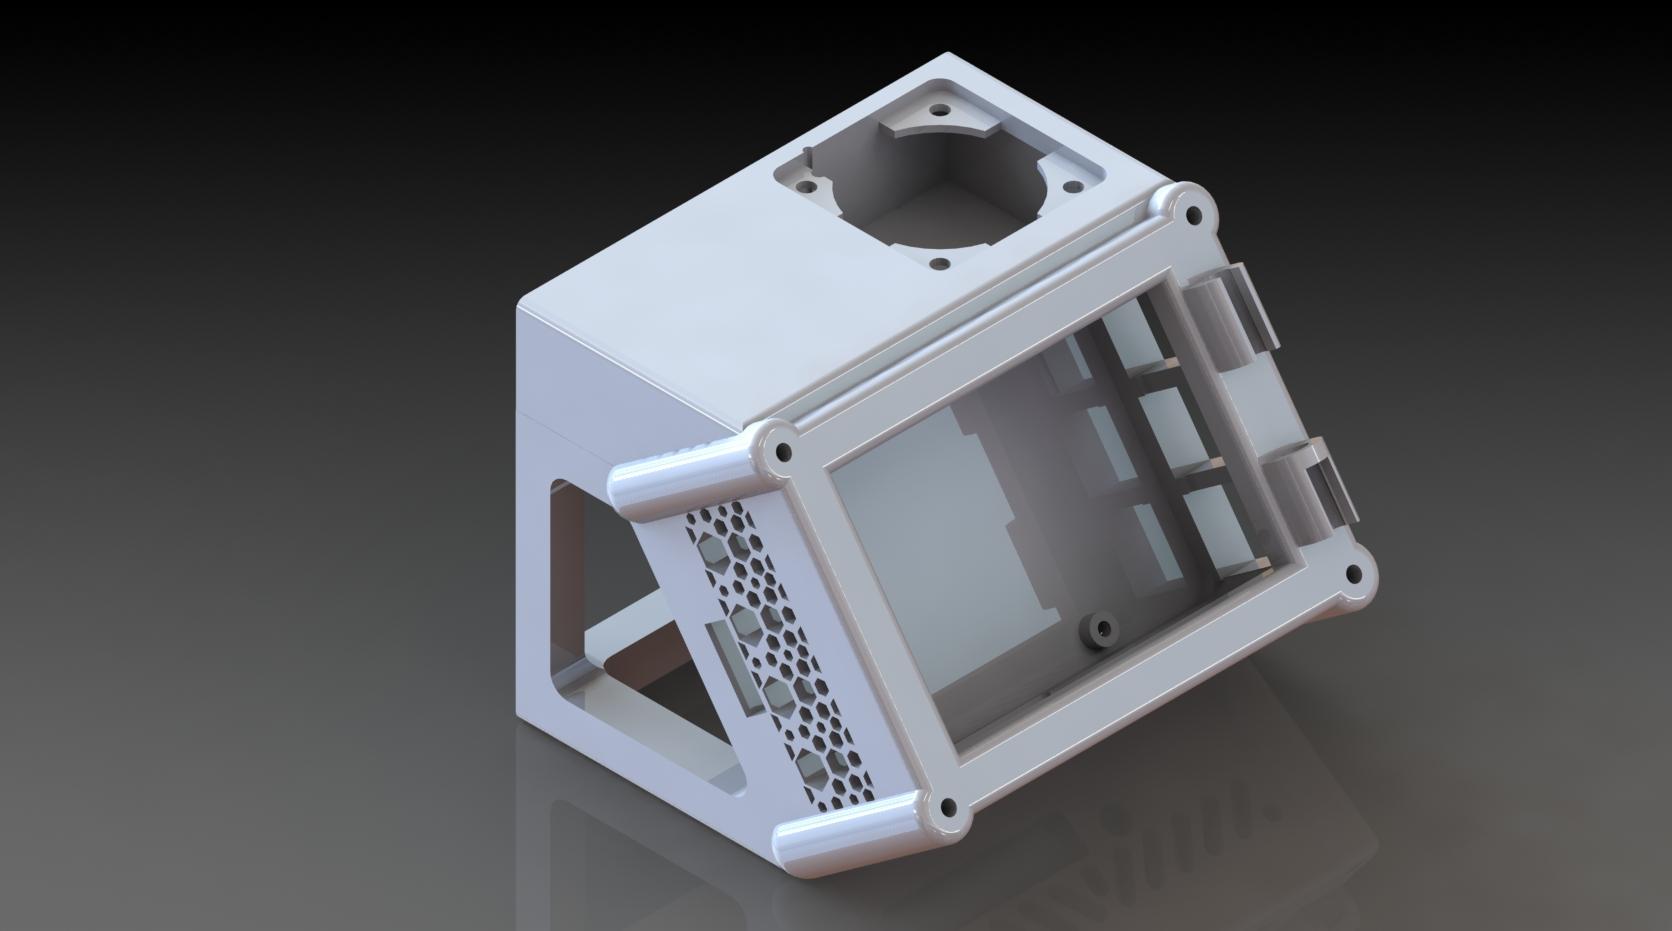
Ender 3 Electronics Case
Enclosure Mount for Elecrow 7 Inch screen and Raspberry Pi 4B with PoE
Bracket Mount for Elecrow 7 Inch screen and Raspberry Pi 4B with PoE
Raspberry Pi 4B + 3.5" Touchscreen Case (For Printers with 4040 Extrusion)
Raspberry Pi 4B Clip-on Fan Mount 30x30

Gridfinity Raspberry Pi Model 4B Case
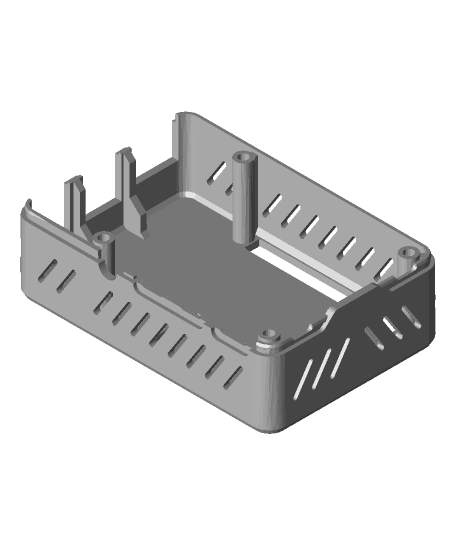
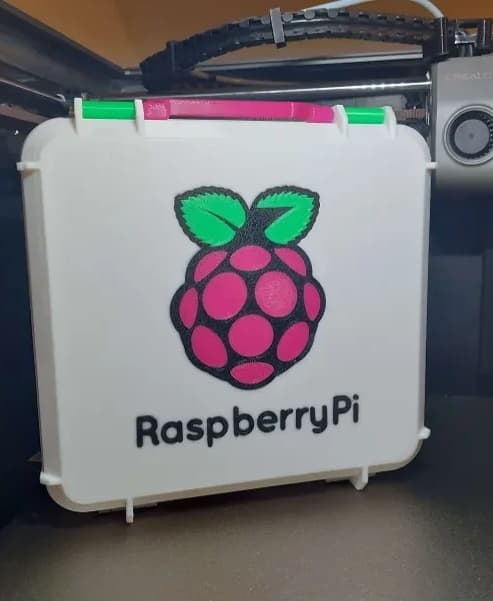
Raspberry Pi 4B case
simple raspberry pi 4b case bottom
simple raspberry pi 4b case top

Gridfinity Raspberry Pi Model 4B Case V2
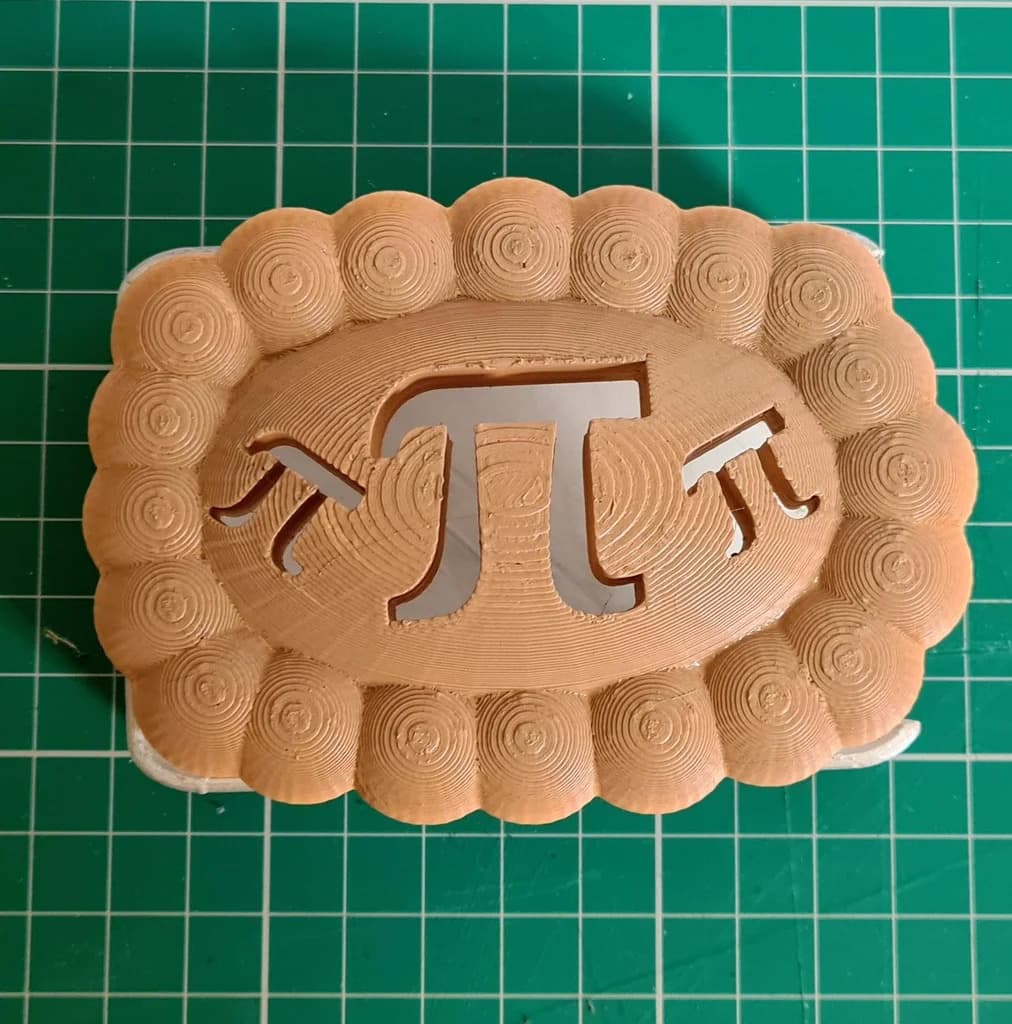
Pi Pie Raspberry Pi Case (Easy Print Version)
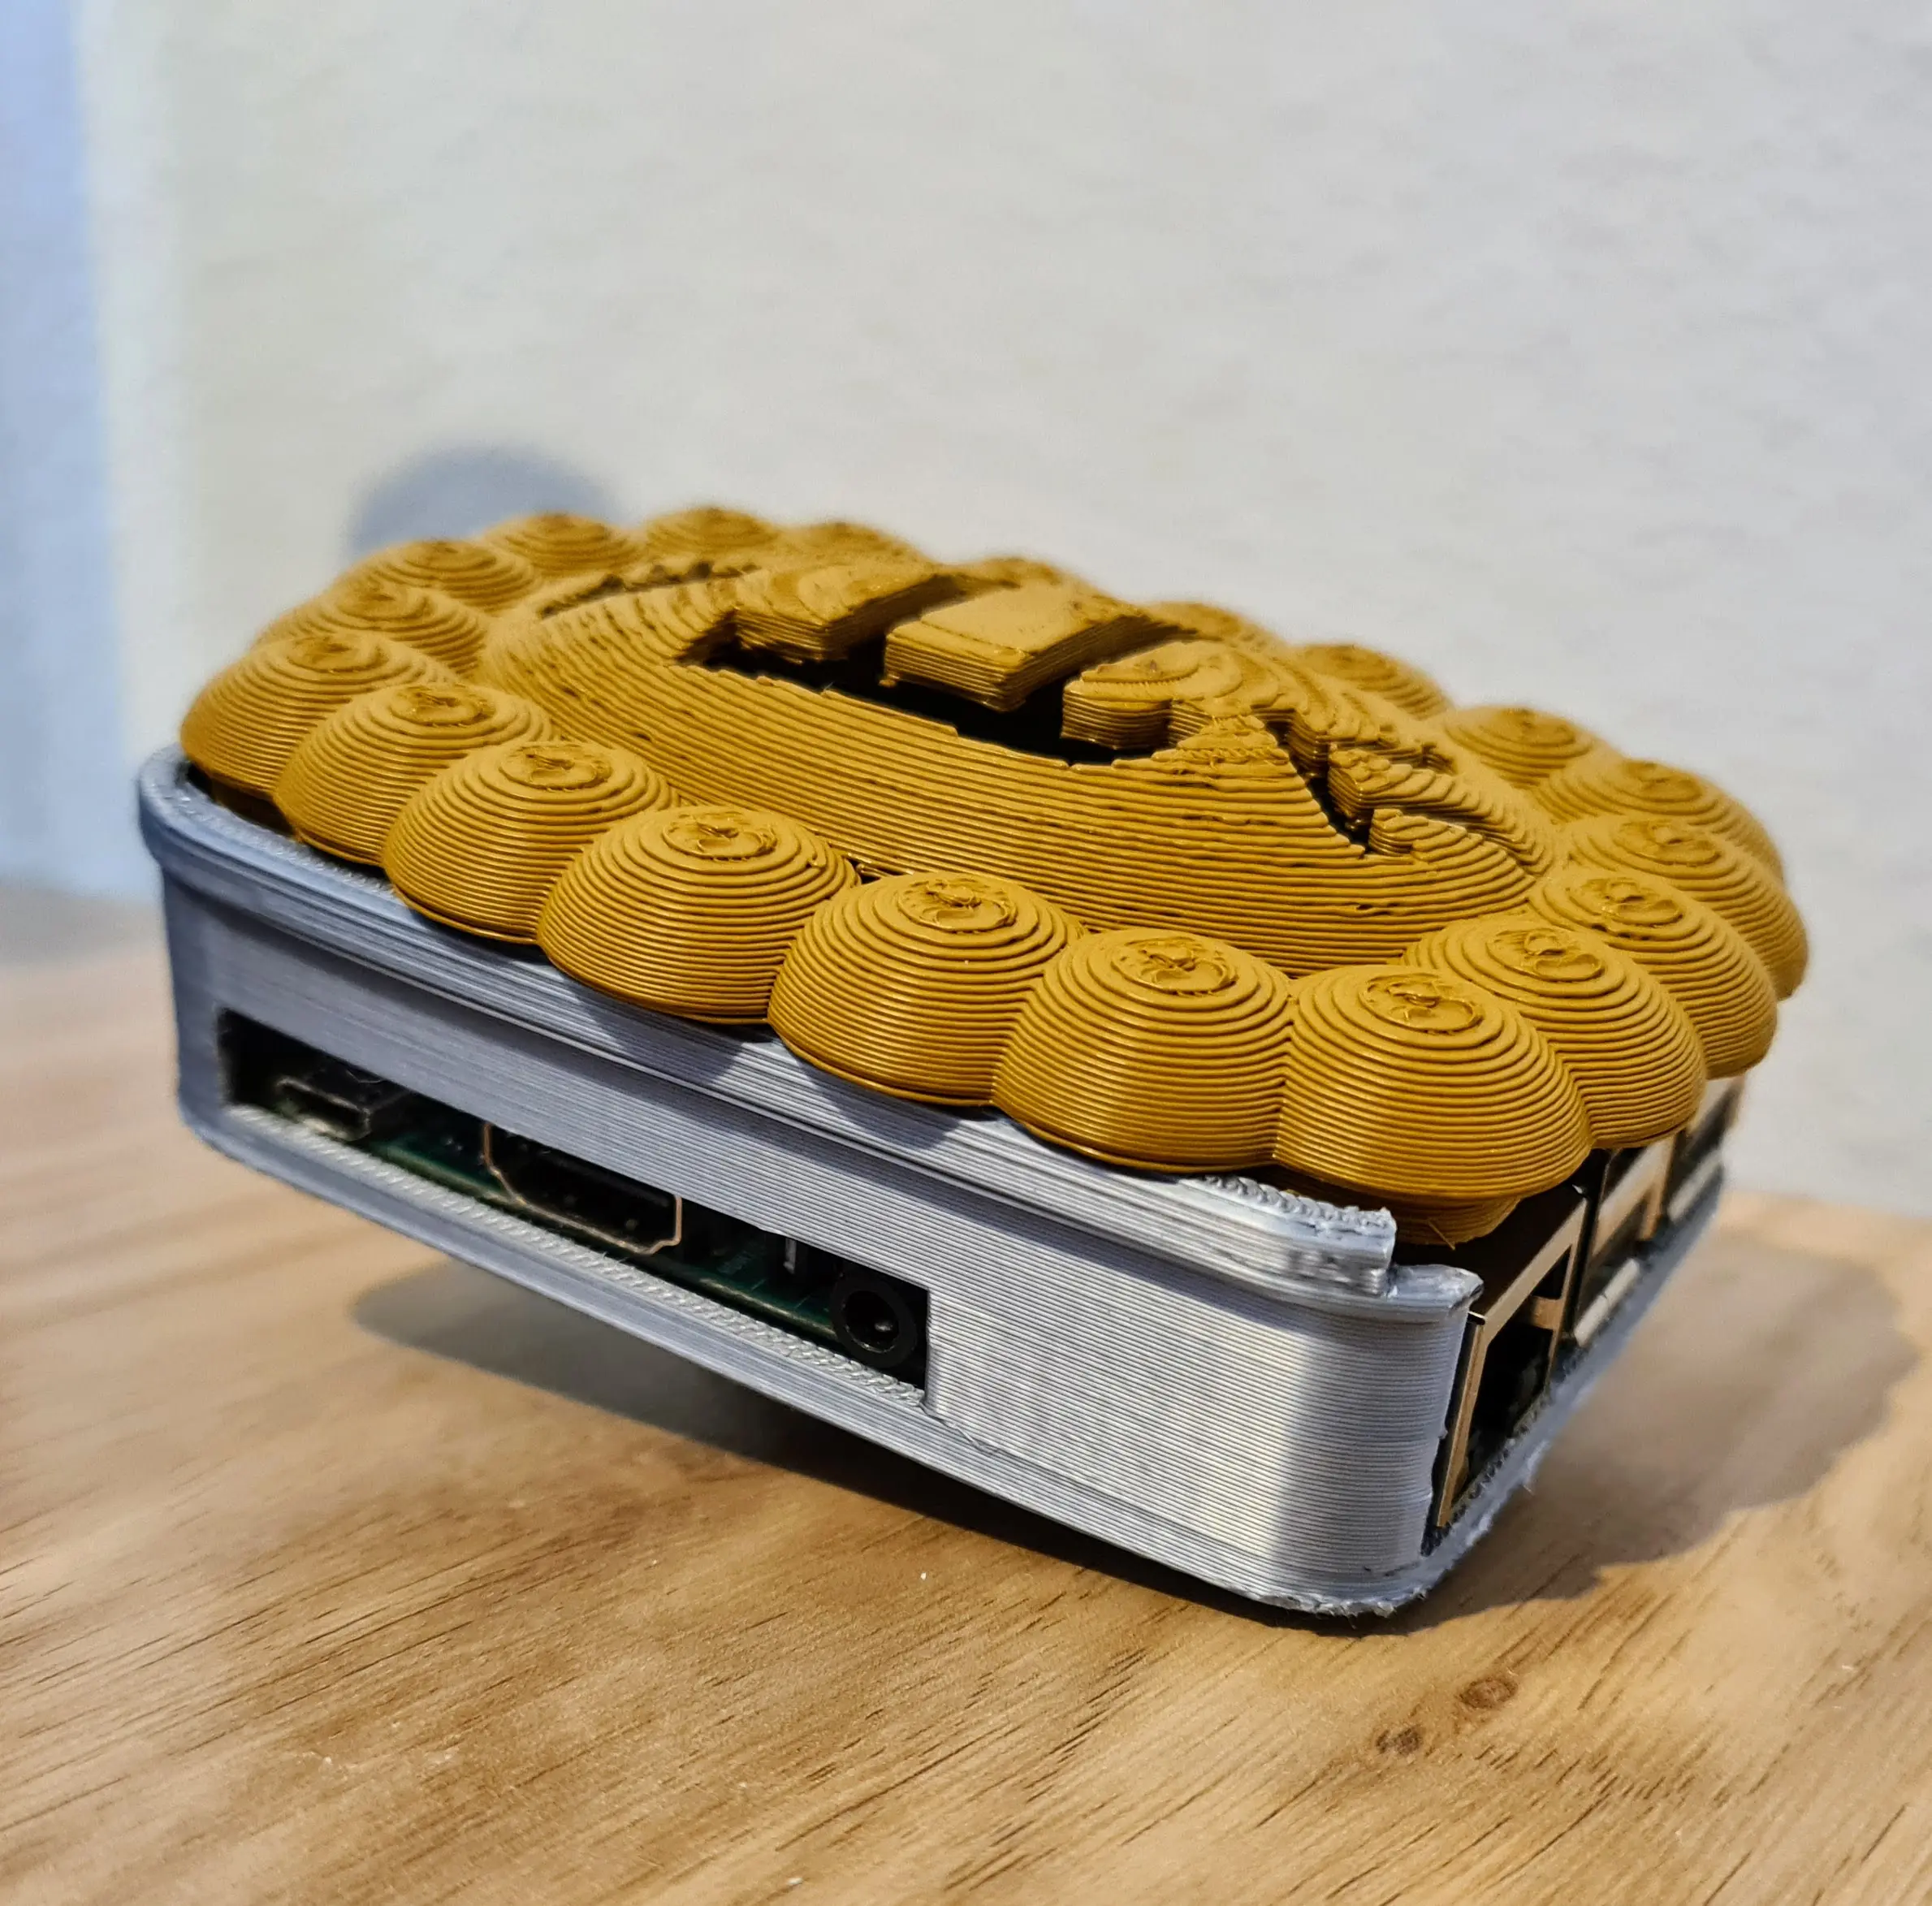
Pi Pie Raspberry Pi Case

Raspberry Pi & BigTreeTech Pico 40mm Fan Mount - Pi Zero 2W 3 4
Raspberry Pi Box

M!N!MAL 0 CH - Raspberry Pi Zero 2 / Banana Pi M2 Case / Housing / Sleeve with Heatsink & Cooling
Raspberry Pi Zero Mount - VHB Tape or M3 Screws - Pi Zero 2W
SnapBox Raspberry Pi 3 / 4 / Zero - (Resin)
Pi Plate (simple raspberry pi 4 mount)

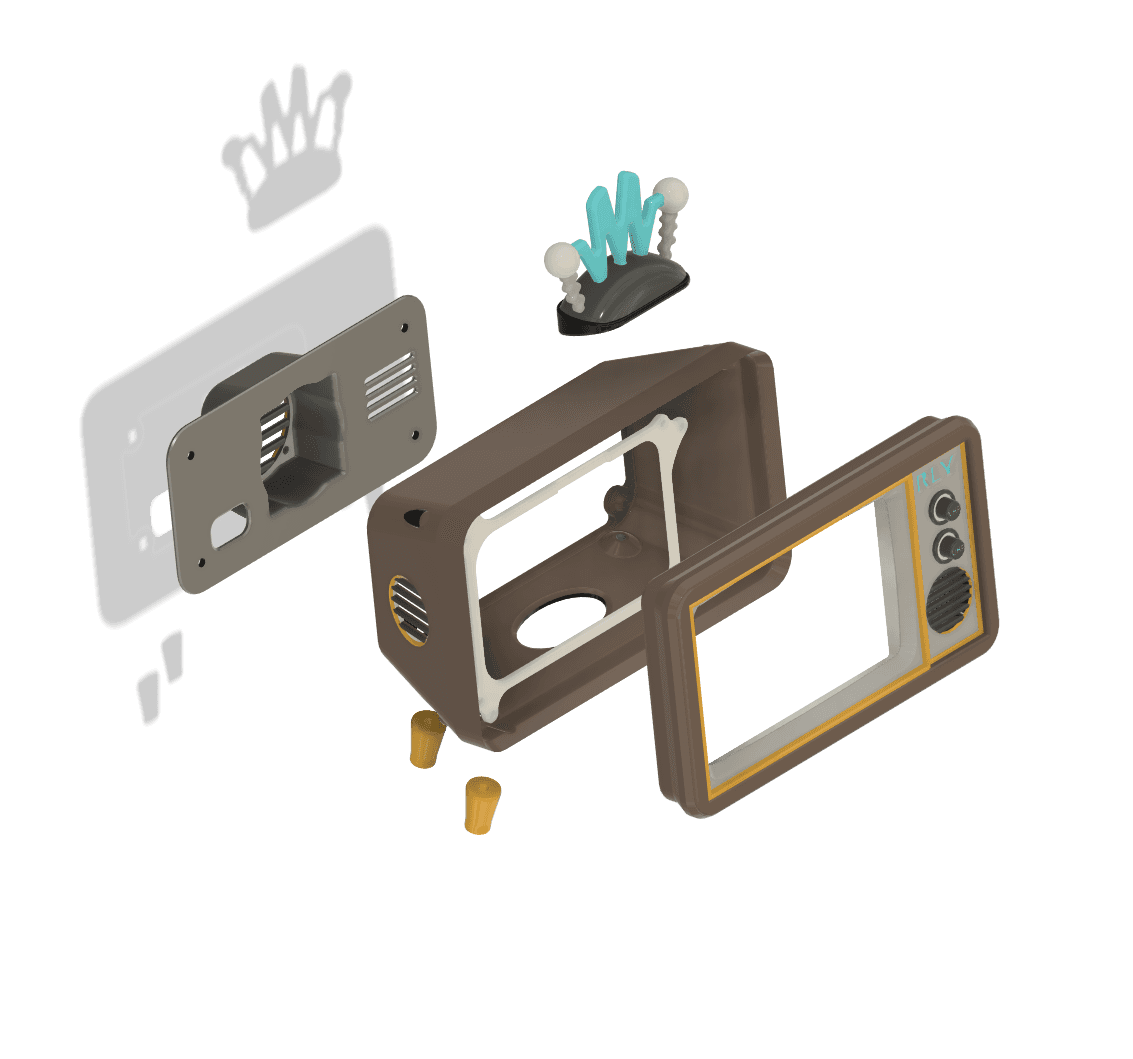
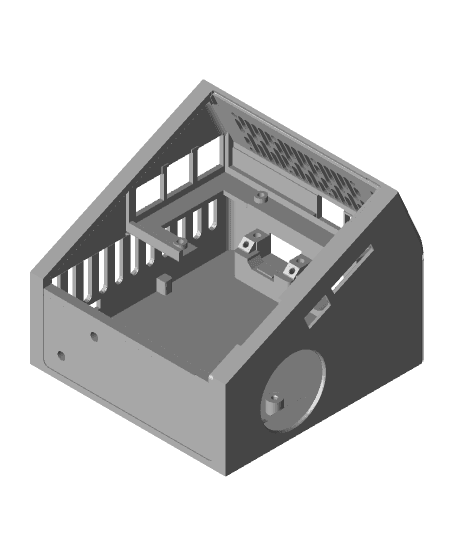
CRT Style Raspberry Pi Enclosure (portable) — Pi Terminal