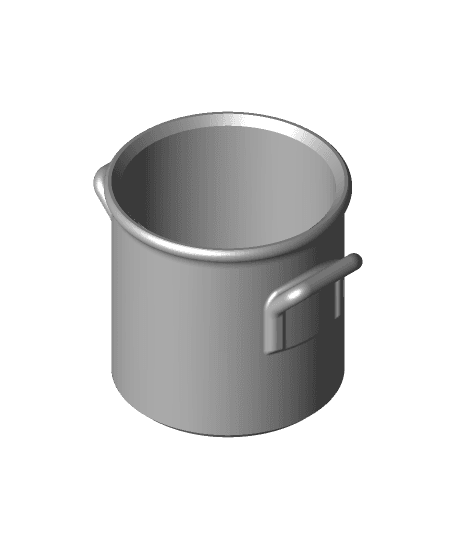
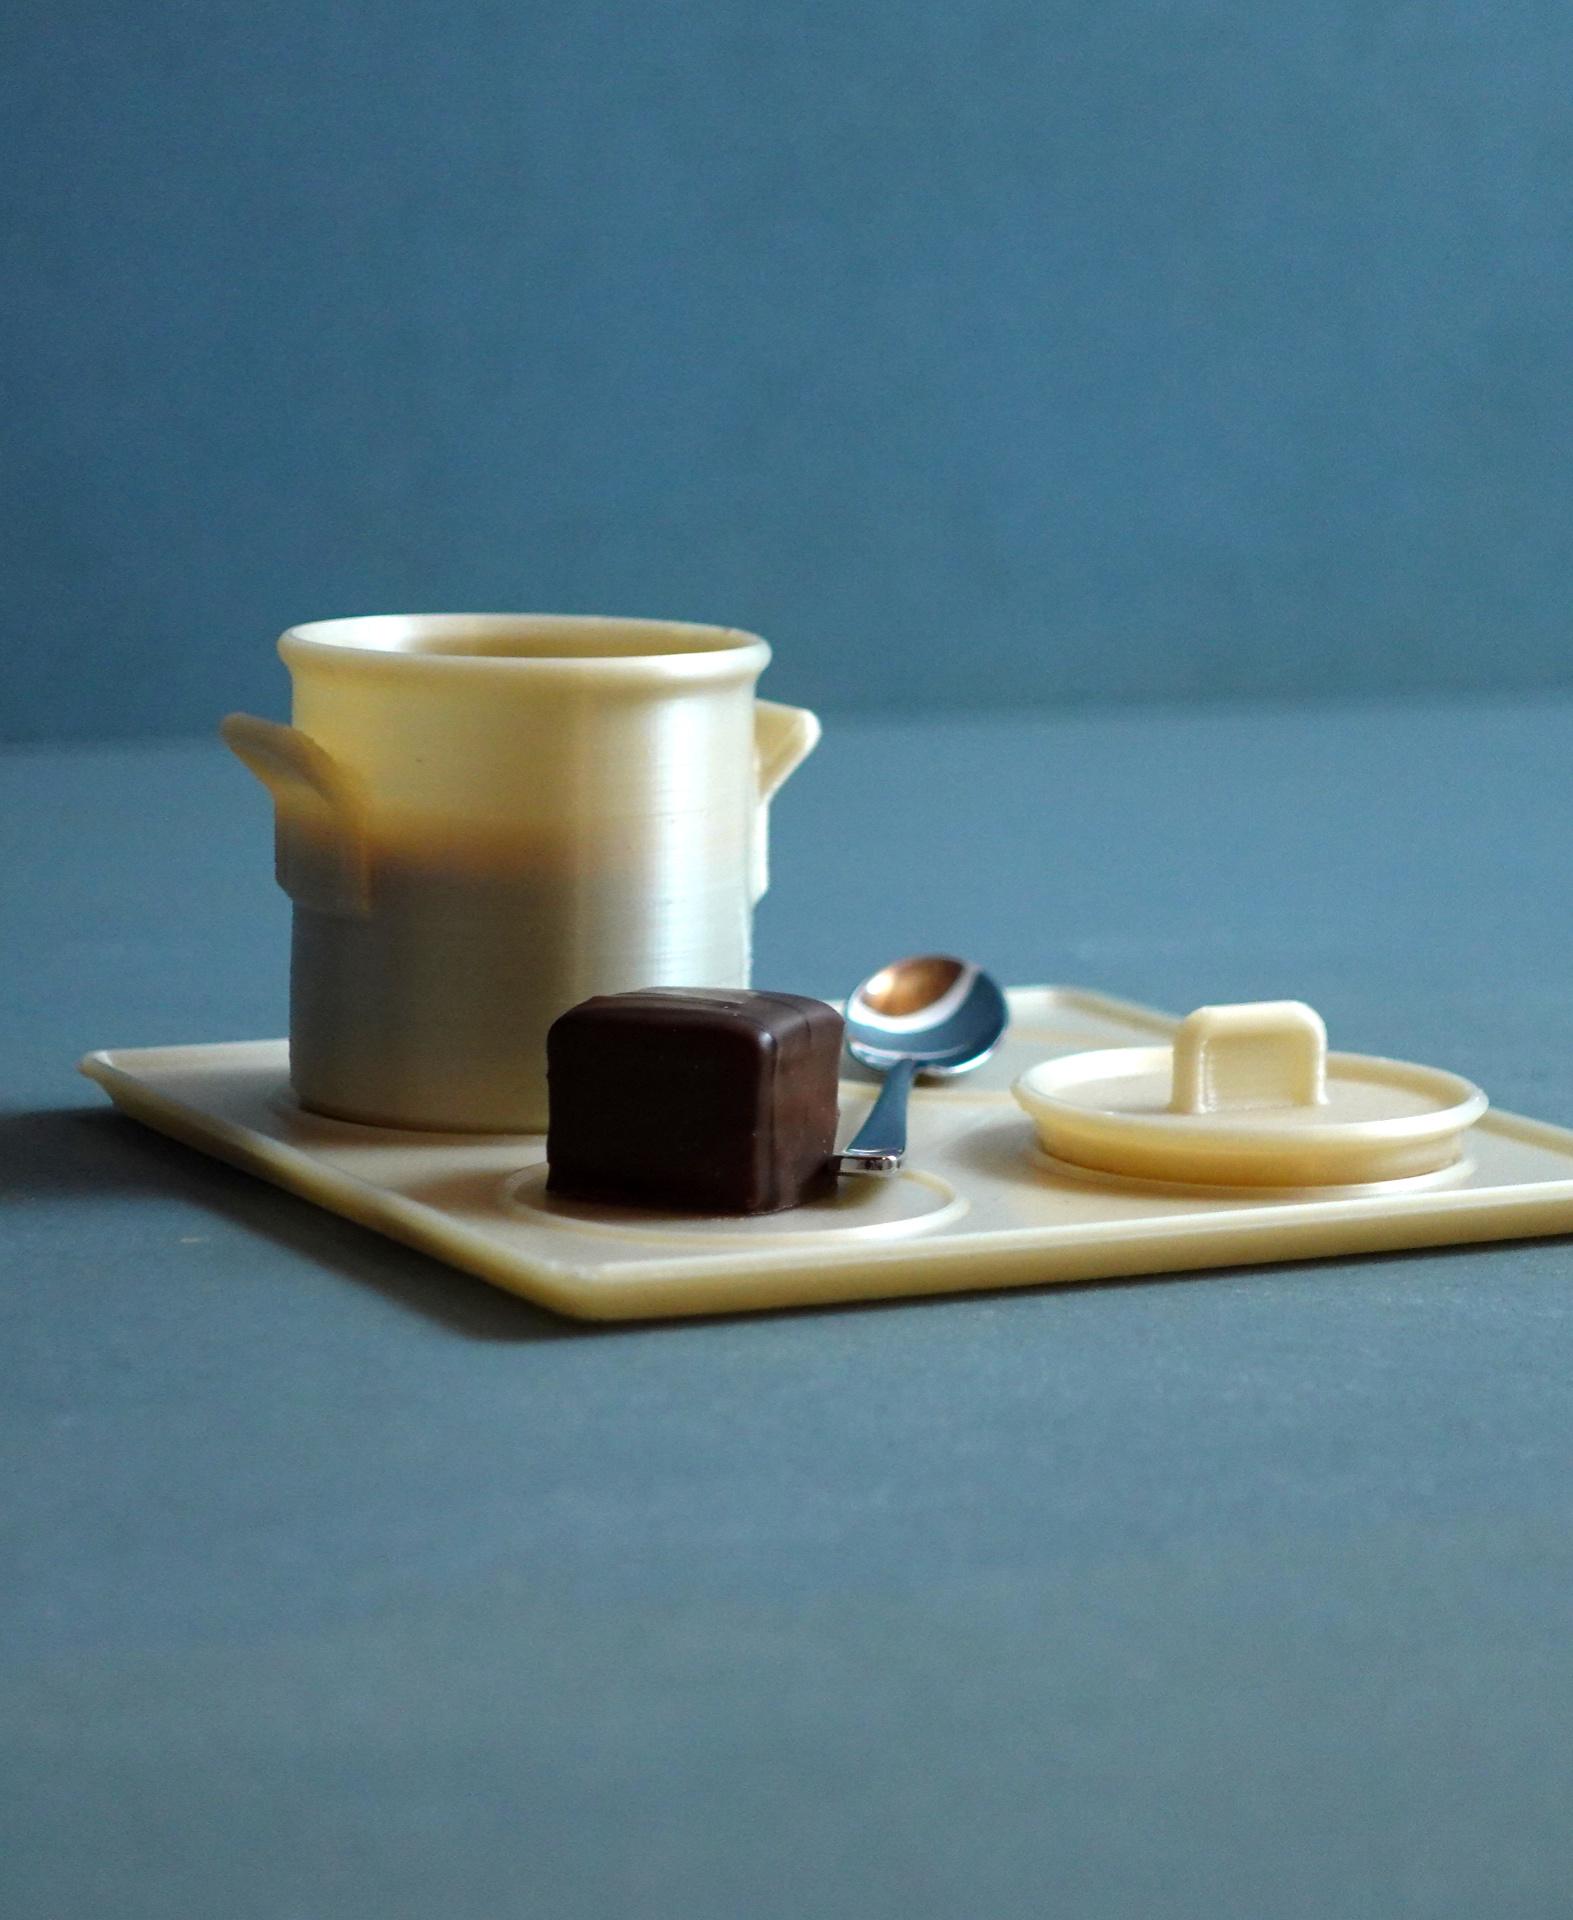
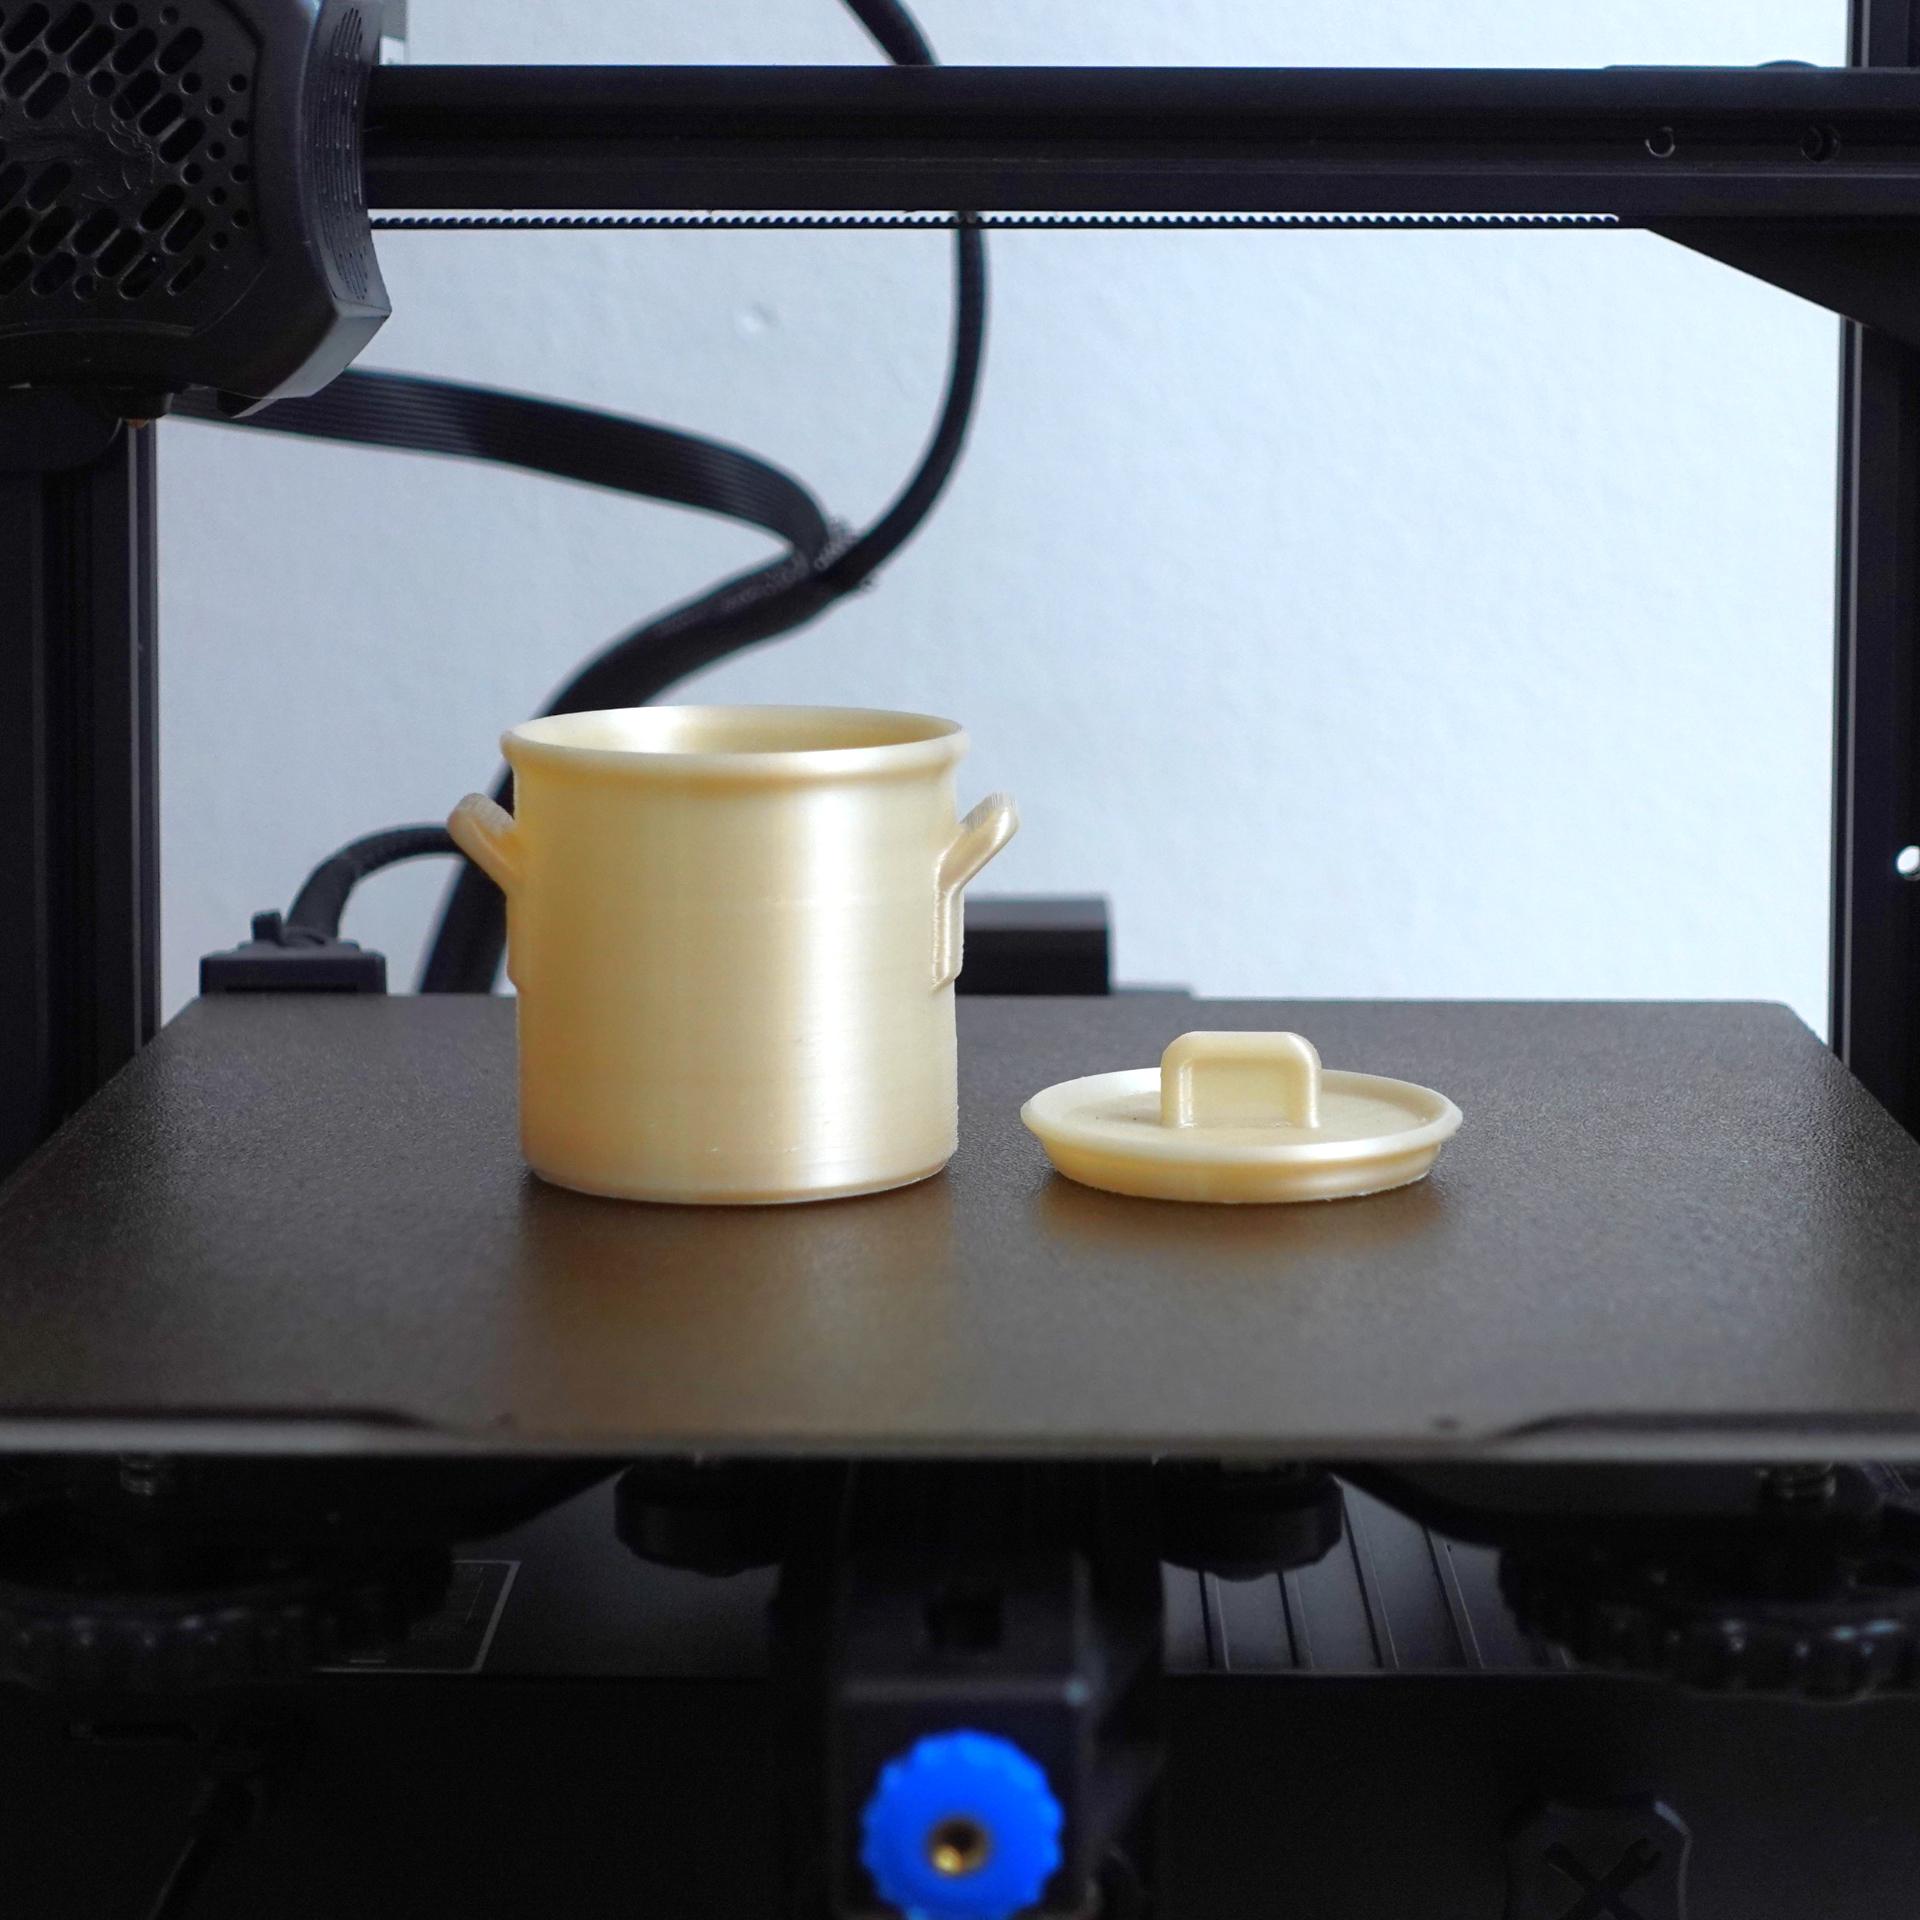
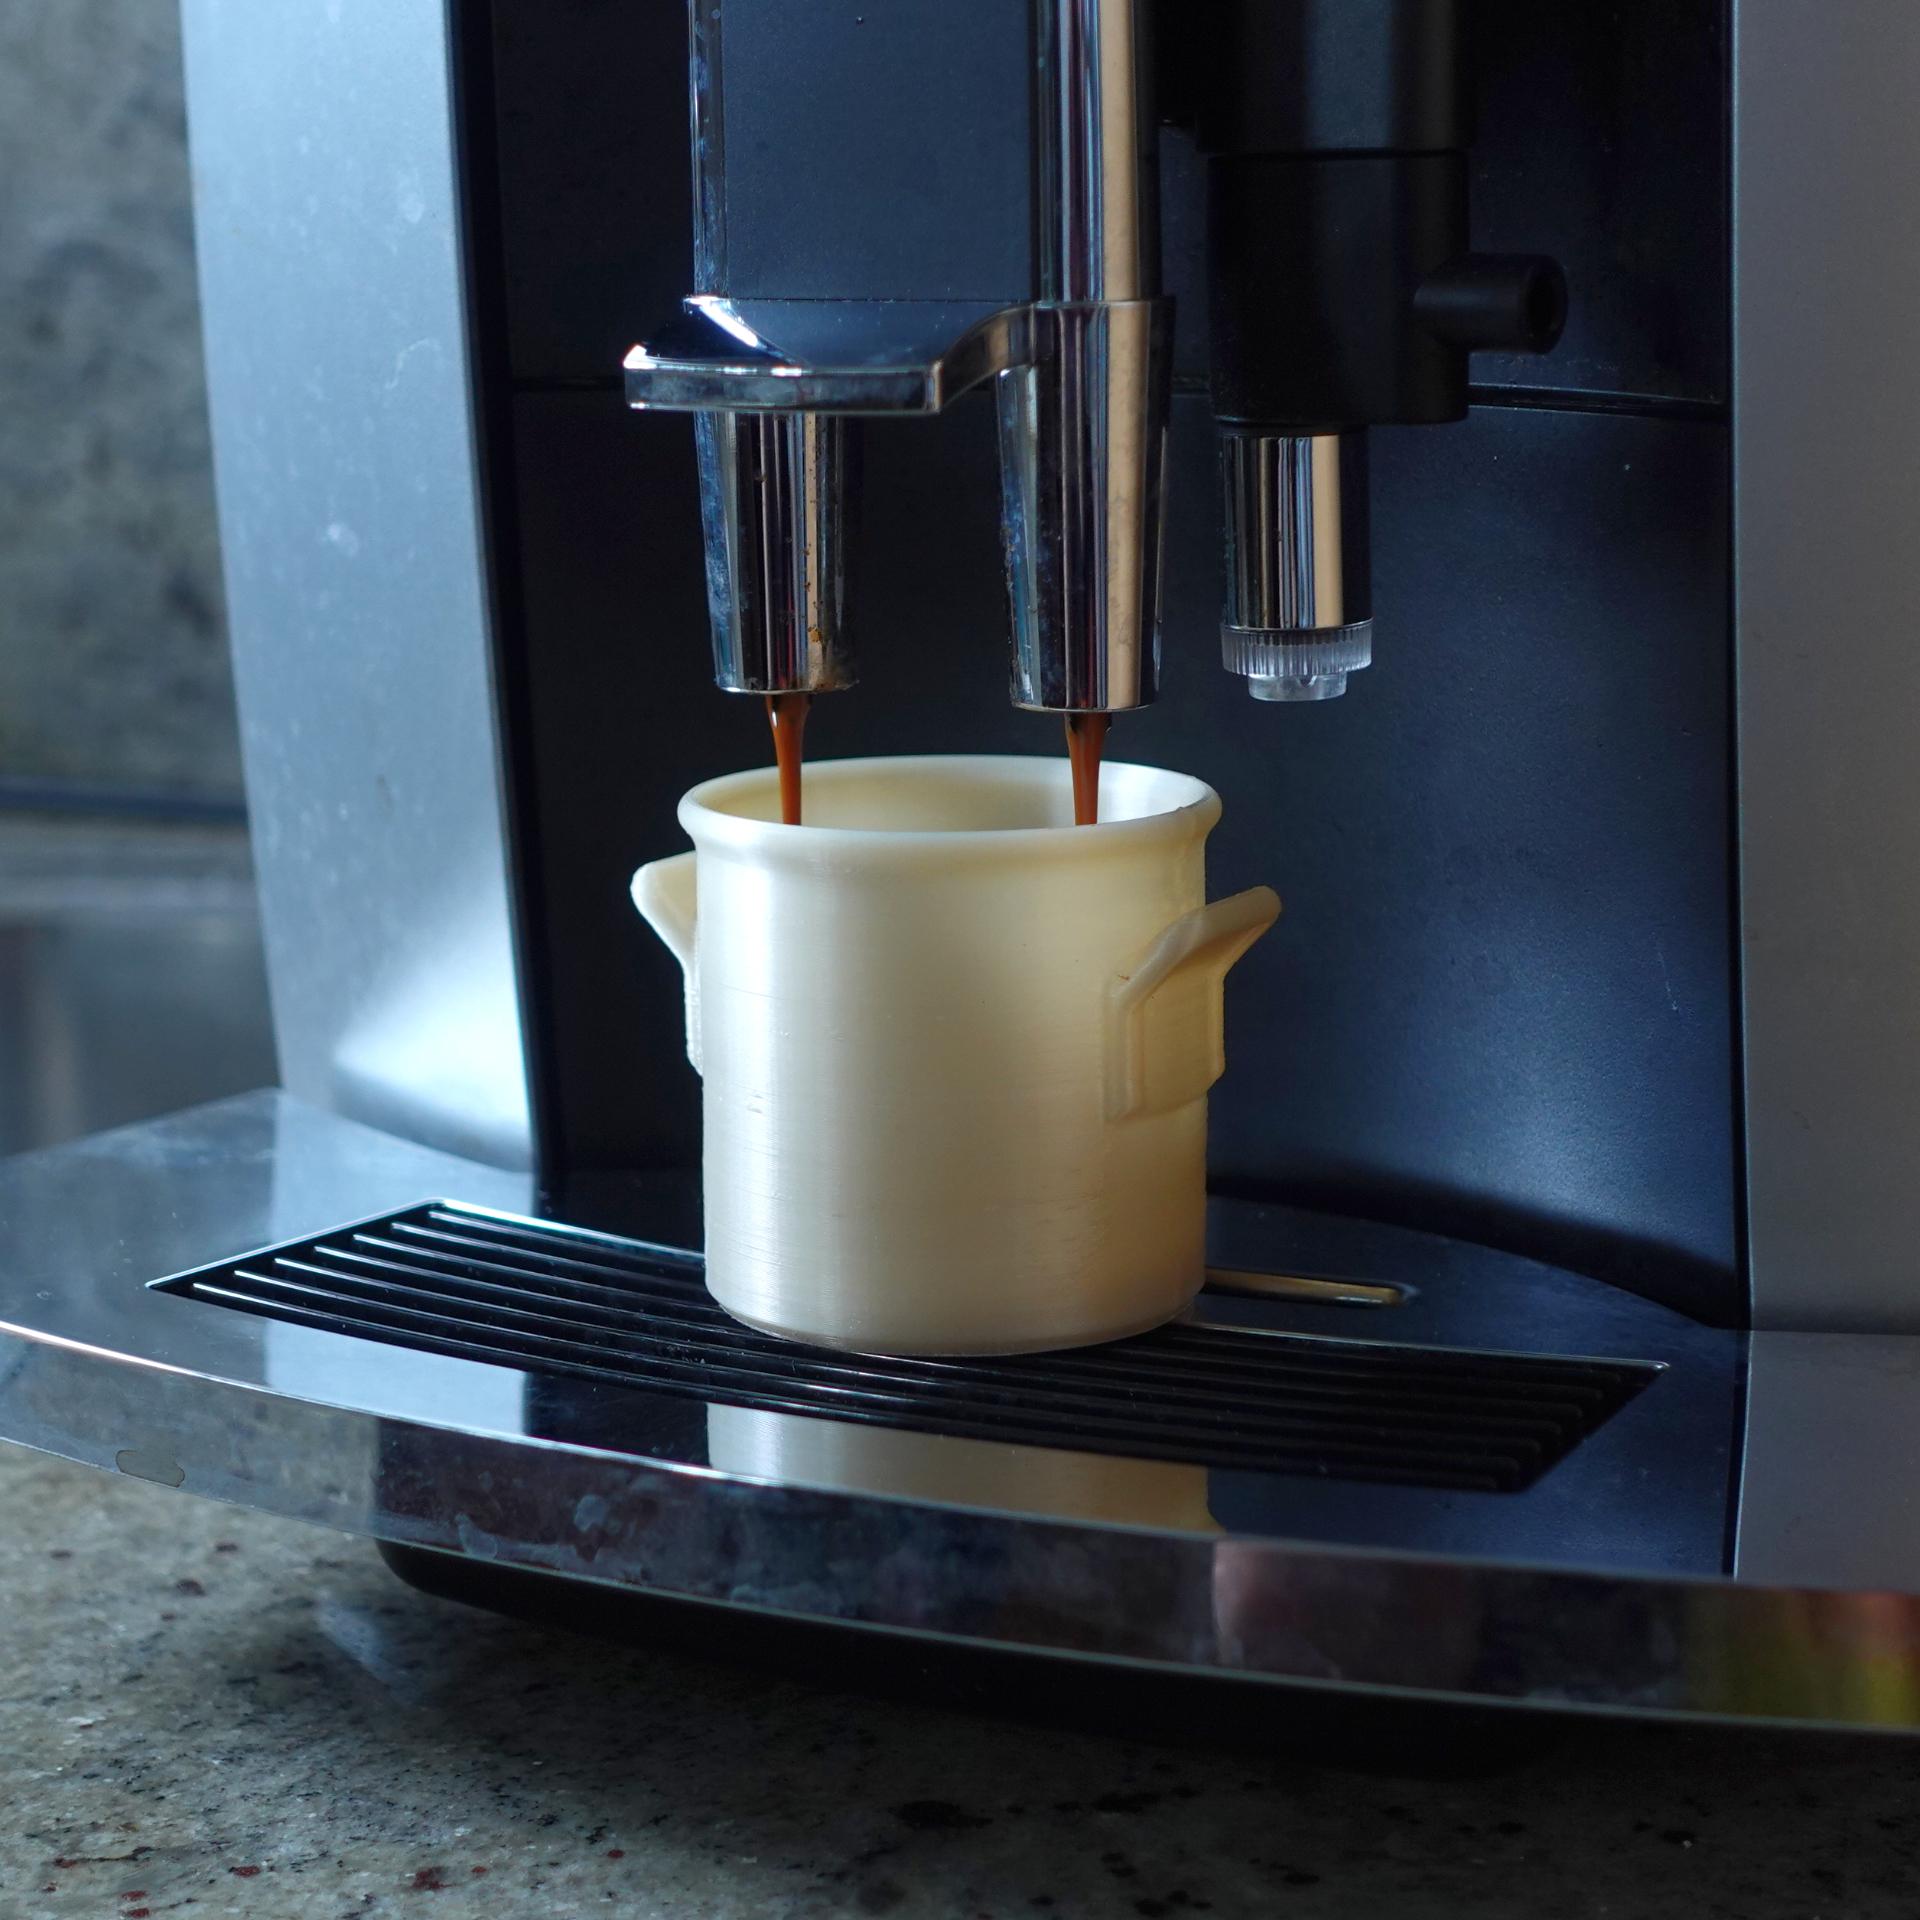
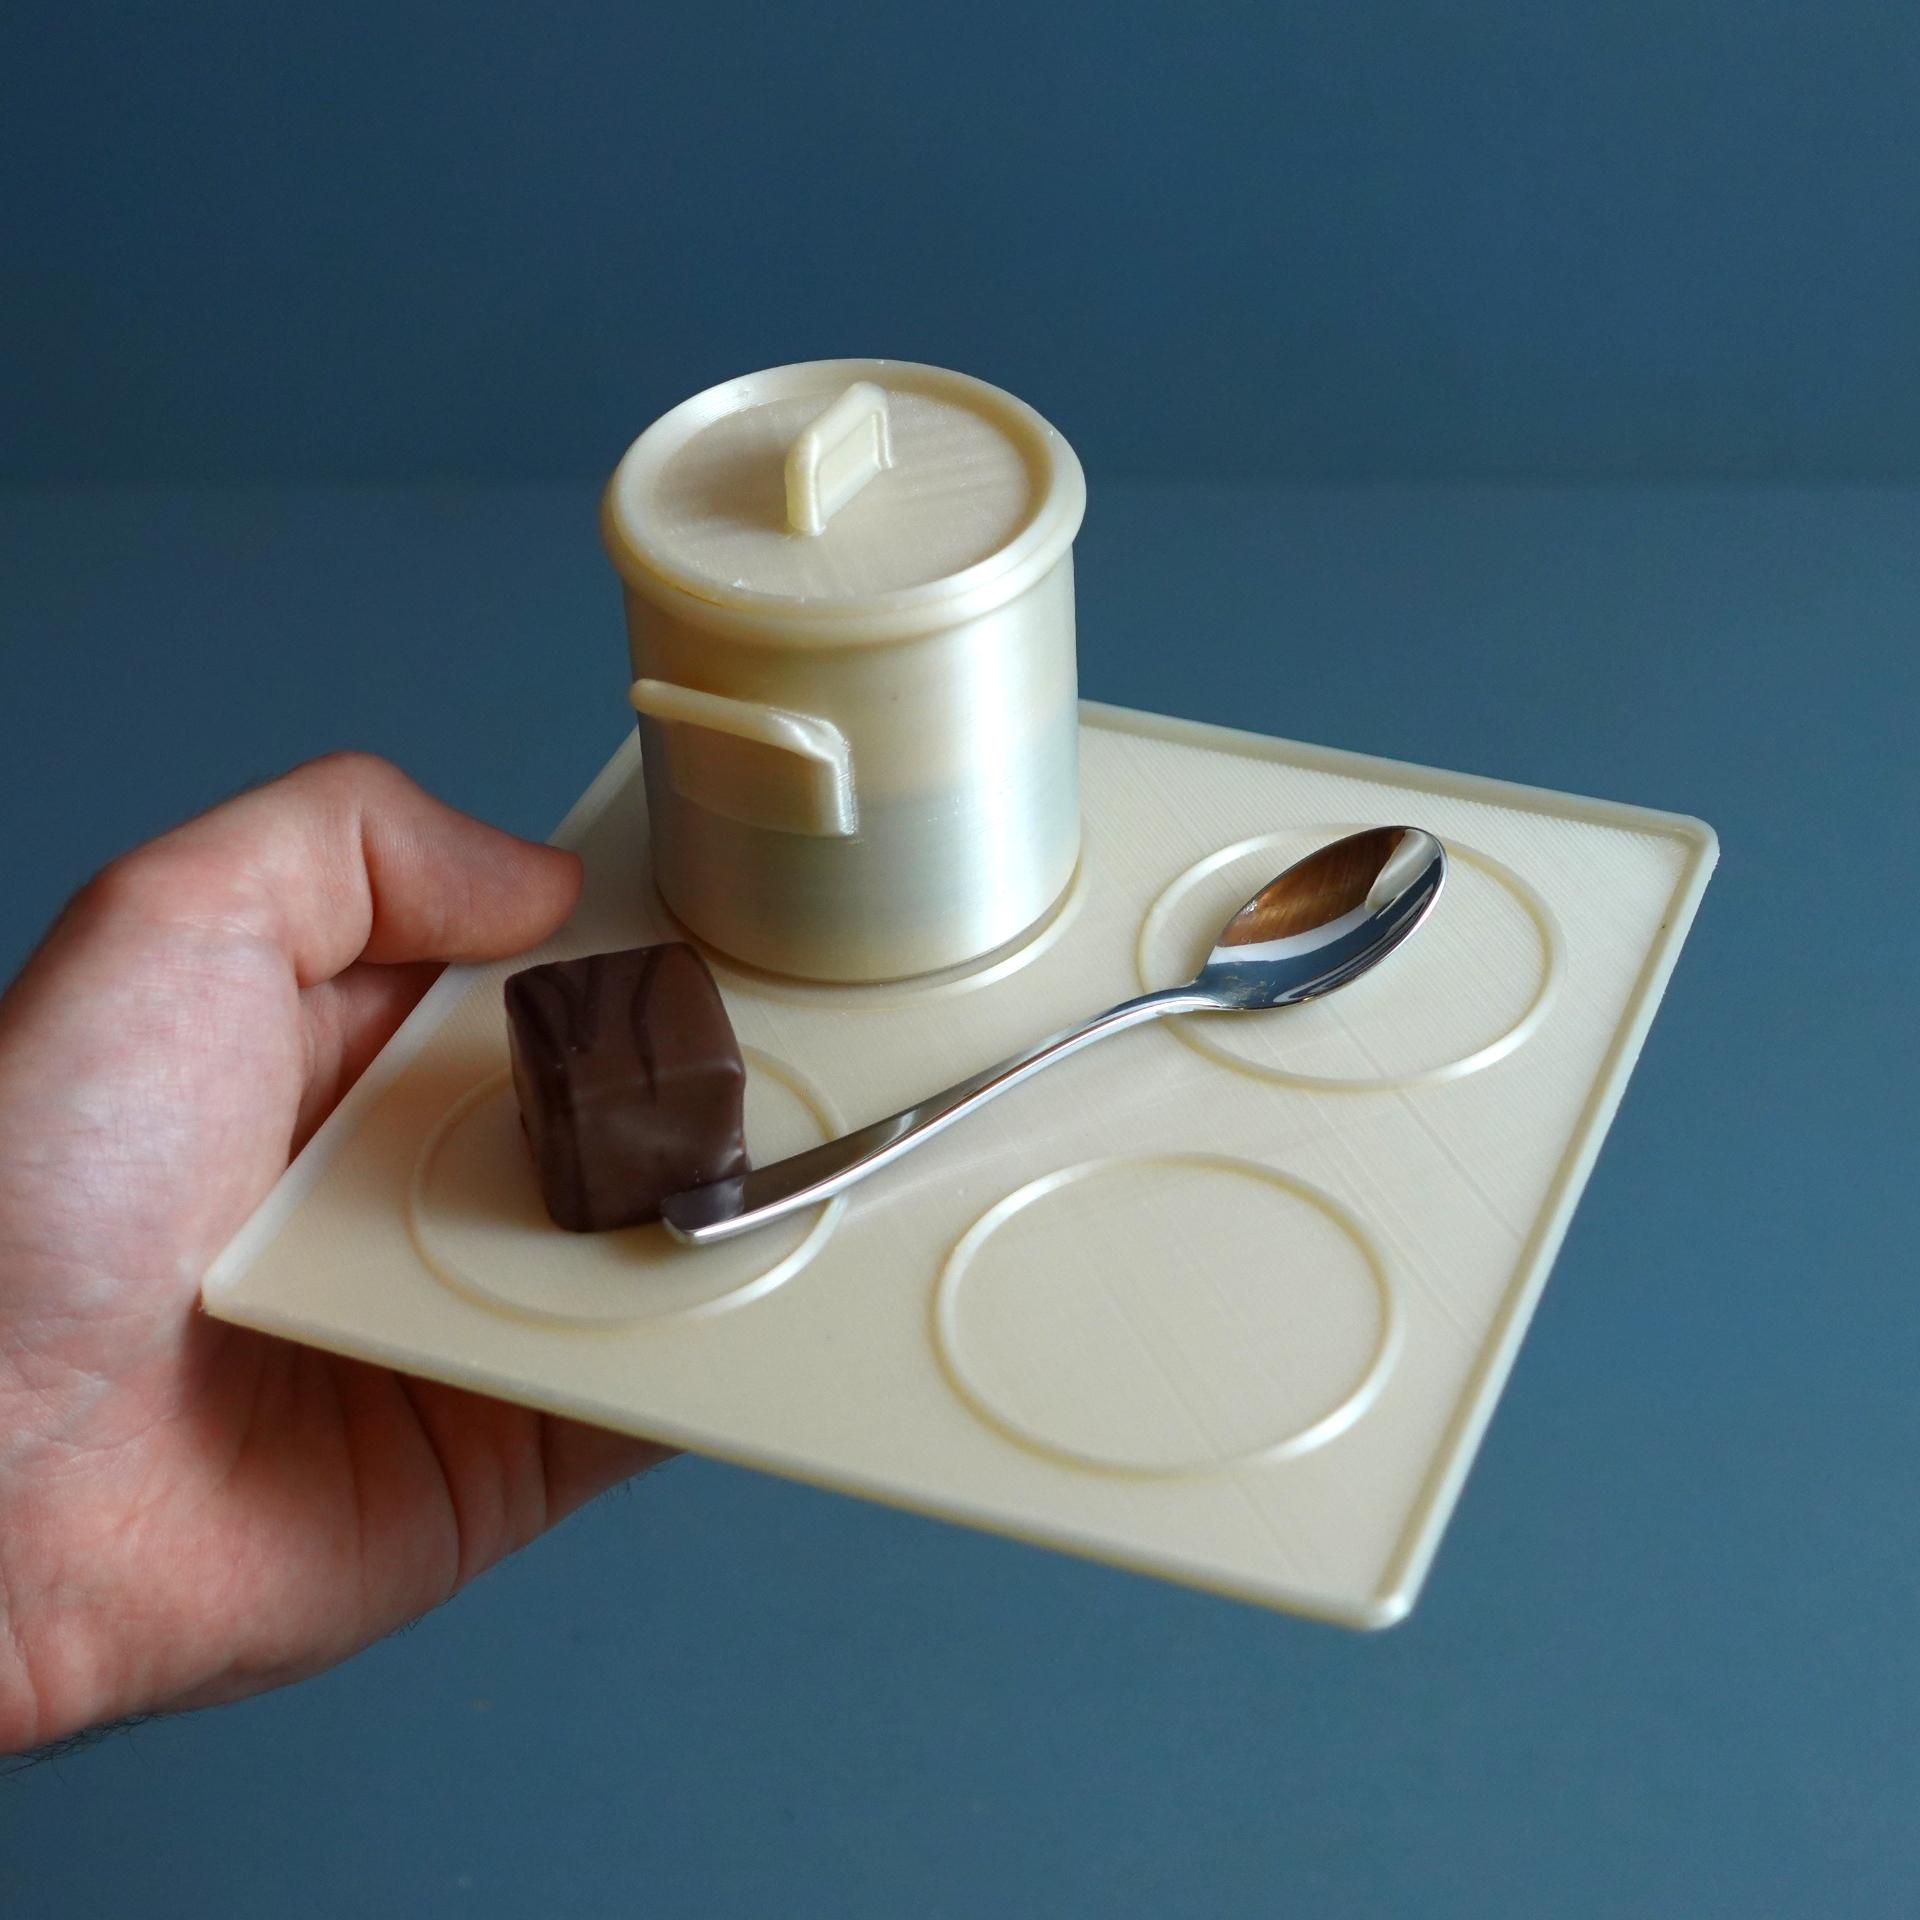
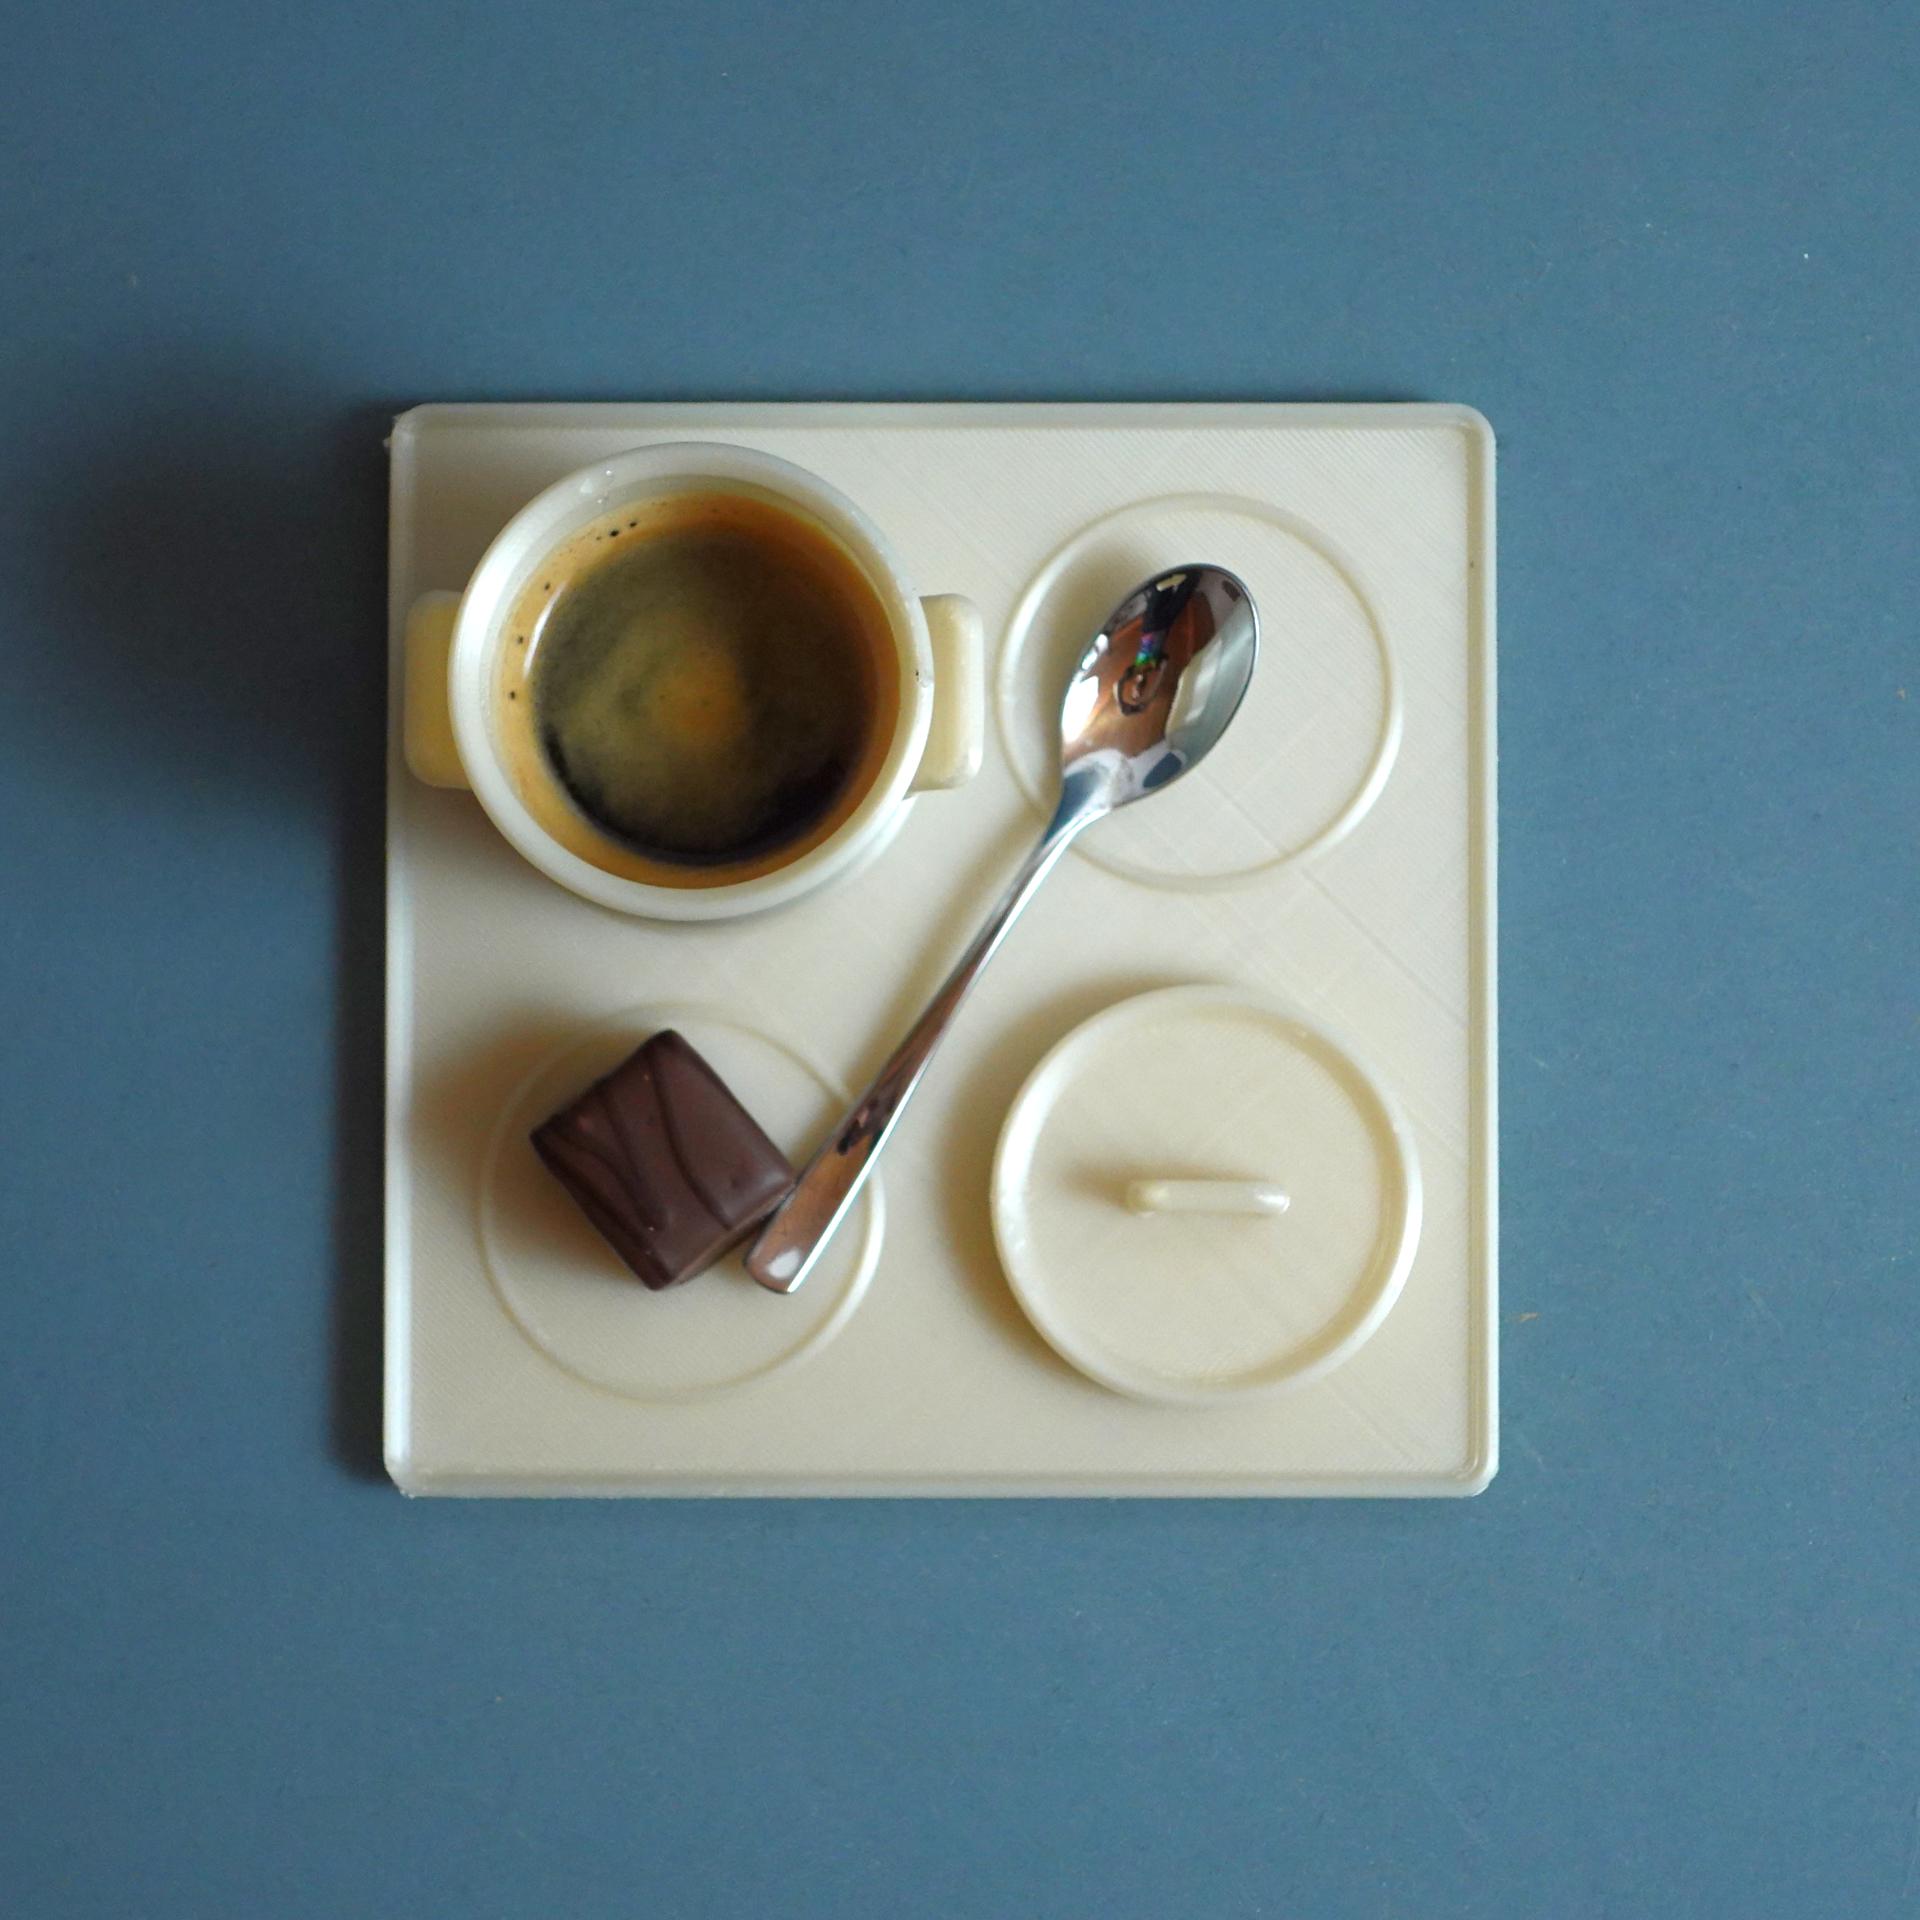
A unique espresso cup in the style of a pot.
Instructions
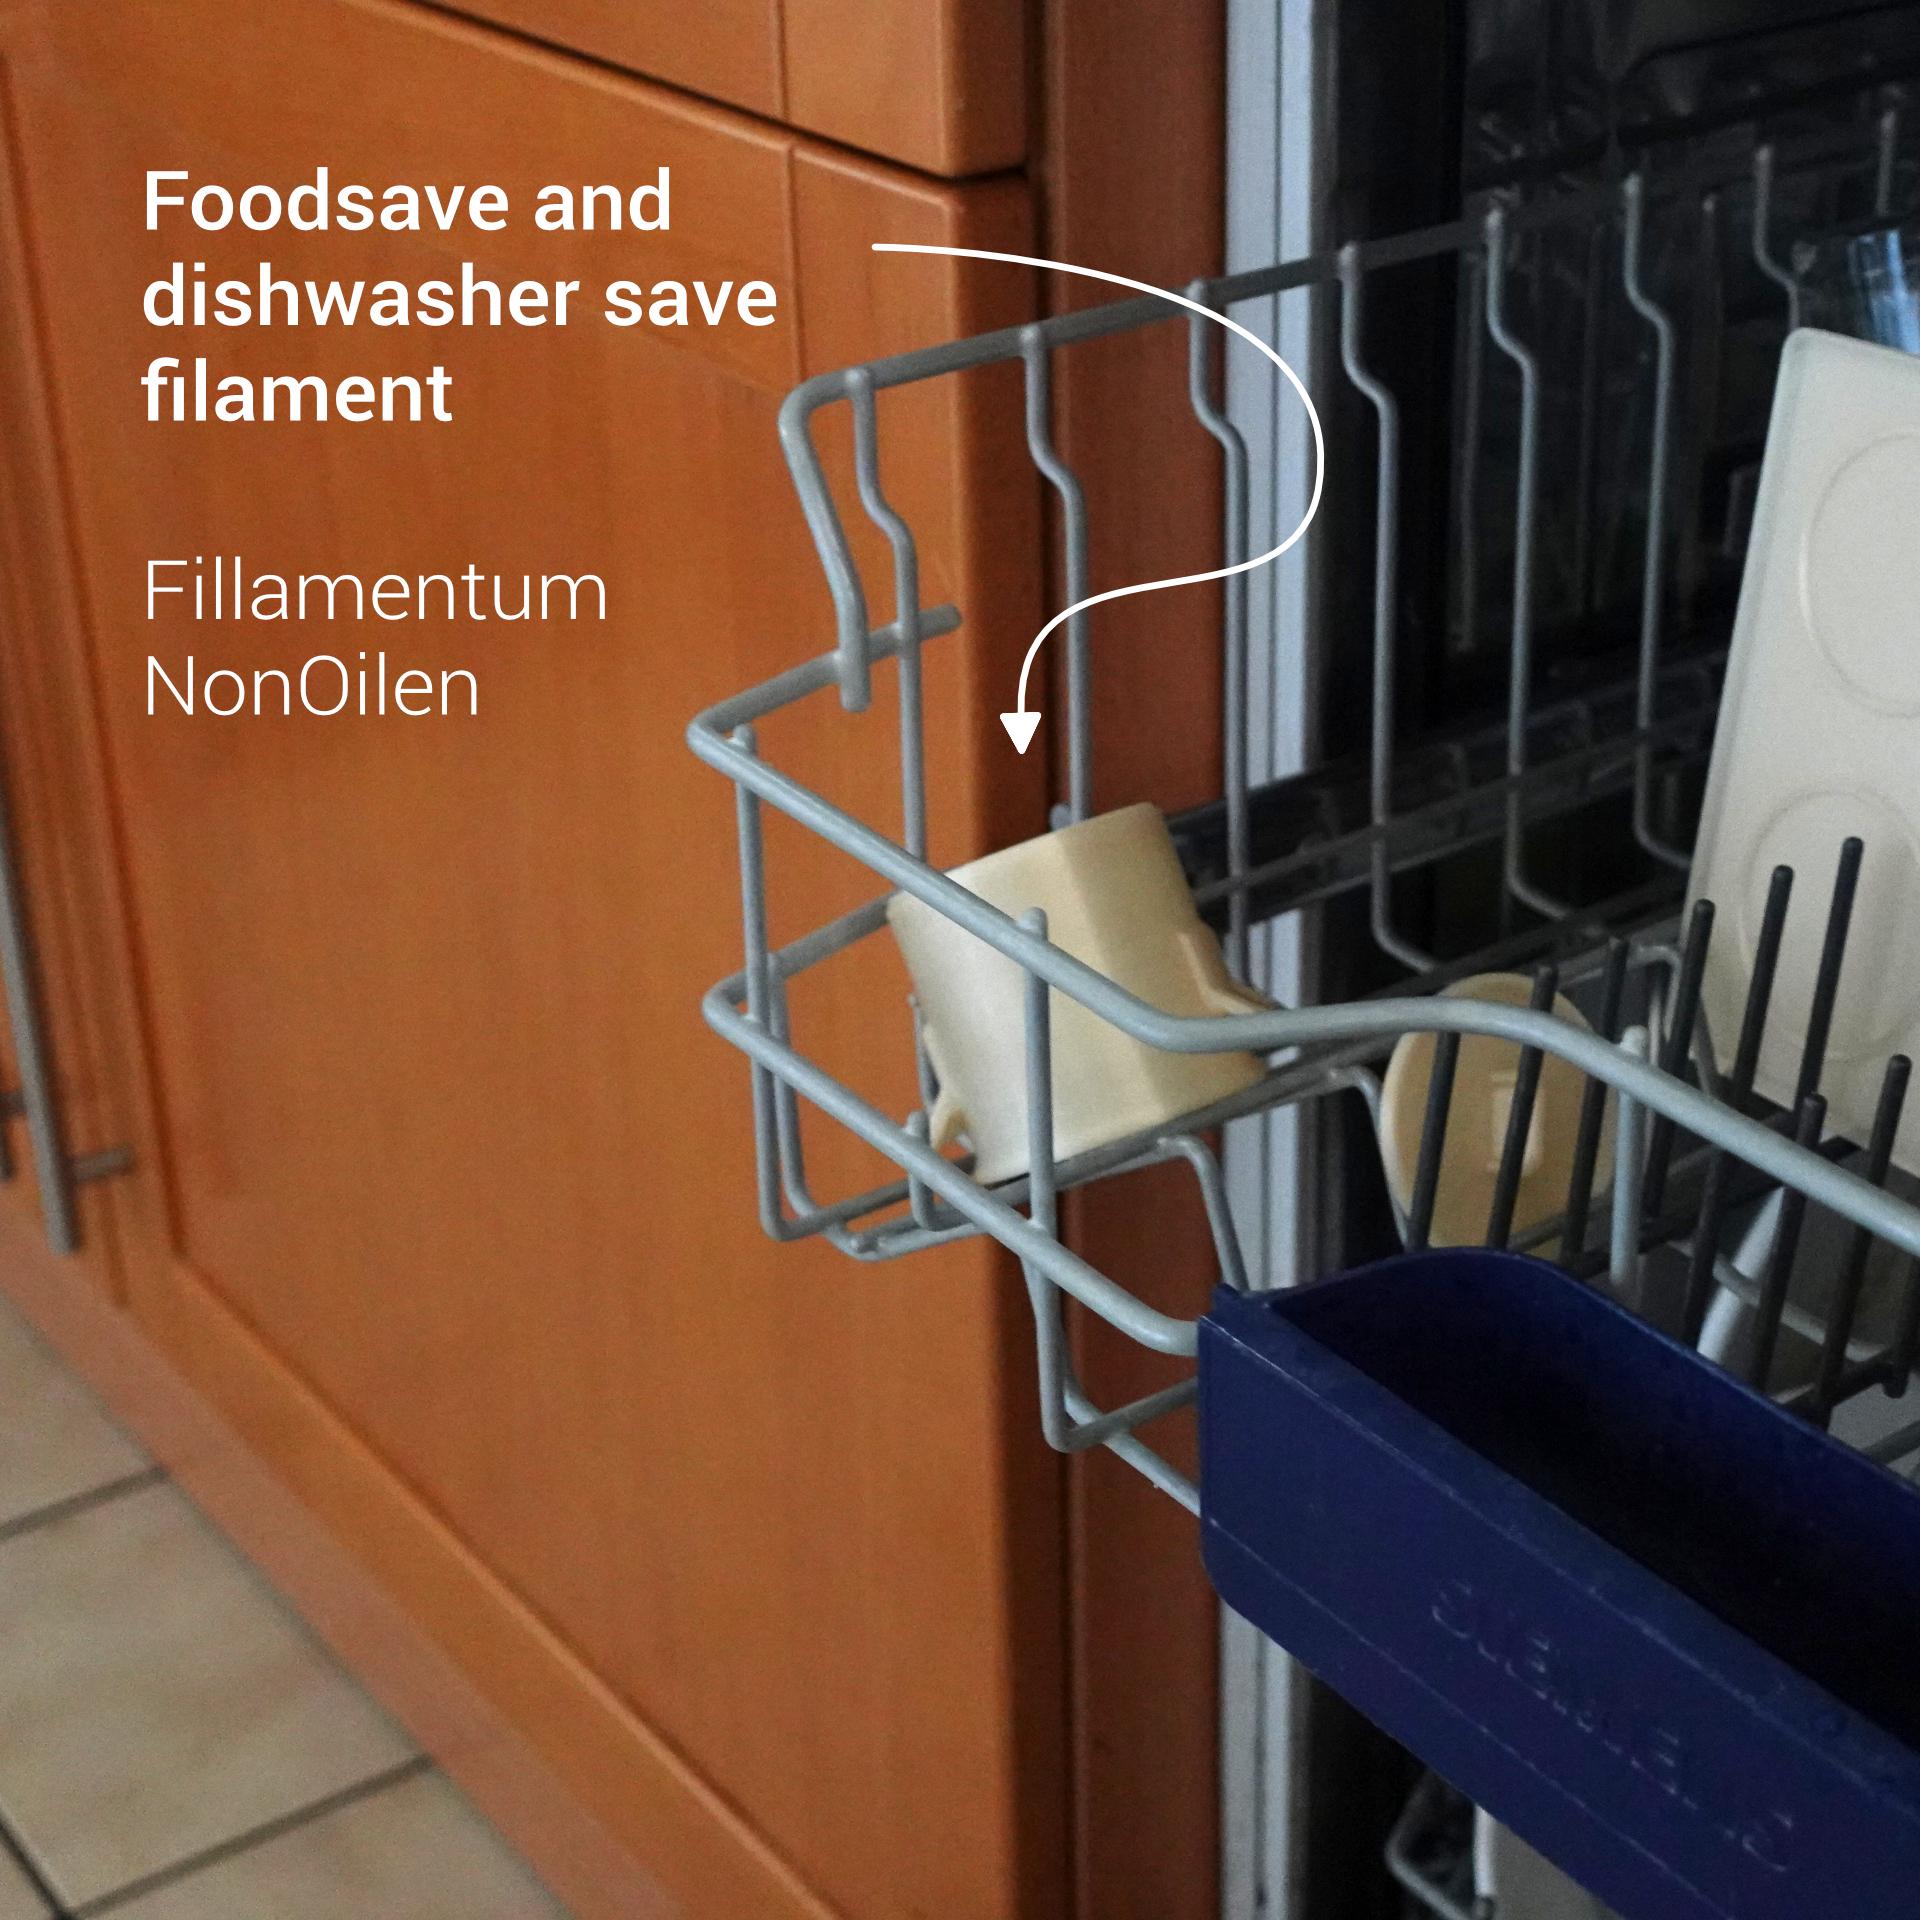
- Get food safe and dishwasher save filament
- Print the parts
- For longer durability coat the parts in food safe resin or other coating product.
- If you don’t choose to apply a coating, please make sure to always clean them in your dishwasher at 60 degrees Celsius or above to kill off potential bacteria and keep the product food safe.
There are a lot of rumors about fdm prints being food safe or not. The best study that I found on this topic can be accessed here: https://www.researchgate.net/publication/375373442_The_Impact_of_Sanitation_Methods_of_3D-printed_Parts_for_Food_and_Medical_Applications A four-month lab study found that fdm prints are not worse than other plastic kitchen products like a cutting board. I can recommend the read.
Print settings Only use certified food save material to print this product. Food safe and dishwasher safe PLA is the optimal material for this design.
Required build volume: 150 x 150 mm Material usage: 100g Print time: 5h
Material: Food safe filament Print direction: stls are rotated correctly, check images Support: none Nozzle size: 0,4 mm Line width: 0,4 mm Layer height 0,2 mm Outer walls: 3 Infill: 100% for the cup and lid, 20% for the saucer Build plate adhesion type: depends on your filament choice
Watertight printing: If you have a well set up machine it comes automatically - Otherwise here are some tips: Increase your wall count (at least 3), level your bed nicely, decrease print speed, increase layer height (at least 0.2mm), increase print temperature, check your seam quality, calibrate your e-steps and fine tune your retraction settings to make sure no holes appear after a layer change.
