


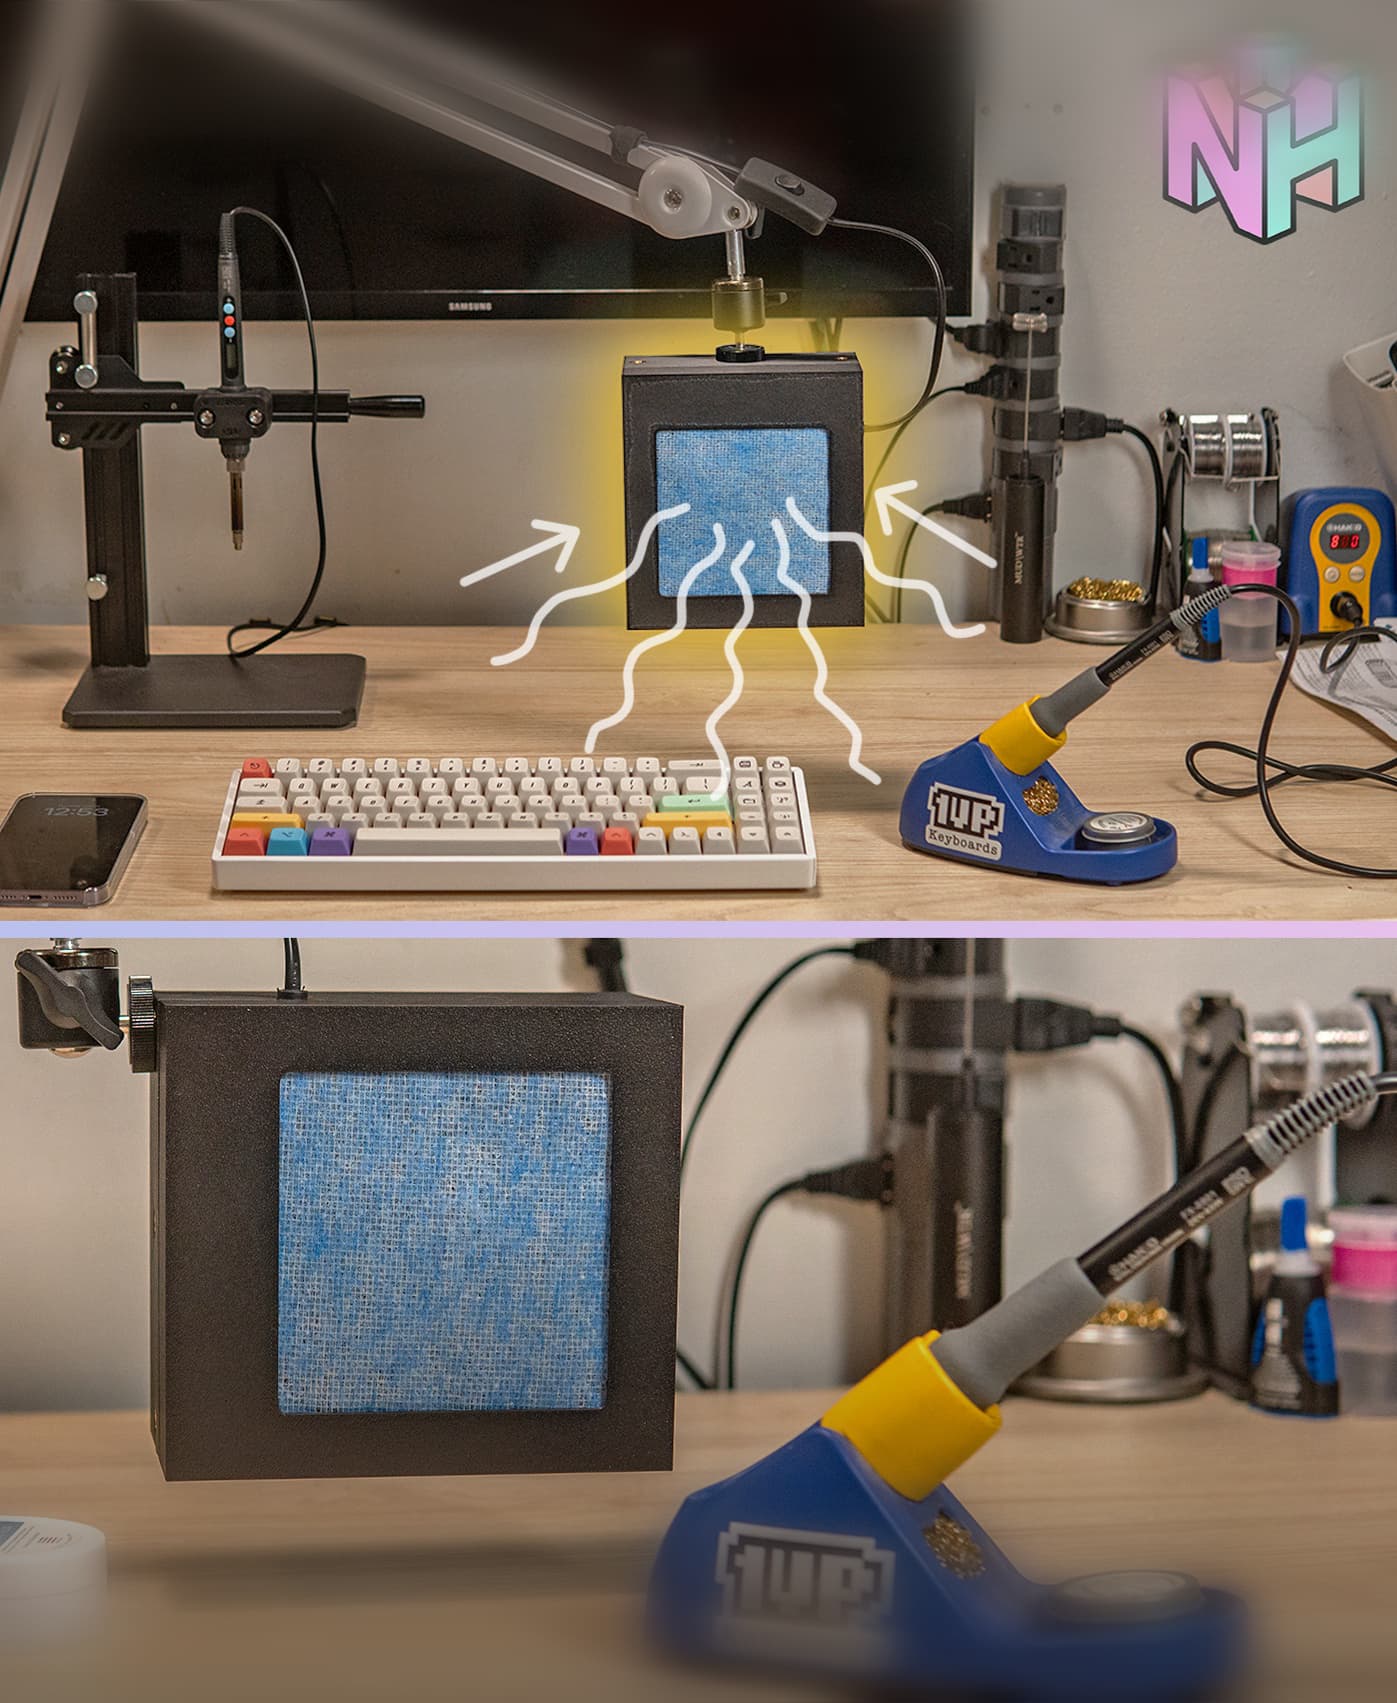
Fume Extractor
Fume extractor housing for Printed Solid next generation safety enclosure for Prusa.
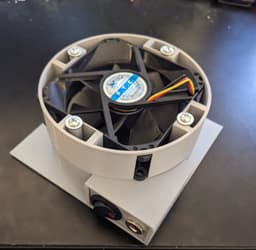
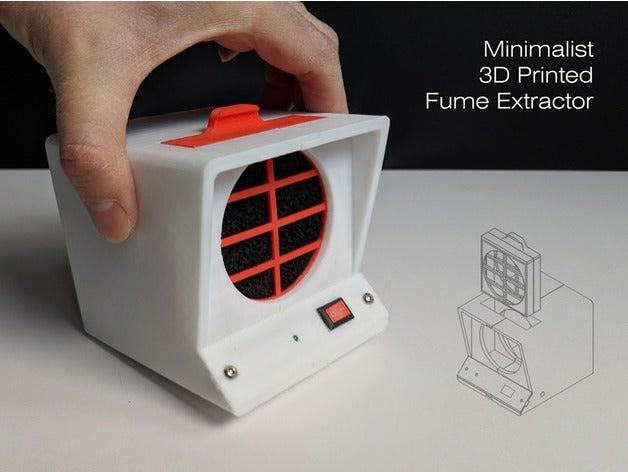
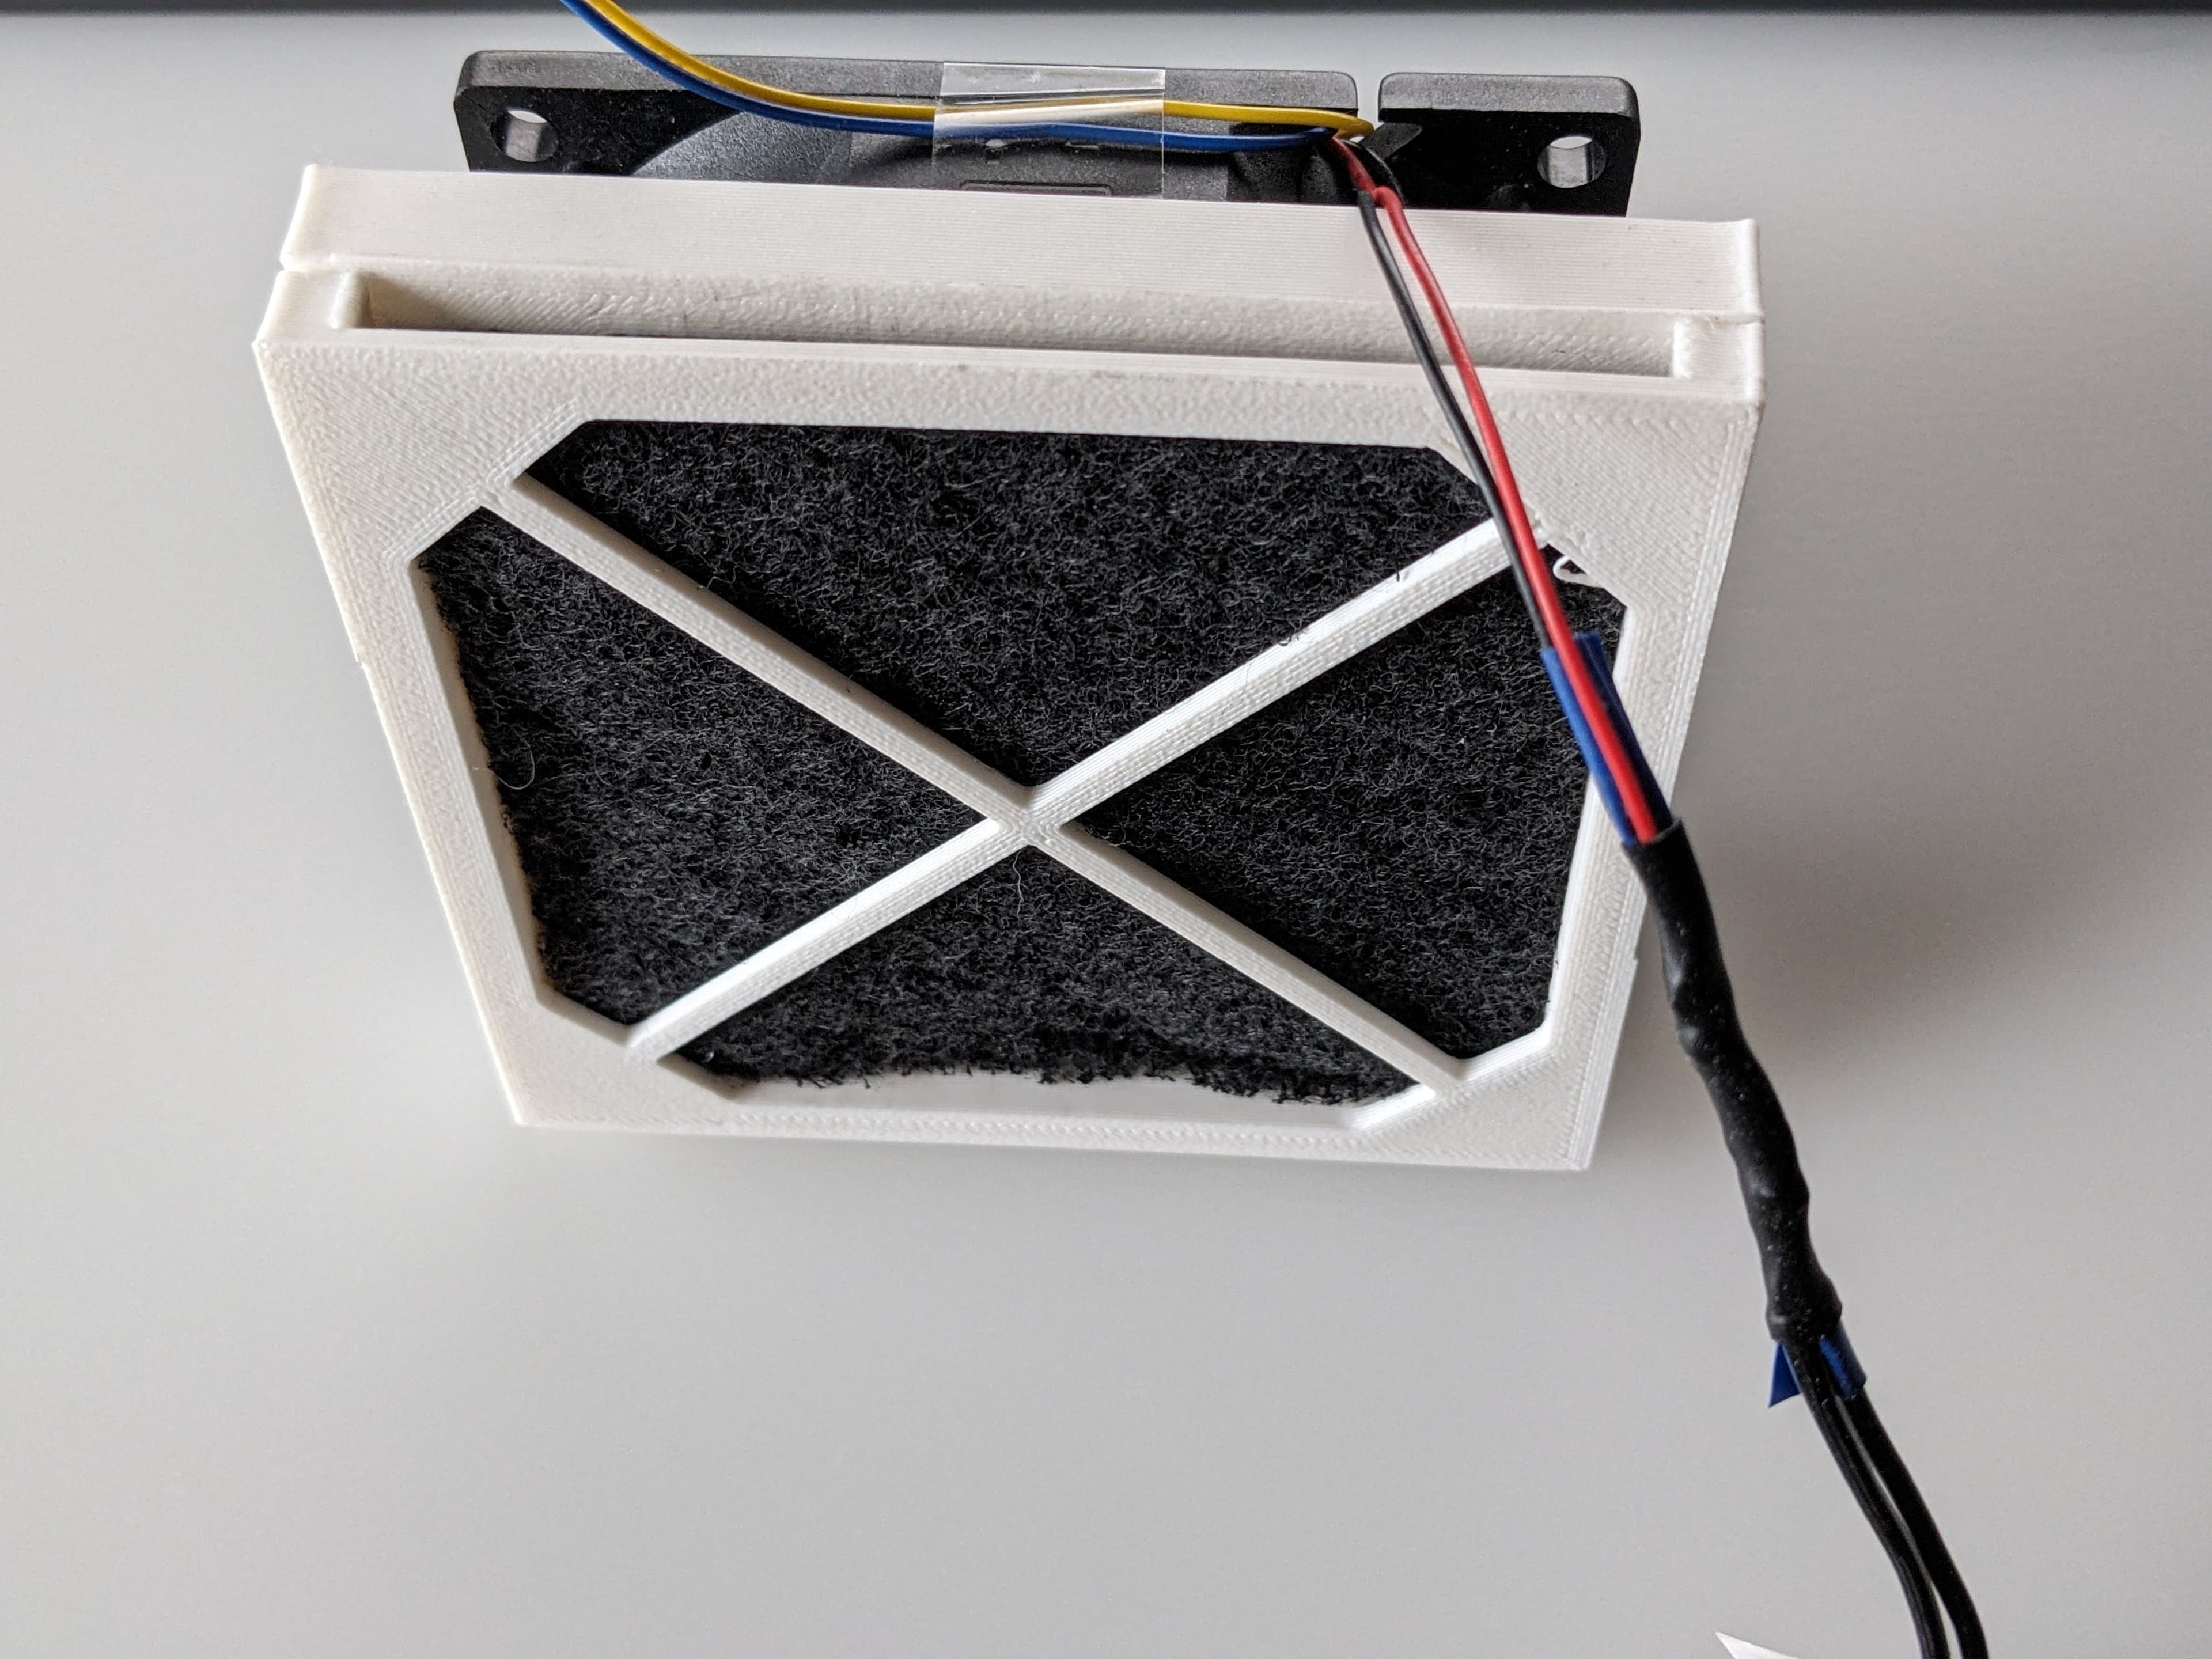
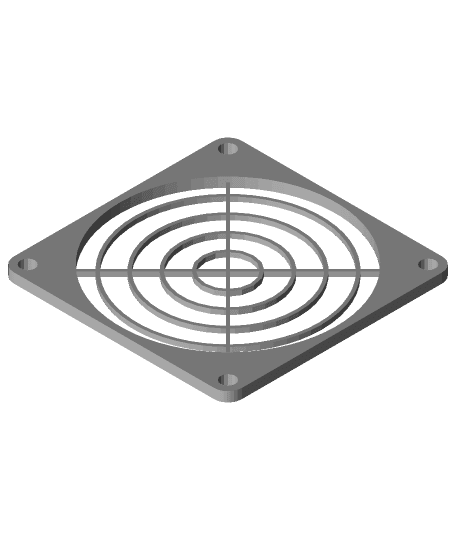
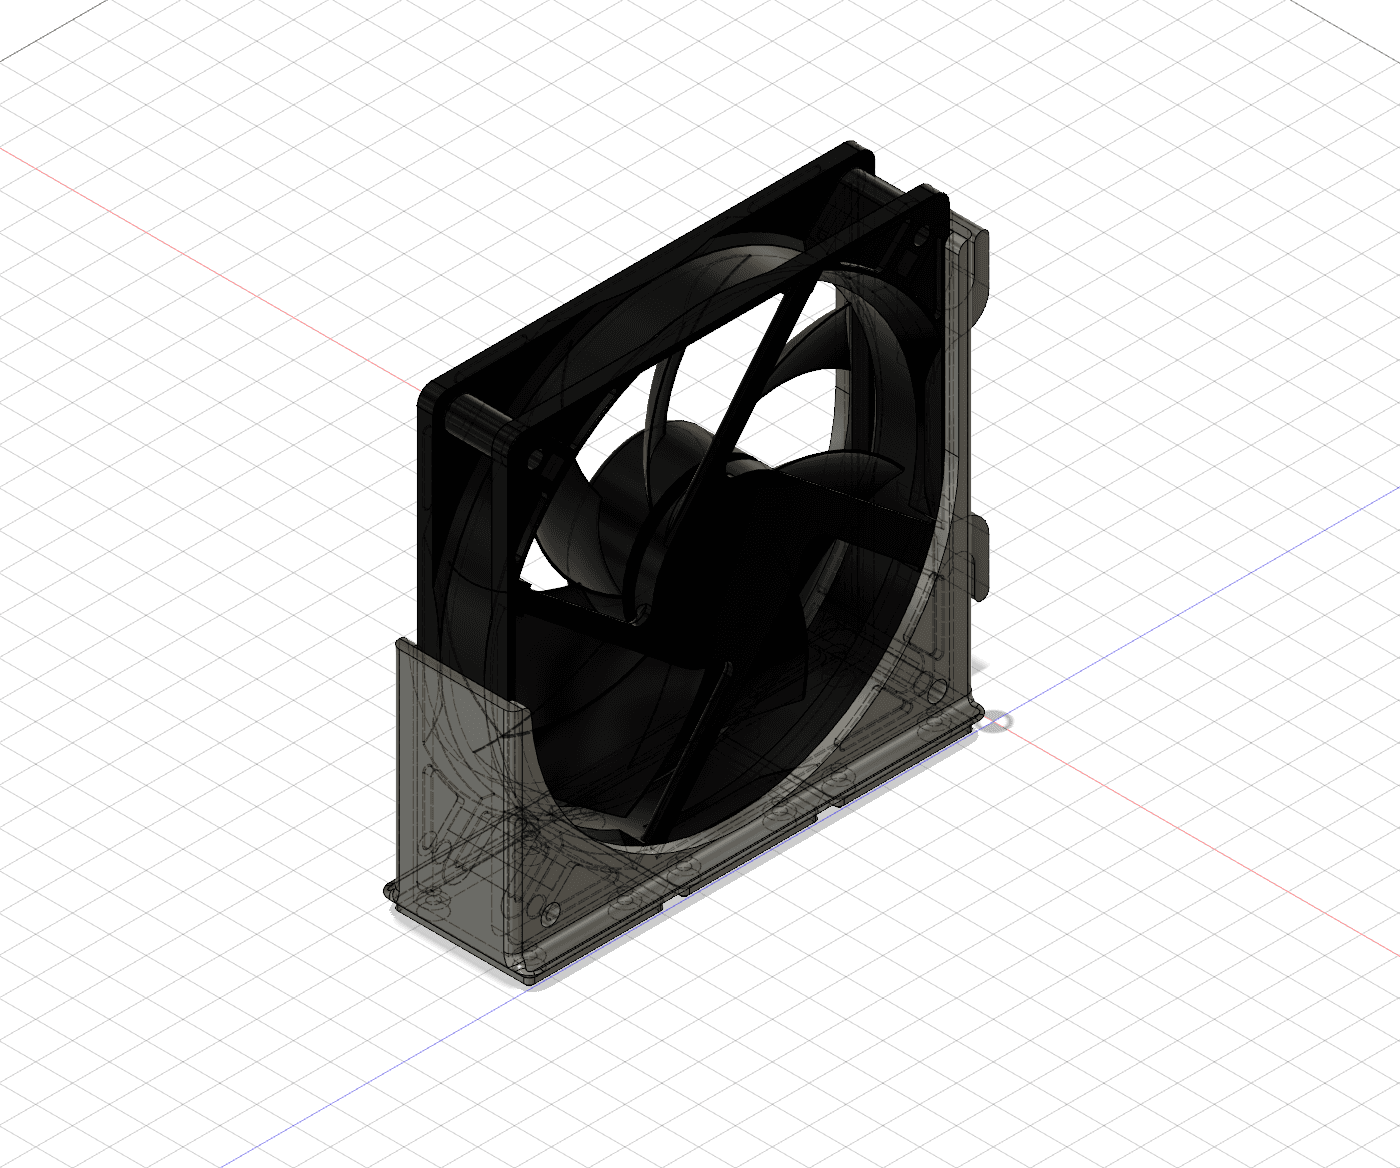
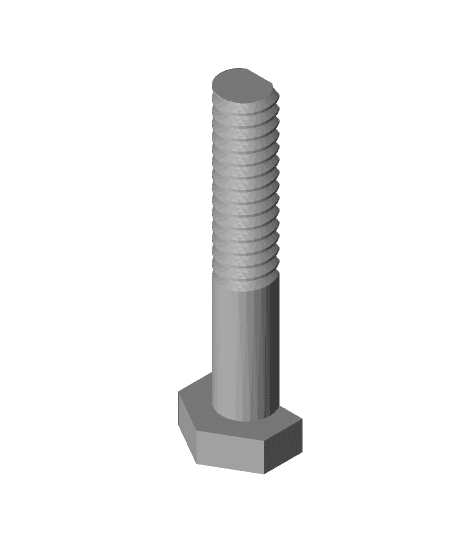
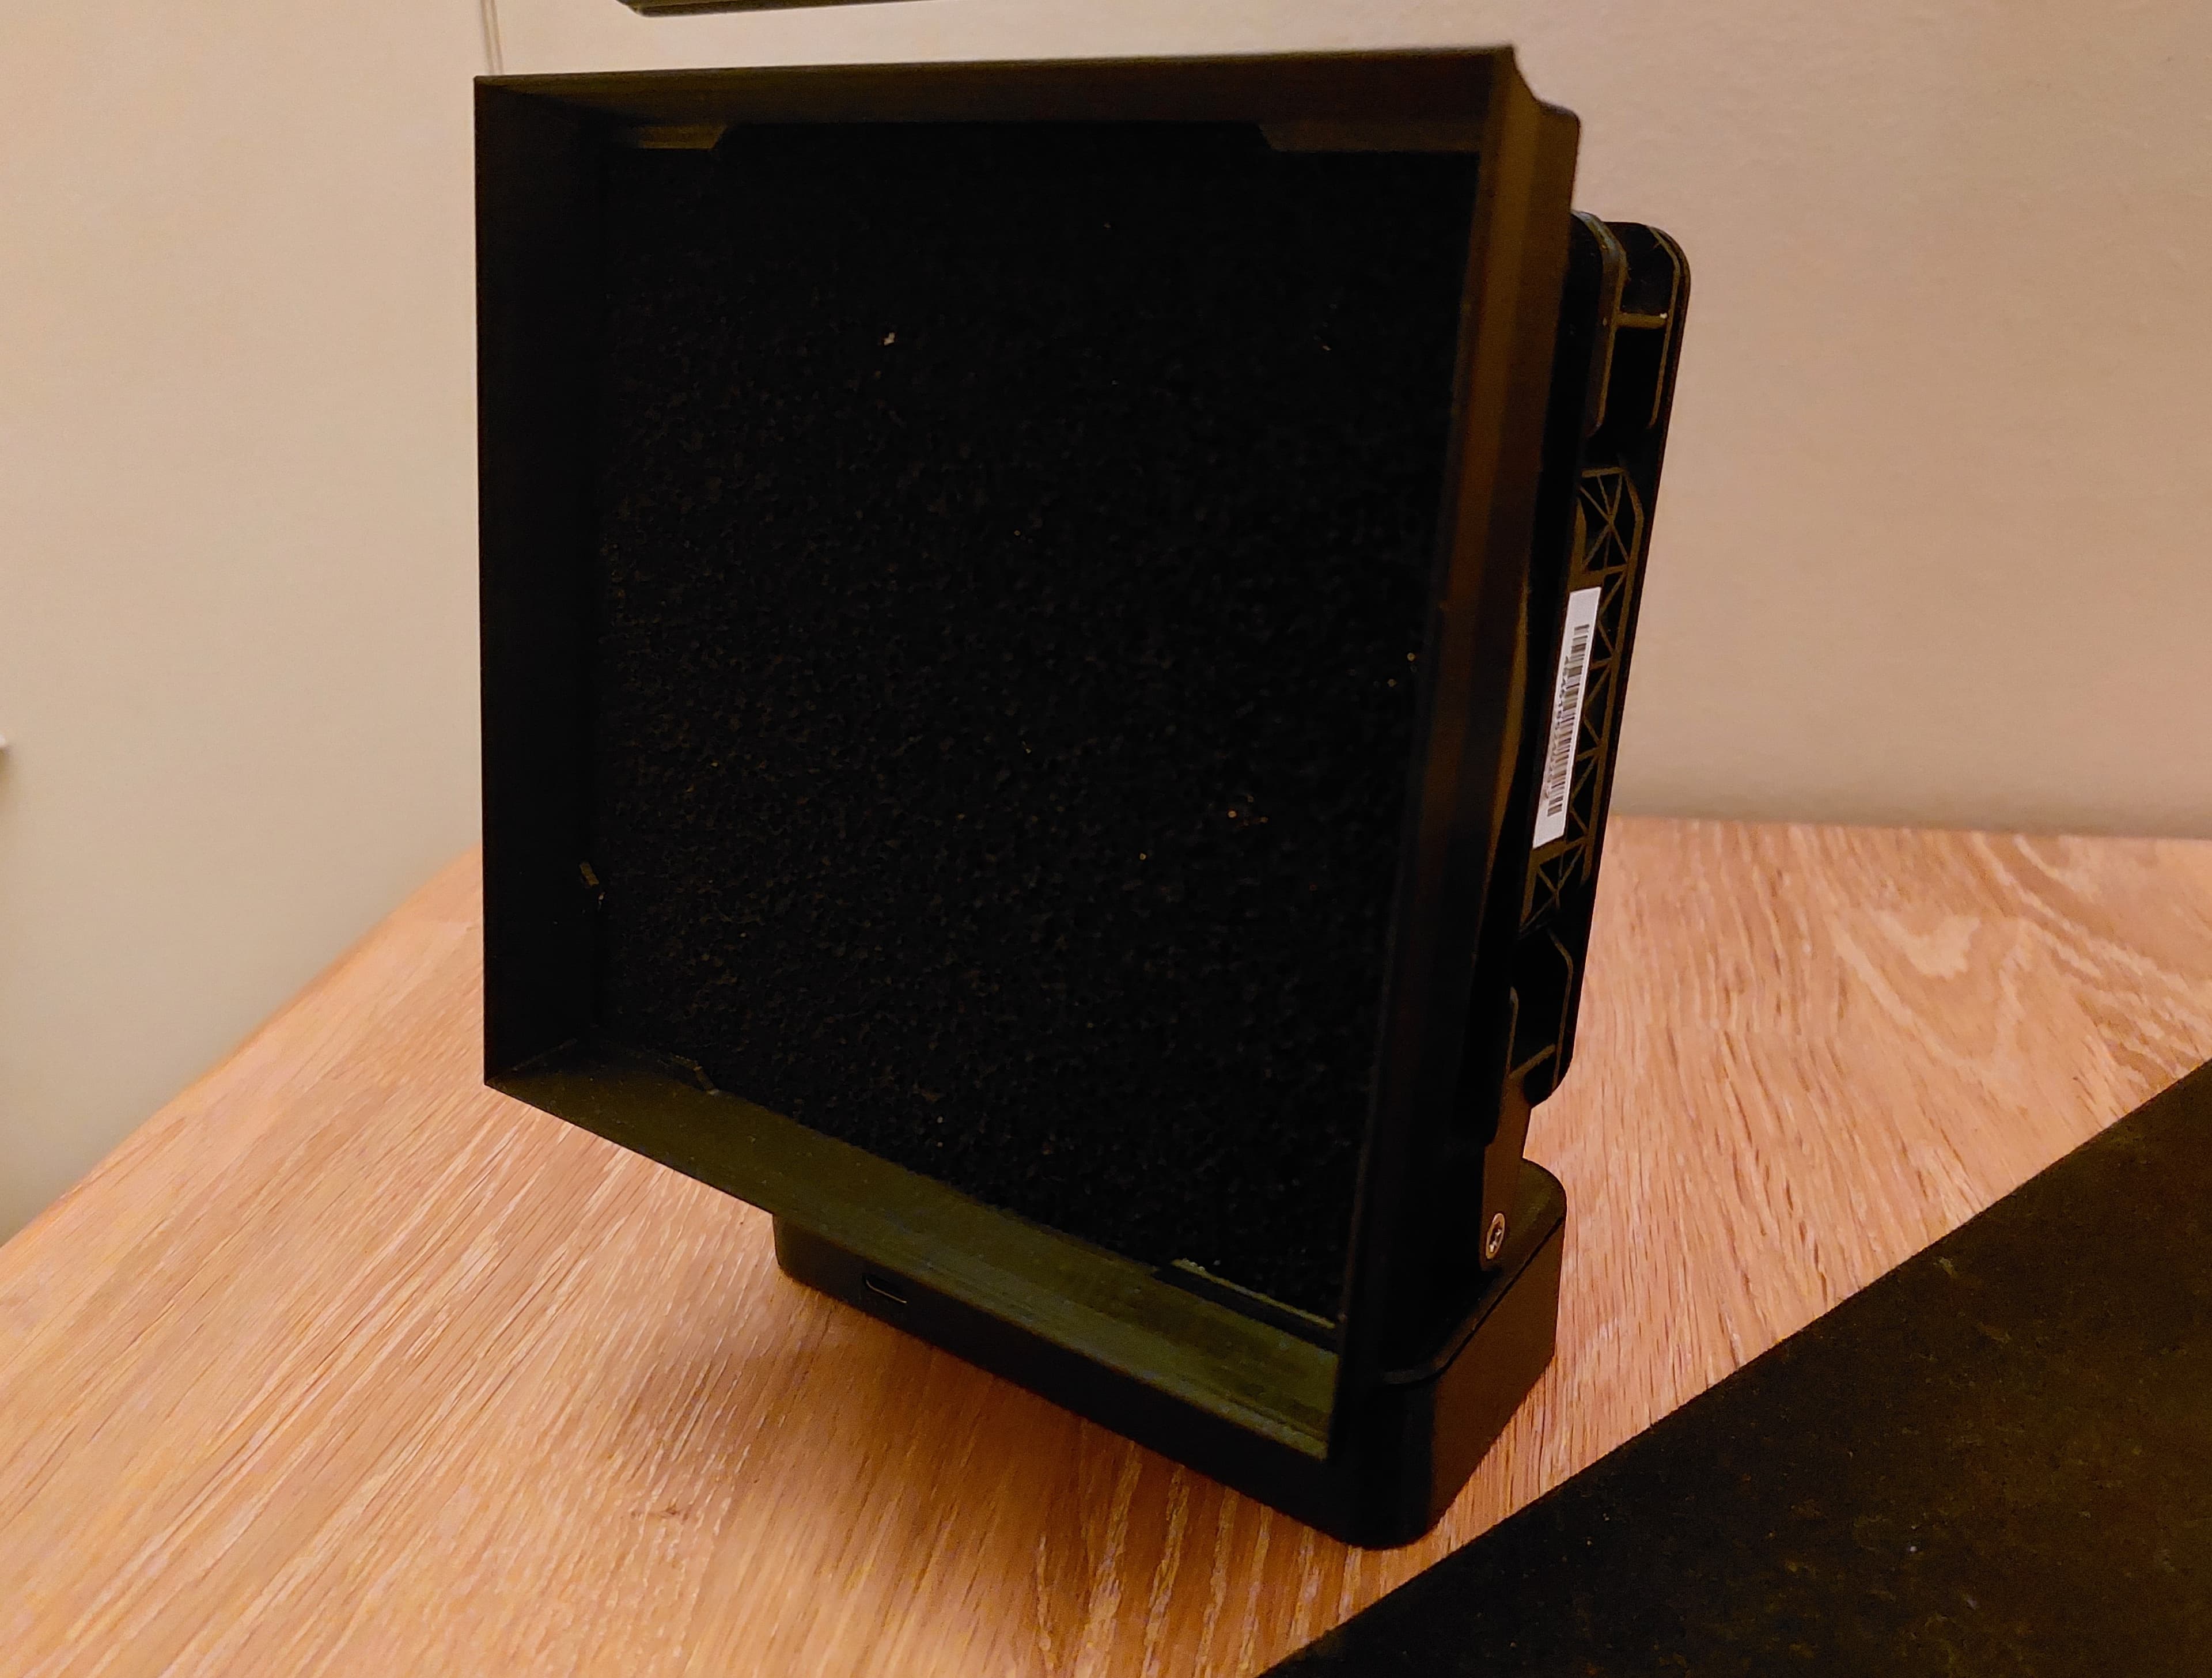
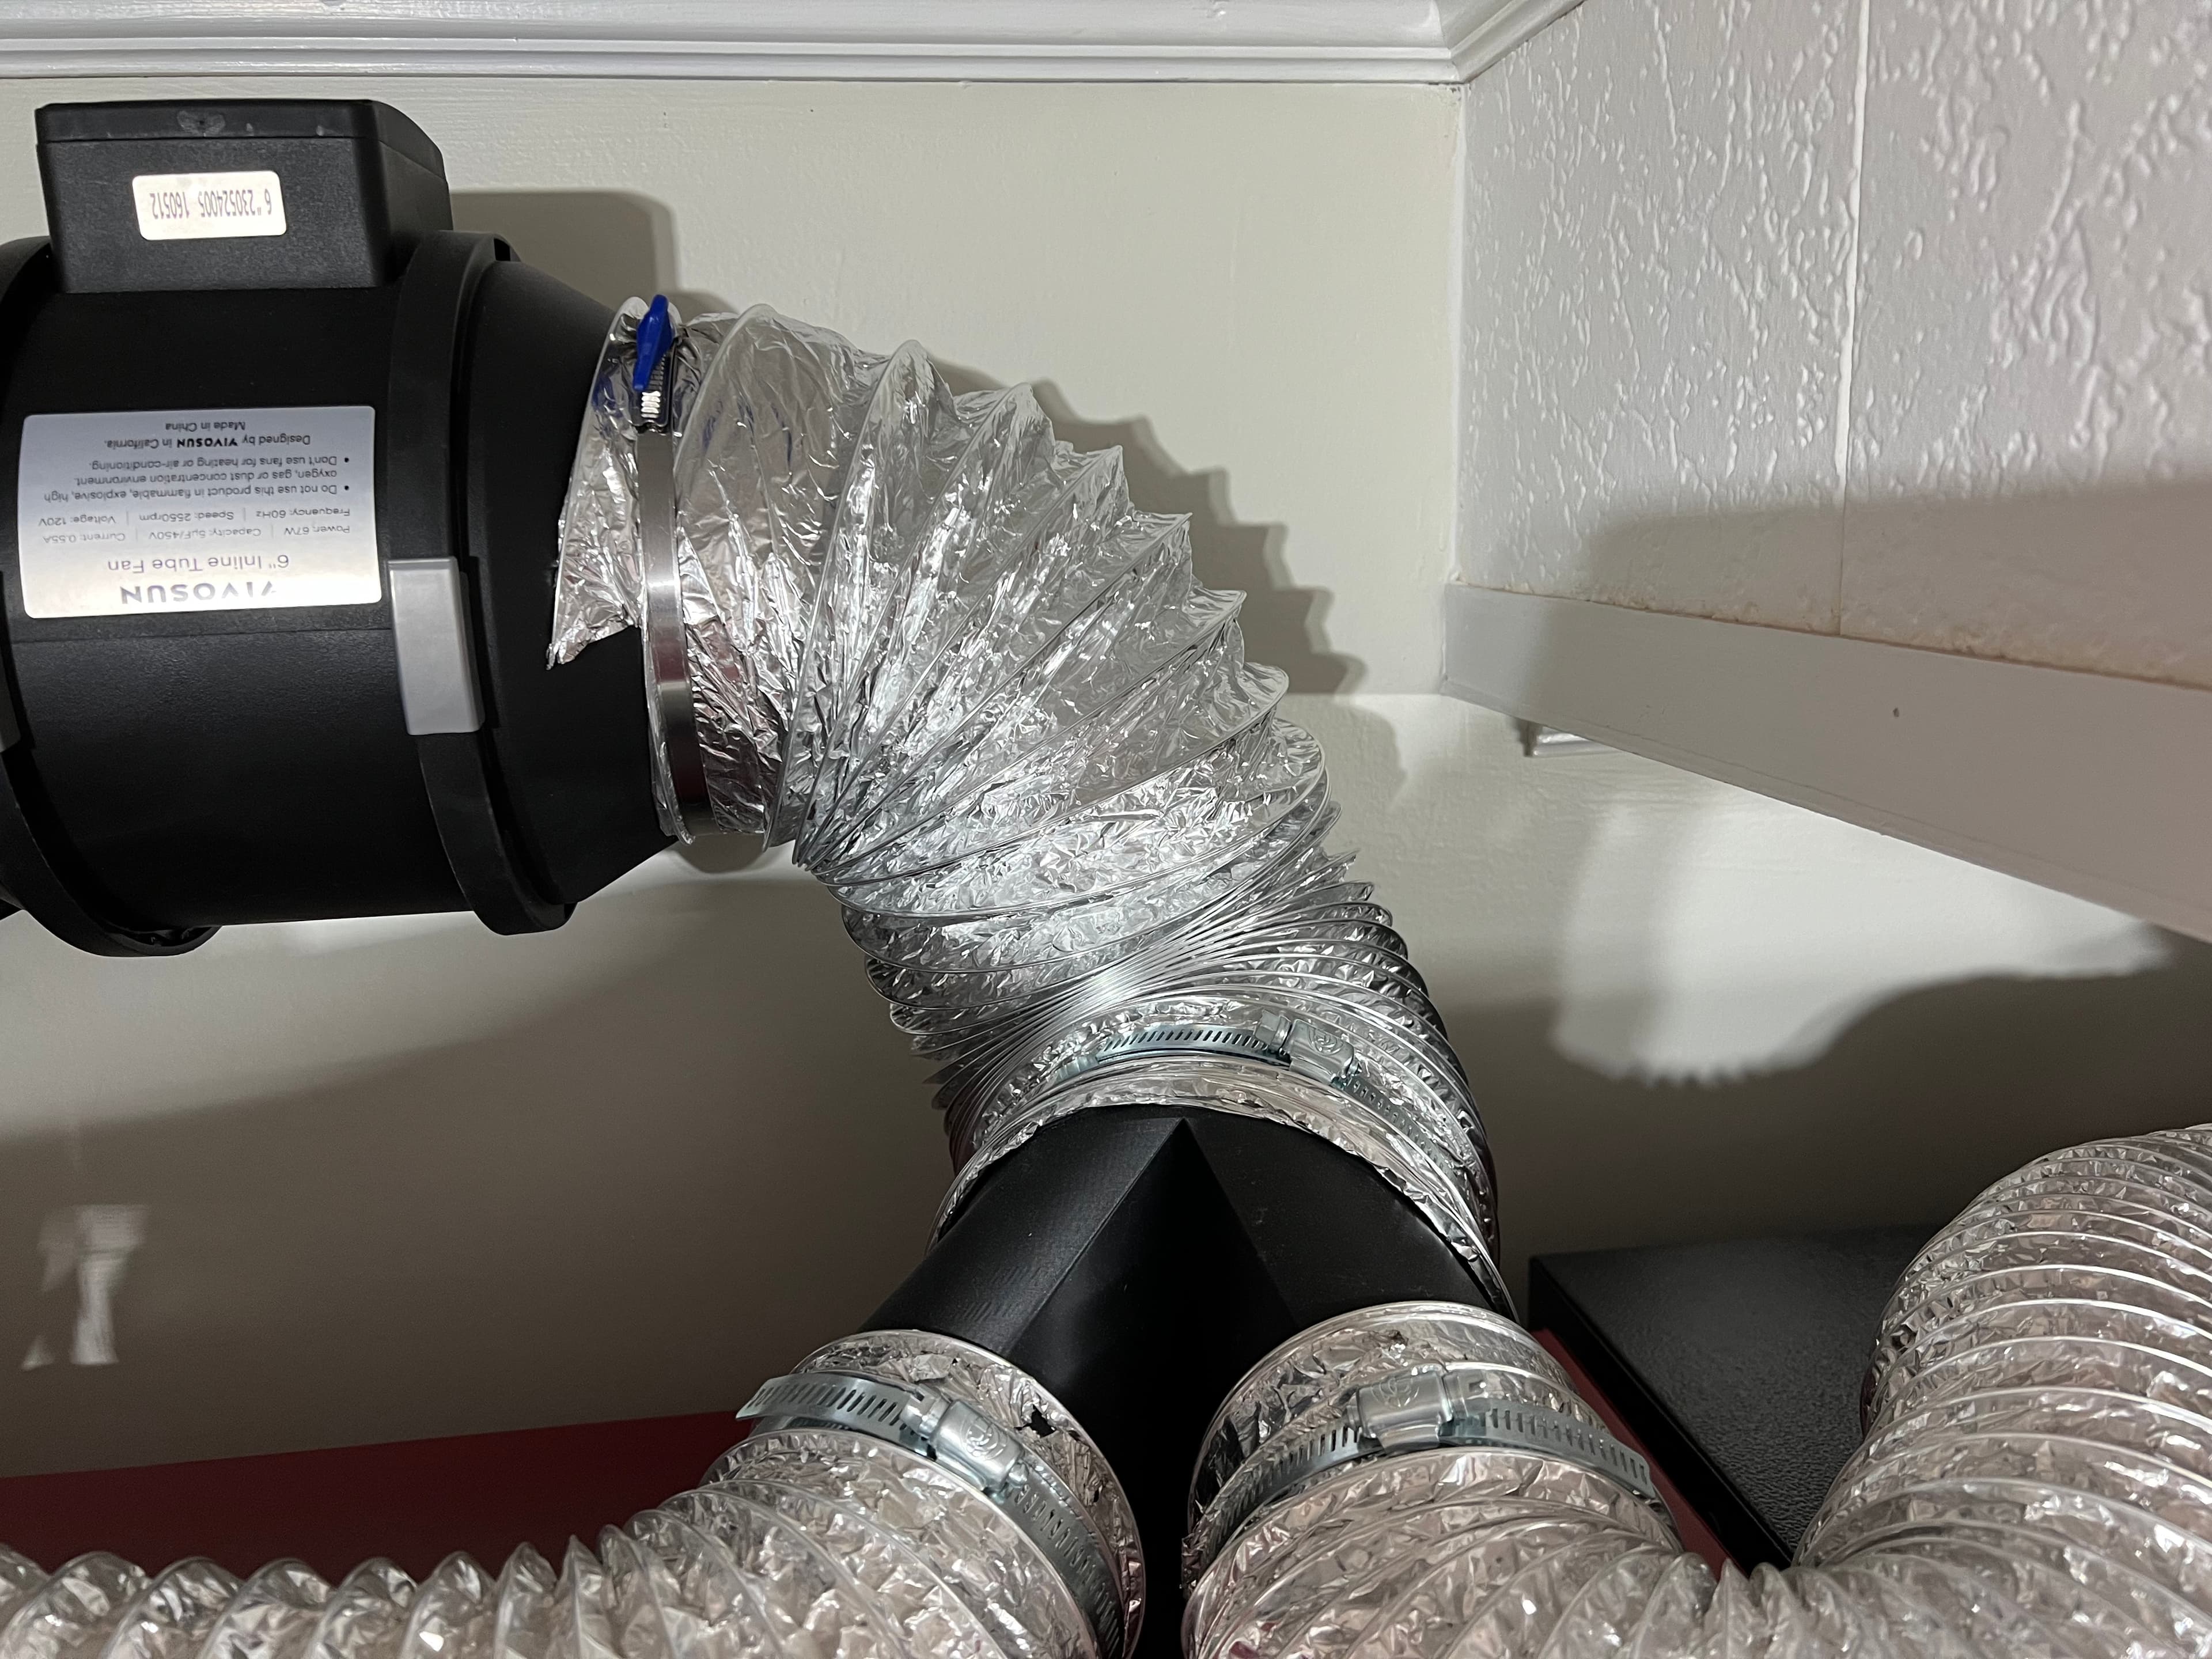
I designed this to use with my Printed Solid next generation safety enclosure for Prusa. It fits over one of the round openings and uses a 100 mm PC cooling fan, which is the right size to fit inside a 4 inch flexible ducting vent hose (dryer vent hose). I used this tutorial as guide (mostly for the wiring); https://www.instructables.com/Minimalist-3D-Printed-Fume-Extractor/. I had the fan left over from a old PC. I got the power supply, power jack and switch on amazon at the following links; power jack link; https://www.amazon.com/VizGiz-Connector-5-5x2-1mm-Terminal-Replacement/dp/B07MPS3QD8 5.5mm x 2.1mm dc socket switch link; https://www.amazon.com/gp/product/B012IJ38S6 12 volt 20 amp power supply link; https://www.amazon.com/gp/product/B00Q2E5IXW 12 volt 2 amp ac to dc 2.1 mm x 5.5 mm plug I also bought 22 gauge wire, but that particular item is no longer available. I also used shrink tubing, 4 #6-32 2 inch screws (with nuts), and #6 washers from Home Depot. I used some extra screws and nuts from the enclosure kit to mount the housing to the enclosure.
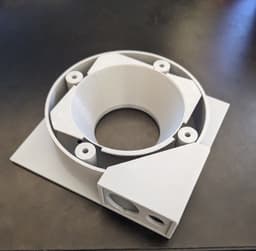
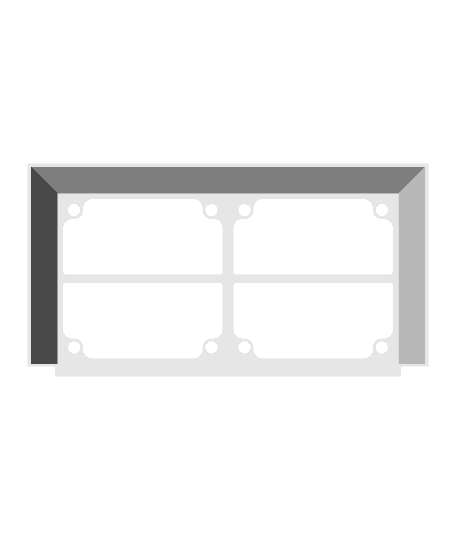
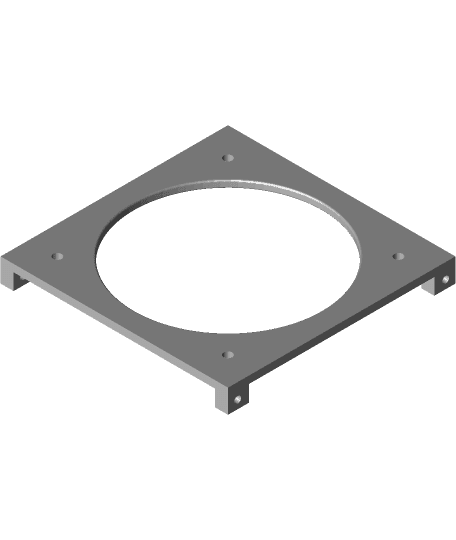
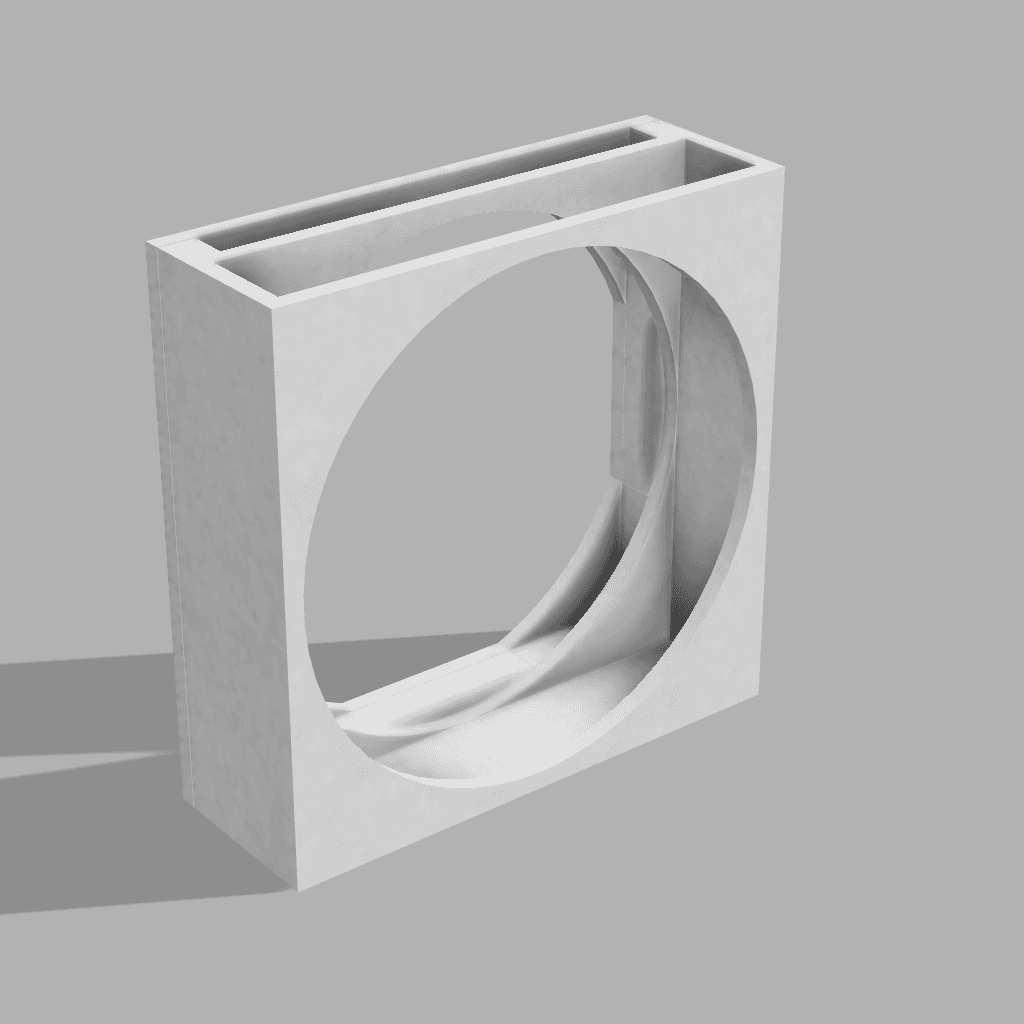
The control panel is removable to help with assembly and can be replaced with a 44 mm (1 47/64 inch) wide x 26 mm (1 1/64 inch) height x 2 mm (5/64 inch) thick piece with cutouts to fit your hardware. If you need a thicker piece, the indent is only 1 mm (1/32 inch) deep on all sides. The control panel lid should fit snugly, but is held in place by the top of the fan housing. There is enough space under the cone to house any extra wire you might have. I simply cut the molex connector off the fan and left the rest of the wire attached.
This is easiest to assemble and attach if the enclosure is on it's side, so it's on the horizontal plane. It's still fairly easy to assemble in the vertical position. The parts should fit snugly enough to hold in place and the cone fits through the base and into the enclosure side. This helps hold it and any extra wire in place. The top-most nut that holds the top of the housing on is the tricky part. I used a glue stick to put a bit of glue on one flat side and two adjacent edge sides. This was enough to hold it in place until I could get the fan and top part in place and the top screw in. I only used washer on top
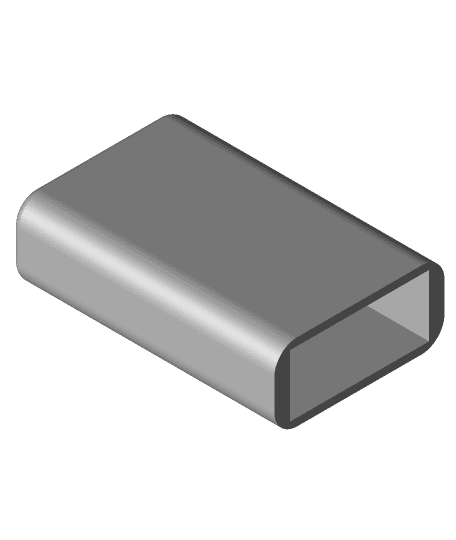
If you are going to be using metric fasteners, you will need 4 M3 50 mm screws with matching nuts and washers. You can use up to 55 mm screws, but you may need to add extra washers. The M3 nuts I was able to get were 5.5 mm wide, which is much smaller that the 7.8 mm (5/16 inch) nuts that came with my screws. I made an adapter so that the smaller metric nuts fit into that fits into the slots for the nuts. The nut slots will fit nuts up 7.8 mm wide and 2.8 mm thick.
Fume Extractor
Minimalist 3D Printed Fume Extractor
simple 80mm Soldering Fume Extractor

Solder Fume Extractor - Heat Set Insert Version

Solder Fume Extractor - No Heat Set Inserts Version

Soldering Fume Extractor
MUIN Fume Extractor Boom Arm Mount Housing
Solder Fume Extractor - Twin 60mm Fans
Mini Solder Fume Extractor
Soldering Fume Extractor 120mm_fan-holder.stl

Soldering Fume Extractor LEG.stl
Bender Fume Extractor
Gridfinity DC Fan 12025 stand (fume extractor)

Hakko FA-430 Fume Extractor Nozzles
Fume Extractor
DIY Fume Extractor
USB C fan controller and solder fume extractor
Solder Fume Extractor(はんだ吸煙器)
140mm Fume Extractor
6in to dual 4in coupler
