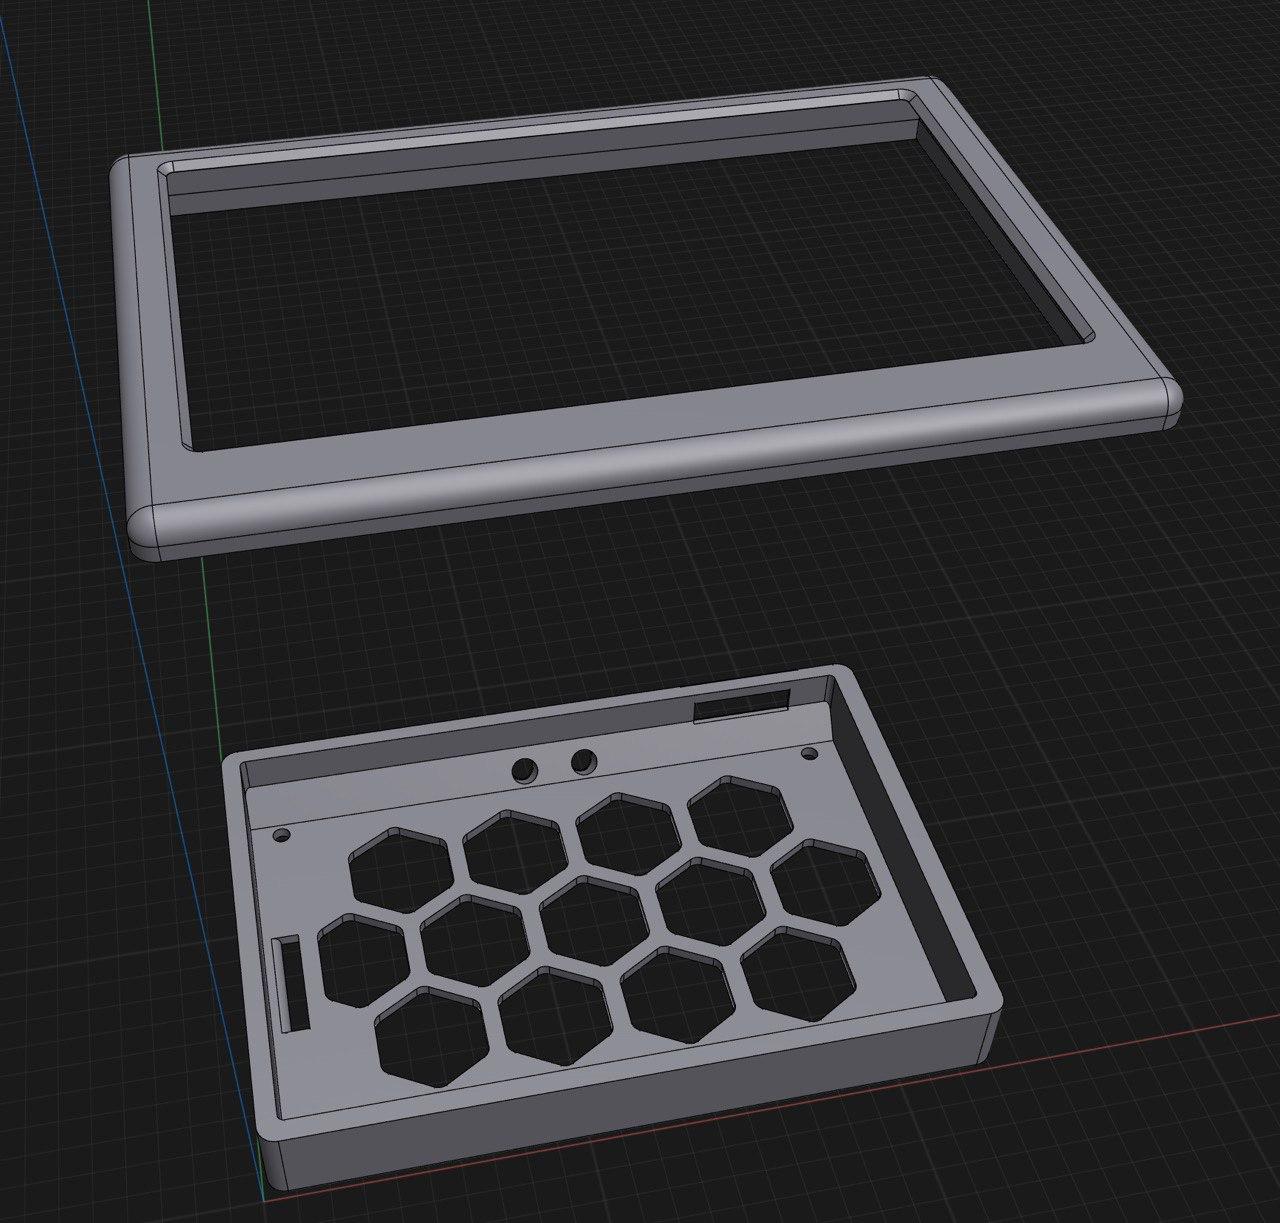
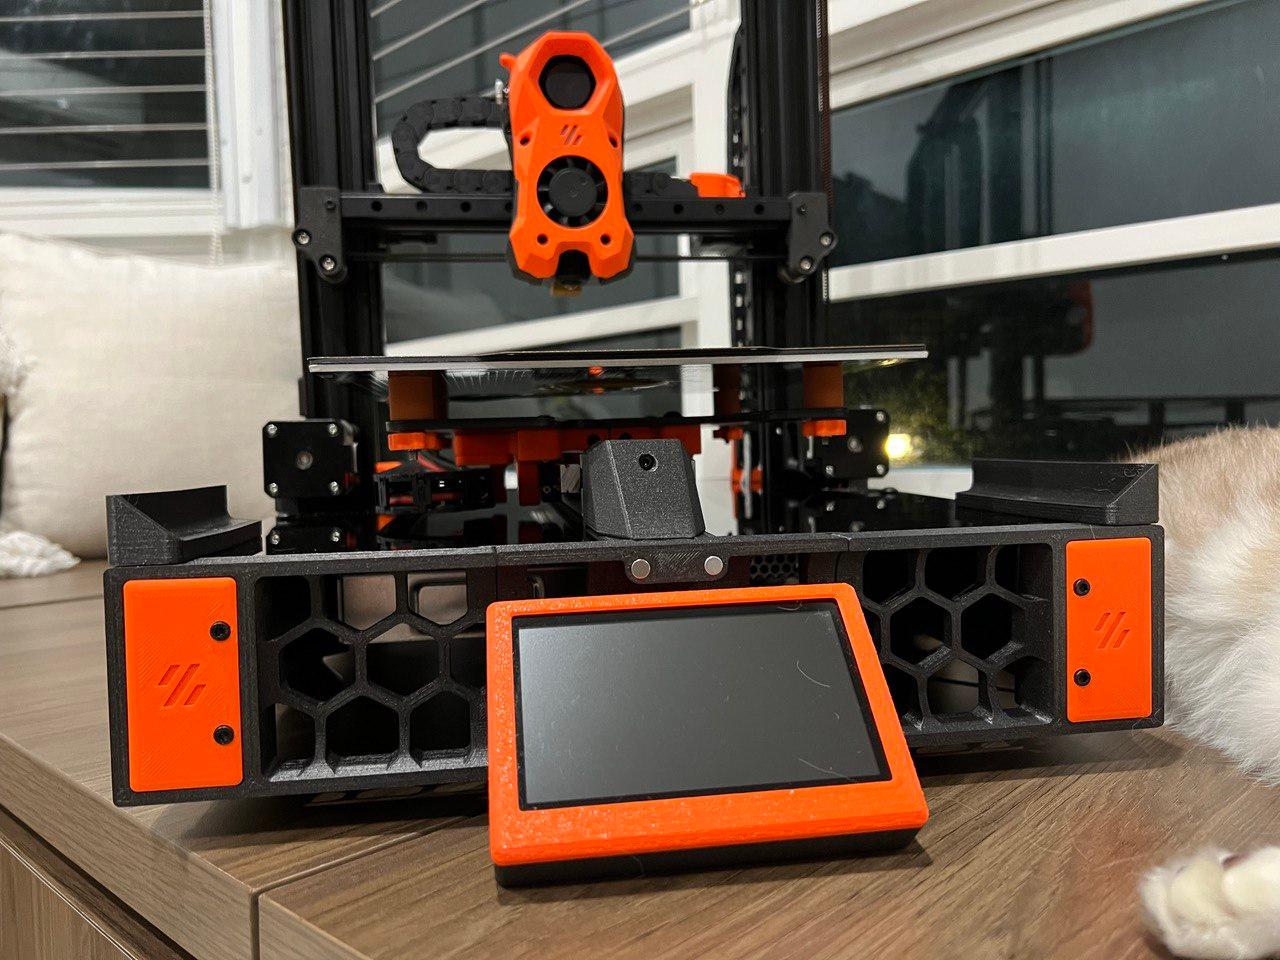
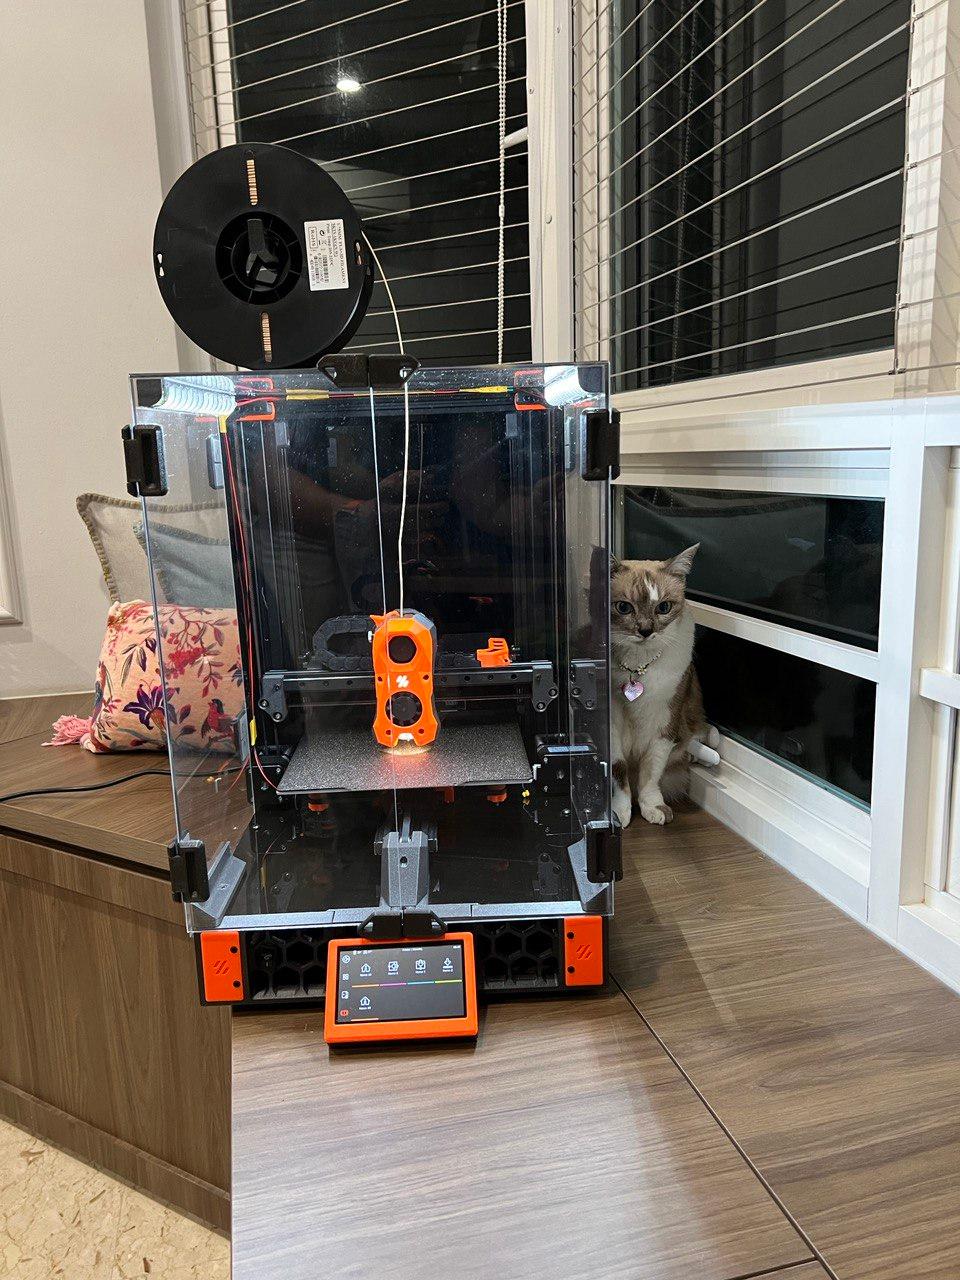
This is a screen mount for the BigTreeTech Pi TFT43 touch screen to be mounted on the Voron Switchwire or the Ender 3 conversions. This screen is powered directly from the Raspberry Pi ribbon cable and best of all its plug and play - no 3rd party drivers need to be installed. You will need to purchase a longer ribbon cable depending on where the Pi is mounted under the printer. There are no drivers/software that need to be installed!
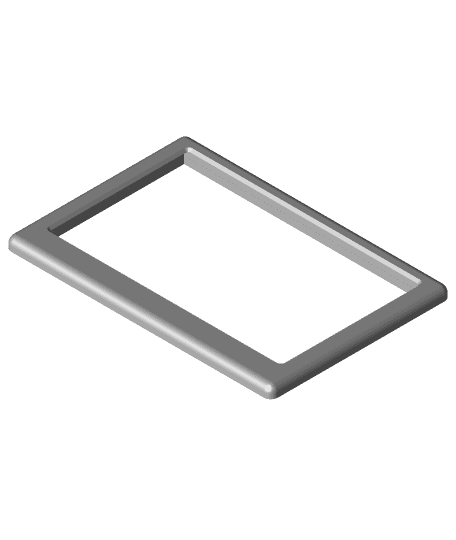
Assembly Once the 2 parts have been printed (Screen Enclosure & Frame Rear) Its time to assemble.
- Pass the ribbon cable through the cutout if the Frame Rear and attach it to the screen. Its a good idea to power on the Pi to be sure the cable is attached correctly and that the screen powers up and displays correctly.
- The screen will need to be mounted to the Frame Rear using 4 x M2x6 screws.
- Slowly attach the Screen Enclosure (yes its a tight fit) and push it into place. It should fit nicely into the Frame Rear.
- Use 2 x M3x20 screws to mount it to the grill from the inside.
- ENJOY!
5 Likes38 DownloadsFebruary 25, 2023
5 Likes38 DownloadsFebruary 25, 2023


