Profile Image
fixumdude
fixumdude

fixumdude

Graphic Designer/Creative director for a small company in Texas since 1992.

Built our first 3D printer in 2017 and have been hooked ever since. Started off designing in TinkerCad, then moved up to Fusion360 and Blender.

Love designing things that are creative and/or fun for kids of all ages.

Follow

Select a membership plan

17% off
Awesome Dude Tier
$8.33
/ month
when billed annually

Thank you for your support. You are an awesome dude!

While a member of the Awesome Dude, you have access to exclusive members only models. Oh, and occasionally there will be fun stickers which are only available to members.

Thanks again for your support.

17% off
$16.60
/ month
when billed annually

This plan gives you the right to sell physical prints of any the Fixumdude models available on the Thangs website during your active membership.

You also get access to a library of exclusive designs.

Consent to sell applies only to physical models. Sale or hosting of any file, or sharing of commercial tier model files is expressly forbidden.

Use of any of my 3D models to promote products or services other than the design itself are also forbidden.

Michael G
Michael G

Calla Lily Flower (Vase Mode)

by
fixumdude
fixumdude
fixumdude
fixumdude
|
Image 1 of 14
Calla Lily Flower (Vase Mode) 3d model
fixumdude
fixumdude
|
Image 1 of 14
Calla Lily Flower (Vase Mode) 3d model
2D
3D
Makes
Calla Lily Flower (Vase Mode) 3d model

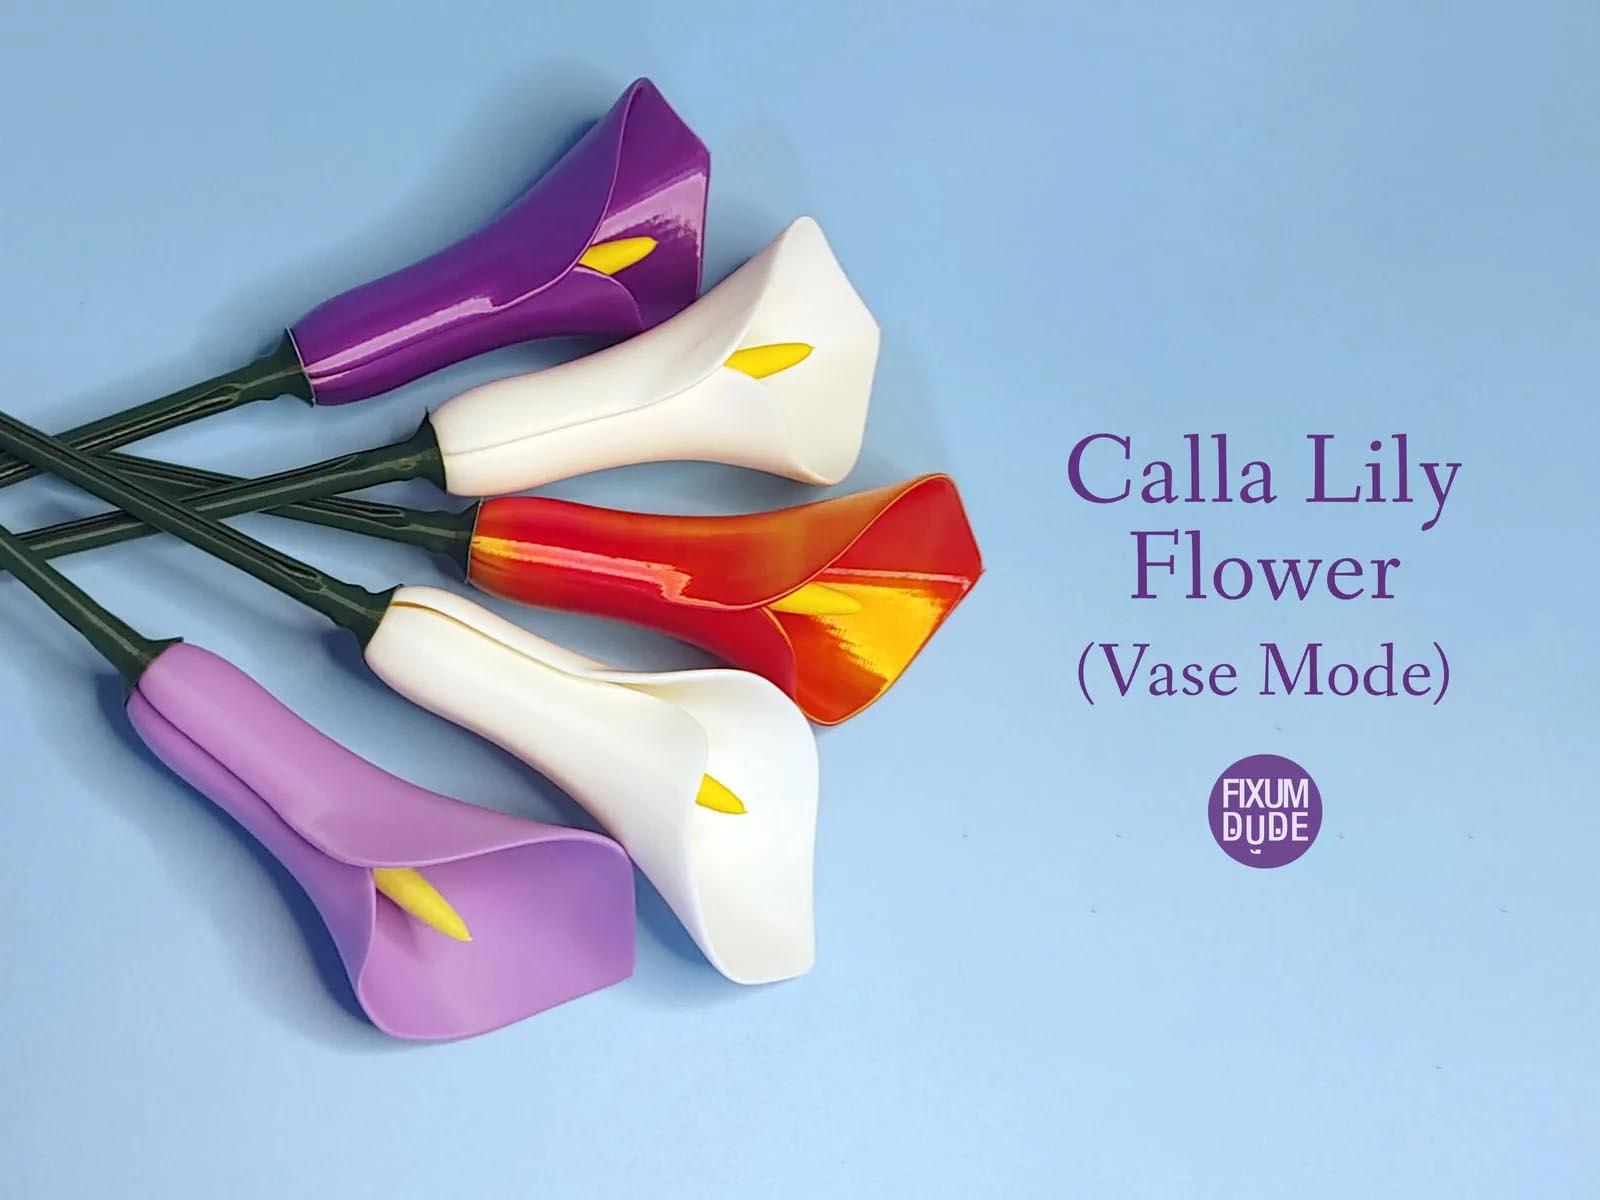
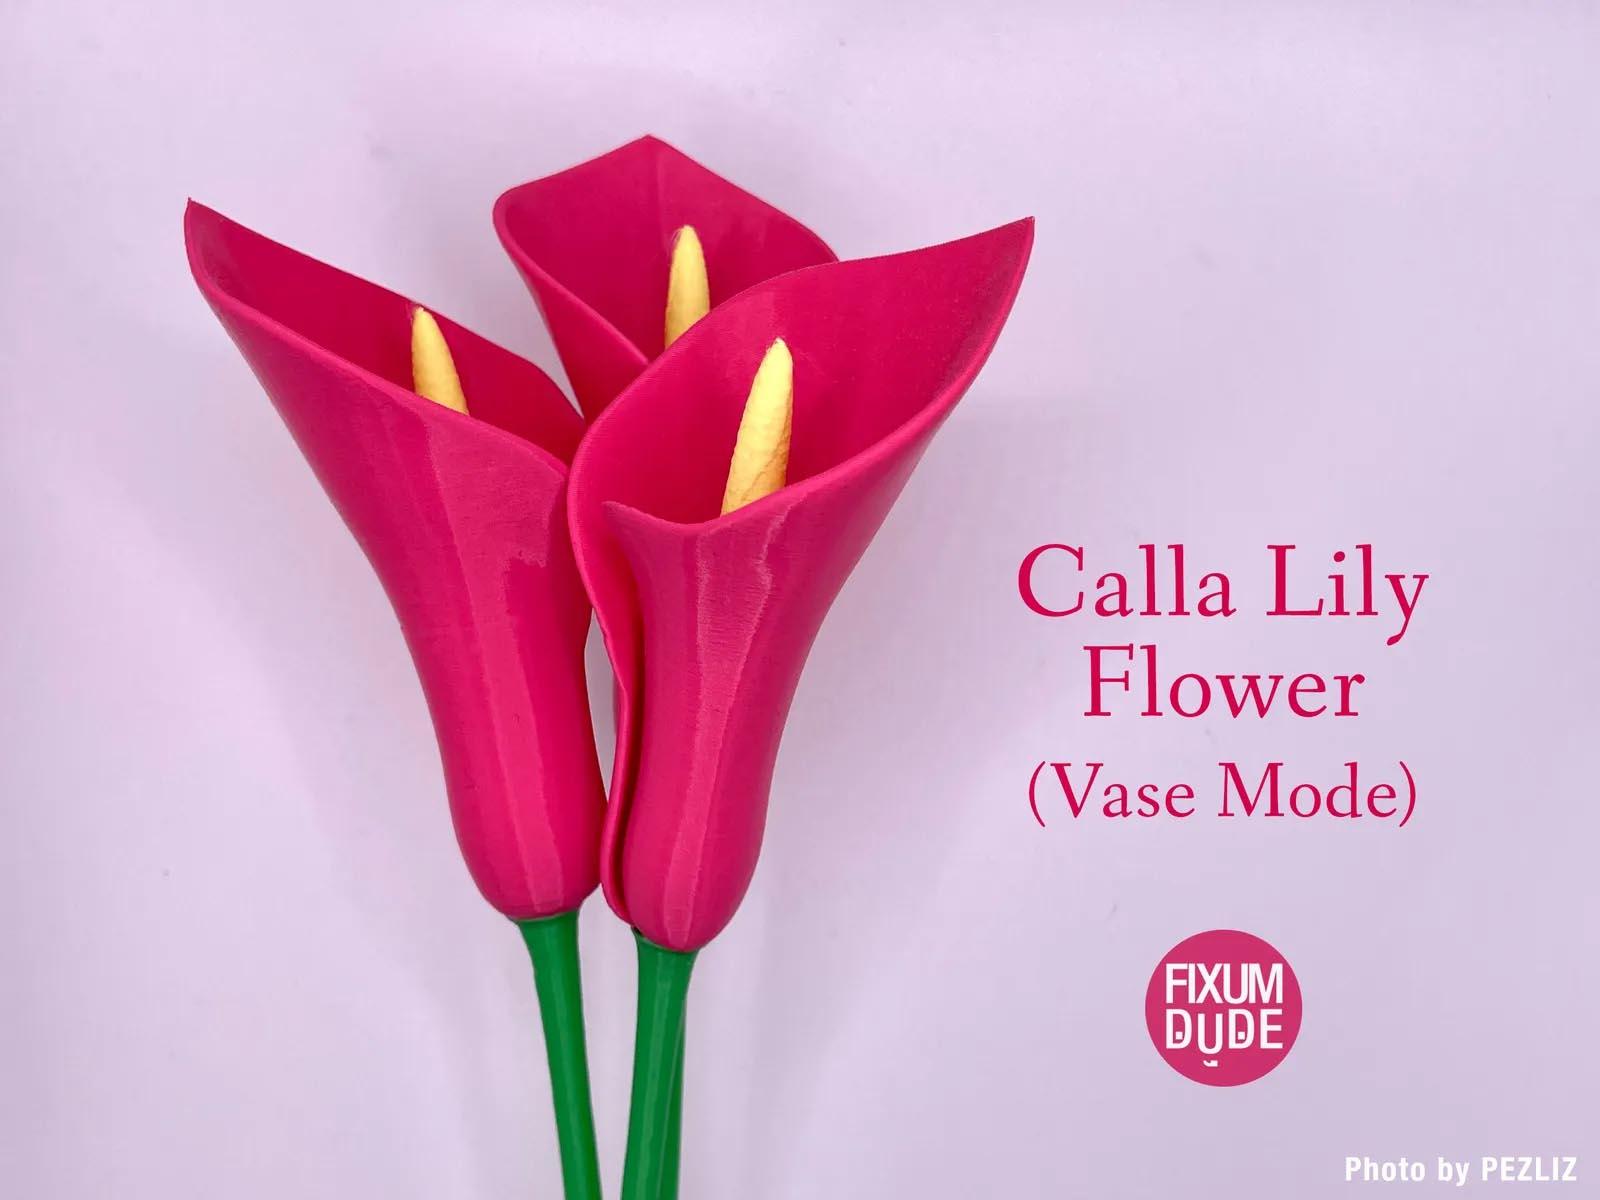
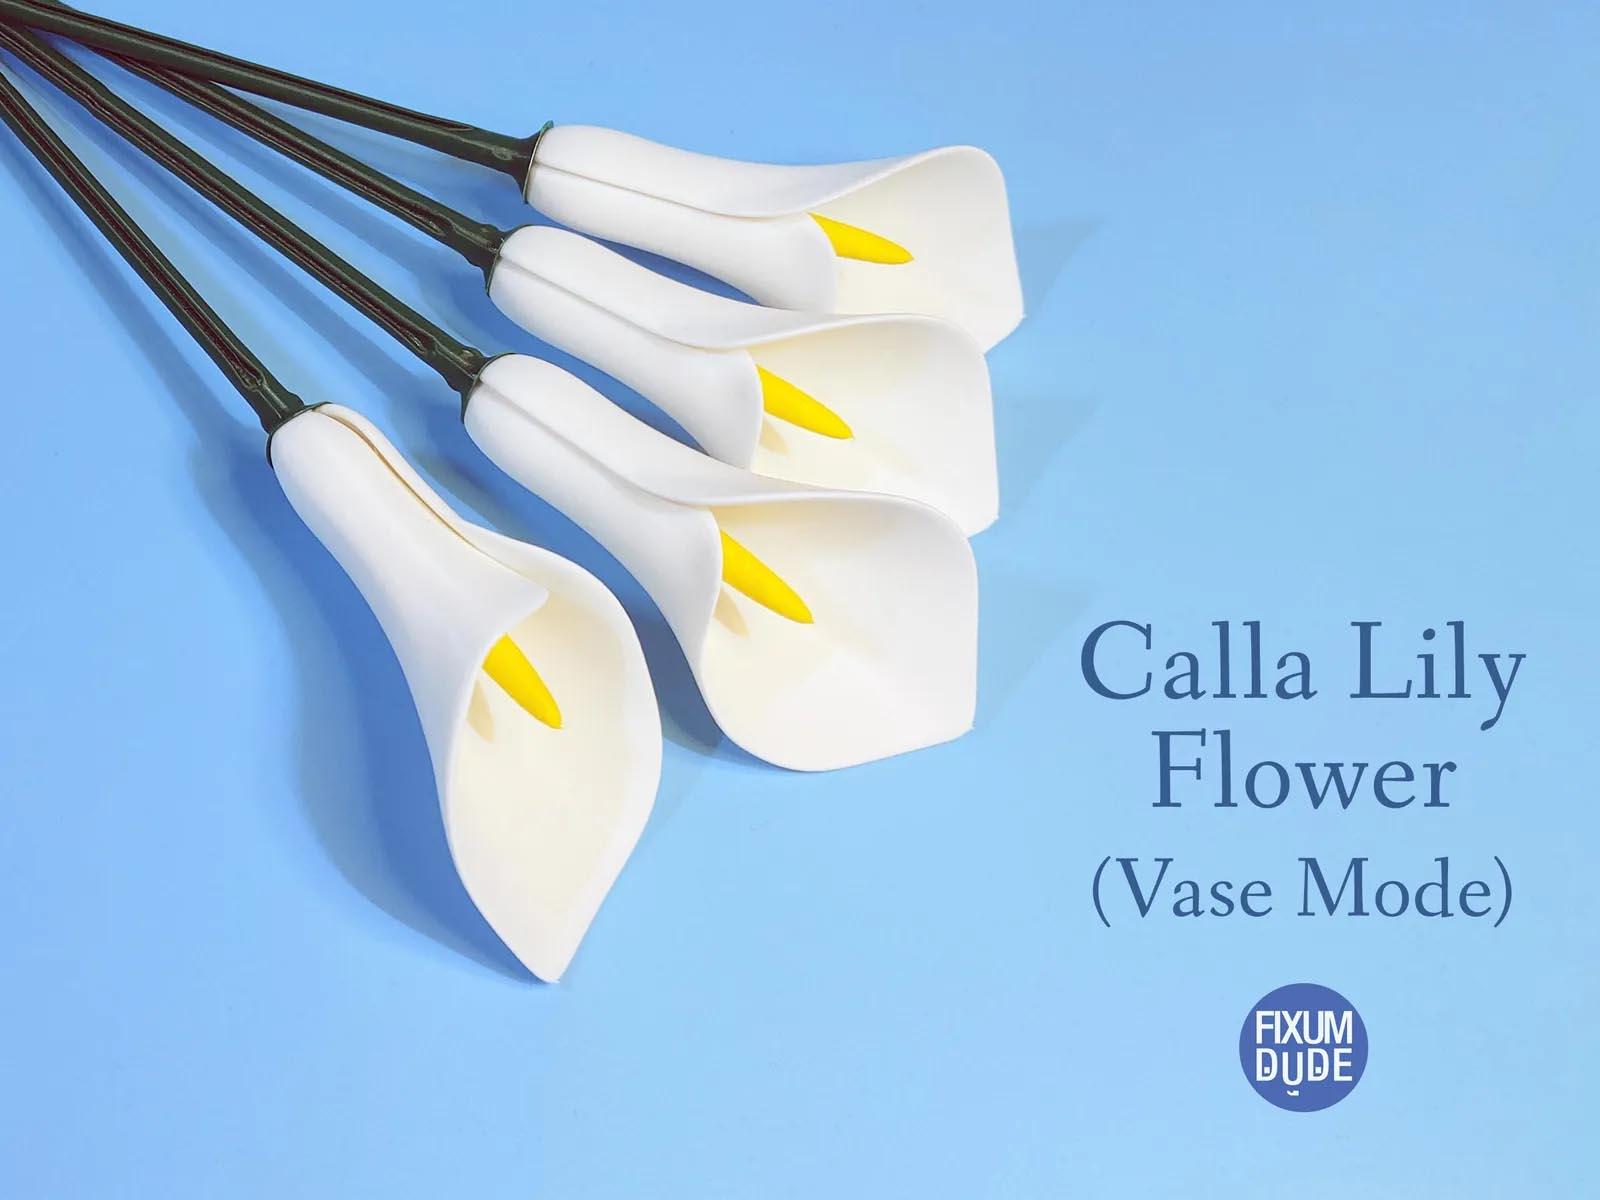
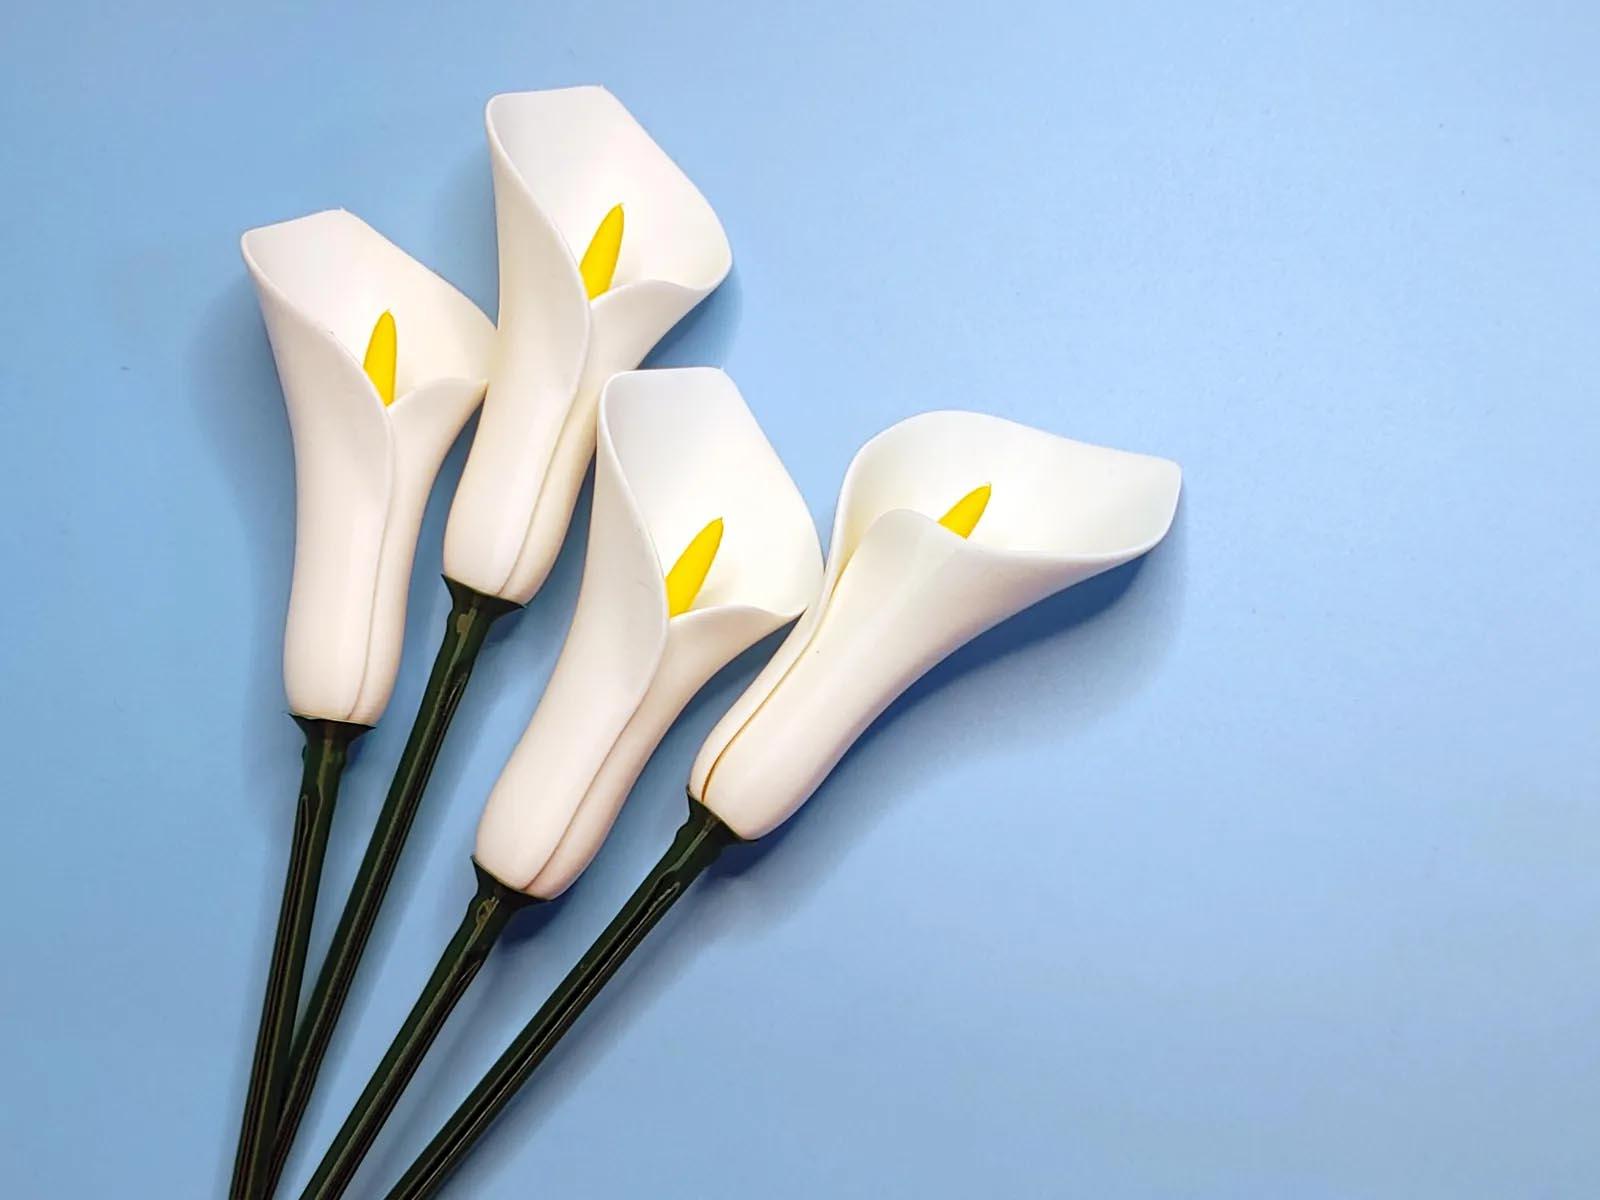
Calla Lily Flower (Vase Mode)

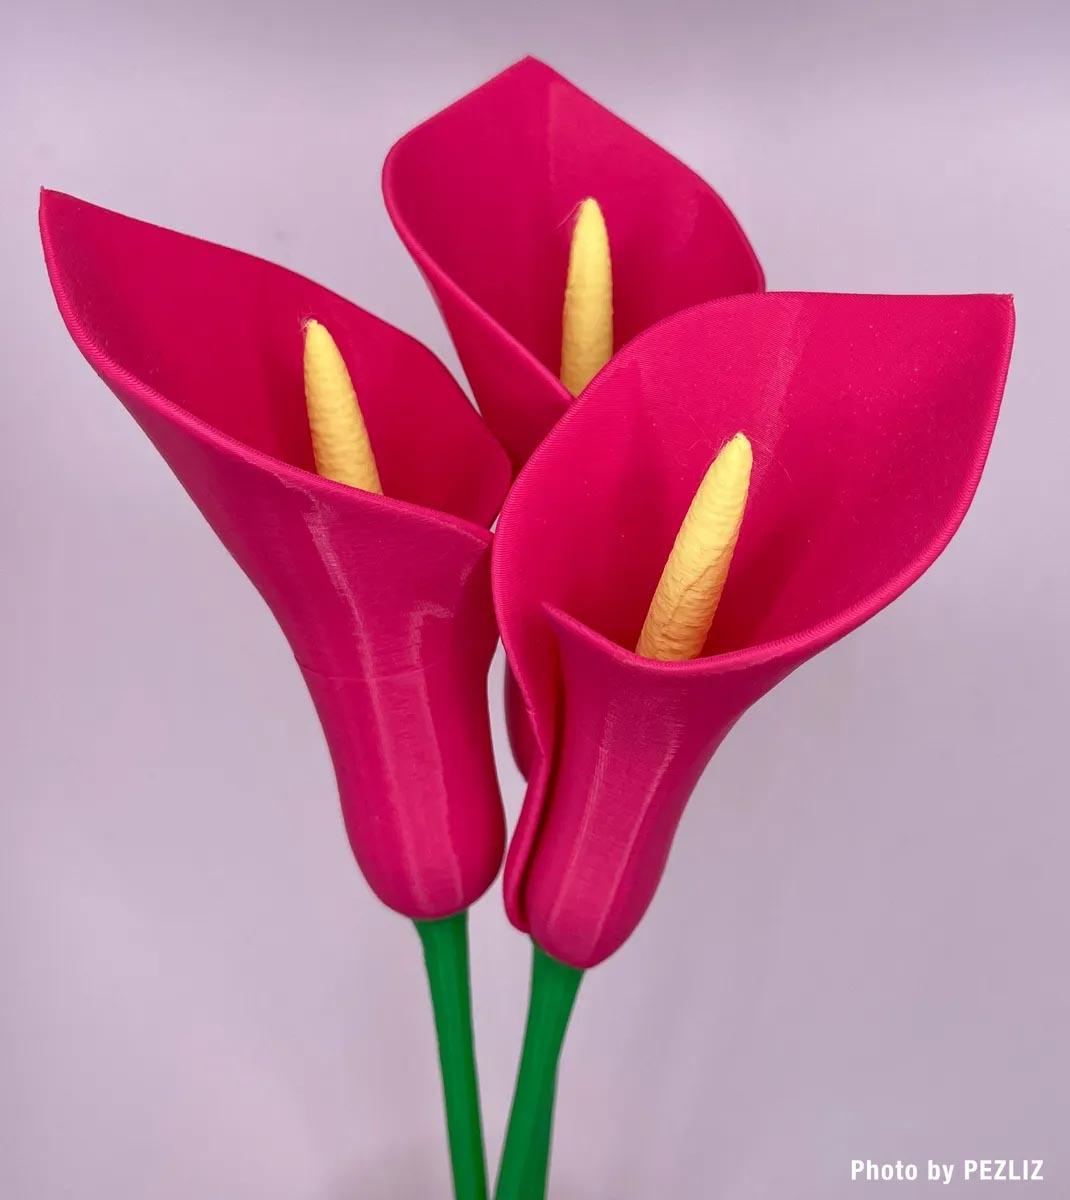
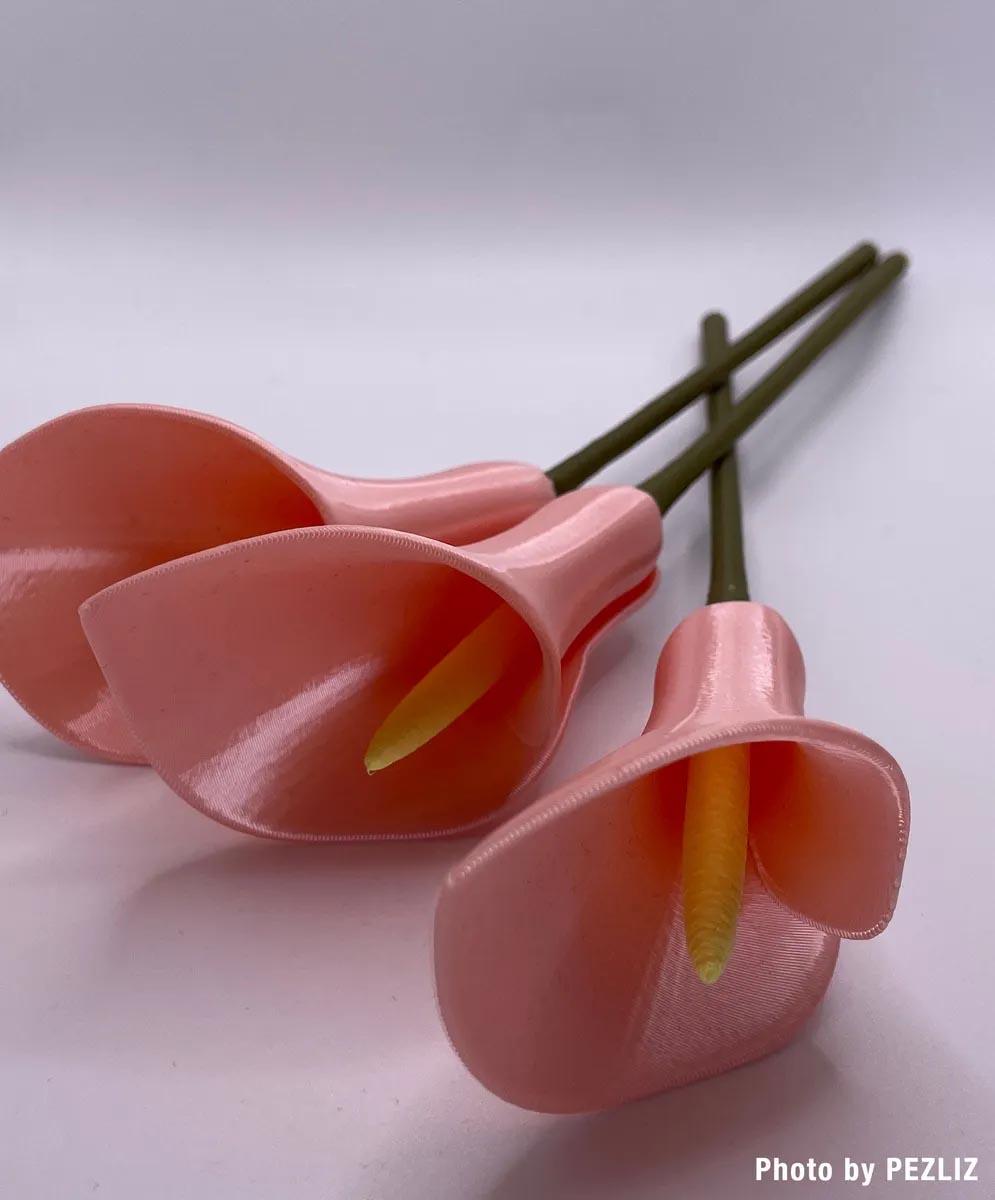
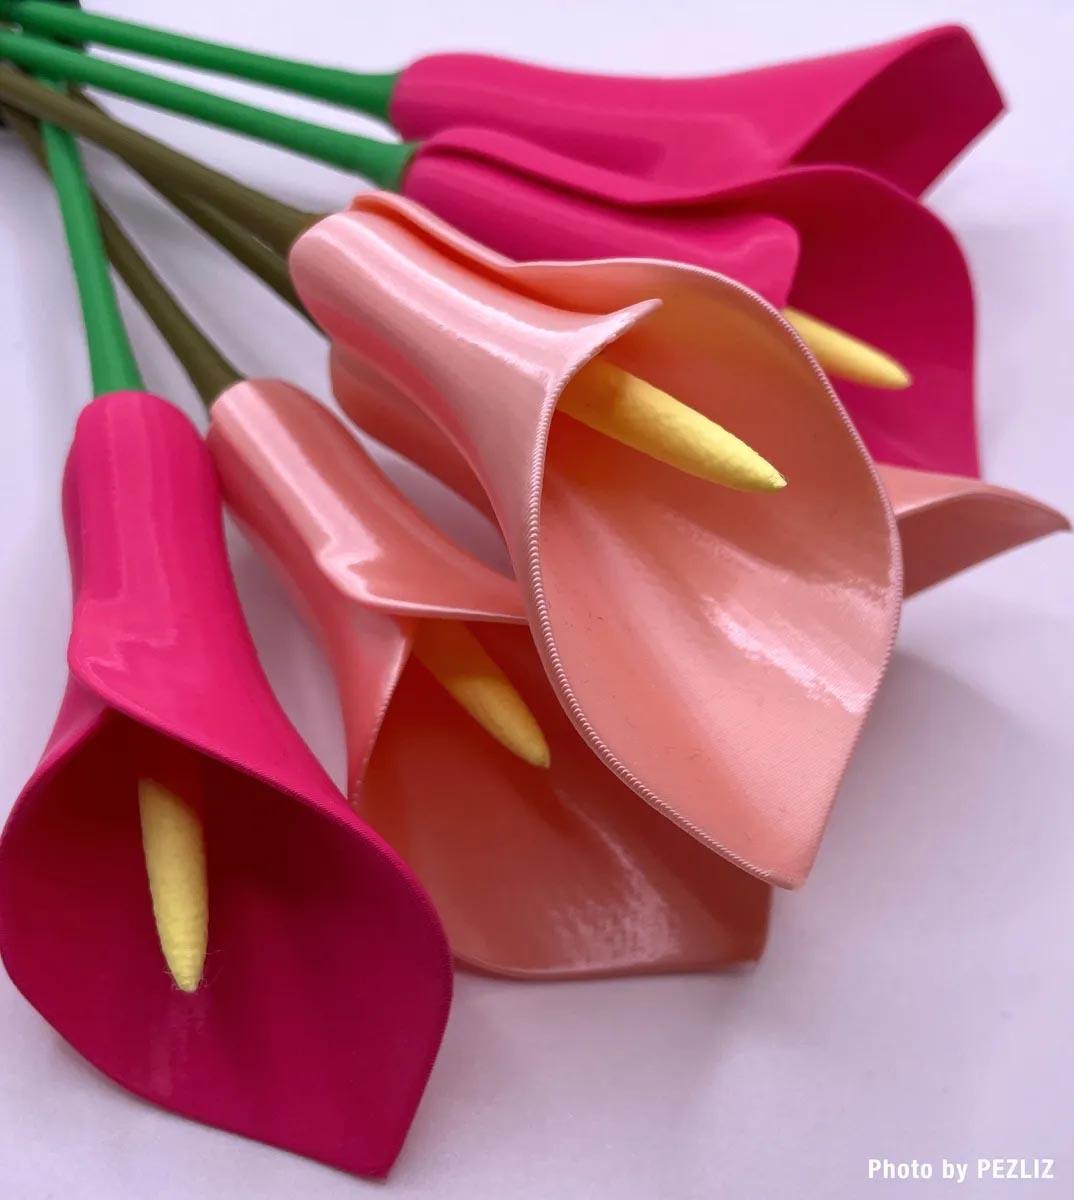
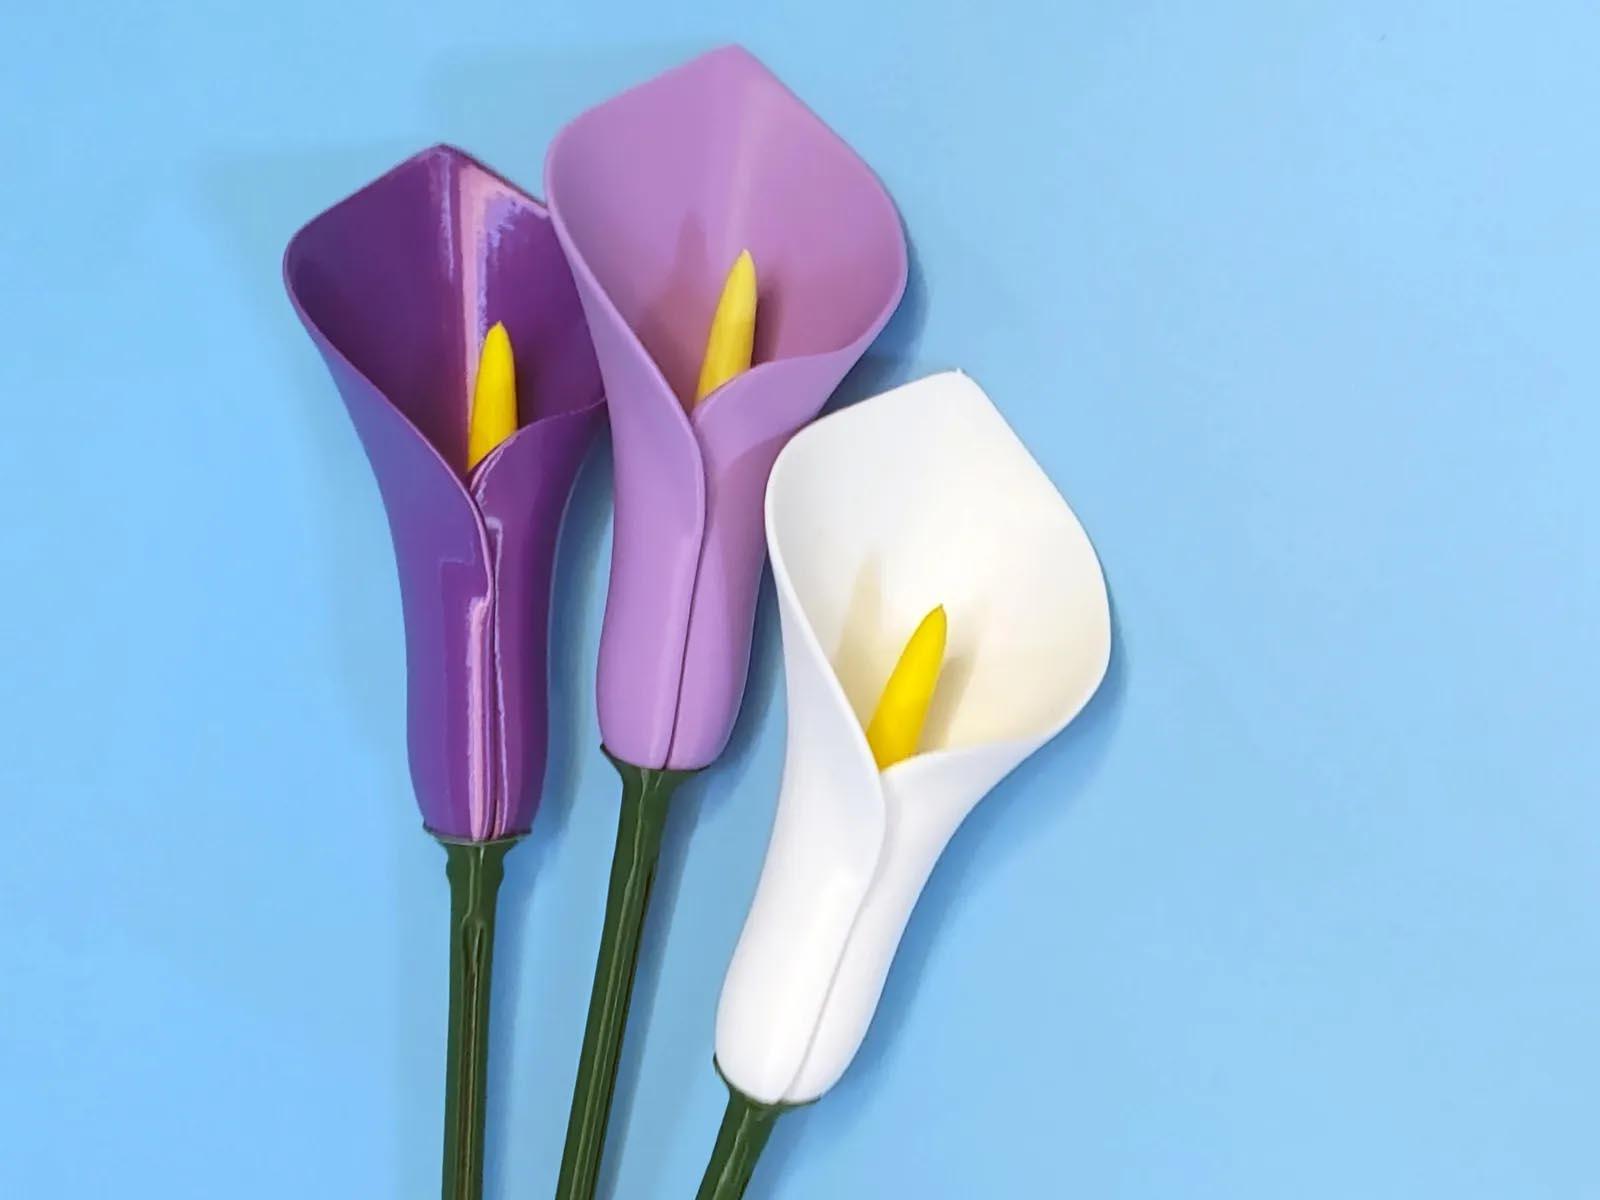
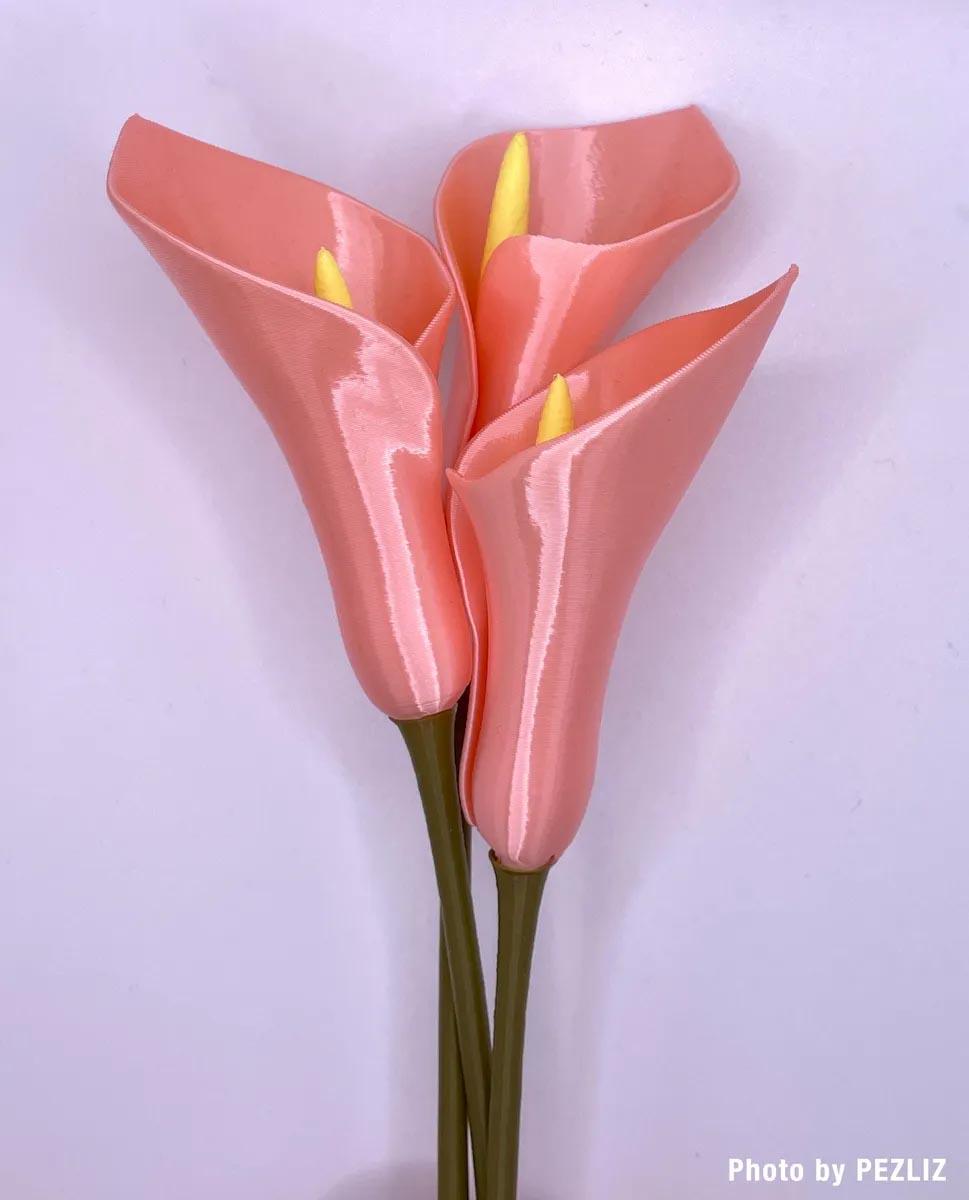
Print one of each (my settings are below). Then place the spadix inside the flower flat side down and push the bumps through the hole in the bottom of the flower until it stops. Then align the bumps on the spadix with the bumps on the top of the stem and snap them together. You may wish to add glue for a sturdier more permanent assembly.

If the stem is too tight you can play with the scale of the parts until you get a nice tight fit for your machine.

Below are my print settings:

Flower:

  • Spiral vase mode
  • top layers: 0
  • bottom layers: 4
  • extrusion width: 0.6 (for sturdier model)
  • brim: 'Outer brim only', 5mm width
Spadix:

  • Spiral vase mode
  • top layers: 0
  • bottom layers: 4
  • extrusion width: 0.6 (for sturdier model)
  • brim: 'Outer brim only', 5mm width
Stem:

  • Spiral vase mode
  • top layers: 0
  • bottom layers: 0 (zero bottom layers is important for snapping the flower together)
  • extrusion width: 0.6 (for sturdier model)
  • brim: 'Outer brim only', 5mm width
155 Likes312 DownloadsAugust 25, 2023
This model is restricted by licensing terms.