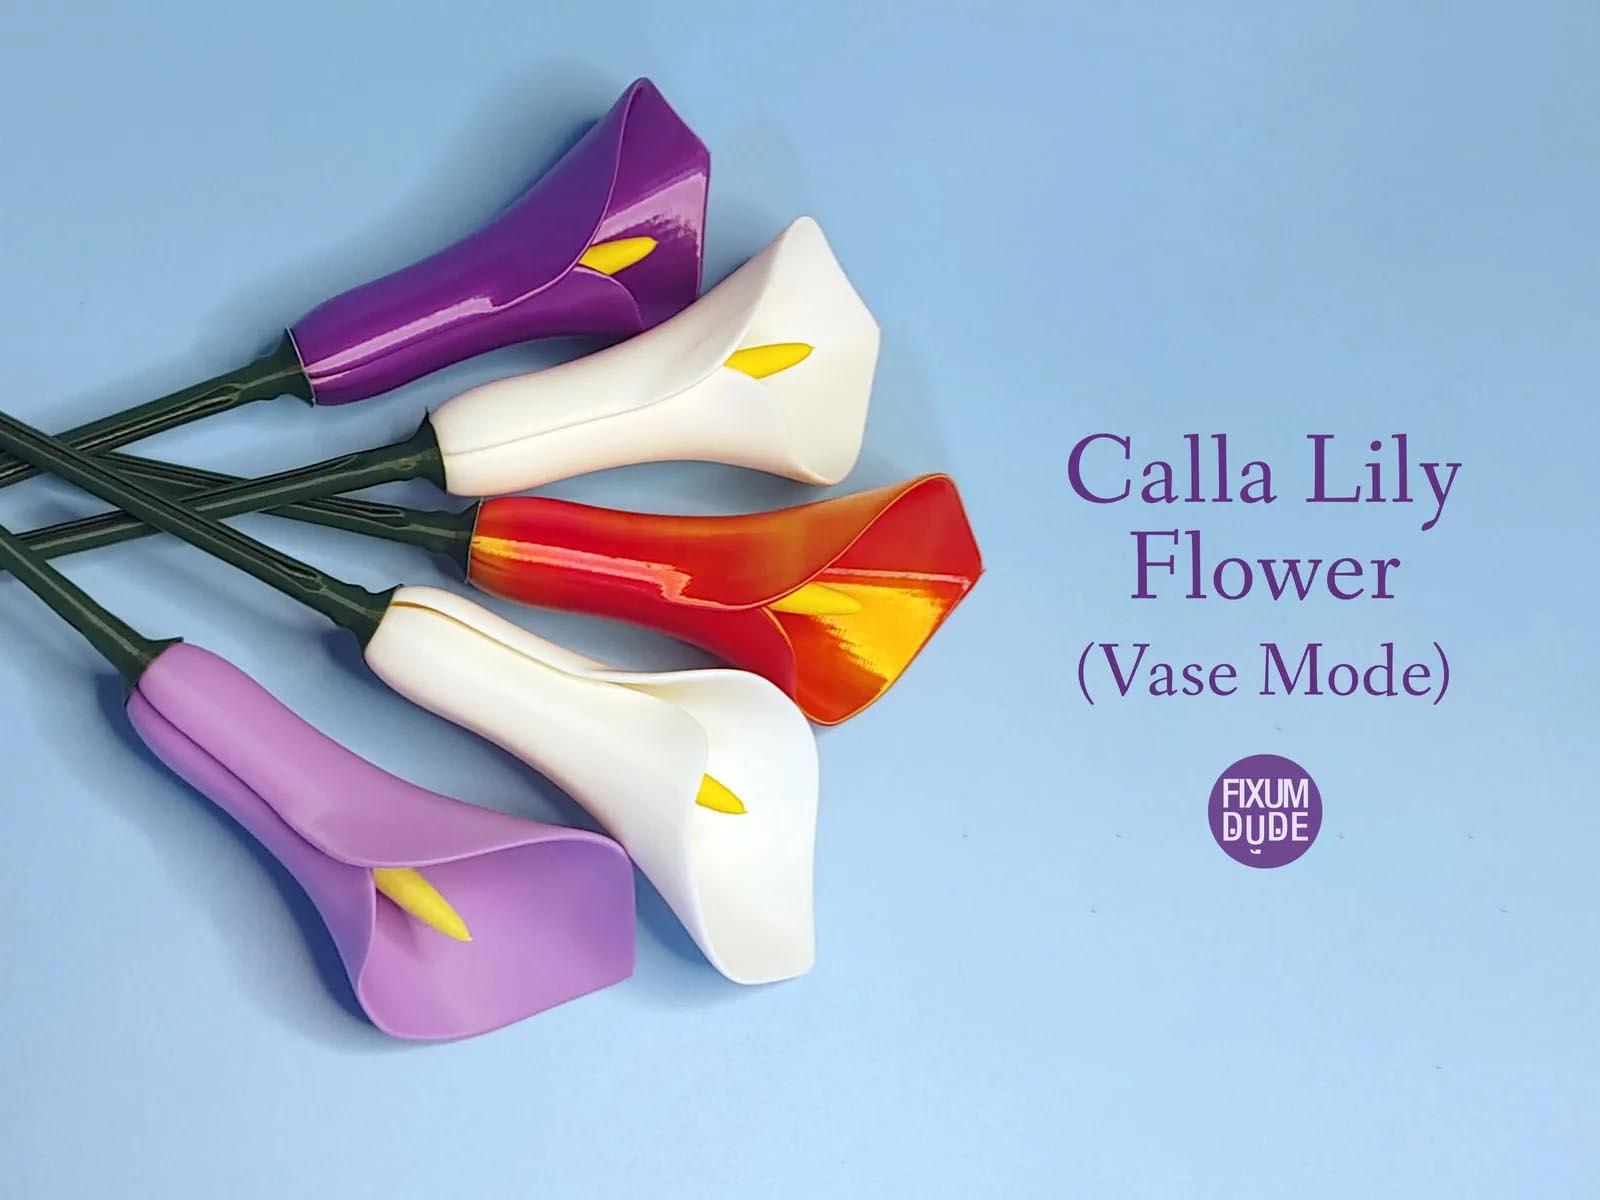
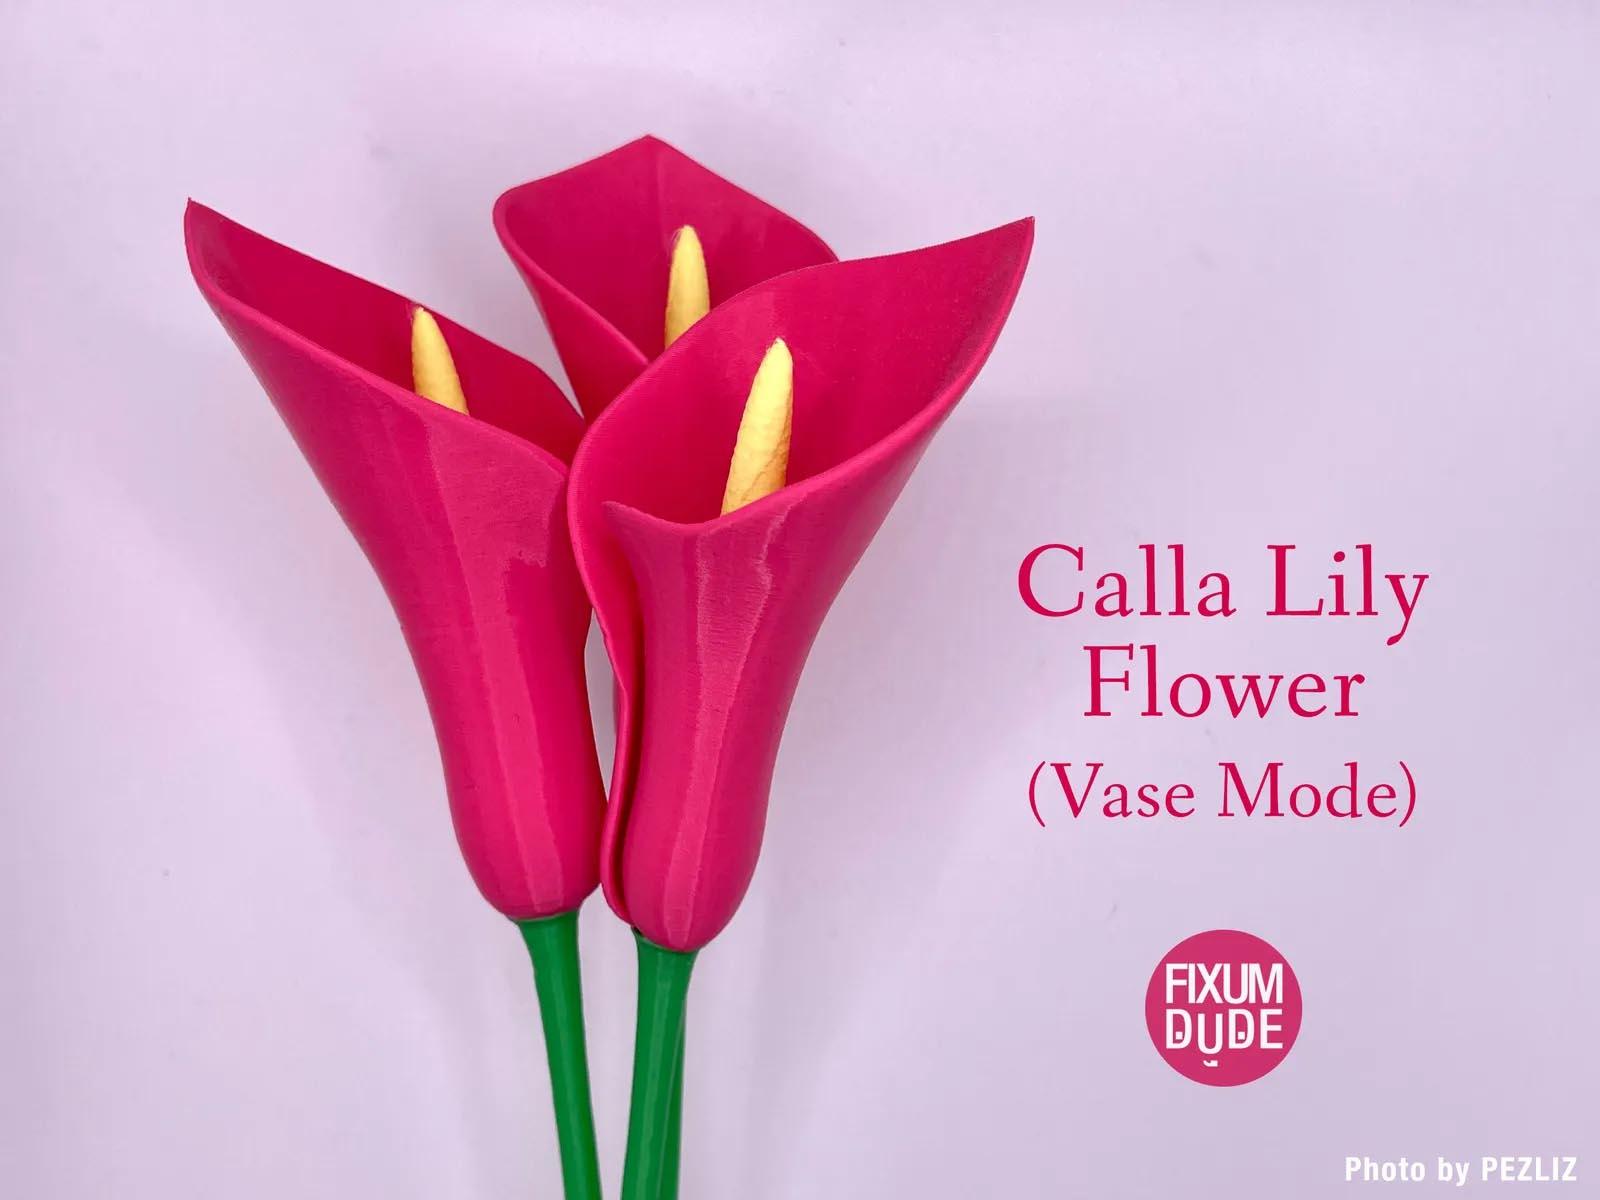
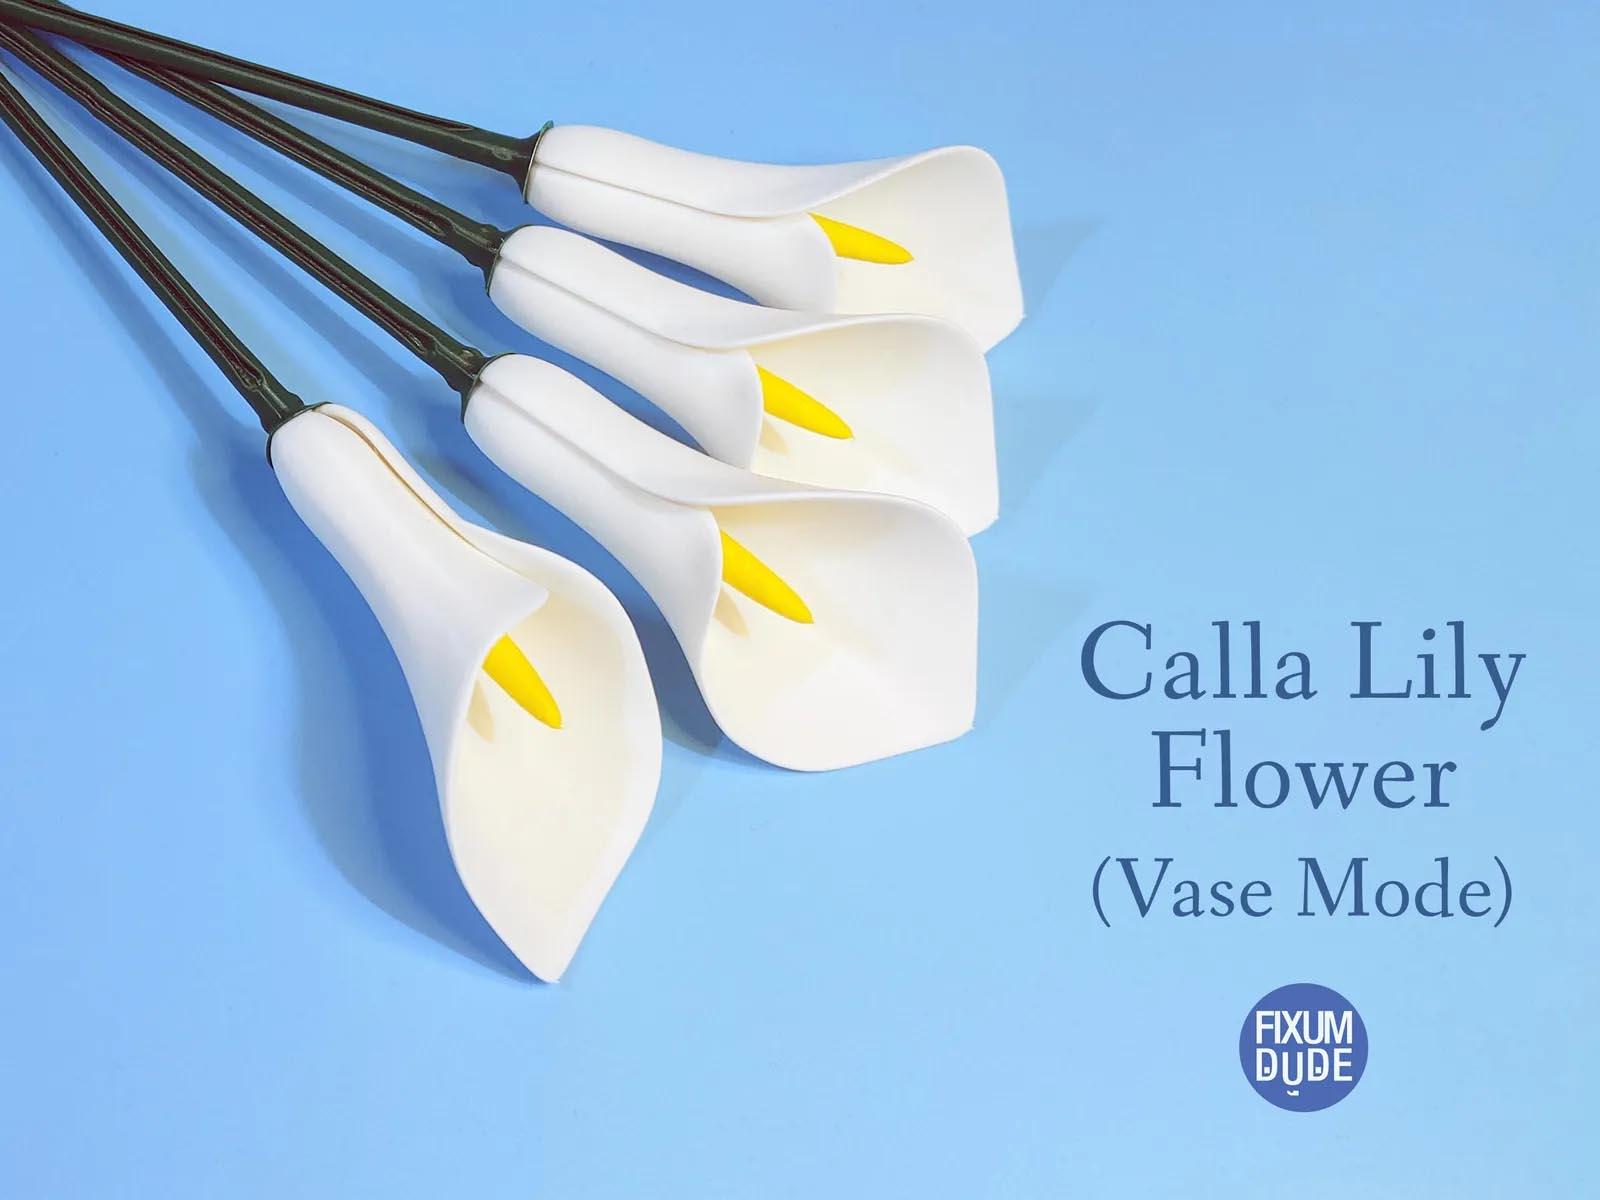
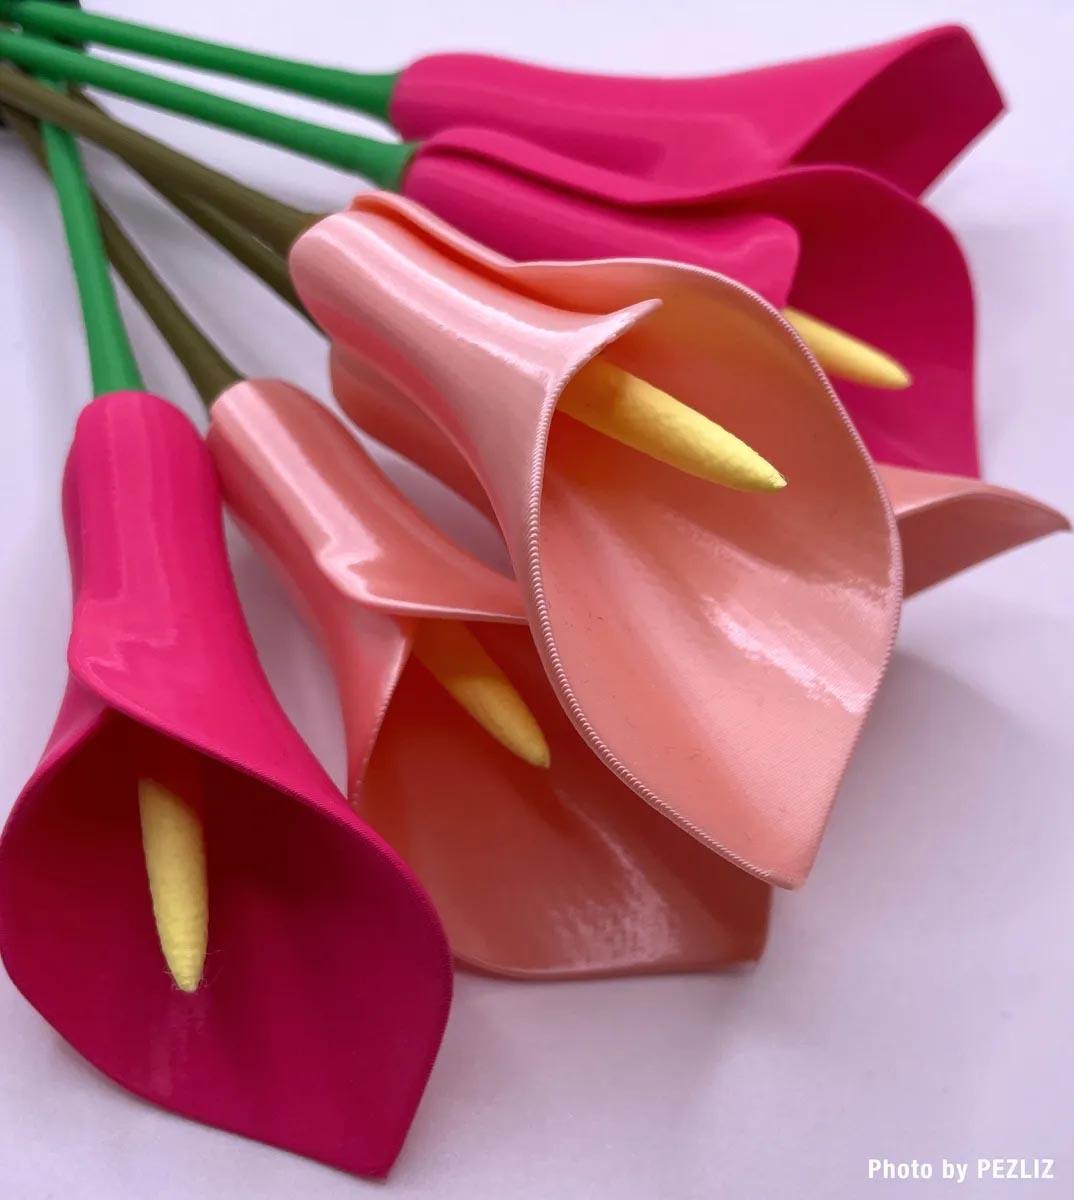
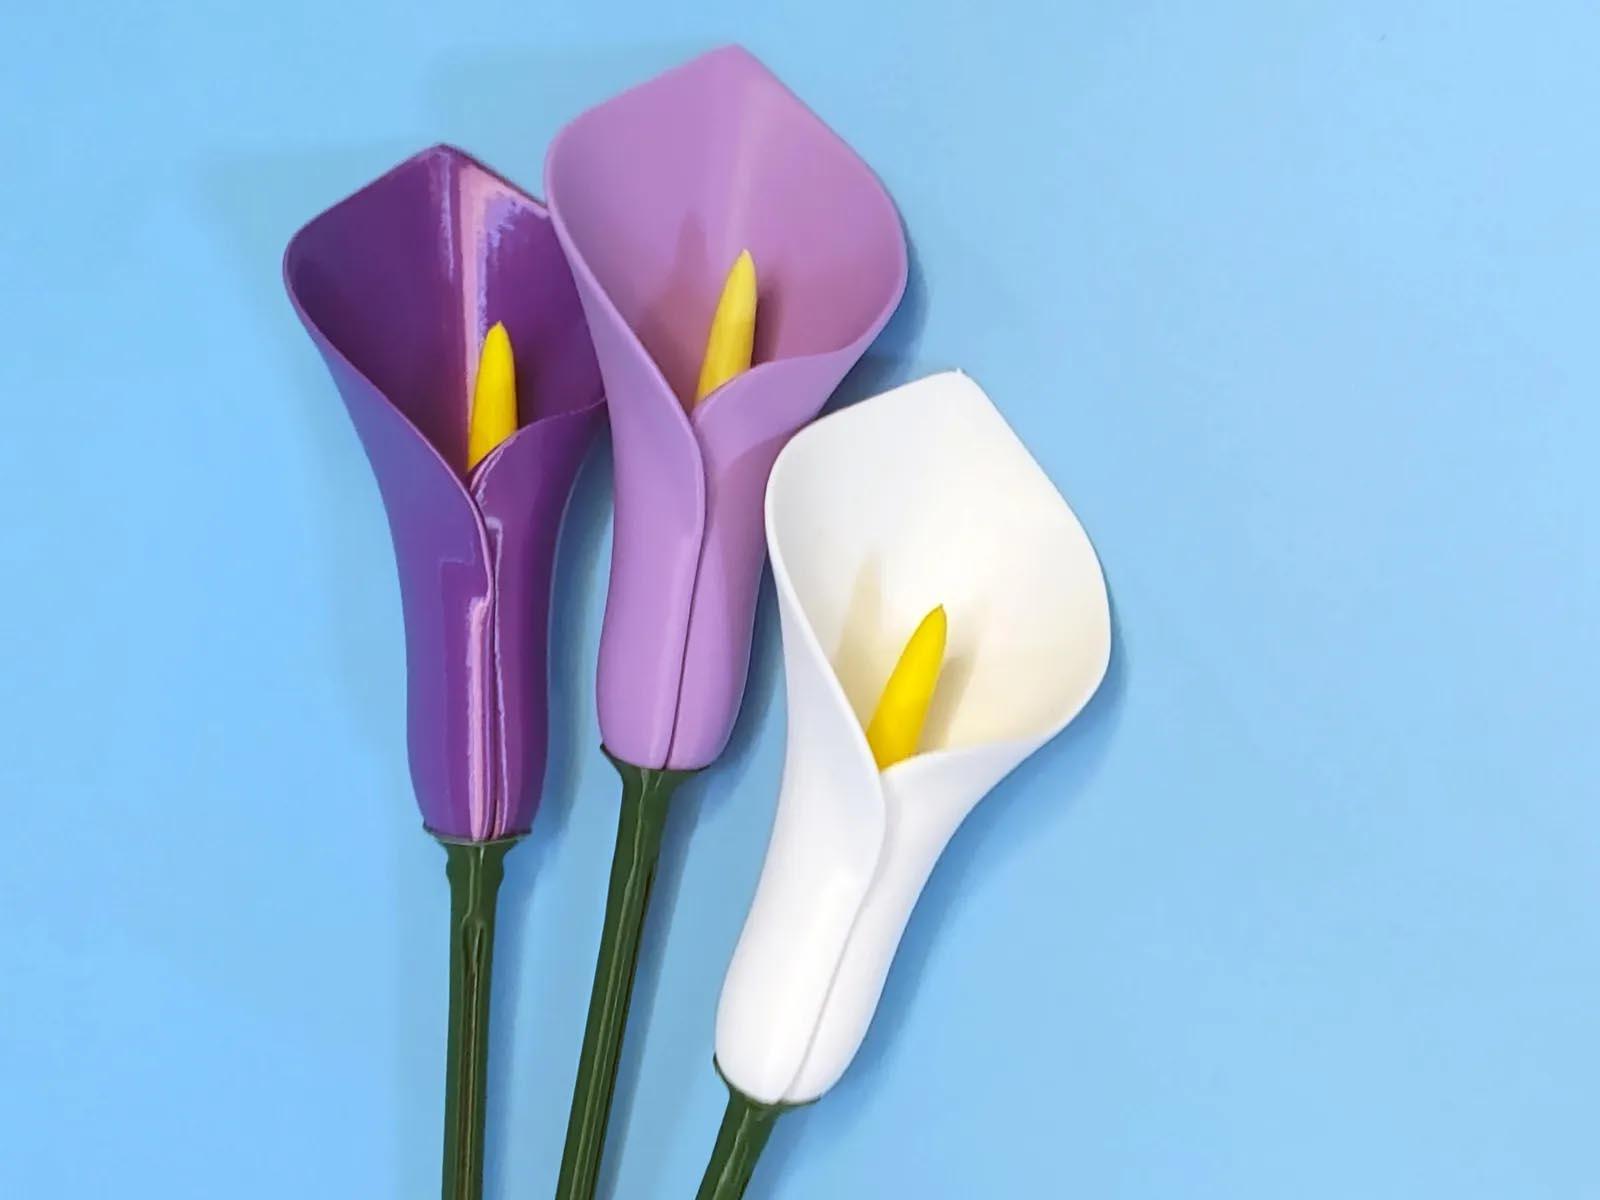
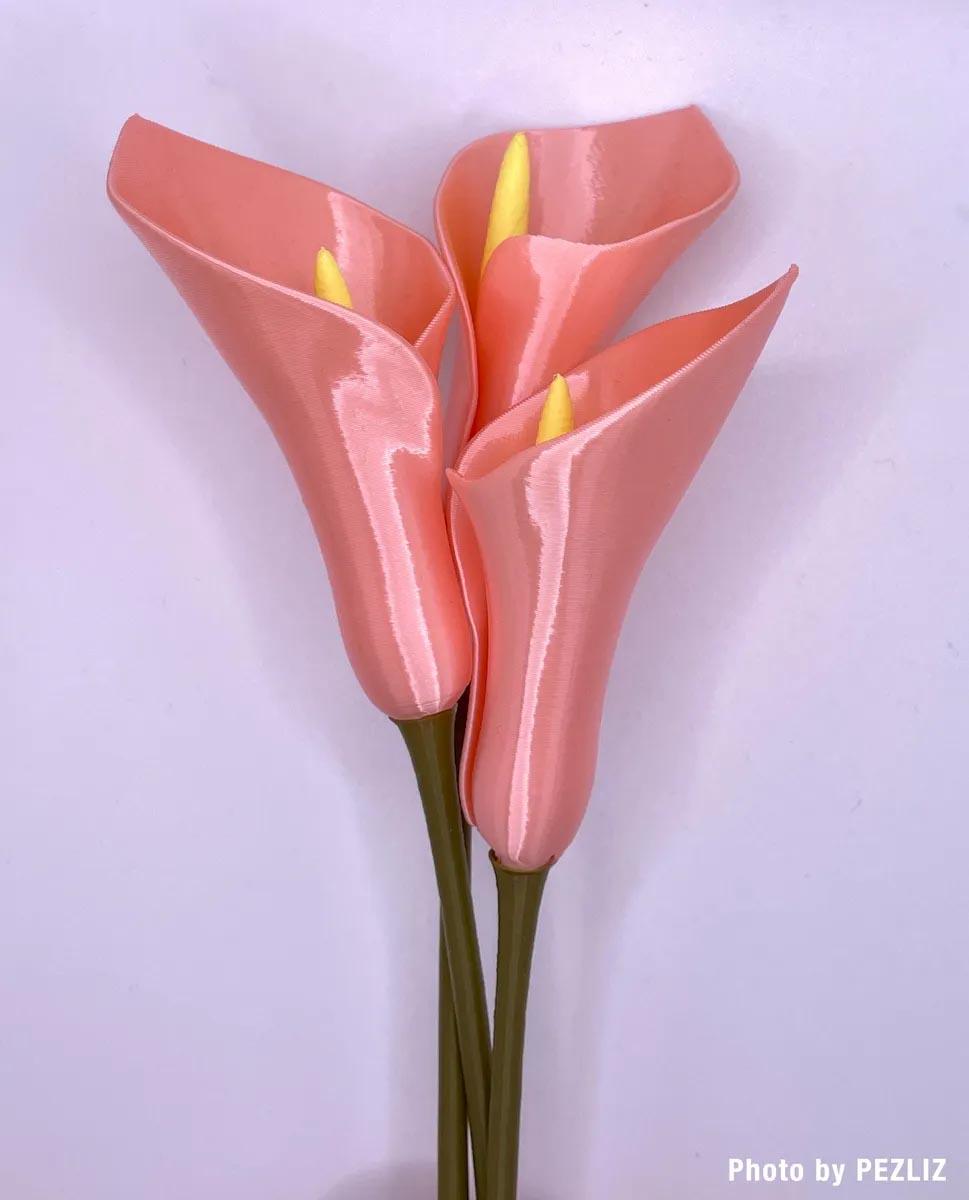
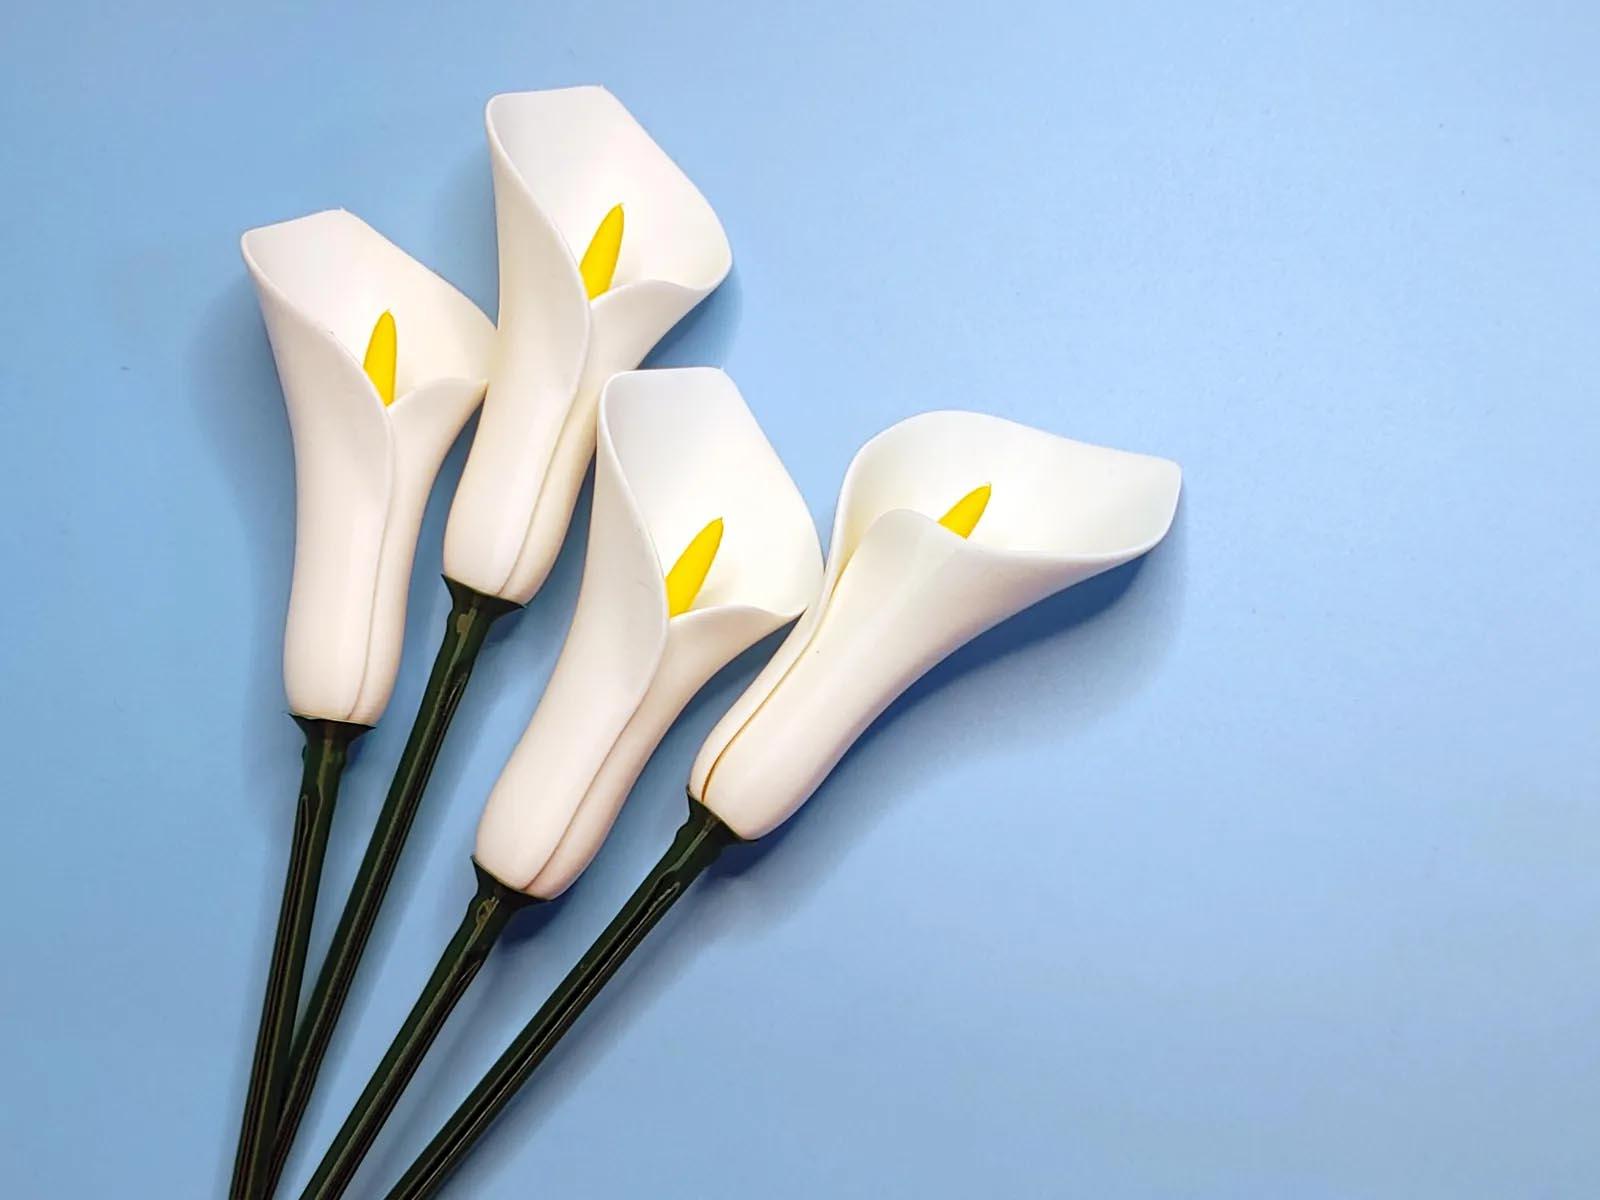
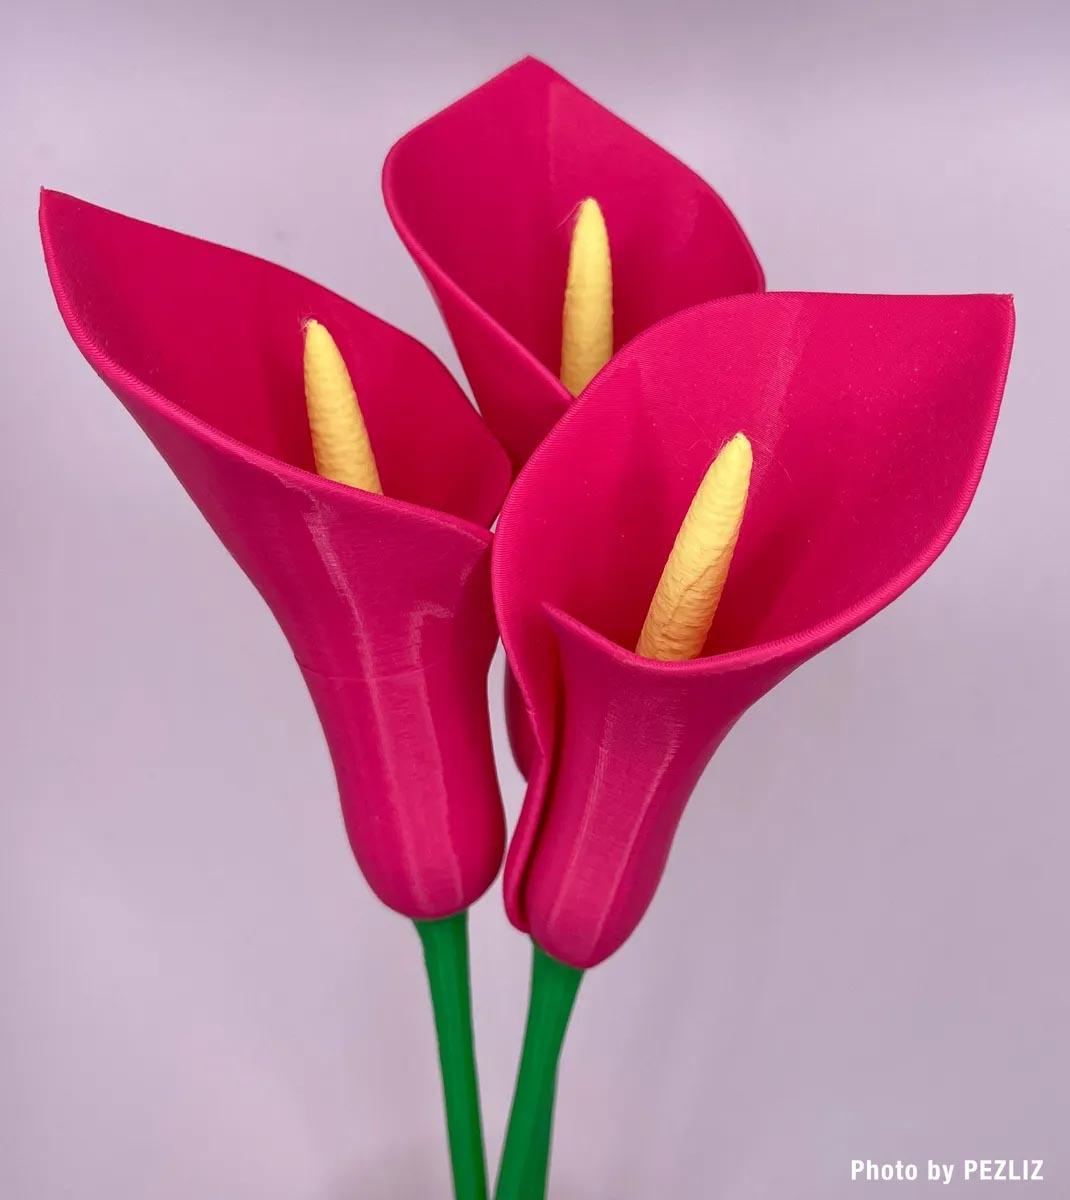
Calla Lily Flower (Vase Mode)
311 downloads · 1 year ago · Print one of each (my settings are below). Then place the spadix inside the flower flat side down an
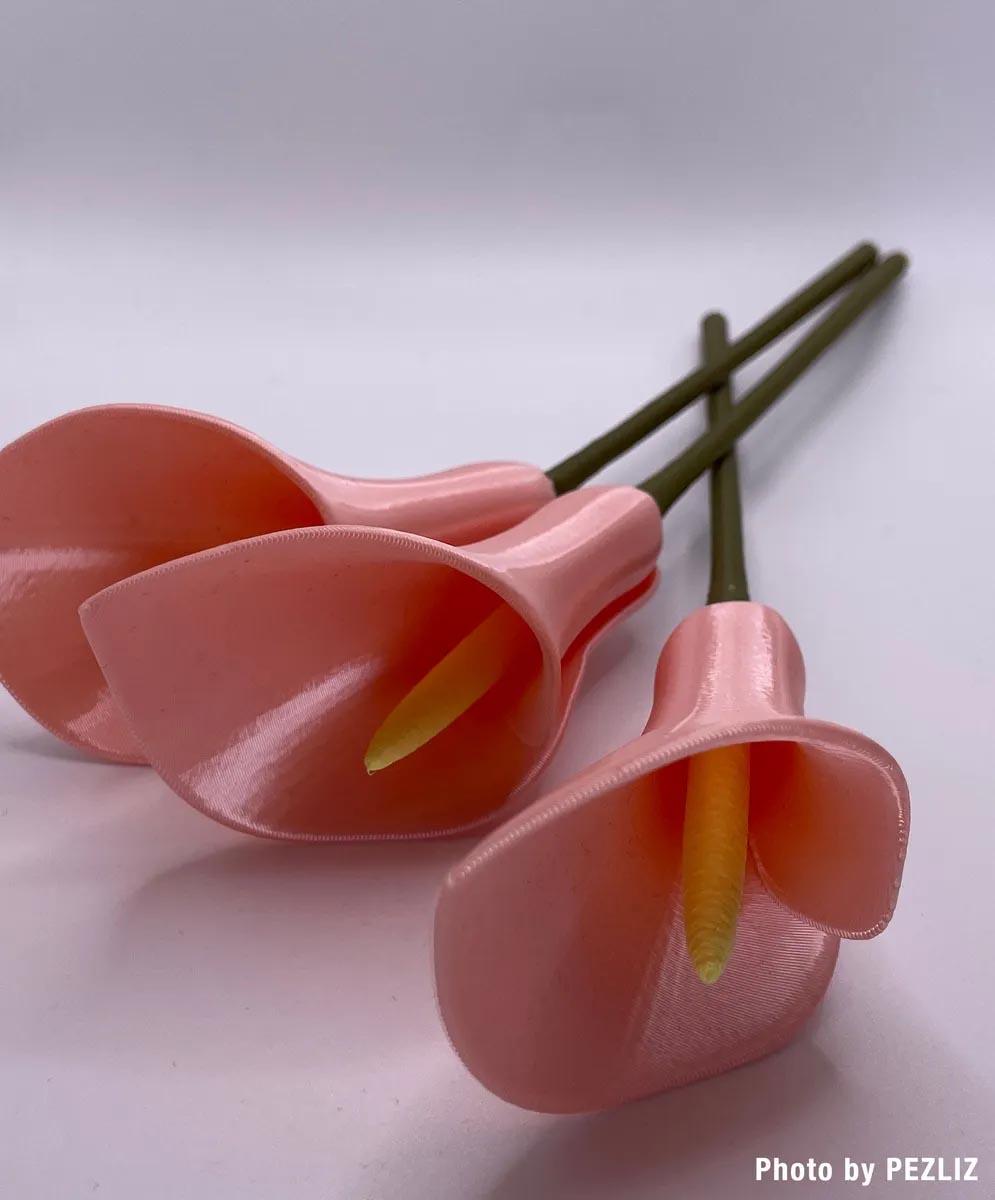
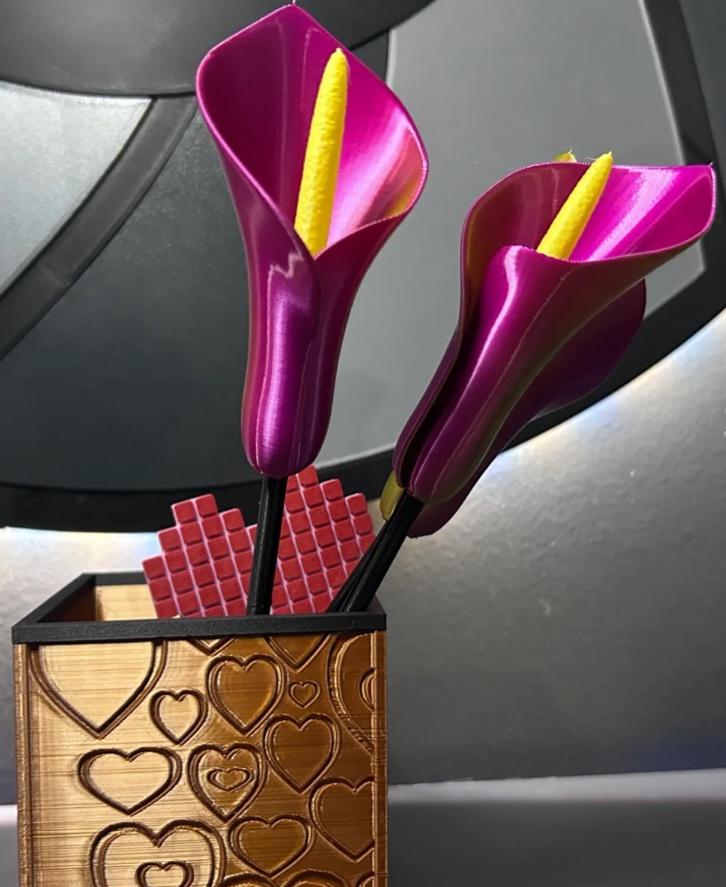
Print one of each (my settings are below). Then place the spadix inside the flower flat side down and push the bumps through the hole in the bottom of the flower until it stops. Then align the bumps on the spadix with the bumps on the top of the stem and snap them together. You may wish to add glue for a sturdier more permanent assembly.
If the stem is too tight you can play with the scale of the parts until you get a nice tight fit for your machine.
Below are my print settings:
Flower:
- Spiral vase mode
- top layers: 0
- bottom layers: 4
- extrusion width: 0.6 (for sturdier model)
- brim: 'Outer brim only', 5mm width
Spadix:
- Spiral vase mode
- top layers: 0
- bottom layers: 4
- extrusion width: 0.6 (for sturdier model)
- brim: 'Outer brim only', 5mm width
Stem:
- Spiral vase mode
- top layers: 0
- bottom layers: 0 (zero bottom layers is important for snapping the flower together)
- extrusion width: 0.6 (for sturdier model)
- brim: 'Outer brim only', 5mm width
Categories:
155 Likes311 DownloadsAugust 25, 2023
This model is restricted by licensing terms.
View license.
