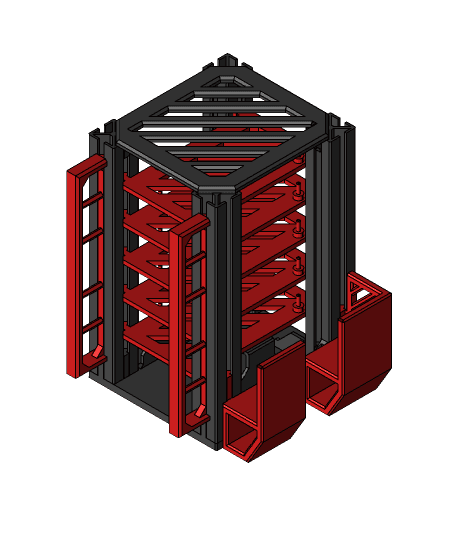
Dewalt power station stress relief.stl
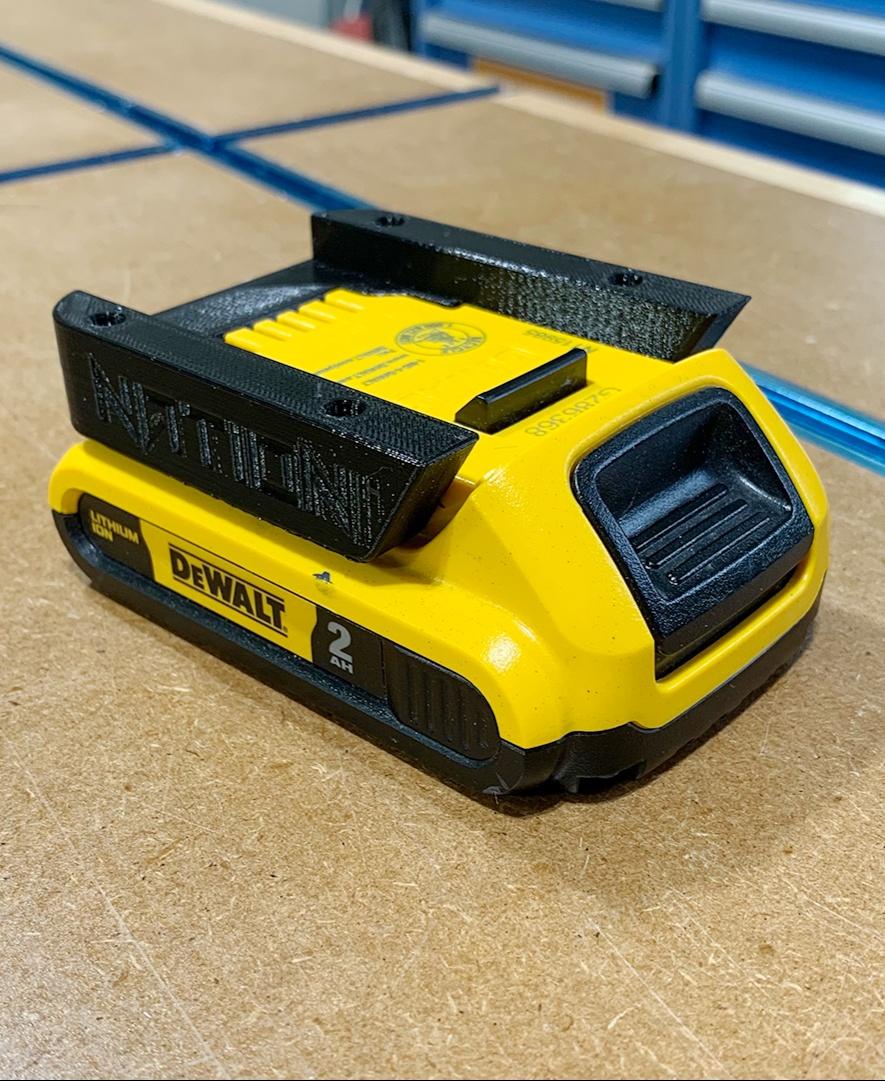
I present you with a Dewalt Power Box that I'm using for ice fishing.
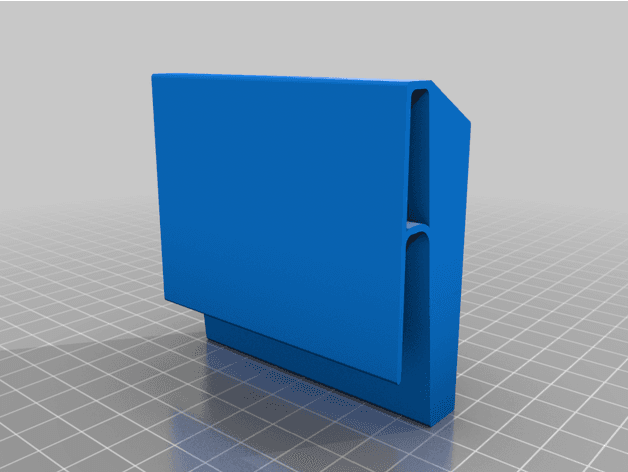
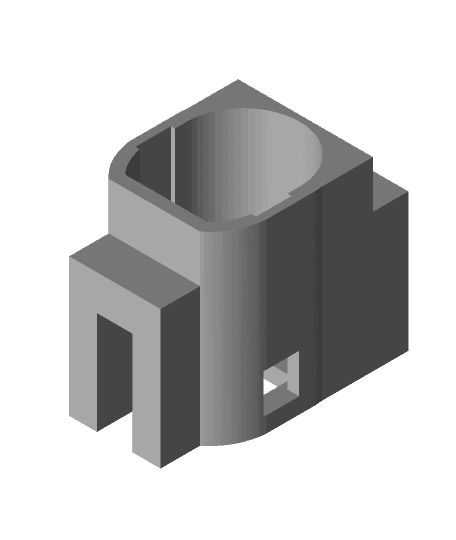
The Dewalt Battery mount and stress relief was sourced from https://www.thingiverse.com/thing:4812733
Parts list: 3 each Eagle Eye LED lights: https://www.amazon.com/dp/B00MVMRS6O/?coliid=I1YX6SUD0MZ2GA&colid=1C1E9TNFXI8T5&psc=1&ref_=lv_ov_lig_dp_it
1 each Buck Converter to reduce 20vdc to 12vdc for LED lights https://www.amazon.com/dp/B01MQGMOKI/?coliid=IIGMU8C6GG4XJ&colid=1C1E9TNFXI8T5&psc=1&ref_=lv_ov_lig_dp_it
1 each Digital Low Voltage Protector to protect Dewalt Battery (set to 15.3 vdc) https://www.amazon.com/dp/B07929Y5SZ/?coliid=I3HRFETUK6U1CR&colid=1C1E9TNFXI8T5&psc=1&ref_=lv_ov_lig_dp_it
5 each lighted toggle switches https://www.amazon.com/dp/B08Q3WJW8Q/?coliid=I2HDTKQKMLJ50M&colid=1C1E9TNFXI8T5&psc=1&ref_=lv_ov_lig_dp_it
2 each DC power socket https://www.amazon.com/dp/B08SJM2G52/?coliid=IZZB1VAVBQWPG&colid=1C1E9TNFXI8T5&psc=1&ref_=lv_ov_lig_dp_it
1 each USB socket (or similar) https://www.amazon.com/dp/B08XWZRTT8/?coliid=I3H469RRCP5NOP&colid=1C1E9TNFXI8T5&psc=1&ref_=lv_ov_lig_dp_it
2 each inline fuse holders (USB input and battery output to low voltage disconnect) https://www.amazon.com/dp/B07FT7J2CS/?coliid=I1YZAMASV0TDNB&colid=1C1E9TNFXI8T5&ref_=lv_ov_lig_dp_it&th=1
Consumables: 16 AWG black wire 16 AWG red wire 5 amp fuse (2) male spade connector (2 for dewalt battery) female spade connector (lots of them) solder 4 M2x8mm screws 1 M3x6mm screw
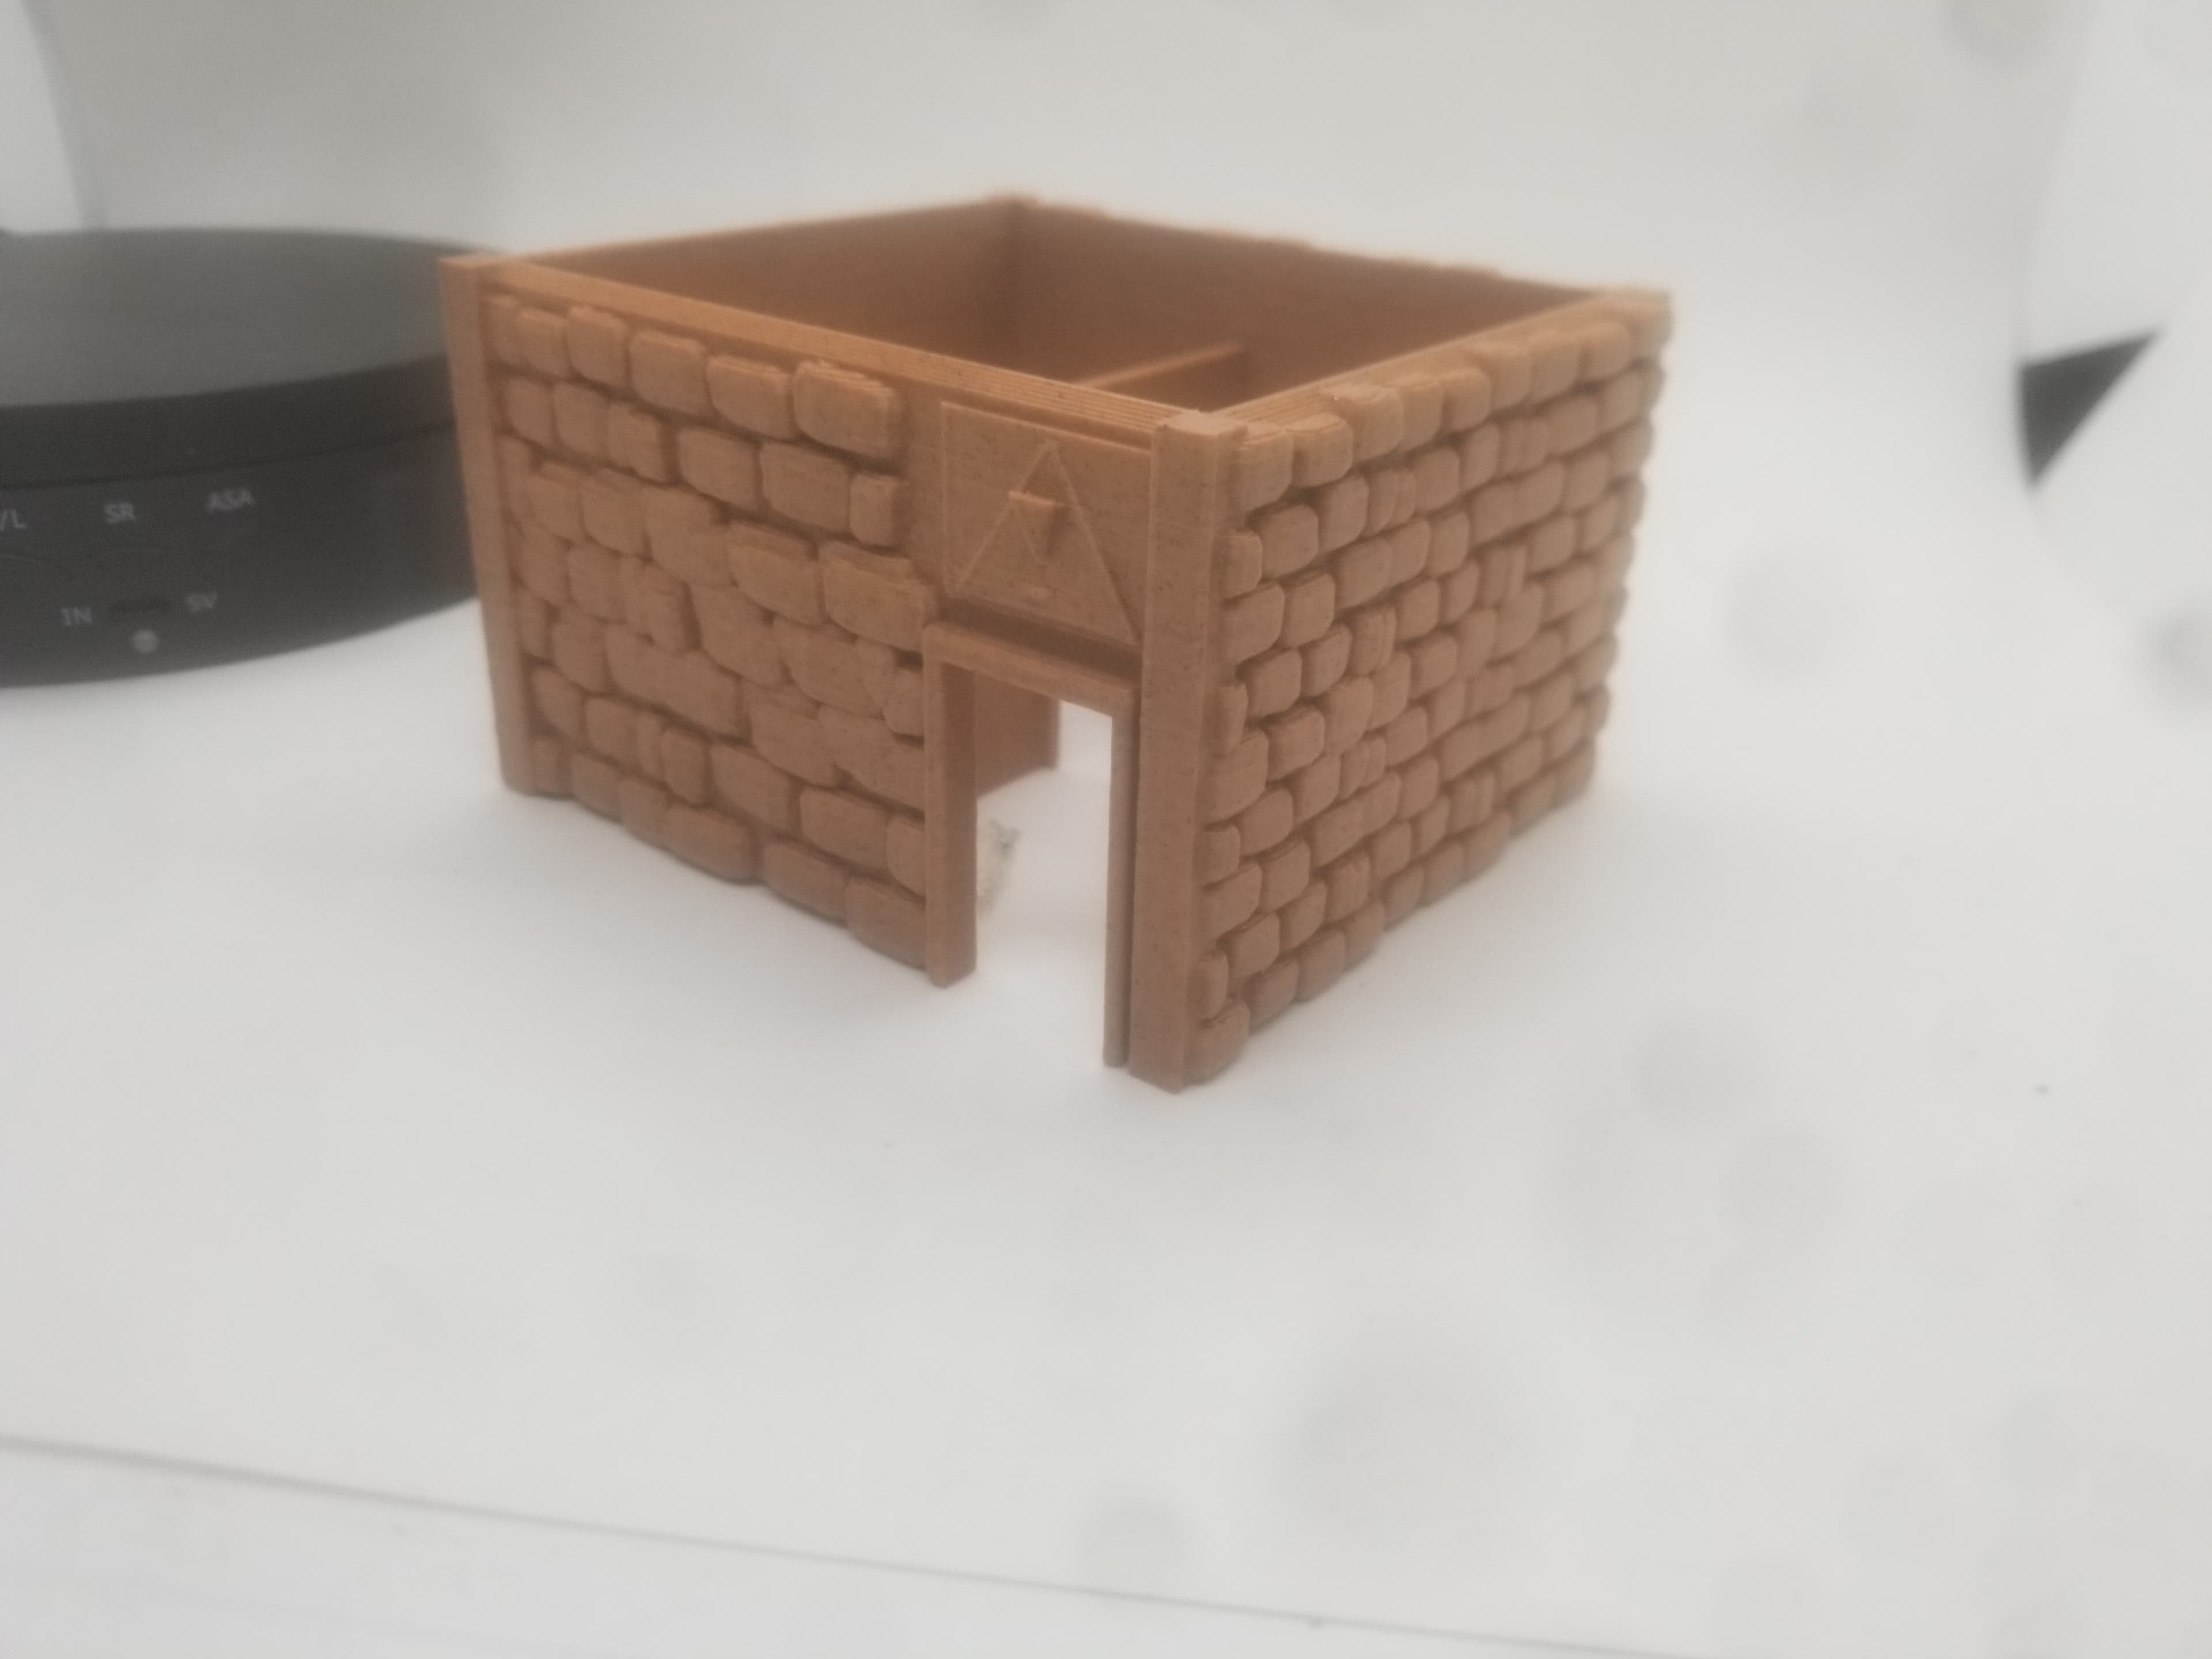
Printed with GST3D Black PLA+ at 215C nozzle, 65C bed, 30% infill, and tree supports. Print box face down on bed for best results.
To assemble:
Insert all the switches, the USB socket, lights, and DC sockets solder + (inline fuse) and - wires to Low Voltage protector (input and output) Solder LVP output to buck converter input solder + and - wires to buck converter output and adjust output to 13vdc Crimp 2 male spade connectors on + and - wires on LVP input, and insert in appropriate slot of battery base Crimp female spade connector to + (red) wire of buck convert output and set to middle post of Master Power switch Start cutting red (+) wire in 2" pieces, strip ends, and start a "daisy" chain" from the master power output to the last switch Cut black (-) wire in 2" pieces, strip ends, and start a daisy chain through each switch, then the negative of each accessory (lights, usb, etc) Once everything is wired, install the bottom (fish down) and use M2x8mm fasteners.
Use a small M3 screw to hold the stress relief to the battery 'bottom' to keep the connectors from popping out
A Dewalt 2AH battery fits very easily, but a 5AH or larger is a tight fit.
I probably missed some steps, so ask away in the comments.

Dewalt Power Station.stl

Power Station
FHW: Mini Town Power Station (28mm)
Ultimate Extensible Power Station
FHW: Mini Town 1.6 power station roof
Ultimate Extensible Power Station RaspberryPi Rack

Dewalt Soldering Station

POWER PUMP | MINI DESKTOP CHARGING STATION
Power Tower Magnetic USB Charging Station
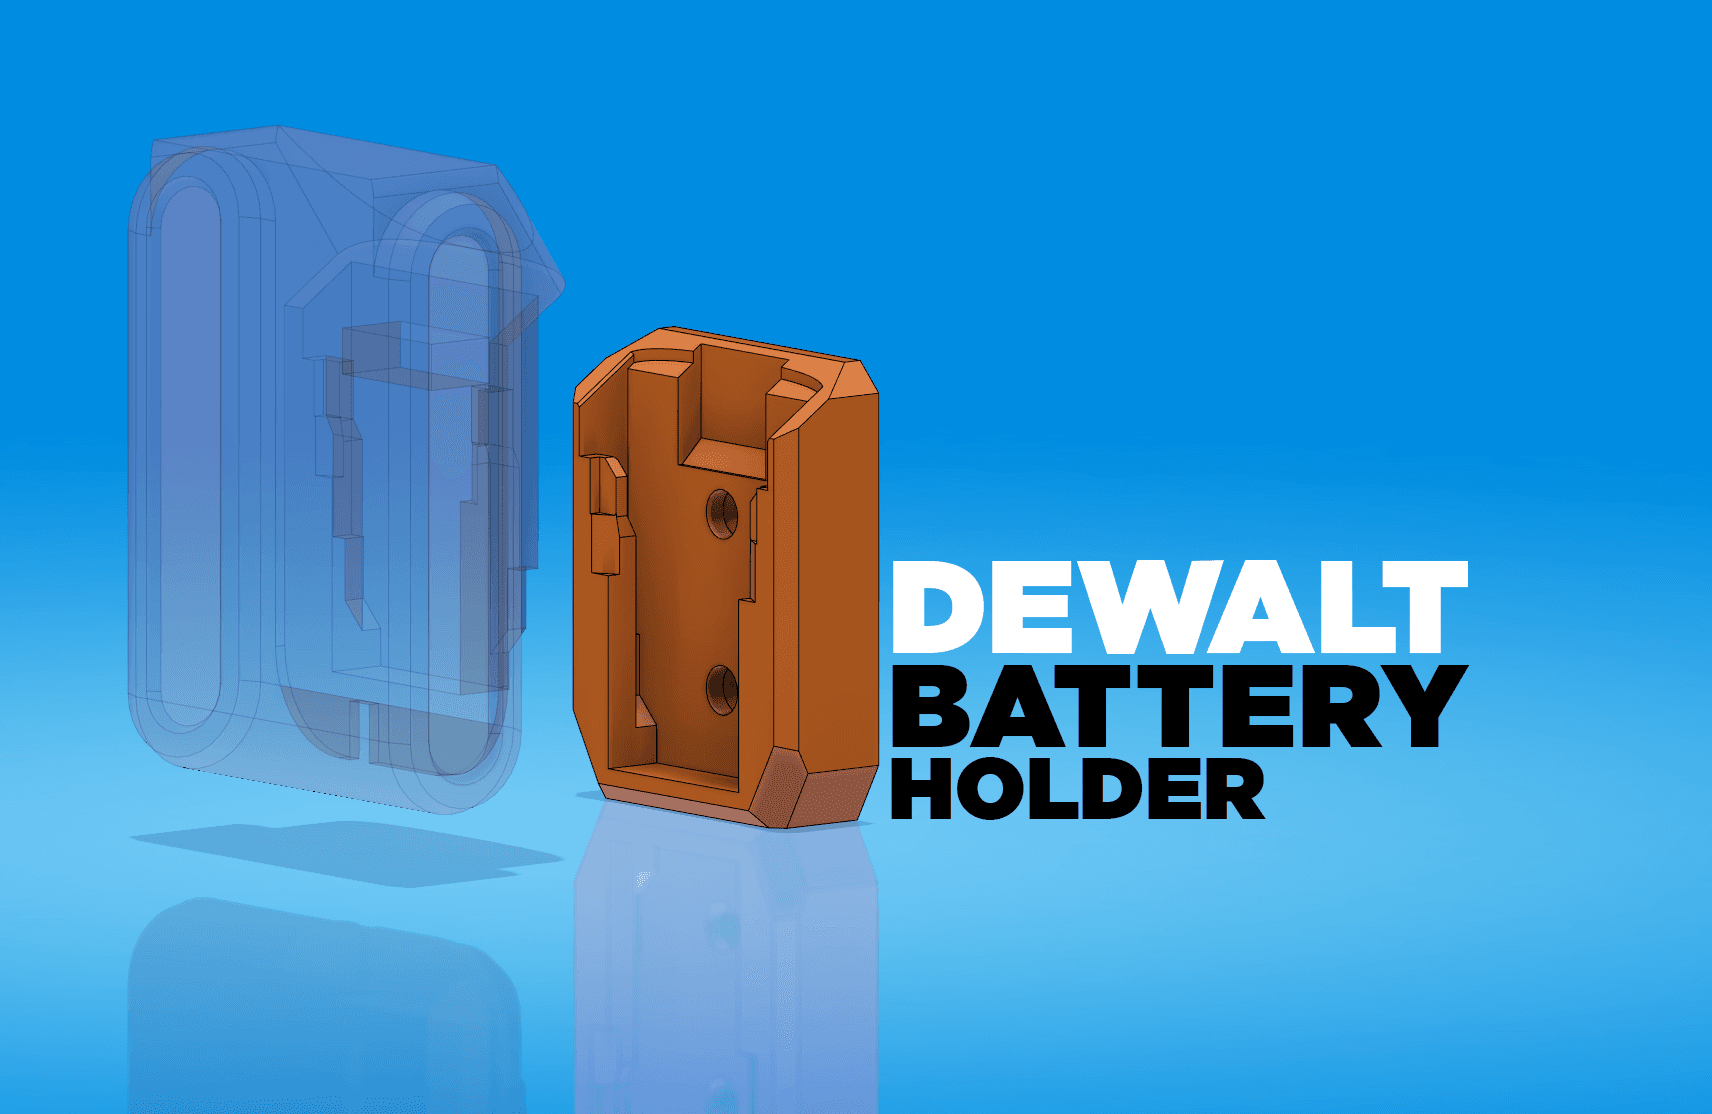
Dewalt Battery Holder

Dewalt Battery Holder for Multiboard/Multipoint
![[Updated] PS5 headphone hanger and base for Dual Sense charging station 3d model](/_next/image?url=https%3A%2F%2Fstorage.googleapis.com%2Fproduction-thangs-public%2Fuploads%2Fattachments%2Fbd6706a5-40ca-4744-87a2-c1d0465ae390%2FPS5_headset01.jpg&w=3840&q=75)
[Updated] PS5 headphone hanger and base for Dual Sense charging station
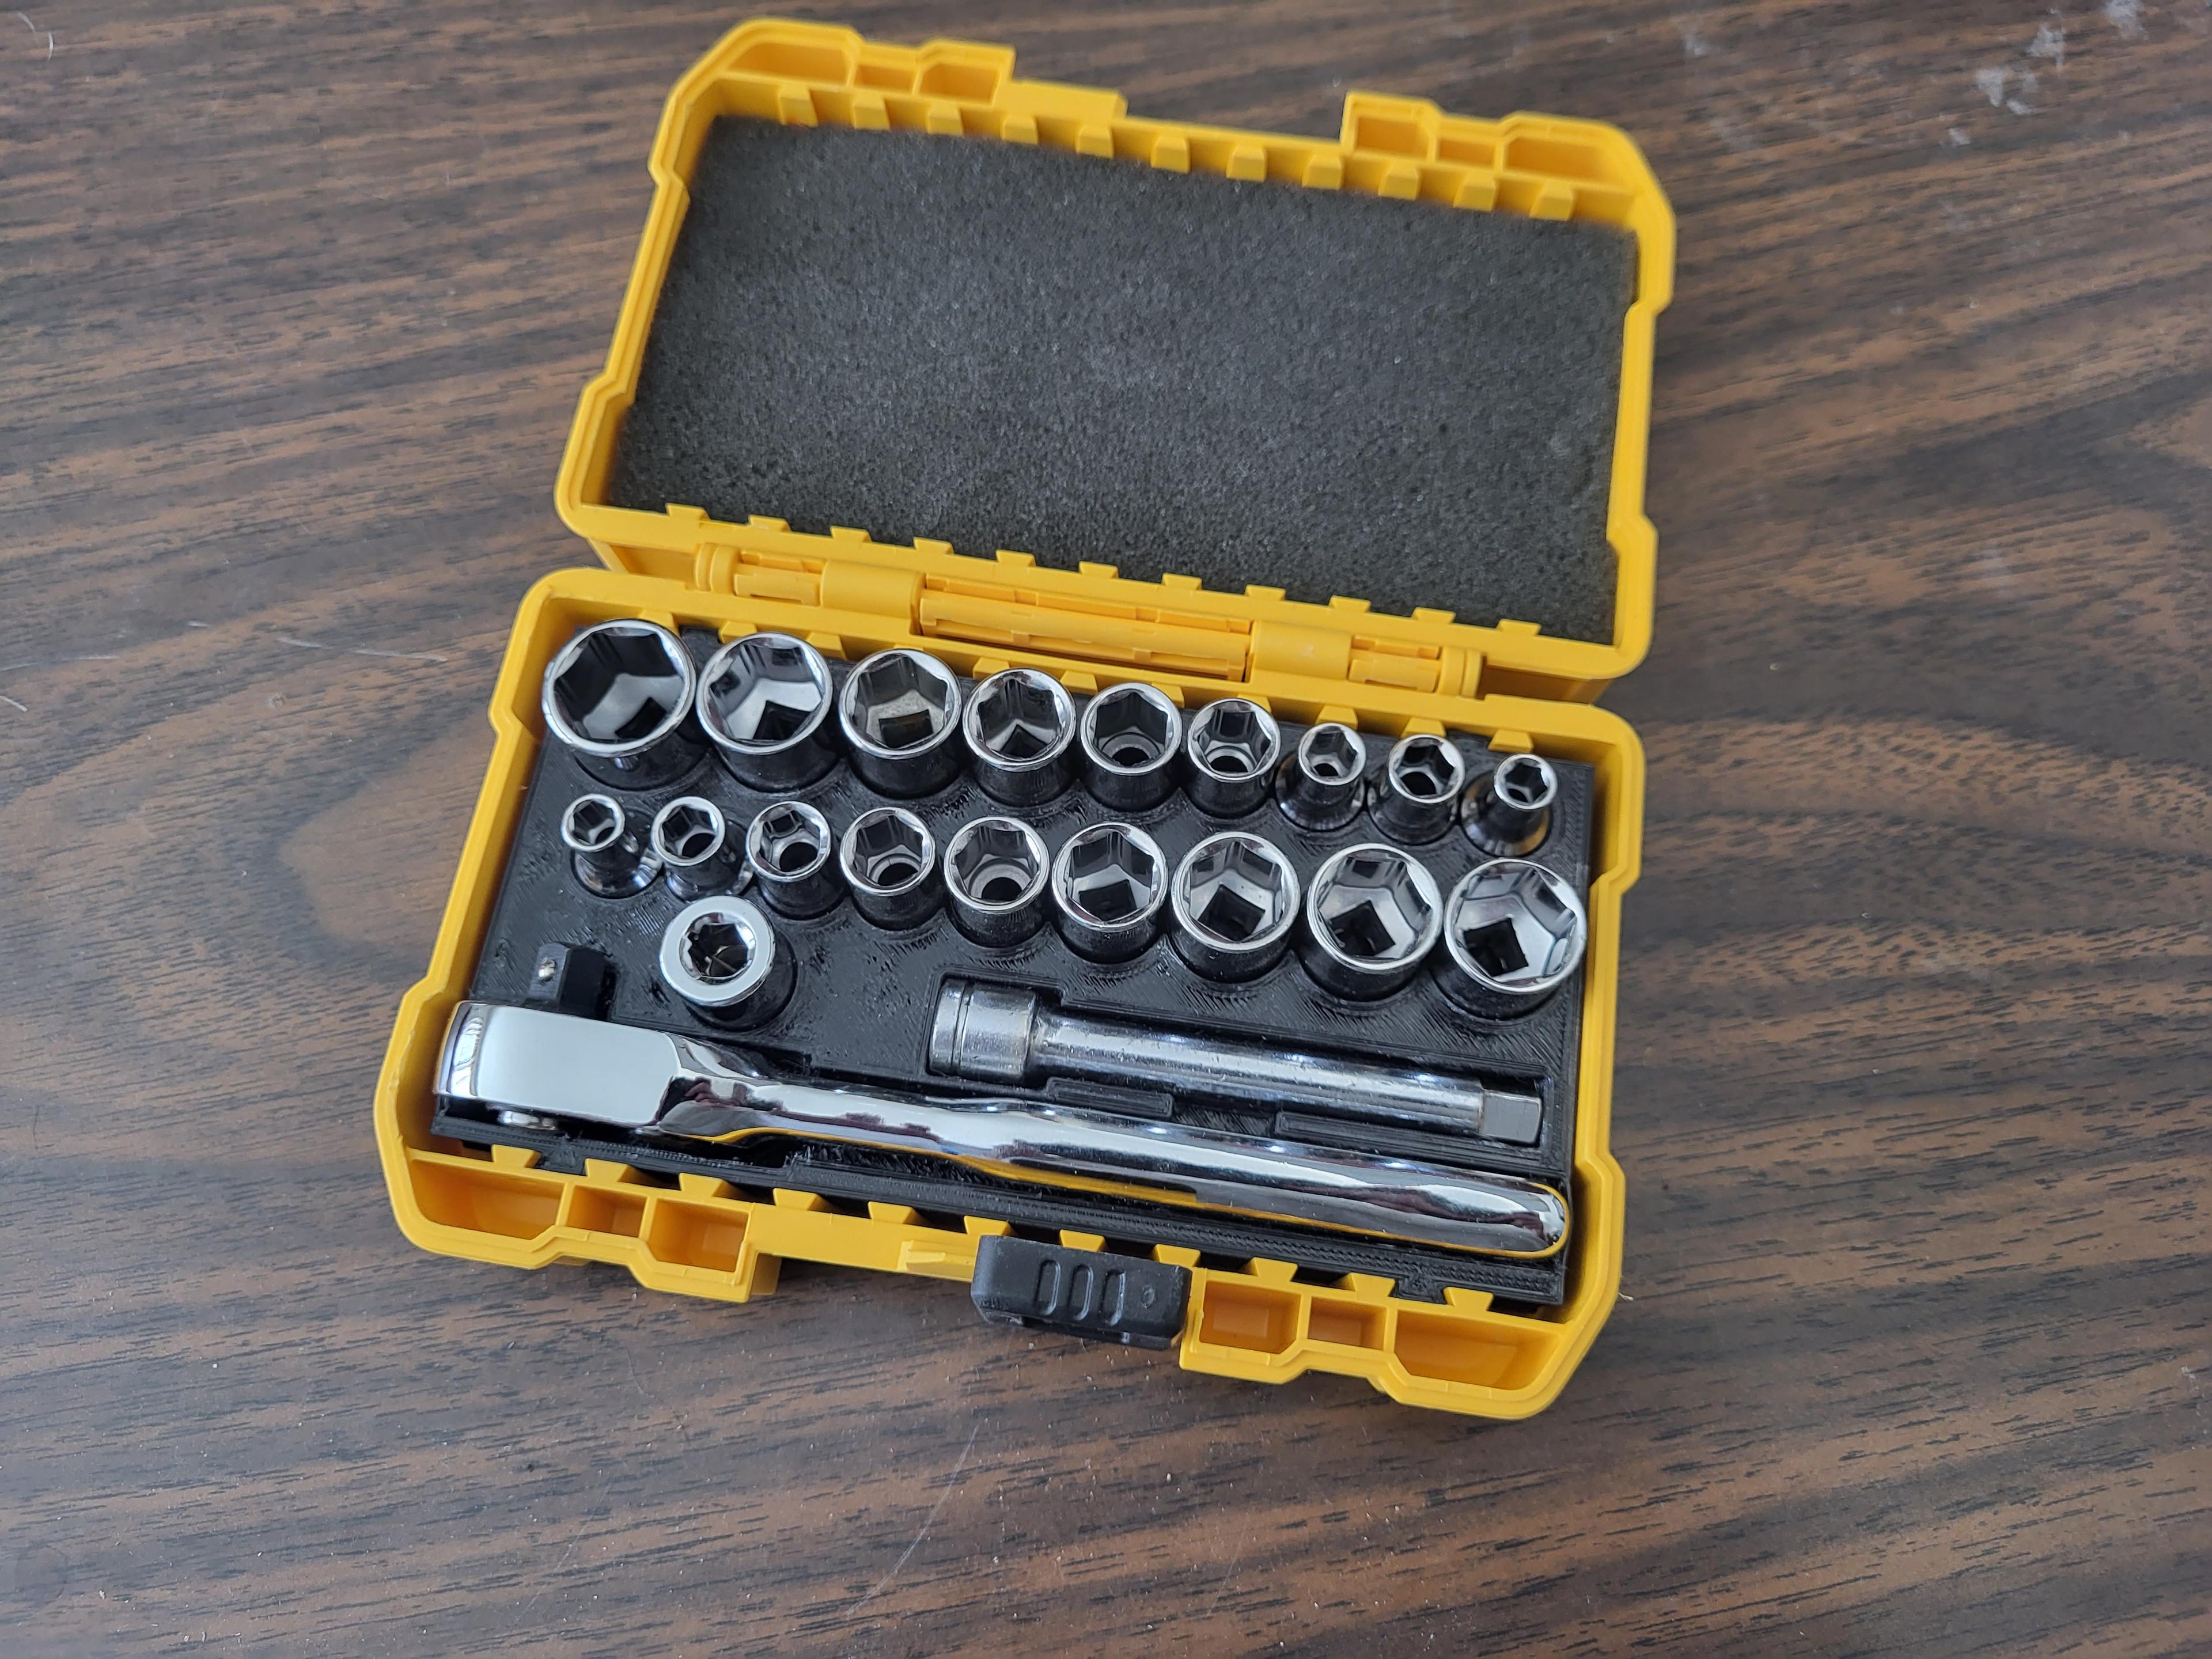
Dewalt small case insert for ratchet set

Nu-Clear Desk Power Organizer V2 Updated 10.20.20.step
Ryobi Battery Output Adapter - Holder

Record player charging station (iPhone MagSafe & Apple Watch)

Samus Nintendo Switch Dock

Nu-Clear Desk Power Organizer - Complete Model_STEP.step

Multiboard dewalt charger holder.3mf