


filament storage dry box
DOES NOT PERMANENTLY ALTER TOTE Semi-permanently alters 1 lid if you want to print out of dry box.
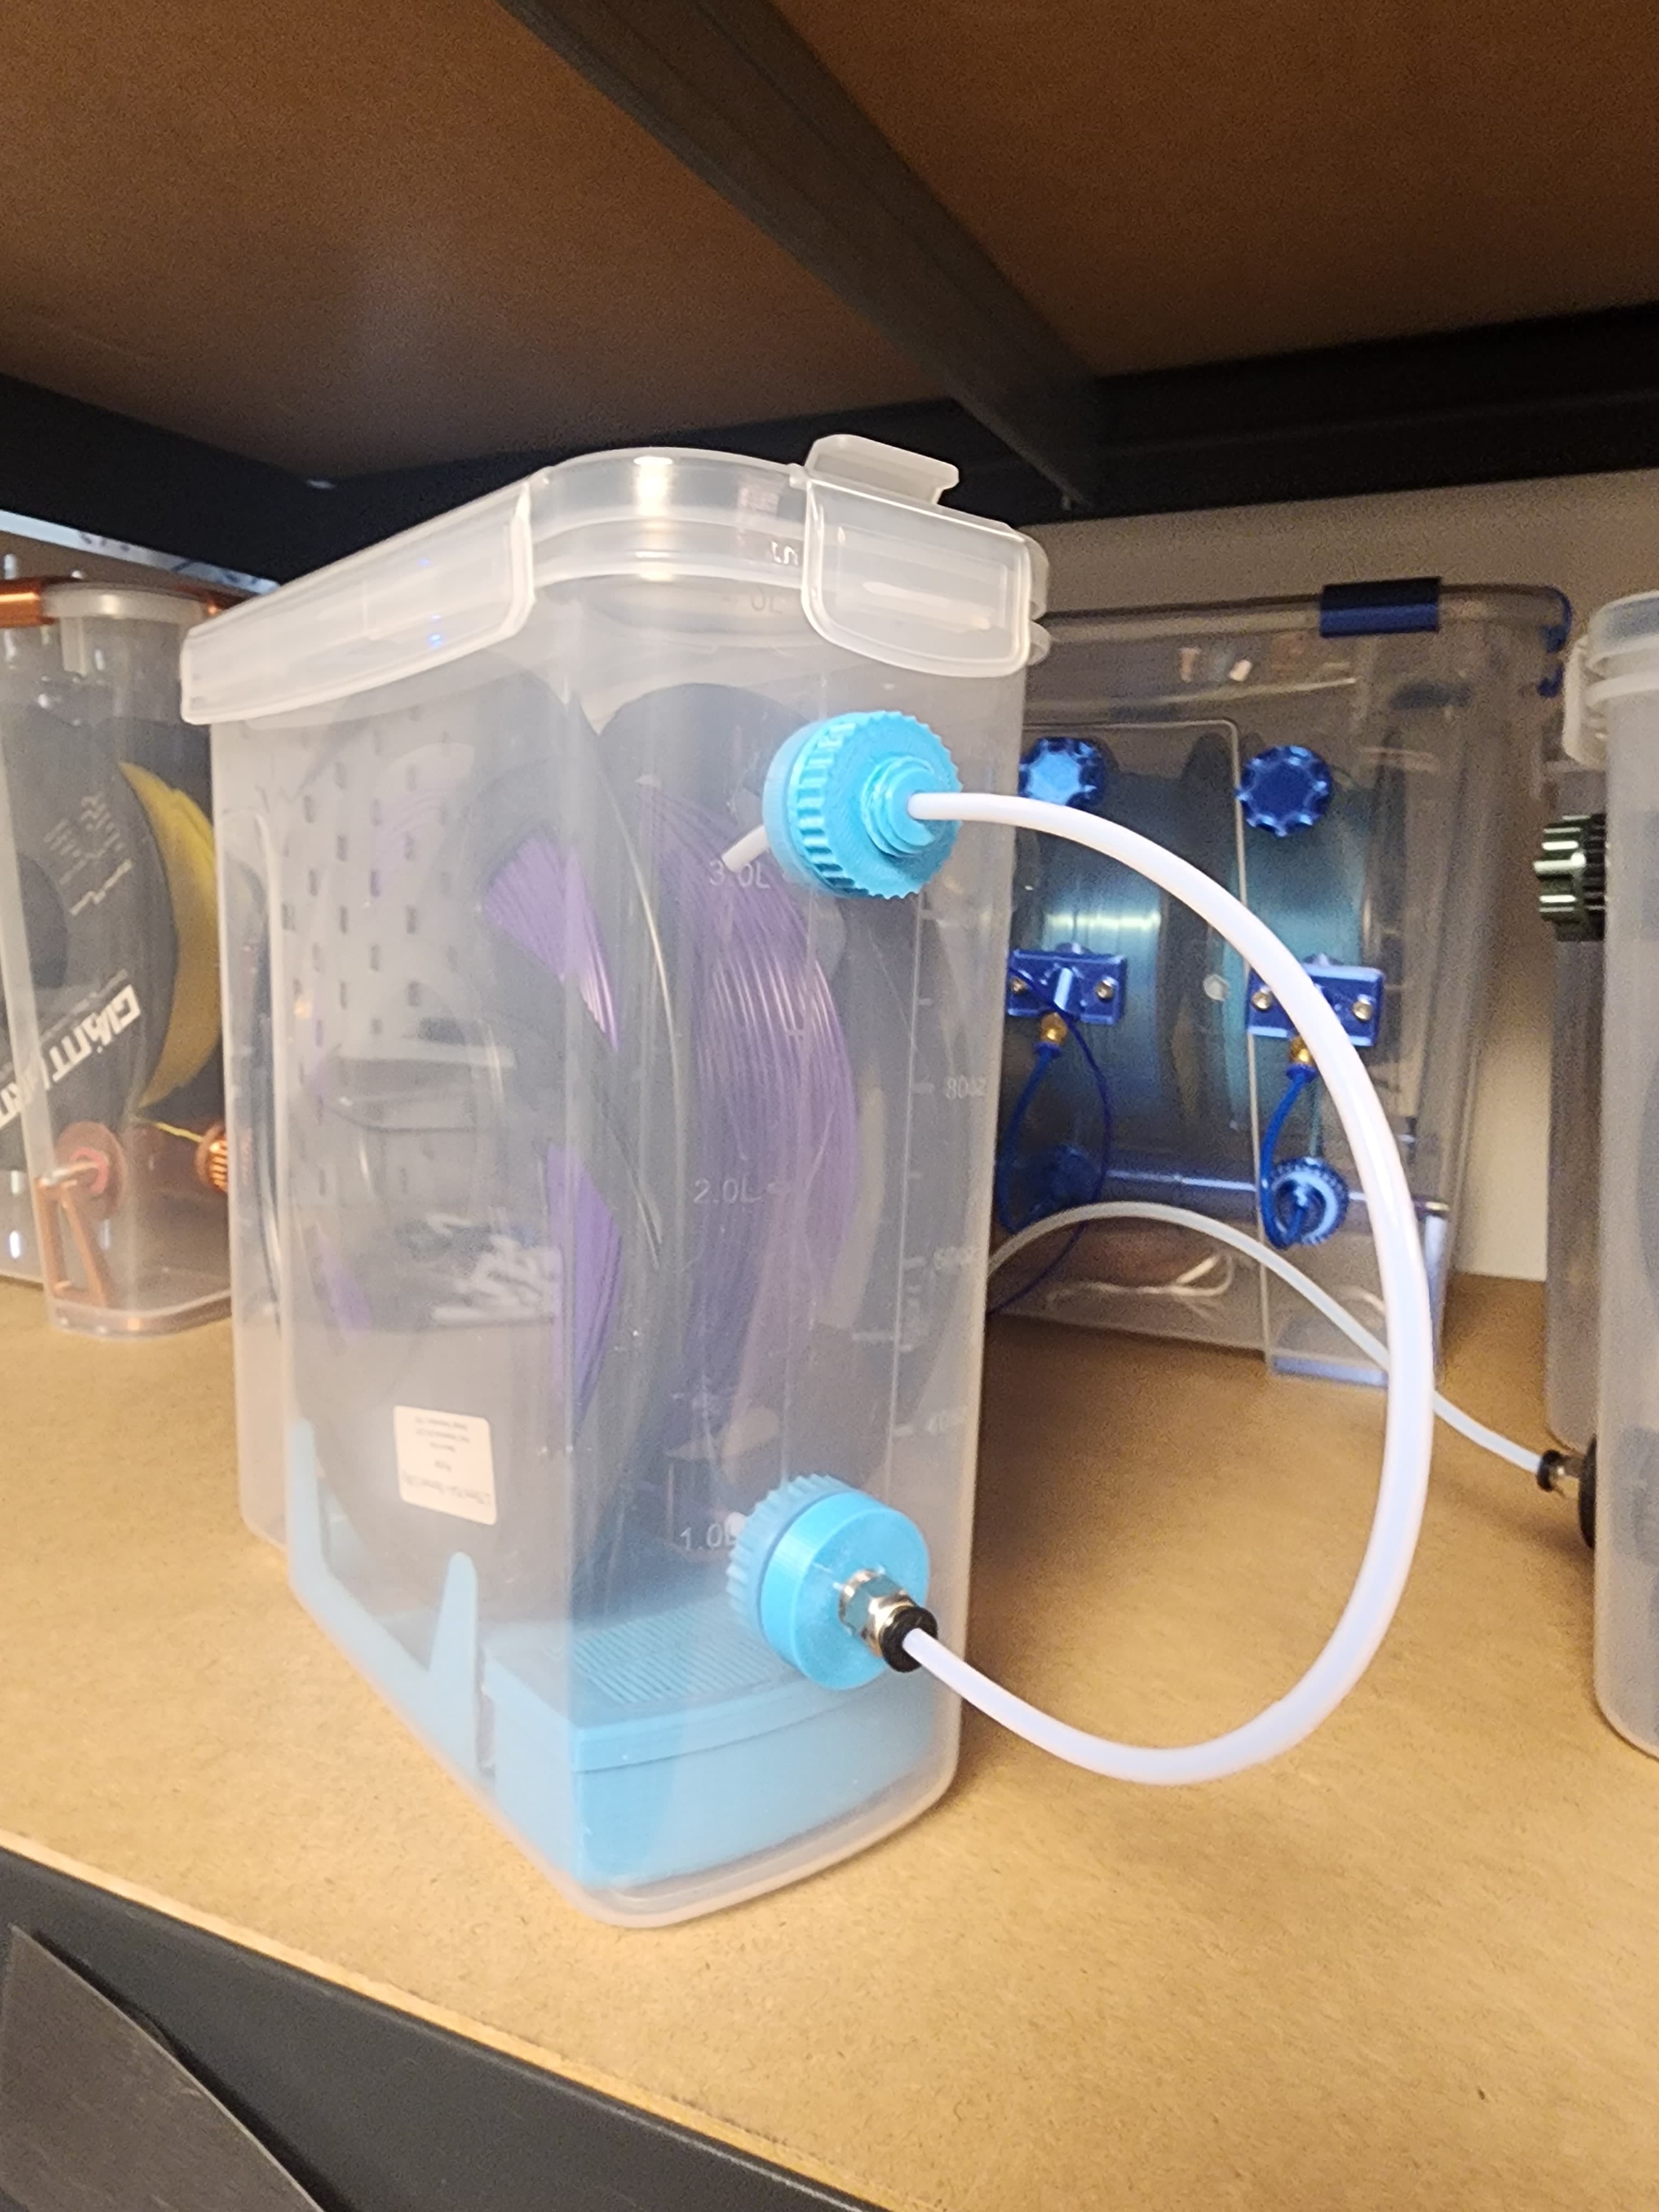
A little different take on the 20 qt Sterilite filament dry box. I repurposed a 1" (.095") plastic pipe from one of my kids' toys and the 4mm PTFE tubes that come with the bambulab X1-carbon combo to make this "AMS". It will likely work with any 1" pipe(the smoother the better). If someone supplies the measurements I can adjust my model to fit ANY size pipe/tube you may have .
The filament will feed out of these boxes as long as you are feeding off of one of the middle rolls(it works on the end position but I wouldn't recomend it). The model uses the already existing lip of the tote and tension from the appropriate length of pipe to make a very secure "rack".
-Cut pipe approximately 321mm(12 5/8")
-Drill 4.3mm (5/16ths") hole centered and in the proper location to allow totes to maintain stacking function. (see pic)
-Insert 4mm PTFE tube into lid and glue/seal. Make sure to leave about 127mm (5") of PTFE tube protruding into tote.
You really only need one "printing lid" so if you just wanted to modify a single lid with 4 holes then you could print from all locations with ease and just swap lids to print. So far I've fed TPU,PLA,PC and PLA_CF successfully. It is currently holding the same humidity as my AMS (10%) I just poured desiccant beads loosely into the bottom for now, but am currently working on a trap.
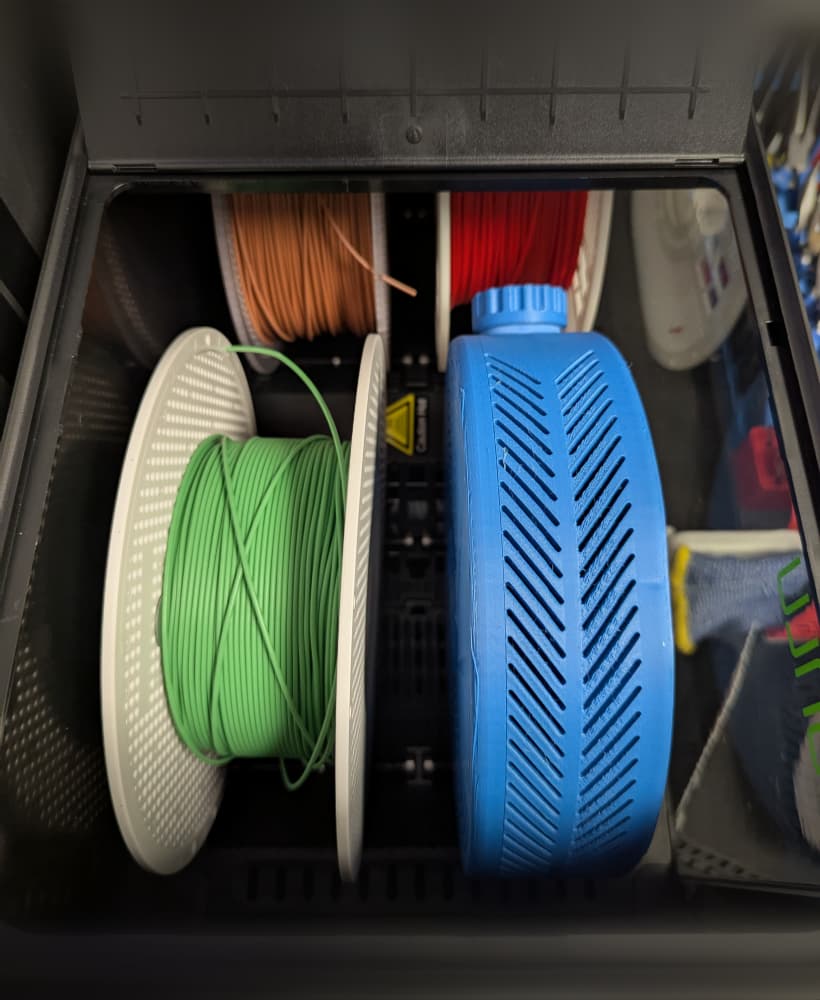
-UPDATE only print revised attachments if you plan to use my desiccant trap. As I had to adjust the profile to accommodate the bead trap. The desiccant trap design is complete it does have a few bugs to work out, but it is functional just needs some tuning on the print profile. You can see results in photos. It is a long print with support but the capacity of the beads is worth it in my opinion. It also gets the beads and the sensor up at the top of the box where the moist air should be while maintaining zero mods to the tote. I haven't finished the lid that will house the hygrometer so I have just been setting it in there for now and am having no problems maintaining 10% humidity. I will get around to designing the lid and C clips w/washers in the next week or so. I haven't needed them yet as the two sides click together very positively.
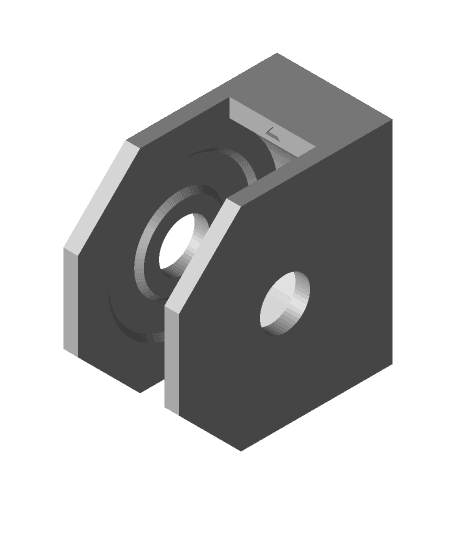
Printed the full circle pipe mount WITH support. Half circle version prints fine without. Pipe supports are printed out of PLA and the tube caps and couplers were printed with TPU. 75g of material to print both pipe supports. *new supports only use 65g of material
edit- The Elmers glue did not hold up. I am trying hot glue at the moment because I'm too impatient for silcone:) it seems to be holding up just fine and can easily be removed if I need to repurpose the PTFE tubing or tote, later down the road.****
filament storage dry box
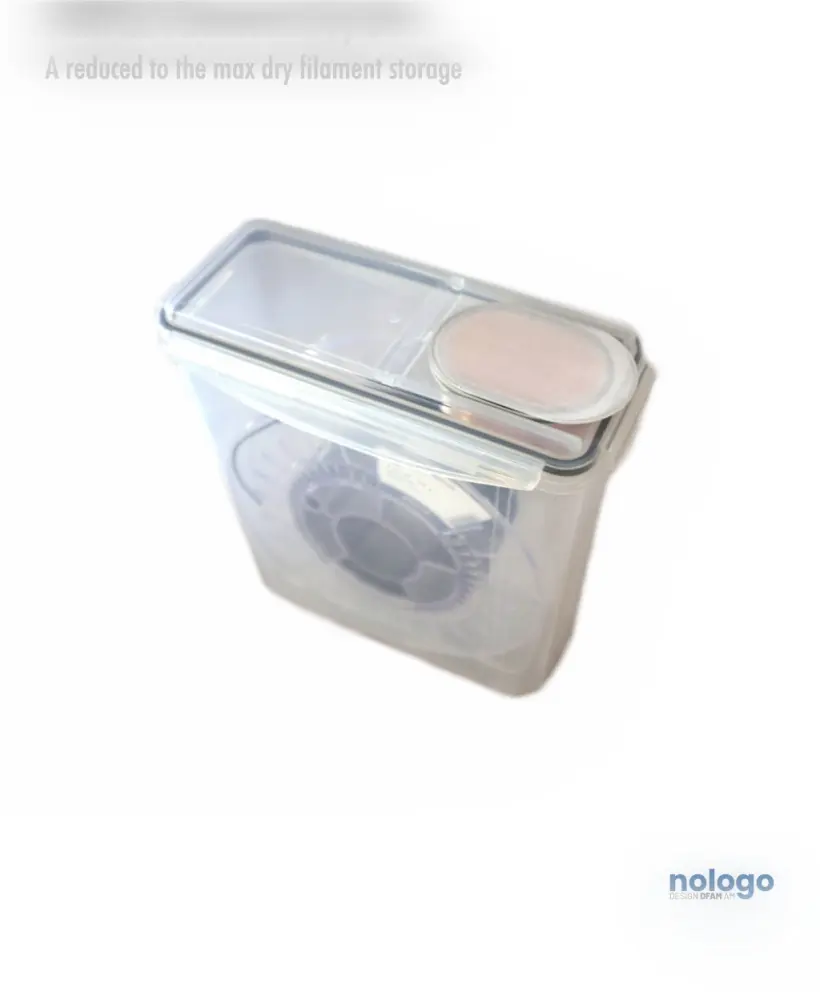
S!MPLE Filament Dry Box
.png&w=3840&q=75)
Heated 3D Printer Filament Dry Box / Hot Box

No-Drill, Print From, 100% Dry Box Mod
FINALLY — Dry Box actually working great (no supports needed)
Cereal Bin Dry Box

Filament holder plug for 3D filament dryer box
.png&w=3840&q=75)
Berry Dragon Storage Box / Cute Twist-Lock Organizer 3D Model
.png&w=3840&q=75)
Pommo / The tomato storage box.
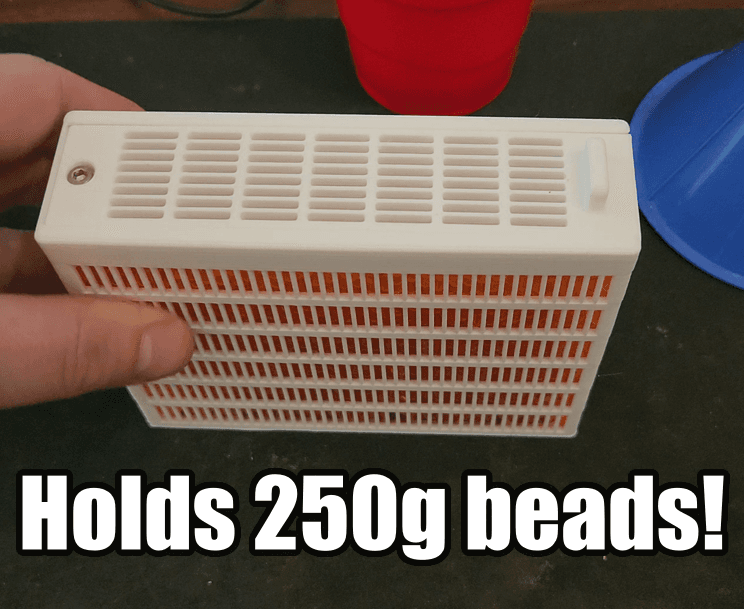
Yet Another Desiccant Box - Holds 250G Dry Desiccant - Sliding Lid with Screw Hole
Desiccant Dryer Spool

Gothic Book Box

Dragon Queen Book Box

Dragon Spellbook Box

Gothic Serpent Dagger Book Box

Dark Knight Phoenix Book Box

Twin Serpent Dagger Book Box

Kraken Book Box

Fantasy Gothic Dragon Heart Book Box

Viking Skull Book Box

needs to be opened with Bambu Lab to work properly. I believe that is the case. If someone else can confirm I will just upload a new model to limit confusion.
SADLY THESE FILES ARE UNUSABLE
ok so click remix model then select all files. those files all work for me when I download them/ Please tell me if they don't work for you
alright try "drybox filament attachments.stl" that is the model see if you can just put that in your slicer maybe
my apologies as it works when I download it from here. but when I try to test the exported plate file from Bambu studio it comes out as an Orca project and doesn't work. any ideas???
Is there another way to acquire these files? Every time I download these files, it states they are damaged. I tried different computers, different unzip software, and different internet connections.
try the file that says gcode at the end
yeah I got ya I'll upload a more recent file see if that helps.