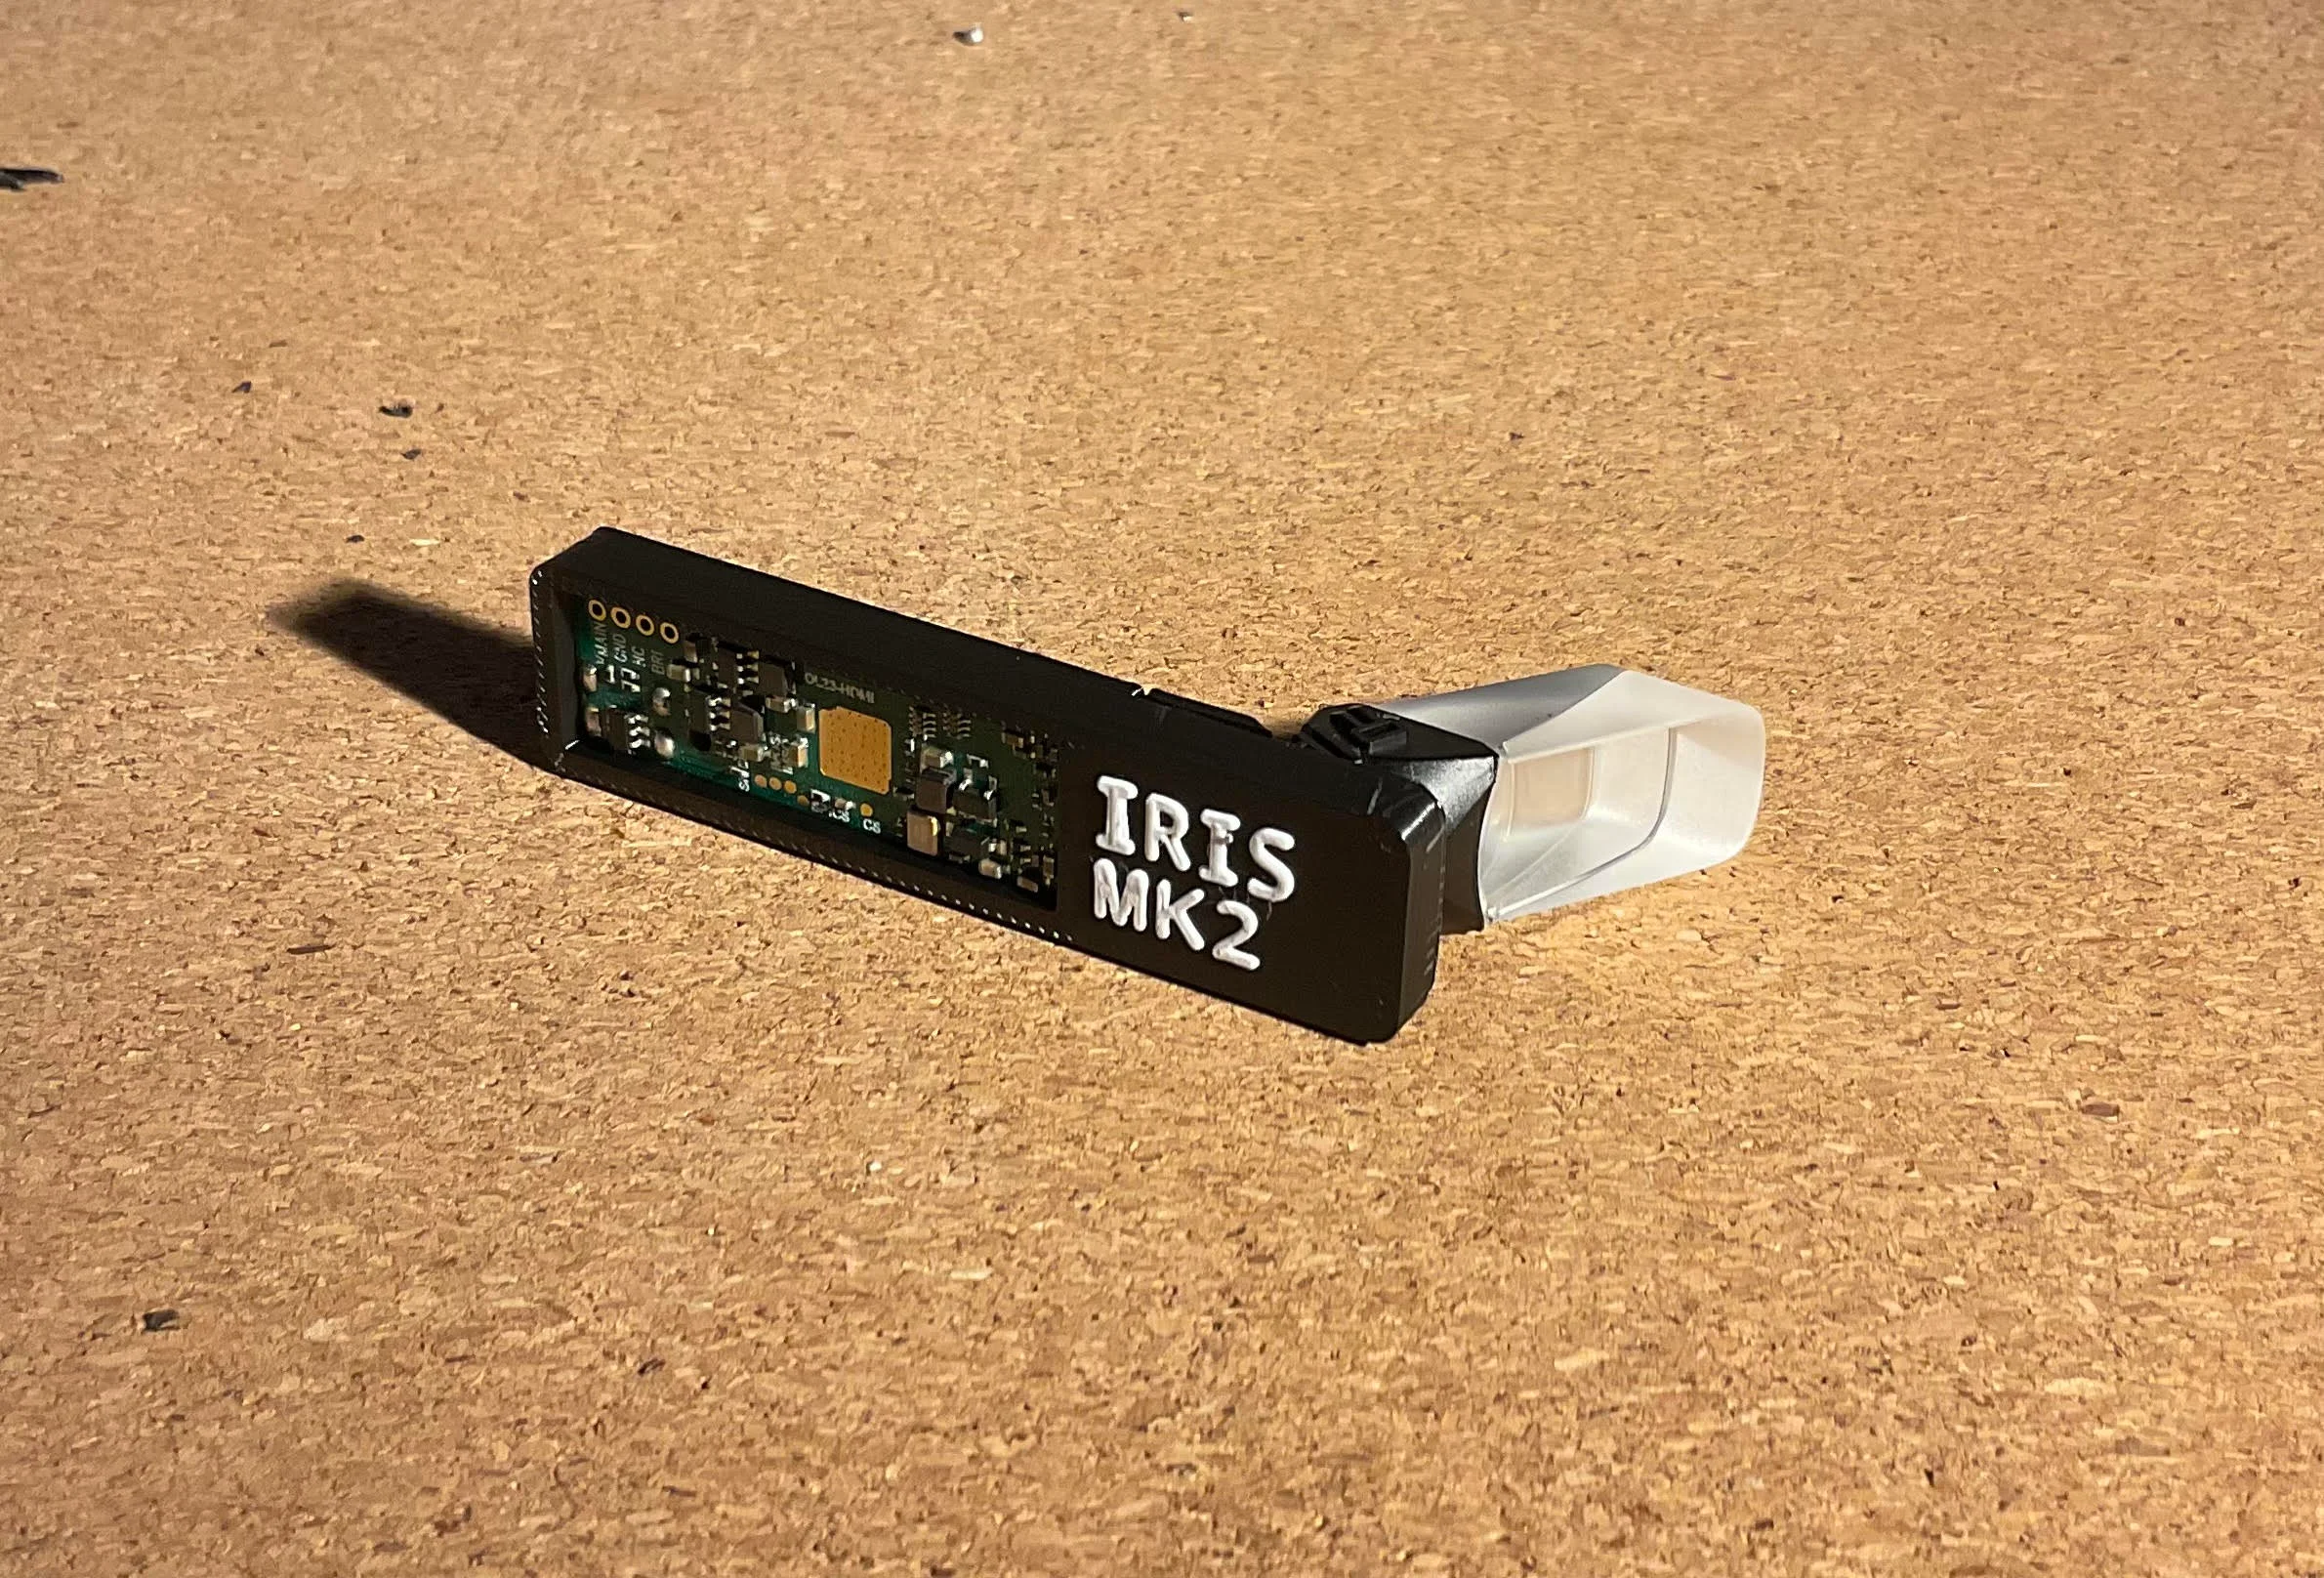
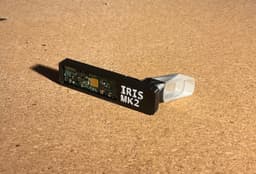


Iris MK2 Wearable Display
This is a lightweight wearable display inspired by Google Glass that is designed to be connected to any computer via an HDMI connection.
Note: This project is still a work in progress and has many features that still need to be added, such as a mounting system. There may be problems that still need to be fixed!
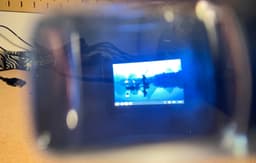
The Iris is based off the Sony ECX336C OLED microdisplay, with a resolution of 640x400 (See https://www.sony-semicon.com/en/products/microdisplay/oled.html). This microdisplay is seen through a transparent optical prism, making the appearance of a transparent display floating in space a few feet in front of you, with a diagonal FOV of about 20° (the picture shows the display having blurring and artifacts, but these are caused by the camera lens and IRL the display is crisp). The display panel is connected to a driver board that allows you to connect a Micro-HDMI cable for video connection, and it can even get it's power connection through the HDMI's 5V line (or optionally an external 5V power source if you remove the 0Ω resistor from the circuit board near the power pins.)
The microdisplay with the integrated prism and driver board can be bought on Aliexpress for around $230, but you could also get one cheaper on Alibaba if you are willing to spend time negotiating with the sellers. Sadly I cannot put a purchase link since these listings seem to come and go pretty quickly. Search google for "sony ecx336c display hdmi" and find a listing that shows the display with the prism and a driver board that has a Micro-HDMI port on it, NOT the driver board with AV signal input! (see pictures to see what you should be looking for.)
Print the case and cable cover with PLA (I switched colors partway through to get a contrasting color on the text). To assemble, remove the display's ribbon cable from the driver board and insert the driver board into the case so that the micro-HDMI port goes into it's slot on the case. Next, reconnect the ribbon cable while the driver board is inserted, and put the display into it's slot on the case. Tuck the excess ribbon cable into the tracks under the driver board, and put the cable cover into place in it's slot. All of the case assembly is designed to be friction-fitted, but if your tolerances aren't perfect you may need to use glue. I recommend to put two tiny dots of hot glue on the corners of the display's slot so that it is held in place better. However, DO NOT put ANY glue in the bottom of the display slot or on the back of the actual display panel (the reflective part when you look on the back of the prism), as this can damage it.
Iris MK2 Wearable Display

Hoodie-Mounted Wearable Display
Optigon Behind-the-Neck Frame (Wearable display mod kit)

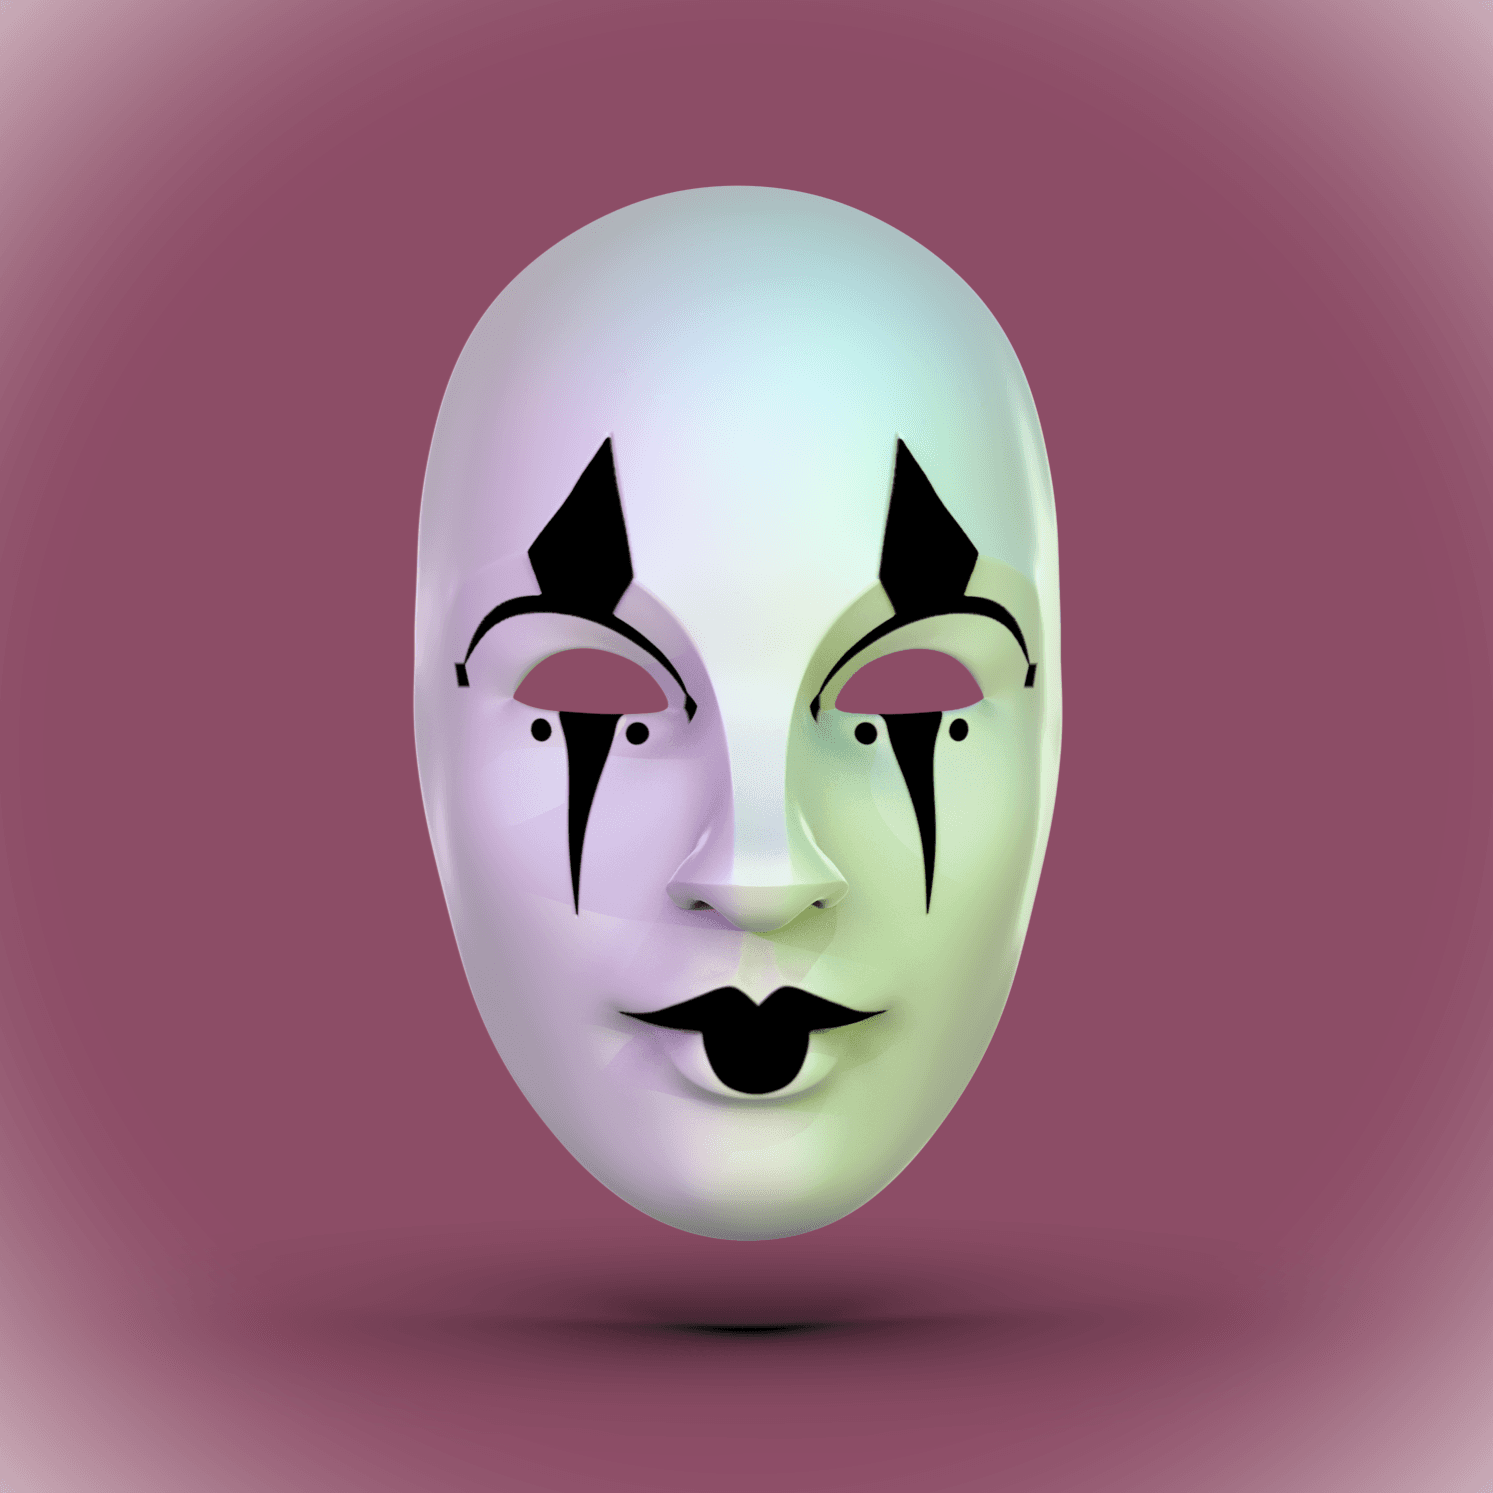
Gothic Doll Face Mask – Elegant Wearable Mask for Cosplay, Display & Fantasy Costumes

Artistic display of a purple Iris - Set of bookmarks
TheUltiPad MK2 - Now with OLED Display and RGB

Voronoi Mask | Organic Hollow Wearable Mask for Cosplay, Halloween, and Display

Masters of the Universe: Trap Jaw Helmet - Wearable Cosplay Prop with Movable Jaw & Display Stand -
Oni Cloud Mask - "Folklore" (Sculptober Day 27)

Articulated Boomslang snake | Pre-Painted + Optional 12 mm Glass Eye Version
Cyber Mask -"Cyber" (Sculptober Day 13)
.png&w=3840&q=75)
Voidstar Data Blaster Mk1
Cthulhu Wall Decoration mk2

Skull Trio Pack – Bat, Raven & Goat | Halloween Props, Cosplay, Talisman *Support-Free Prints*
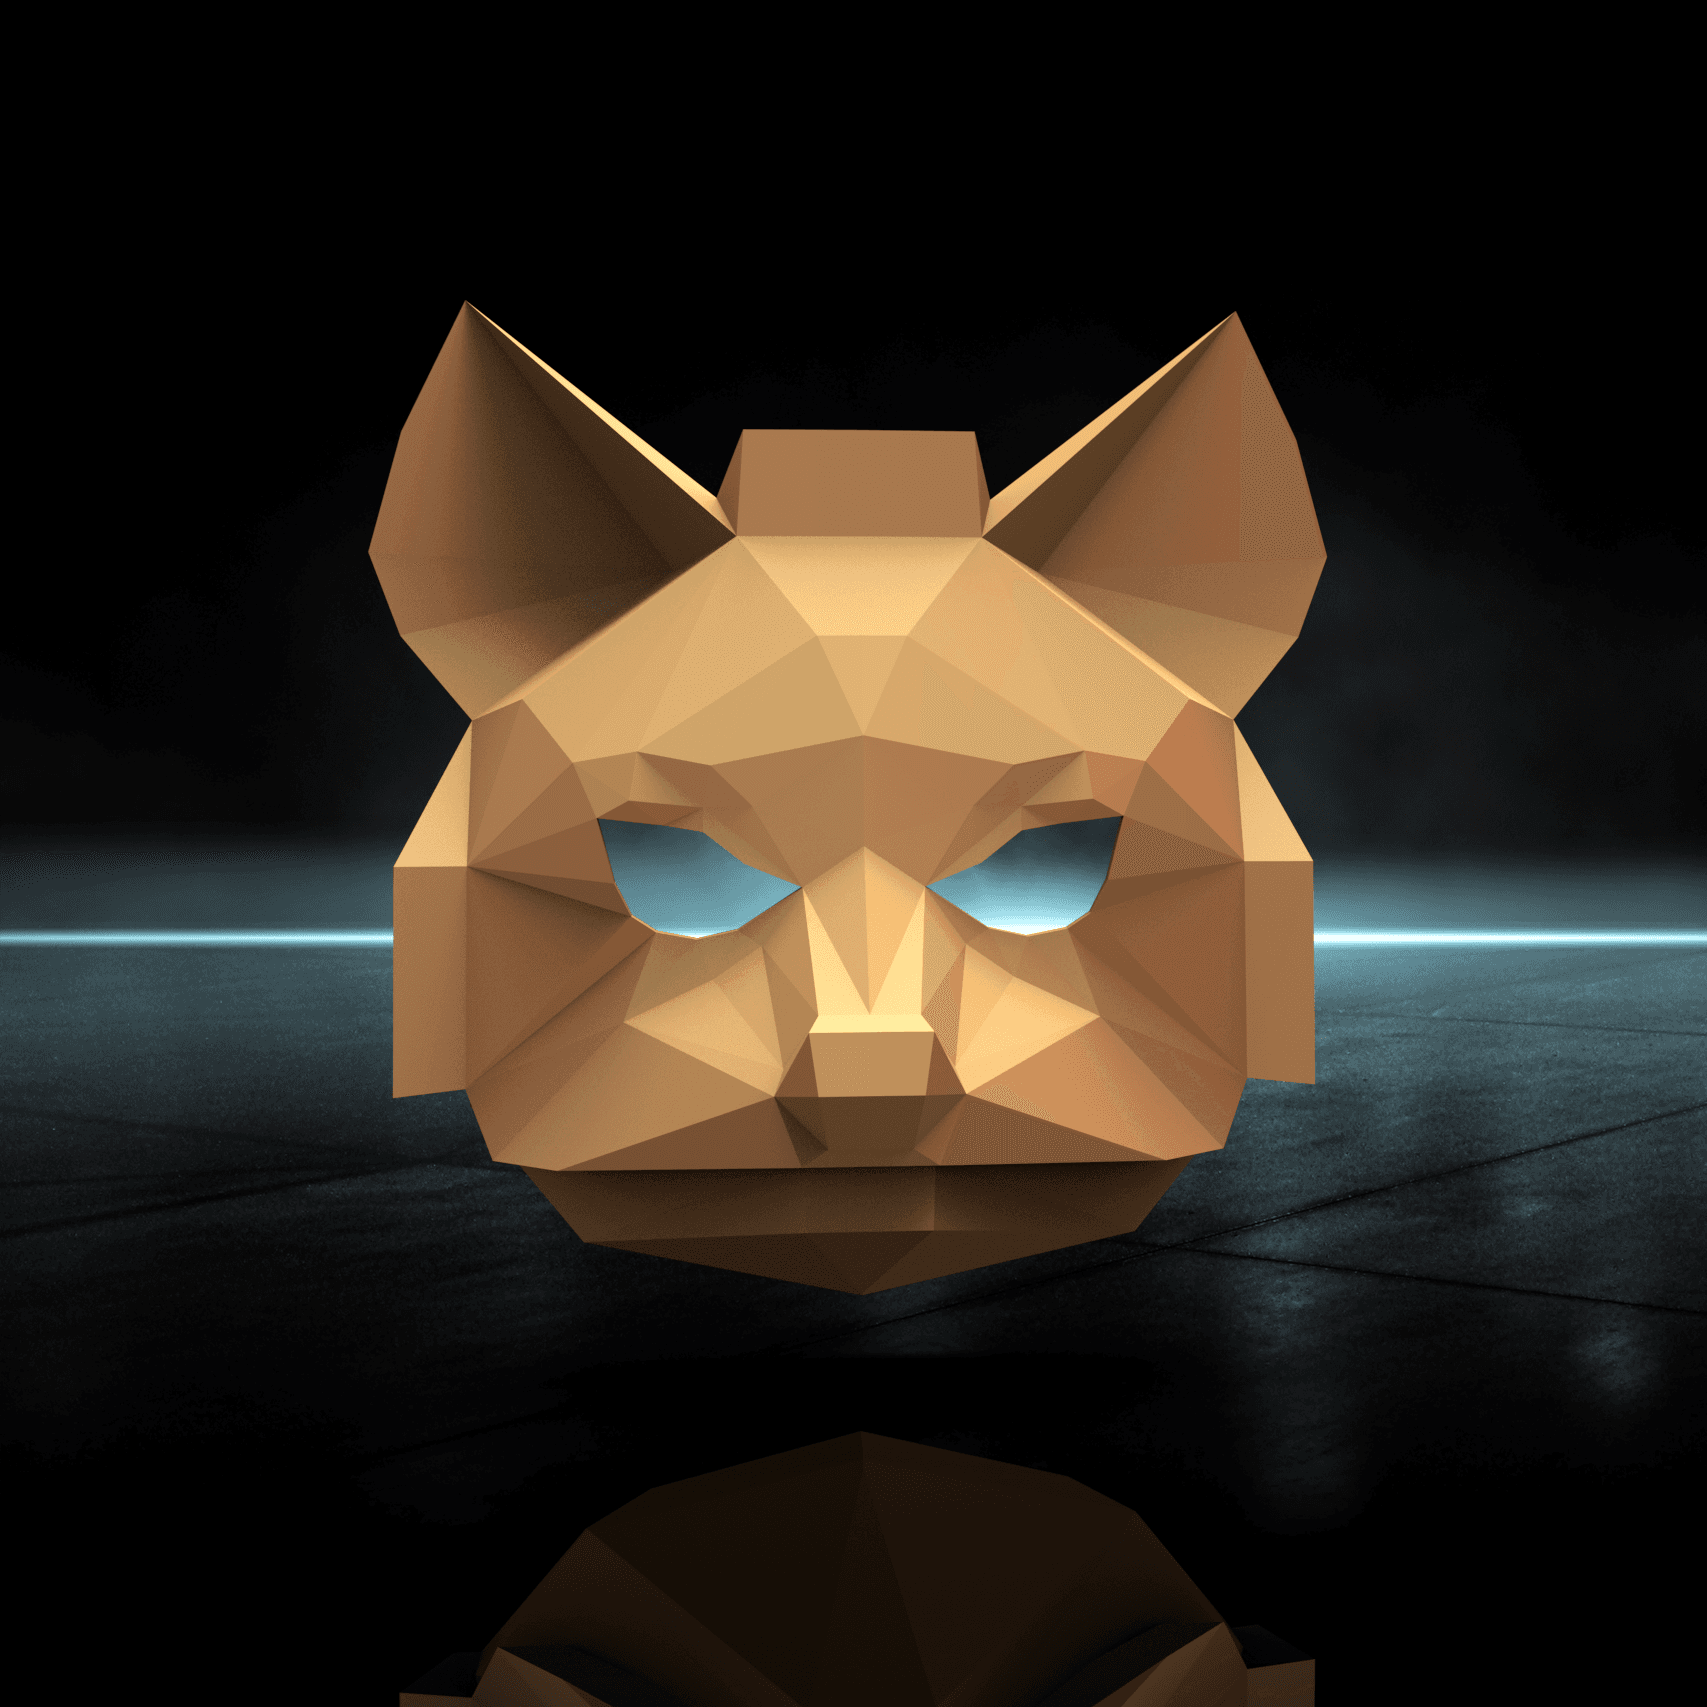
Fox McCloud Mask -"Retro" (Sculptober Day 11)

Fallout T60 Helmet – live action series
.png&w=3840&q=75)
Optigon 2 HMD Frame: Moverio BT-40 Mod

N7 Helmet - Mass Effect
Carnival Mask - "Carnival" (Sculptober Day 14)
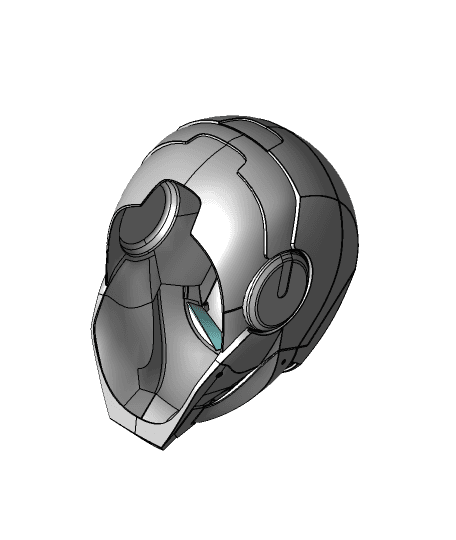
Iron Man MK2 3D print
