


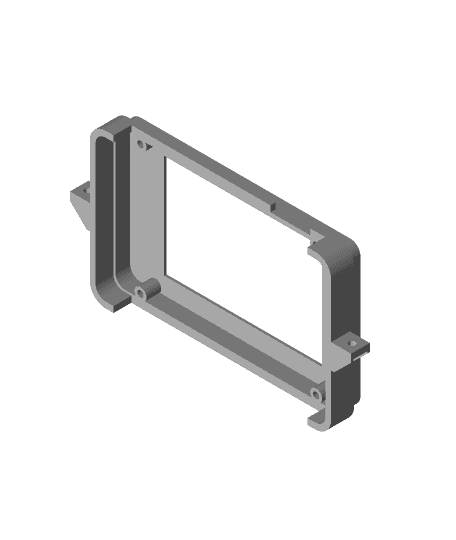
Raspberry Pi Zero W Case + Camera and mount for Replicator 1 / FlashForge Creator Pro / PowerSpec
Model originally uploaded to Thingiverse at https://www.thingiverse.com/thing:2177542.
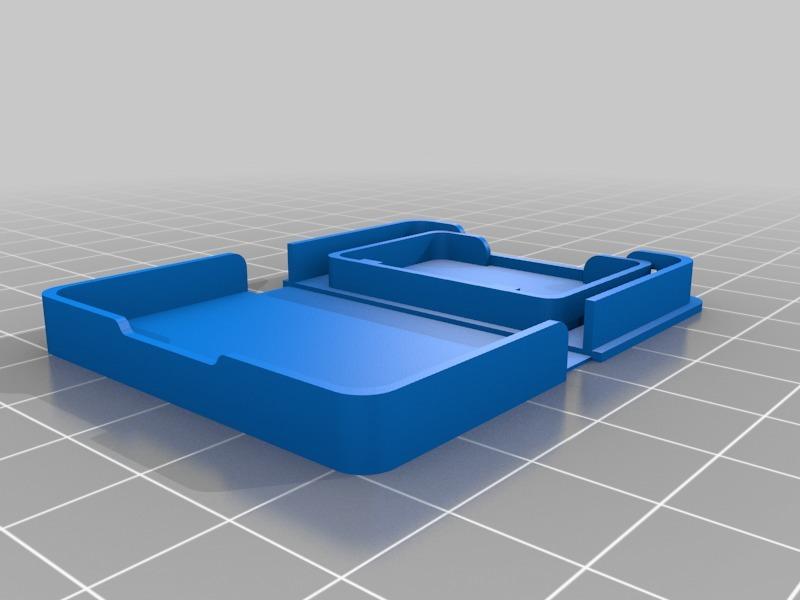
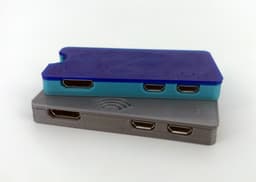
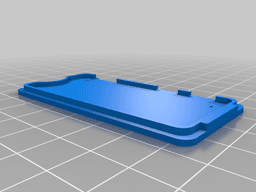
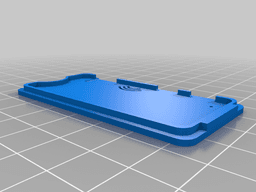
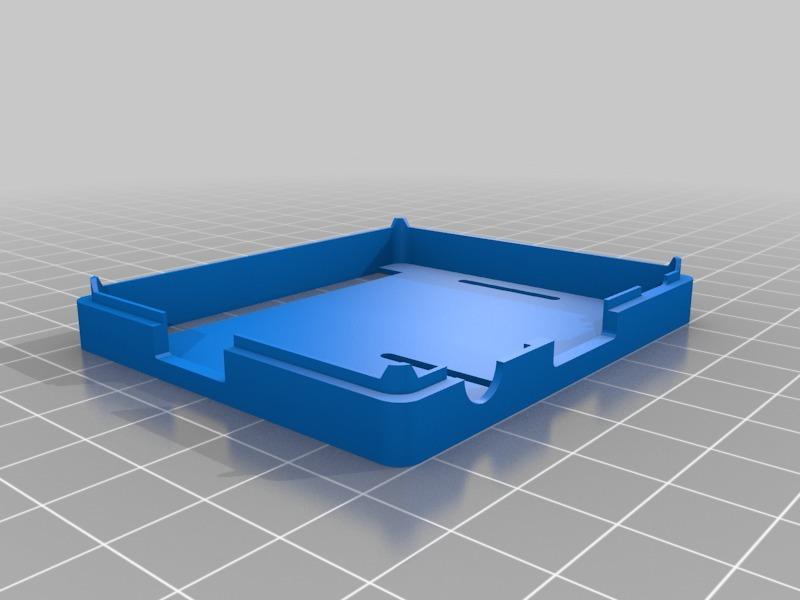
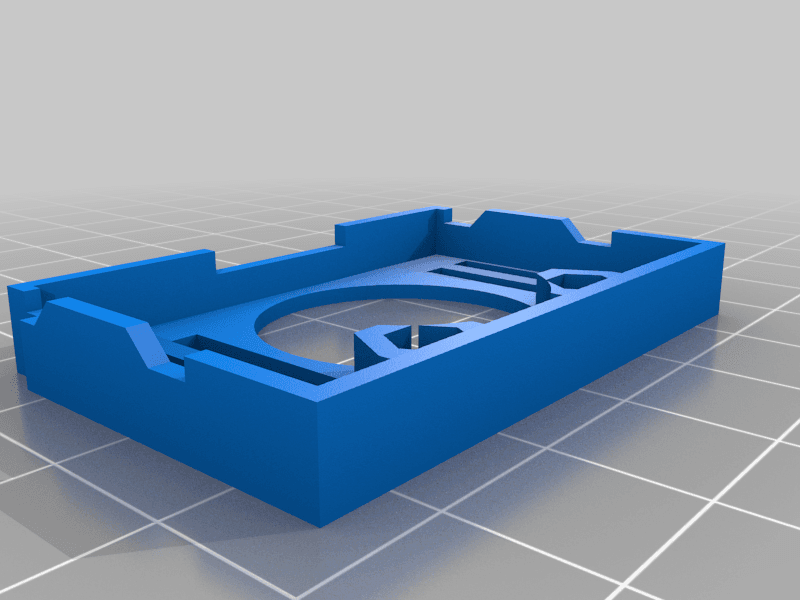
With the new Raspberry Pi Zero W (Pi0W) having been released, I decided to design a case and camera mount for my 3D printers. And what a better day to release it than Pi Day 2017! This should work if you don't have the front acrylic panel attached. I've included a blank top as well as one made just for the Pi Zero W. It has a little Wifi symbol over the antenna. How else are people supposed to know you've got the new Pi0W if it's in a case?
If you're printing just the case top and the bottom without the #D printer mounts (Pi_Zero_Case_Bottom_no_mount.stl & either top file), they're 33.2mm wide which means they should be just small enough to be ditto printed!
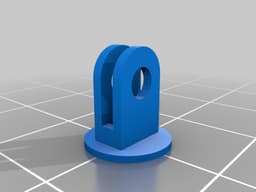
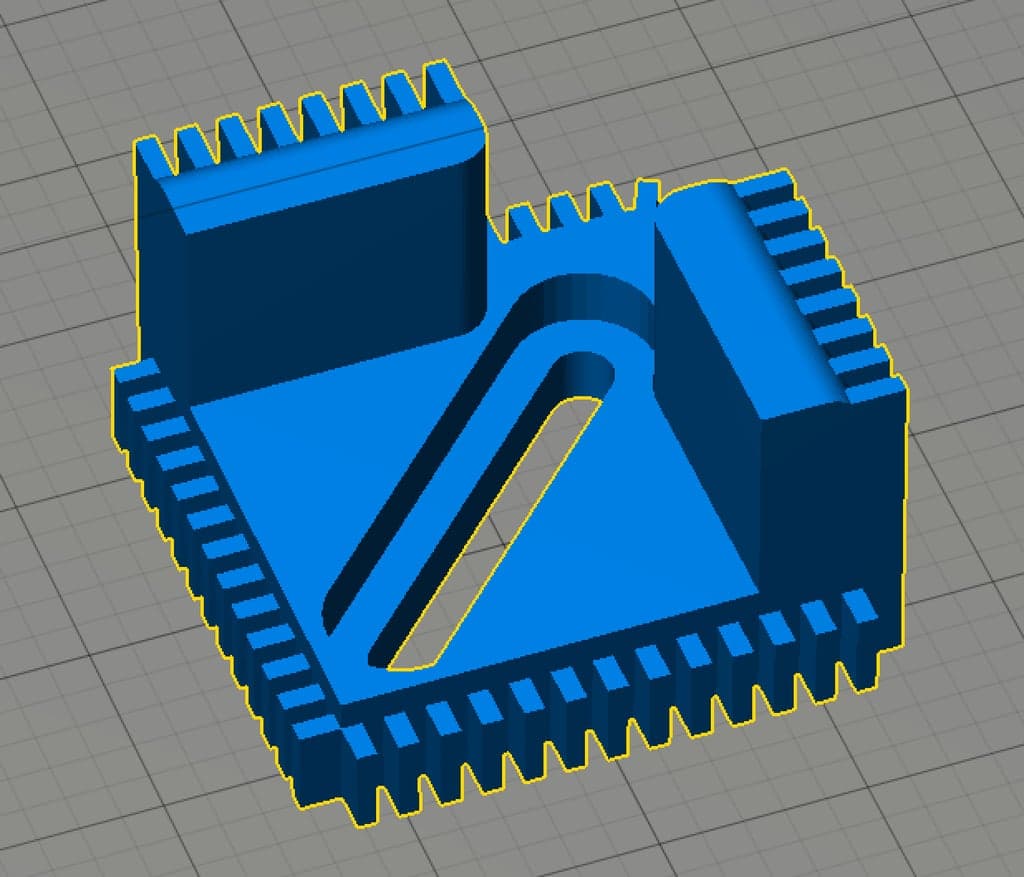
Recommended: PLA at .2mm. Except the swivel file which should be printed at .1mm
EDIT 5: Added hole above Power LED for filaments that are not translucent.
- Repositioned the Wi-Fi symbol.
- Optional top with USB and Power symbols above their respective ports.
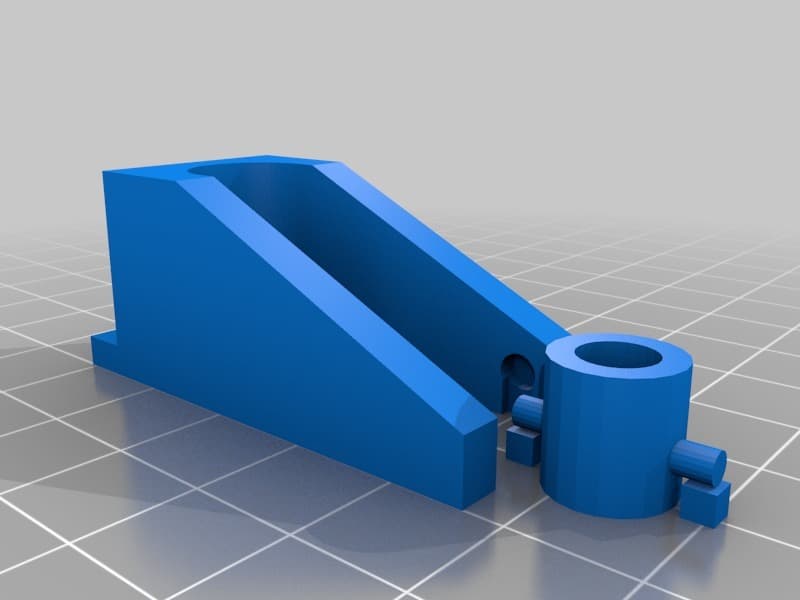
EDIT 4: Redesigned the camera model.
- No longer based on 3dkarma's Raspberry Pi Camera Mount with Ball Joint for Reprap. Shout out for inspiration though.
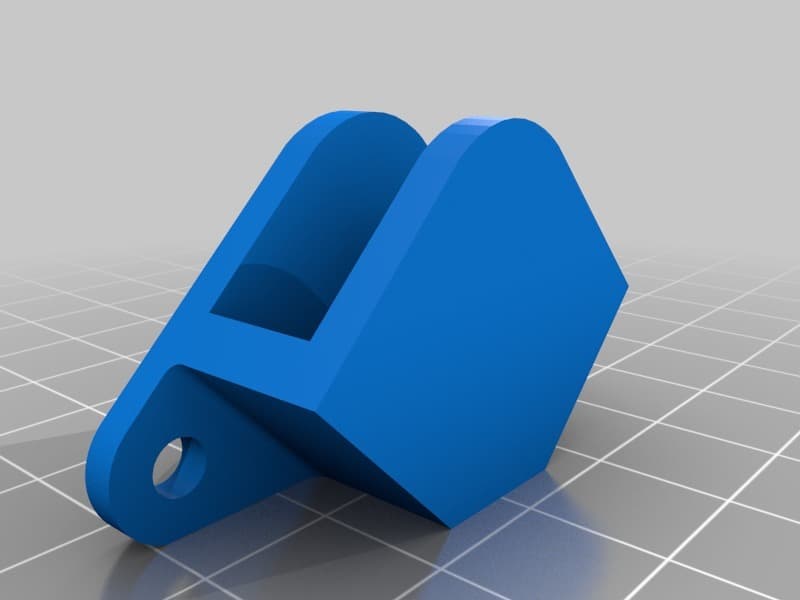
- Started from scratch, designed the camera case. It is a snug as snug can be, you will have to pop your camera into place. If you need to get it out, gently push back on the lens area.
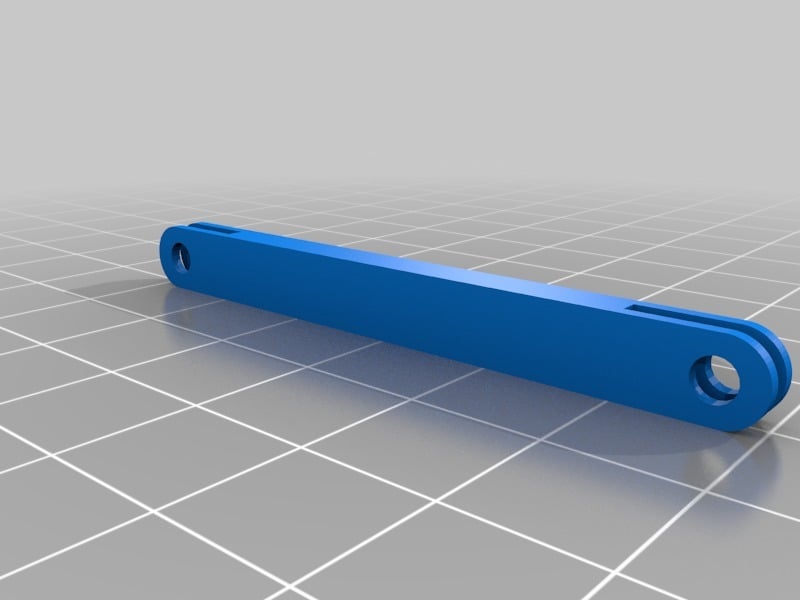
- Features a swivel mount that screws into the camera arm, and allows the camera to rotate. When moving it, make sure to firmly hold the back so it doesn't pop off.
EDIT 3: Reworked then model again, again.
- Moved microSD opening, camera opening, HDMI openings. Not a huge huge change if you had the last revision. But this is just a cleaner better aligned design.
- Moved camera hinges on case bottom to be a little bit higher for a better view. Still trying to figure out a way to adjust the camera tilt.
EDIT 2: Reworked the model again.
- Walls are about the same thickness, though I made the actual hole your Pi Zero fits into tighter. It should be an exact fit and not move. It may be snug, but it fits if you pop it down. PLEASE COMMENT IF YOU'RE HAVING ISSUES WITH IT BEING TOO TIGHT.
- Reworked the top plate to fit into the newer size of the bottom.
- I found the ball and socket attachments weren't strong enough to keep the camera in place with the weight + tension from the cable. Replaced with hinges that require screws. I'm using screws and nuts that were included in my "replacement parts" for my machine.
EDIT: Reworked the model.
- Made the outside walls slighty thinner for better cable connection to their ports (mini HDMI). Both parts of the case are now 1mm thinner.
- Also reworked the top piece to fit inside the bottom better and not fall off.
- Widened the microSD hole for easier access, also added to the top plate to help fill empty space above the microSD slot so you don't accidentally put it there.
- Redesigned the camera attaching area. Still working on that part.
- I added just the case bottom with no mounts for other projects.
PowerSpec Ultra SKR Upgrade
Concentric Rectangle Bed Level - Replicator Dual / FlashForge Creator Pro / PowerSpec Pro 3D / 225mm x 145mm bed
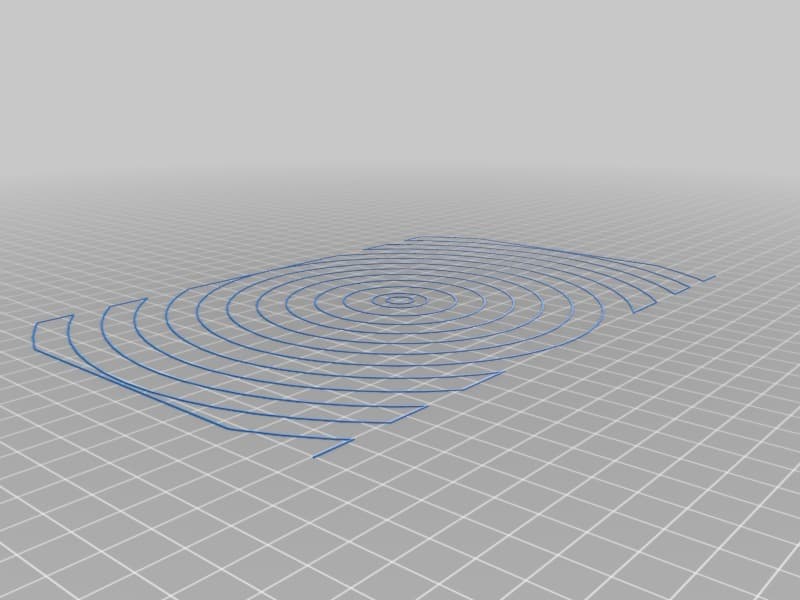
Bed Levels - Replicator Dual / FlashForge Creator Pro / PowerSpec Pro 3D / 225mm x 145mm bed
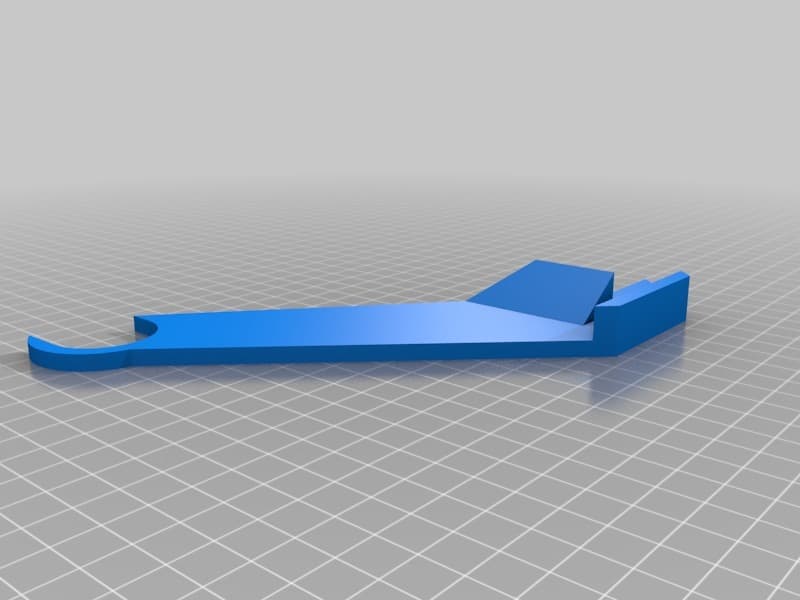
External Spool Holder for Flashforge Creator Pro / PowerSpec 3D Pro
Filament Guide for External Spool Holder for Flashforge Creator Pro / PowerSpec 3D Pro
Glass build plate clip for PowerSpec 3D Pro
Monoprice MP i3 Mini (Wanhao, Cocoon, PowerSpec) filament spindle
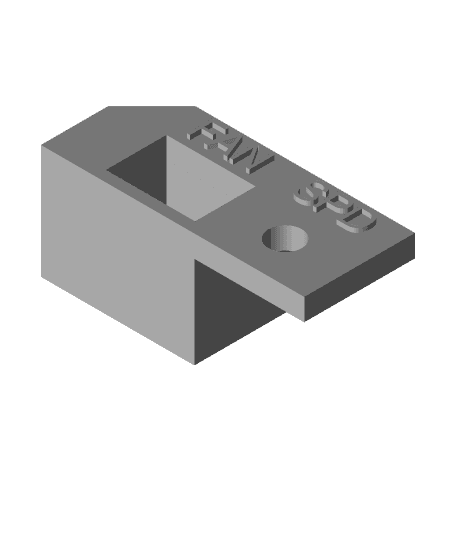
PowerSpec Ultra PWM Fan Switch/Speed Controller
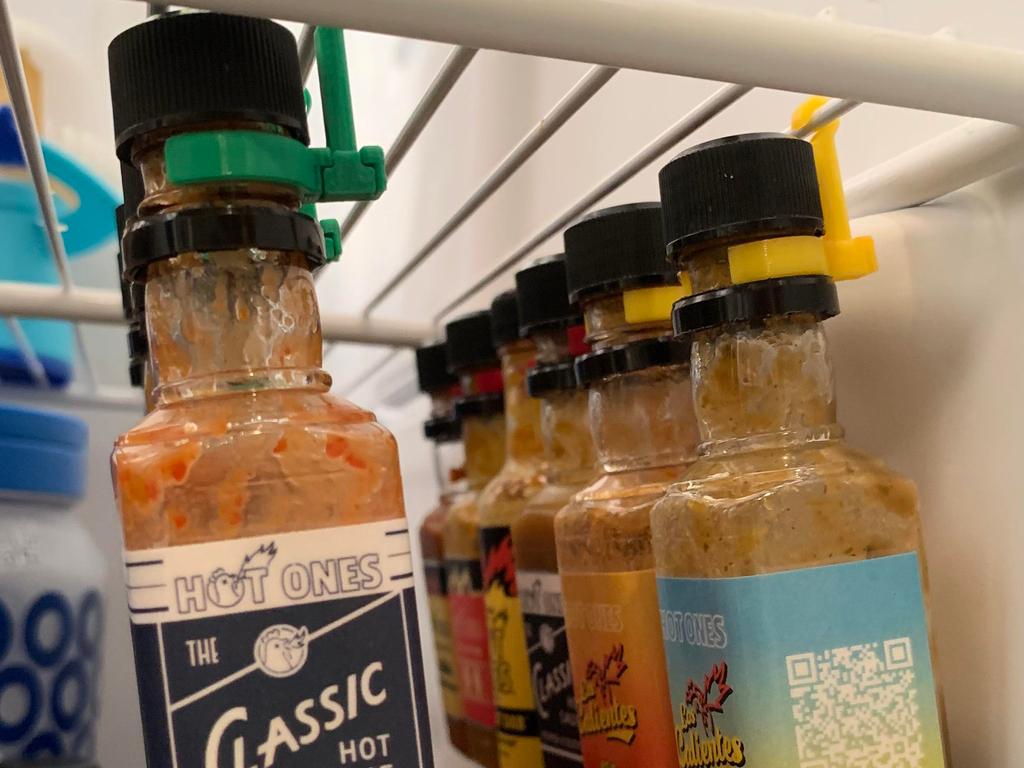
Mini Bottle Hanger
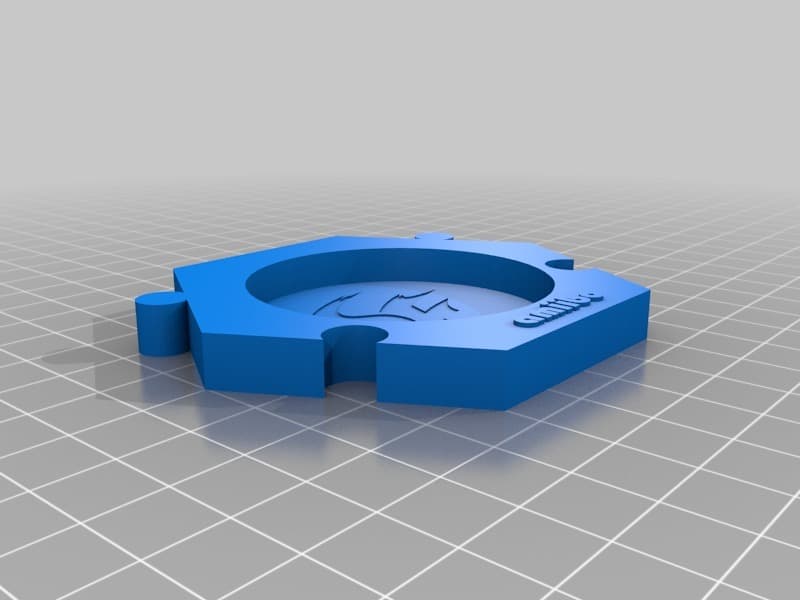
Amiibo Figure Stands with Logos
Raspberry Pi 3 A+ Case
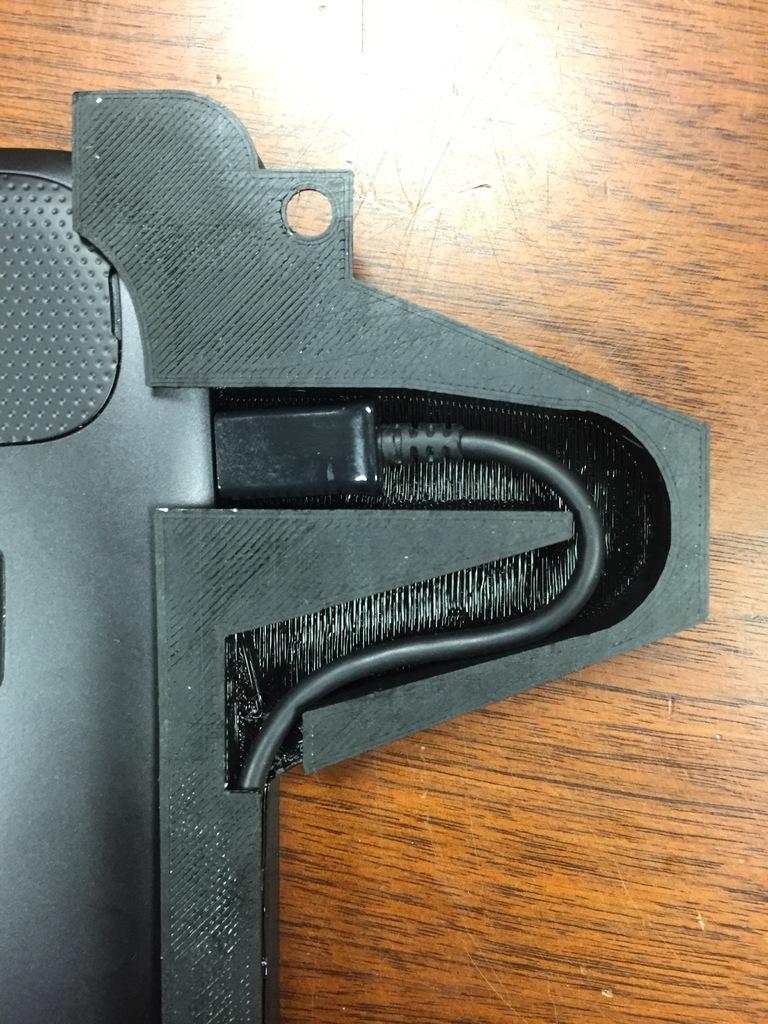
Minimal Tablet Wall Mount (9mm opening)
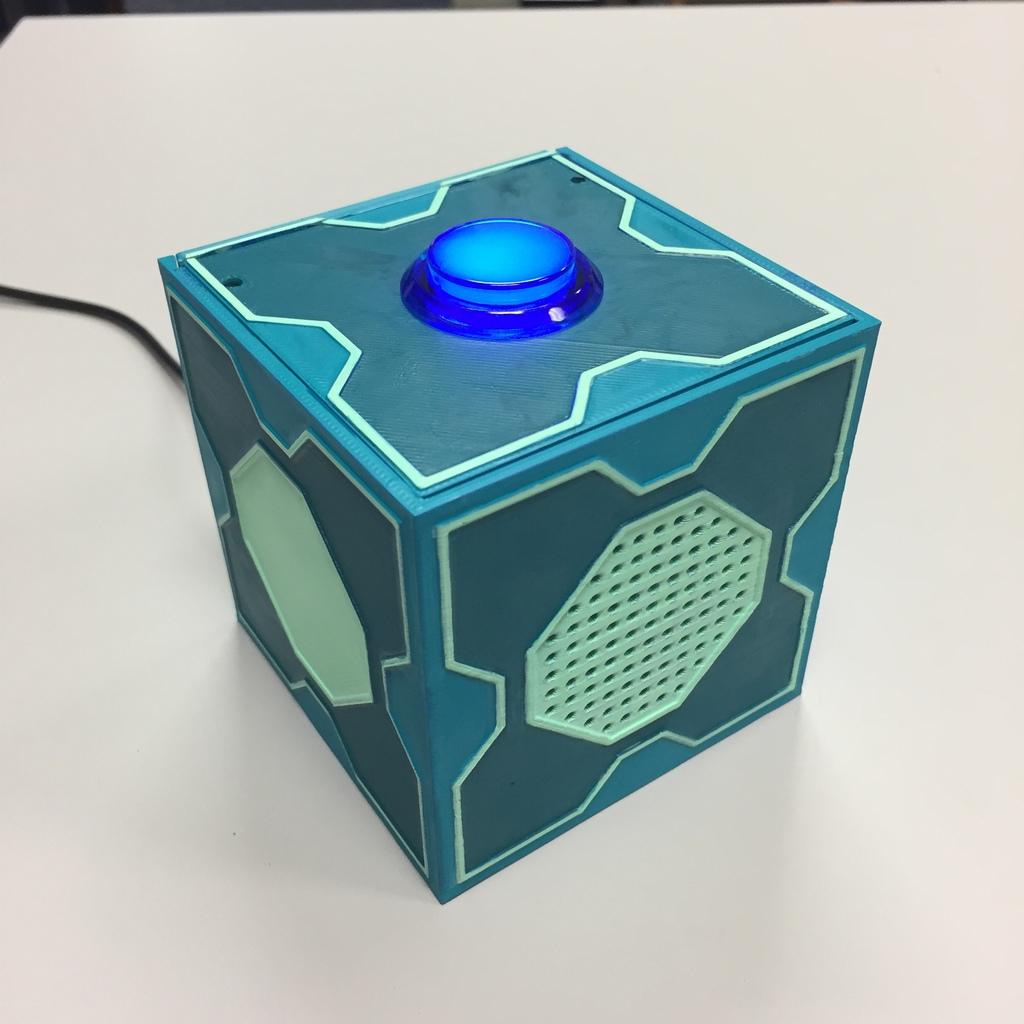
Meeseeks Box - Google AIY Voice for the Pi Zero W
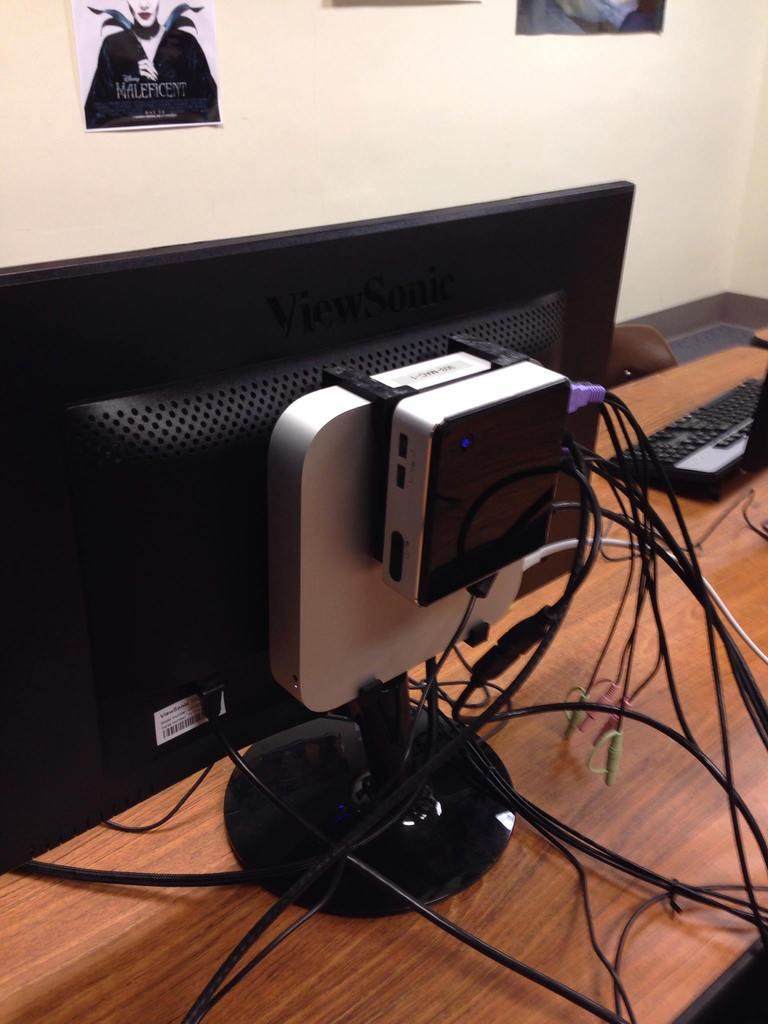
Mac Mini + Intel NUC Monitor Bracket
Mini NES slim fan duct (25mm)
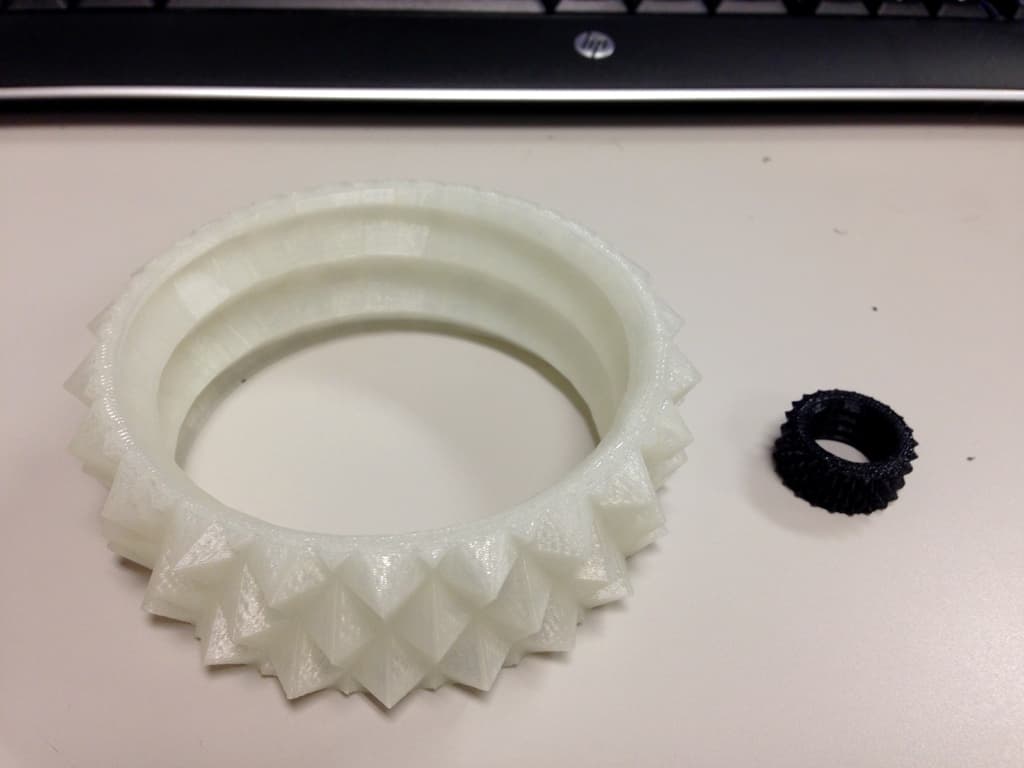
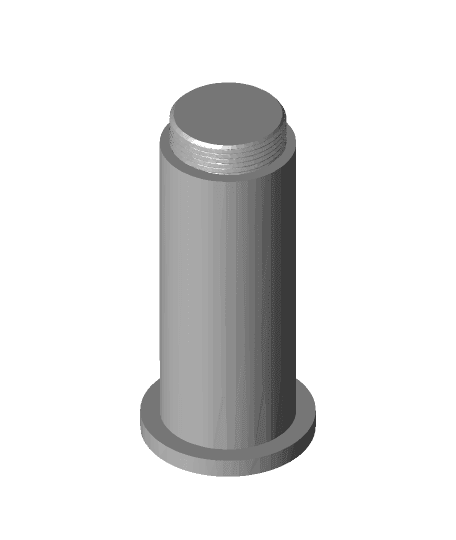
Knurled Nut & Bolt Koozie
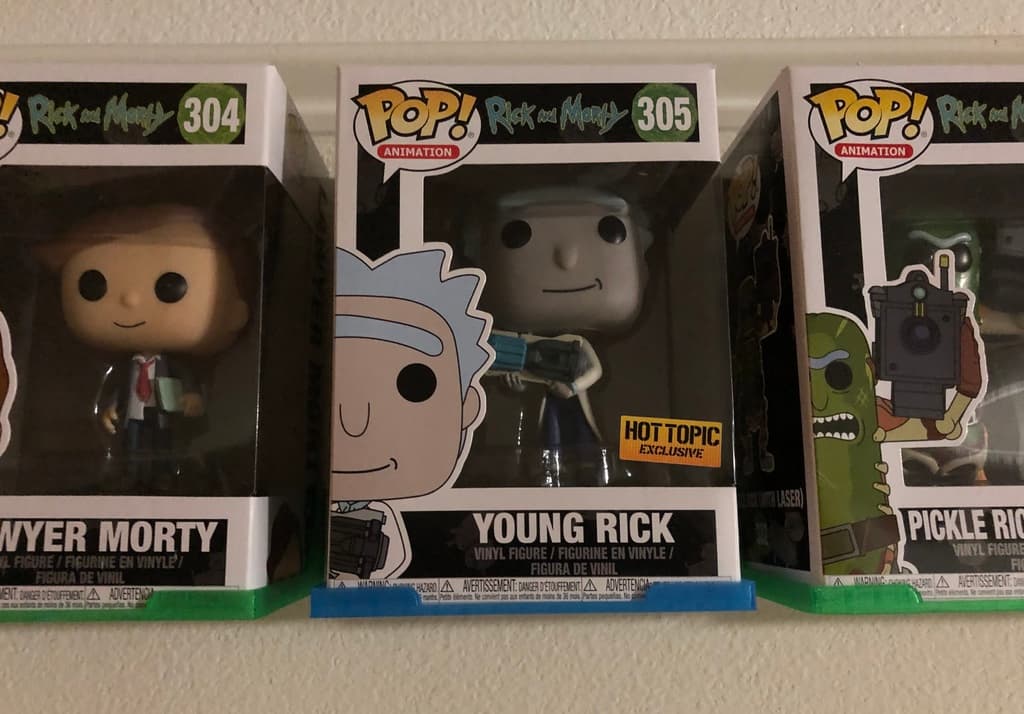
Funko Individual Rack 2.0
Nexus 10 Wall Mount
Vertical Mini NES Cartridge with Tree Supports