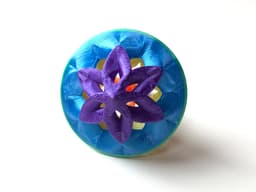


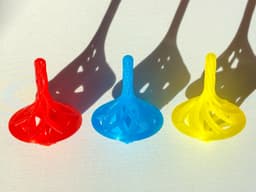


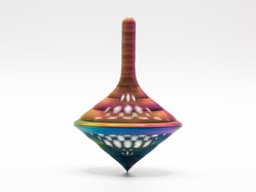
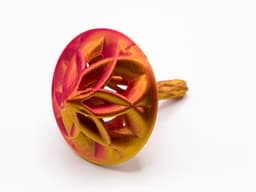

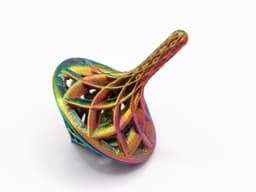
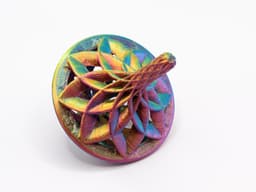


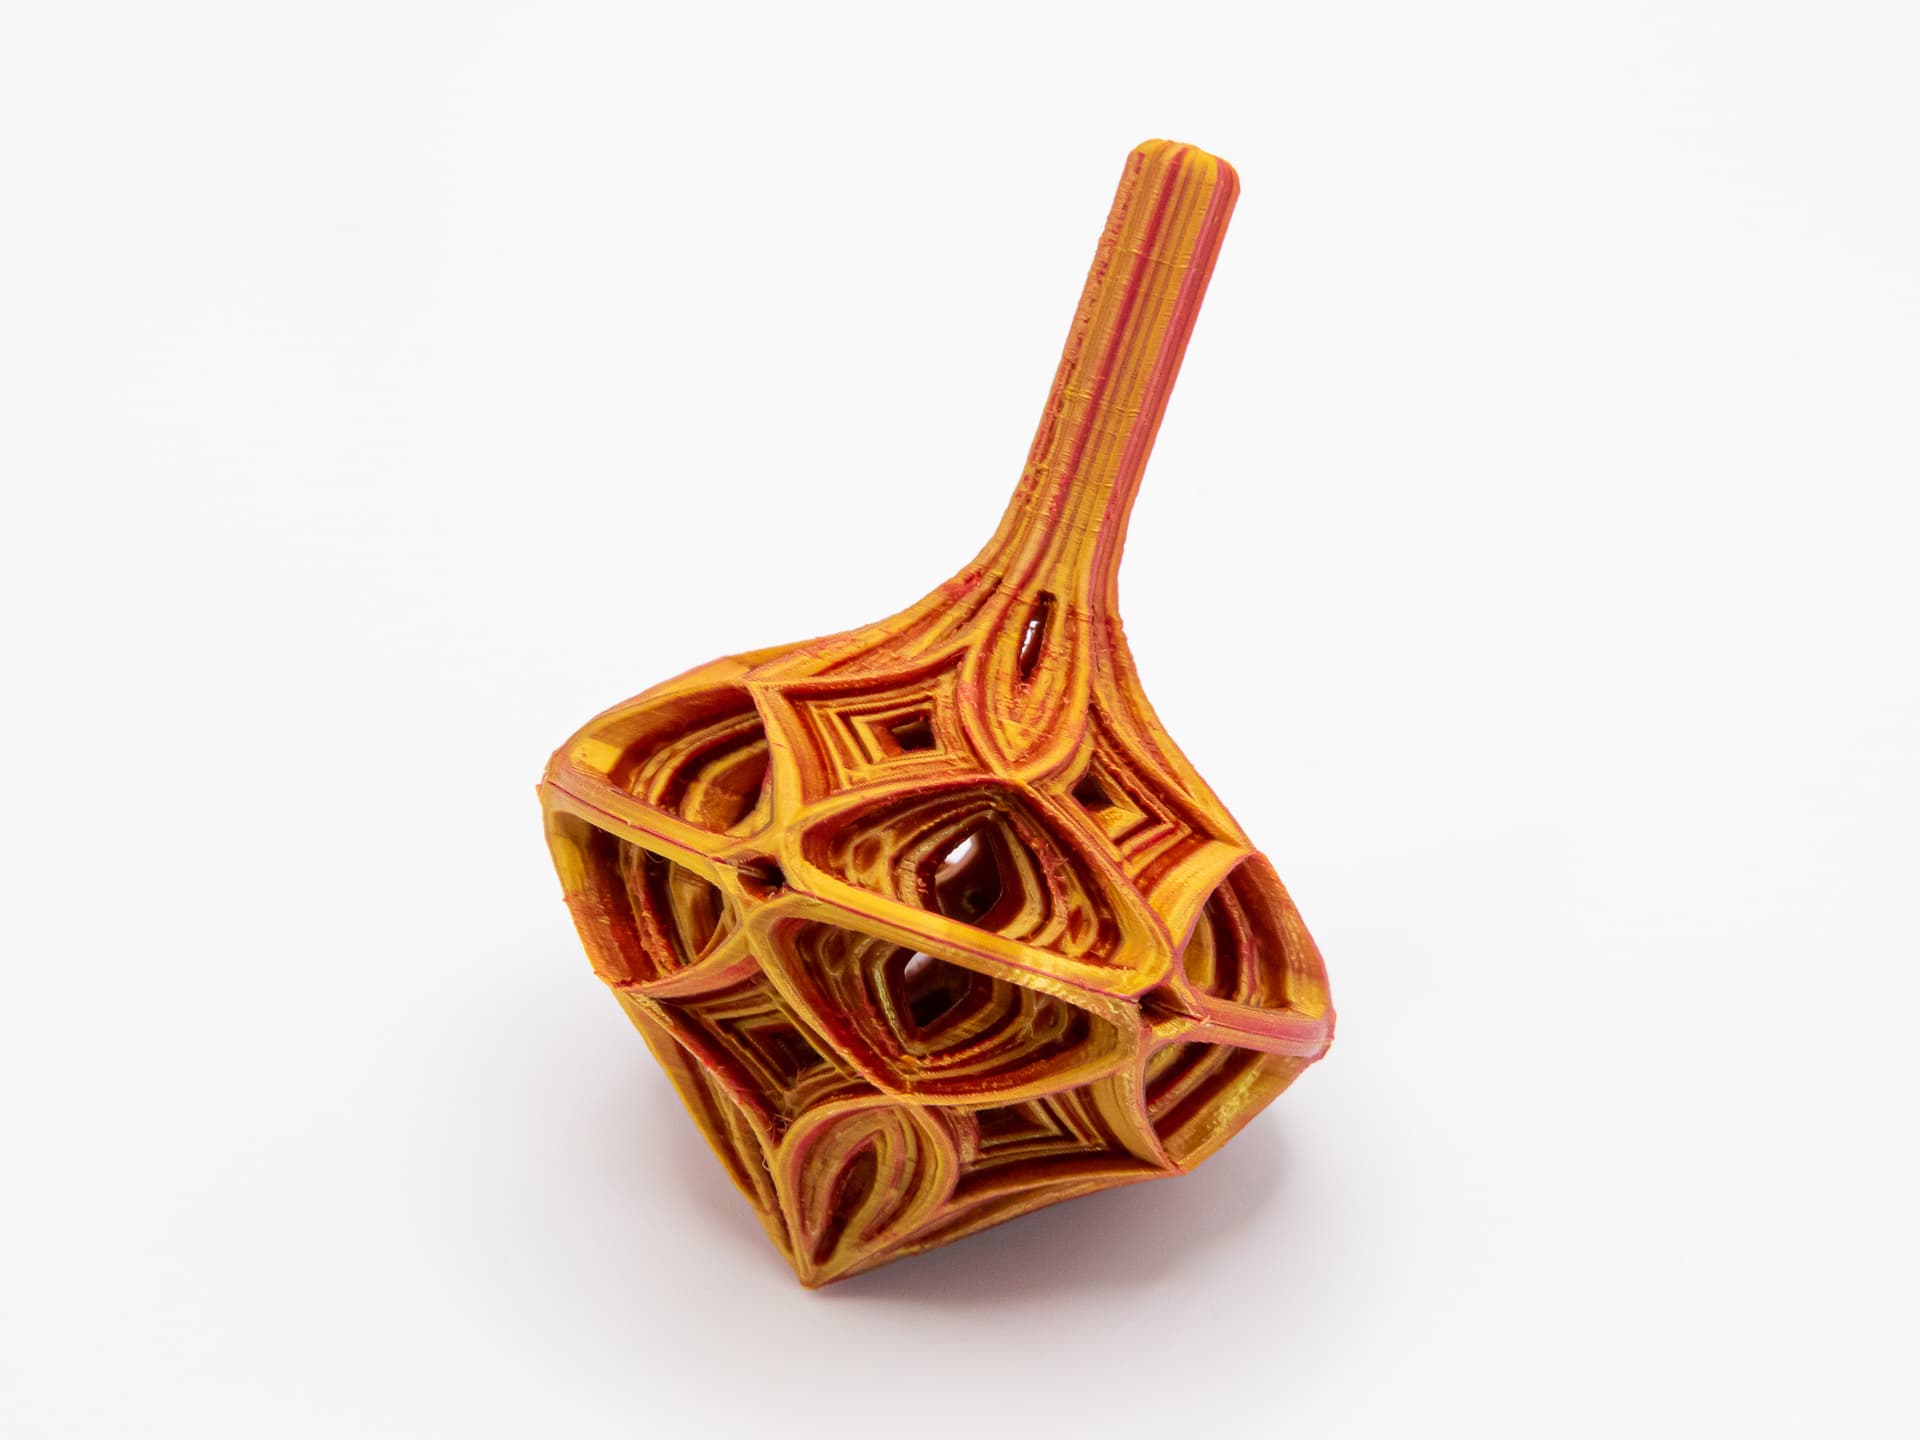
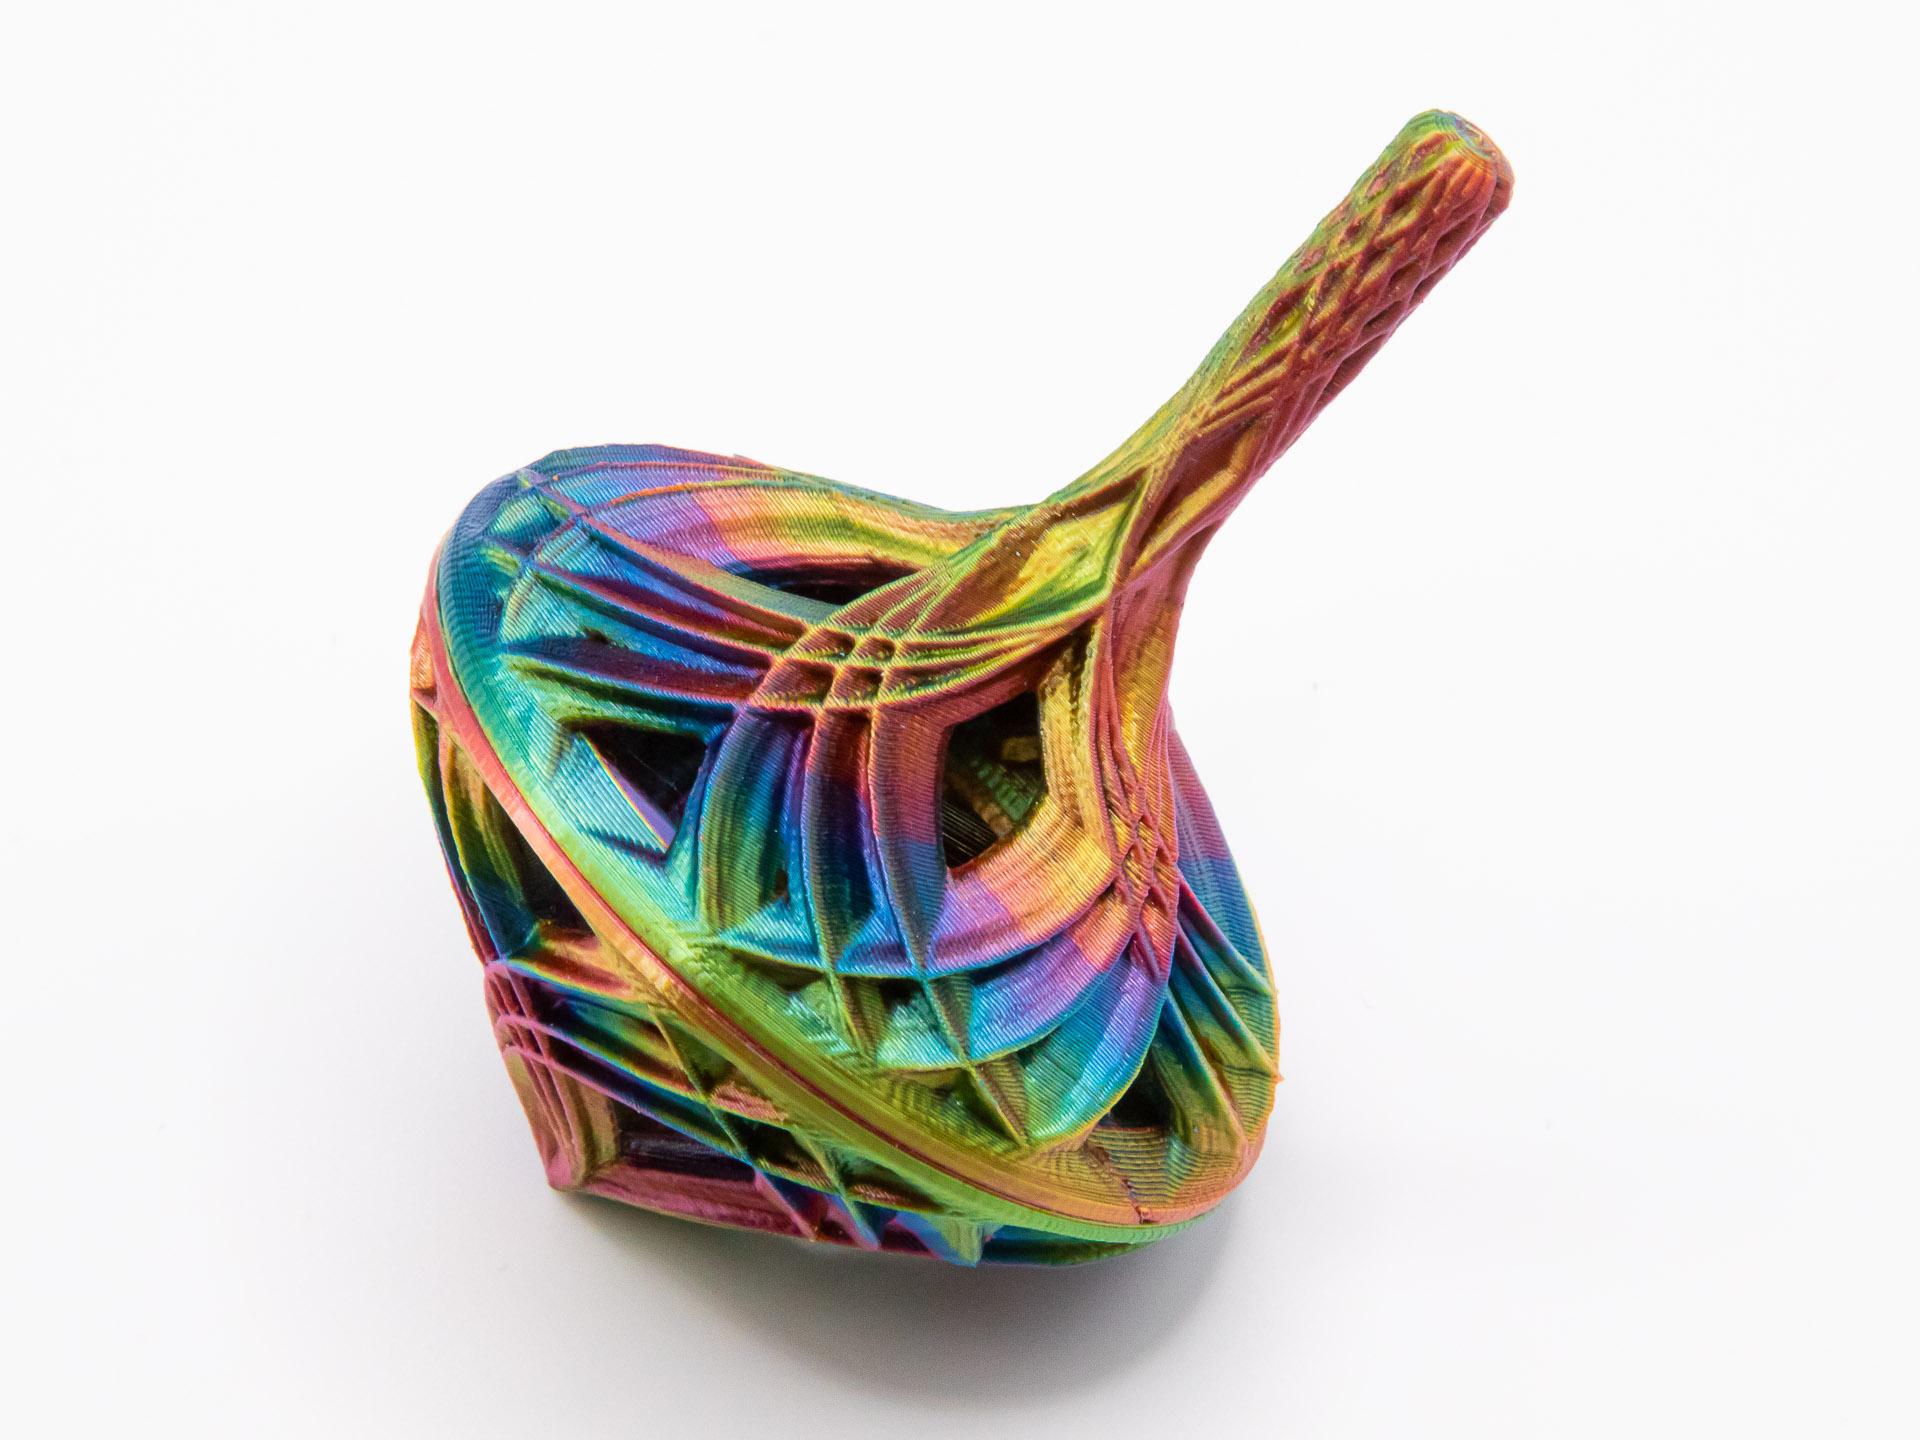
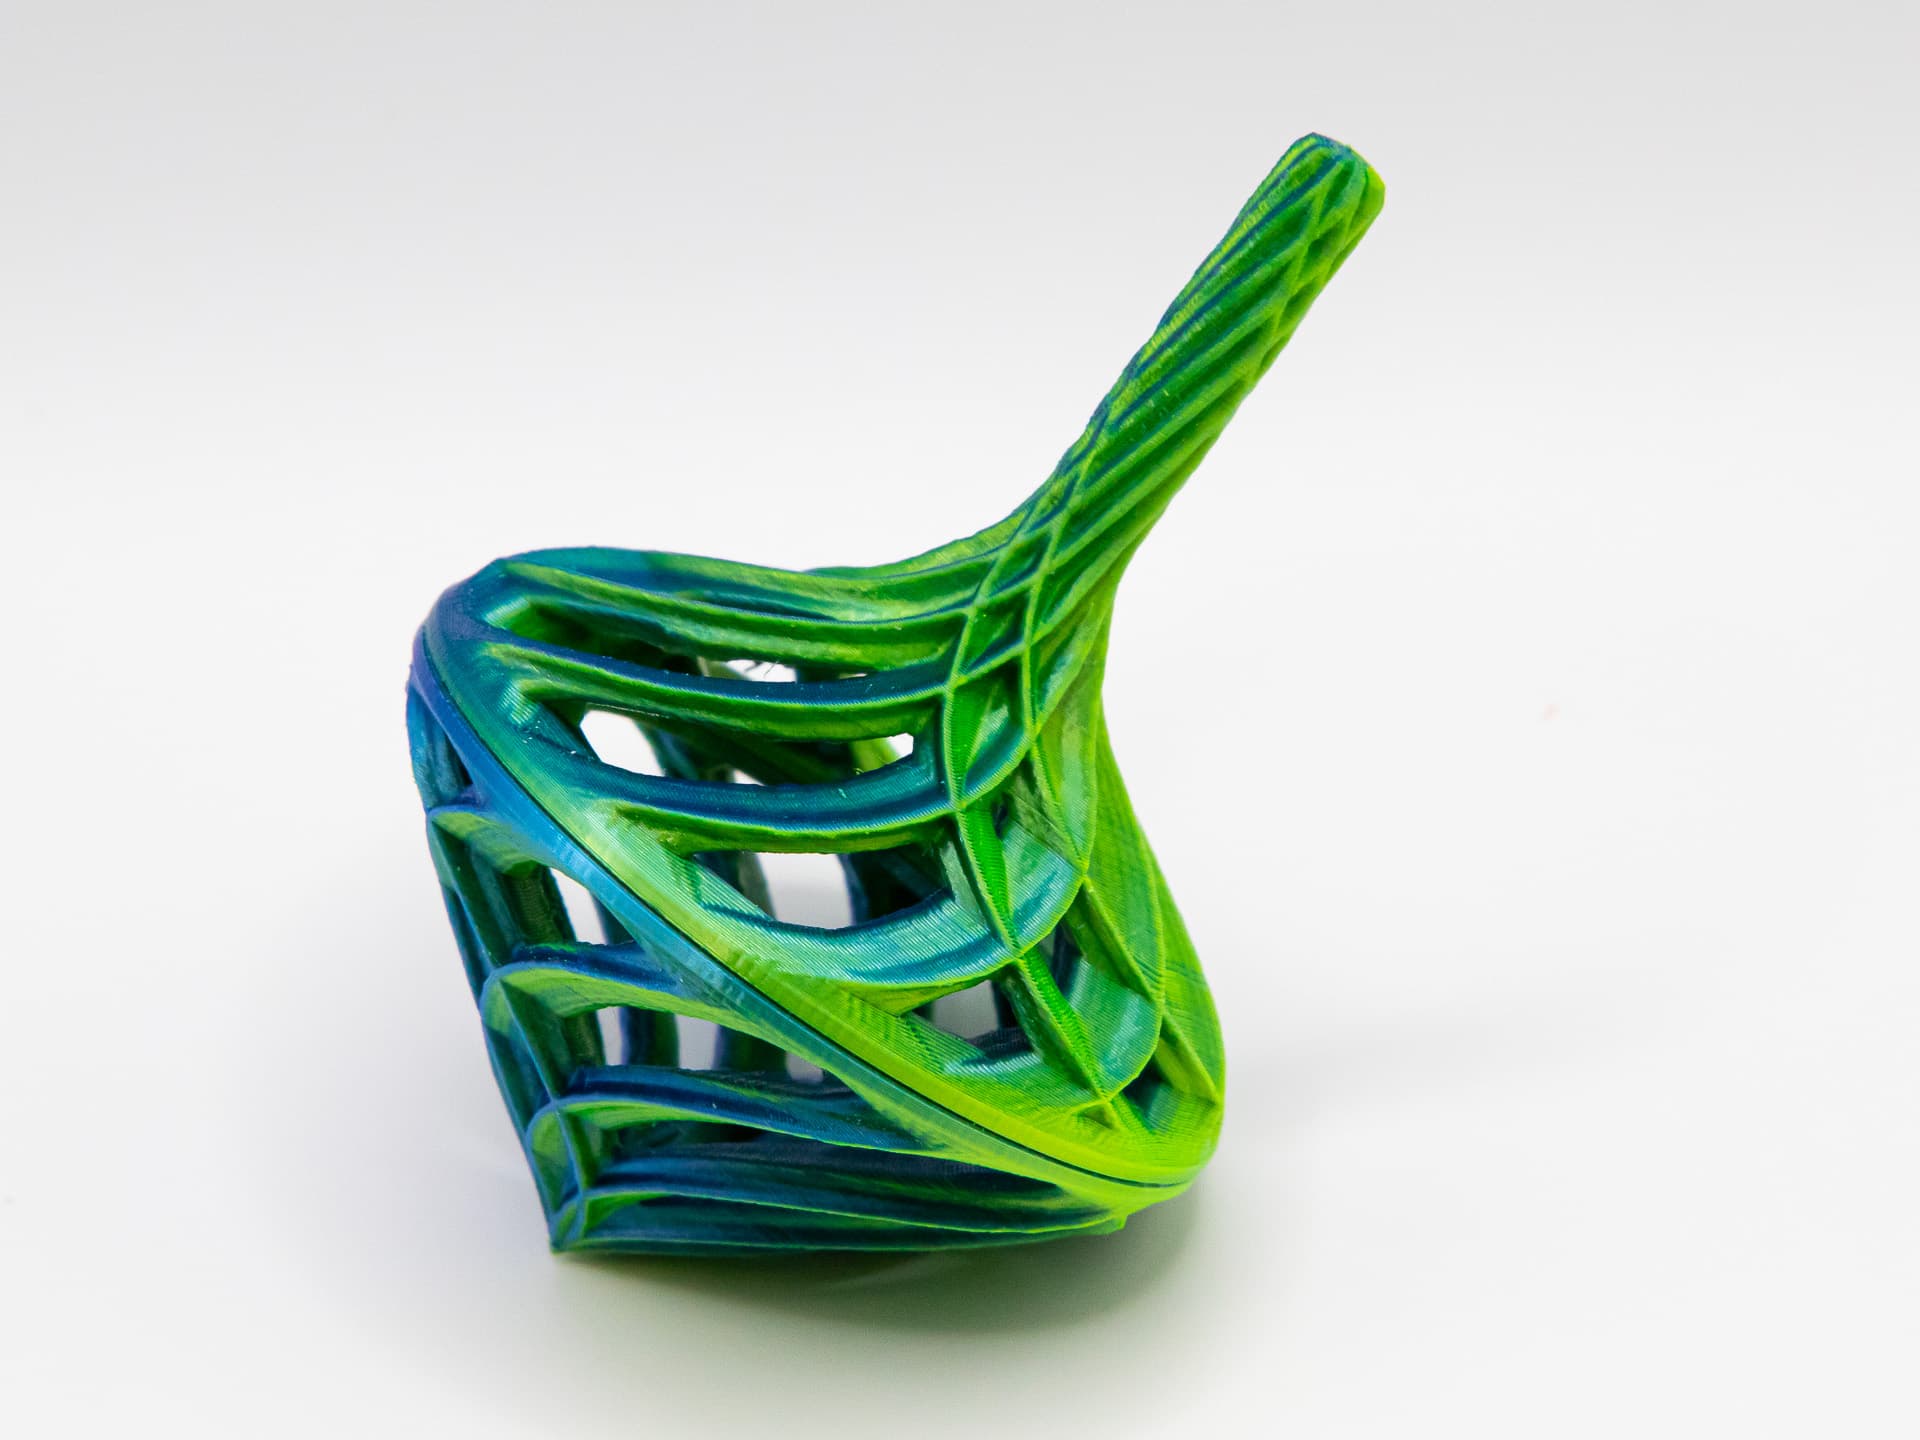
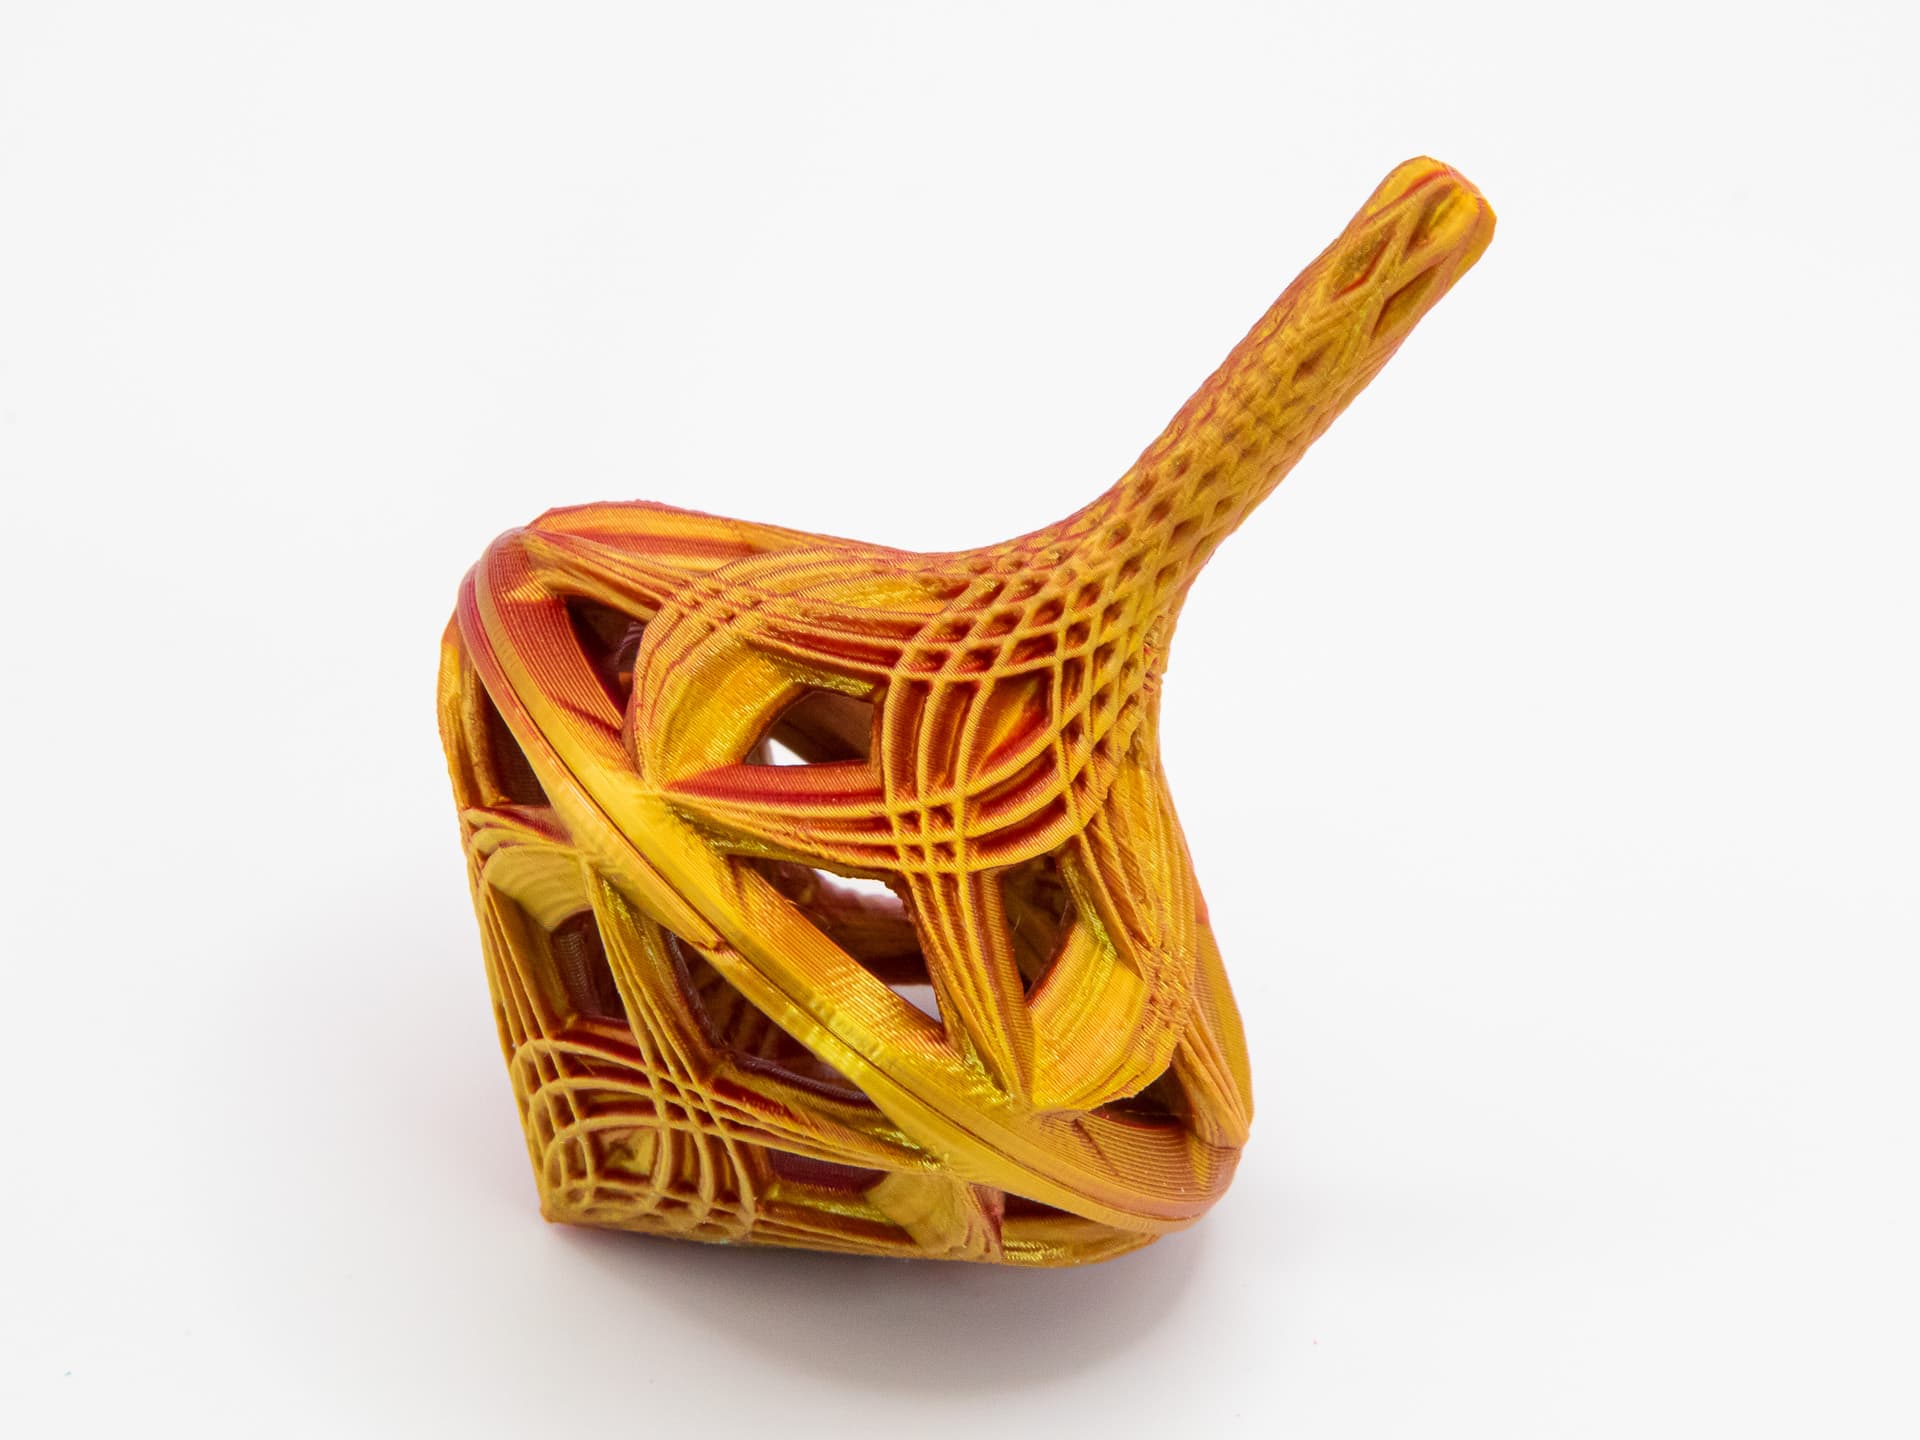
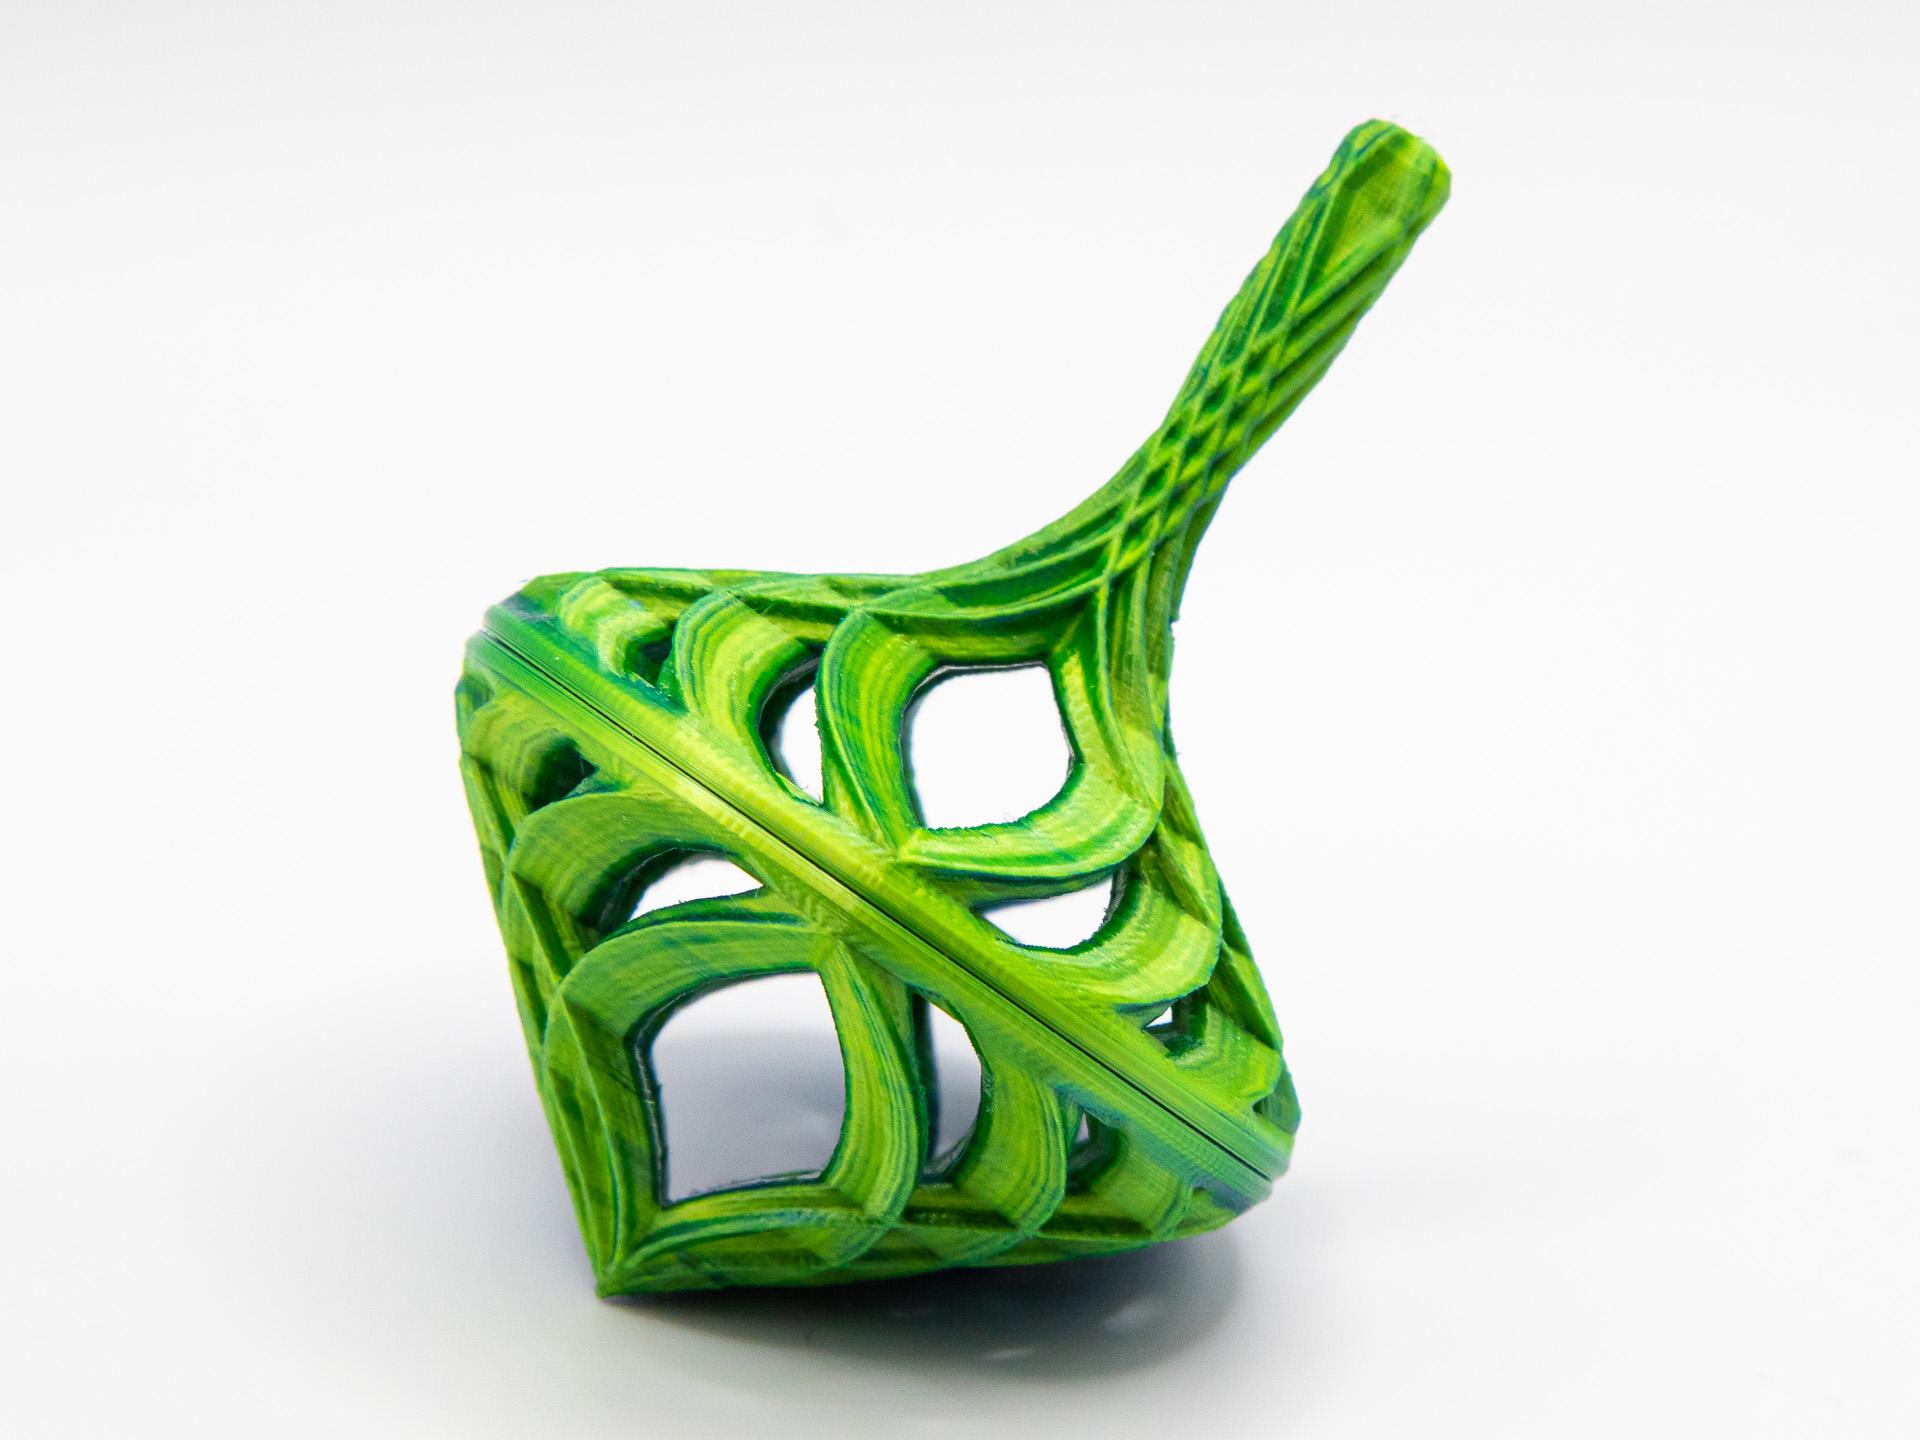
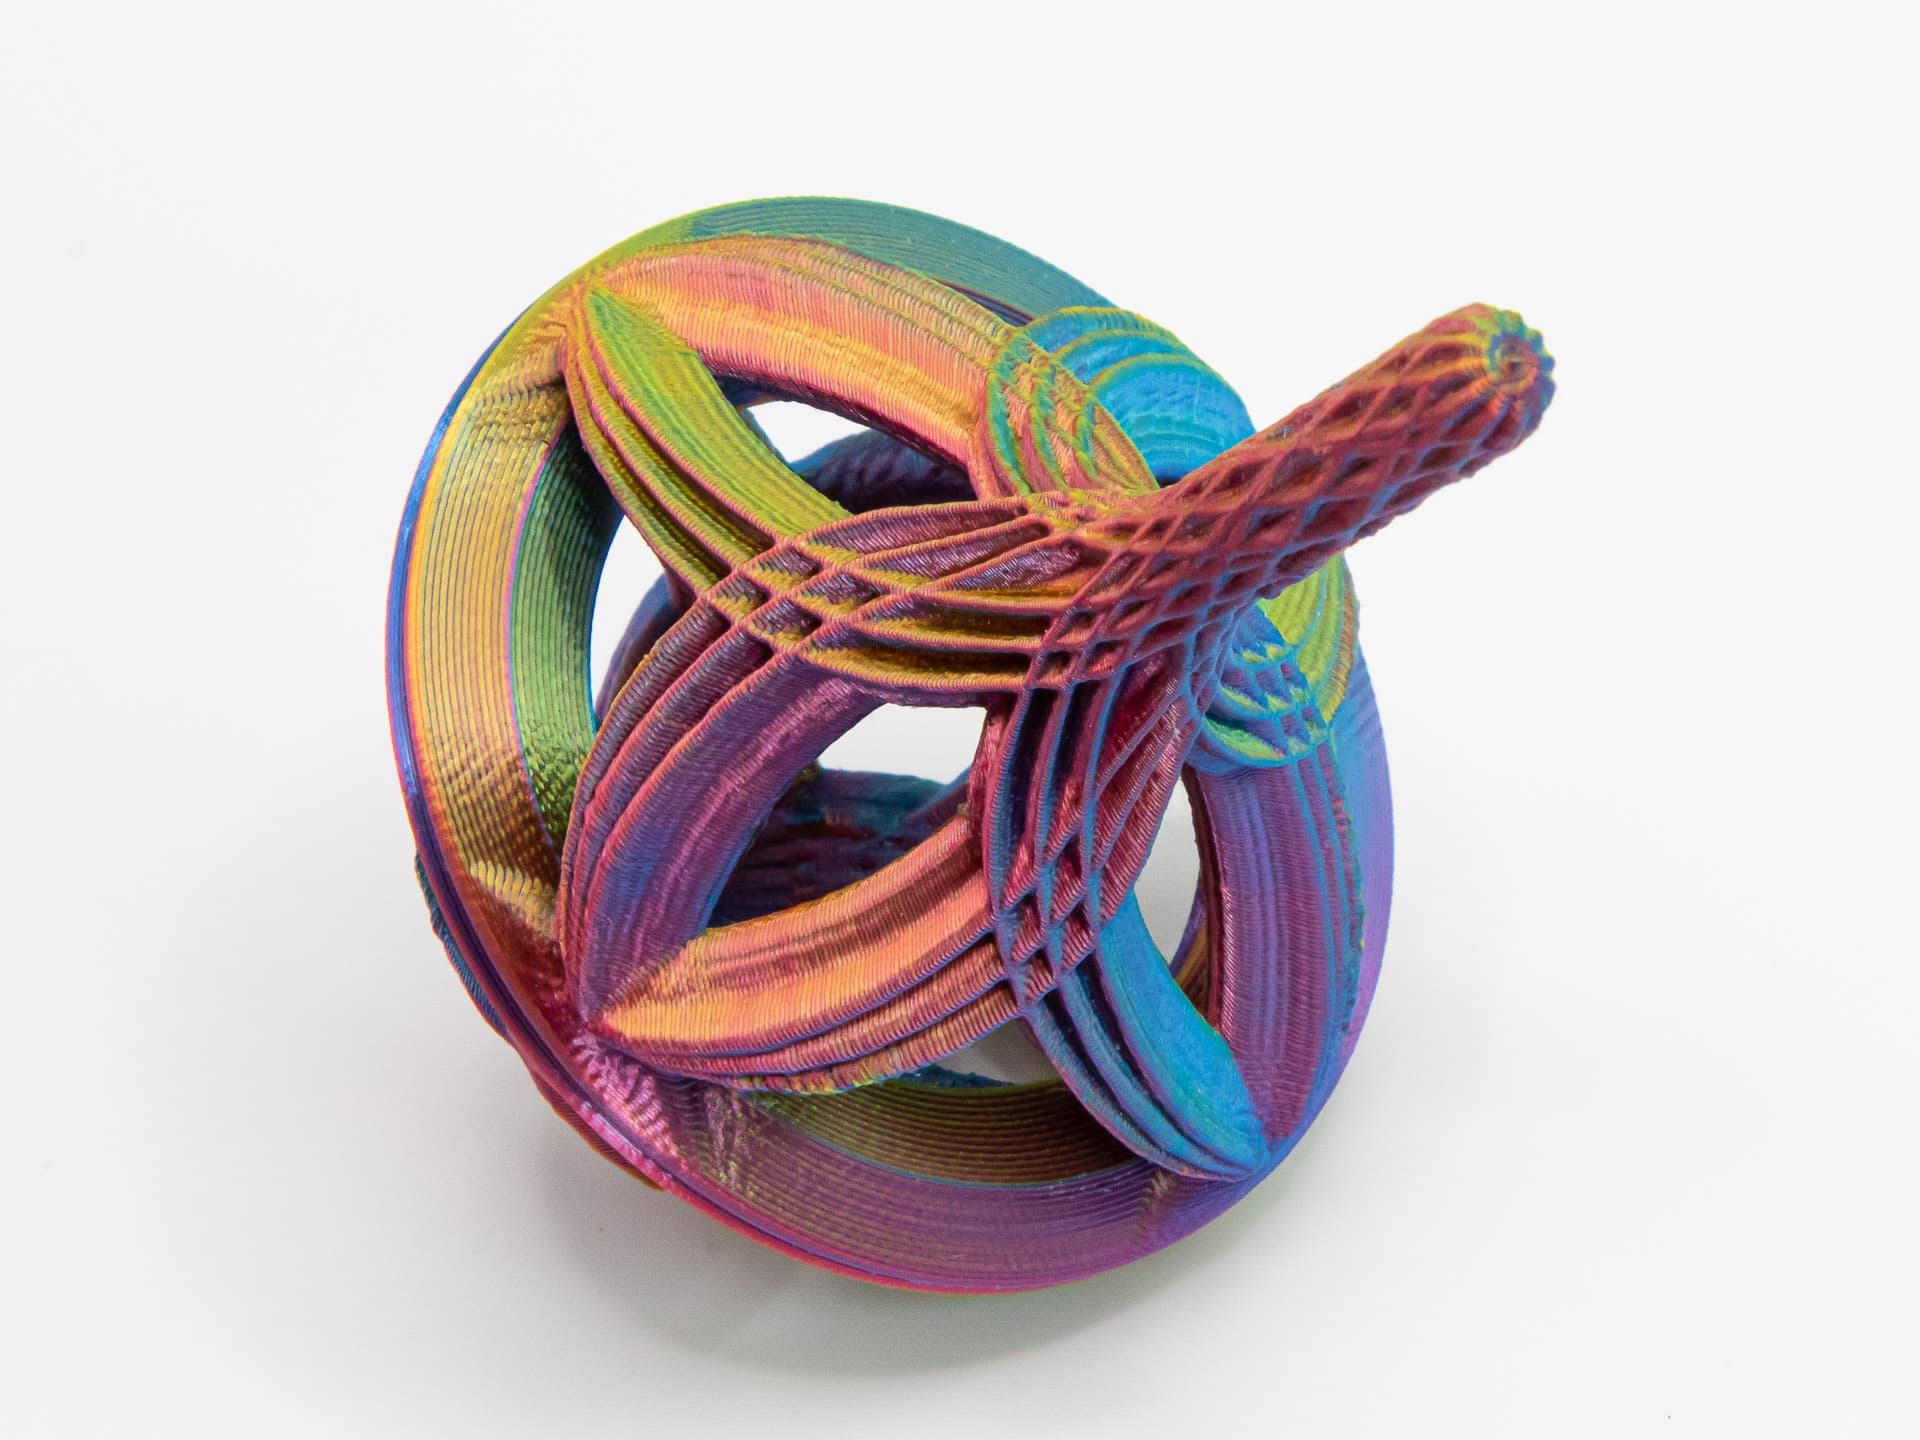
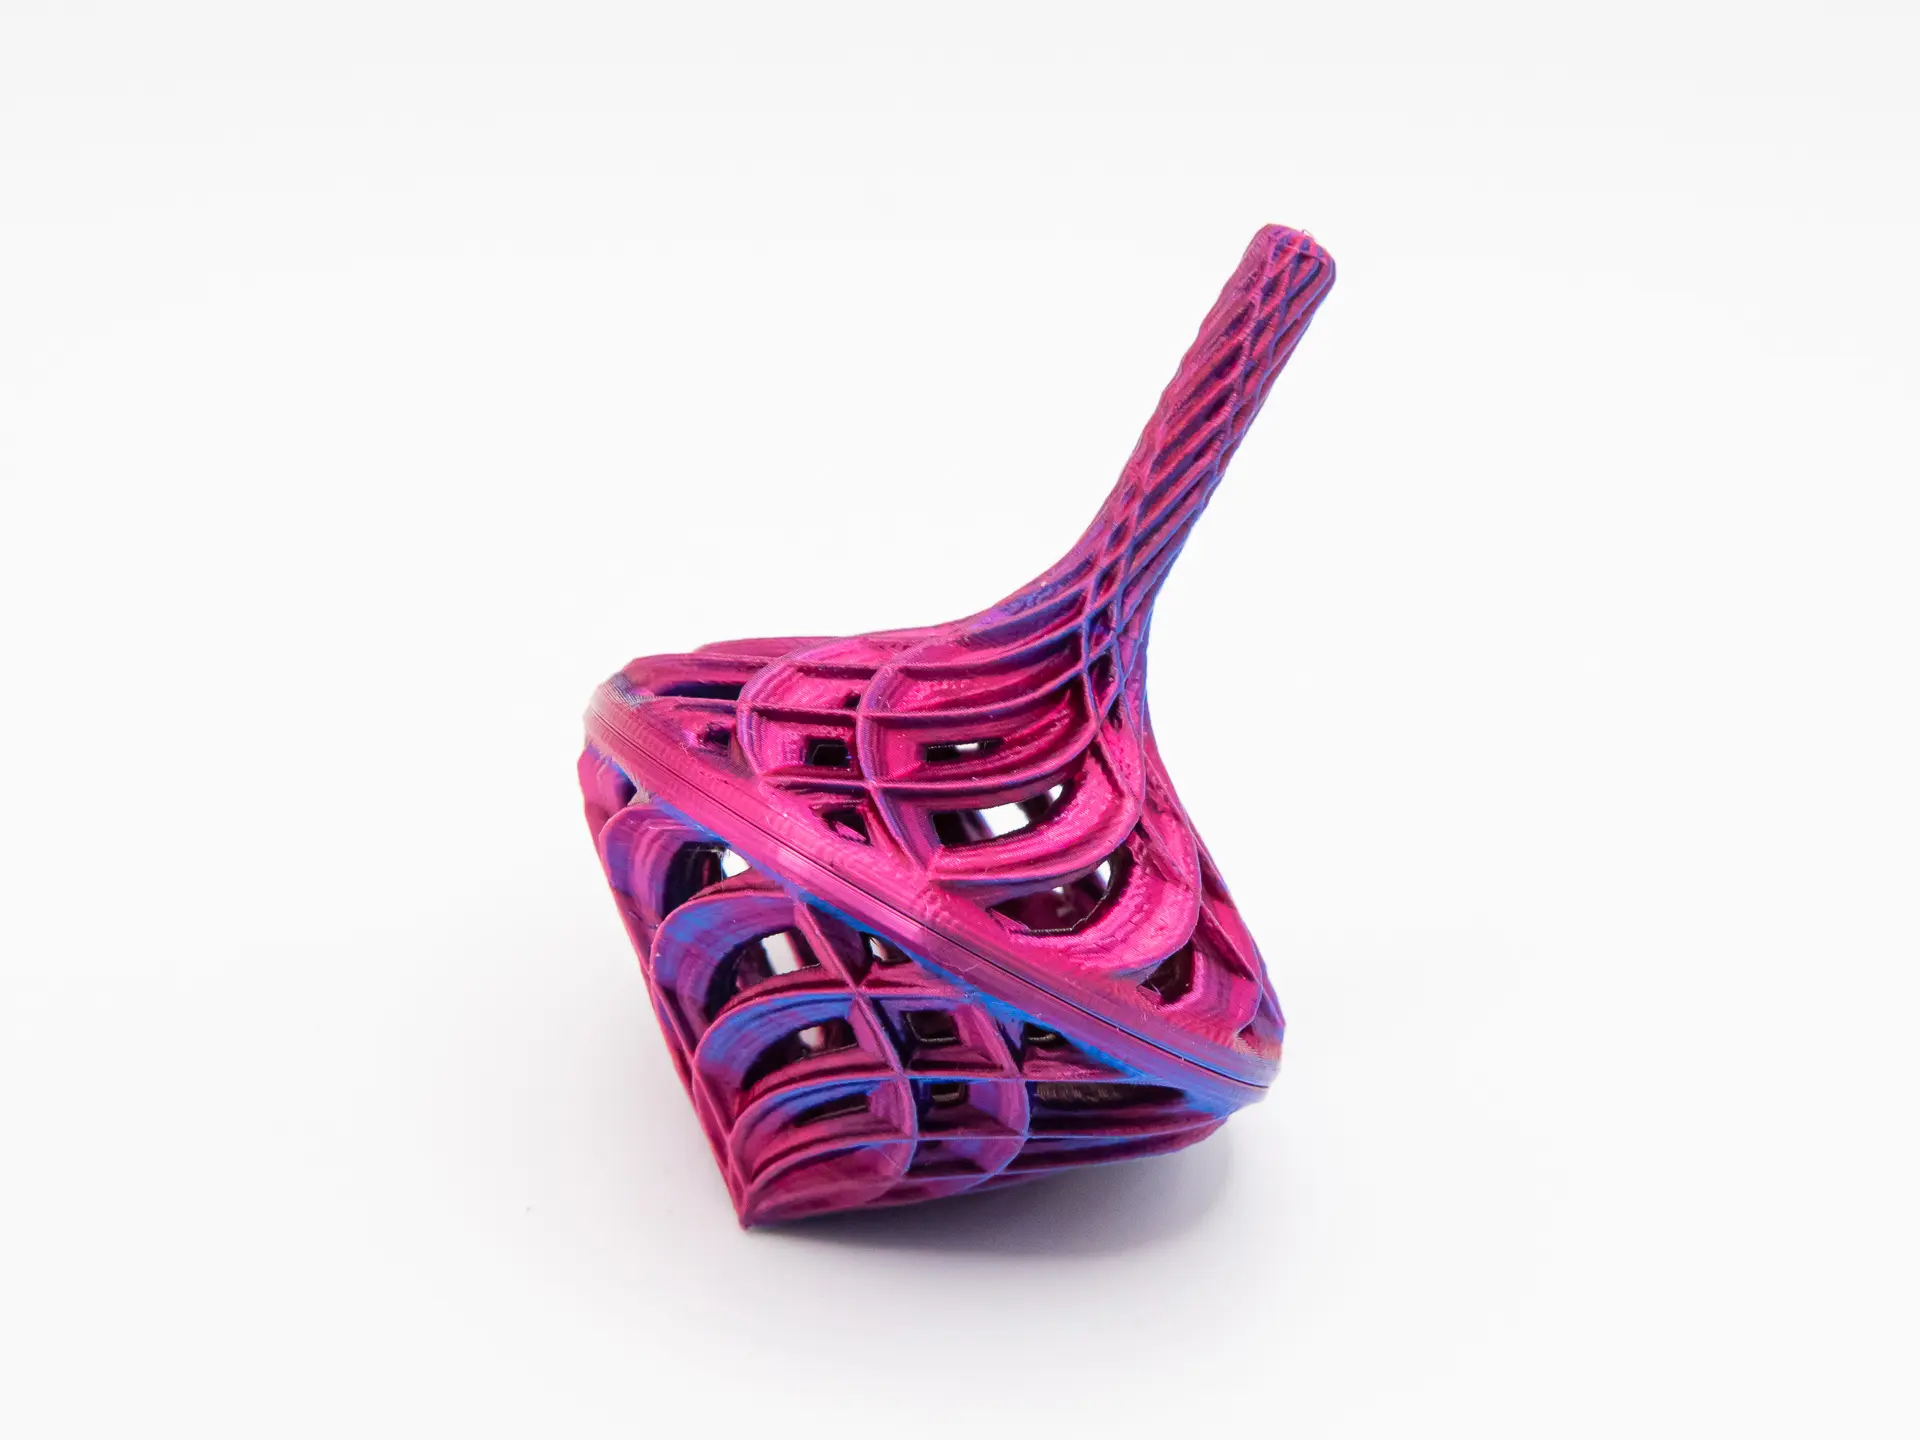
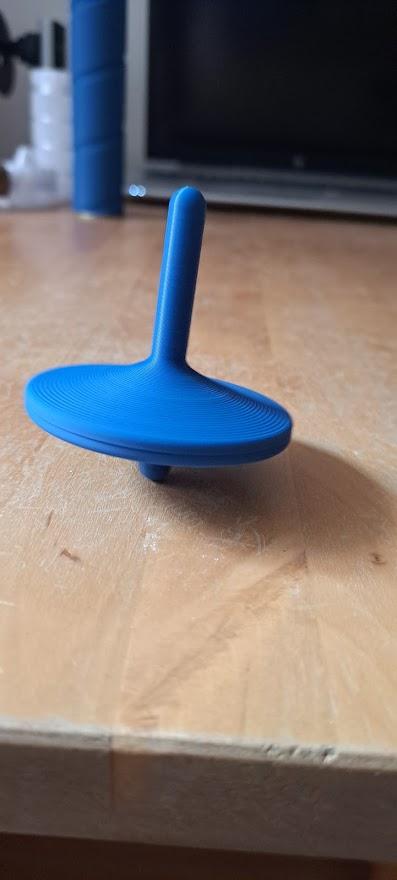
Set of 3 Spinning Tops
The designs of these tops create interesting patterns as they spin. Those patterns change based on the speed of the top and the angle you look at them.
Not for commercial use. Please see license agreement.
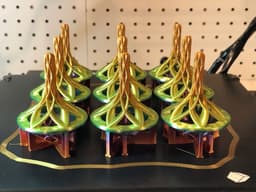
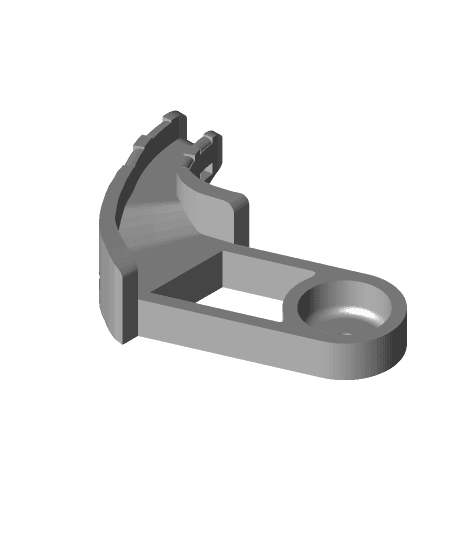
Want to show off your top? Download my Display Stand for Tops. It prints in as little as 10 minutes!
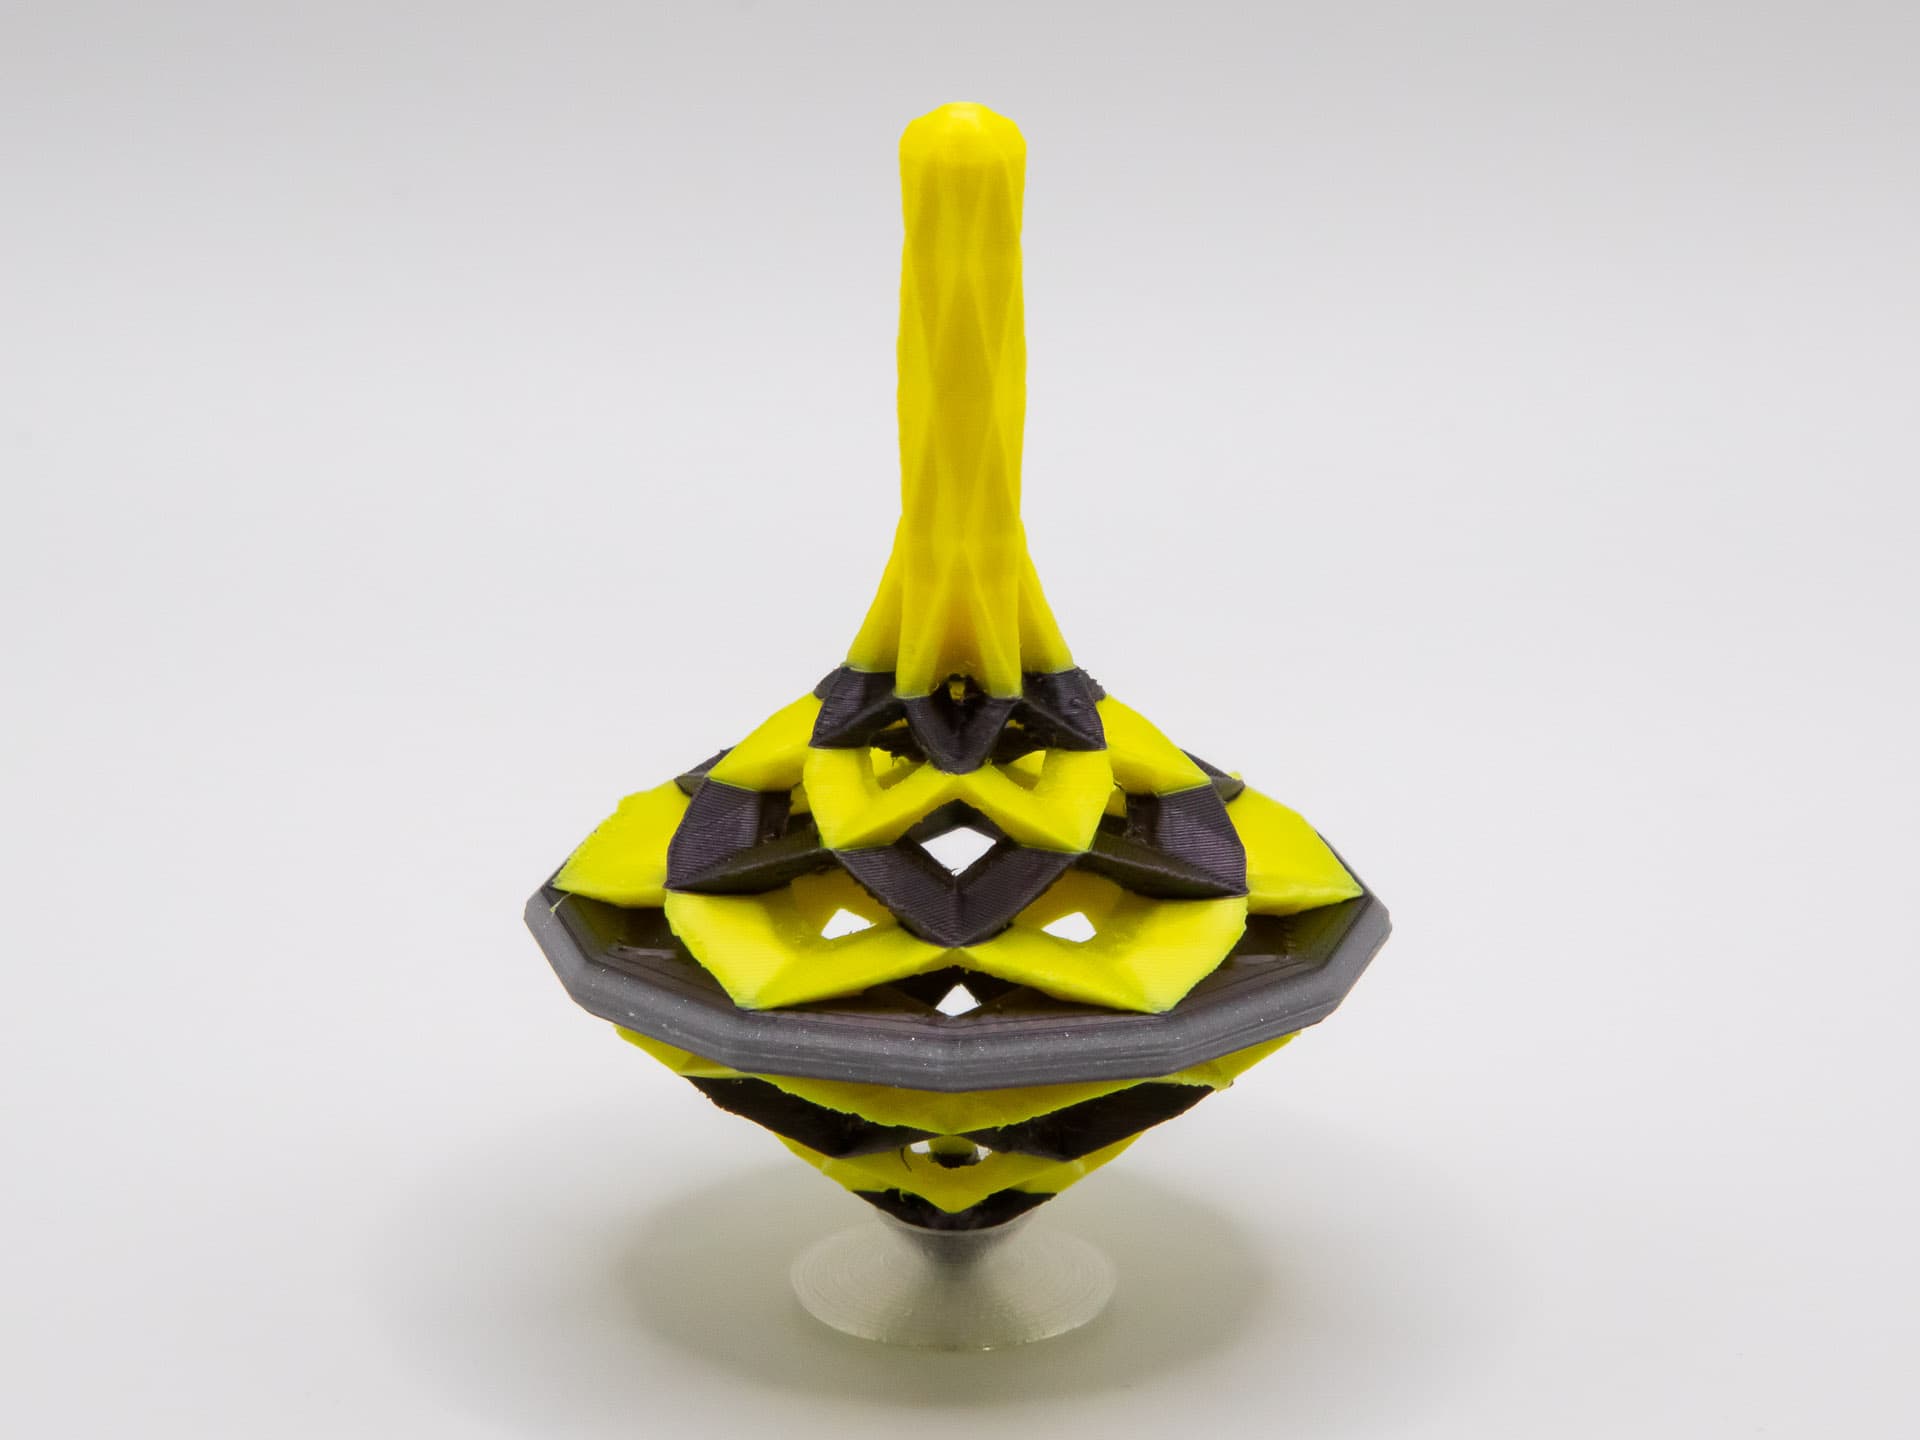
After experimenting with slicing the tops in half and gluing the two halves together, I've decided that's the best way to go. I've uploaded top and bottom halves for both the 6 and 8 point lattice tops as OBJ files because that was the only way I found to resolve the mesh errors that slicing the tops in 2 pieces generated. I've also uploaded my PrusaSlicer 3MF files for them. I initially had bed adhesion issues, but I resolved them by adjusting the gap between the brim and the objects.
Thanks go to @CoMet on Printables.com for showing me my tops can be printed in 2 pieces and easily glued together precisely enough to spin as well or better than when I printed them as 1 piece.
Try swapping colors during the print to bring out the patterns in the tops.
I've included files with and without built-in supports. I find they print easily and separate cleanly using the supports, but different slicers, printers and print settings may produce different results.
If you print the version with supports and use the recommended settings, you won't need infill or additional supports. I find that the tip prints better without a raft. If the tip of the top isn't a part of the first layer, lower the model below the print bed a layer, then slide it again.
PRINT SETTINGS
- Print outer walls before inner
- Print slowly. I use 30mm/sec outer wall, 40mm/sec inner wall, and 60mm/sec overall print speed.
- Wall thickness 4.0mm (NOT a typo). You want the top to be solid and I think it works better if all the layers print radially (as walls) rather than linearly (as infill)
- Infill: none, unless you don't make the walls thick. Then, you'd need infill to be 100%
- Temp: lower print head temp will give you a better finish on the bottom of the top. Exact temp will vary with filament.
Set of 3 Spinning Tops

Floating Spinning Top Candle Set

Swoop Top 10 Spinning Toy Top

Swoop Spinning Toy Top
Gothic Top
Low Poly Toy Top
(V2) For BIQU B1 - DIY Enclosure - Remix of Prusa's V2 IKEA Lack Enclosure - with extra doors (opening on 3 sides)
Feathered Top
Counterswirl Top

2-in-1 Heart Fidgets (2 Styles)
Spirograph Top
Bilaterally Symmetrical Top
Clover Top
Makerdeck Mesmerizer
Counterswirl Top - Generation 2
Everspin Top

Clicky Citrus Spinners (2-in-1 Fidget Toys)
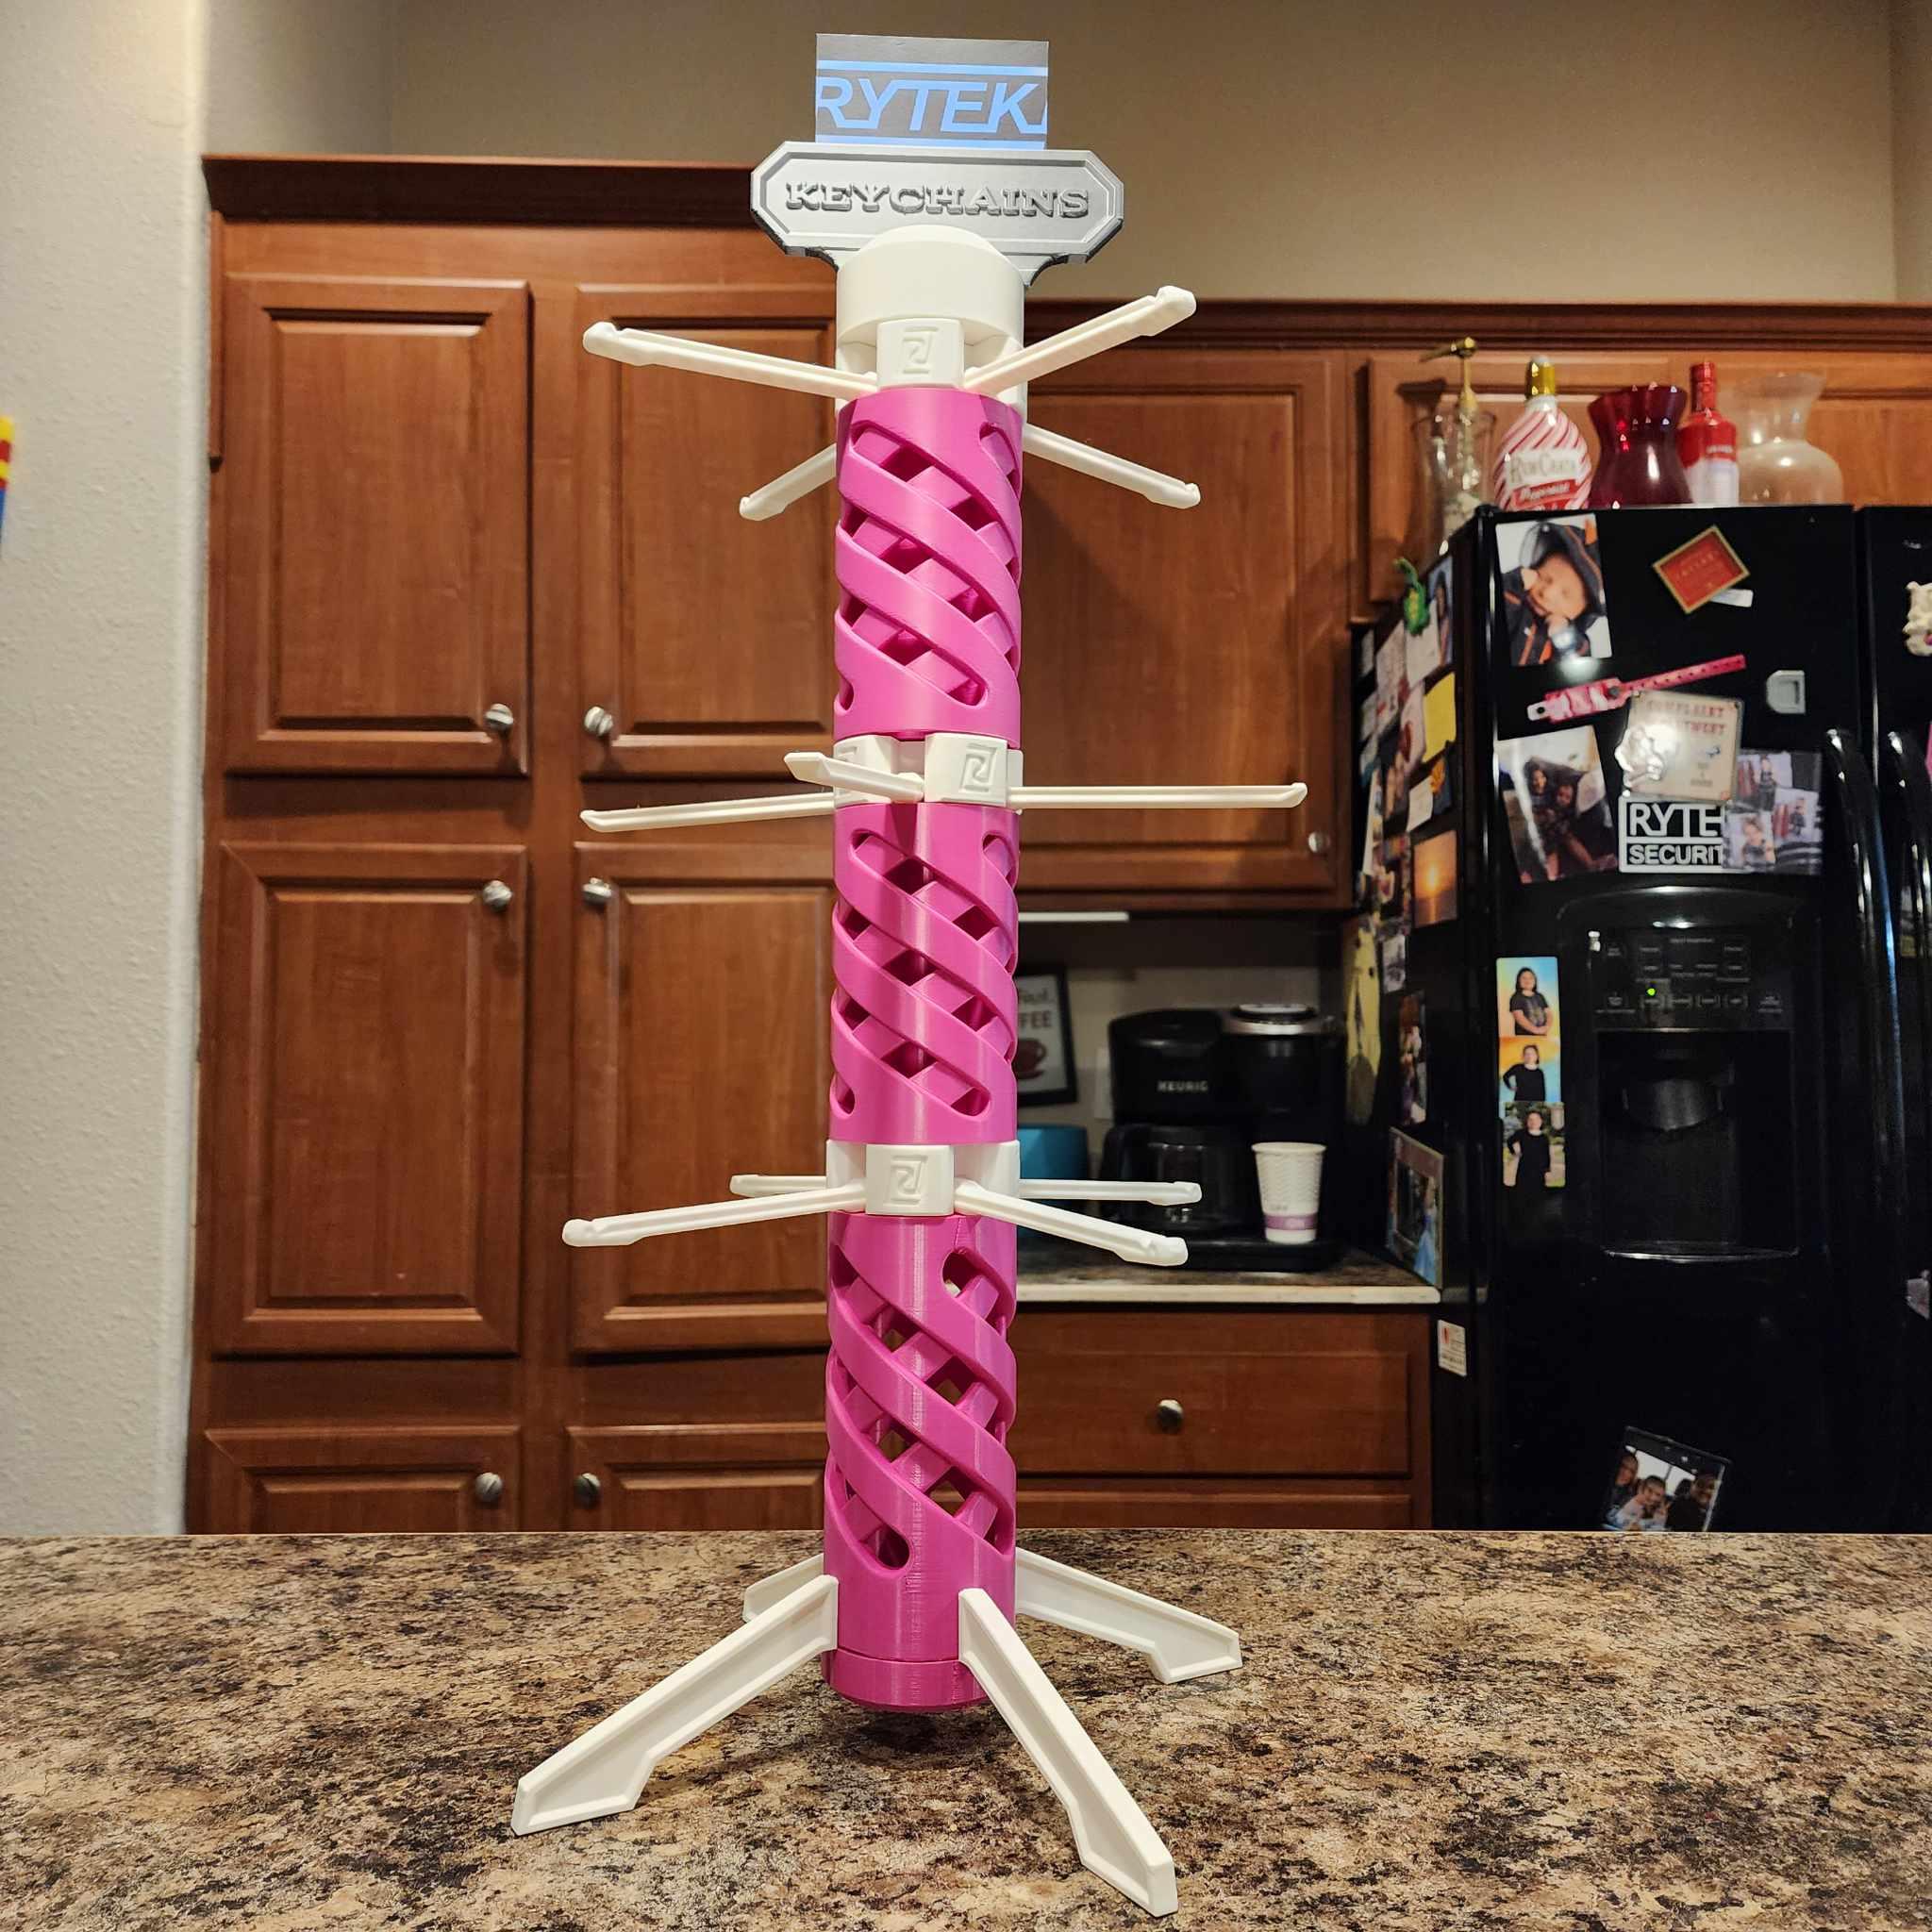
The Original 3D Printed Portable Storable Foldable Keychain Display Rack!

OrbitStack XL - Tactile Planetary Gear Spinning Layered Fidget Stim Toy

Patience Pine: Alien Anti-Stress Top