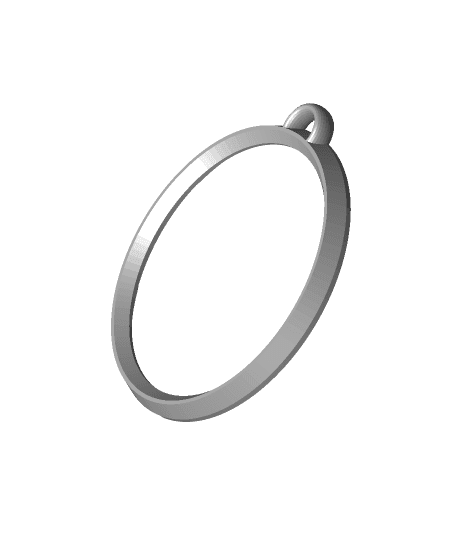
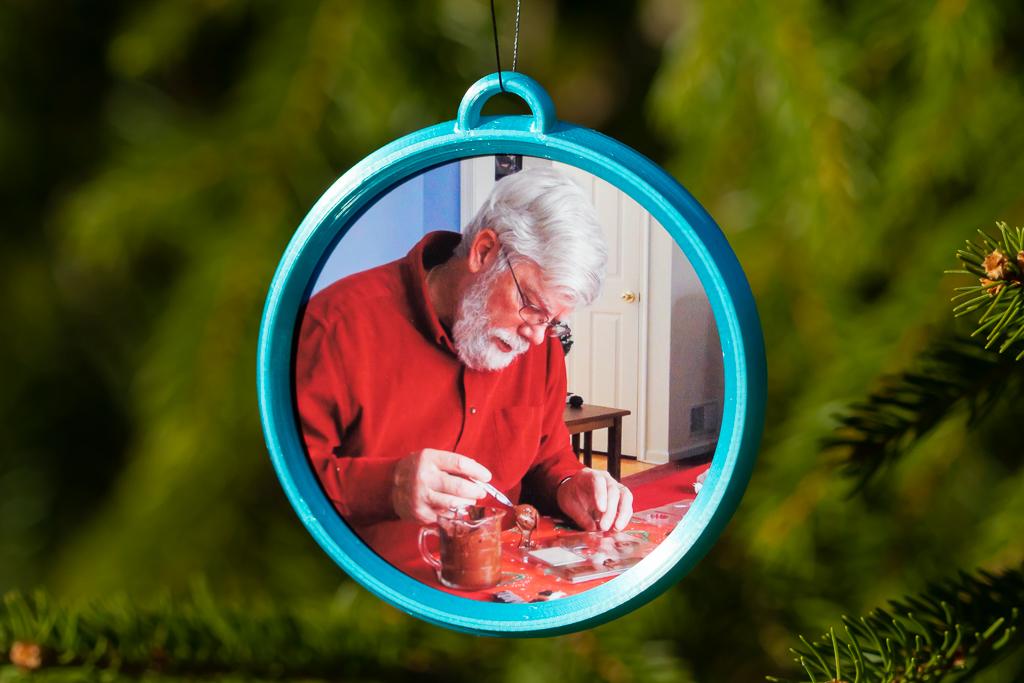
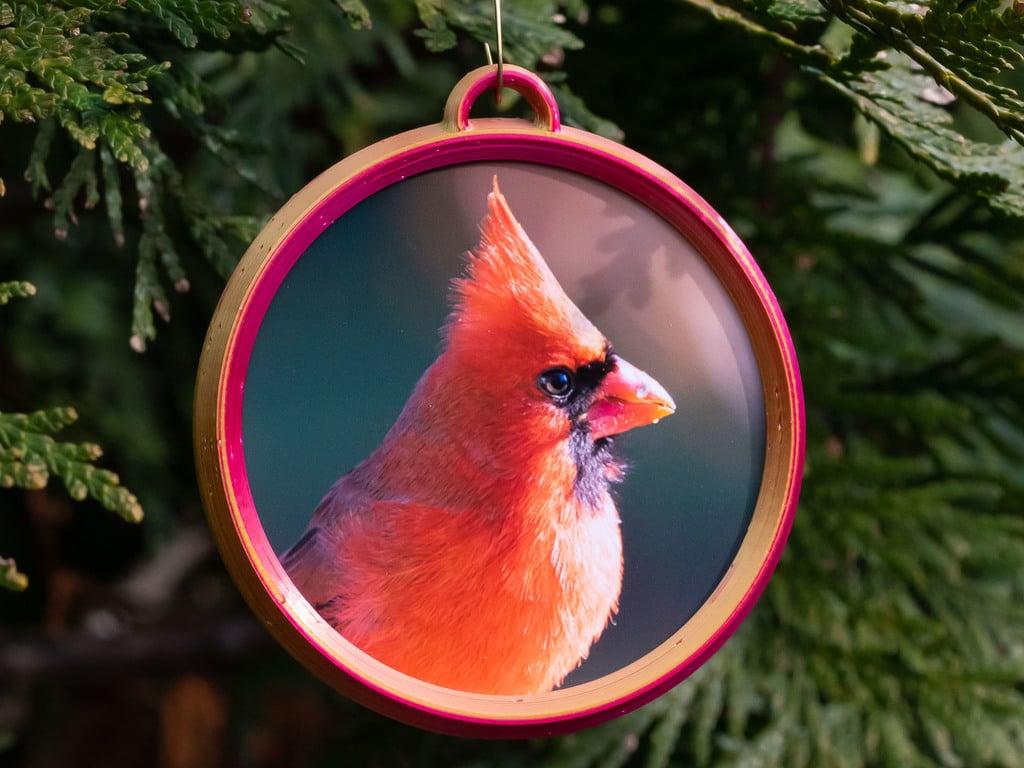
This has been designed to make printing quick and easy. Just follow the detailed steps outlined in the printing instructions below.
Not for commercial use. Please see license agreement.
With my settings, it takes about 2 hours to print an entire frame (front and back). It takes another hour to print the optional cutting guide.
There's no need for a raft or supports, but you will need infill.
PRINT SETTINGS All files are printed at 0.15mm layer height.
Picture Frame
- Walls: 0.8mm (2 lines)
- Top/Bottom: 4.5mm (3 layers)
- Infill: 10% lines
- Supports: None
Cutting Guide
The cutting guide is just there to make it easy for you to crop your photo down to the right size circle. Just print it solid. It's only 0.9m thick. The print quality doesn't matter much, since this isn't part of the ornament.
POST_PRINTING
Place the cutting guide over your photo to select which part to include and use a pen to draw a circle around it. Then, just use scissors to cut it out.
The two sides of the picture frame snap together and fit tightly. You won't need to glue them together. The picture frame includes a slot so you can easily separate the two halves to change pictures. Just slide a screwdriver into the slot, then twist.


