


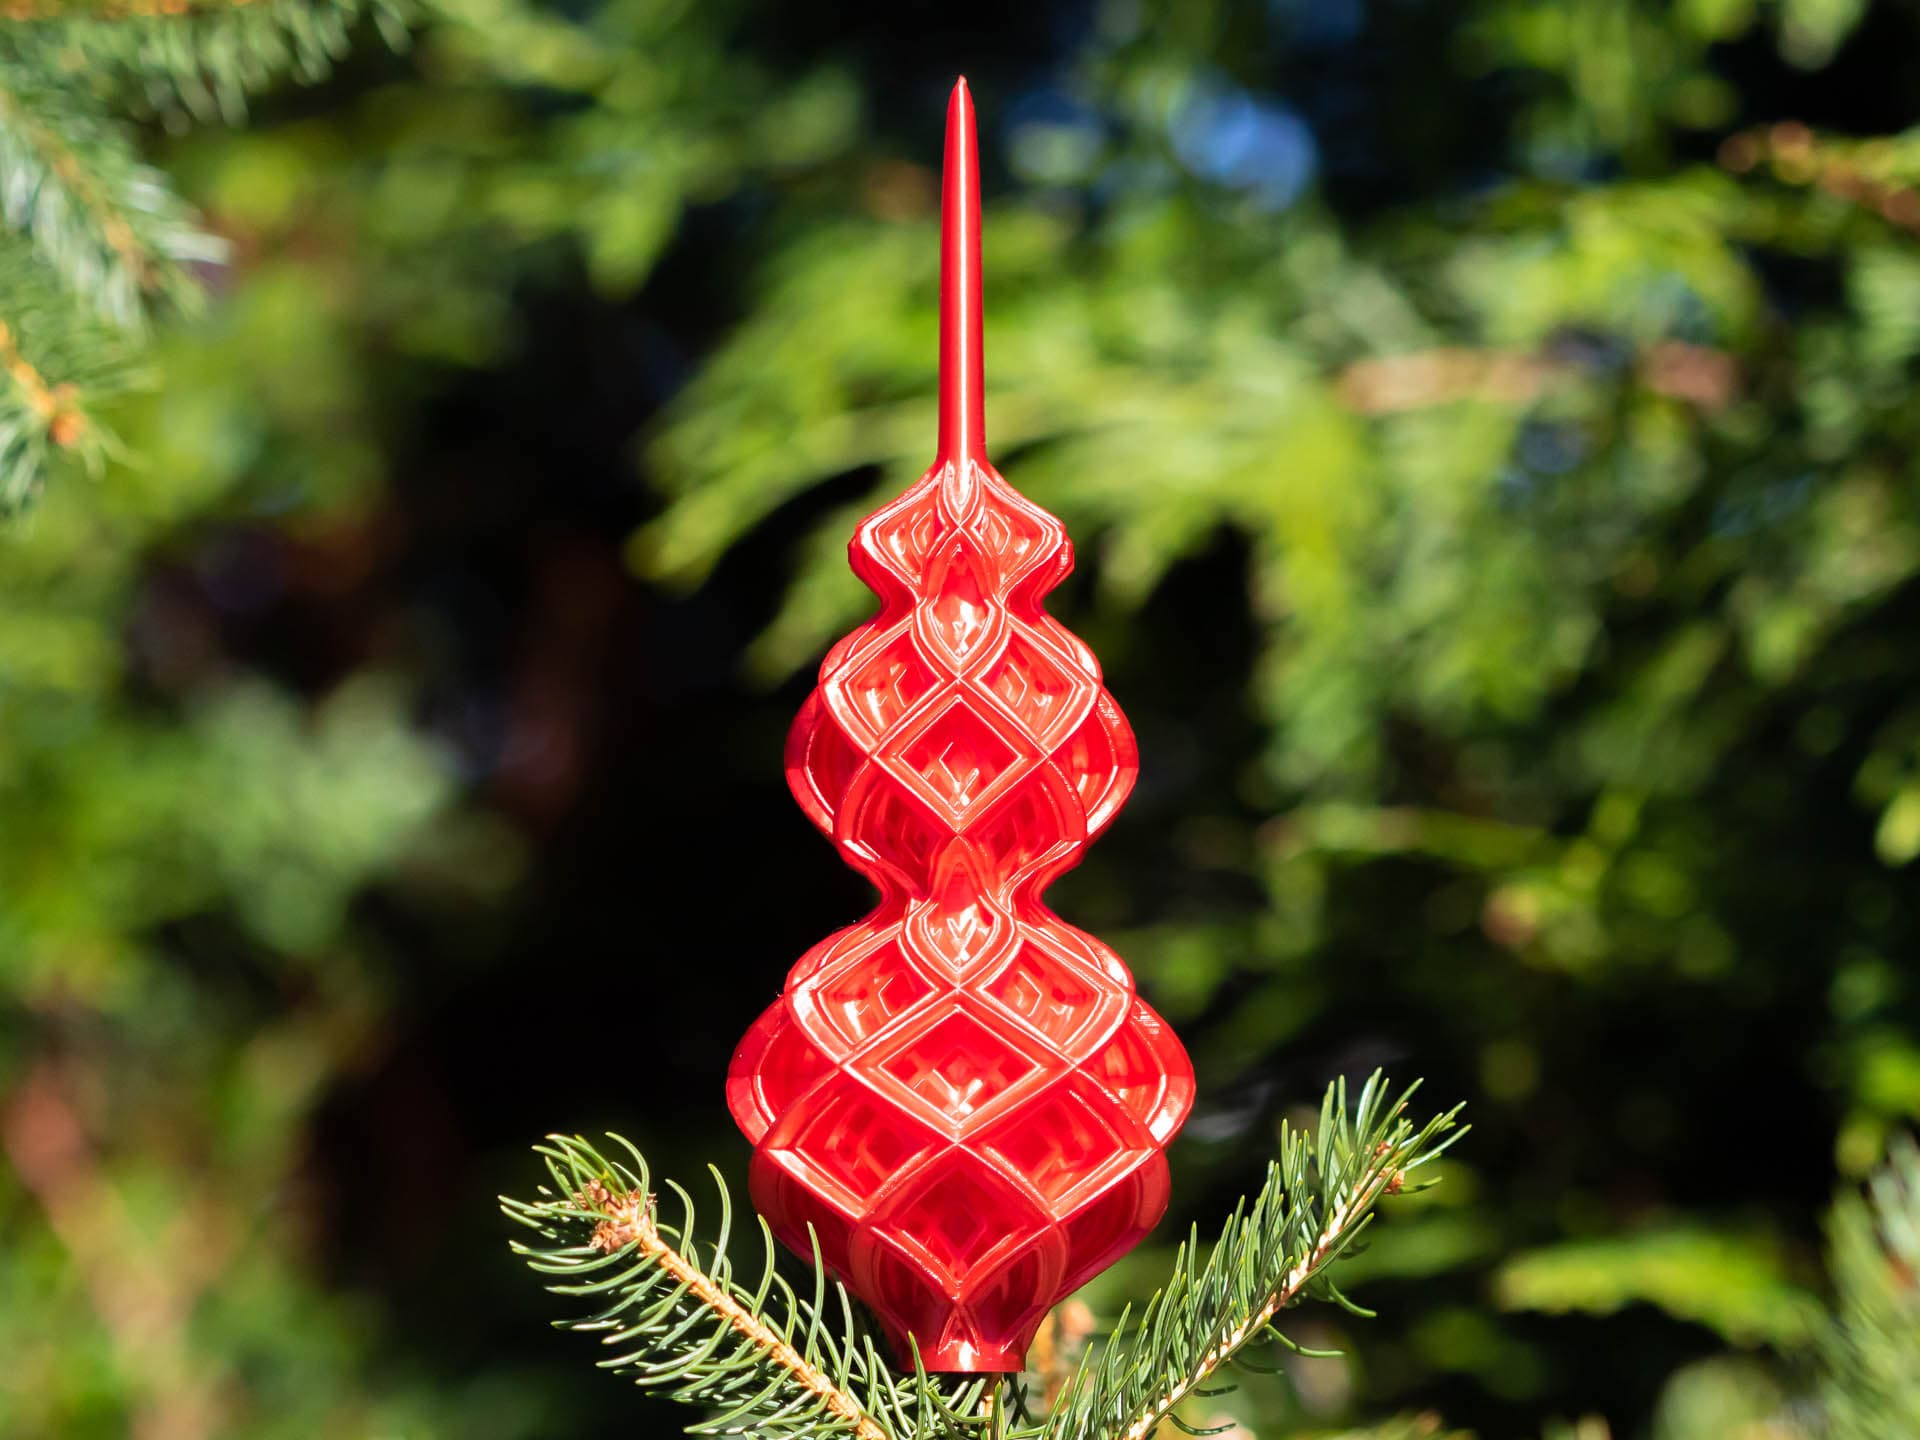
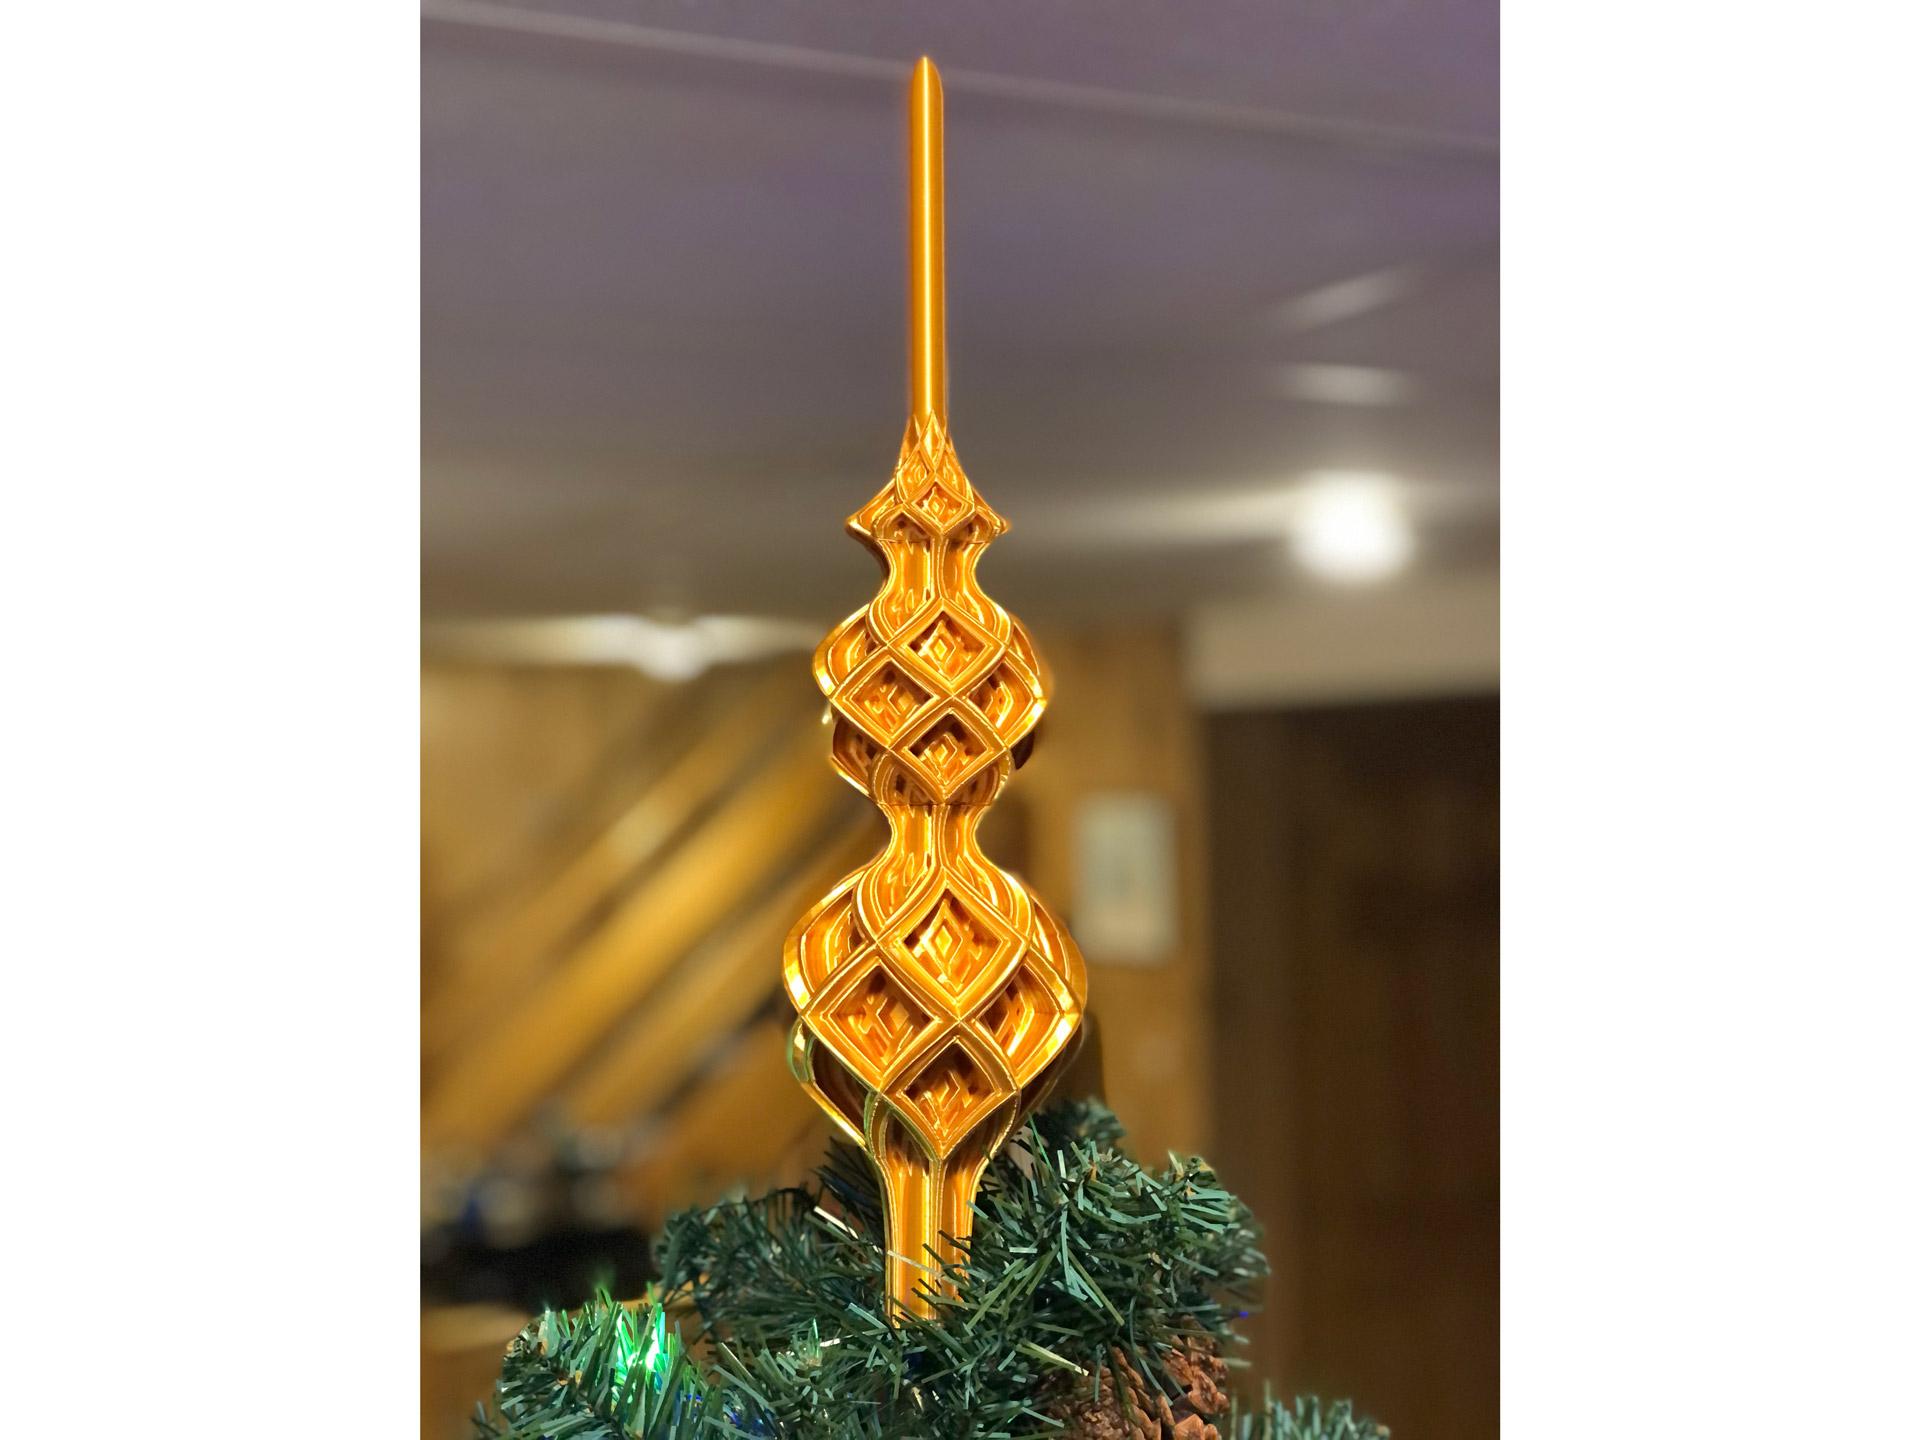
Open Lattice Christmas Topper
This is a topper for small to medium Christmas trees. It will work well on trees that are anywhere from about 4 feet (1.3 meters) up to 7 feet (2.3 meters) tall.
Not for commercial use. Please see license agreement.
CHALLENGING PRINT If you just got your first 3D printer and are looking for your first thing to print, this isn't it. Using the settings I recommend below, an experienced maker should be able to get a good print without many failed attempts. However, if you are not intimately familiar with the detailed settings in your slicer, add this to your favorites and come back when you have a little more experience. If it's frustrating, it's no fun.
COMMON PROBLEMS PRINTING Assuming you use the print settings I recommended below, here are some common problems and possible fixes:
- Mushy print: Reduce print temp.
- Comes off bed: Increase raft size. Reduce print speed.
- Print looks rough: Reduce print speed.
- Breaks during printing: Reduce print speed and print temperature. If you can, increase cooling.
BUILT-IN SUPPORTS I've provided the topper with and without custom supports. And for the first time, I provided the supports as a separate STL file. This is to make to easier to have different settings for the topper and the supports, saving time and PLA. After adding both STLs to the slicer and centering them, you'll need to move the supports +7mm on the X axis so they line up with the topper.
PRINT TIME With my settings, it took about 9 hours.
PRINT SETTINGS FOR TOPPER Thickness
- Layer thickness: .15mm
- Wall thickness: 0.8mm. If you want to go thinner to reduce weight, consider using Cura's “alternate extra wall” option so it alternates between 0.4 and 0.8mm walls with each layer. That may address gaps in the print.
- Top/bottom thickness: 0.3mm
Infill This doesn't need any infill. Seriously.
Speed You'll want to use slow printer settings to that the print is accurate and to reduce the pull on the thin arms of the topper.
- Overall: 60mm/s
- Outer wall: 20mm/s
- Inner wall: 40mm/s
- Travel Speed: 65mm/sec
Build Plate Adhesion I recommend using a brim or a raft. The first layer for the topper is a thin circle about 20mm in diameter. The print then widens dramatically, creating a lot of pull on the base due to leverage (high school physics, anyone?). The print is also tall, making for a lot of pull on the base (leverage again). In my first attempts at printing this without supports, I used a raft. After adding the supports, a 7mm brim worked for me.
PRINT SETTINGS FOR SUPPORTS I only changed two settings for the supports:
- Wall thickness: 0.4mm
- Infill density: 15%
Open Lattice Christmas Topper

Open Lattice Flare Christmas Topper 2024
Closed Lattice Christmas Topper
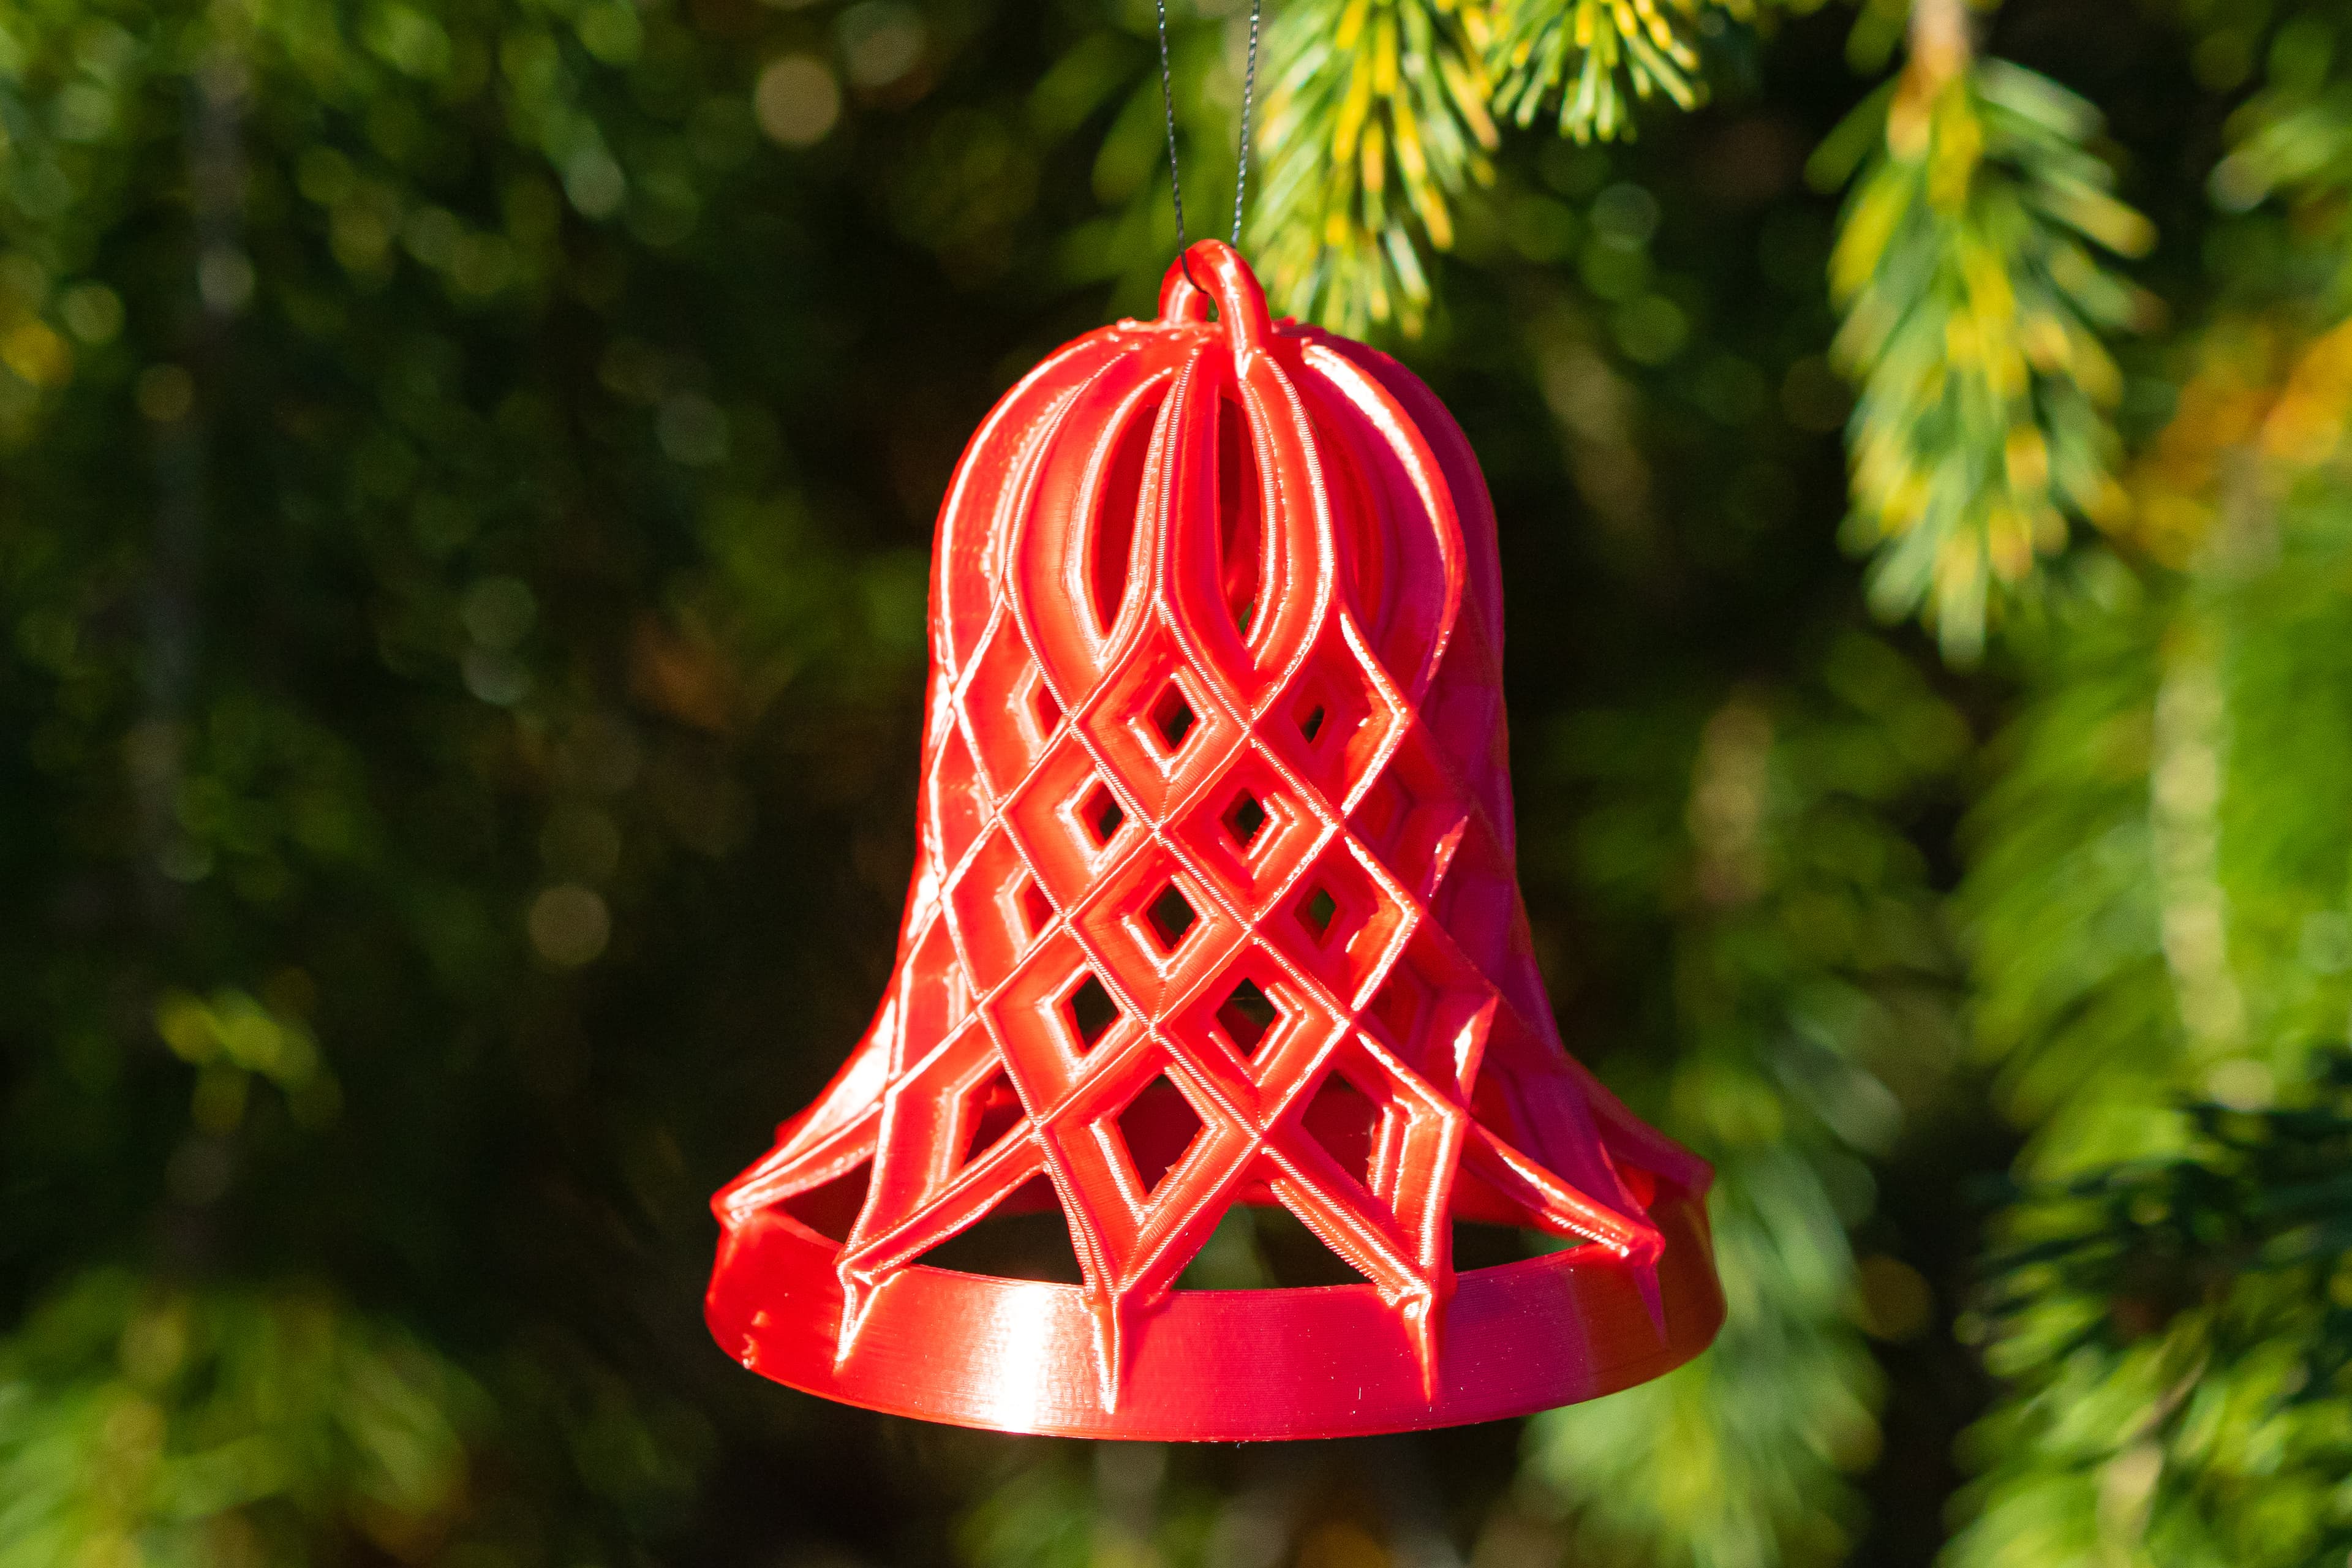
Open Lattice Christmas Bell
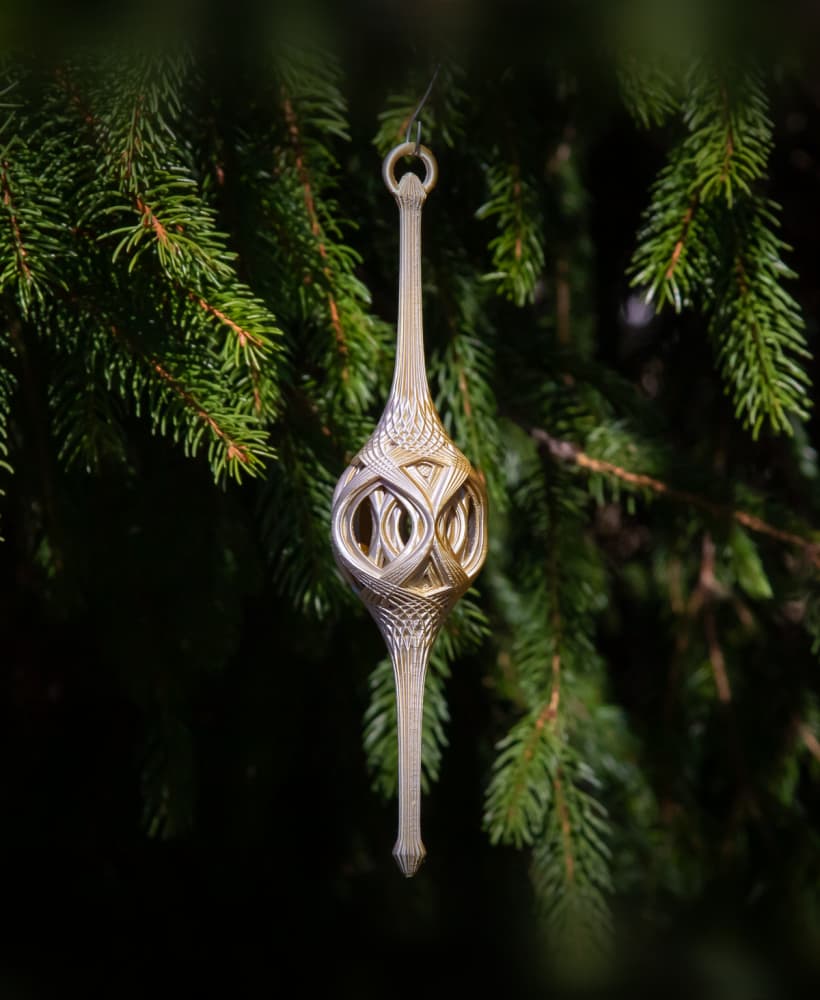
Open Lattice Flare Christmas Stretch Ornament 2024

Open Lattice Flare Christmas Bulb 2024

Christmas Straw Topper, Christmas Tree, 10mm, Holiday Straw, Christmas Decors, Gift for Christmas
Large Lattice Christmas Tree Topper

Lantern Christmas Tree Topper 2024

Christmas Tree topper

Lattice Christmas Stretch Ornament 2024

Open Lattice Flare Chritmas Finial 2024

Swoop 3 Christmas Tree Topper 2024

Flare Christmas Tree Topper 2024
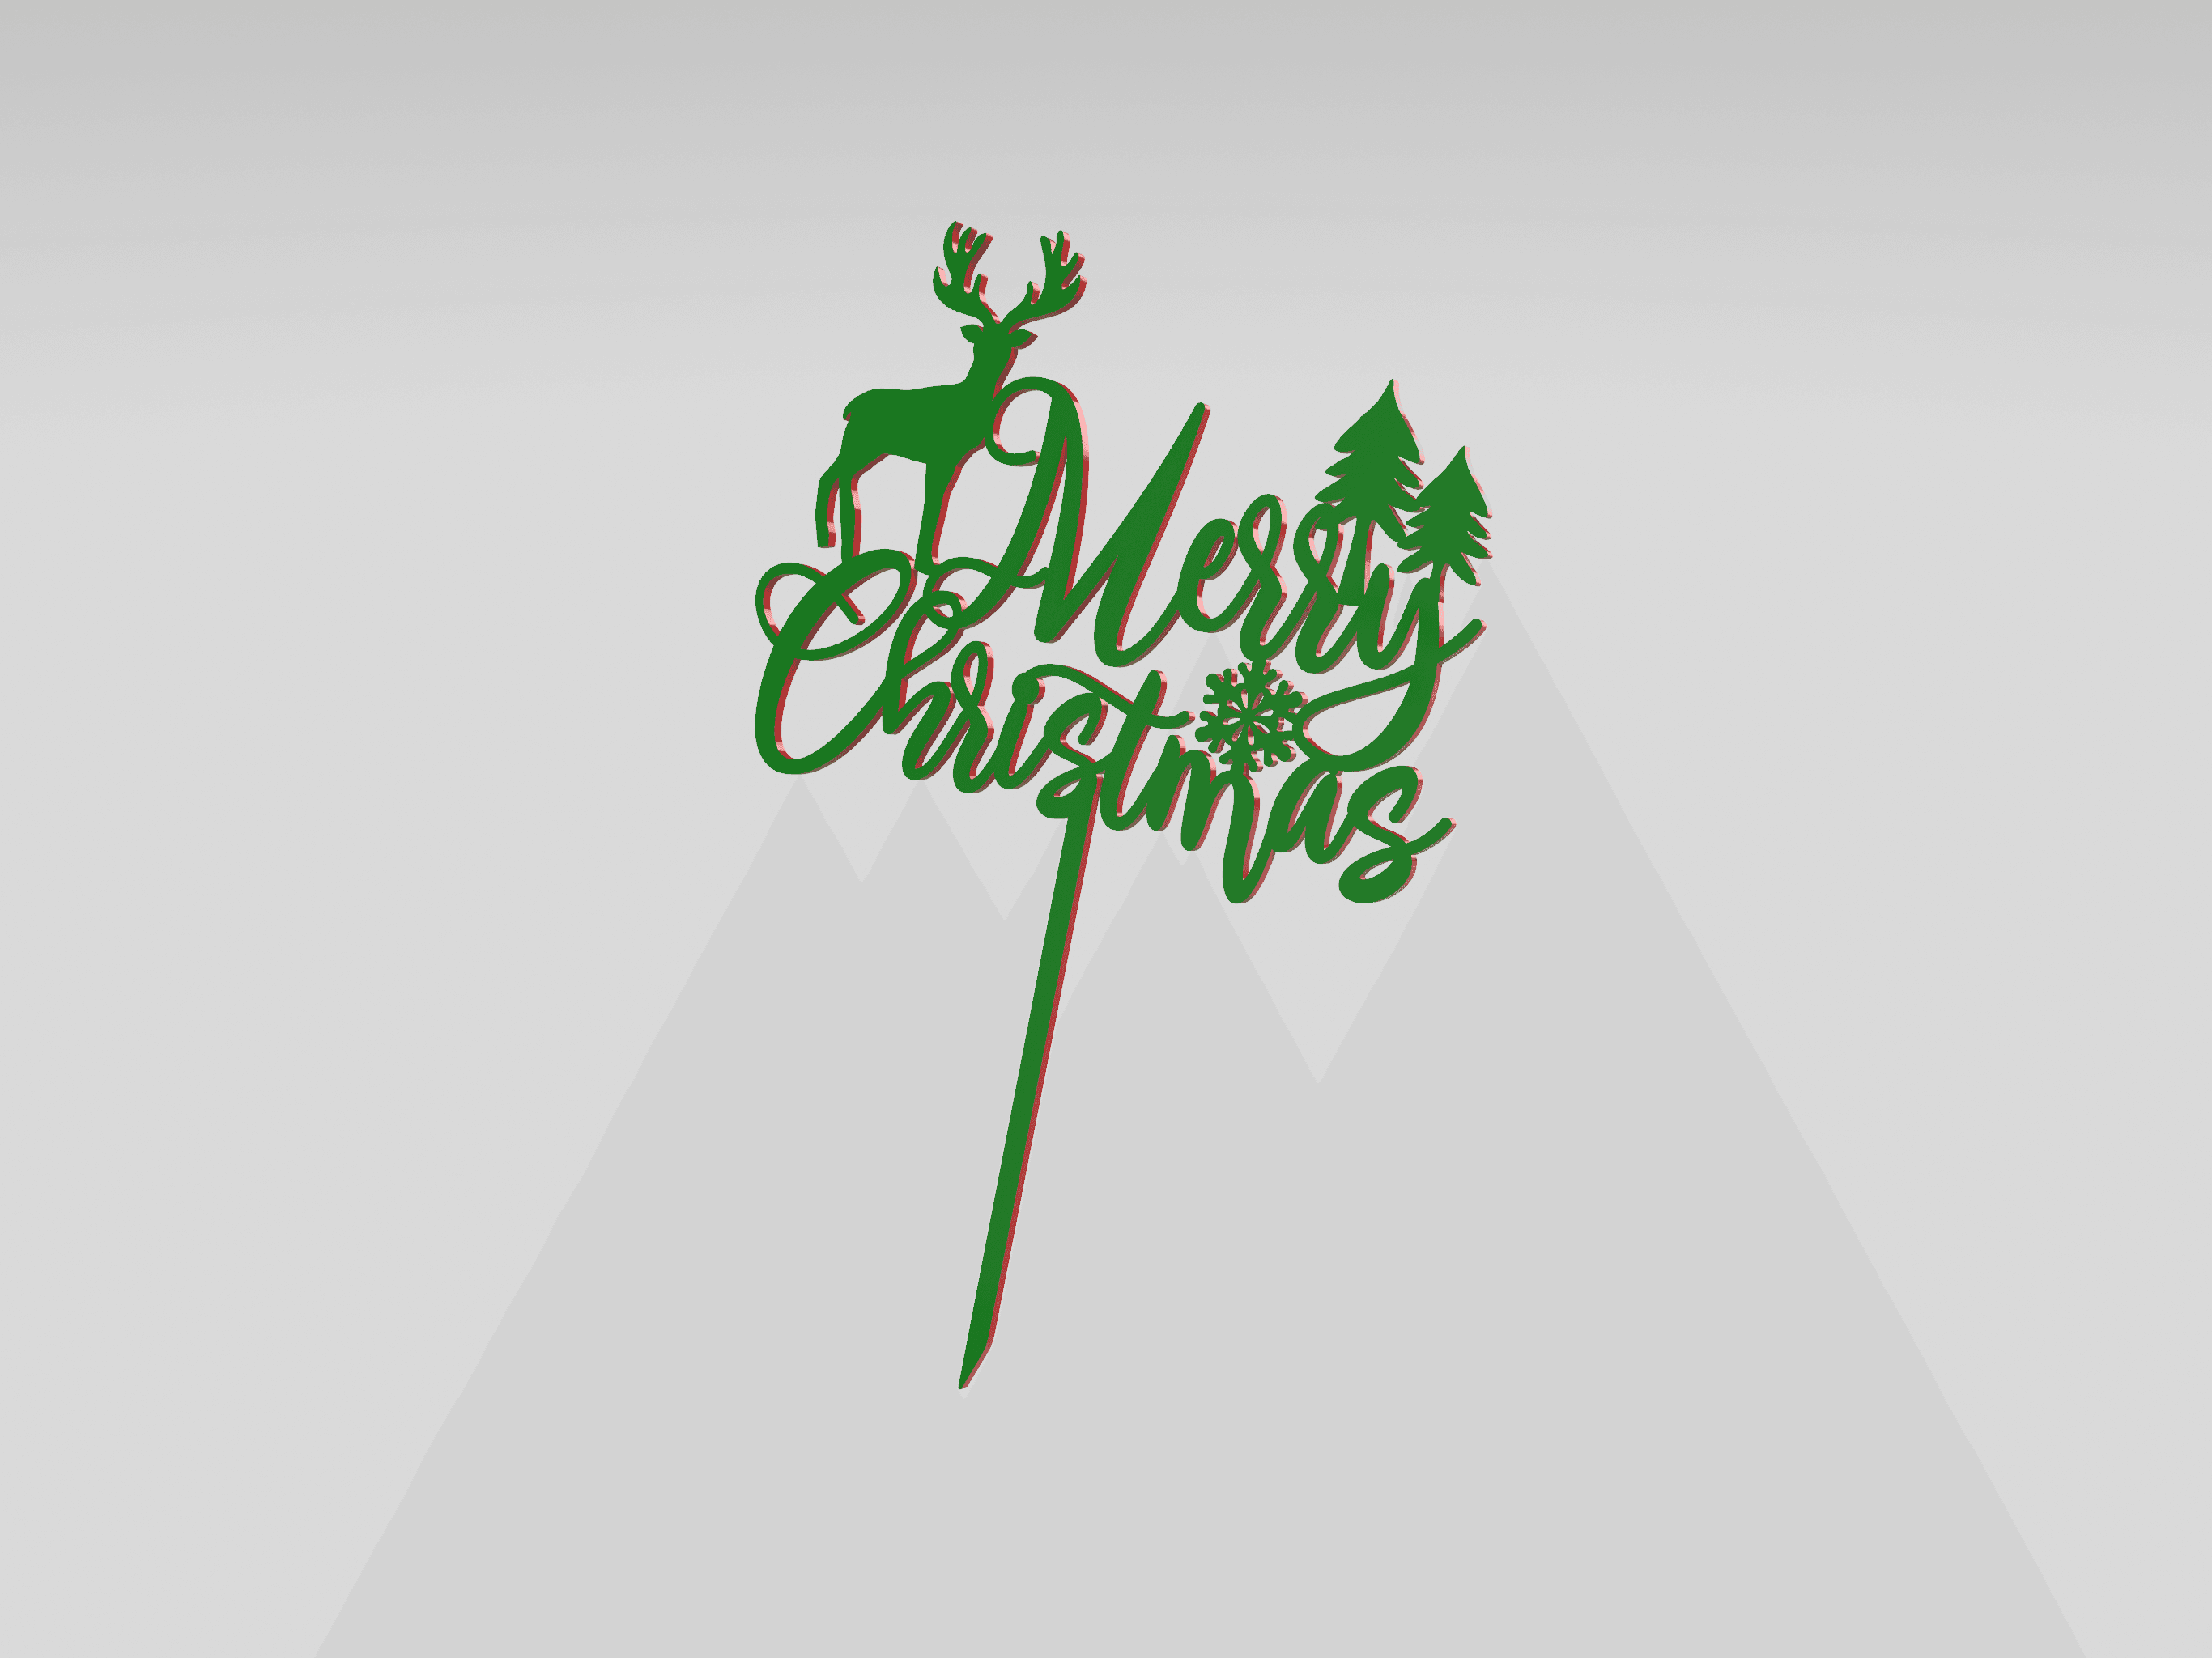
Cake Topper Merry Christmas Decoration Reindeer
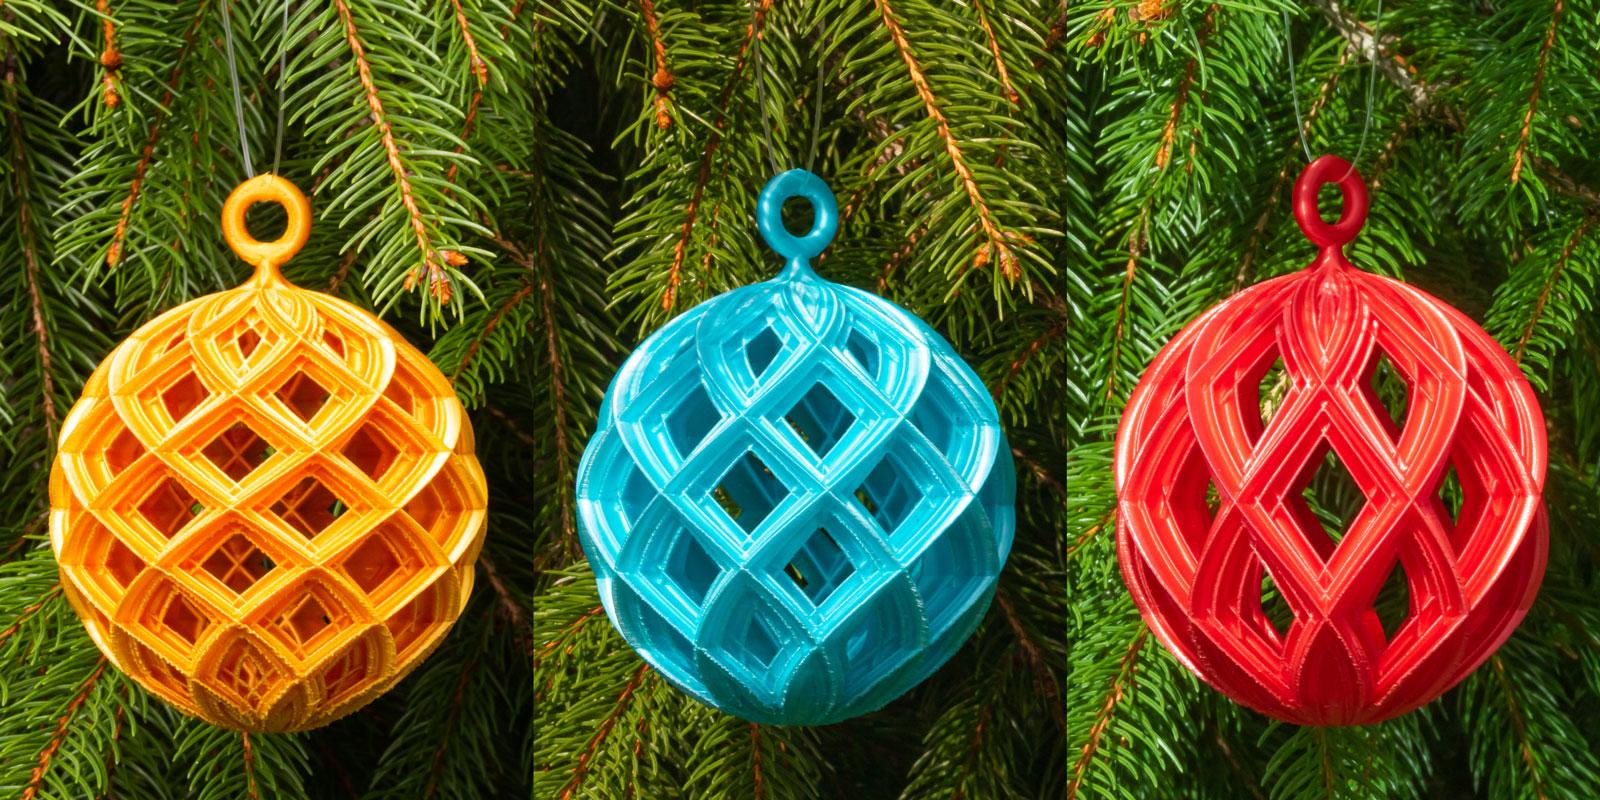
Lattice Christmas Balls 2021 (Set of 3)

Spiral Christmas Tree Topper 2024

Rocket League Platinum Christmas Tree Topper

Double Lattice Christmas Bulb 2024

Cathedral Christmas Tree Topper 2024
