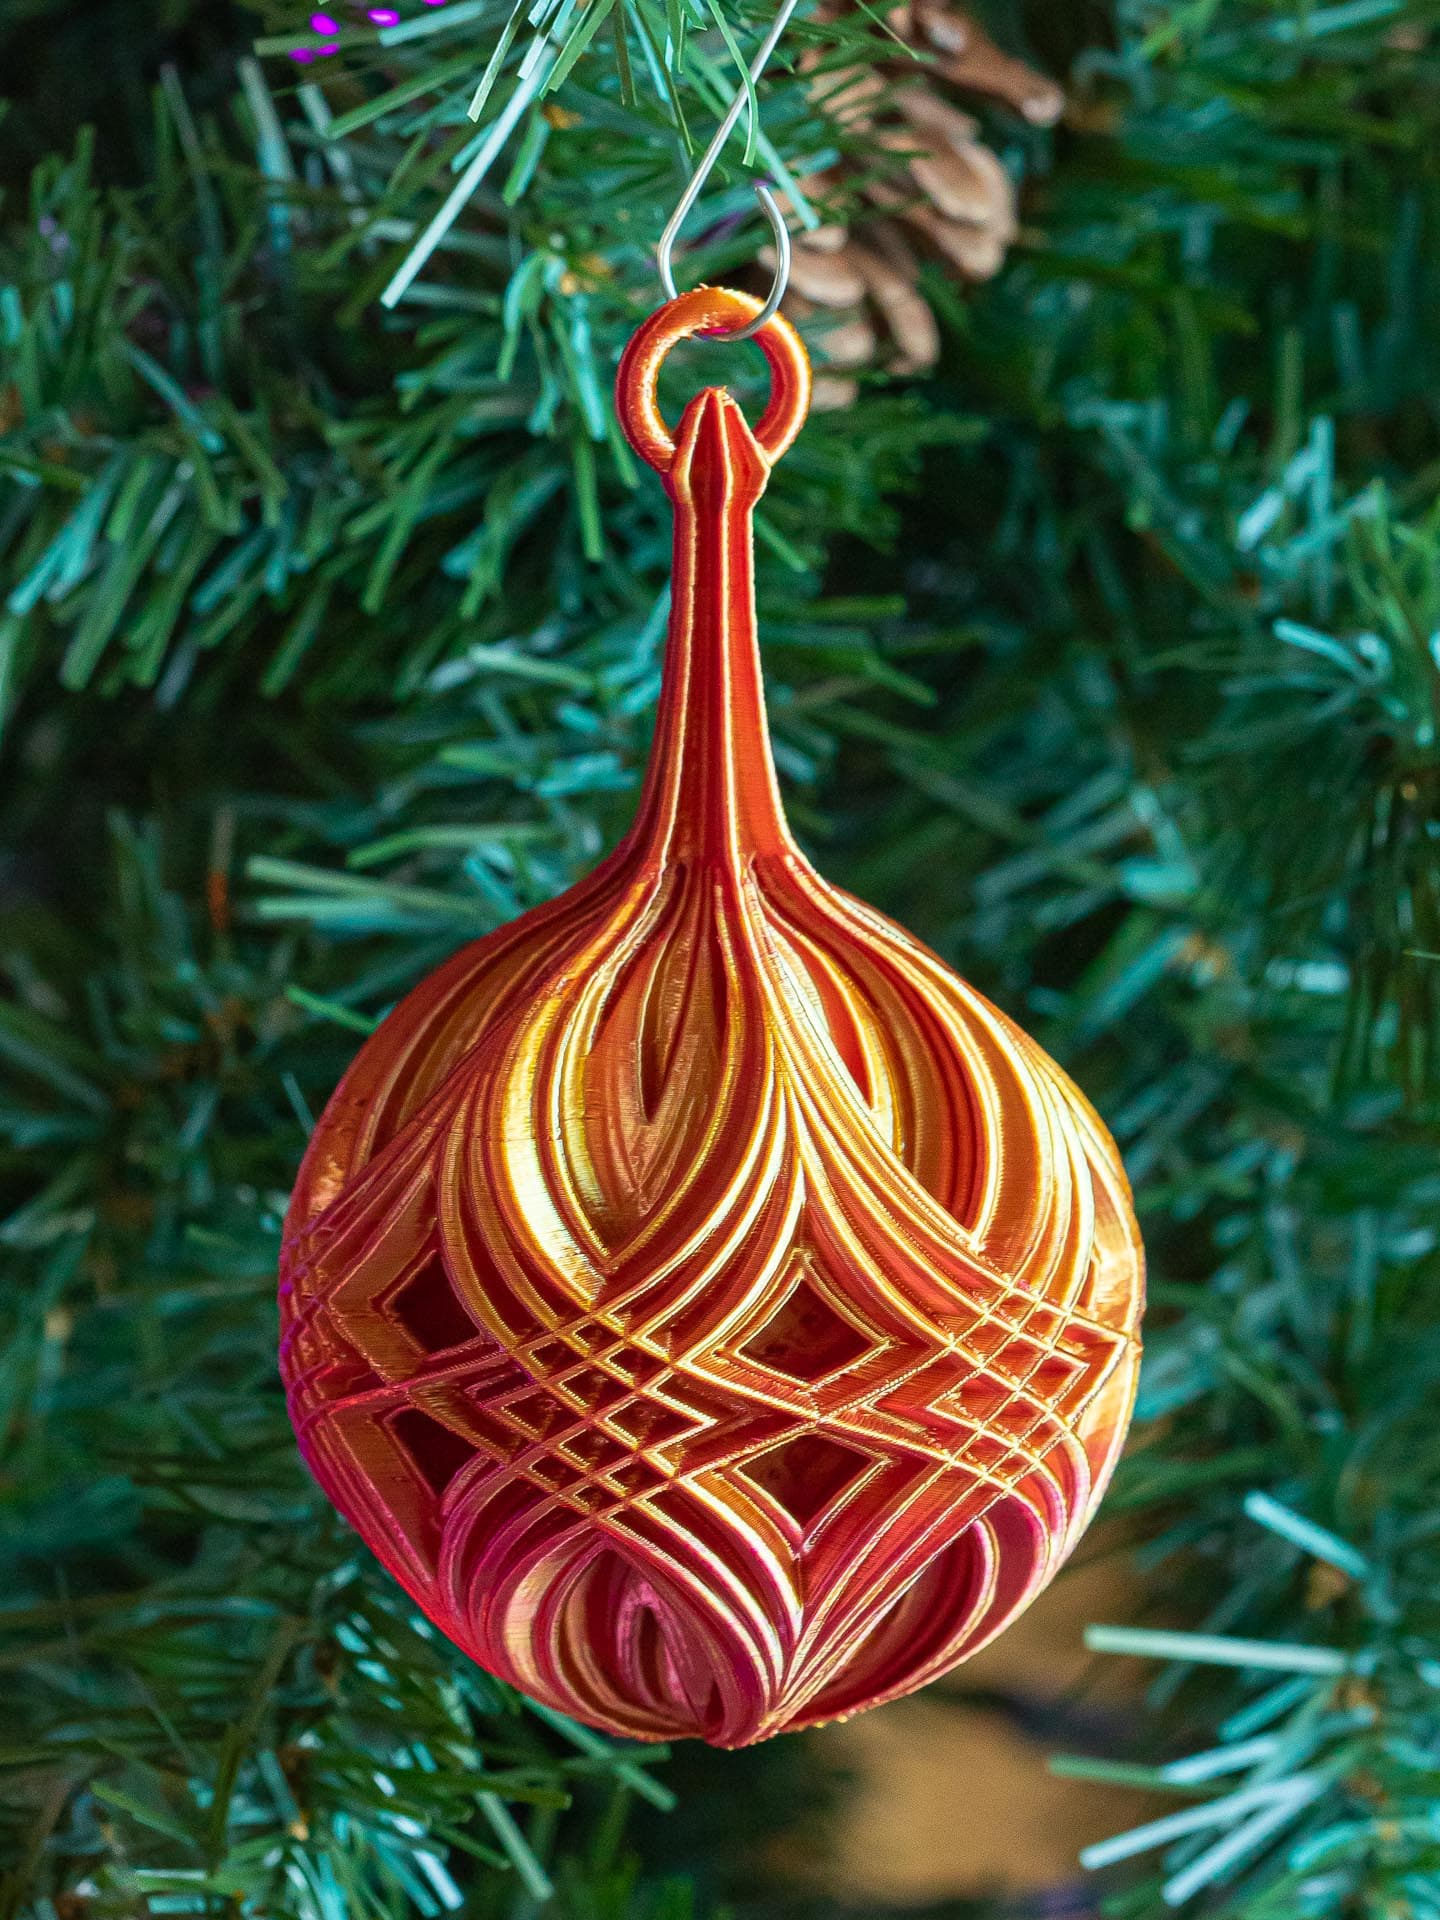
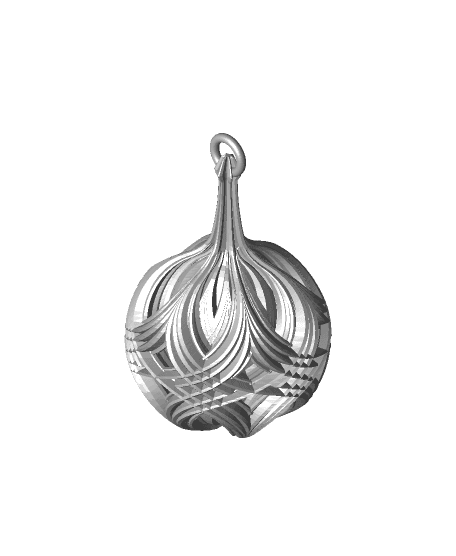
Starburst Christmas Ornament
This is a new variation on my Christmas Balls with Integrated Stems and diamond patterns. I've updated the top of the ornament so the point inside the loop print cleaner.
Not for commercial use. Please see license agreement.
RESIZING These should scale up well, but I'm not sure how much smaller you could print them using a consumer FDM printer. Using a resin printer, you could probably print them much smaller.
PRINT TIME About 4.5 hours.
PRINT SETTINGS The trickiest parts to print is the top of the stems. Using FDM, if you don't temp, speed, flow, and cooling right, the thin parts of the stem will melt as you print. Thinner walls help. If that's not enough, try increasing the layer height. I decreased the print temp from my usual 200 to 190 for this, decreased the flow from 115 to 105, and increased the outer wall speed from 20 to 30 mm/sec. That was enough to go from stem that was molten goo to one that printed perfectly.
Thickness
- Layer thickness: .15 mm
- Wall thickness: 0.4 – 0.8 mm.
I had the best results using Cura setting the default width to 0.4 mm with an alternate extra wall.
Infill There are a couple places that could really use infill, though you may be able to get by without it. You'll probably wind up with soe holes, but they also probably won;t show unless you look closely. I recommend using support blockers to add infill just where you want them.
I've given up on printing this in transparent. I just needs too much infill to get it to look good that way. To get it to print well in opaque, I added 3 support blockers and set them to use line infill set to 25%. I also gave them an extra wall to make sure the infill didn't show through.
- 75 x 75 x 15 mm (10 layers thick) at 17.15 mm height
- 75 x 75 x 30 mm (20 layers thick) at 33.7 mm height
- 75 x 75 x 15 (10 layers thick) at 43.15 mm height
If you use alternating extra walls with added wall thickness where you add infill and you print inner walls before outer, make sure your first layer with infill doesn't have the extra wall or it will be unsupported. One layer of infill should be enough to support the extra wall.
You could just print the whole thing with 2 walls and 15% infill everywhere, but that would increase the weight by 75%. It would also take 8 hours to print. So, it's your call.
Speed
- Outer Wall: 25 mm/sec
- Top/Bottom Speed: 30 mm/sec
- Travel Speed: 50 mm/sec
Build Plate Adhesion I relied on the supports for build plate adhesion.
Supports You will probably need supports for both bed adhesion and the overhang on the first few layers. You shouldn't need supports for the loop at the top. Adding them would just increase the chances the supports broke and caused the print to fail.
- Support Structure: Normal
- Support Placement: Touching Buildplate
- Support Overhang Angle: 49 Degrees
I added a support blocker 75 mm x 75 mm x 110 mm set 15 mm above the build plate so that the supports would only be added to the bottom of the ornament.