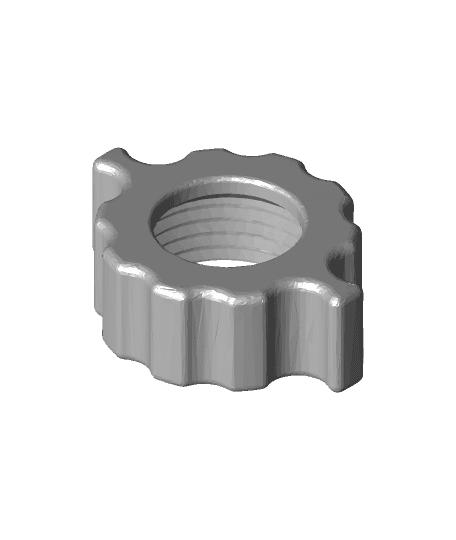
Model originally uploaded to Thingiverse at https://www.thingiverse.com/thing:4607721.
So, we've had only had our 20 crosstrek since february and I've had the dashcam I've been going to install since early march, so thought I should get after it.
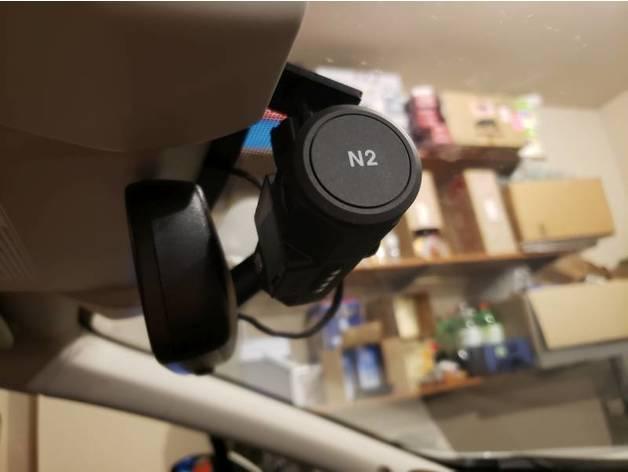
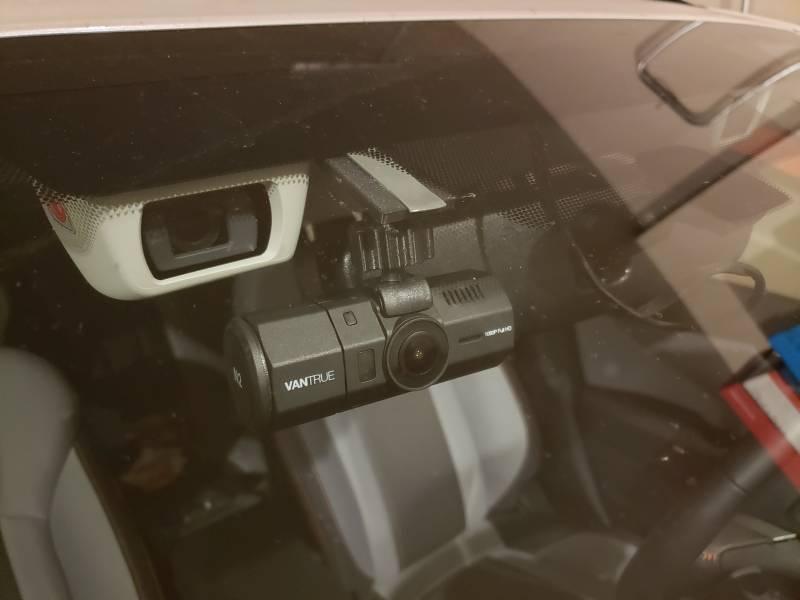
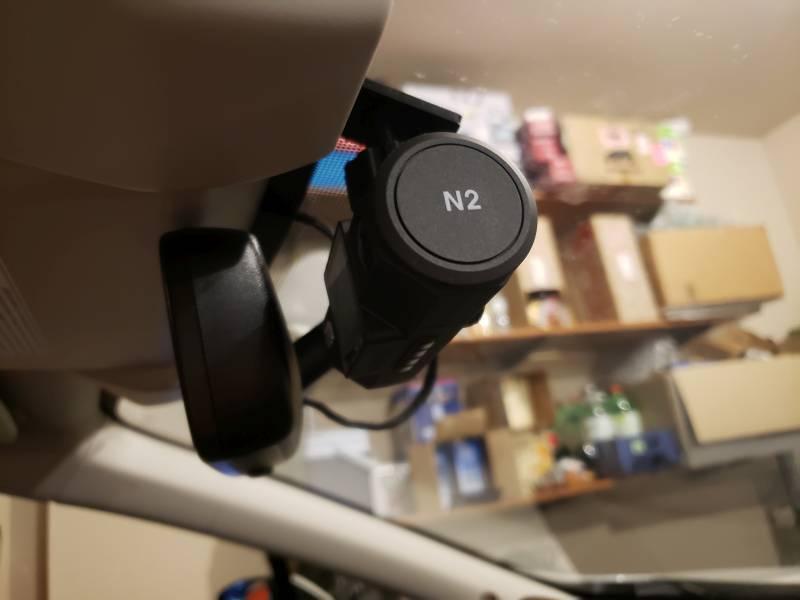
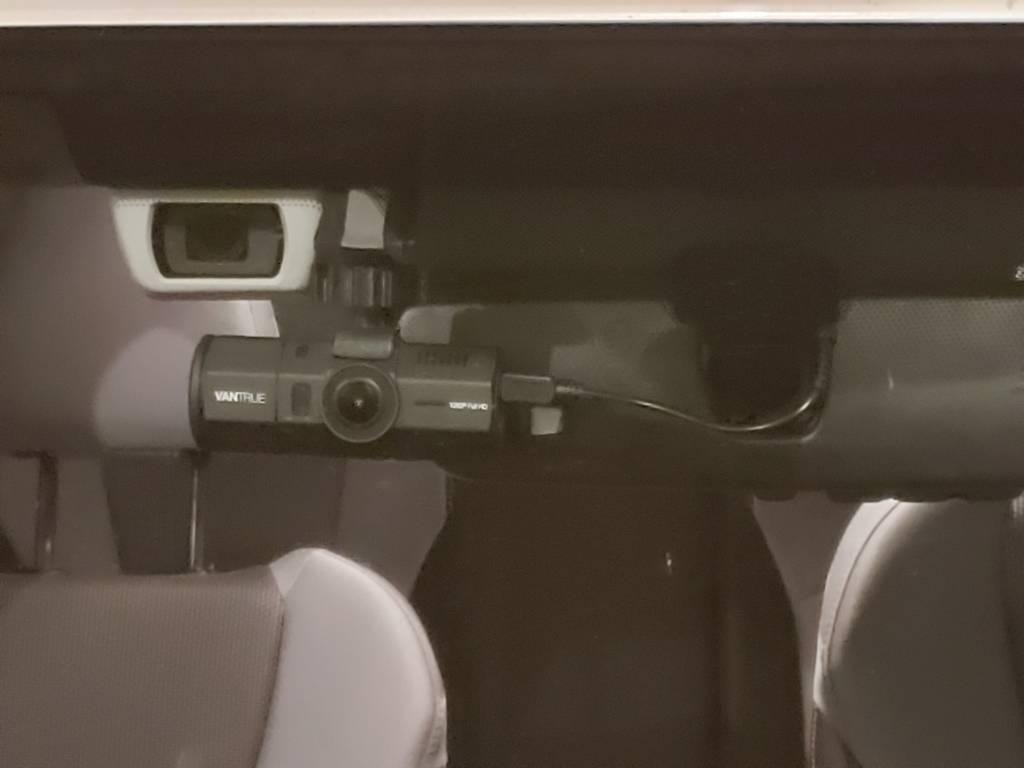
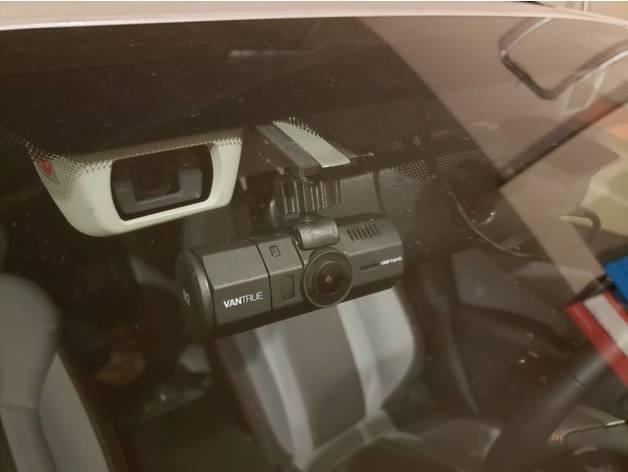
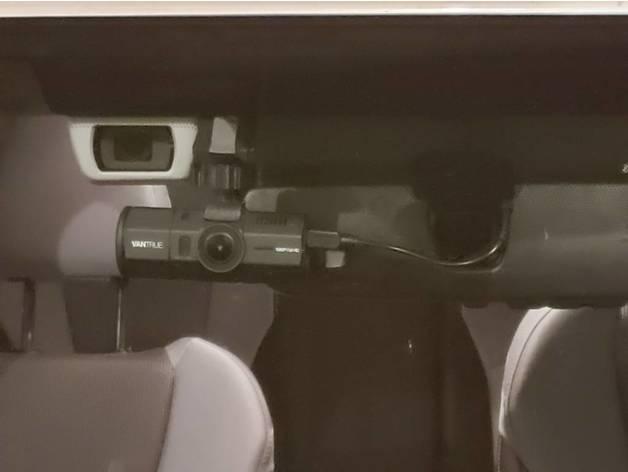
If you have a subie with Eyesight you know that nothing can go in the field of view of it or eyesite will not work. I had purchased a jenky adapter that mounts to the rear view mirror stalk, but it looked terrible and functioned like it looked. If you never switch drivers and never have to move the mirror it might work for you. But i am 6' and my wife is 5'3" so the mirror is constantly in motion. So last night at 4am I work up and thought about it and said maybe I should print a mount. [b]I have now field tested the mount, no errors from eyesight and it kept me in my lane both when i let it go left and right and brought the car to a stop when I used cruise control to drive up to an intersection with a stopped vehicle.[/b]
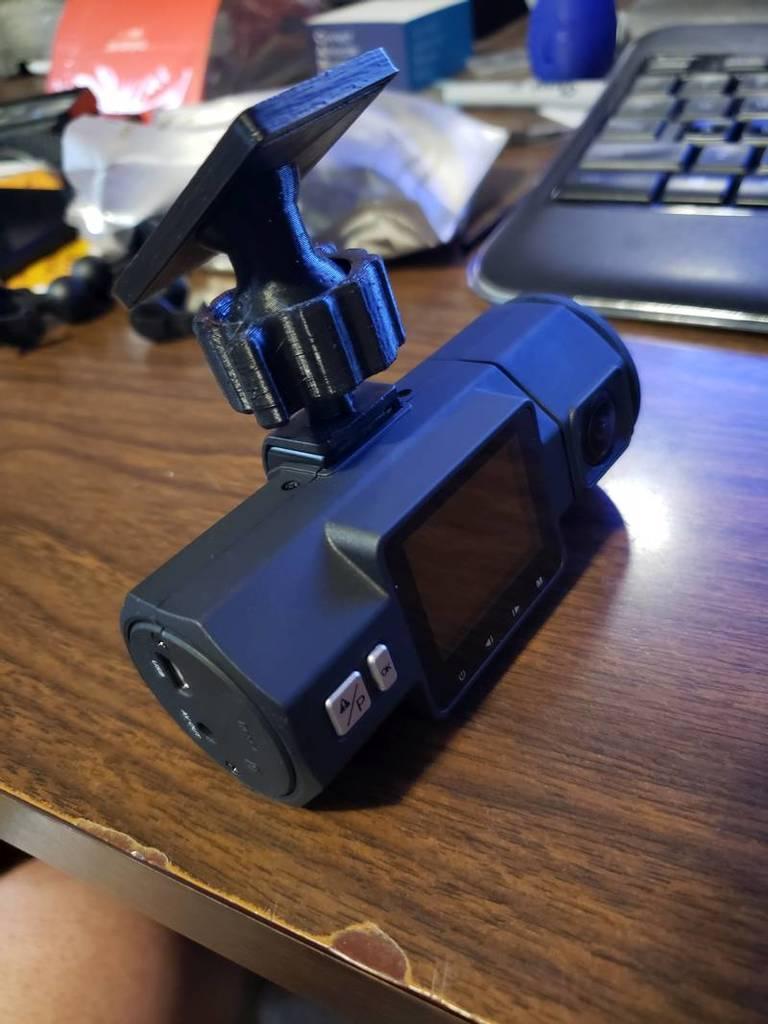
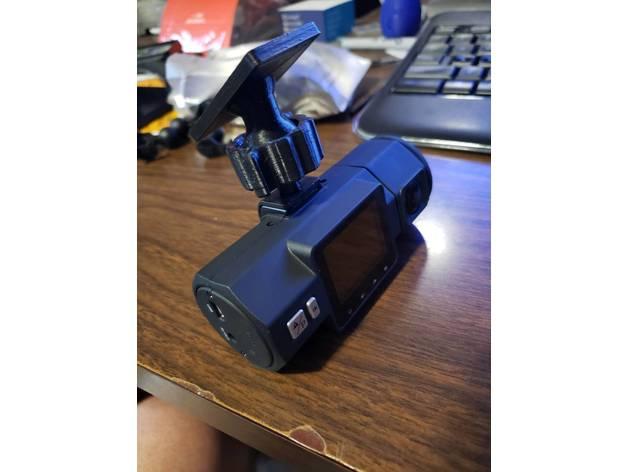
I found a ball and socket so I could use some of the parts from the kit i bought (you'll need it too, it has adapters for just about every dashcam. https://www.amazon.com/gp/product/B0102CK1BS/ref=ppx_yo_dt_b_asin_title_o06_s00?ie=UTF8&psc=1
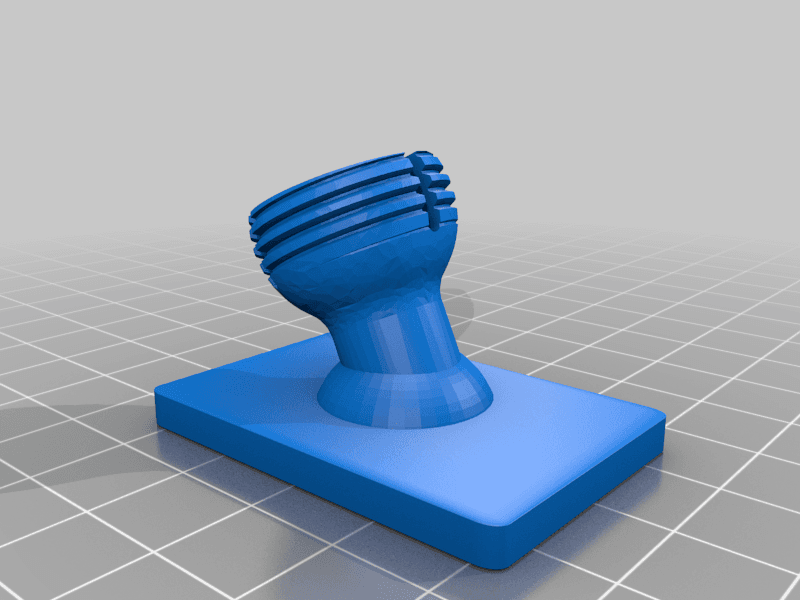
now, you don't have to use this kit but the adapter I created is compatible with a 16mm ball so if you do not have it the socket will do you no good.
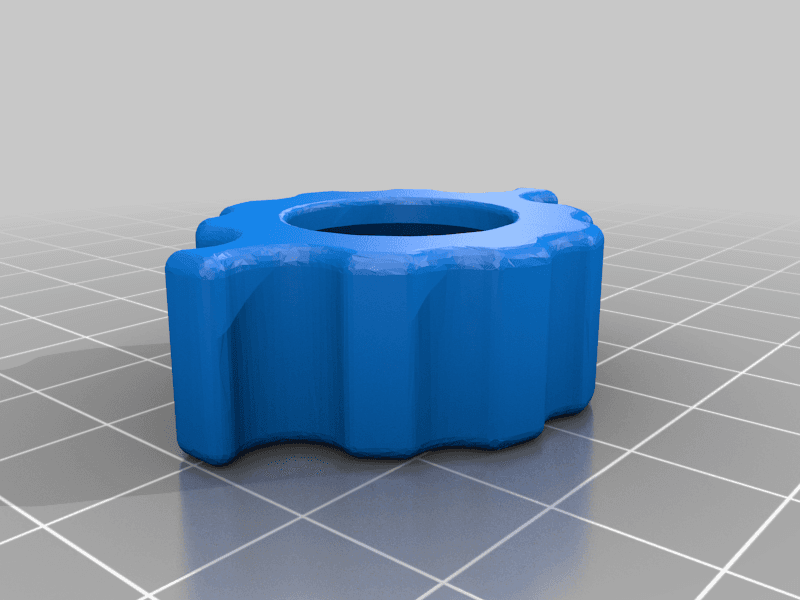
however I have the model on tinkercad if you want to modify it. Here: https://www.tinkercad.com/things/b5Yd8rBSXZ9 you have to modify all directions of the socket arm (arm only!) and the nut in order to get them to fit together and work
also, after you first print it, it will be tempting to draw the nut up tight. DO NOT unless the ball is already in the socket or you will shear off the leaves. They are not super strong in that direction but they grip the ball perfectly. Also becareful when putting the ball in, the mount has a lip to retain the ball even without the nut so it snaps into place.
lastly, use abs not pla. abs/asa can handle the high temps you get in a car, pla can't (ask me how i know)
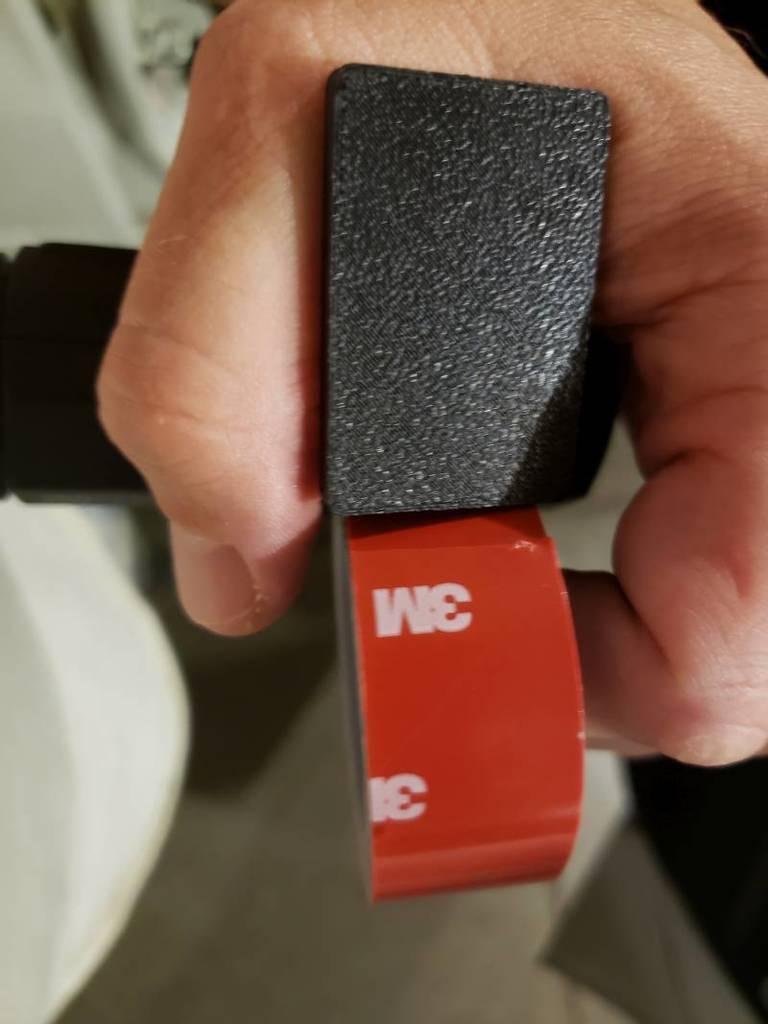
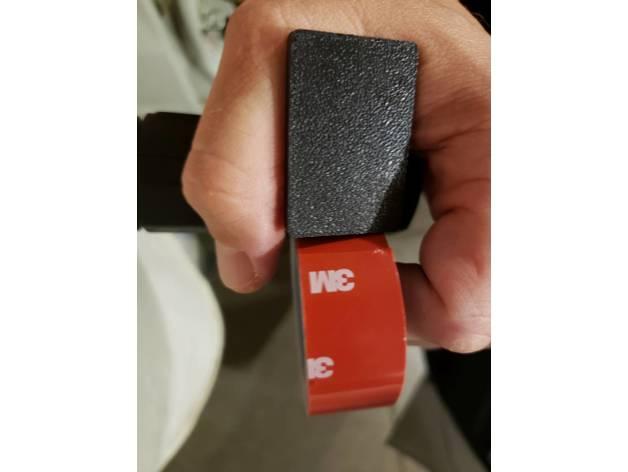
oh and for windshield adhesive 1" 3m VHB double sided tape
